|
|||||||
| Tech Talk Technical Discussion About The Nissan 240SX and Nissan Z Cars |
 |
|
|
Thread Tools | Display Modes |
 04-04-2013, 06:43 AM
|
#211 | |
|
Zilvia FREAK!
 |
Quote:
However a fender a decent set of body working hammers you can probably get it decent enough to bondo Recently painted this wing and valance, wasn't very happy with the finish, so I sanded down and am getting ready for a second coat. 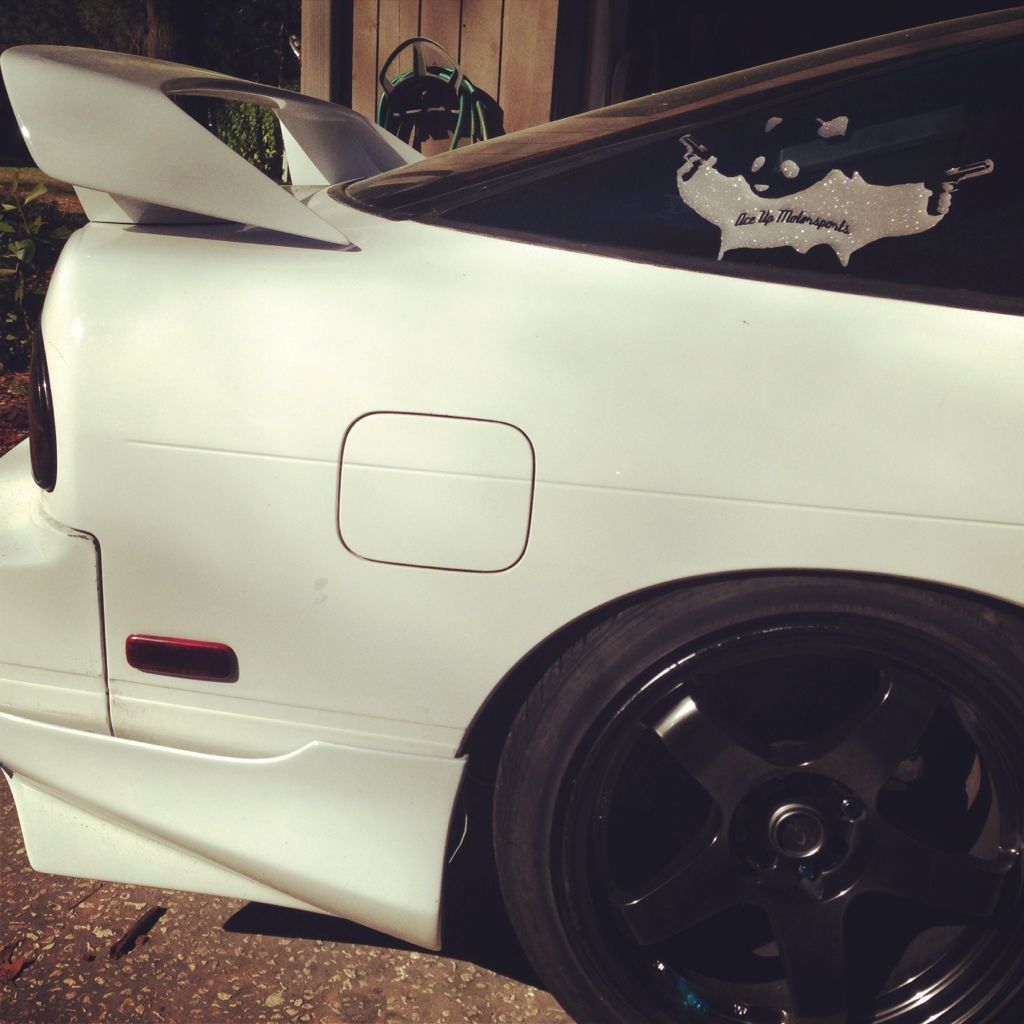 Here is a trashed out drift bumper I fixes both side had 6" cracks all the way down, chunk of the pass side lip missing that I had to completely reconstruct 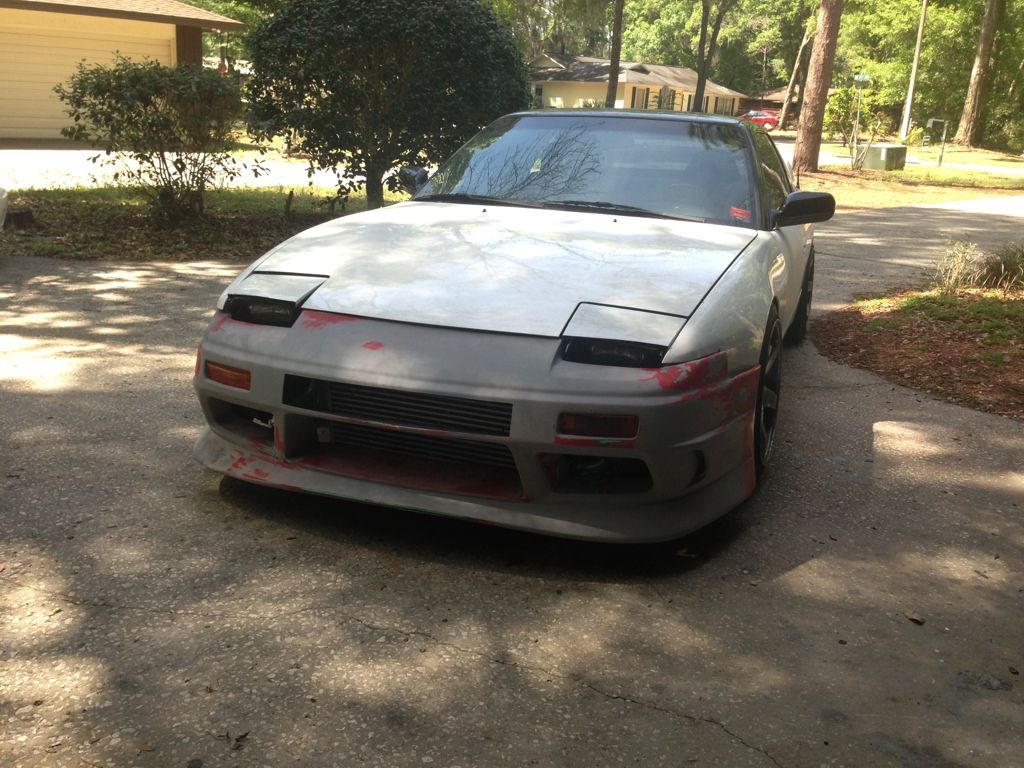 When working with glass there is no easy way, you grind out everything that's cracked out, tape the front side, do the glass work on the back side, use fiberglass jelly and block the front out. |
|

|

|
| Sponsored Links |
|
04-04-2013, 07:07 AM
|
#212 | |
|
Join Date: Mar 2013
Location: linden nc
Age: 36
Posts: 23
Trader Rating: (0)
 Feedback Score: 0 reviews
|
Quote:
|
|
|
|
|
|
04-04-2013, 08:20 AM
|
#213 |
|
Zilvia Junkie
 
Join Date: Mar 2010
Location: Goodyear AZ
Age: 38
Posts: 480
Trader Rating: (6)
Feedback Score: 6 reviews
|
Here are some of my past projects done with small compressors in a garage
   Harley painted in my garage with a 33 gal 1.5hp Harley painted in my garage with a 33 gal 1.5hp    Toyota painted in my garage with a 6 gal air compressor ( do not attempt)   Ford 150 bed cover painted in my garage with 33 gal 1.5hp       86 toyota corrolla JDM coversion project done in my garage with 33 gal 1.5hp |
|
|
|
|
04-04-2013, 08:29 AM
|
#214 | |
|
Zilvia Junkie
Join Date: Mar 2010
Location: Goodyear AZ
Age: 38
Posts: 480
Trader Rating: (6)
Feedback Score: 6 reviews
|
Quote:
|
|
|
|
|
|
04-04-2013, 08:31 AM
|
#215 | |
|
Zilvia Member
 |
What's the best way to get out small dents in the door? About the size of golf balls
__________________
Quote:
|
|
|
|
|
|
04-04-2013, 08:35 AM
|
#216 | |
|
Zilvia Junkie
Join Date: Mar 2010
Location: Goodyear AZ
Age: 38
Posts: 480
Trader Rating: (6)
Feedback Score: 6 reviews
|
Quote:
|
|
|
|
|
|
04-04-2013, 08:36 AM
|
#217 | ||
|
Guild of Skullduggerous Intent
 
|
Quote:
gun was a Finnex 3000 - not the best but still a decent gun and I did adjust the pressure as you say - ~50 psi in tank and fine tune with regulator at gun small parts - fender, valences - were fine, prolonged use was the problem; compressor would run constantly and generate moisture in the line Quote:
and yeah, my masking could have been better. ps - I'm impressed and somewhat incredulous at the work you generate out of your garage. |
||
|
|
|
|
04-04-2013, 09:26 AM
|
#218 |
|
Join Date: Mar 2013
Location: linden nc
Age: 36
Posts: 23
Trader Rating: (0)
Feedback Score: 0 reviews
|
The work you do looks good, but since my 10years or painting and body experience is not professional enough I'll quit posting in your thread, again your work does look good.
|
|
|
|
|
04-04-2013, 09:36 AM
|
#219 |
|
Nissanaholic!
 |
If you use an air/water separator and break down the car into parts and paint the parts separately it's fine to use a small compressor. I've shot a lot of cars with my 1.5hp 25 gallon 4.0cfm @90 psi compressor and I've never had fisheye or hazing etc. I don't know what the big deal is there. Just adjust your gun tip, spray pattern, and air pressure according to the products you're using and let the compressor keep going between coats or panels. One thing I do want to point out whoever is asking the steps for priming/bodywork you always need to epoxy prime bare metal before you put any 2k primer or sealer down! It's okay to use filler then do the epoxy but just make sure you cover all bare metal before moving on to primer and topcoats!
|
|
|
|
|
04-04-2013, 10:28 AM
|
#220 | |
|
Zilvia Junkie
Join Date: Mar 2010
Location: Goodyear AZ
Age: 38
Posts: 480
Trader Rating: (6)
Feedback Score: 6 reviews
|
Quote:
  here are a few other options that are easy to find at lowes and affordable Shop Kobalt 3/8-in Air Filter at Lowes.com Shop Kobalt In-Line Desiccant Air Dryer at Lowes.com |
|
|
|
|
|
04-04-2013, 07:44 PM
|
#221 |
|
Zilvia Junkie
|
When spraying something with a metal flake would you recommend having all the panels on the car, to prevent miss matched coloring? Also do you clear all the jams, or how do you clear around edges so you don't get flaking clear around edges
|
|
|
|
|
04-05-2013, 01:04 AM
|
#223 |
|
Join Date: Jun 2012
Location: Pace, FL
Age: 39
Posts: 37
Trader Rating: (0)
Feedback Score: 0 reviews
|
Hopefully the OP can fill me in on this...
I went to a PPG distributor locally a couple months back and I was picking their brains on certain aspects of painting. One of my questions were on how to go about using primer over metal vs. over the base coat or factory primer. It seems that you used one primer based on your first few posts; however, the person at the shop said that there were two different primers: one primer for metal; and a separate primer for laying over everything else. Is that right?? |
|
|
|
|
04-05-2013, 01:15 AM
|
#224 | |
|
Zilvia Junkie
Join Date: Mar 2010
Location: Goodyear AZ
Age: 38
Posts: 480
Trader Rating: (6)
Feedback Score: 6 reviews
|
Quote:
|
|
|
|
|
|
04-05-2013, 01:20 AM
|
#226 | |
|
Zilvia Junkie
Join Date: Mar 2010
Location: Goodyear AZ
Age: 38
Posts: 480
Trader Rating: (6)
Feedback Score: 6 reviews
|
Quote:
|
|
|
|
|
|
04-05-2013, 01:22 AM
|
#227 | |
|
Zilvia Junkie
Join Date: Mar 2010
Location: Goodyear AZ
Age: 38
Posts: 480
Trader Rating: (6)
Feedback Score: 6 reviews
|
Quote:
|
|
|
|
|
|
04-05-2013, 09:36 AM
|
#228 | |
|
Zilvia Addict
 
Join Date: Jun 2011
Location: NY (845)
Age: 31
Posts: 951
Trader Rating: (11)
Feedback Score: 11 reviews
|
Quote:
  
__________________

|
|
|
|
|
|
04-05-2013, 11:22 AM
|
#230 | |
|
Join Date: Jun 2012
Location: Pace, FL
Age: 39
Posts: 37
Trader Rating: (0)
Feedback Score: 0 reviews
|
Quote:
Would you simply use the epoxy primer on the metal area and use the primer surfacer over the other areas? Or would it be advisable to use the epoxy primer over the metal, set to dry, then use the surface primer over everything including the epoxy primered area? Thanks for the replies! |
|
|
|
|
|
04-05-2013, 12:05 PM
|
#231 |
|
Nissanaholic!
|
Just spot the bare metal with 2 coats of epoxy then shoot the surfacer over the whole car. It also works fine to shoot the whole car with epoxy then sand with 220 grit and get a good key then 2k prime directly over the sanded epoxy. A lot of restoration shops do this when it's not really a "scuff and spray" production type job. This way you avoid the surfacer all together too. With some product manufacturers you can just shoot the 2k directly on top of epoxy without sanding and without using a surfacer, it just kind of depends.
I can't stress enough how good this following process is, especially if you are painting outside or in a makeshift paint booth. Perfect Paint Job |
|
|
|
|
04-05-2013, 04:35 PM
|
#232 | |
|
Zilvia Junkie
Join Date: Mar 2010
Location: Goodyear AZ
Age: 38
Posts: 480
Trader Rating: (6)
Feedback Score: 6 reviews
|
Quote:
 You sir have a mess on your hands fixing this without any collision repair exp. Ok, the area i circled in green: This area concerns me because of possible core support damage because of the way the grill is out and the headlight is out of place. It could just be the fender bracket the headlight is attached to is bent but you never know with this type of collision. Do a measure of your engine bay to check, measure from the first hinge bolt on one side to the opposite side front fender bolt, repeat to the other side making a "X" measurement. the distance should be the same or very close on both sides, if its off you have structure damage. The area i circled in blue: this can be metal finished out but its not going to be easy. You can use a small 2x4 wood block and use it to wedge between the pushed in areas and slowly work it back out or use the wood and a hammer to push bend brackets back straight. You can also use the 2x4 and place it on the inside of the fender edge inside the engine back and use a hammer to pound that front edge straight, same with the corner of the hood. Place the 2x4 on the upper rail where the hood would cover and close the hood on the block where the corner is bent and light put pressure down, use a body hammer if needed. This repair will use a good bit of filler to get it looking right, make sure your filler is not more than 1/8" thick |
|
|
|
|
|
04-05-2013, 05:43 PM
|
#233 | |
|
Zilvia Member
Join Date: Aug 2011
Location: where I wasn't
Age: 36
Posts: 272
Trader Rating: (2)
Feedback Score: 2 reviews
|
Quote:
|
|
|
|
|
|
04-05-2013, 06:46 PM
|
#234 |
|
Nissanaholic!
|
You could, but I really doubt the car is going to be that straight. But yes, some epoxies work as primer sealers too. The reason you do 2k primer as well as the epoxy is so you have something you can block down to get it super flat before applying the sealer or basecoat.
|
|
|
|
|
04-05-2013, 10:48 PM
|
#236 |
|
Nissanaholic!
|
2k is a filler primer and there are different builds that lay to a certain thickness. A sealer is something you put on top of the 2k after you've sanded it.
|
|
|
|
|
04-06-2013, 05:05 AM
|
#237 | |
|
Zilvia Junkie
Join Date: Mar 2010
Location: Goodyear AZ
Age: 38
Posts: 480
Trader Rating: (6)
Feedback Score: 6 reviews
|
Quote:
|
|
|
|
|
|
04-06-2013, 02:01 PM
|
#239 | |
|
Zilvia Junkie
Join Date: Mar 2010
Location: Goodyear AZ
Age: 38
Posts: 480
Trader Rating: (6)
Feedback Score: 6 reviews
|
Quote:
|
|
|
|
|
|
04-06-2013, 02:20 PM
|
#240 | |
|
Zilvia Member
Join Date: Aug 2011
Location: where I wasn't
Age: 36
Posts: 272
Trader Rating: (2)
Feedback Score: 2 reviews
|
Quote:
|
|
|
|
|
|
| Bookmarks |
|
|


 Linear Mode

