|
|||||||
| Builds (and builds only) Got a build thread? It goes here, build threads anywhere else on the forum will be locked and never moved. |
 |
|
|
Thread Tools | Display Modes |
 03-12-2008, 01:47 AM
|
#1 |
|
Users Awaiting Email Confirmation
 Join Date: Sep 2005
Location: hawaii
Age: 36
Posts: 213
Trader Rating: (4)
  Feedback Score: 4 reviews
|
Restoring 89 S13 Coupe (please stop quoting pictures - Mods)
Hello Everyone, my name is Jon. Well, I always wanted to get a s13 since my friends introduced me to drifting, but never really got a chance to. Several months ago my girlfriend needed to buy a car. Just so happened, one of my friends was moving away, so he sold it to her. It is a 1989 coupe with an auto KA24E... Ever since then, its been in my garage back at home. (Its okay though, she has a car to drive since my sister left to college) I get to work on the car once a week, due to working mondays-saturdays in another town about an hour away. Anyways, just thought i would post my progress of what ive done so far and will plan to update hopefully every weekend. I didnt know if i should post or not, notice a lot of build threads lately too, so i didnt want to be just another build thread. but hey, i just thought maybe i could get some helpful tips if i need them... other than searching of course. Anyways, hope everyone enjoys the progress...
__________________________________________________ _______________ List of Parts: INTERIOR Aftermarket Beige Carpet JDM Manual Seatbelts OEM Black Seat Buckles and Rear Seatbelt JDM Power Folding Mirrors JDM Instrument Cluster Nardi Classic Steering Wheel Splash Works Bell 602 Boss Steering Wheel Hub Alpine CDE-9881 Deck OEM Maxima DIN Cupholder/Tray Black Dash Cover OEM Manual Clutch and Brake Pedal Assemblies Nismo Aluminum Shift Knob OEM Black Shiftboot PBM Handbrake Knob Engine KA24DE Mishimoto Radiator Dual 12" Electric Fans HKS Hi Power Exhaust System CS Thermal Intake Mani Gasket OEM Upper/Lower Radiator Hoses OEM Thermostat OEM Z32 Fuel Filter OEM Valve Cover Gasket Bando Accessory Belts DOHC Throttle Cable Apexi Air Filter Black Silicone Hose Kit OEM Full Engine Gasket Kit Timing Chain Kit PBM Coolant Breather Tank PBM Magnetic Drain Plug Water Pump Drivetrain Manual Transmission W/ Complete Front Wiring Harness OEM VLSD OEM Clutch Master and Slave Cylinders Exedy Stage 1 Clutch NISMO Motor/Trans Mounts OEM DOHC Power Steering Lines Empi Tie Rod Bellows Boots CS Tie Rods CS Steering Column Solid Aluminum Bushing PBM 7mm Steering Angle Spacer CS Rear Subframe Spacers Suspension/Brakes Tein Flex Coilovers Energy Suspension Bushing Set Megan Racing Front and Rear Sway Bar Endlinks Ichiba 5 Lug Conversion S14 5 Lug Rotors Hawk Front Street Brake Pads SPL Stainless Steel Brake Lines Muteki Black Lug Nuts OEM Brake Shim Kit *Theres probably more, but ill add as i go __________________________________________________ _______________ heres before she bought the car, pretty much completely stock. 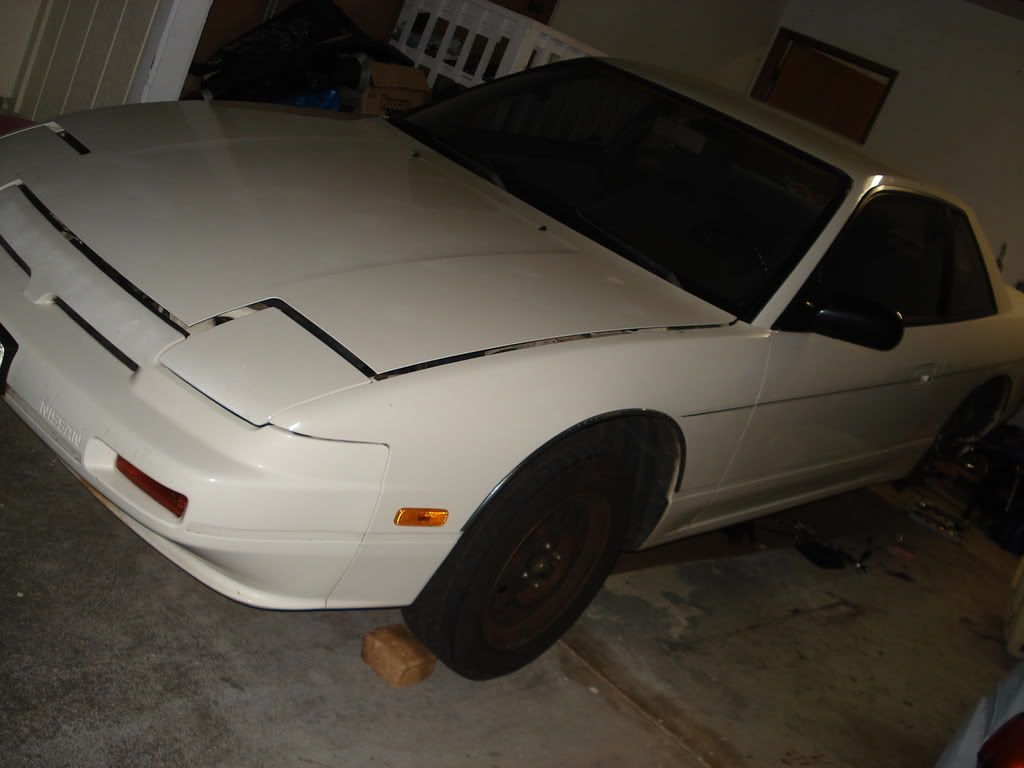 doo doo brown interior 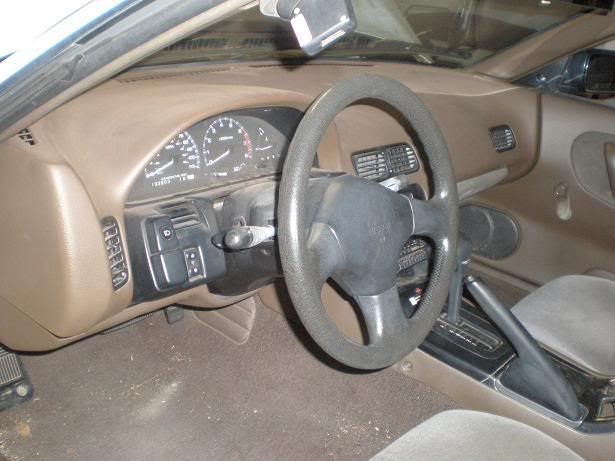 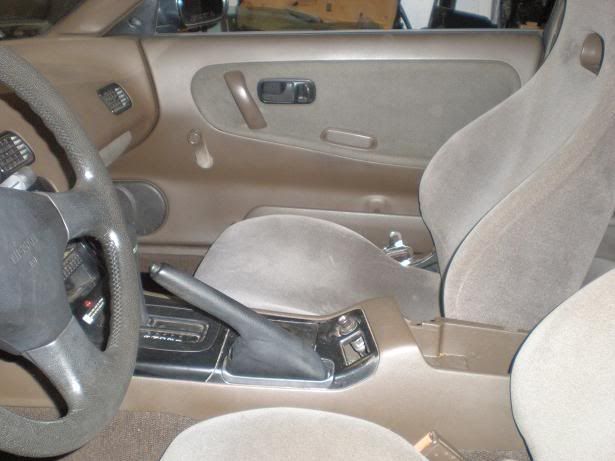 rust on driver side frame rail 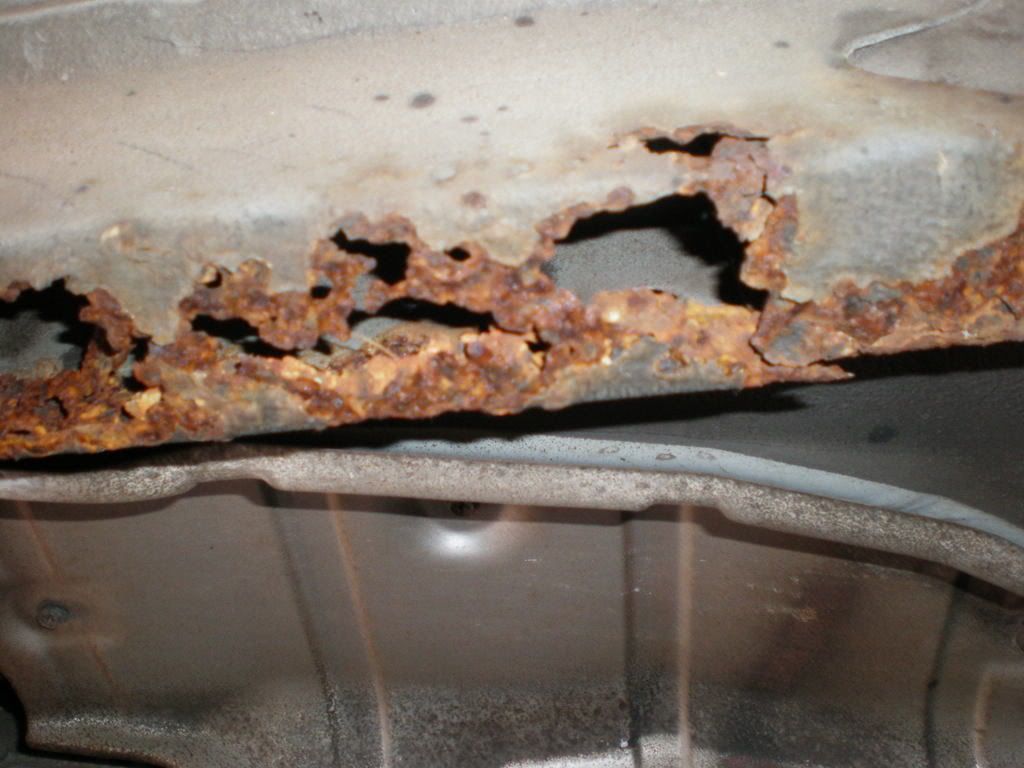 auto KA24E 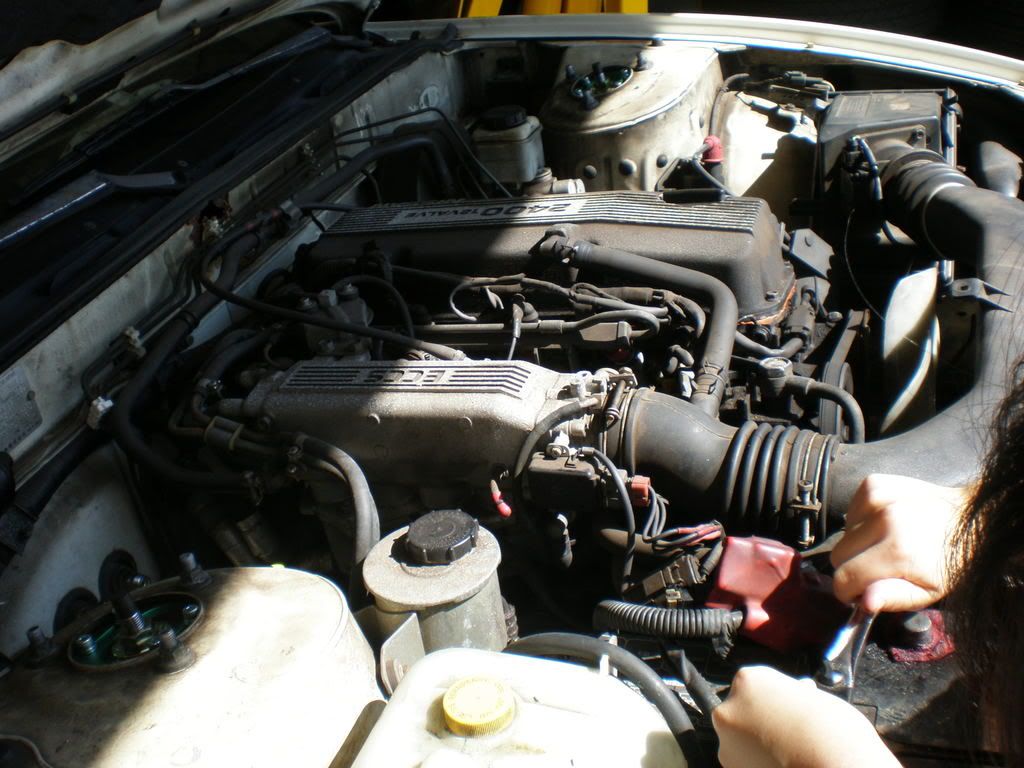 stripped the interior out 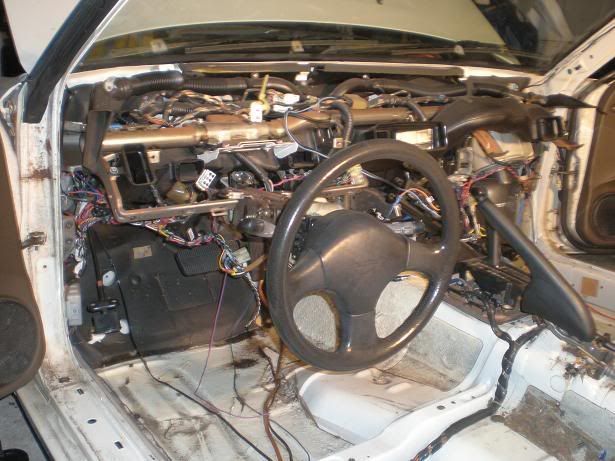 cleaning parts with superclean to prep for paint 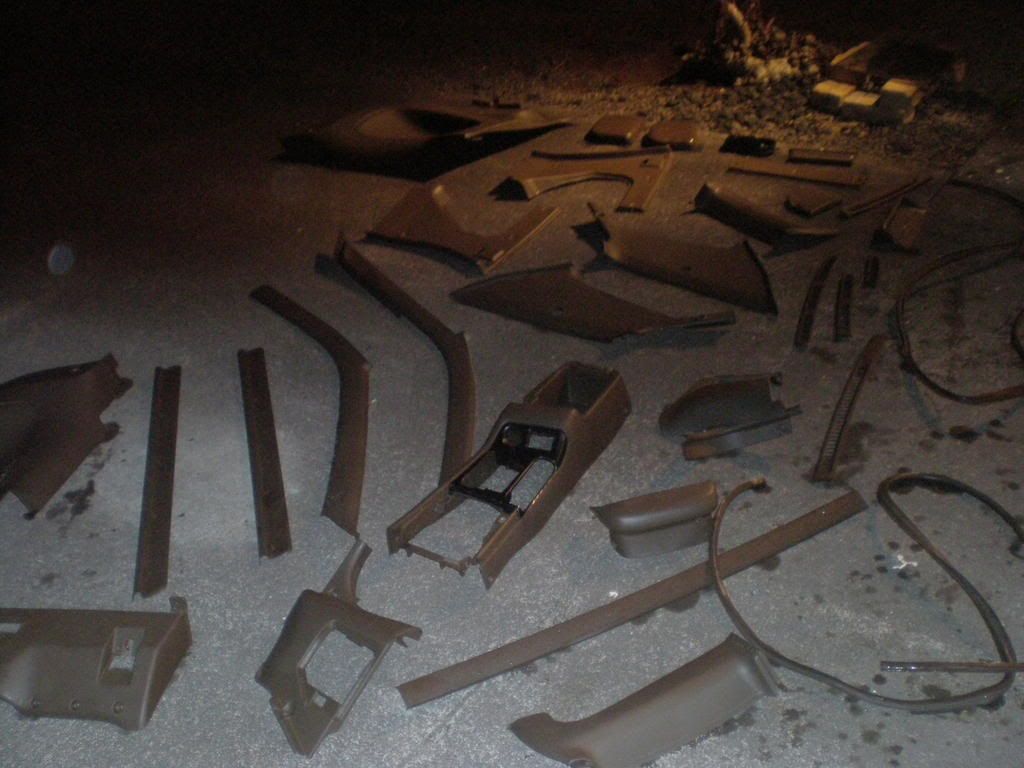 all the stuff that came off the panels 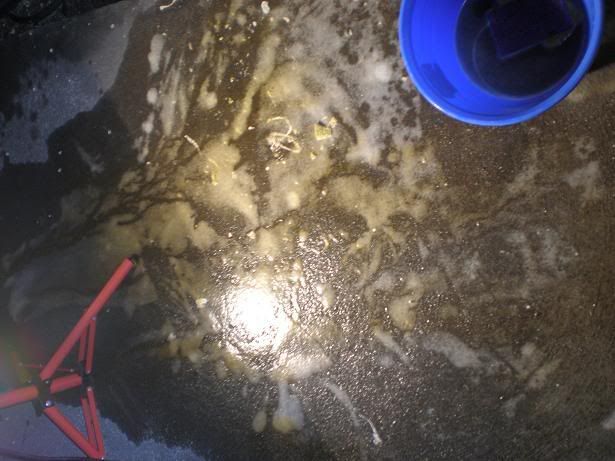 Used some can paint: Plasti-kote vinyl spray paint. Pretty good stuff, I accidentally scratched and dropped some peices on accident and the paint adhesion is pretty good, i havent had the paint come off yet... but hey, we will see how long it actually last when its installed. 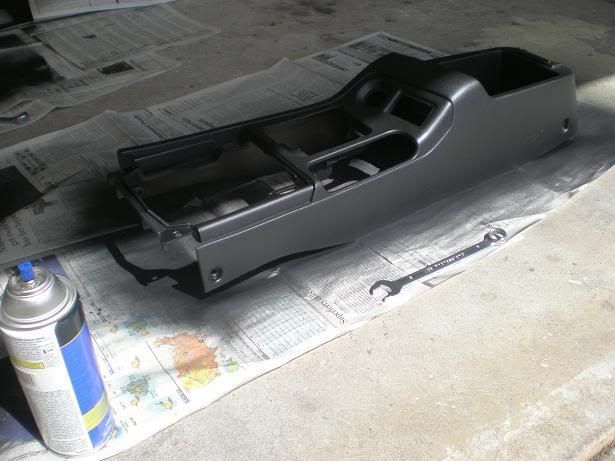 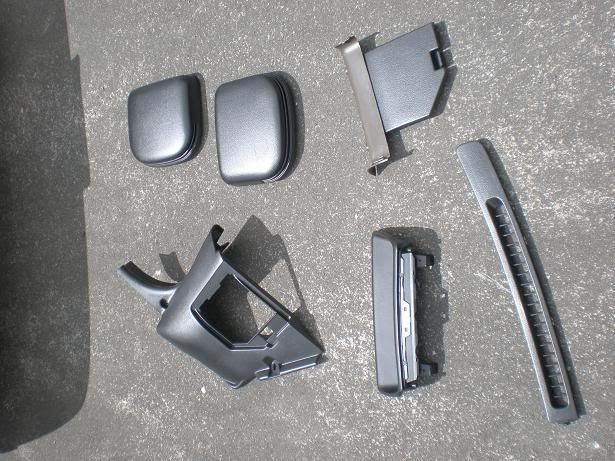 Sample of the almost finished product, I think im gona install some fabric into the door panels where the old, stock fabric was. 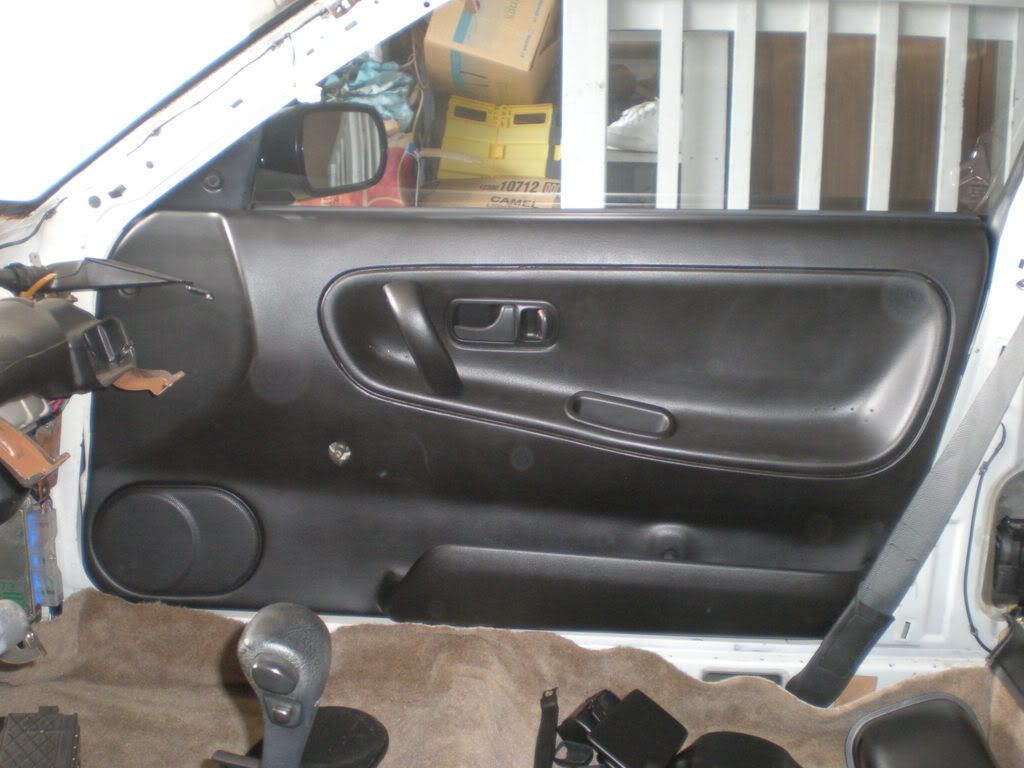 Installed those "JDM" power folding mirrors. found that using the housings for manual mirrors work just fine. When i did the conversion i couldnt find any info on whether or not i would need at least the automatic mirror housings and those triangular peices. Also, i think i got a mirror switch for an S14, but got it wired up and made it work. Its just one of those nice little things to have :P  New carpet. I actually wanted it lighter, but i guess it will be better than brown. 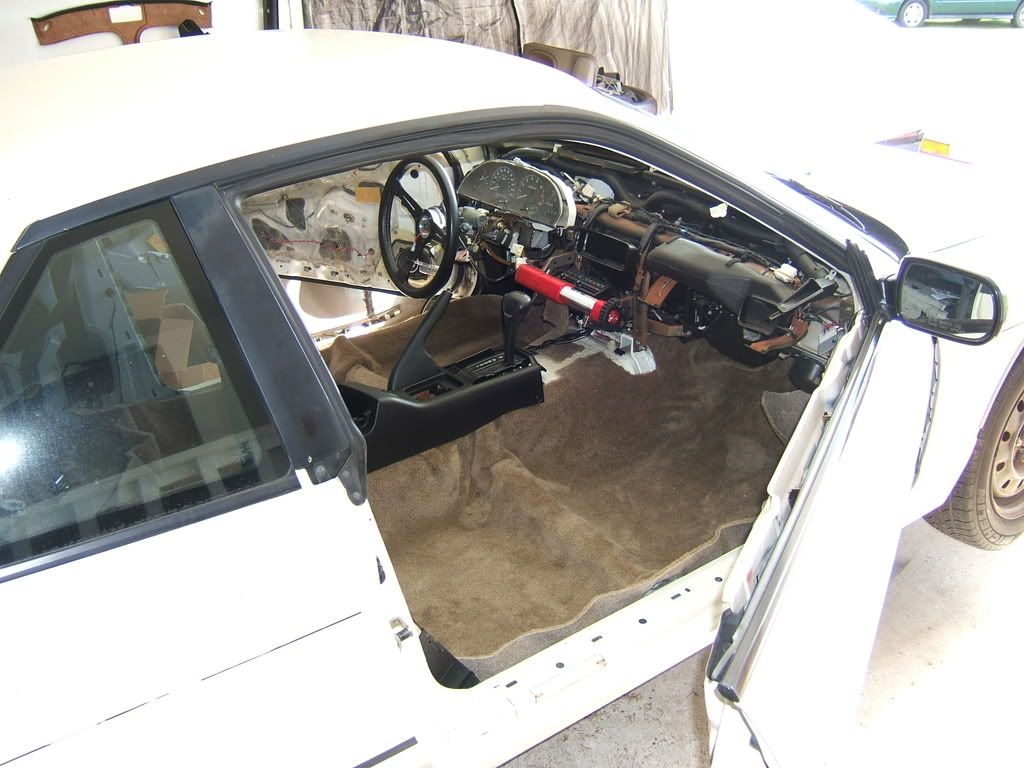 More stuff... ichiba 5 lug conversion, new stock s14 rotors, hawk brake pads, spl parts stainless steel brake lines, tein flex coilovers, energy bushing set (i was bummed i got the black set, really wanted red)... 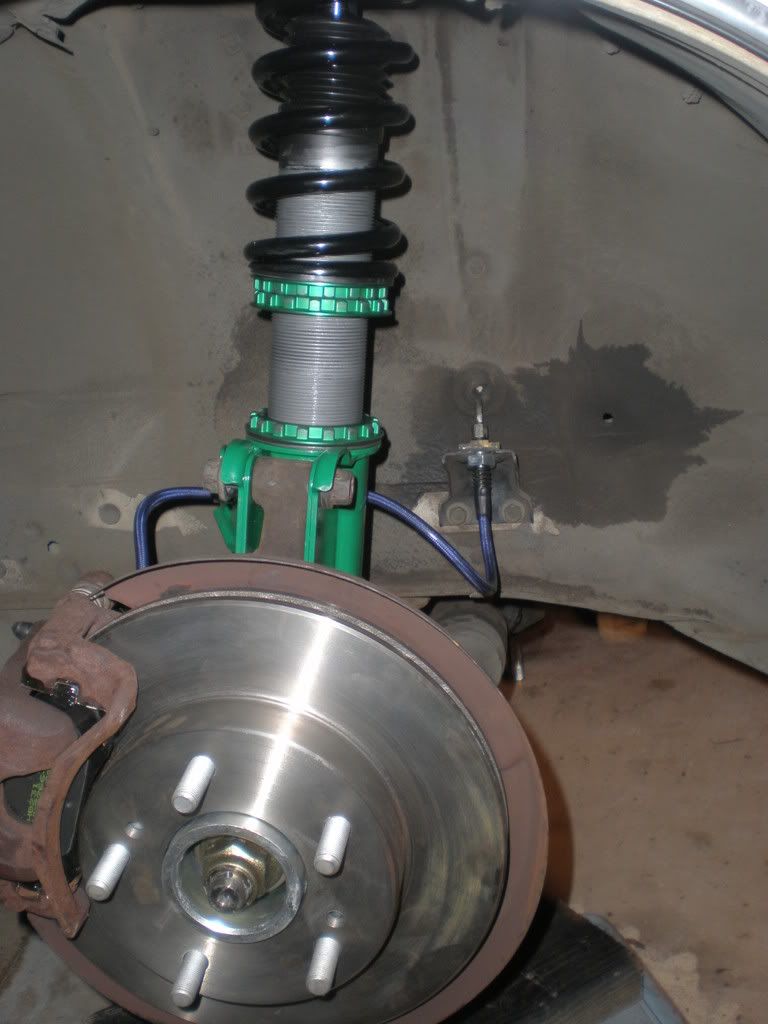 Removing/Installing bushings at home sucks, but i got it done. 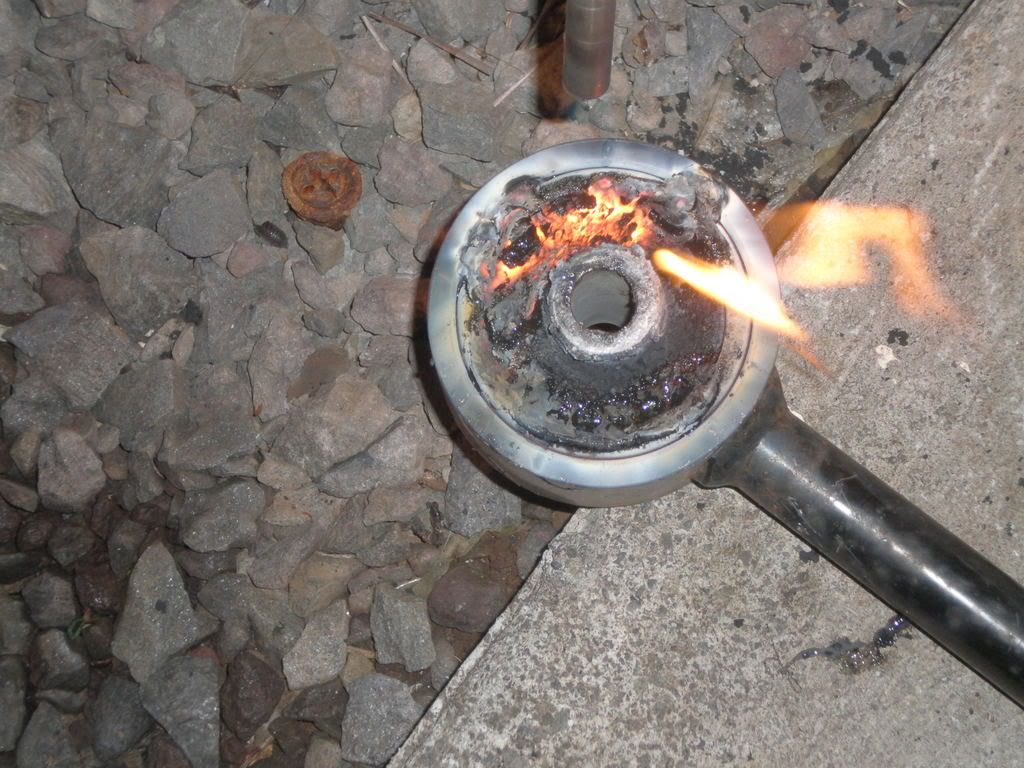 the lighting in this pic is kinda cool. but yeah, pulling the sohc out 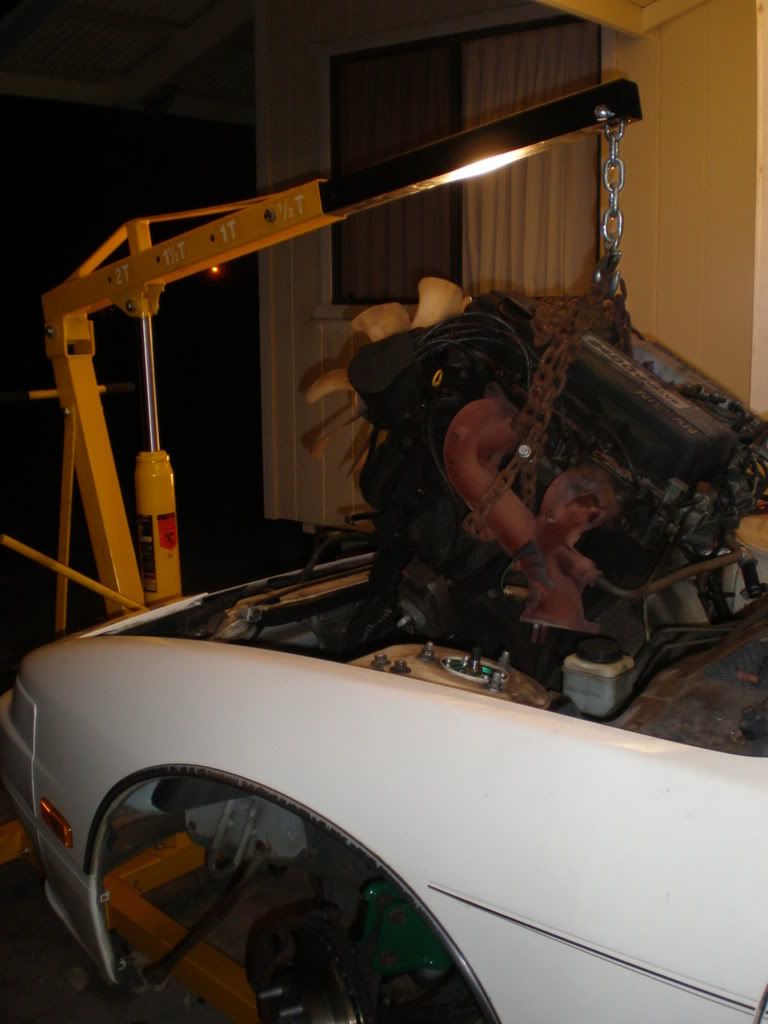 dirty, needs to be cleaned and painted of course 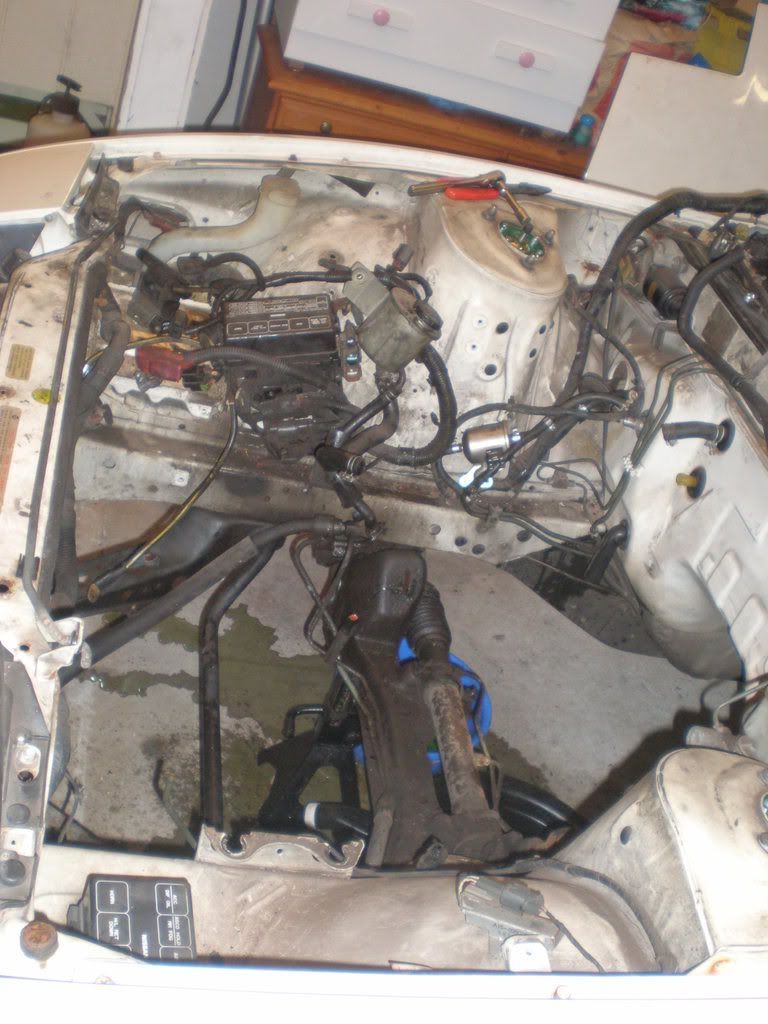 thats a lot of rust under the cowl 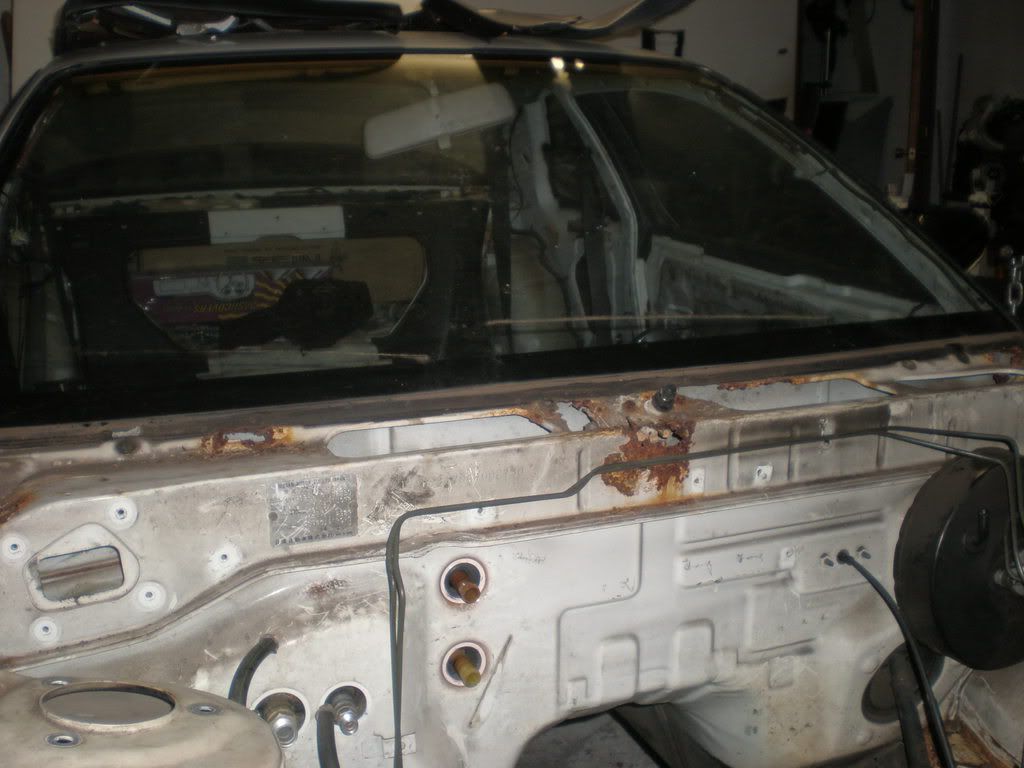 full front engine harness for a standard trans 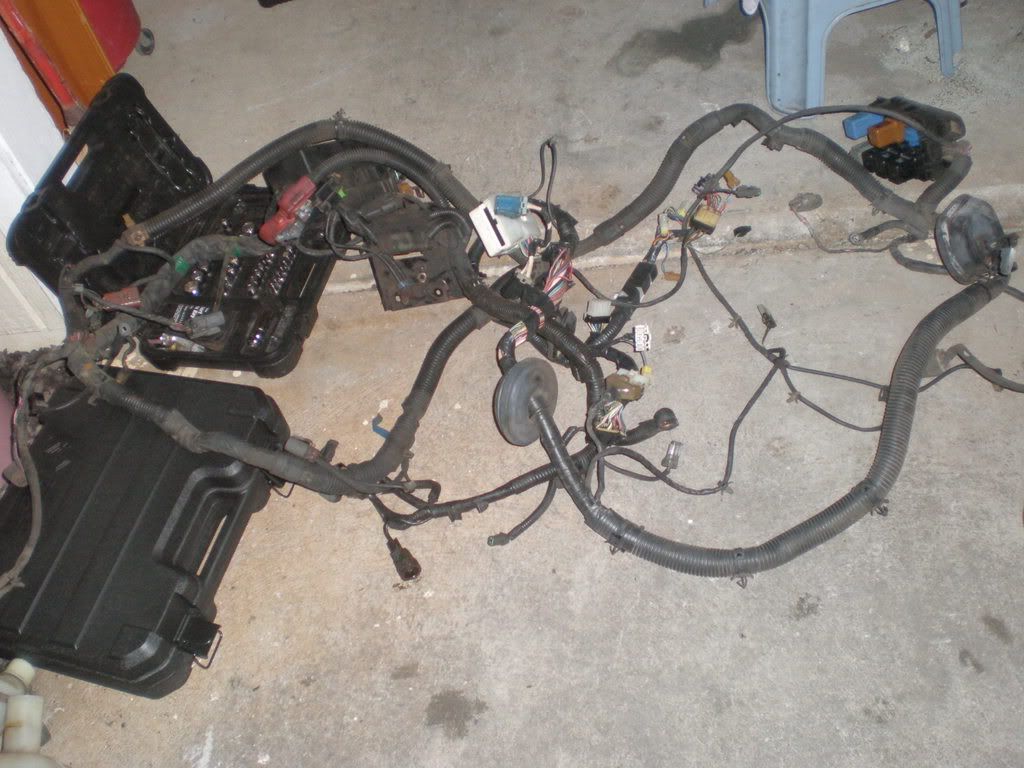 decided to just take the whole front end off and prep it for paint 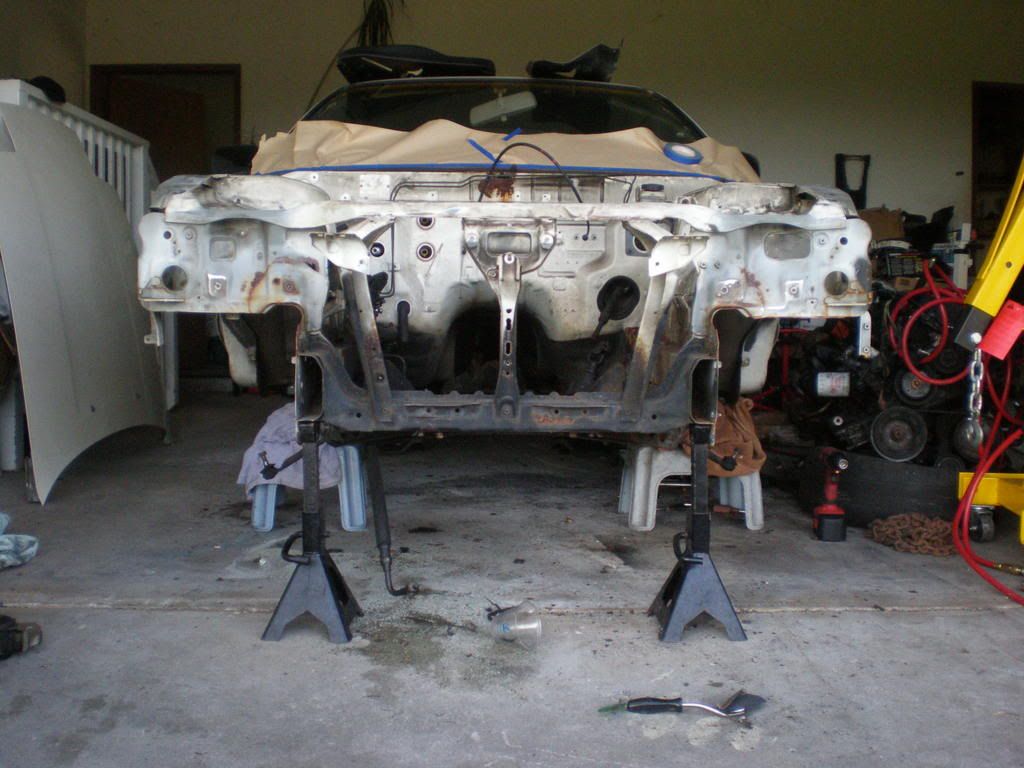 cleaning rear subframe for paint 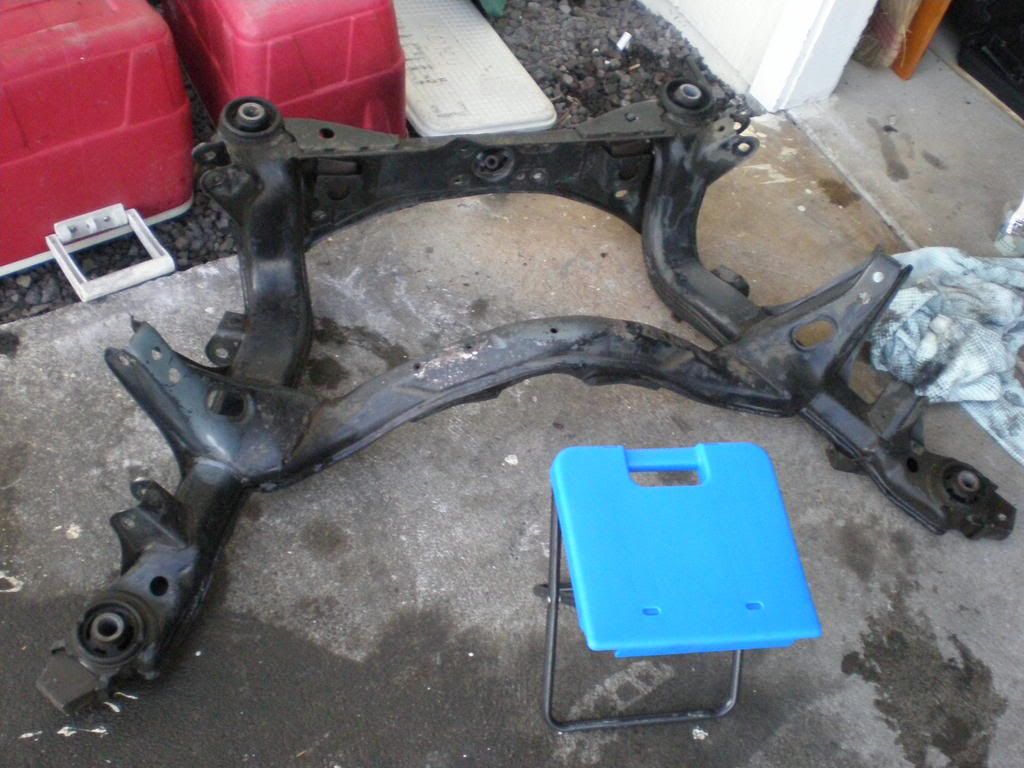 Last edited by jon_mr2; 08-06-2008 at 12:33 AM.. |

|

|
| Sponsored Links |
|
03-12-2008, 01:51 AM
|
#3 |
|
Users Awaiting Email Confirmation
Join Date: Sep 2005
Location: hawaii
Age: 36
Posts: 213
Trader Rating: (4)
Feedback Score: 4 reviews
|
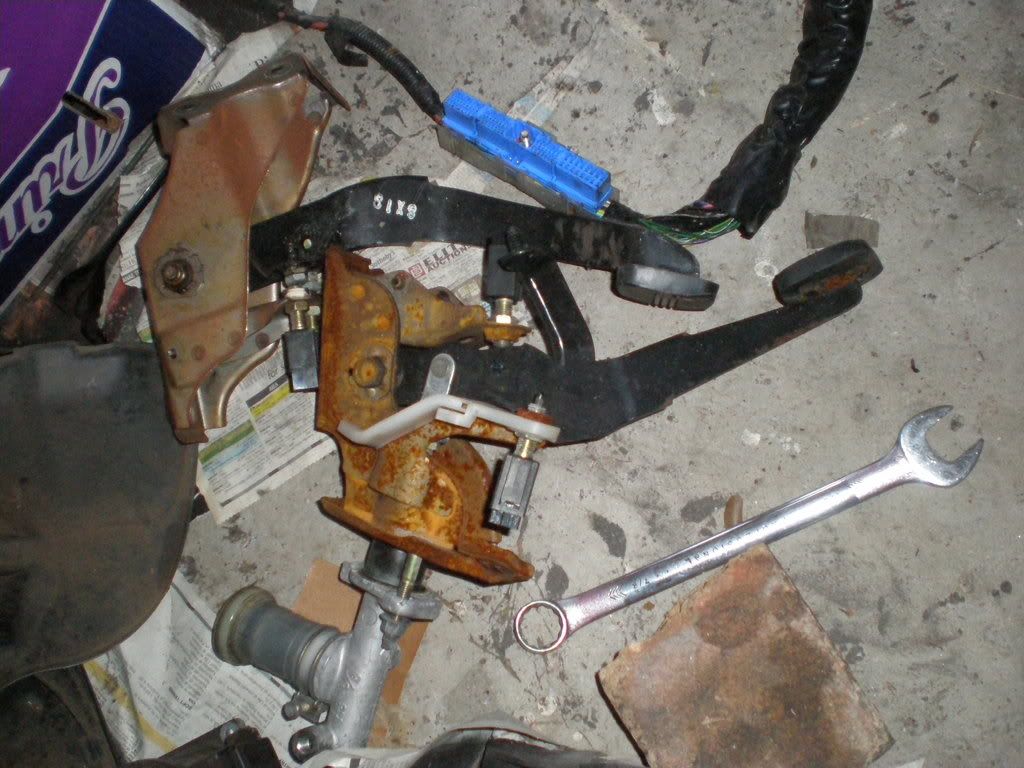
stock manual pedal assemblies
 1995 KA24DE 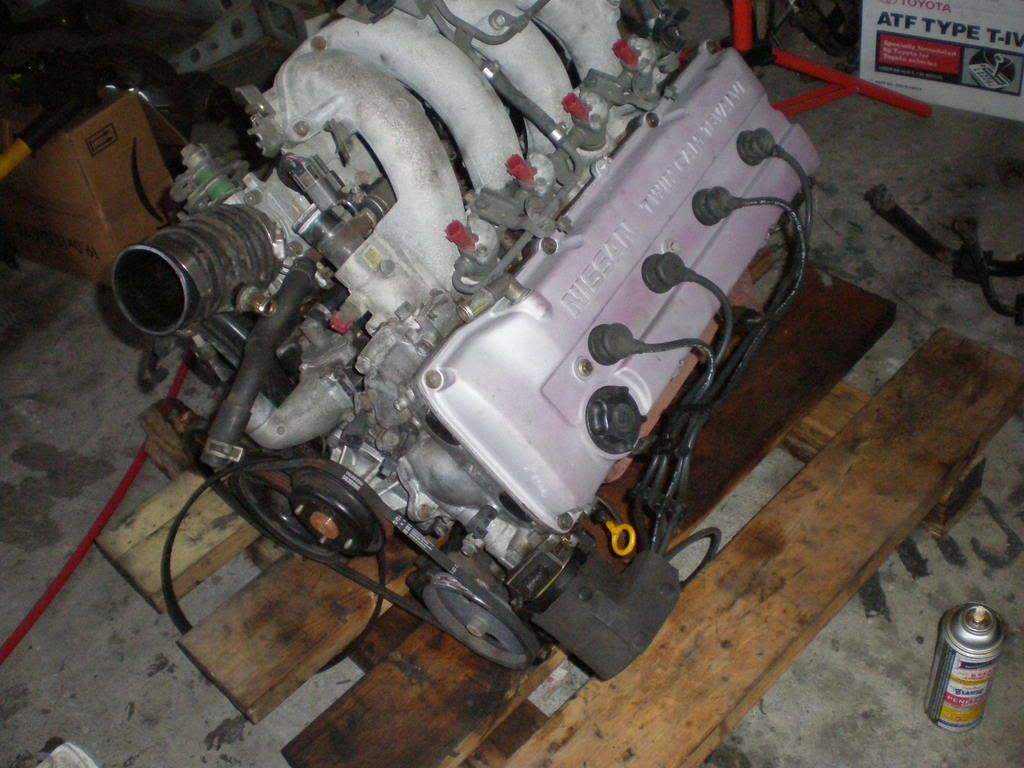 s13 manual trans w/ another KA24E 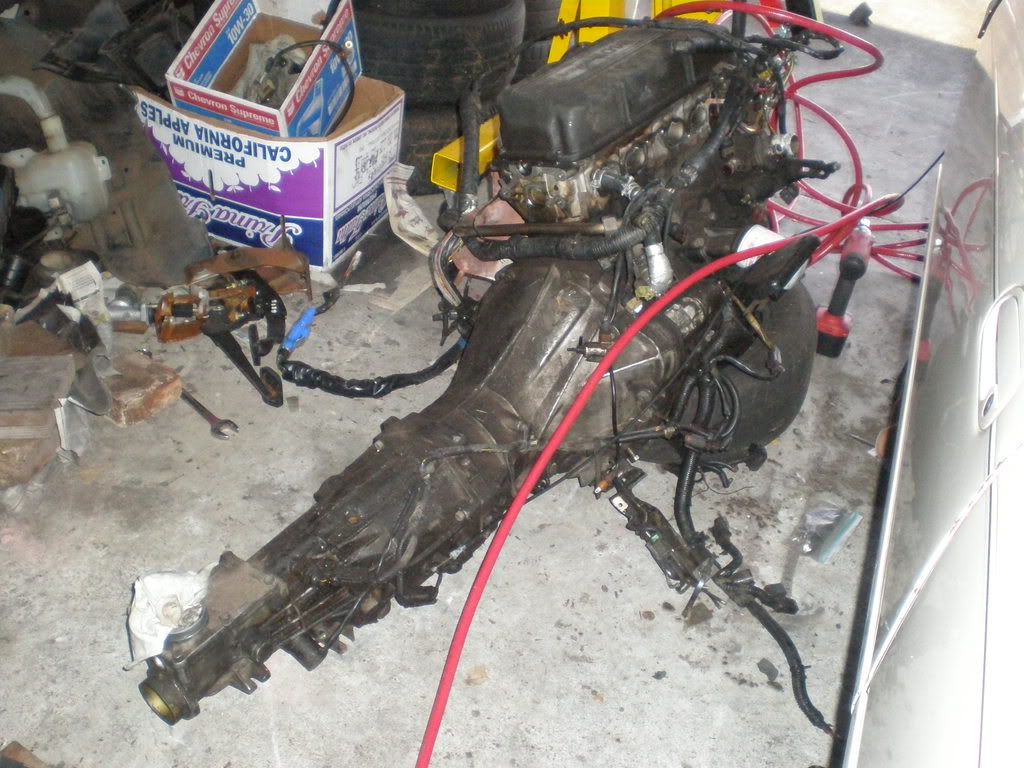 mishimoto aluminum radiator and dual electric fans 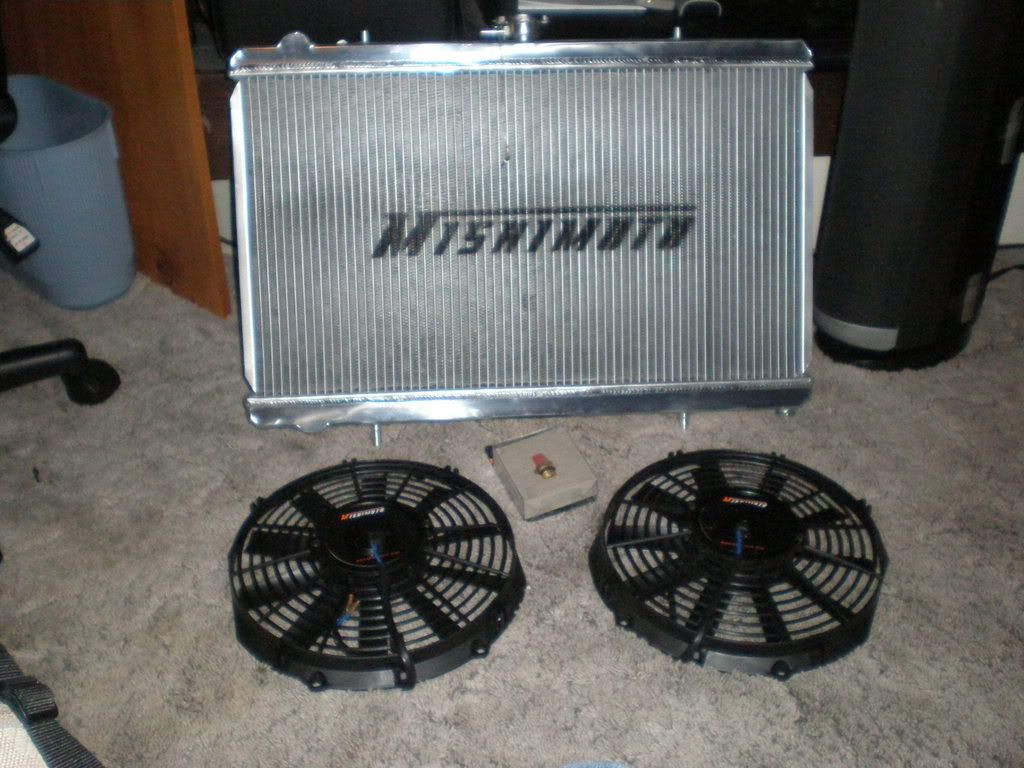 subframes painted... I really dont know if i should paint em a different color or not, ive been having doubts. 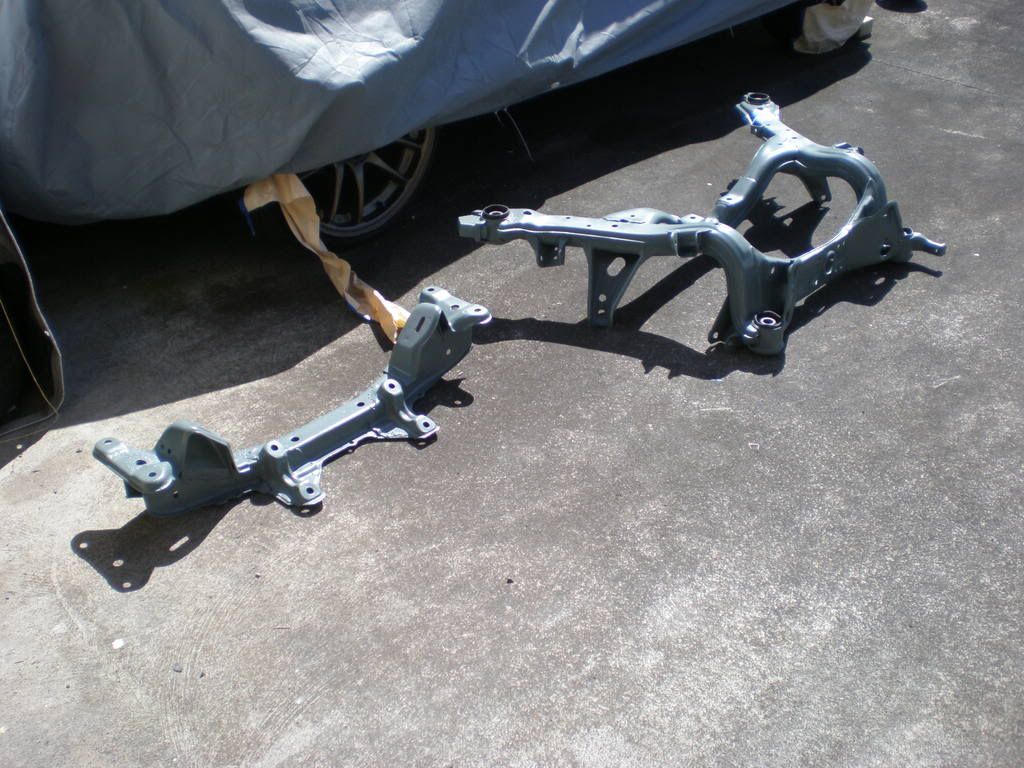 dash painted 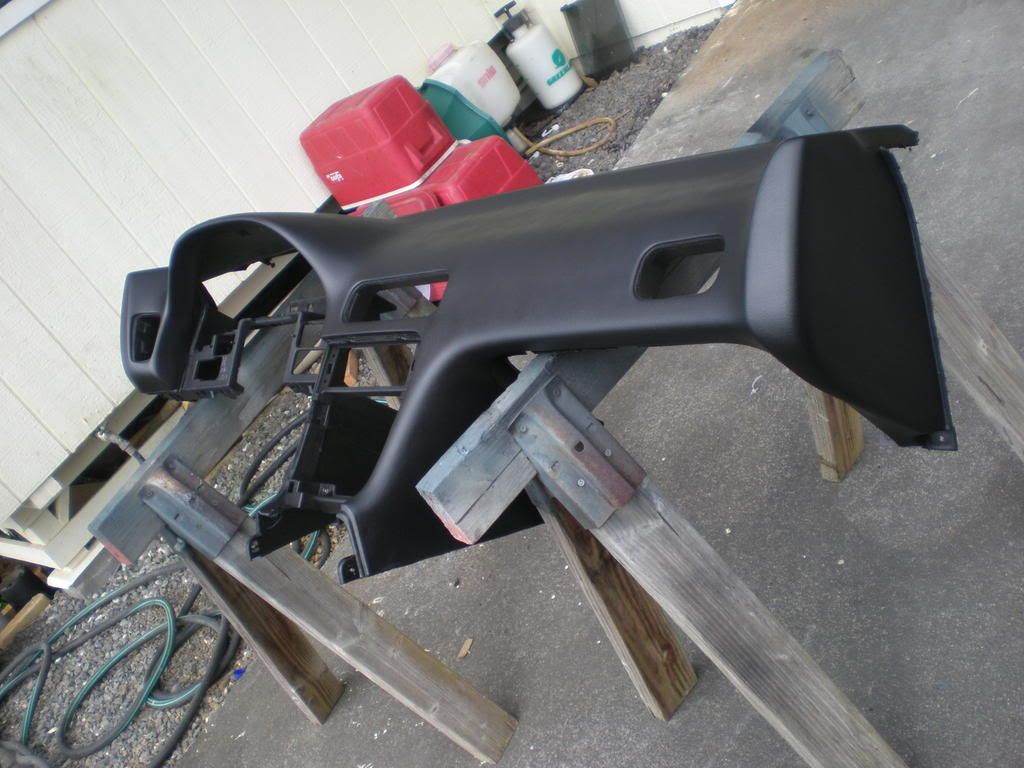 dash cover to hide that crack i gave up on repairing  cleaner than before...  |
|
|
|
|
03-12-2008, 01:53 AM
|
#4 |
|
Post Whore!
 
Join Date: May 2006
Location: where waldo is
Age: 42
Posts: 3,266
Trader Rating: (16)
Feedback Score: 16 reviews
|
looking good just get rid of those nasty cancer on your car and you'll be good. good luck with your build and have some fun while youre at it.
__________________
18g and 20g turbo users click on me http://zilvia.net/f/tech-talk/261219-18g-20g-turbo-users.html 
|
|
|
|
|
03-12-2008, 02:06 AM
|
#5 |
|
Users Awaiting Email Confirmation
Join Date: Sep 2005
Location: hawaii
Age: 36
Posts: 213
Trader Rating: (4)
Feedback Score: 4 reviews
|
damn, i keep hitting enter and it submits my post
 now to repairing that nasty rust holes... first cutting and grinding and some rust inhibitor stuff 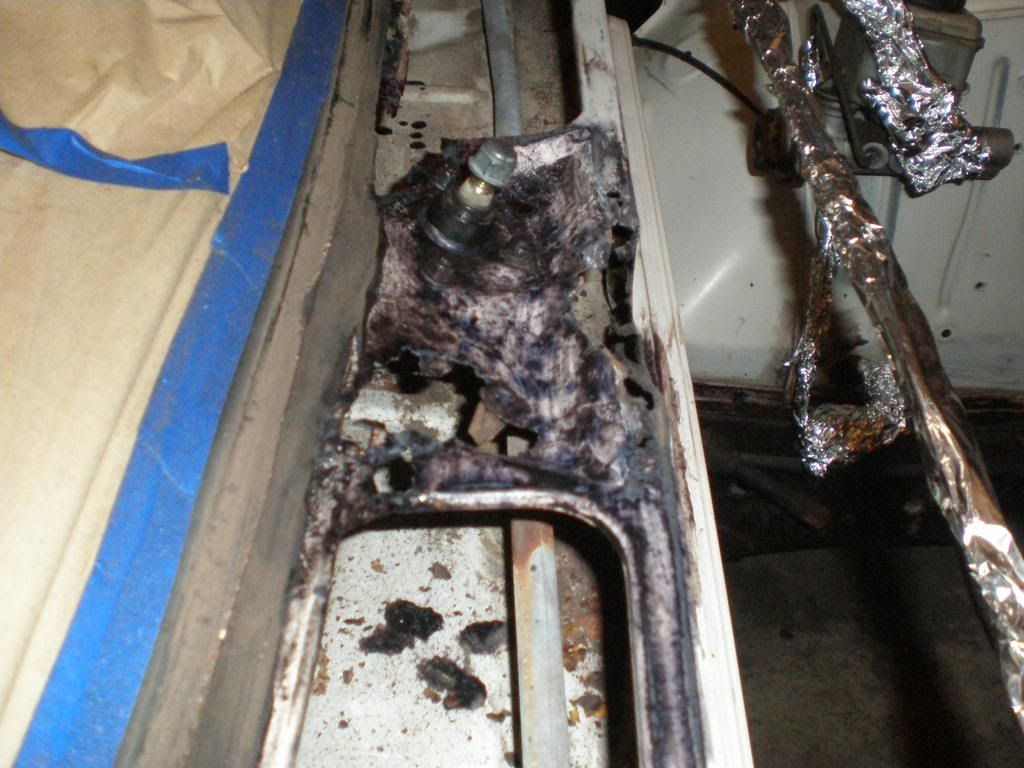 now some fiberglass 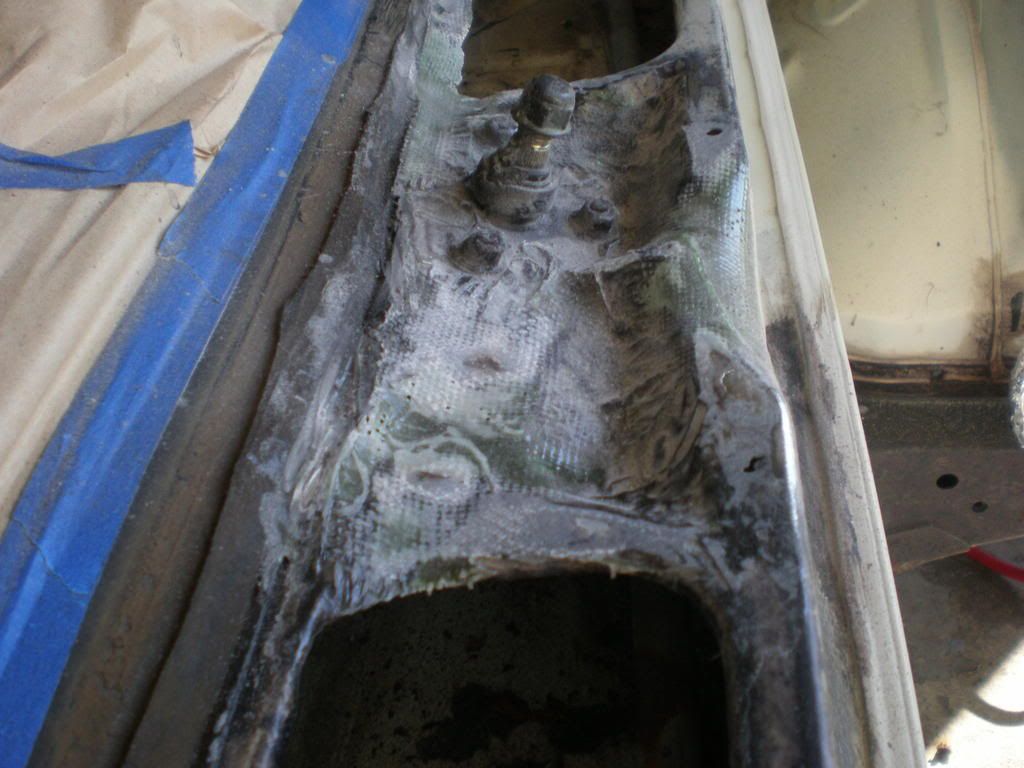 some body filler to smooth things out 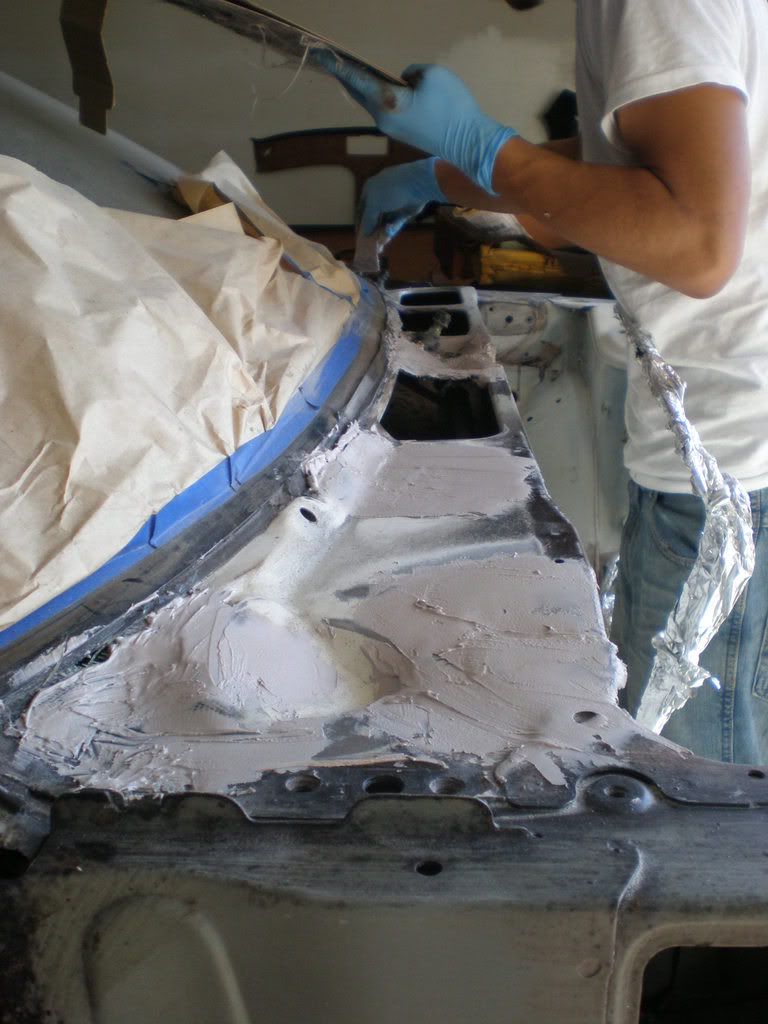 battery tray out, battery will be relocated 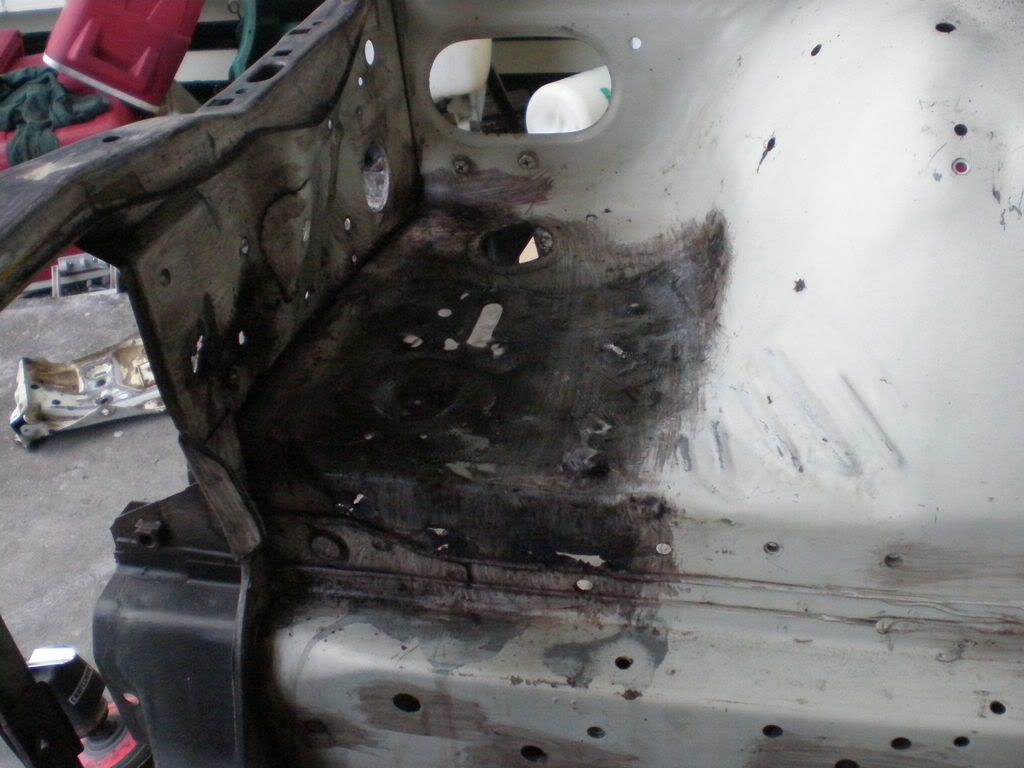 almost there... 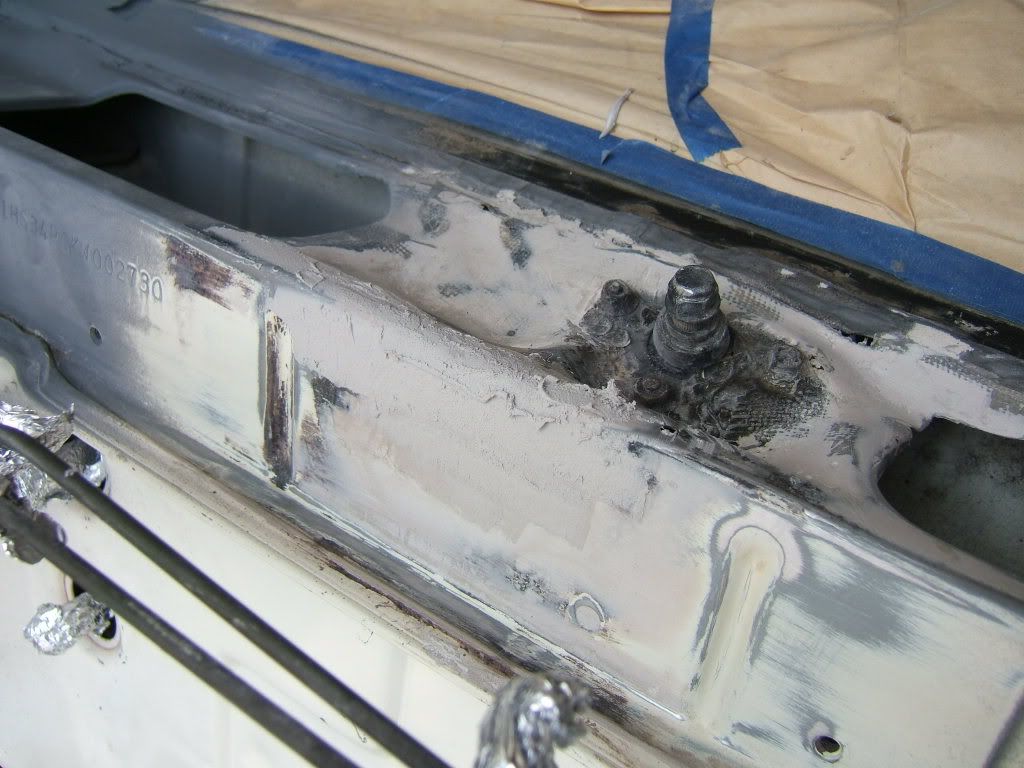 done for the cowl... im not going to make it super perfect, since it will be covered anyways with those plastic panels 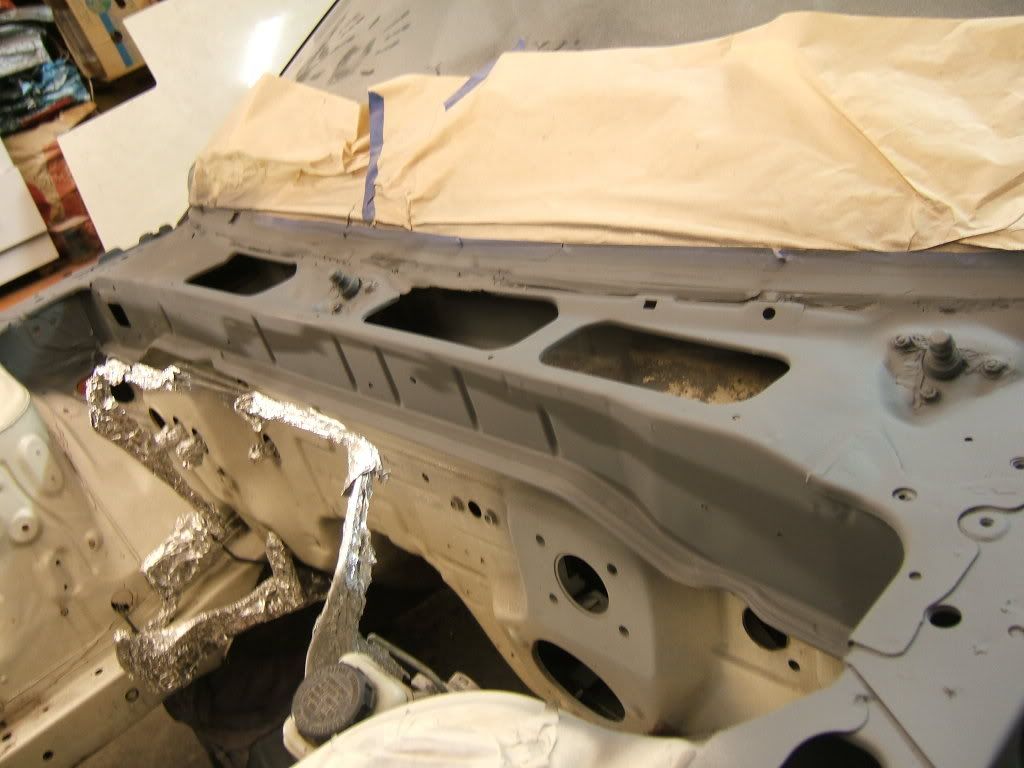 front end almost ready for paint, just need to finish primering the engine bay 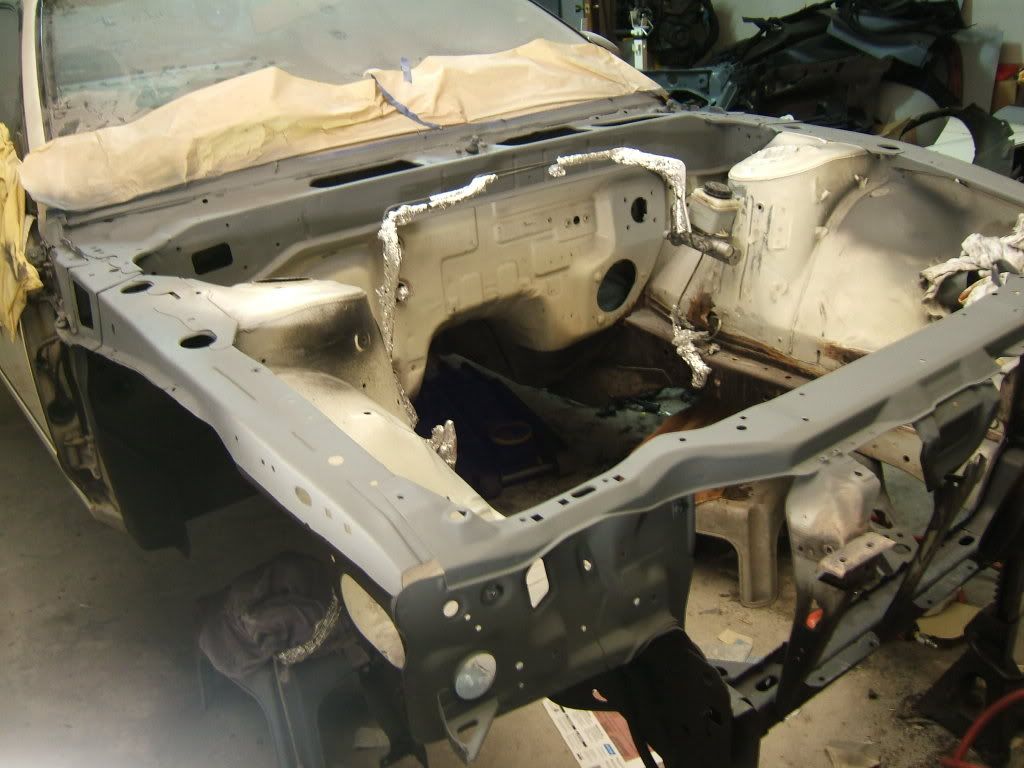 some undercoating :P 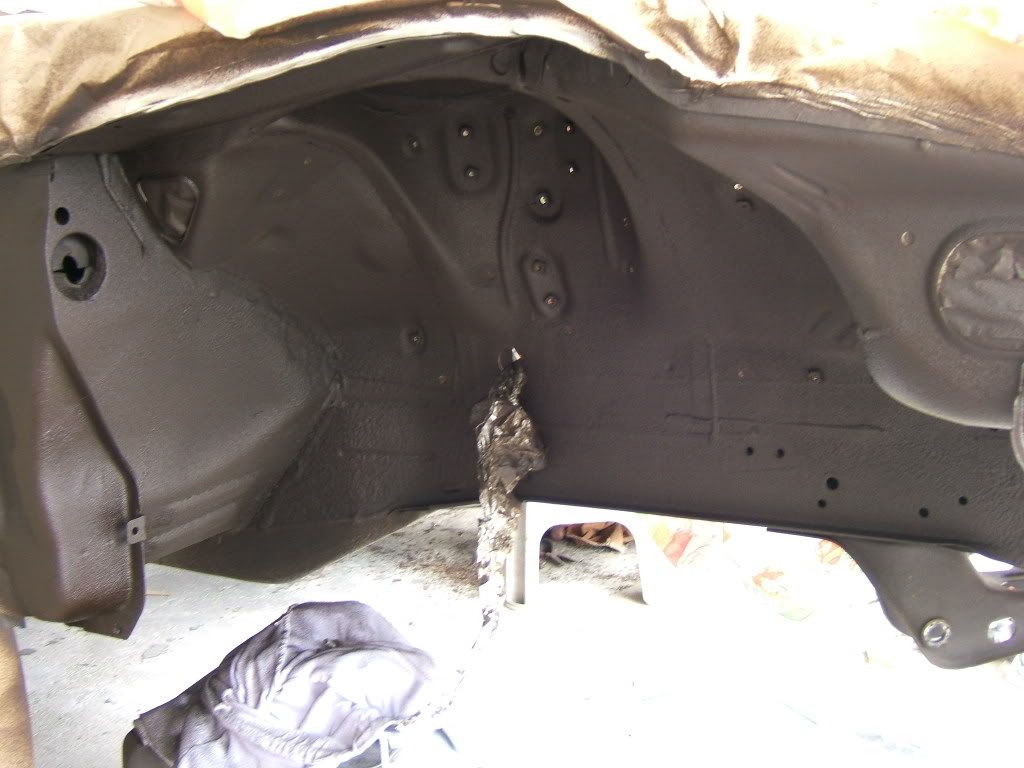 painted wiper arms and cowl peices with trim paint 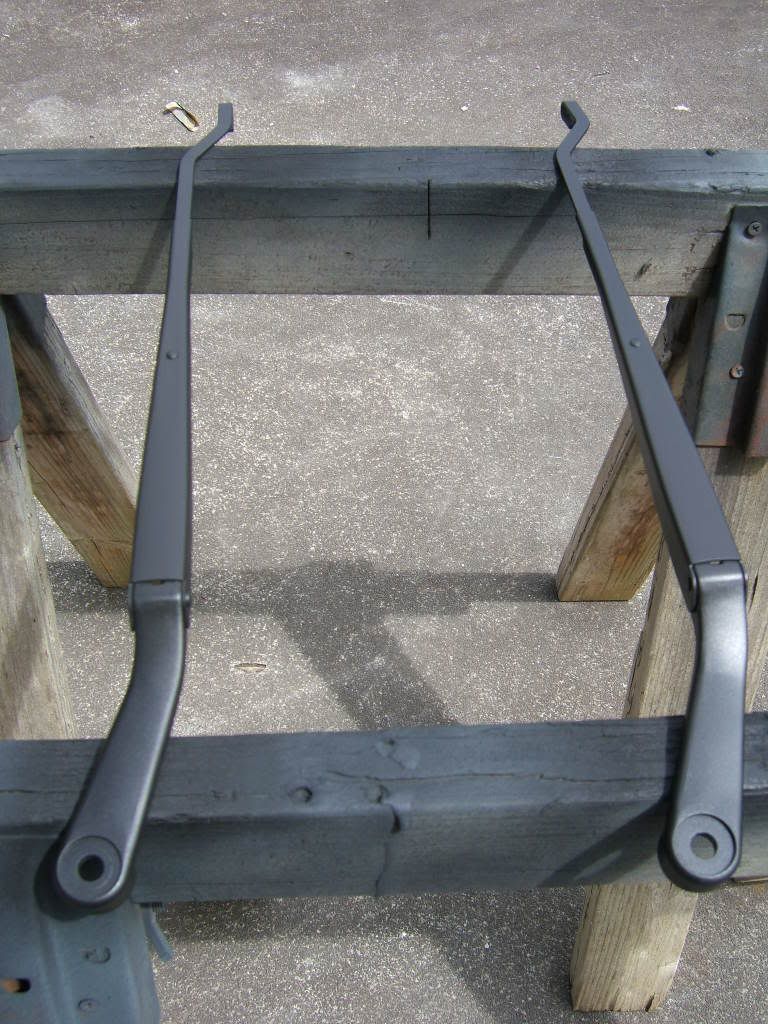 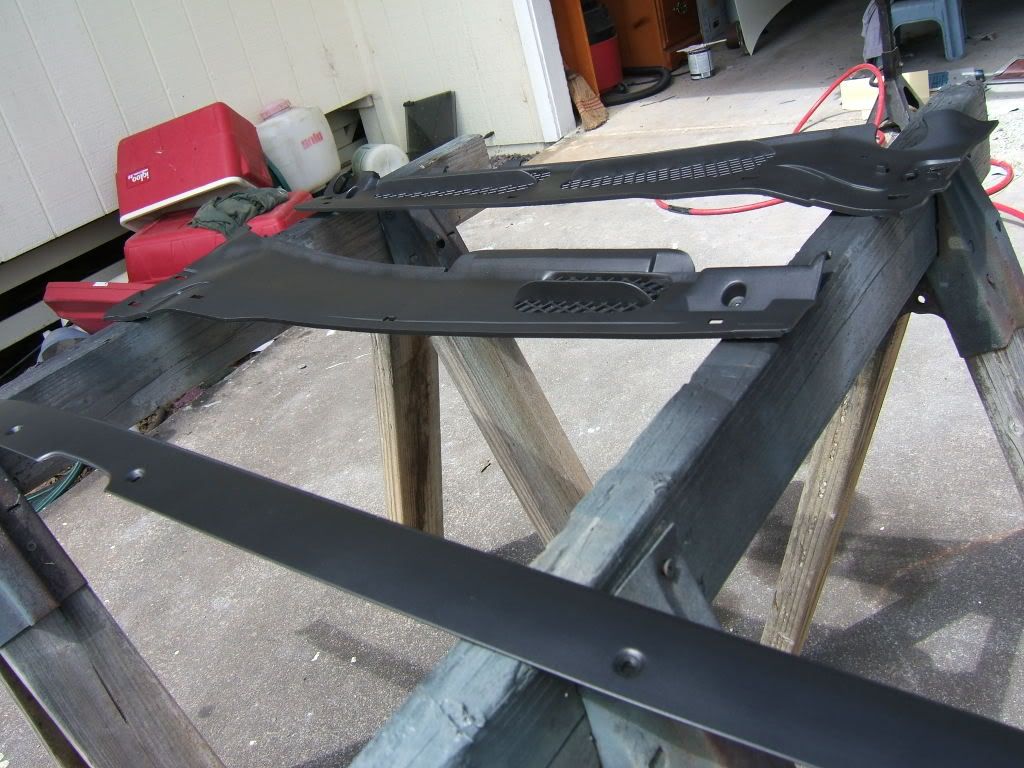 looks like brand new almost  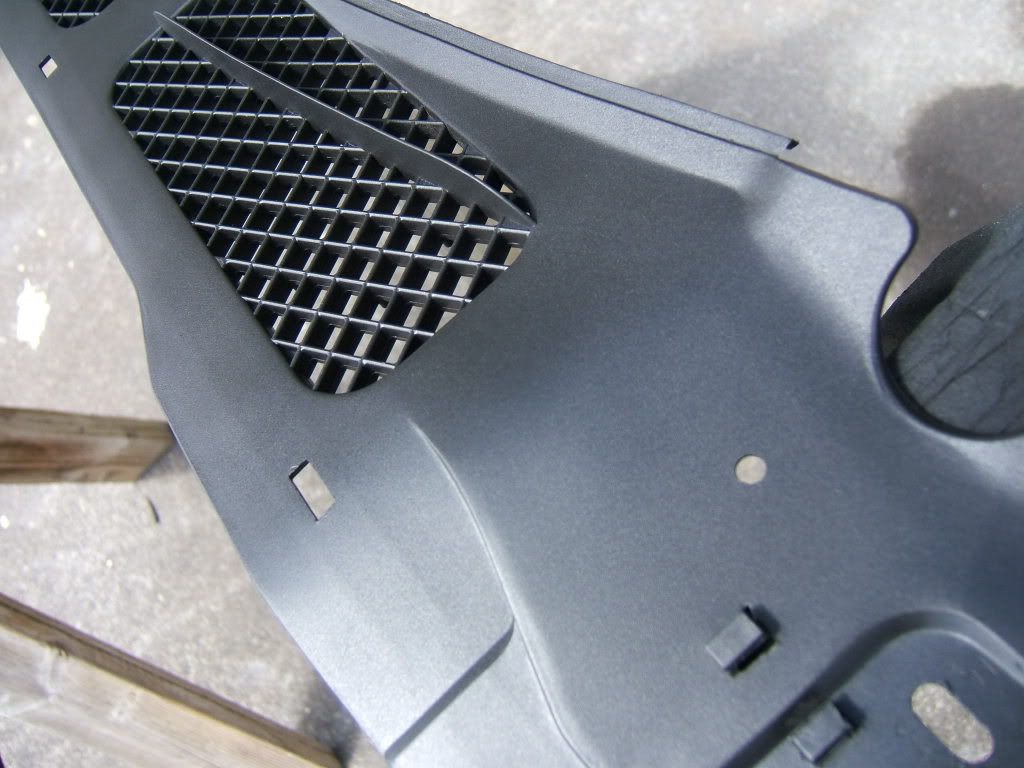 oh yeah, i have to finish sanding smooth the battery tray area before i primer 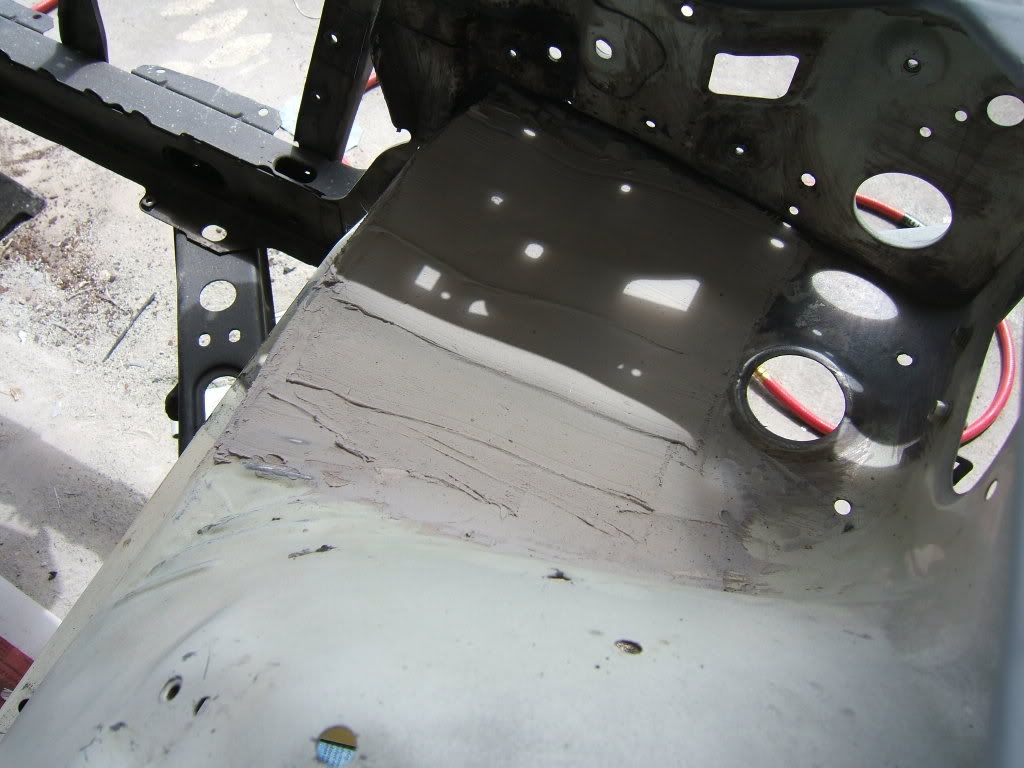 new goodies, thanks to phase2motortrend  hks hi power 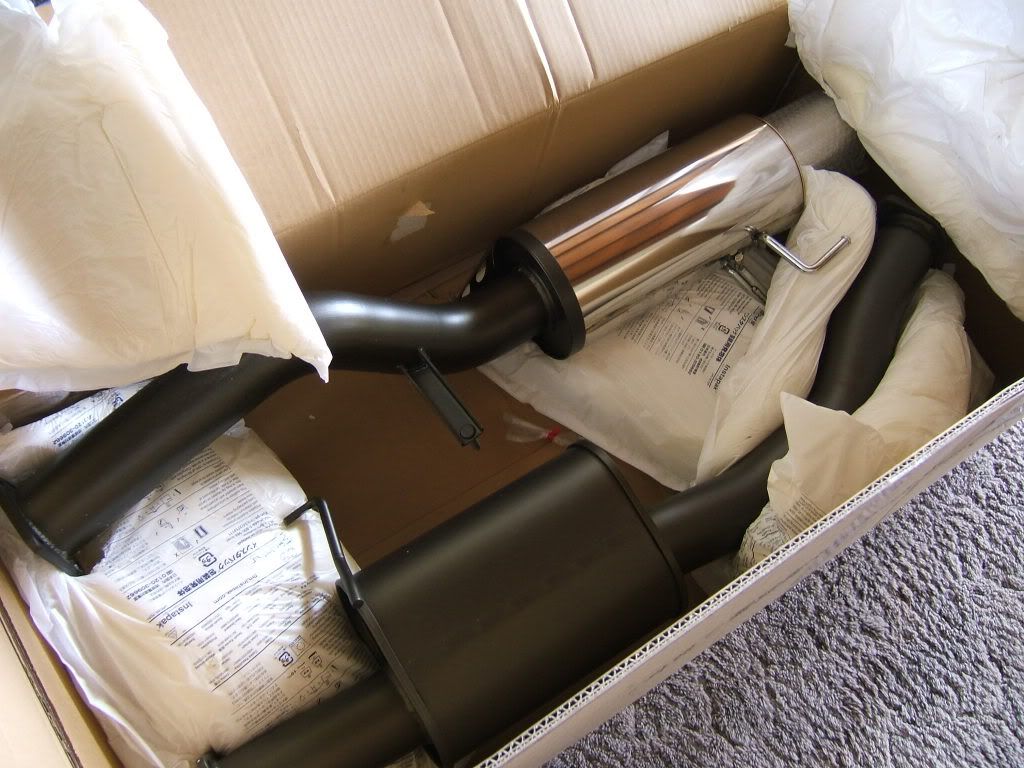 cs tierods and rear subframe spacers 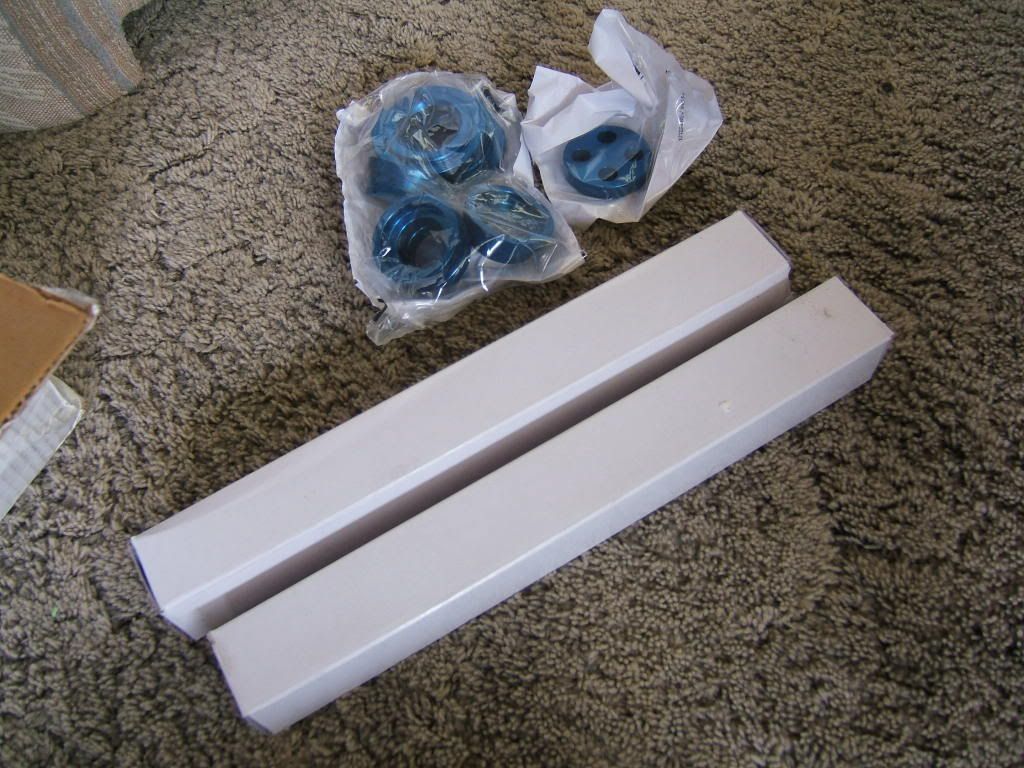 nismo motor and trans mounts and megan racing sway bar front and rear endlinks since they broke on me  removed steering column 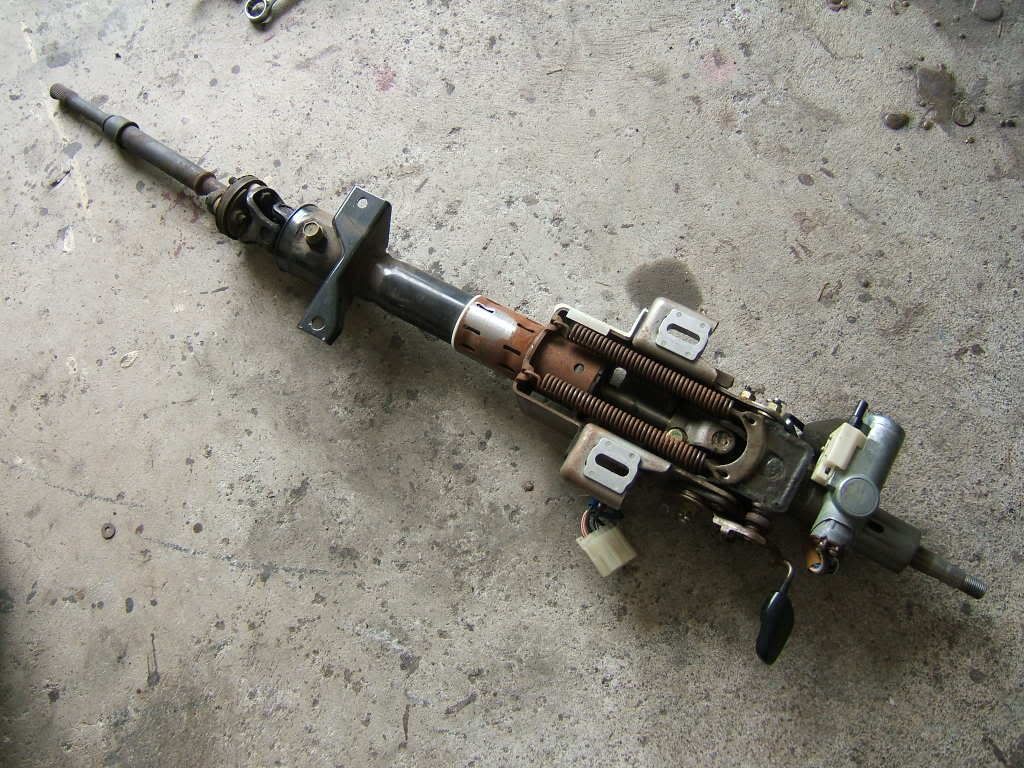 old column bushing... so worn 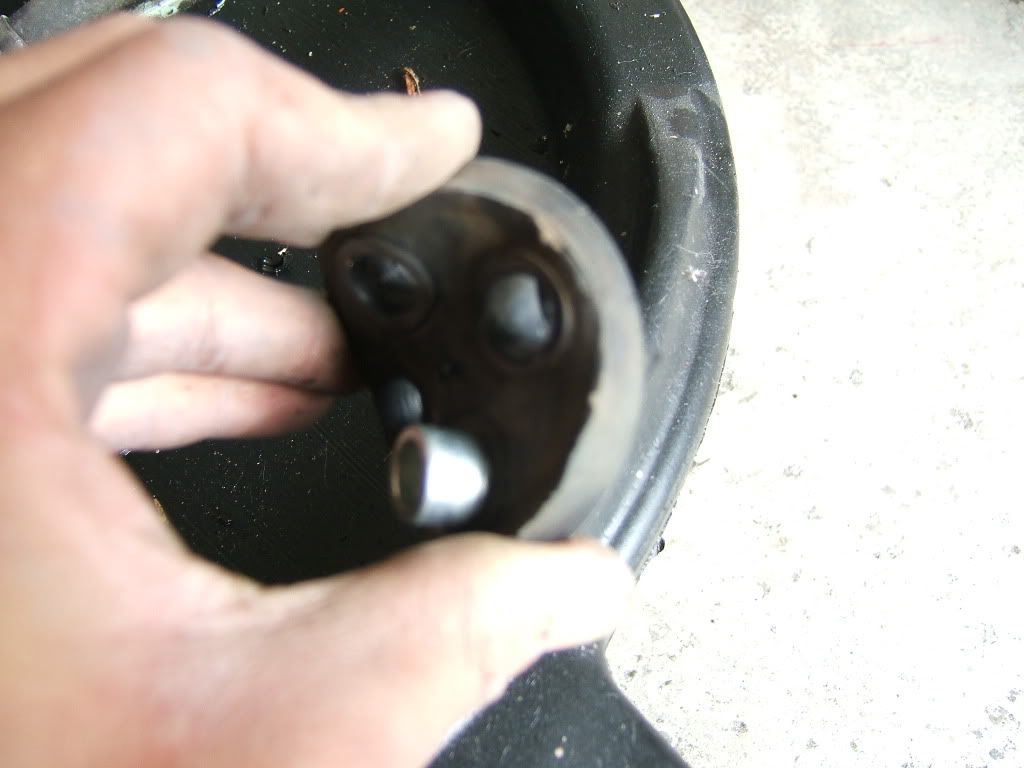 new cs solid aluminum spacer. installing those metal things are good fun.... 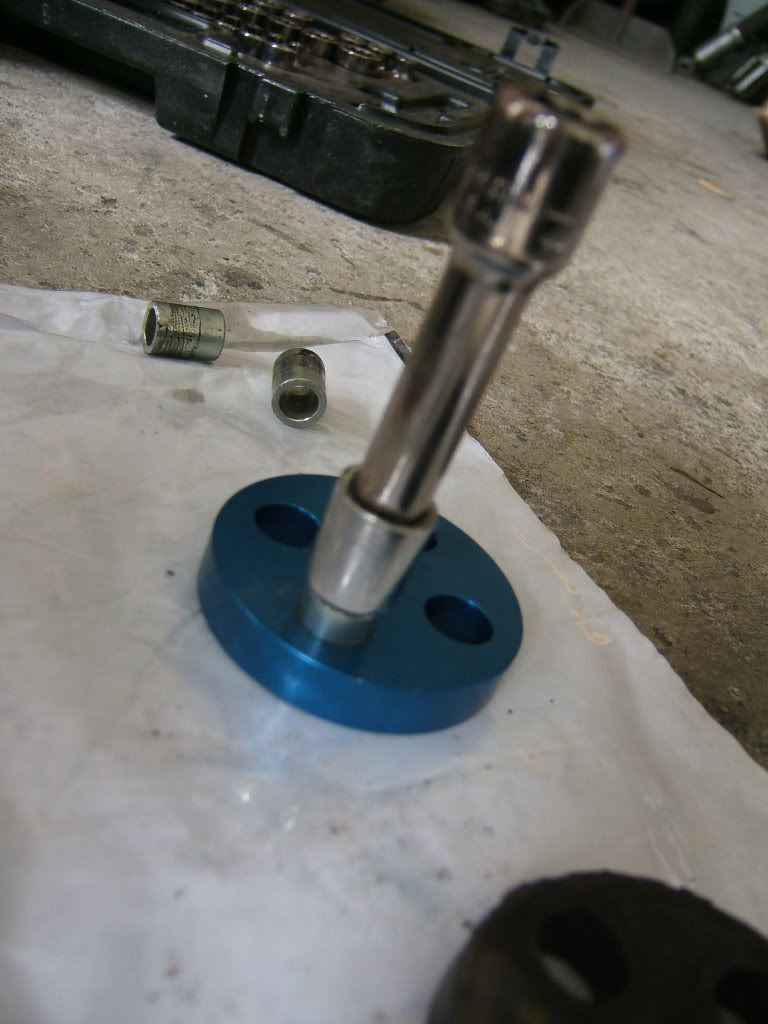 |
|
|
|
|
03-12-2008, 02:12 AM
|
#6 |
|
Users Awaiting Email Confirmation
Join Date: Sep 2005
Location: hawaii
Age: 36
Posts: 213
Trader Rating: (4)
Feedback Score: 4 reviews
|
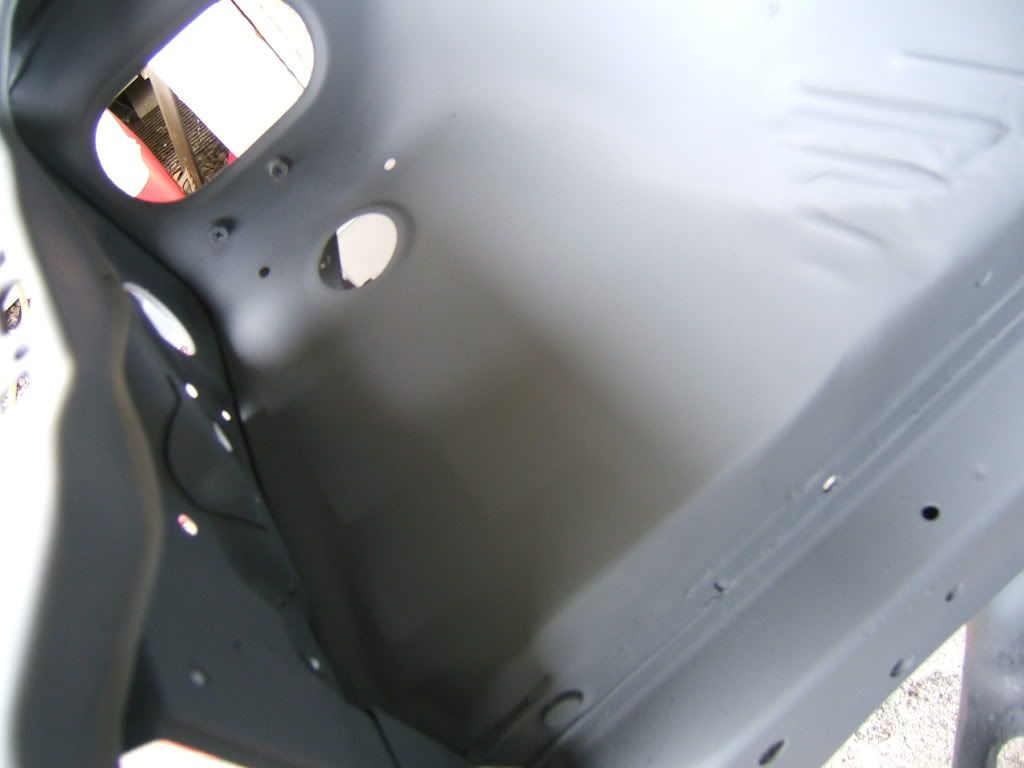
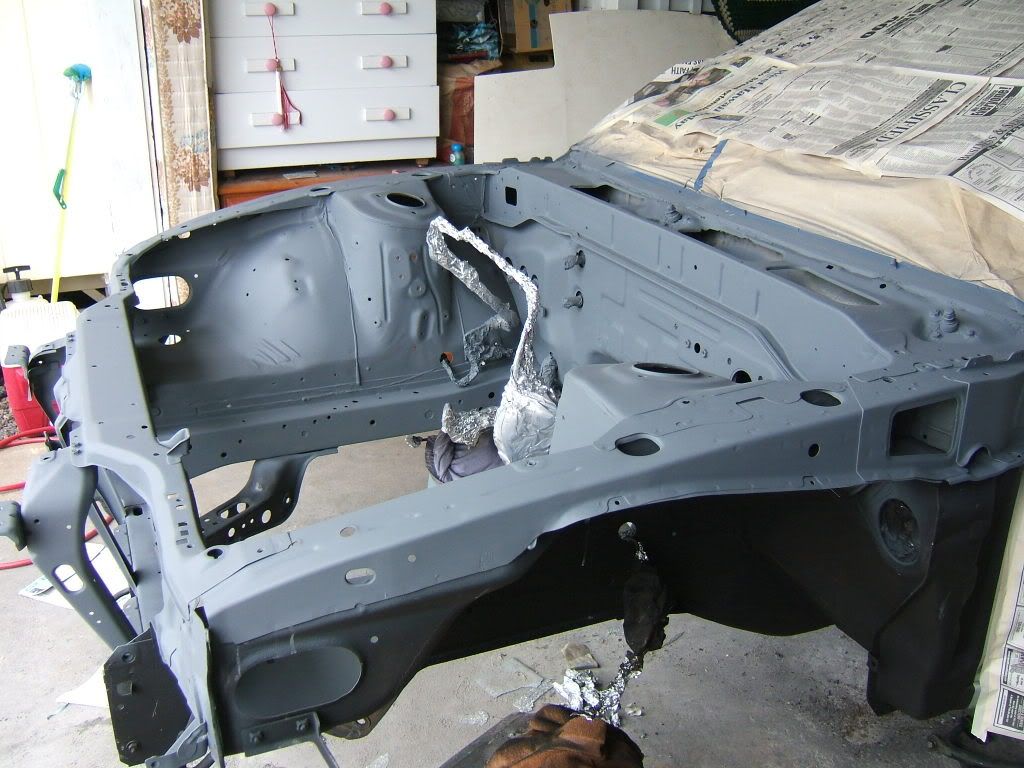
and for the engine bay. finally finished bodyworking and wet sanded the whole bay and primered.
 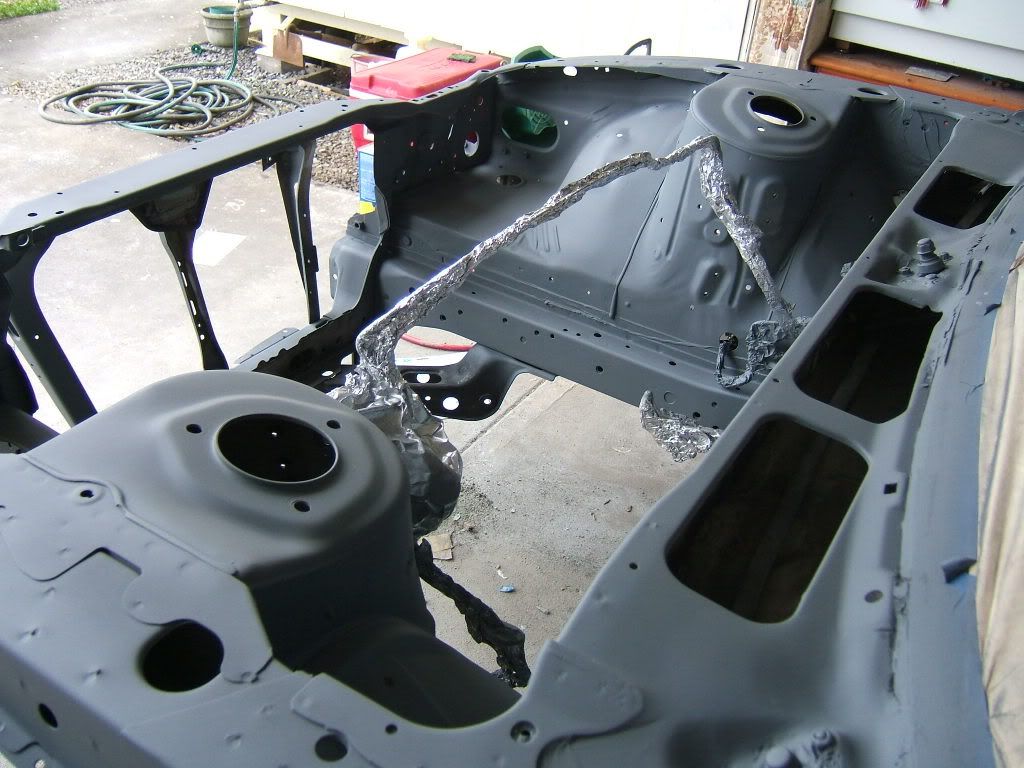  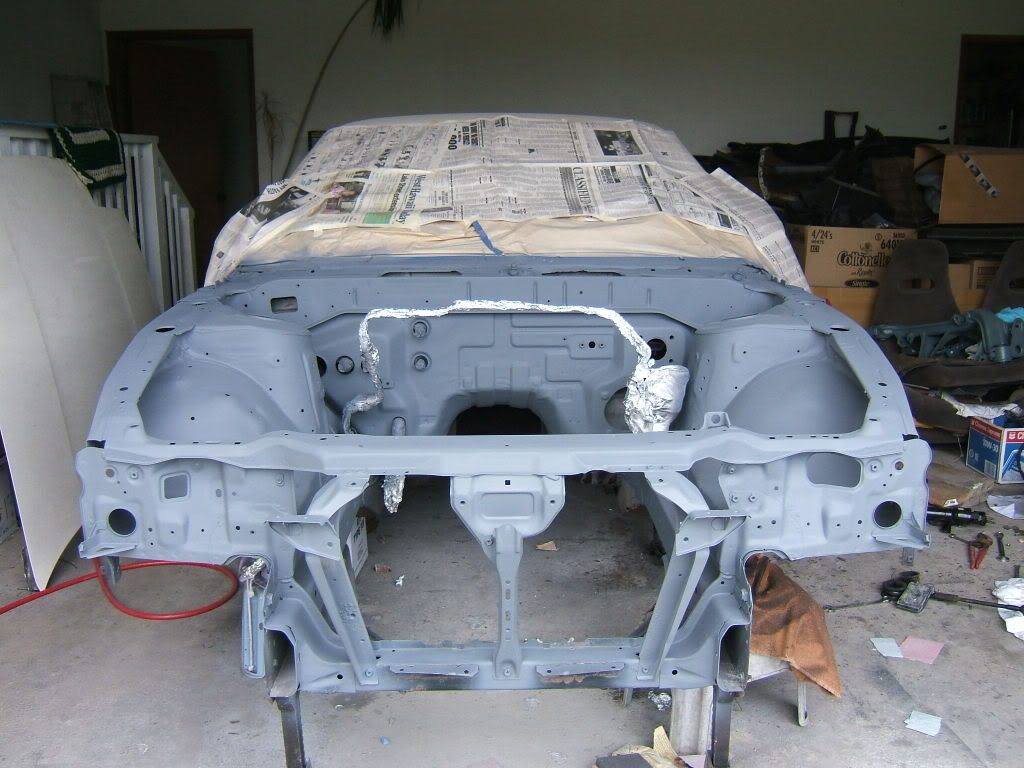 well, thats pretty much updated for now. yesterday they had a sale and welding thing at gaspro, so got a chance to try out some welders and ended up finally picking one up. its a miller 140 autoset... later on i think ill get the spool mate gun and argon so i can weld some aluminum. anyways, hope you guys enjoy |
|
|
|
|
03-12-2008, 02:15 AM
|
#7 | ||
|
Users Awaiting Email Confirmation
Join Date: Sep 2005
Location: hawaii
Age: 36
Posts: 213
Trader Rating: (4)
Feedback Score: 4 reviews
|
Quote:
 I do what i can with the money i have... I do what i can with the money i have...Quote:
 |
||
|
|
|
|
03-12-2008, 03:05 AM
|
#10 | |
|
Users Awaiting Email Confirmation
Join Date: Sep 2005
Location: hawaii
Age: 36
Posts: 213
Trader Rating: (4)
Feedback Score: 4 reviews
|
Quote:
 |
|
|
|
|
|
03-12-2008, 04:42 AM
|
#14 |
|
Zilvia Member
|
personally i think it looks better without the frabic on the doorpanel. also im curious on how you took off the frabic piece in the first place? wanting to do it to mine as well. thanks, |
|
|
|
|
03-12-2008, 06:19 AM
|
#15 |
|
Zilvia Member
|
nice project.. shouldve welded new metal sheet instead of fiberglass to keep the chasis rigid... what did you do on the frame rails? anyways apply some por150 over the rusty area and and seam seal them so they wont corrode in the future.. good luck
|
|
|
|
|
03-12-2008, 06:34 AM
|
#16 |
|
Nissanaholic!
 Join Date: Nov 2006
Location: Orange County, CA
Age: 39
Posts: 2,071
Trader Rating: (9)
Feedback Score: 9 reviews
 |
Holy crap. That's going to be sexy when it's fully done.
I love you, +rep haha.
__________________
1986 Porsche 944 Turbo (951) 1995 Nissan 240sx (S14) Miss ya. |
|
|
|
|
03-12-2008, 06:59 AM
|
#18 |
|
Zilvia FREAK!
 
|
please don't lock this one! this guy seems to know what he's doing!! i think we'll all learn something from him.
what are your plans for the KA? high compressionnnn!! +1 for a build thread with progress on the first post! also, what is your impression of the ichibas? i'm torn between staying OEM, or just getting the ichiba set |
|
|
|
|
03-12-2008, 10:56 AM
|
#19 | ||
|
Users Awaiting Email Confirmation
Join Date: Sep 2005
Location: hawaii
Age: 36
Posts: 213
Trader Rating: (4)
Feedback Score: 4 reviews
|
thanks guys
personally i think it looks better without the frabic on the doorpanel. also im curious on how you took off the frabic piece in the first place? wanting to do it to mine as well. thanks,[/quote] the fabric actually just peels right off pretty easily :P Quote:
http://www.plastikote.com/plastikote...duct=trimblack Quote:
Last edited by jon_mr2; 03-27-2009 at 11:22 AM.. |
||
|
|
|
|
03-12-2008, 11:15 AM
|
#20 | |
|
Users Awaiting Email Confirmation
Join Date: Sep 2005
Location: hawaii
Age: 36
Posts: 213
Trader Rating: (4)
Feedback Score: 4 reviews
|
Quote:
and the por150, i tried to find some, but only places i would be able to get it would be the internet, and they want a lot to ship due to it being a chemical and stuff. so i just picked up some rust inhibitor stuff from a local automotive shop, i hope it holds up... |
|
|
|
|
|
03-12-2008, 11:28 AM
|
#22 |
|
Post Whore!

|
Awesome work so far man.
My wife's car is the same way, as a matter of fact, her cowl was so rusted, the piece came off where the driver's side wiper arm bolts to, in the middle of the rain when she was driving, so needless to say her car has been parked since then. (it's also parked because of an oil filter that will not come off, and has since been mangled when I tried every trick in the book to get it off) Anyway, your project gives me lots of hope to restoring her car, as it has potential, we just lack the funds to get it to a reputable body shop to get it looking pretty again. Keep up the good work man! |
|
|
|
|
03-12-2008, 11:31 AM
|
#23 | |
|
aWingThing.com
 
Join Date: Mar 2003
Location: Milwaukee, WI
Age: 44
Posts: 20,900
Trader Rating: (1)
Feedback Score: 1 reviews
|
Quote:
__________________
What I do for a living...www.mhrussell.com |
|
|
|
|
|
03-12-2008, 11:32 AM
|
#24 |
|
Zilvia FREAK!
Join Date: Dec 2005
Location: DownSouth
Age: 37
Posts: 1,344
Trader Rating: (4)
Feedback Score: 4 reviews
|
wow. i doubted this thread when i saw the title. i thought it would just be another "i put on my sportmax wheels and sum stickers" build thread. and when i saw restoring i really didnt think all of this was being done. i dont think i would have the patience. gl with it.
what wheels are you planning to go with?
__________________

|
|
|
|
|
| Bookmarks |
|
|


 Linear Mode

