|
|||||||
| Builds (and builds only) Got a build thread? It goes here, build threads anywhere else on the forum will be locked and never moved. |
 |
|
|
Thread Tools | Display Modes |
 10-13-2013, 12:23 AM
|
#1 |
|
Zilvia Member
 Join Date: Jun 2012
Location: North Carolina
Age: 43
Posts: 208
Trader Rating: (1)
 Feedback Score: 1 reviews
|
This build is already a year old but now that noticeable differences are finally happening and mistakes already being made I decided I should start documenting things more accurately and maybe get some tips along the way. By the way, I HAVE NEVER DONE MORE THAN SIMPLE MAINTENANCE BEFORE STARTING THIS PROJECT! I'm not some professional welder that's built 200 race cars like some of you, so cut me some slack... I also have a job and a family, along with deployments to deal with so this build will not happen overnight.
So, a little over a year ago my wife's sister called me and said she blew the engine in her 93' 240SX and wanted to know if I still wanted it. All I had to do was go pick it up from the mechanics shop. TITS! Only problem was I lived in NC and the car was in Louisiana. So my brother in LA gets the car and for just under $500 I get it shipped to my house in NC (6 months later)  Her mechanic was partially correct. low compression on 2 cylinders. It would have been nice if it was a quick fix but I had no desire to rebuild a Ka. The car was bone stock. I thought I got lucky seeing 5 lugs in the first picture but I soon realized when I got the car that they were hub caps.  First things first, I knew that engine had to come out. Being the typical drunk idiot in the garage, I started unplugging and unbolting everything without labeling shit, or even knowing what most of it was for that matter...  Those little straps broke, had to run to lowes and buy a chain, but I finally got it out.   I continued gutting the engine bay and prepping for paint. But then I ran into a good deal on some 300z brakes. They were in terrible condition though so I ordered rebuild kits for them and painted them with some autozone engine bay paint. I also ordered some cheap drilled and slotted rotors.    While this was going on I decided to do the 5 lug swap and add the 300z uprights in the rear with e-brake assemble. Little did I know that the bottom of the strut was different and would not work.  So I ordered coils with the lower z32 mount and thought I had this problem solved  But when I got it all back together, I noticed this is the HIGHEST my back end will go. the z32 lowers are about 1 3/4" shorter than the 240 lowers. I'm not happy about it but I guess before this build is done I will end up cutting the fenders and putting some flares on there so I can straighten the camber at least to the point where it isn't eating through tires.  |

|

|
| Sponsored Links |
|
10-27-2013, 08:19 PM
|
#2 |
|
Zilvia Member
Join Date: Jun 2012
Location: North Carolina
Age: 43
Posts: 208
Trader Rating: (1)
Feedback Score: 1 reviews
|
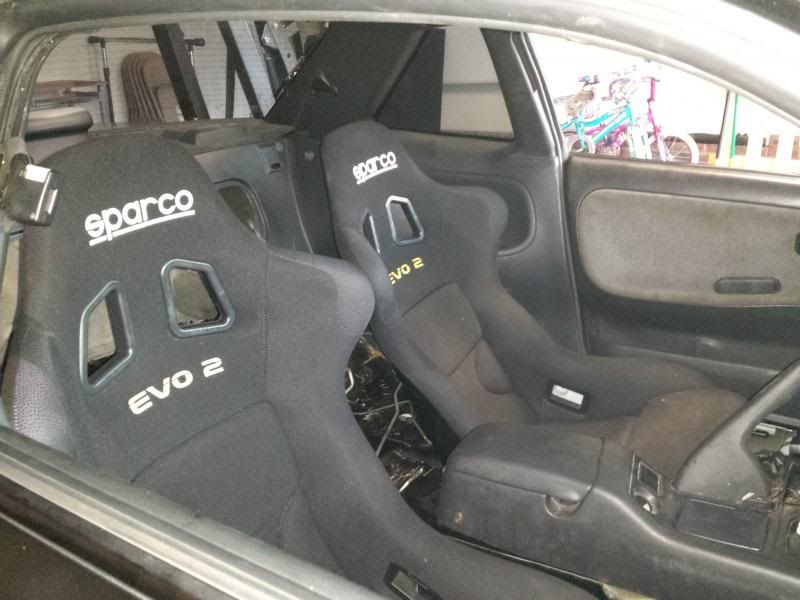
So I took my attention off the engine bay for now and decided to focus more on bring the rest of the suspension up to par with the future powerplant I hoped to install one day. But just then I was sidetracked by another great deal, this time on seats. While I was installing them, I ripped out the carpet and back seats... Actually, the seats are just sitting in there. Let me know if anyone has side mount seat rails for sale :P
 It took a few weeks but I managed to scrape up enough money finish up the suspension. First I bought the Stance RUCA's. I tried everything to make them fit but it seemed to hit the strut. I called and complained to Stance. They informed me that the RUCA goes IN FRONT of the strut, not behind it like I was trying to do.... SERIOUSLY? I felt pretty stupid. So I ordered the toe and traction rods as well.   Since I didn't have the money now to paint the engine bay, I decided to do stuff that didn't cost money. I'm hoping I didn't make a big mistake but I took out the dash and removed all the AC components and heater core. Hopefully I don't need the heater core for the LS, I'm sure there is a way to either block em off or loop it once I get the engine right? Anyway, ripped all that stuff out and put the dash back in.  Rolled her out for a bath. had to use a flathead screwdriver to scrape 20 years of dirt, grease, and gunk off the undercarriage. This was a very dirty day. Advice for anyone who decides to do this, wear a beanie to keep the shit out of your hair and glasses to keep it out of your eyes. 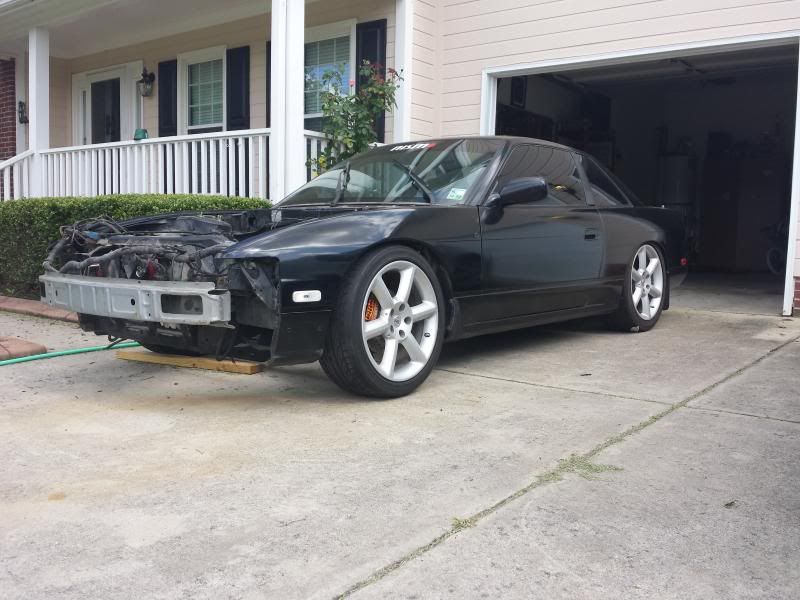 Finally sanded down the engine bay and layed down rust-oleum bedliner. I was pretty impressed with the outcome but this will eventually be a drift car so I wanted some colors that pop a little more than this.  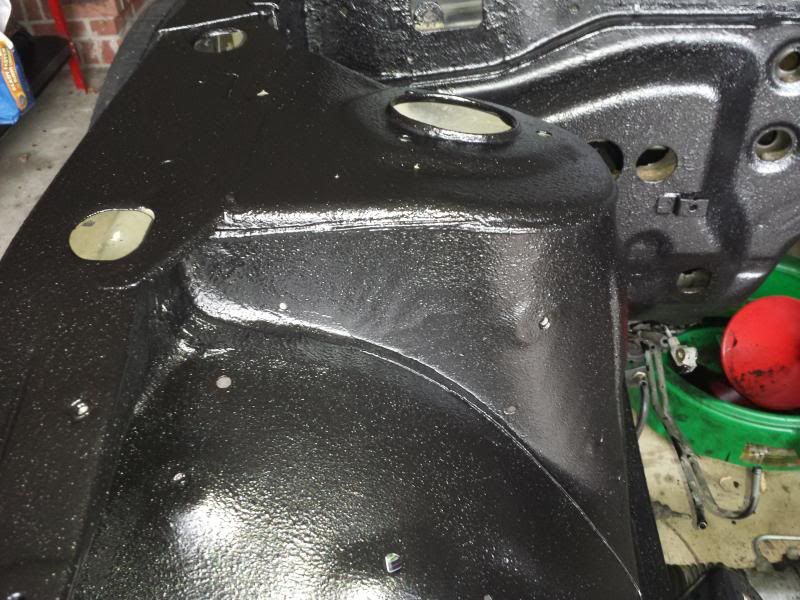 So I decided to paint over it. I like the textured look from the bedliner. 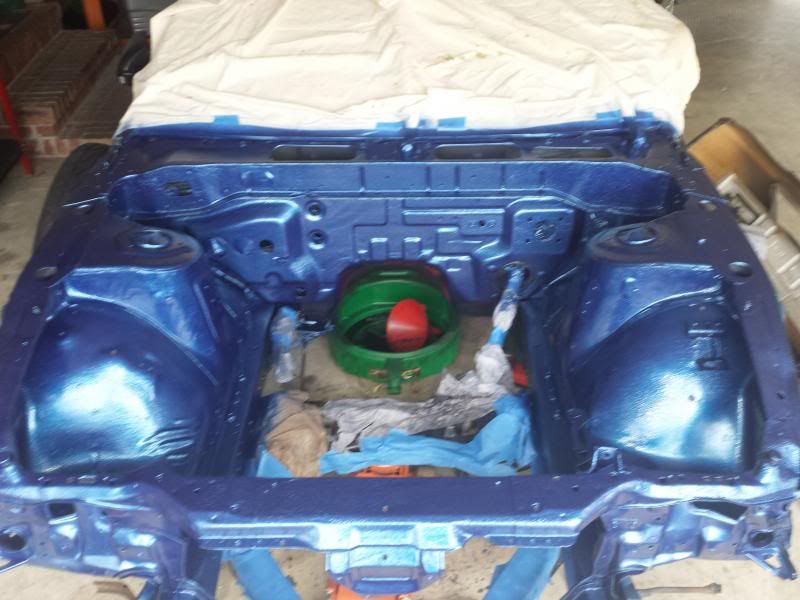 And my 7 year old daughter wanted some pink soooooooo   I put several coats of the rust-oleum 500 degree heat and oil resistant clear coat on all of it. Hopefully it holds up. I'm not trying to win car shows, (I've got a 350Z for that) I'm building a drift rocket so even if the paint does go to shit, I don't really car. Installed the conversion brake lines. 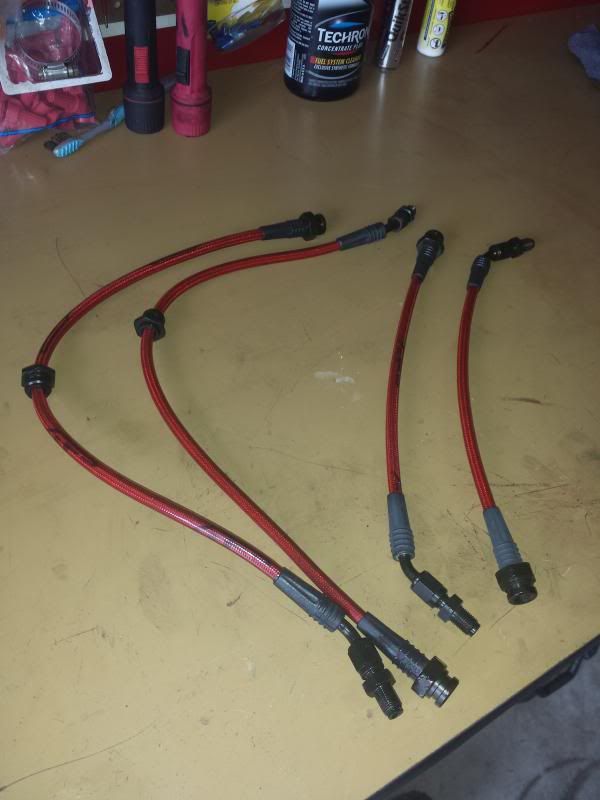 Got the 17/16 BMC and put it on today. During my research I thought I was going to have to cut open my old BMC to get the little cone things out but the new BMC had them installed in all 3 ports so it was an easy bolt in. Feel like I finally caught a break with this thing. Here you can see the little cone things in my old BMC. 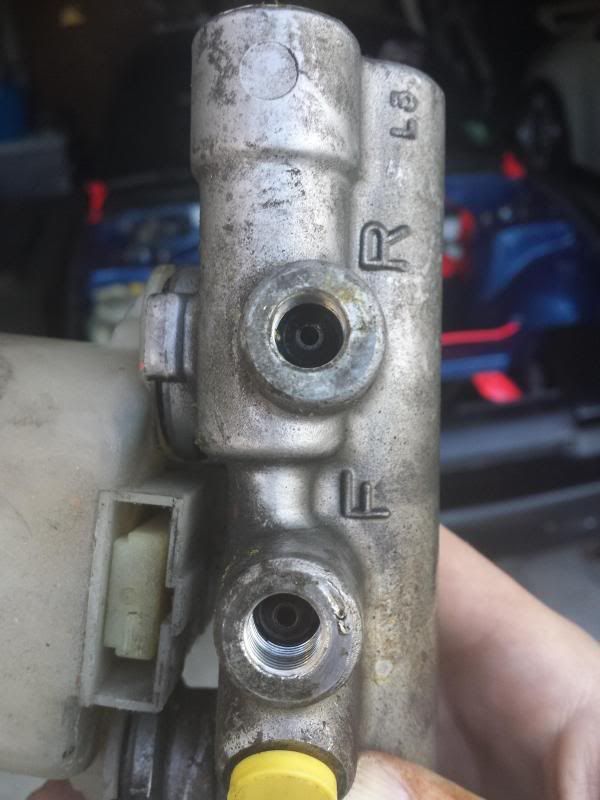 and here is the new one all buttoned up. I plan to flush the lines (just in case water got in them) since they have been open for a few months but I want to drop the rear sub-frame install the sub-frame bushings first. No sense in having to bleed them twice. 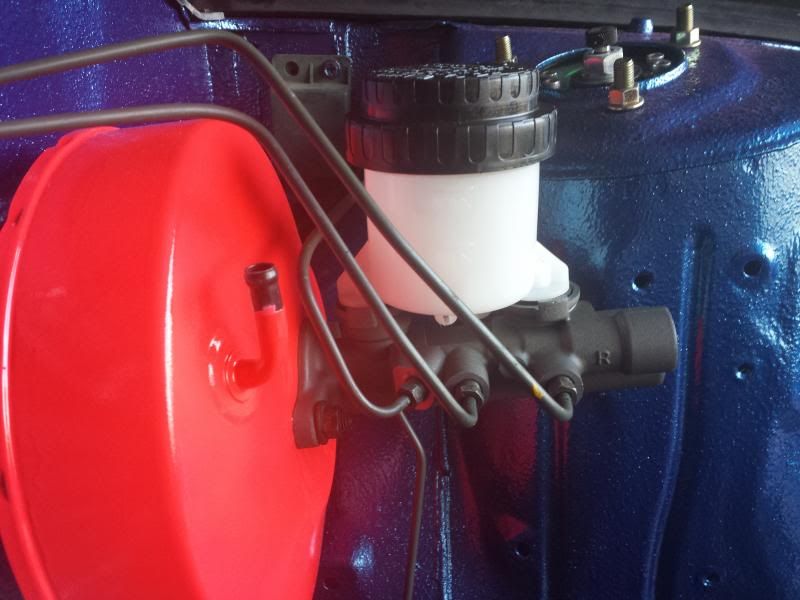 Last edited by mpact1981; 09-01-2014 at 04:20 PM.. Reason: update |
|
|
|
|
10-27-2013, 08:28 PM
|
#3 |
|
Zilvia Member
Join Date: Jun 2012
Location: North Carolina
Age: 43
Posts: 208
Trader Rating: (1)
Feedback Score: 1 reviews
|
Ok, finally I'm back in 'Murica! Spent the weekend tinkering around in the garage.
Got some goodies from SIKKY! 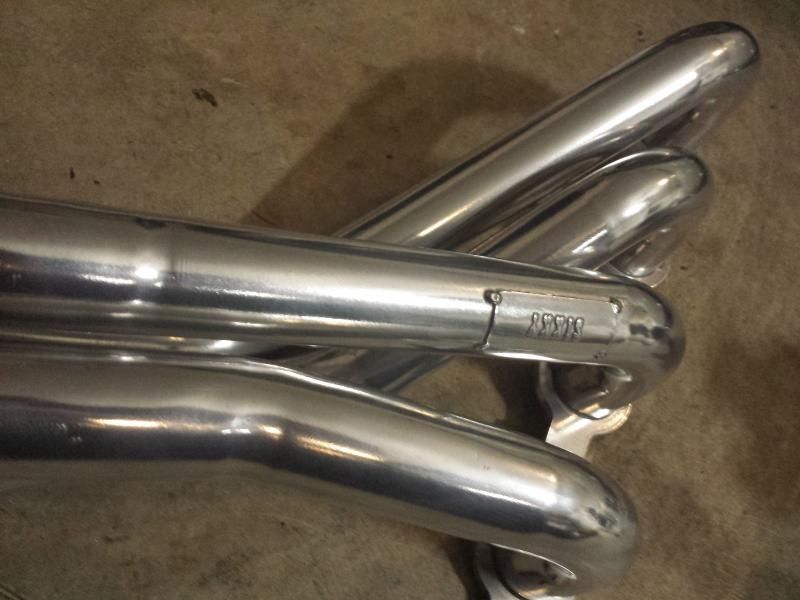 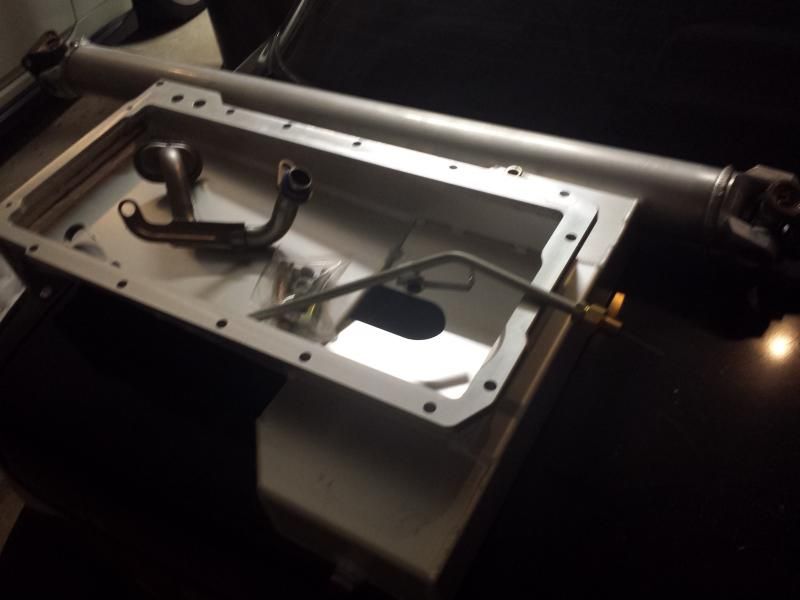 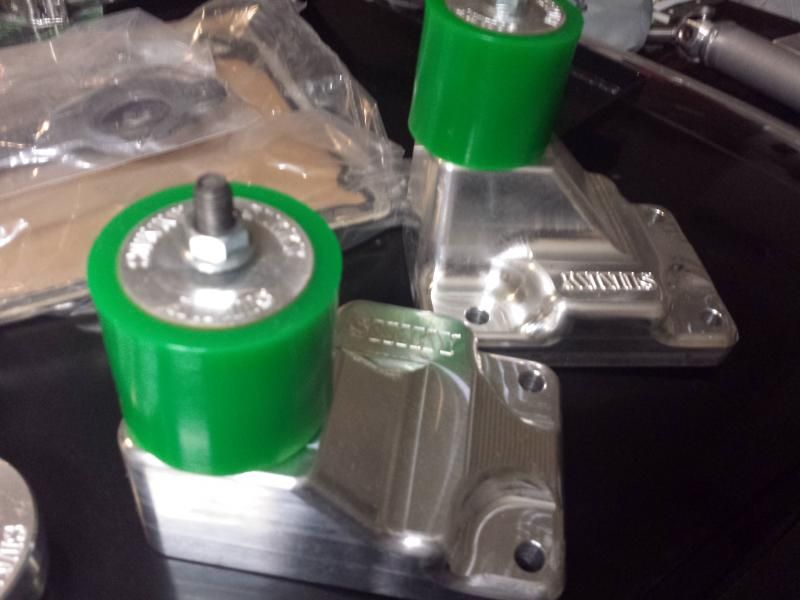  First I installed my Nagisa seat rails. I'm pretty sure they are the only side-mount sliders that will work with the Sparco Evo 2. I tried Buddy Club but they were not wide enough so I sold those on the forum and found these. Although, with these I need to relocate my trunk/gas tank handle. I still need the passenger side mount so if anyone is selling, let me know... Enjoy the crappy phone pic. 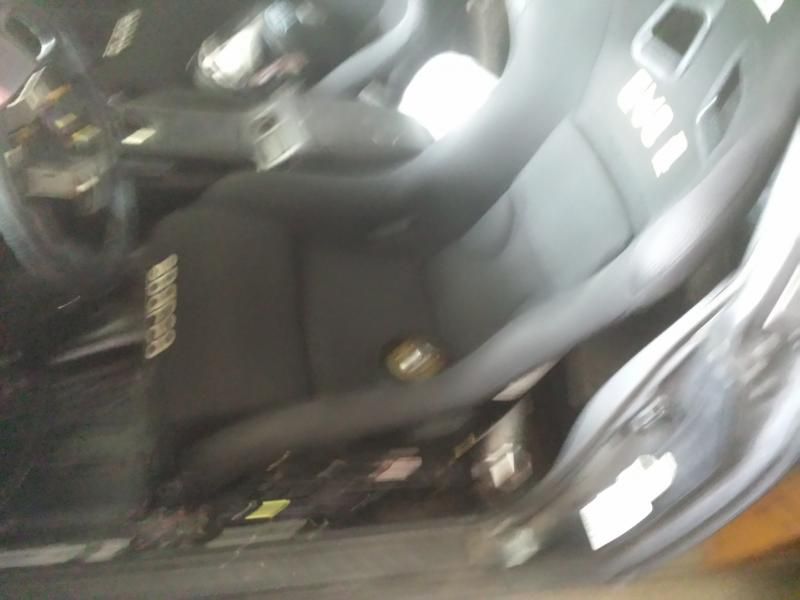 Then I installed the Mishimoto radiator. I need to make some top mounts that fit better but since I still don't have an engine, the stock mounts will work for now to hold it in place. 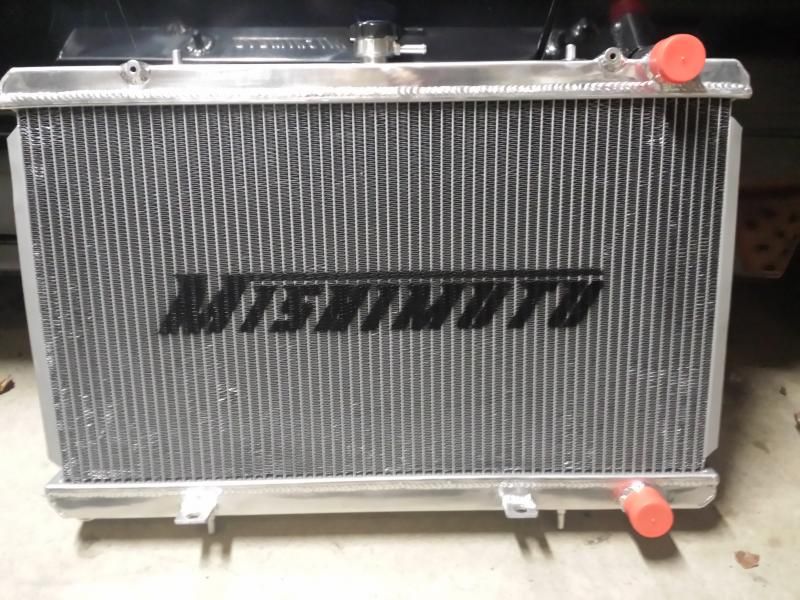 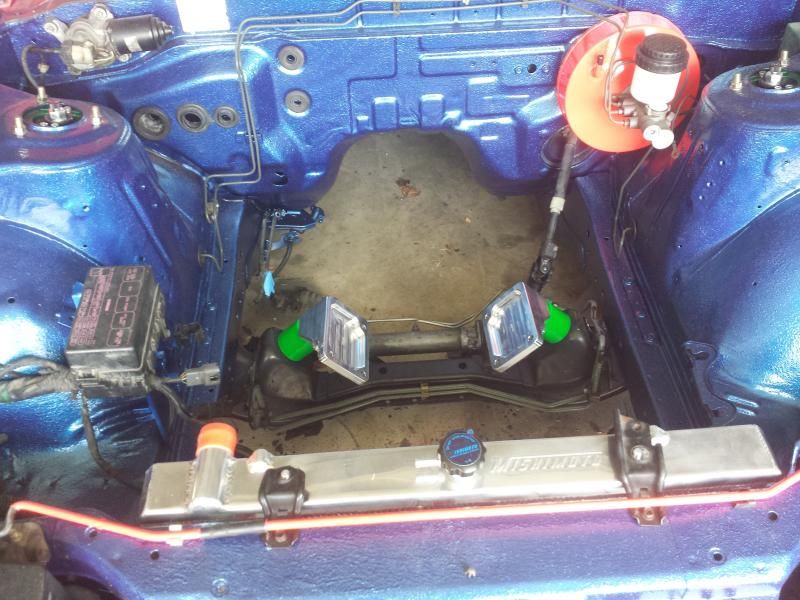 Then I got to work on those rear subframe bushings. This job sucked! I did it by myself but I would recommend having at least one person help with this. Especially when your putting it back in. I wanted to have it powder coated but funds are low. Anyway, SIKKY subframe bushings installed. 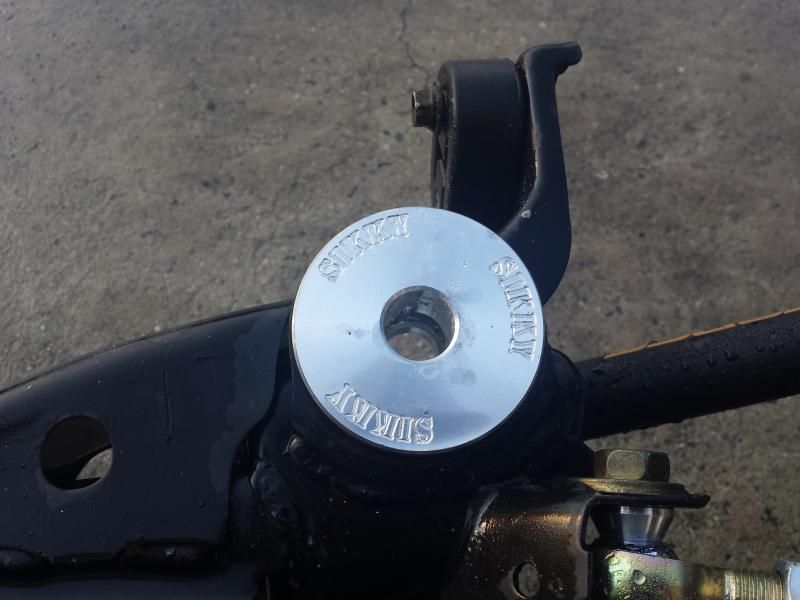 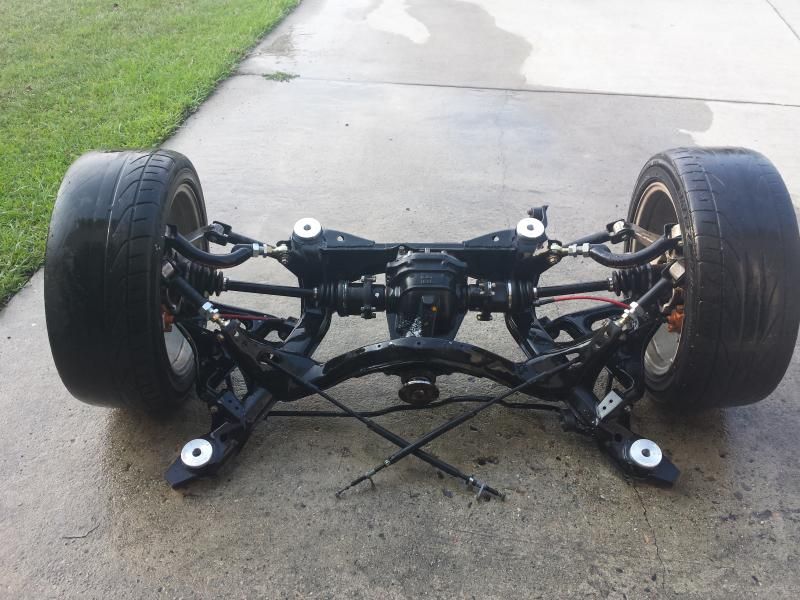 Well, that's going to be it for a while. Funds are low. Now that the subframe bushings are done I can finally put some fluid in the break system. Keeping my fingers crossed that their are no leaks. Since I rebuilt EVERY caliper, there is a good chance I will have a mess on my hands... Last edited by mpact1981; 09-01-2014 at 04:12 PM.. |
|
|
|
|
| Bookmarks |
|
|


 Linear Mode

