|
|||||||
| Builds (and builds only) Got a build thread? It goes here, build threads anywhere else on the forum will be locked and never moved. |
|
|
Thread Tools | Display Modes |
 03-19-2013, 02:45 AM
|
#11 |
|
Zilvia Junkie
 
Join Date: Oct 2012
Location: Dark side of the moon
Posts: 309
Trader Rating: (0)
 Feedback Score: 0 reviews
 |
Morning.
Happy for me, I got help froma friend the last couple days so I have been able to save some time to get the rollcage fitted with the interior and the mounting. As explained earlier I am relocating the fusebox that is factory mounted in the engine bay. This is because I want an engine bay that is almost free of any cables or pieces that can be relocated. Like Jr_ss I hav decided to move the whole fusebox into the trunk, but I have not mounted it yet, just plaid it there for later. Plan it to weld a custom fusebox in aluminium that looks a bit more sexy than the OEM one which I have cut into pieces lol. So in case to do this, one needs cables, quite a lot actually too. This is where an S13 chassis for cheap is nice to find! (thanks to MesS)  This chassis got an almost complete electrical wiring loom, wnad whats better than that? Now I got all the cables with almost the exact same colors and dots on the wires, so much better than doing it all with 6 colors that i had bought. 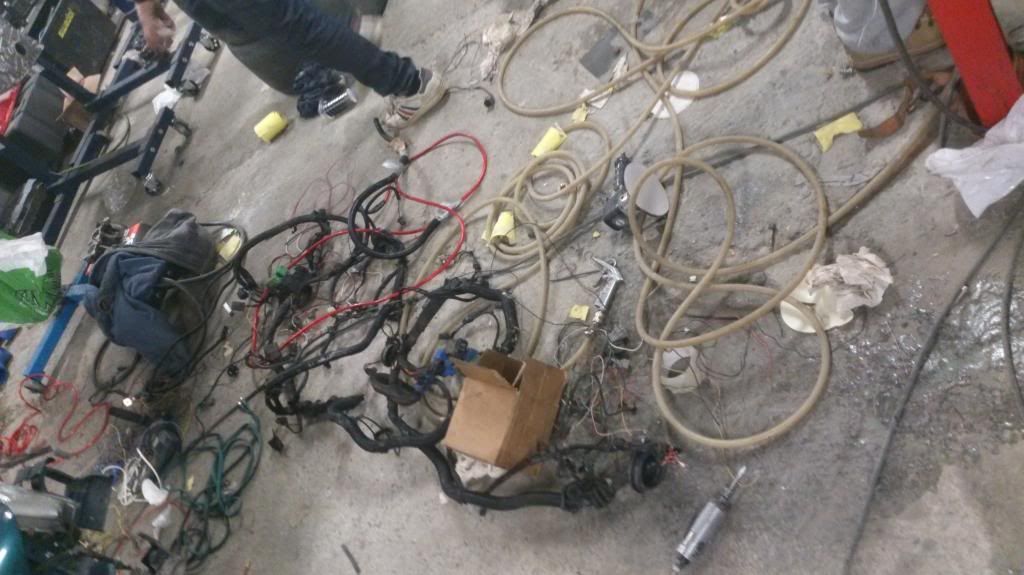 time for some hacking! It was actually mindblowing to see all the junk and black electrical tape that was used on an entire loom. 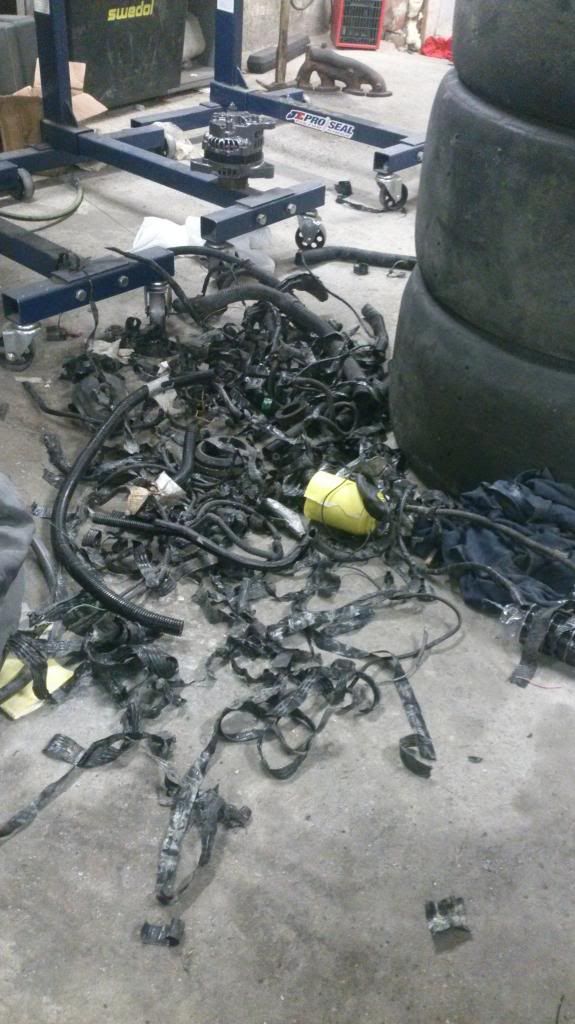 Was like 10 kg and 50 litres of garbage haha  Now it was just doing this 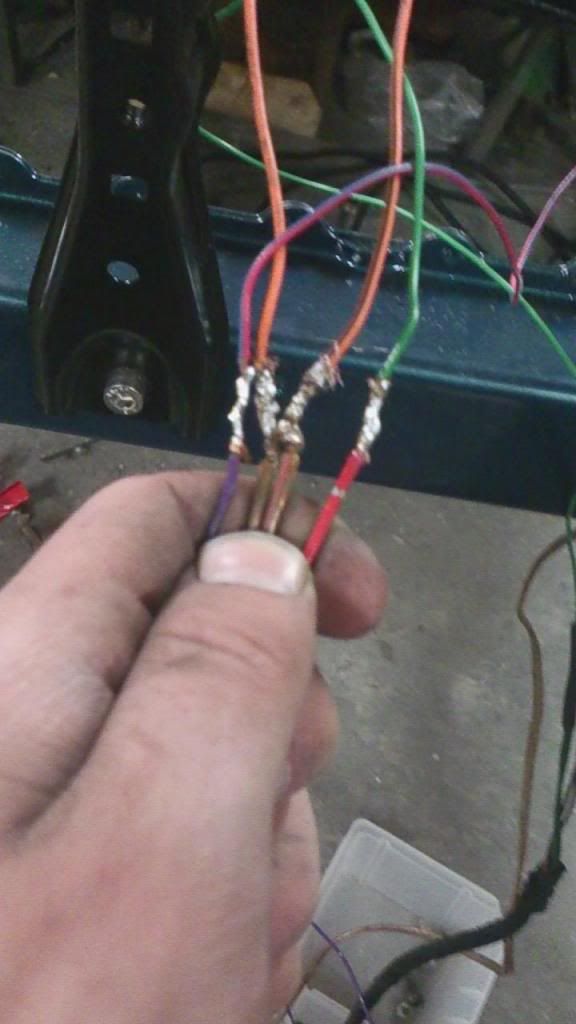 to 30 wires, x 2 I'm glad my mate did that, so I could focus on the rollcage Started making holes and a brace for the B-pillar/ mid piece of the rollcage. Actually, it got some real JDM rust coming straight from Japan, probably should keep that in a box lol Of course the entire cage will be grinded down and repainted with plastidip or something. I am just not doing that before i got the mountings ready, to avoid scratching it when it is painted. Made 6 plates for the 6 points of the cage. made in 3,5mm stainless, then painted a couple layers with Hammerite. mid 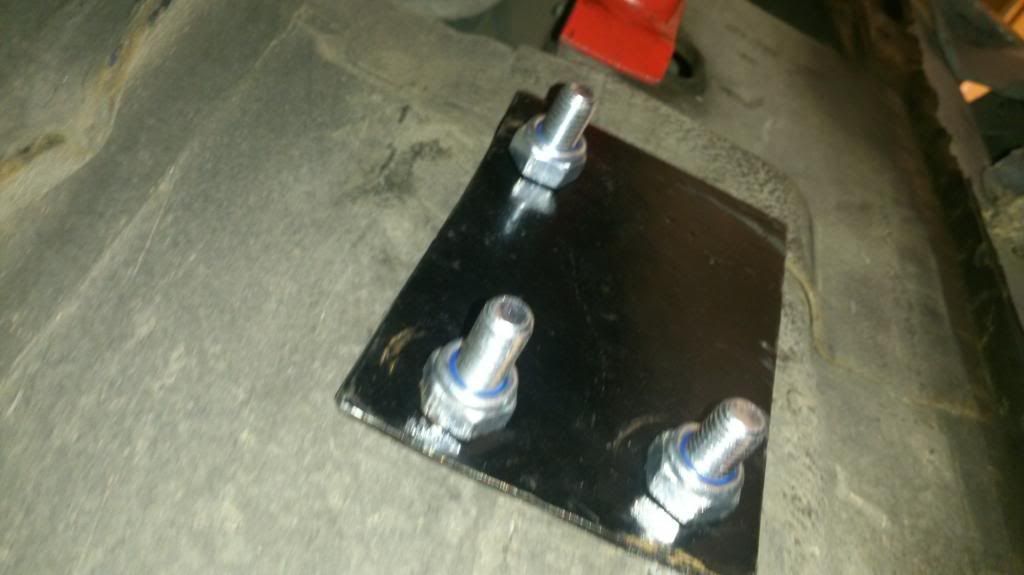 front 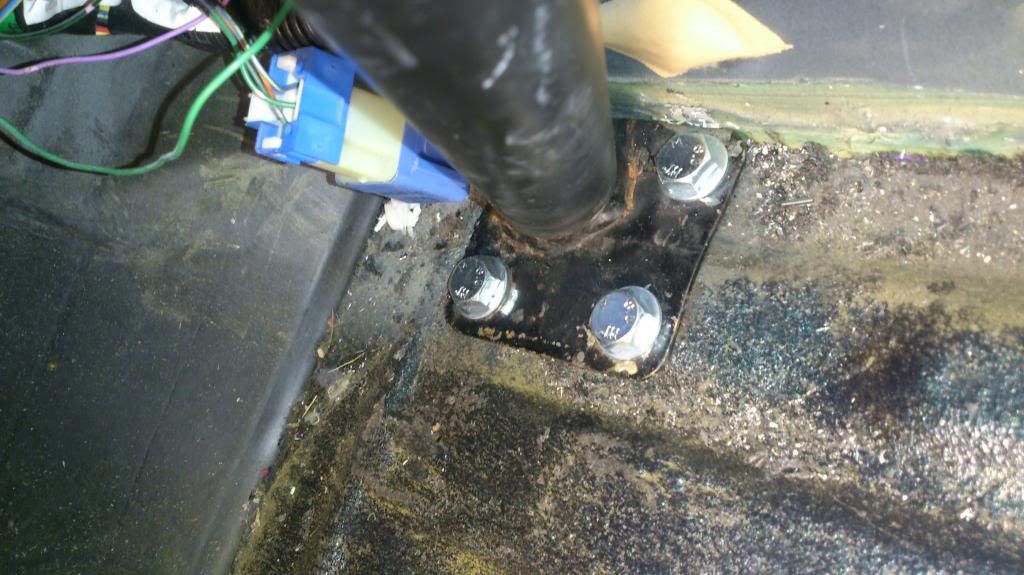 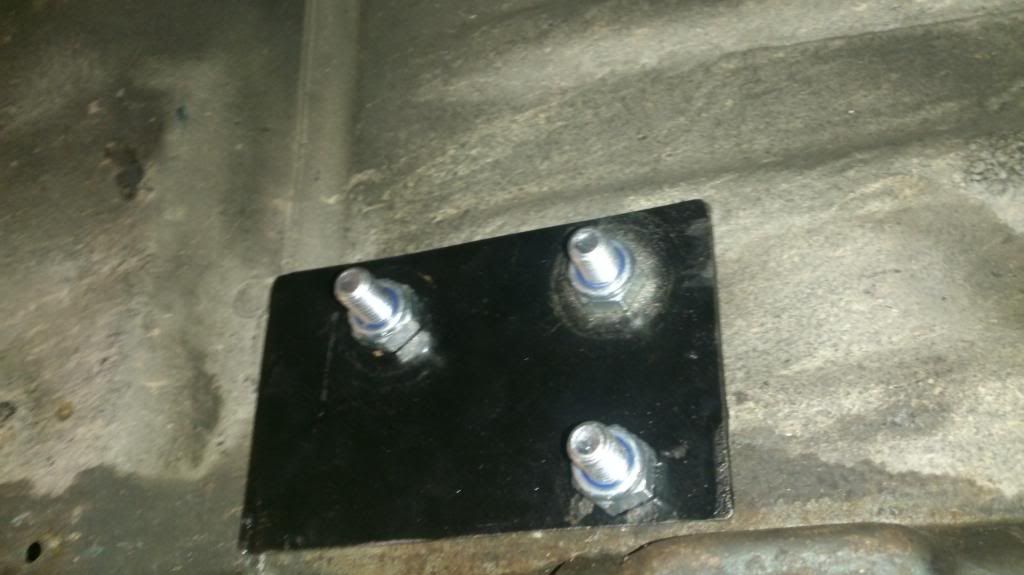 and the rear 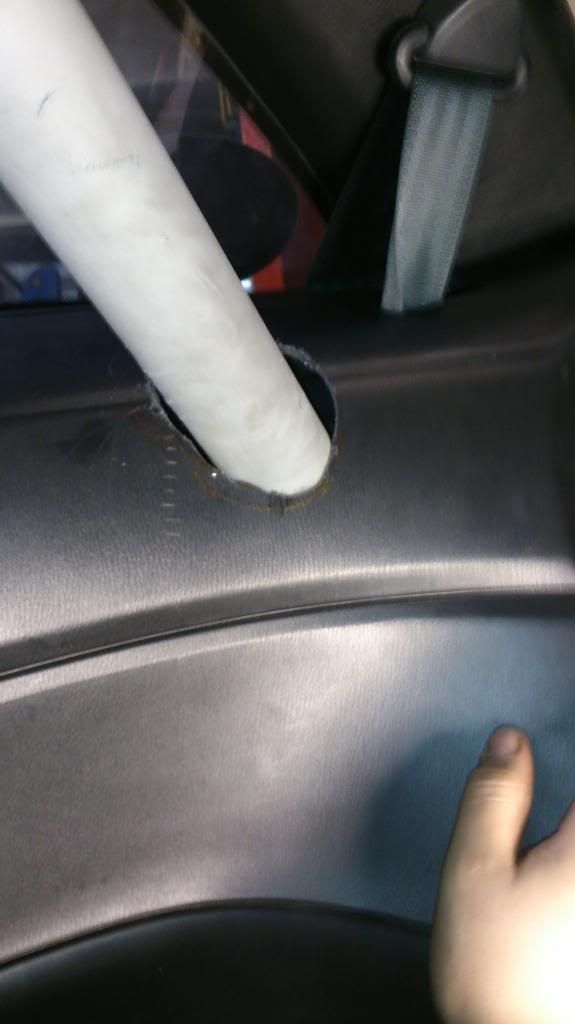 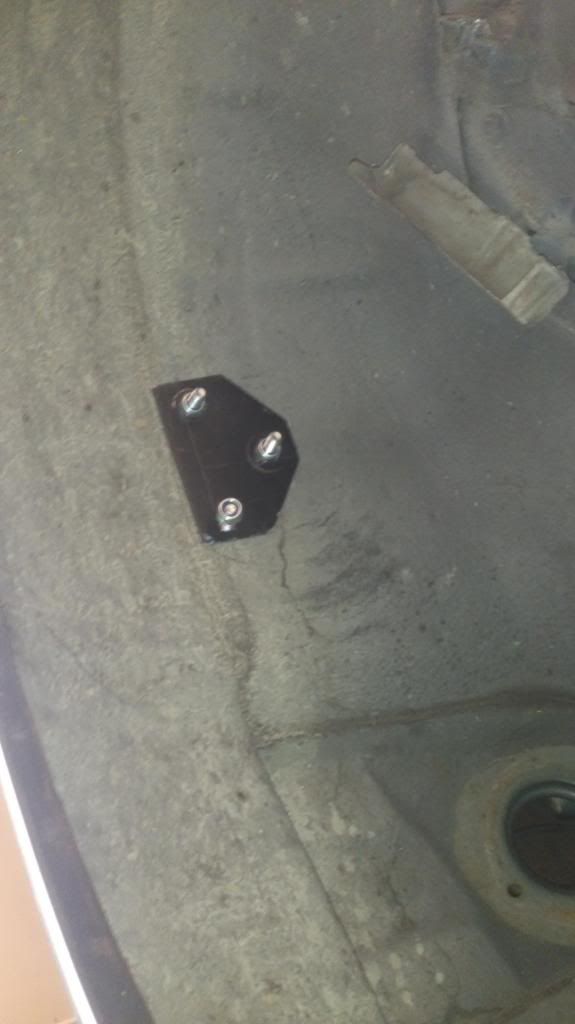 The holes I cut for the rear bar got quite displaced, it wasn't easy finding out where to exactly place the cut ://// Guess I'll do a big fatass listing to make it look a little nicer, maybe even buying a new one and make a cleaner cut now as I know where the bar will be placed 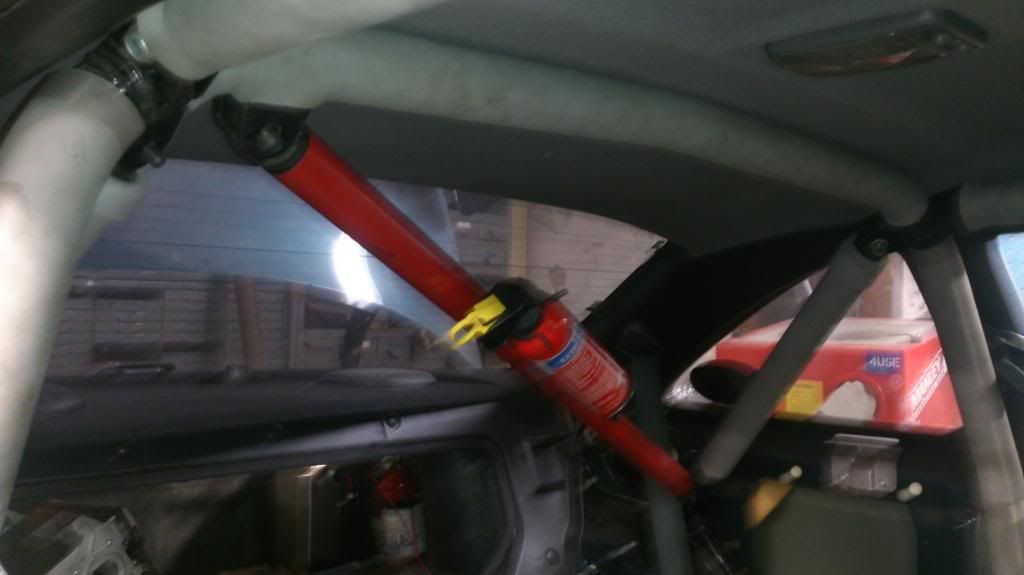 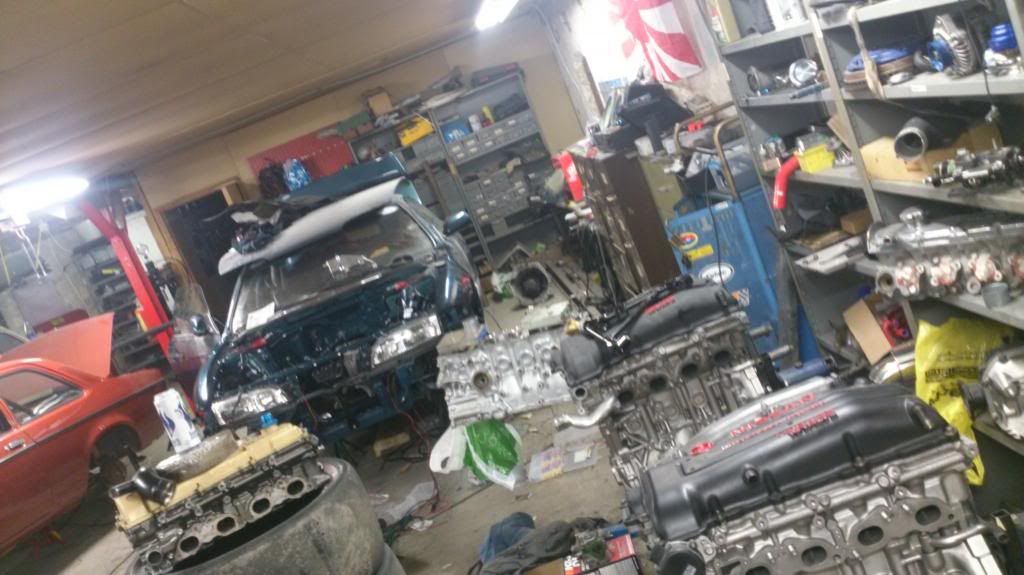 Basically everything looks like hell at the garage, but it the way it goes when doing all this electrical work. Will do a biiiig cleanup when done with the relocating of the fusebox. To be continued Peace 
__________________
Don't PM me asking for parts |

|

|
| Bookmarks |
| Tags |
| btcc, s14, tremec, turbo |
|
|


 Threaded Mode