|
|||||||
| Tech Talk Technical Discussion About The Nissan 240SX and Nissan Z Cars |
 |
|
|
Thread Tools | Display Modes |
 07-27-2013, 08:50 AM
|
#301 | |
|
Post Whore!
 
Join Date: Apr 2006
Location: North Jersey
Posts: 5,481
Trader Rating: (55)
  Feedback Score: 55 reviews
|
Quote:
|
|

|

|
| Sponsored Links |
|
07-27-2013, 04:58 PM
|
#302 | |
|
Zilvia Junkie
 
Join Date: Mar 2010
Location: Goodyear AZ
Age: 38
Posts: 480
Trader Rating: (6)
Feedback Score: 6 reviews
|
Quote:
|
|
|
|
|
|
07-31-2013, 12:02 PM
|
#303 |
|
Zilvia Addict
 |
I have the same problem too everytime I lay sum primer ( 1.light coat with 2 medium coats) on body filler areas u can see the spots and im finishing the body filler area with 280-320 am I doing something wrong? Should it be like that or u shouldn't be able to see the body filler sucking up the primer?
|
|
|
|
|
07-31-2013, 08:56 PM
|
#305 | |
|
Nissanaholic!
 Join Date: May 2011
Location: Long Beach
Age: 44
Posts: 1,801
Trader Rating: (50)
Feedback Score: 50 reviews
|
Quote:
__________________
FS: DSS 1pc Steel Non ABS, 6bolt axles WTB: Boost Gauge, Hatch Roof Wing |
|
|
|
|
|
07-31-2013, 08:57 PM
|
#306 | |
|
Nissanaholic!
Join Date: May 2011
Location: Long Beach
Age: 44
Posts: 1,801
Trader Rating: (50)
Feedback Score: 50 reviews
|
Quote:
__________________
FS: DSS 1pc Steel Non ABS, 6bolt axles WTB: Boost Gauge, Hatch Roof Wing |
|
|
|
|
|
08-01-2013, 04:44 PM
|
#308 | |
|
Zilvia Junkie
Join Date: Mar 2010
Location: Goodyear AZ
Age: 38
Posts: 480
Trader Rating: (6)
Feedback Score: 6 reviews
|
Quote:
|
|
|
|
|
|
08-02-2013, 09:22 AM
|
#310 |
|
Zilvia Member
 
Join Date: Sep 2007
Location: Kingston
Age: 36
Posts: 252
Trader Rating: (1)
Feedback Score: 1 reviews
|
if you can see a change in the primer, you will see the spot through the paint.
You shouldnt be able to see any spots through the primer before you lay up your color. Remember, primer is way cheaper than finish paint. Personal reccomendation: i dont reccomend any aerosol products...even "spot" primer meant for auto body. They have always turned out horribly for me.
__________________
www.facebook.com/HellaFab |
|
|
|
|
08-08-2013, 12:48 PM
|
#311 |
|
Zilvia Junkie
Join Date: Feb 2008
Location: Carry Water, Chop Wood
Age: 36
Posts: 507
Trader Rating: (0)
Feedback Score: 0 reviews
|
ok guys. after i sanded the all the filler smooth i primered it to see what it looked like and see any flaws i needed to fix..
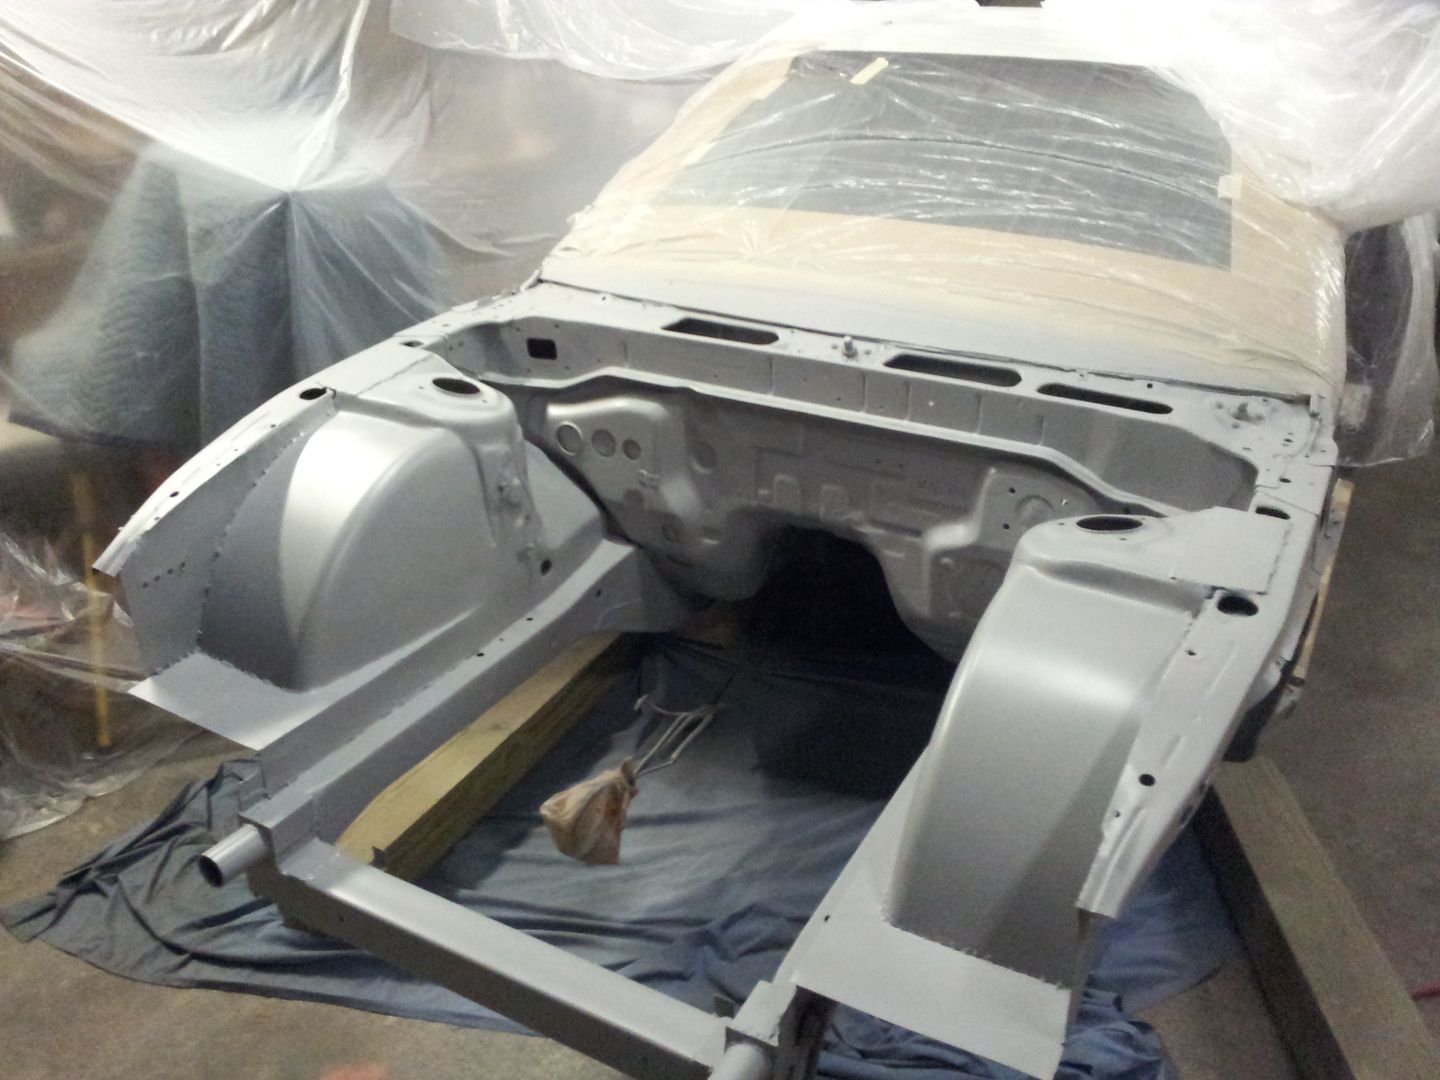 then i sanded the primer and added seam sealer followed by another shot of primer to seal the seam sealer since i let it cure for a couple days before i wanted to spray color. 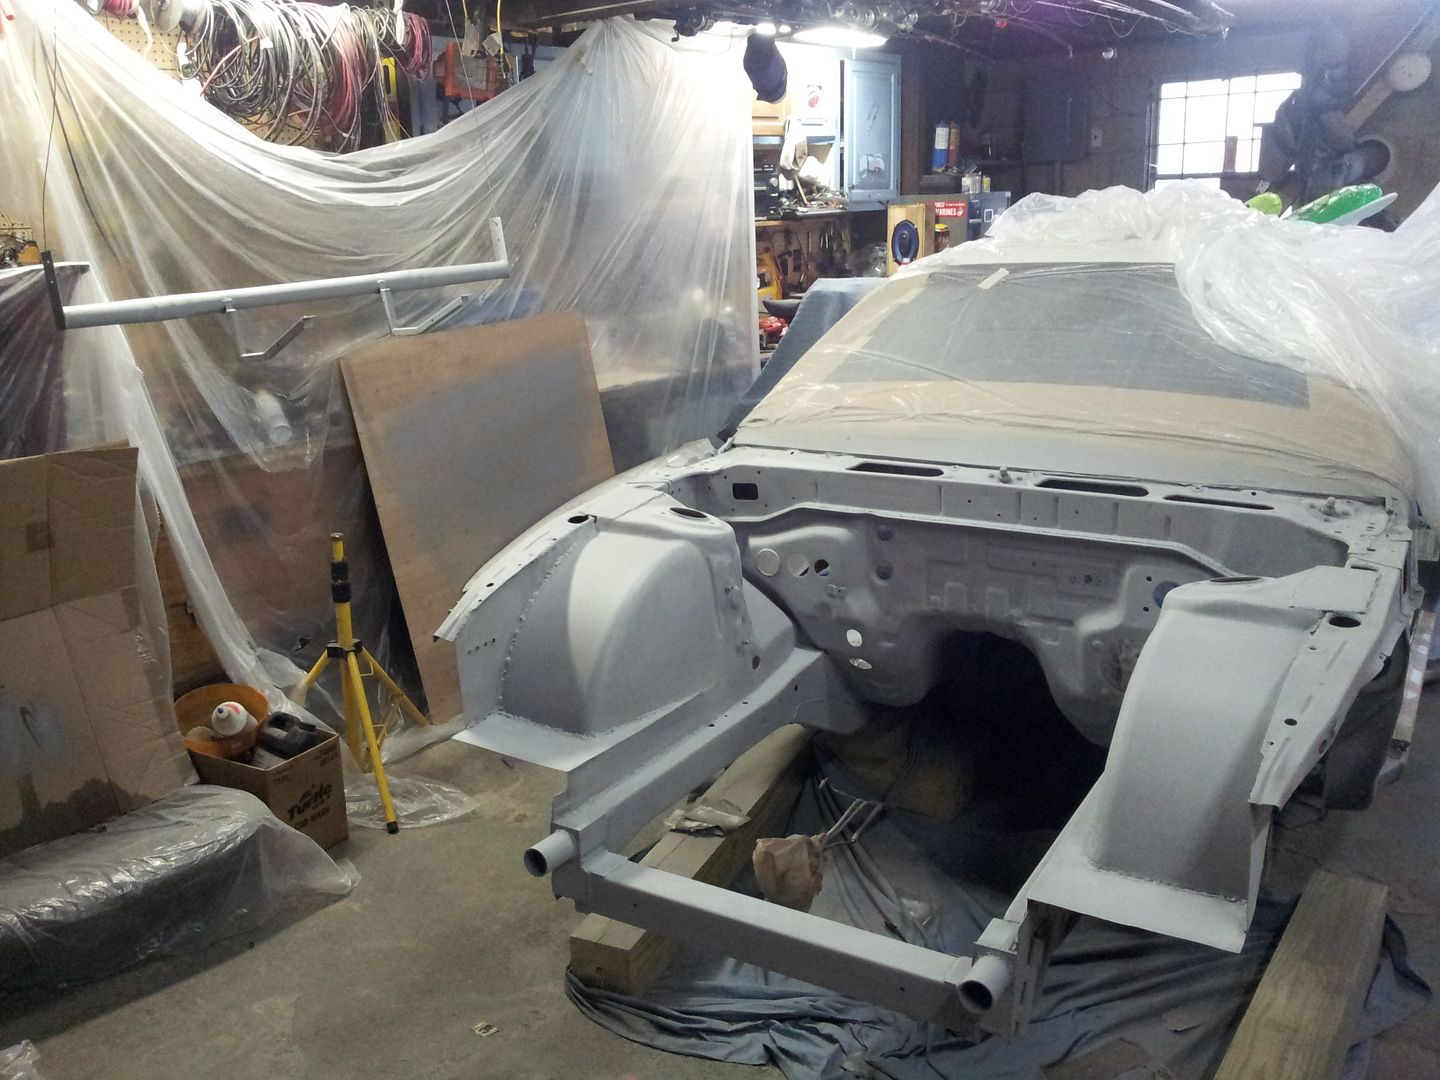 sanded it with 400 grit and prepped it with a light wipe of acetone to get the grease and dirt off then right before the bay was sprayed i wiped it down with a tack cloth. 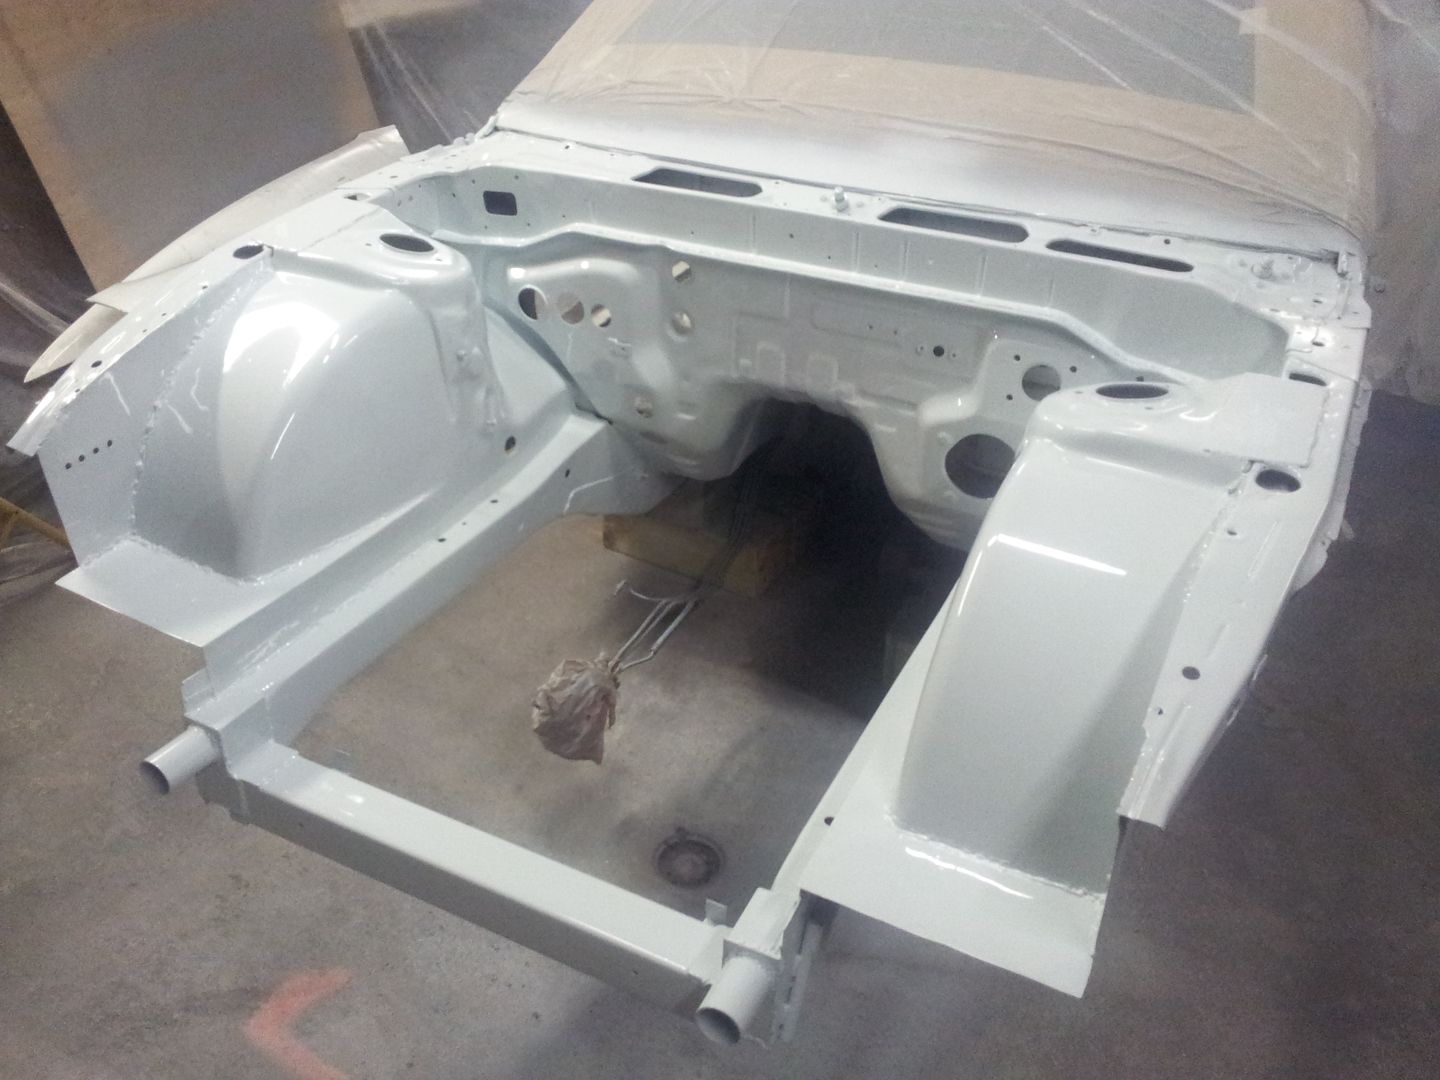 here is a picture of some of the suspension parts installed. 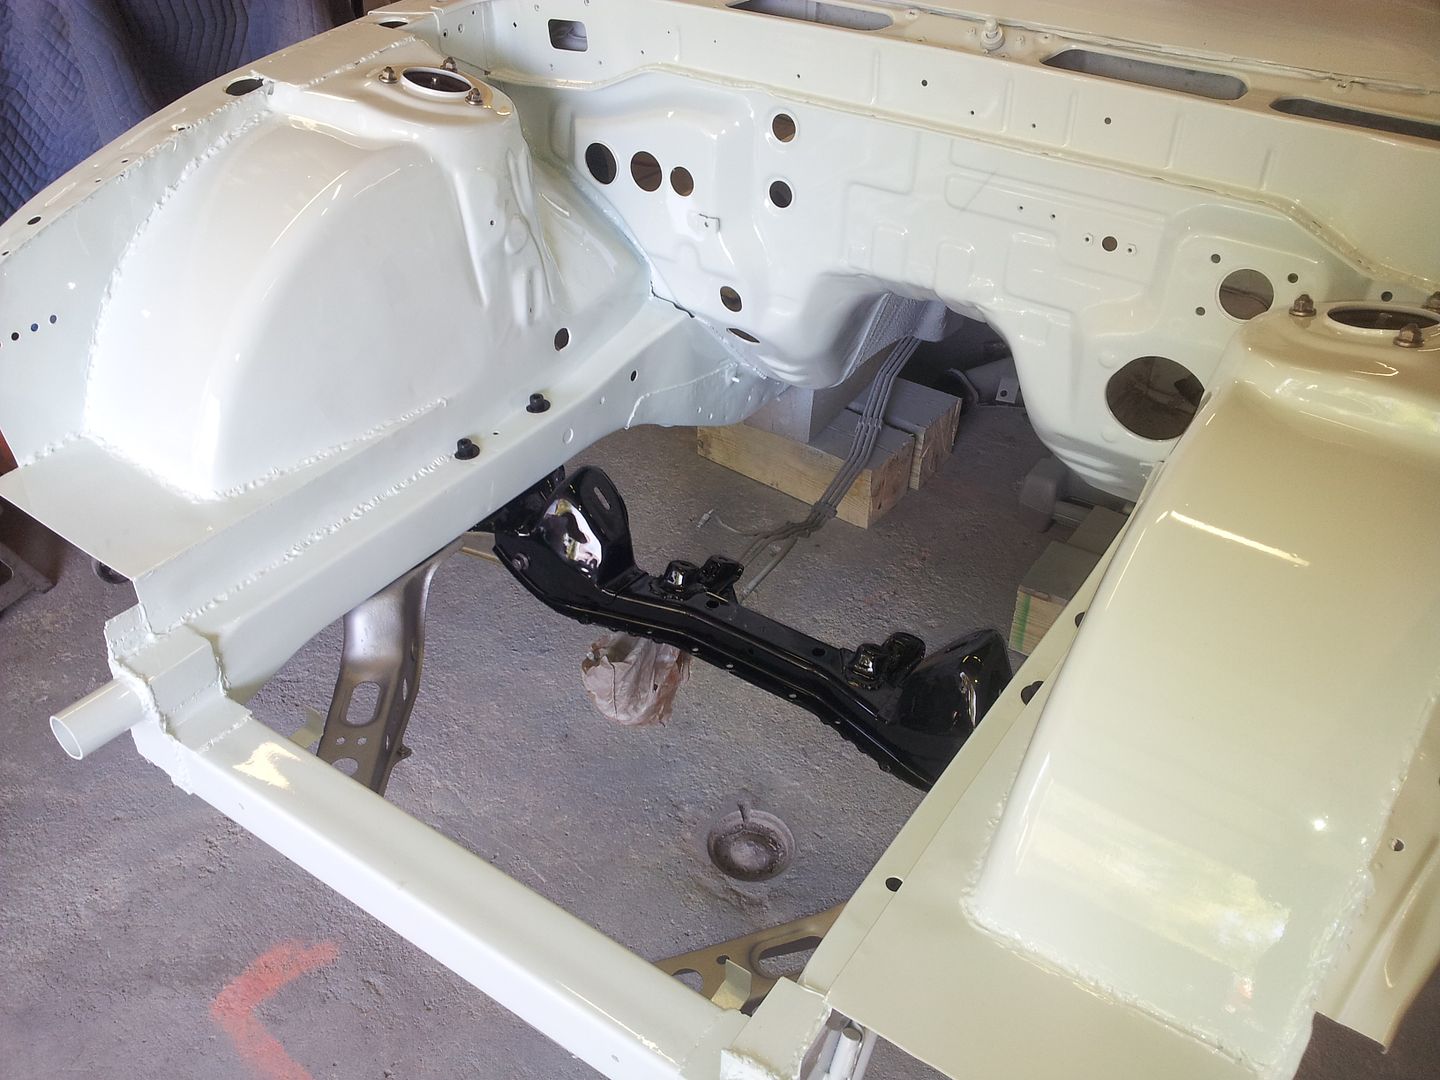 |
|
|
|
|
08-09-2013, 07:57 AM
|
#314 |
|
Zilvia Junkie
Join Date: Feb 2008
Location: Carry Water, Chop Wood
Age: 36
Posts: 507
Trader Rating: (0)
Feedback Score: 0 reviews
|
thanks!! im pretty happy that I did the body work and the bay came out better than I thought!!
the only thing I didn't do was spray the white. I had a friend who paints come over and do that with his gun and experience of laying it down. the first time he came over and sprayed it , it fish eyed and had some dust and a run or 2 in the paint. before he came over the 2nd time, he told me to sand it with 600, then I wiped it with acetone and before he sprayed it the 2nd time which is the last pic, wiped it with the tack cloth. it is just a single stage paint, which I wanted base/clear but he said he the single stage will still look pretty glossy. I probably would have had runs all over if I would have attempted to spray it... =/ |
|
|
|
|
10-09-2013, 03:10 PM
|
#315 |
|
Zilvia Addict
|
[/QUOTE]
 Step 5 : Allow the base coat to air dry for atleast 30mins before moving to the next step( as it drys the base coat will have a flat color look). If your doing a two tone or stripes mask your design off with 1/4" masking tape and use masking paper to cover the areas not needing the new color and apply the base coat using the same steps as above. [/QUOTE] so im doing a two tone also all i have to wait is 30-40 min to apply my next color? why do some ppl wait hours? or even a day to apply next color? |
|
|
|
|
10-09-2013, 05:01 PM
|
#316 |
|
Zilvia Junkie
Join Date: Mar 2010
Location: Goodyear AZ
Age: 38
Posts: 480
Trader Rating: (6)
Feedback Score: 6 reviews
|
Step 5 : Allow the base coat to air dry for atleast 30mins before moving to the next step( as it drys the base coat will have a flat color look). If your doing a two tone or stripes mask your design off with 1/4" masking tape and use masking paper to cover the areas not needing the new color and apply the base coat using the same steps as above. [/QUOTE] so im doing a two tone also all i have to wait is 30-40 min to apply my next color? why do some ppl wait hours? or even a day to apply next color?[/QUOTE] 30-40 mins is just the average time it took for it to dry while i sprayed. You can wait as long as you want but if you exceed 8 hrs the base coat needs to be scuff sanded prior to any paint applied to it. |
|
|
|
|
10-09-2013, 06:24 PM
|
#318 | |
|
Zilvia Junkie
Join Date: Mar 2010
Location: Goodyear AZ
Age: 38
Posts: 480
Trader Rating: (6)
Feedback Score: 6 reviews
|
Quote:
|
|
|
|
|
|
10-09-2013, 10:42 PM
|
#319 | |
|
Zilvia Addict
|
Quote:
 |
|
|
|
|
|
10-09-2013, 10:55 PM
|
#320 |
|
Zilvia Addict
|
oh yea! and any tips on doing two tones? as in wen i do my first color and mask it for black should i try and not make it too thick where the tape is at? should i spray farther in that area? any info would help greatly!!
|
|
|
|
|
10-10-2013, 02:35 PM
|
#321 | |
|
Zilvia Junkie
Join Date: Mar 2010
Location: Goodyear AZ
Age: 38
Posts: 480
Trader Rating: (6)
Feedback Score: 6 reviews
|
Quote:
|
|
|
|
|
|
10-10-2013, 03:00 PM
|
#322 | |
|
Zilvia Member
|
Quote:
i have a 76 cb750 ss that i have down to the frame at the moment. putting a later model gsxr aluminum swingarm on it to allow me to mount a 180 in the rear. and i am putting an inverted fork gsxr front end and triples on it after i finishing pressing the stem outta the stock triples.
__________________
66 Plymouth Satellite, 96 Nissan 240sx, 03 Harley Sportster. Toys! |
|
|
|
|
|
10-10-2013, 03:49 PM
|
#323 | |
|
Zilvia Addict
|
Quote:
|
|
|
|
|
|
10-10-2013, 05:49 PM
|
#324 | |
|
Zilvia Junkie
Join Date: Mar 2010
Location: Goodyear AZ
Age: 38
Posts: 480
Trader Rating: (6)
Feedback Score: 6 reviews
|
Quote:
|
|
|
|
|
|
10-10-2013, 10:21 PM
|
#326 |
|
Zilvia Addict
Join Date: Sep 2012
Location: manasshole, VA
Posts: 886
Trader Rating: (3)
Feedback Score: 3 reviews
|
ive tried automotivetouchuppaint.com
there paint comes pre diluted. there clear coat is a 2 part urethane. so far I just did a test with it and its holding up pretty good with rock chips and cracking of fiberglass. the paint hasn't like flaked at a crack. I did rattle can primer, one coat of base, and one coat of clear. nothing fancy or a great finish to it. just wanted to test it before I go all out painting my entire car. heres what my garage sort of looked like. I had one square fan in my window, another by the door sucking air from my house with towels in the cracks to catch things.  before it had a metallic black rattle can front end.  got tired of it. sanded down, minor body work  patching cracks and holes   about to spray the primer  and final product. not really anything fancy. like I said im just messing around with painting and the paint itself.   |
|
|
|
|
10-11-2013, 07:21 PM
|
#328 |
|
Zilvia Junkie
Join Date: Aug 2013
Location: trinidad
Age: 43
Posts: 320
Trader Rating: (0)
Feedback Score: 0 reviews
|
i need to take out a rear wing on my car, rather than replacing the entire lid. what can i use to cover the holes on the current one? i rather not do any welding, i saw a small bit of fiberglass and some automotive filler to be the best shown here.
help. i also need to touch up my door jams, dunno how it got discolored and the paint starting to scrape out, i might just sand a bit and go with a mild rattle spray |
|
|
|
|
10-12-2013, 06:18 AM
|
#329 | |
|
Zilvia Junkie
Join Date: Mar 2010
Location: Goodyear AZ
Age: 38
Posts: 480
Trader Rating: (6)
Feedback Score: 6 reviews
|
Quote:
 |
|
|
|
|
|
10-12-2013, 07:18 AM
|
#330 | |
|
Zilvia FREAK!
 Join Date: Jan 2012
Location: Port Charlotte, Florida
Age: 32
Posts: 1,352
Trader Rating: (1)
Feedback Score: 1 reviews
|
Quote:
|
|
|
|
|
|
| Bookmarks |
|
|


 Linear Mode

