
 |
|
|||||||
| Builds (and builds only) Got a build thread? It goes here, build threads anywhere else on the forum will be locked and never moved. |
 |
|
|
Thread Tools | Display Modes |
|
|
#1 |
|
Leaky Injector
|
rhd rb25 hatch drift slut/street build
Hey zilvia, here is my rhd swapped rb25 hatch. Traded the car back in July and am now starting the full rebuild for the winter. Here is how it sat when i picked it up
     I got the car knowing the rb was burning a lot of oil, the previous owner had already replaced the turbo and was leaning towards valve seals. I was hoping for it to be something easy but it turned out cylinder 6 piston was melted and the block was damaged so it needed a full rebuild.   I ended up buying a new longblock from jdmalliance in texas, I talked with them on the phone and heard some good reviews so I figured they would be decent to deal with, even tho buying any motor from an importer is a gamble. As soon as i got the new motor i started prepping it to drop it, put the isis intake and holset hy35 which i later swapped with the stock turbo because im still running the stock ecu.     I got the motor in and running, basically threw everything together so i could use it for the rest of the drift season at clubloose north at nhms. This is how it sat when I started stripping it down for the winter re build.  |
|
|

|
| Sponsored Links |
|
|
#2 |
|
Leaky Injector
|
Here is an update of what ive done to the car this winter, I just realized my post was approved and havent been updating it since it was made.
First i gave the engine bay the attention it needed, one of the previous owners did all the fab work for the tubs and they just needed to be clean up and re painted. 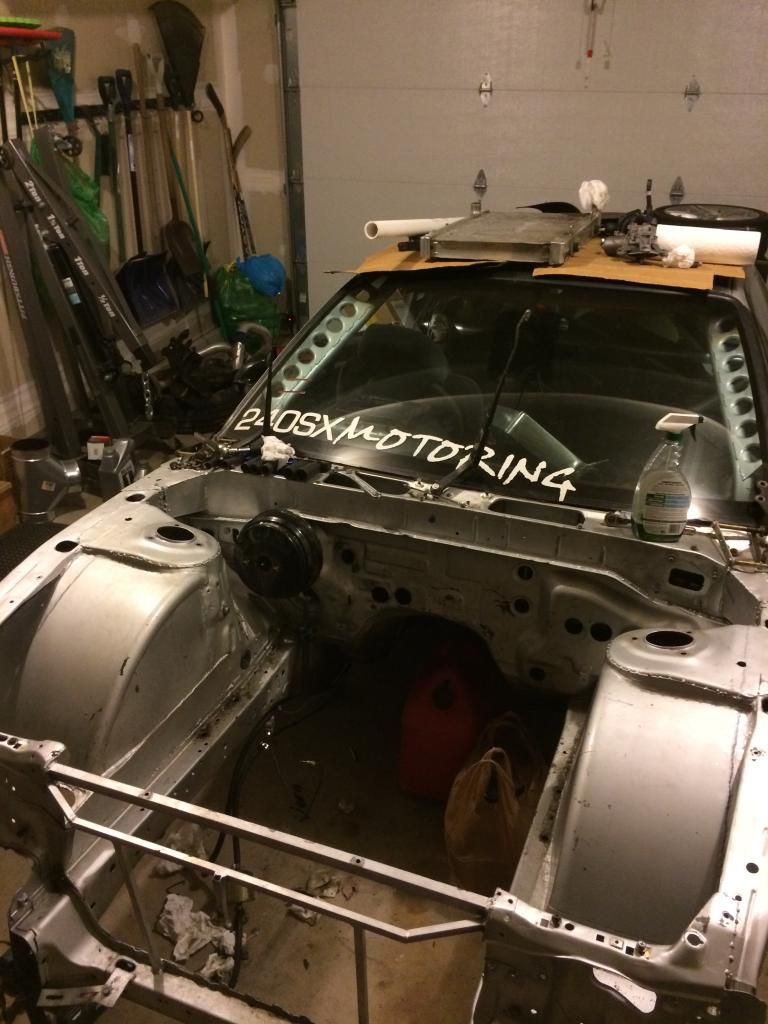 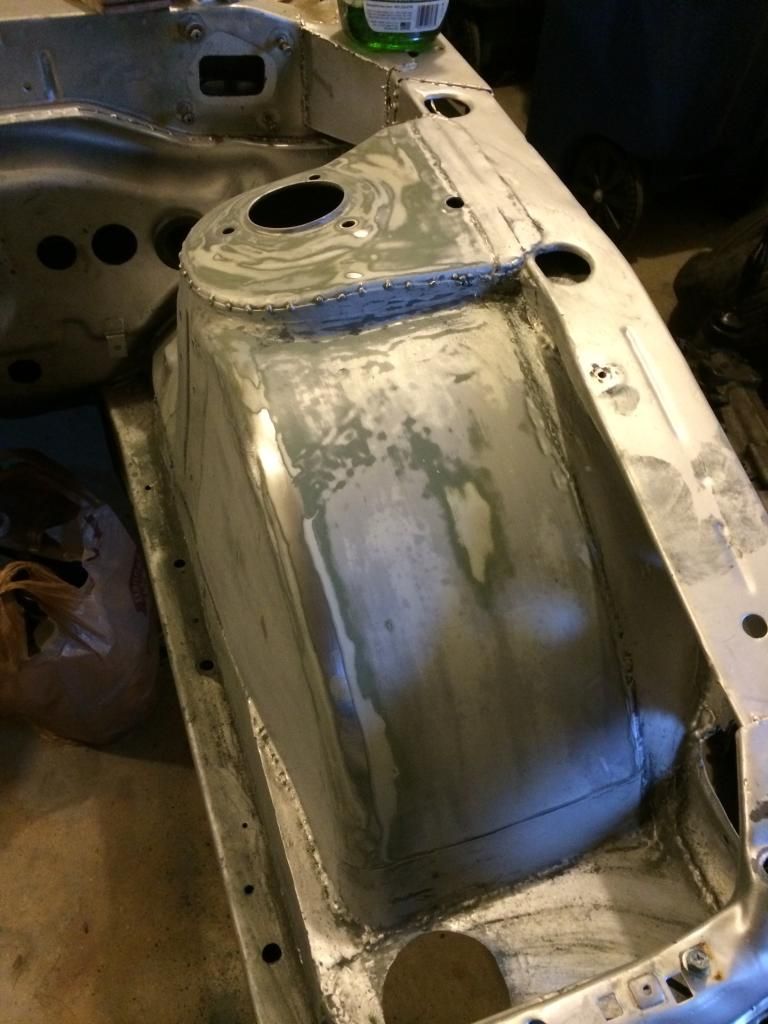 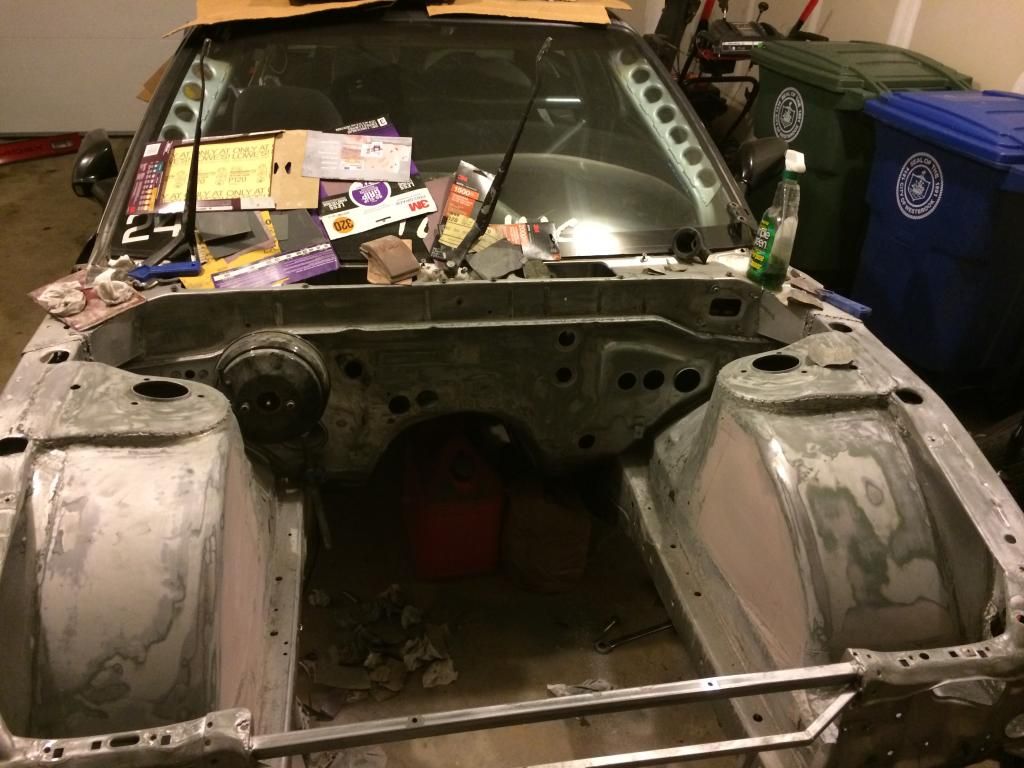  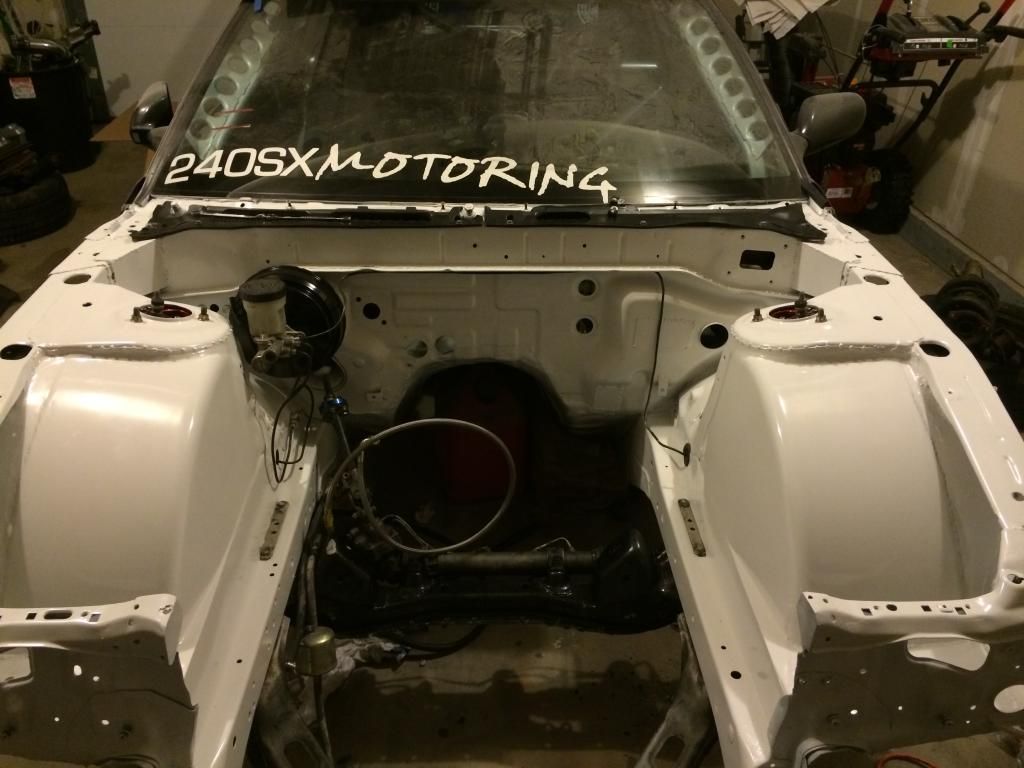 Once the engine bay was done i moved to the interior, I stripped the paint off the floor and cage. Repainted the cage in gloss white and used truck bed liner for the floor, I know its not ideal but i wanted something that was durable since i dont have a rhd carpet to put in right away. 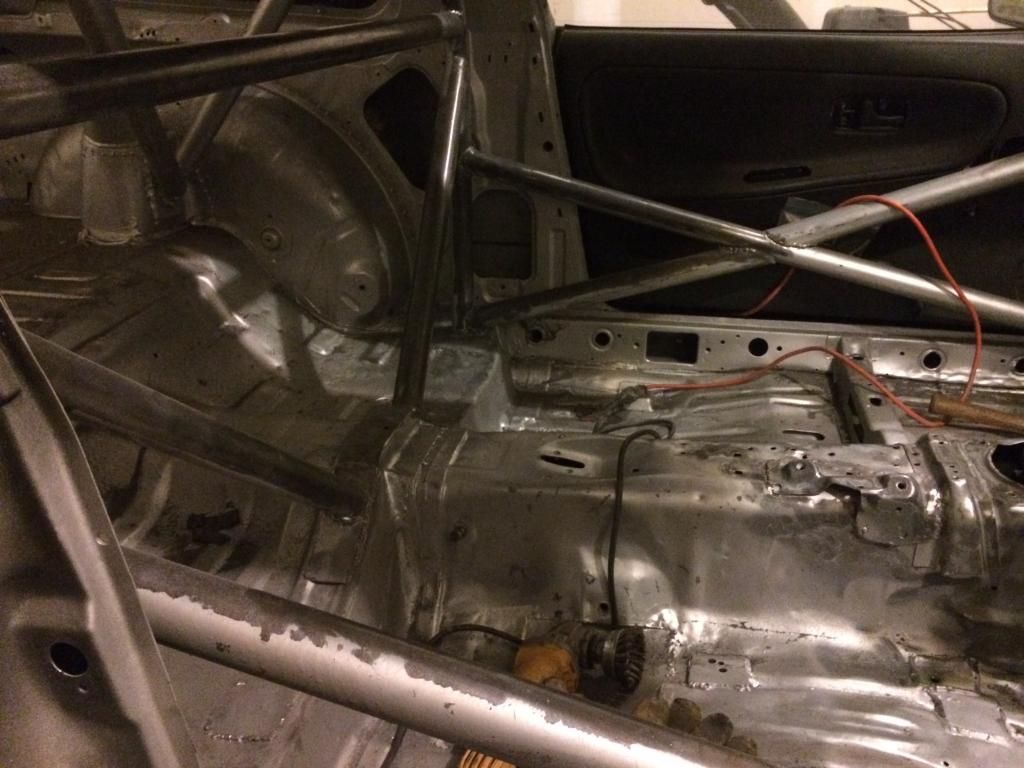 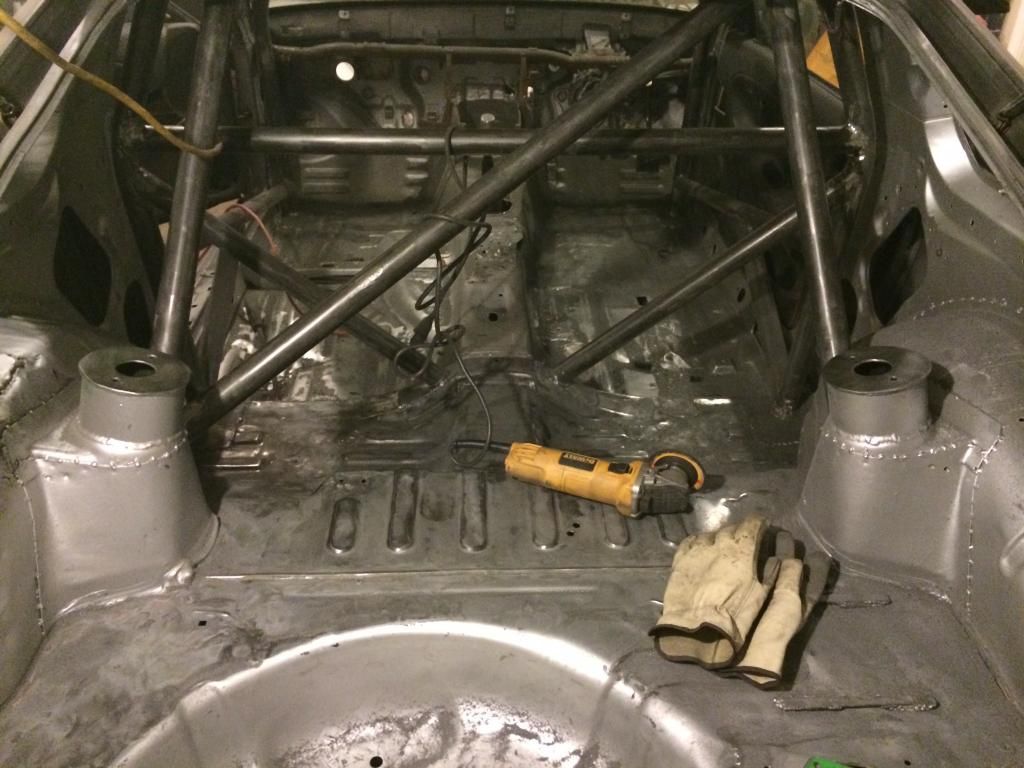 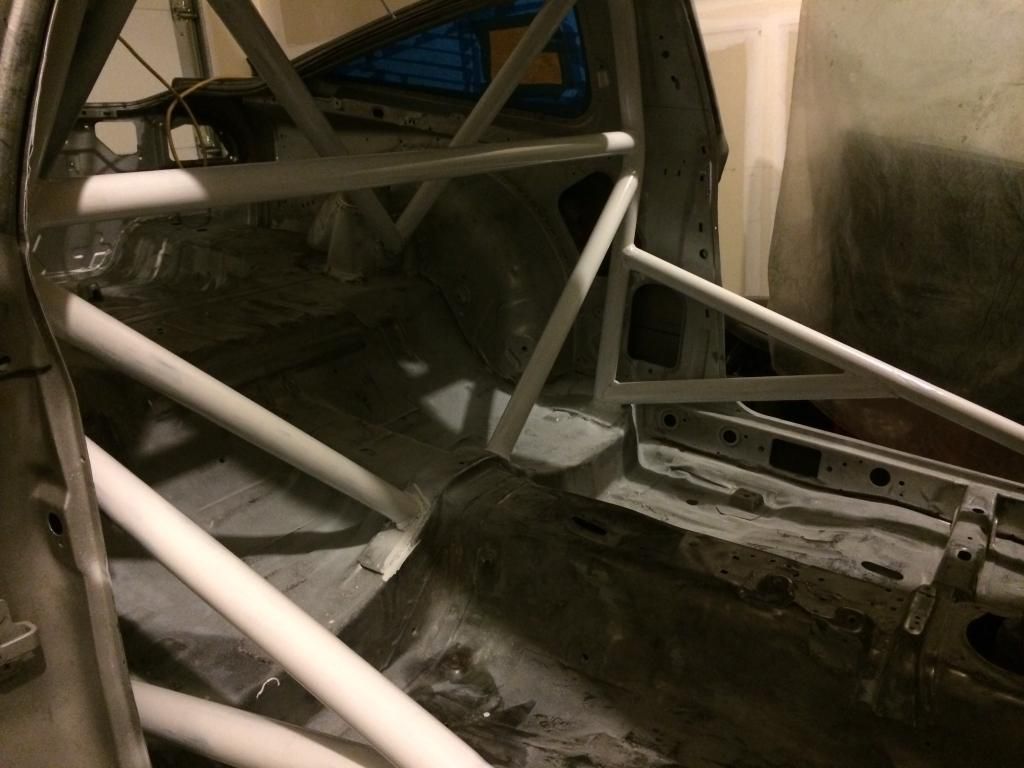 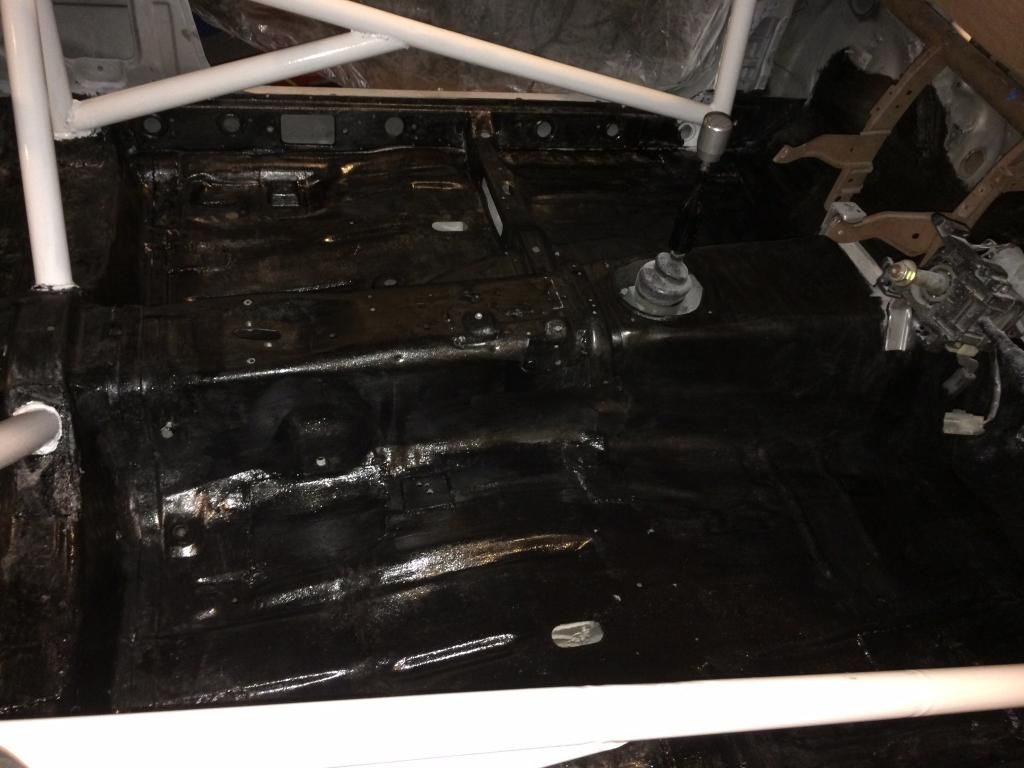 Next on the list was wiring, when i got the car the wiring was a mess. Everything worked but all the fuse/relay boxes were moved to under the dash and with most of the oem wiring not being used it was a rats nest. I started with the engine harnesses. I had an oem r34 rb25 neo harness that came with my motor so I split that apart and wired it to work with an s13. Also re wired my lower harness since none of the tranny sensors will be used. 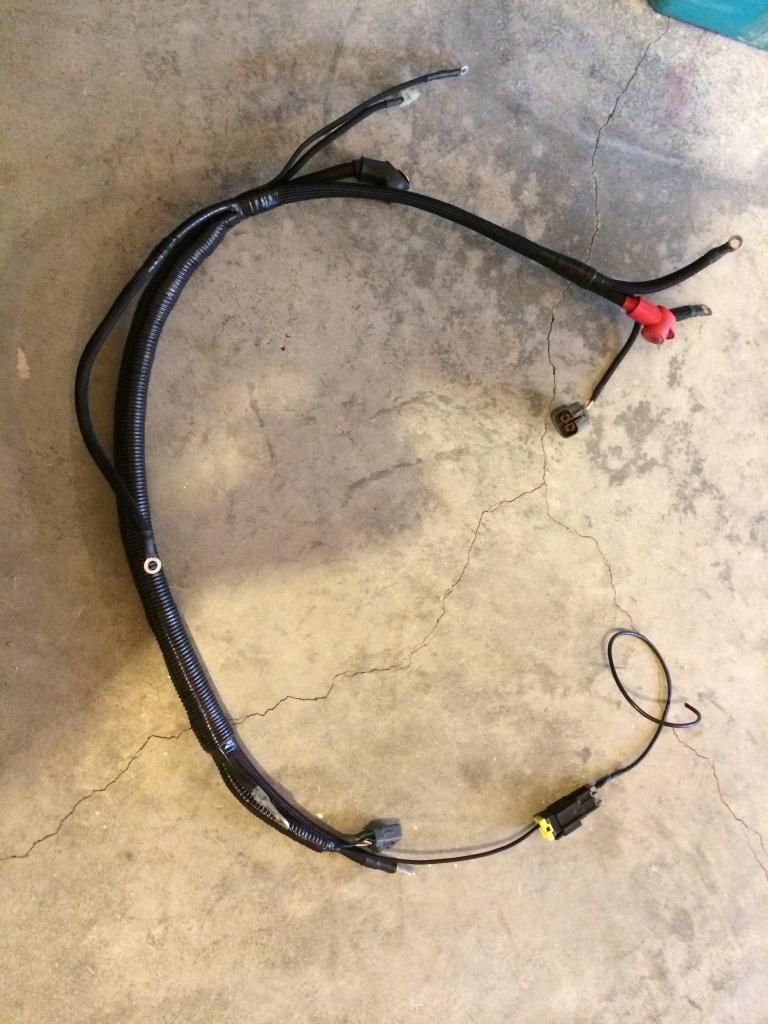 The chassis harness was next, I started with the main chassis harness and stripped it of everything im not using so all that was left was lights and wipers. I re pinned the fuse box and added the relays so they were one unit, then i added all the wiring for my gauges, switch panel, and clips for the engine harness. Doesnt seem like a whole lot but i dont even want to know how much time i have invested in this. 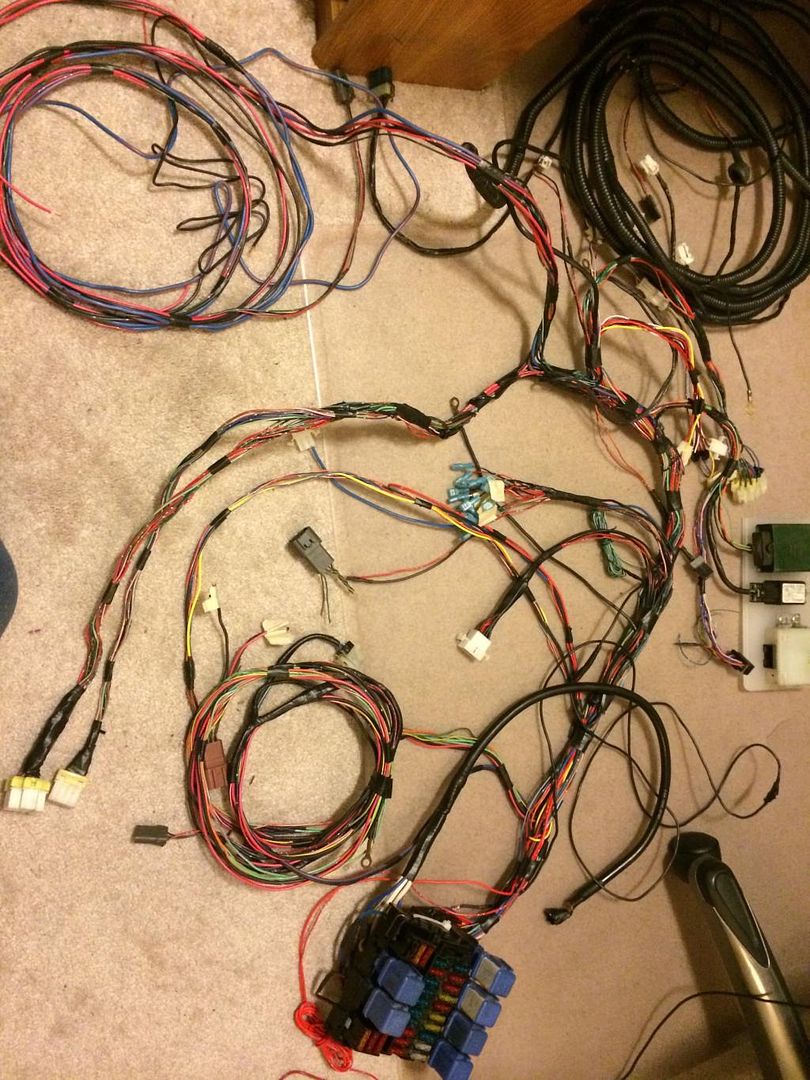 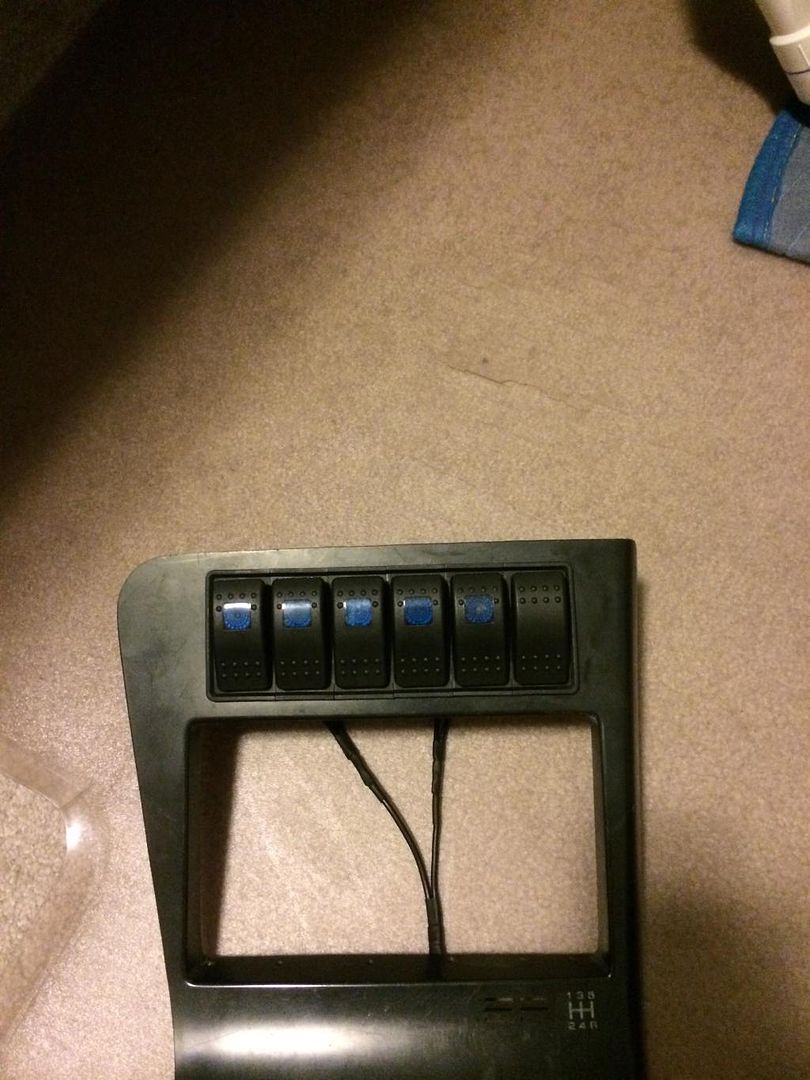 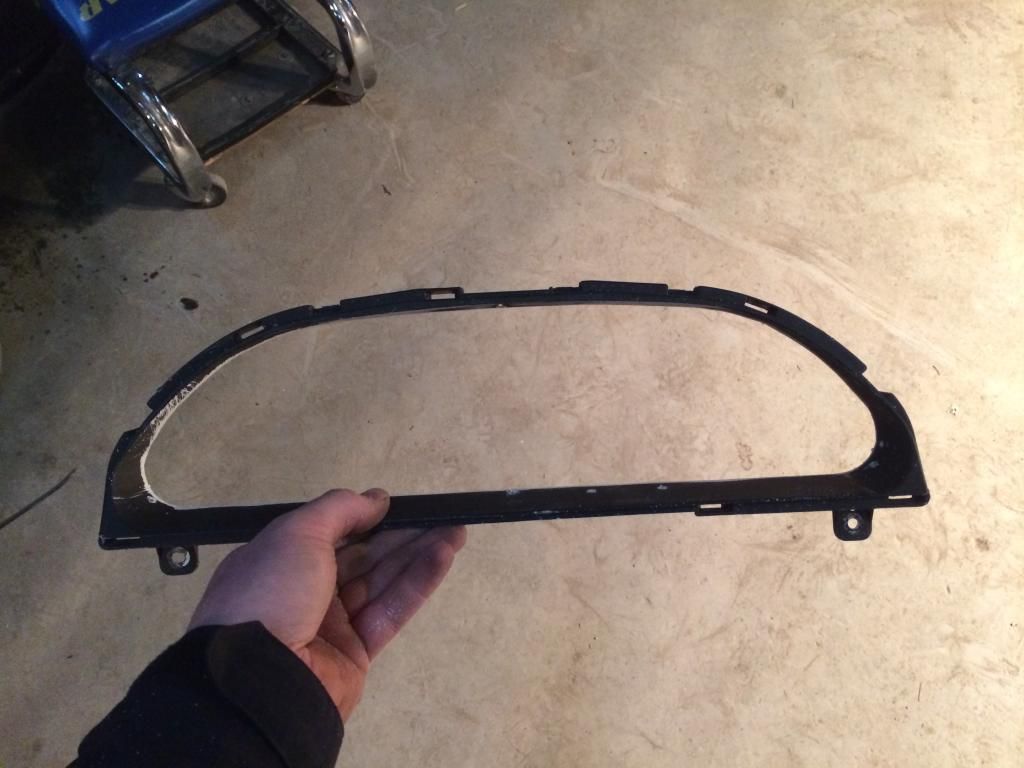 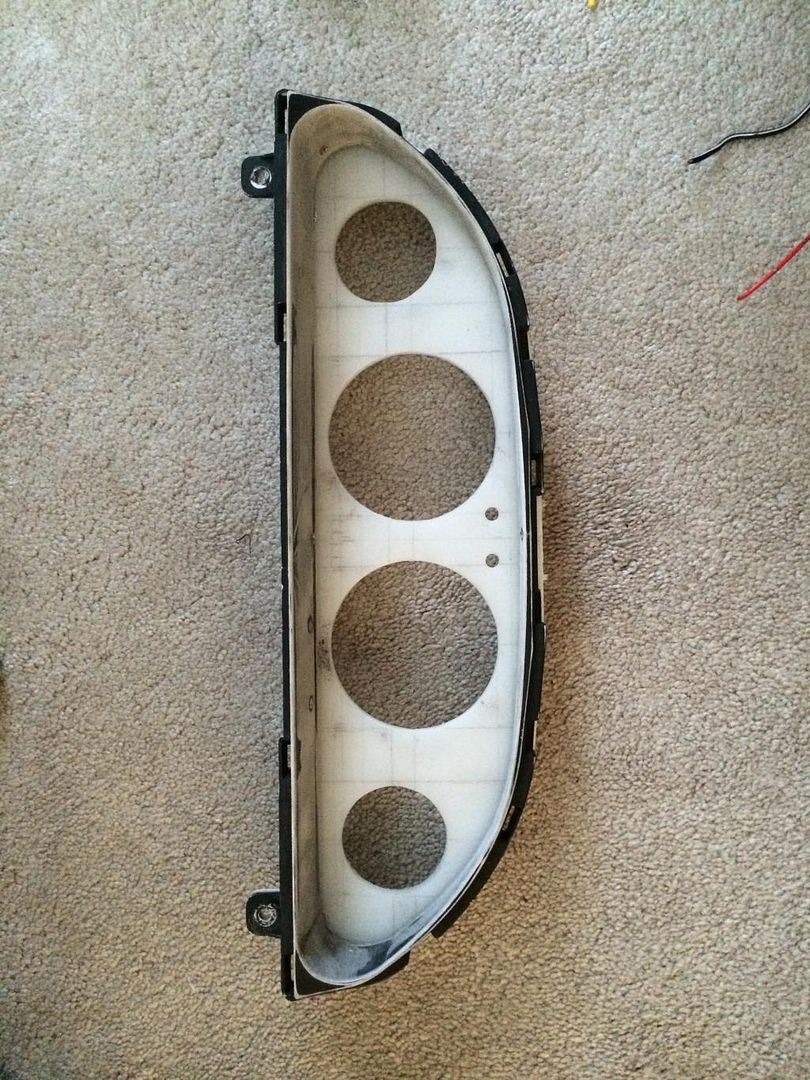 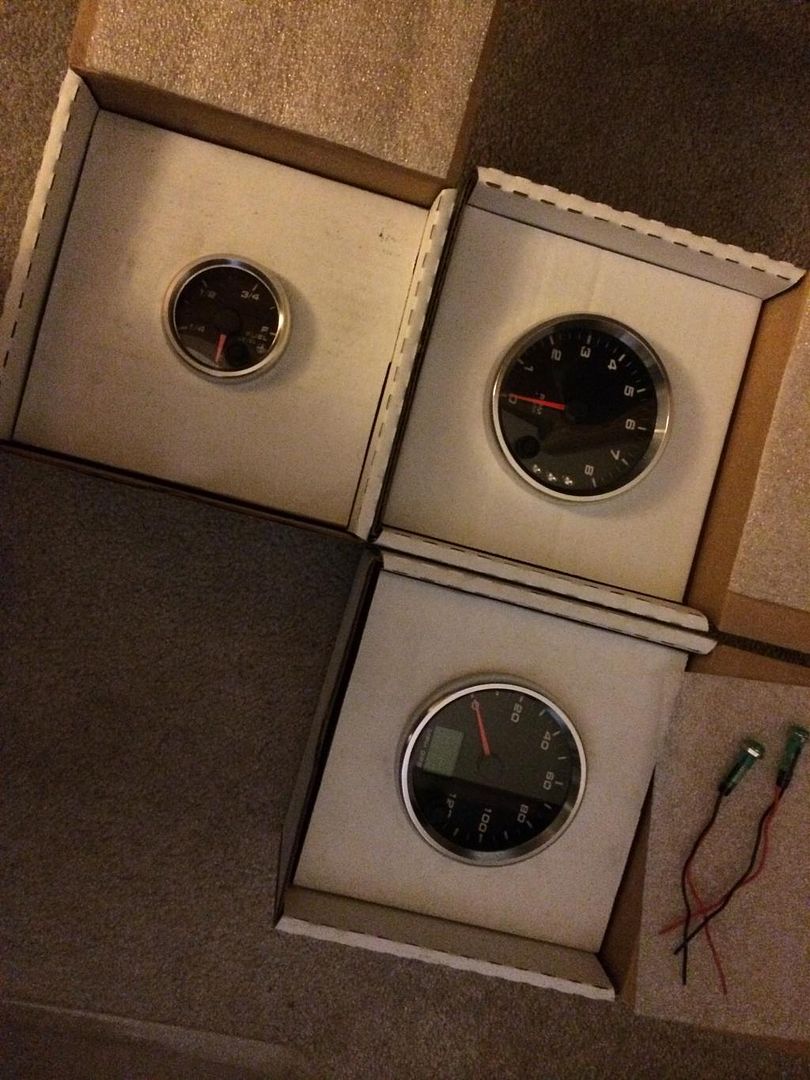 Thats pretty much were im at now, more updates to come. |
|
|

|
|
|
#3 |
|
Leaky Injector
|
Here's another short update, im nearly finished for now and hopefully getting it stickered Saturday. Last time i left off with the gauge cluster so here is the finished product:
The innovate wideband is just there for now to fill the hole until i get another speedhut gauge. 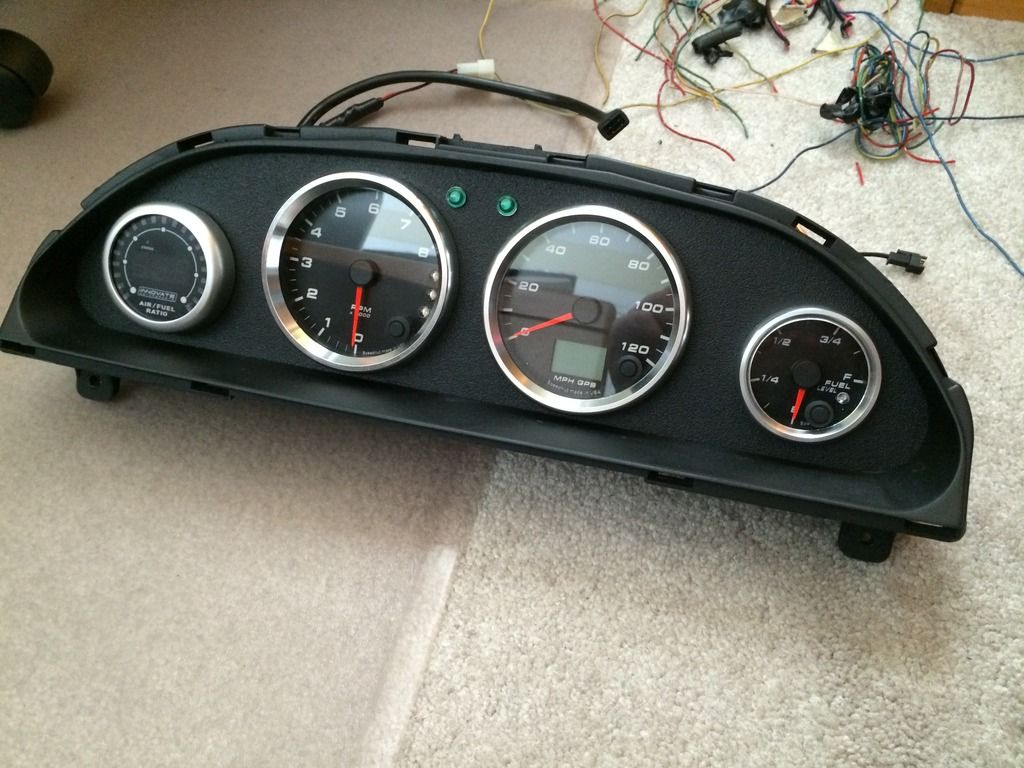 Next was assembling the interior: Heater setup run to just defrost for rainy days and inspection purposes 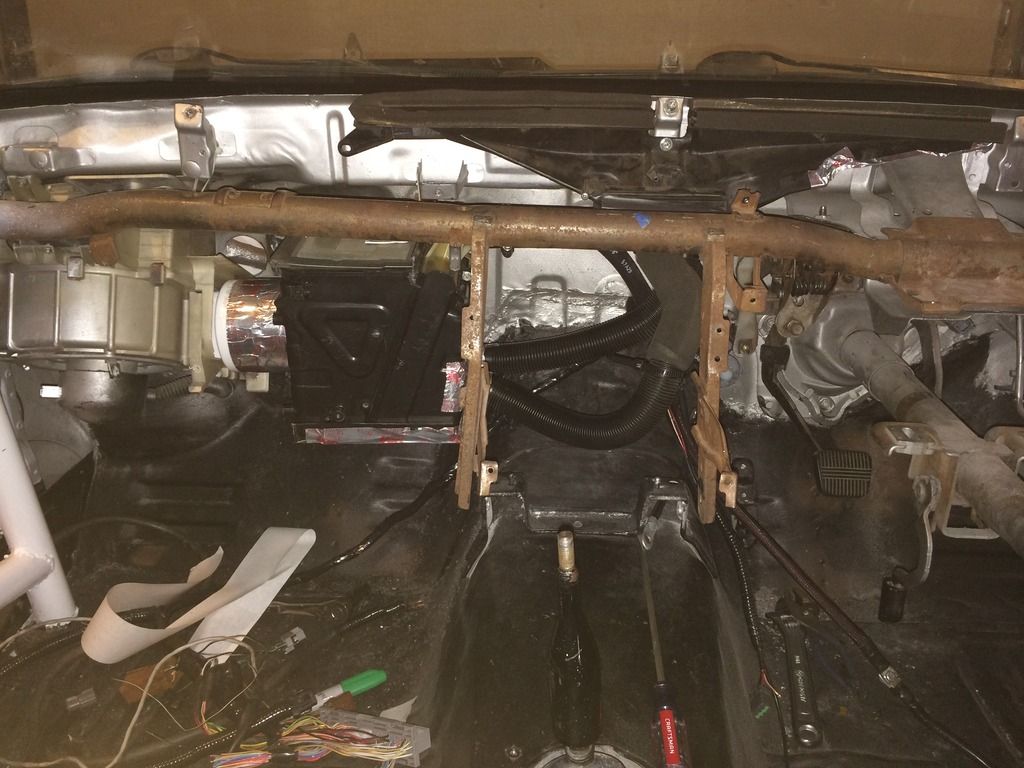 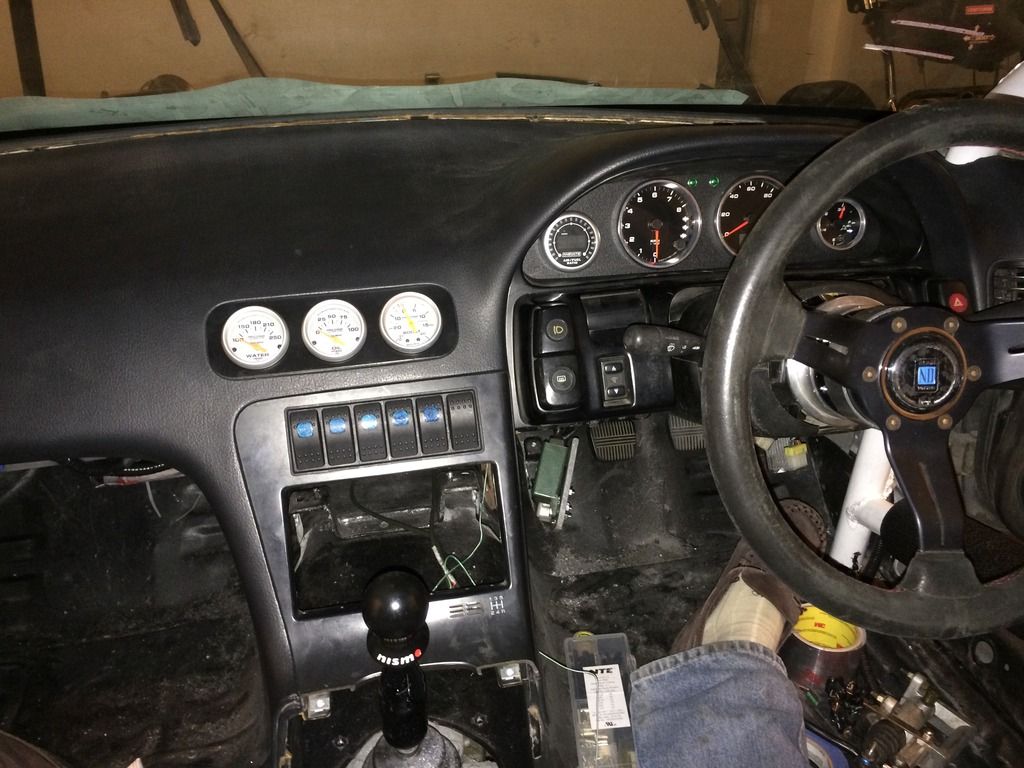 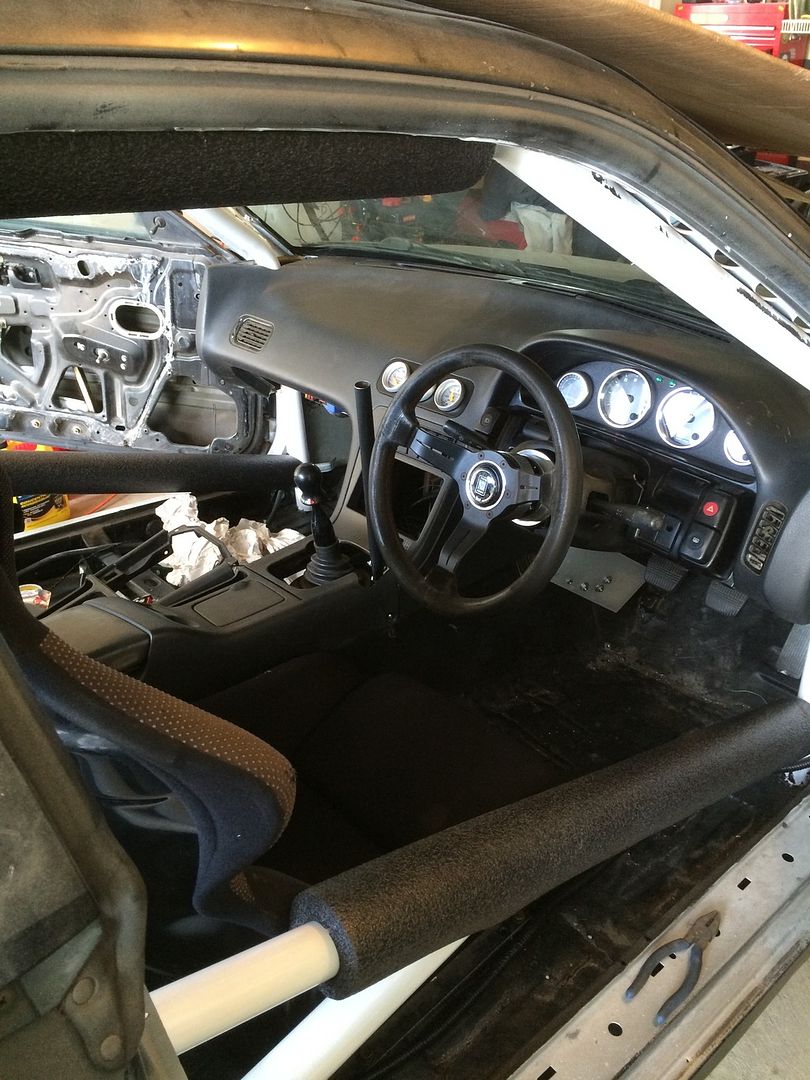 The only arms i was missing were rear toe so I bought some heim joints and threaded rod and made some, prob would have been cheaper to buy some but w/e, worth the experience. 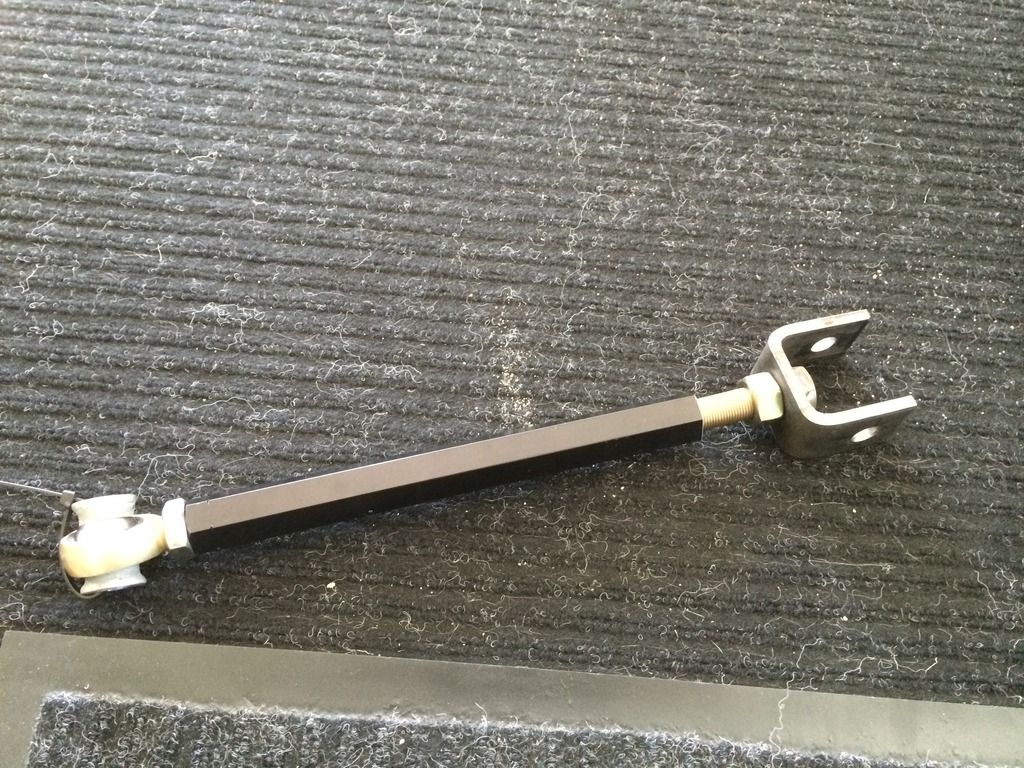 Also made a hydro with a master i had for the time being until i upgrade to dual calipers hopefully soon. 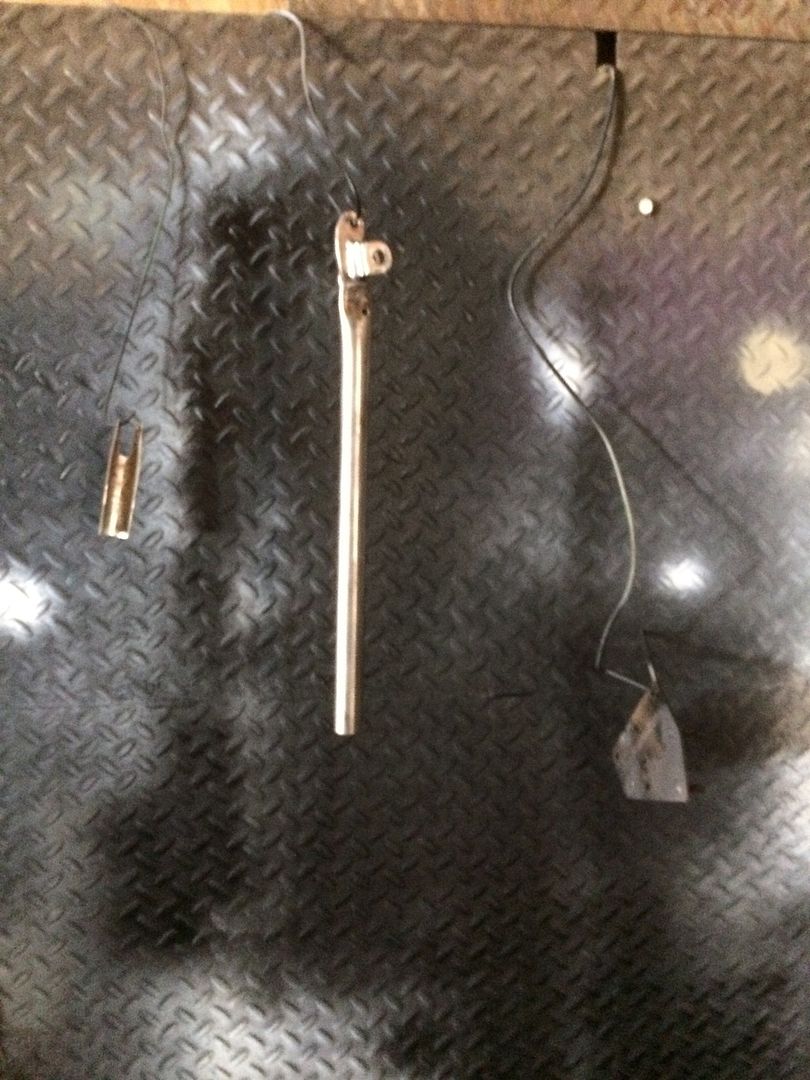 And this is how it sits now, front bumper is just sitting on the ground not mounted, but i have a gp sports rep kit rdy to install once its inspected. 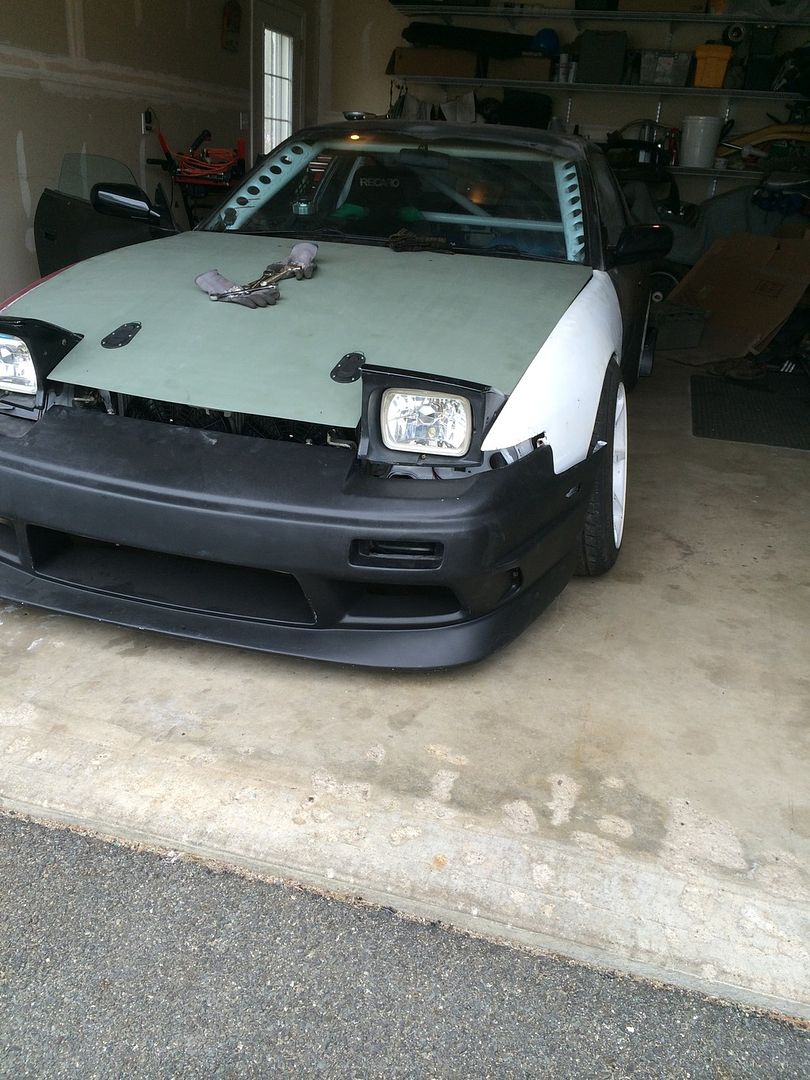 |
|
|

|
|
|
#6 |
|
He actually used a cutting board from walmart for the cluster. The factory bezel was cut out with a scroll saw, edges sanded down, and then the plastic from the cutting board was glued to the bezel.
This is my brothers build so I figured i'd chime in to answer as he doesn't come to this forum much anymore! |
|
|
|

|
 |
| Bookmarks |
|
|