|
|||||||
| Builds (and builds only) Got a build thread? It goes here, build threads anywhere else on the forum will be locked and never moved. |
 |
|
|
Thread Tools | Display Modes |
|
|
 06-27-2012, 10:44 AM
|
#1 |
|
Zilvia Junkie
 
|
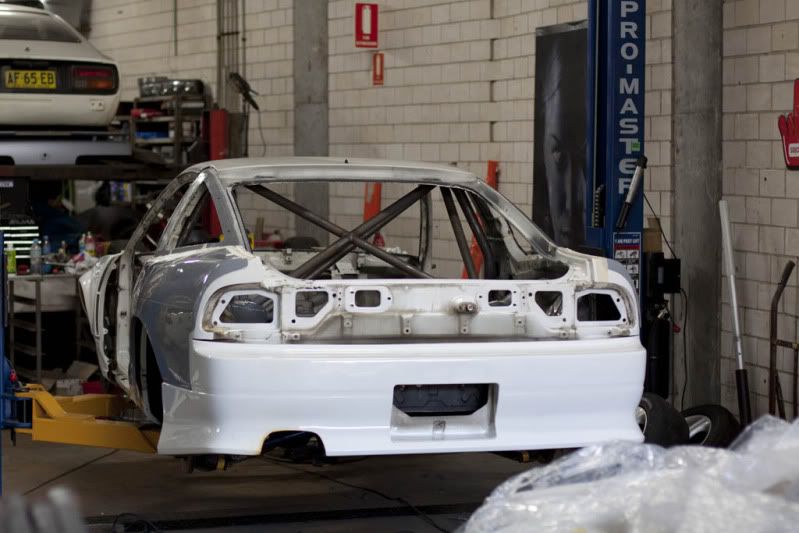
Had a massive weekend following, picked up the old side skirts and rear bar from Matts who has been kind enough to store them for me since I stripped the car. (thanks again Matt)
Got the car back to a rolling state as well, just put the S13 frame back in so I didn't have to get all the new S15 arms dirty at the body shop. I've got my concerns about fitting the kit there is a fair amount of work involved to get it to a stage I'm happy with. The origin guards are far from a perfect fit. Also did a bodge trial fit of a 18x9.5 +22 CE the new guards swallowed it whole. You could almost fit your head in the gap! Should fit 11's without much hassle I think! Have to get up and organise a tow truck the following morning. Some pics. Sex =)  NOM NOM NOM! 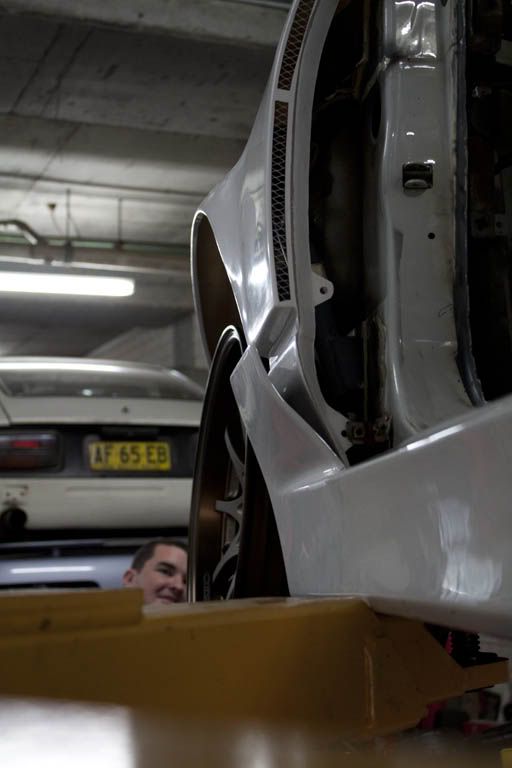 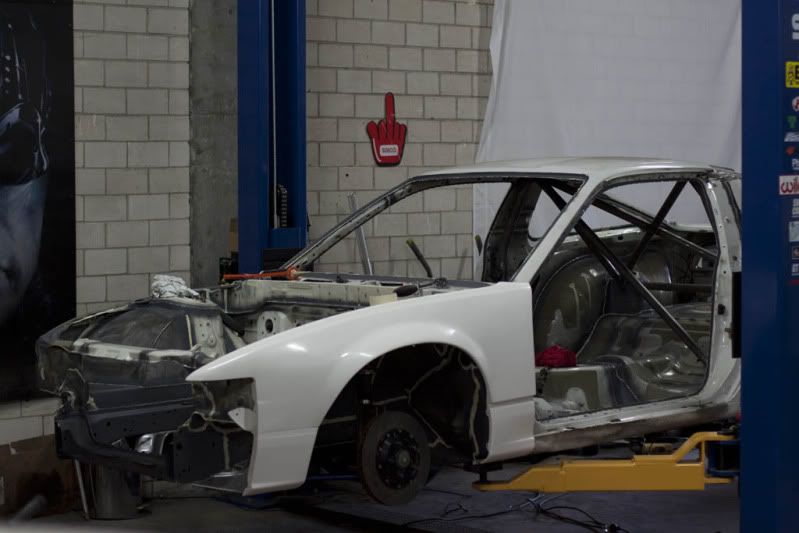 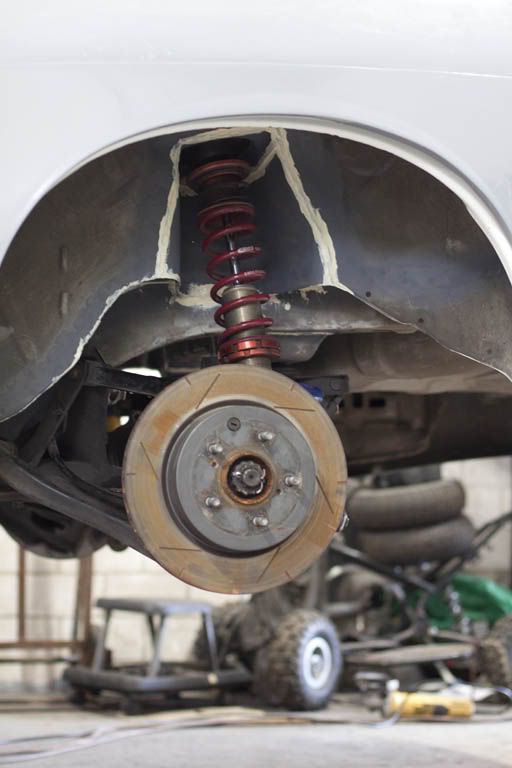 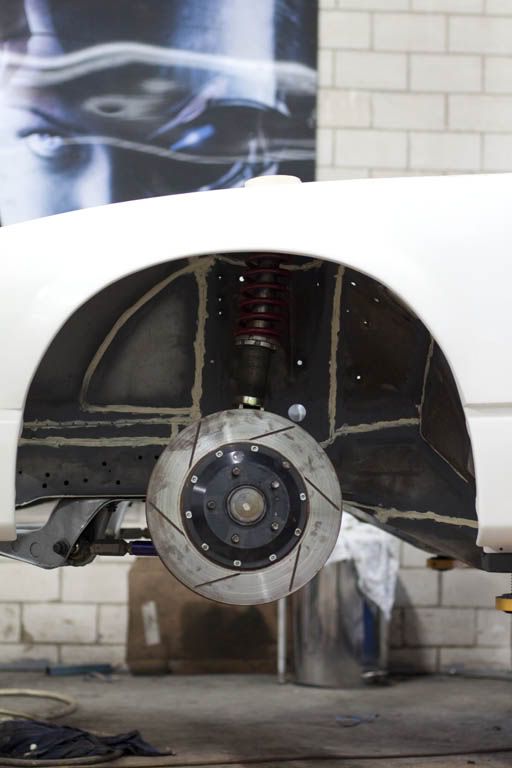 More soon! |

|

|
| Sponsored Links |
|
06-29-2012, 10:21 AM
|
#2 |
|
Zilvia Junkie
|
Basic idea of what it should look like. Not super happy with the fitment though will need some fine tweaking.
 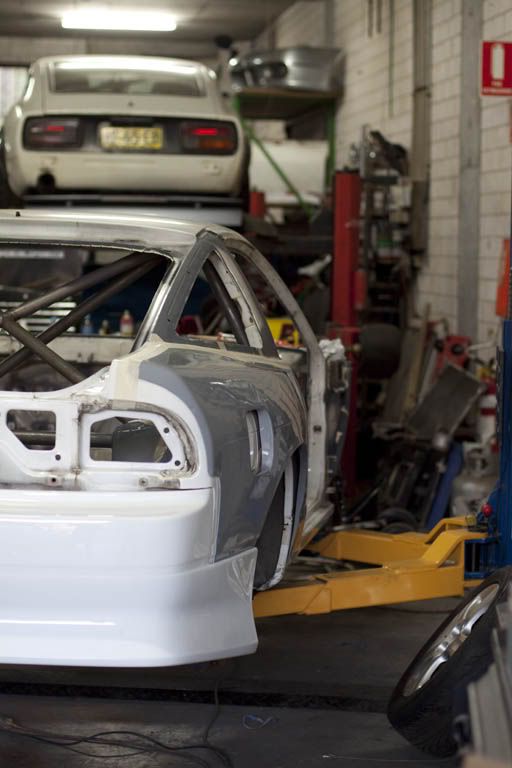    All sealed up again, passenger door. 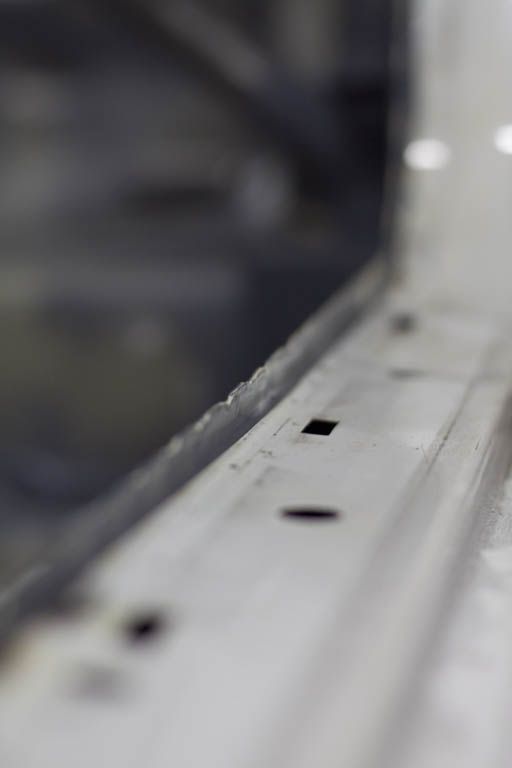 This is now back in too. =) 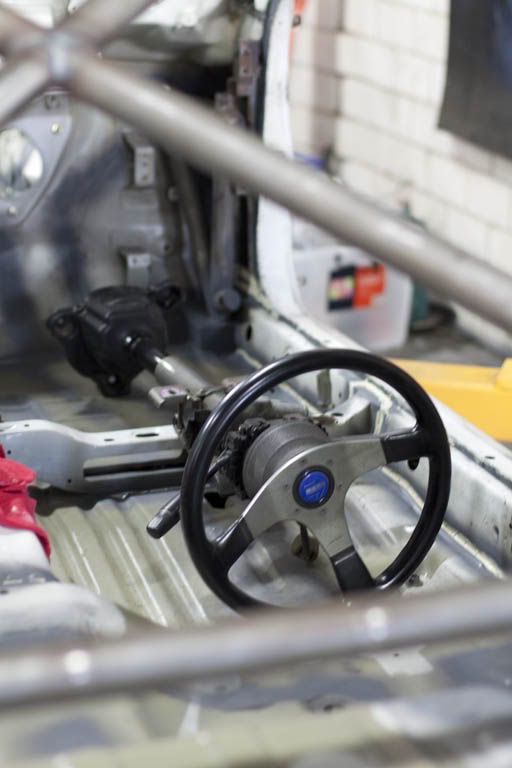 More pics soon! |
|
|
|
|
07-05-2012, 12:01 PM
|
#3 |
|
Zilvia Junkie
|
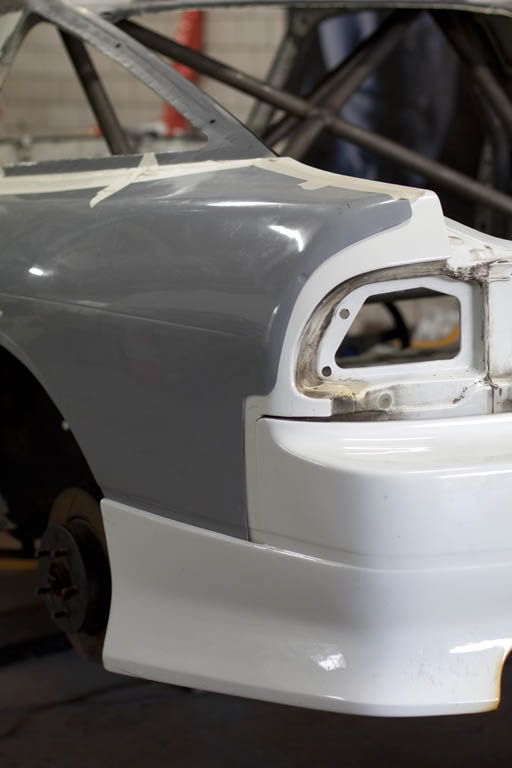
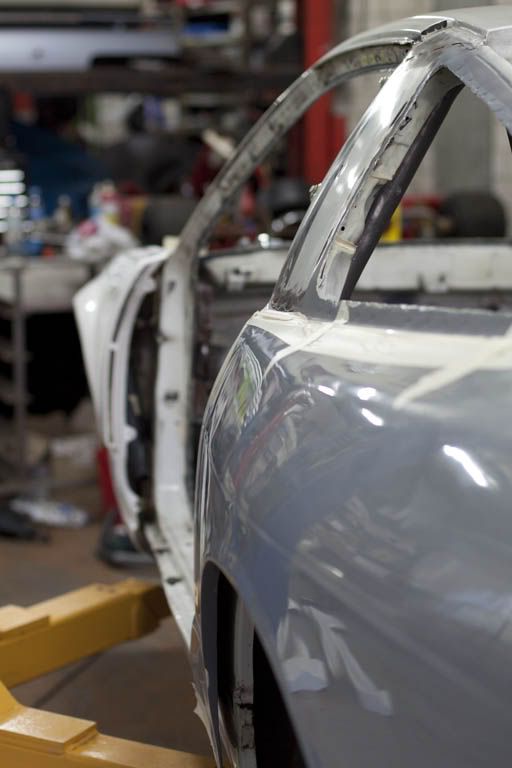
So the car was back out of my hands and over at Bodyform. It got towed over and slightly sprinkled on but I whipped out the car cover and also dried it down with a rag once the cover was on. The steering is now bodged up and its much easier to move around.
The front koguchi power guards going on have no top pin line through them so I'm considering removing it from the doors and rear guards too. My gut feel is it'll look good but I was slightly worried it might look odd without it as the rest of the panels are so plain. 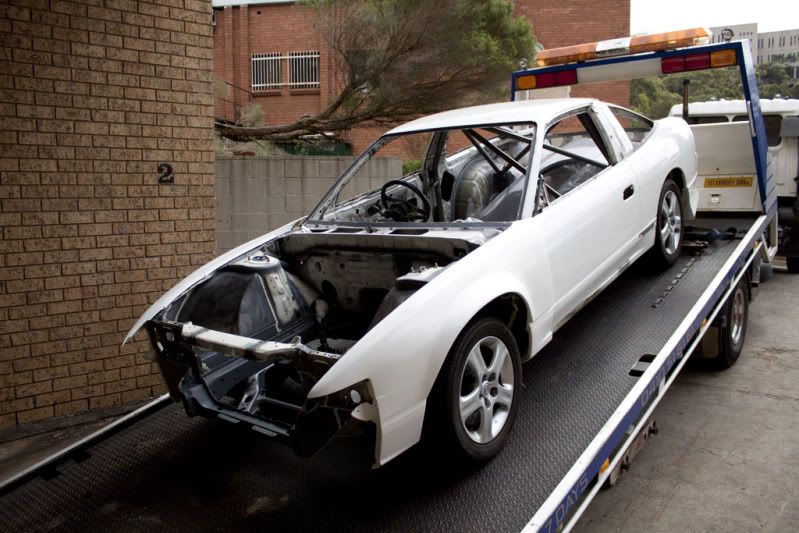 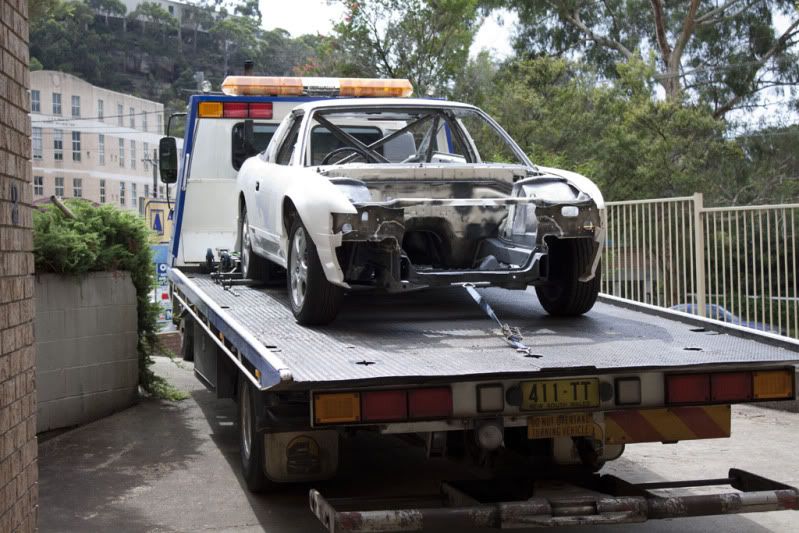 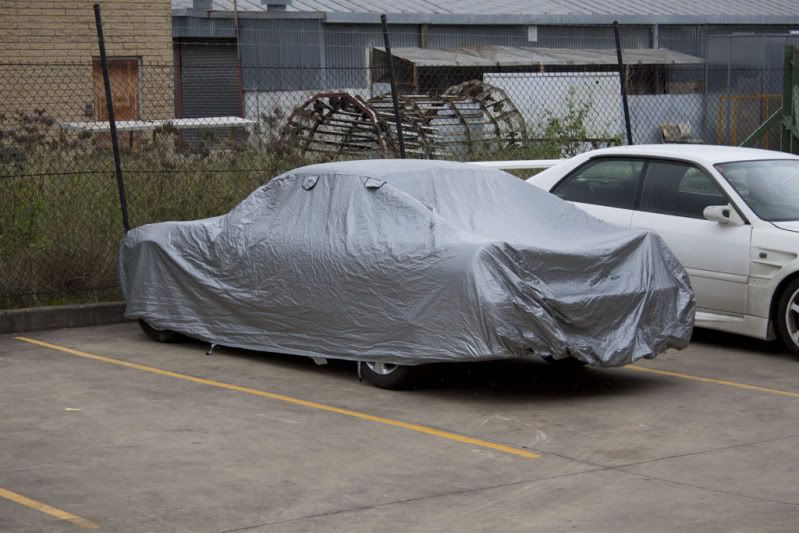 Was looking forward to a few weeks of much less strenuous work! |
|
|
|
|
07-06-2012, 10:25 AM
|
#4 |
|
Zilvia Junkie
|
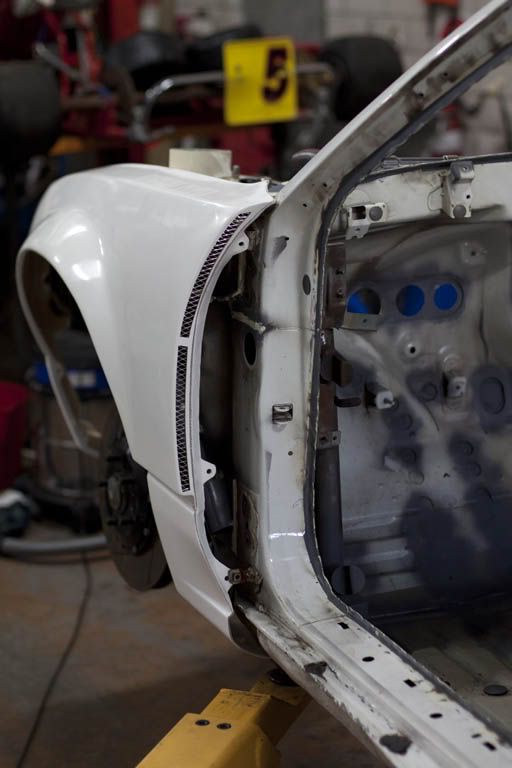
The car sat at Bodyform for a lot longer than I'd initially expected which was rather frustrating as there was plenty of other stuff I could have been doing with the same time. After afew weeks Peter free'd up some time and got stuck into making the new inner guard out of the old guard. I popped over on a Tuesday to drop off some wheels that came in from Japan. The outer skin of the guards had already been cut.
You can see how much has been cut away from where in inner skin still sits. 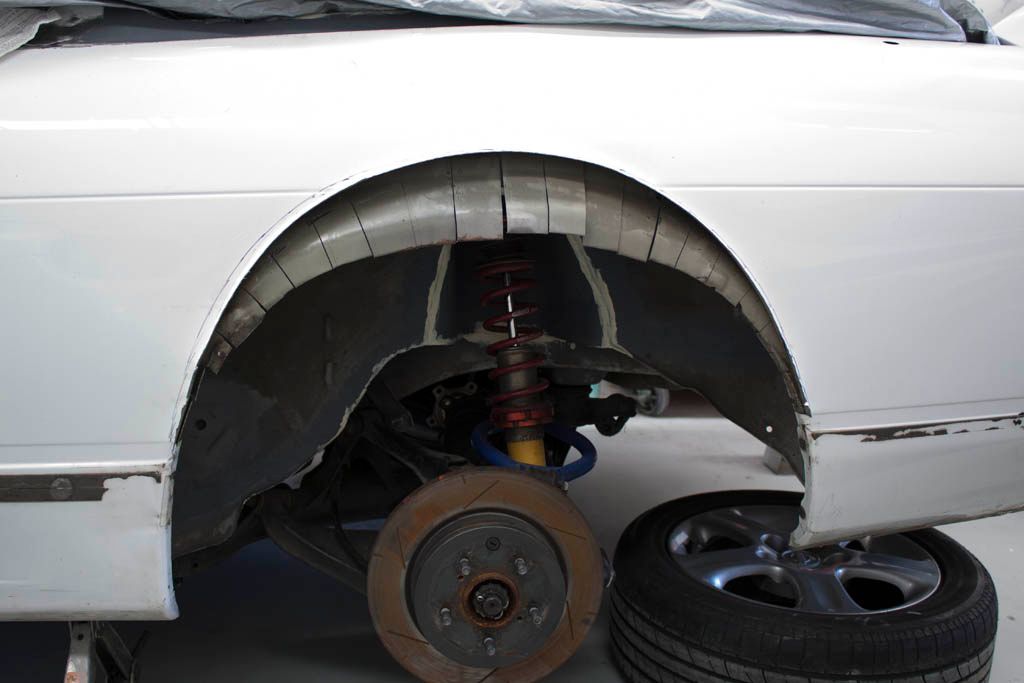 This bend is to give the inner guard a lip to rivet too and the whole thing more strength. 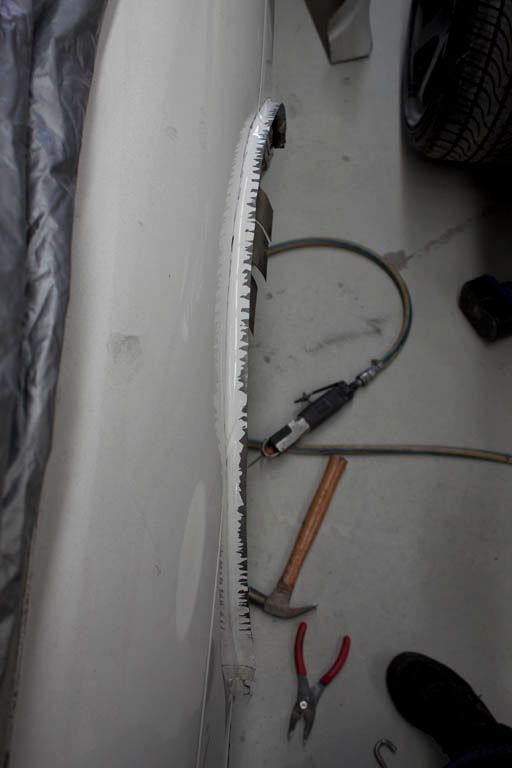 I was pretty surprised how thin this metal actually is, so piss weak its not funny! 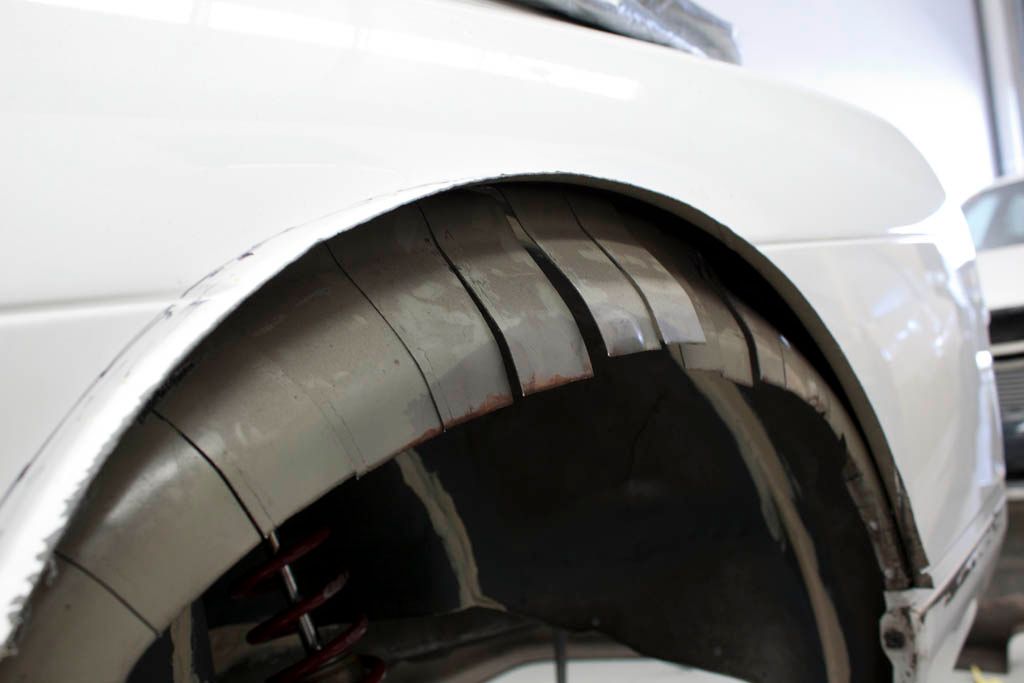 Reminds me of the garage sale flyers with the tear off tabs :P 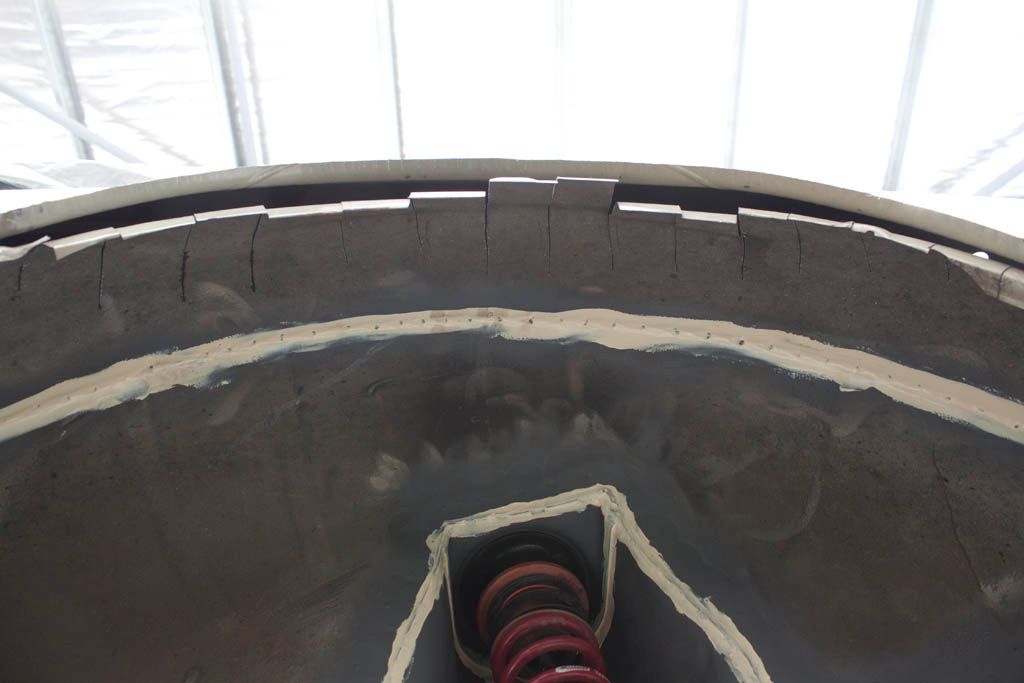 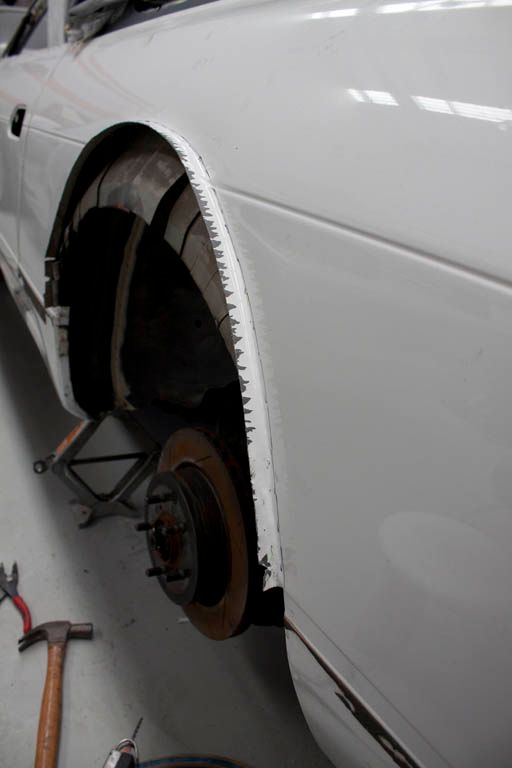 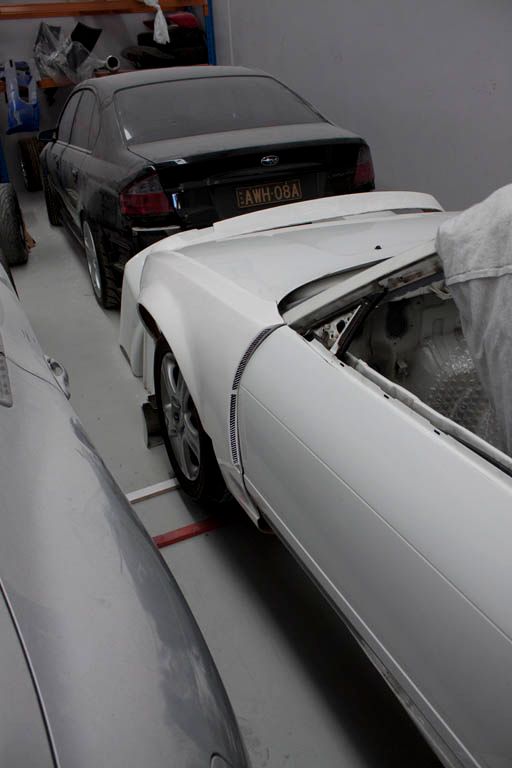 You can see in this shot he car is actually stiff enough now that where jacking it from this point the front wheel lifts off the ground well before the rear. I really need to get the rear droop shortened though when the Bilsteins get a makeover in the not too distant future. The current rear droop is total overkill and is more just an annoyance when trying to jack the car up than anything else. 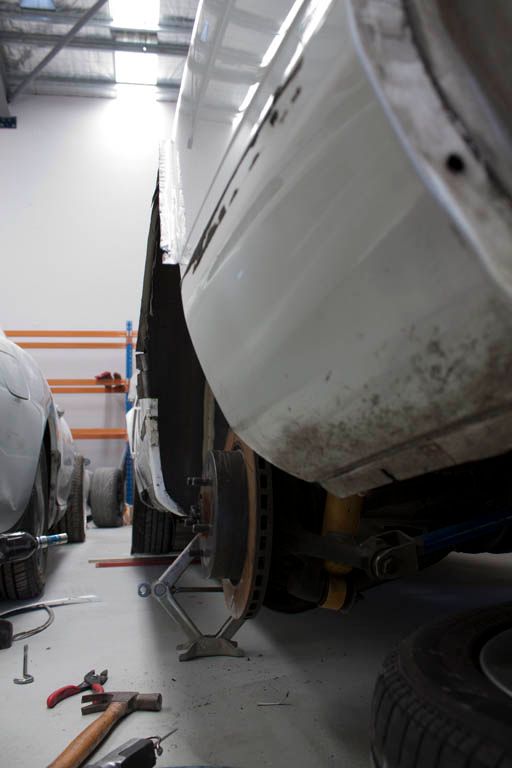 Should be alot more room in there soon! =) 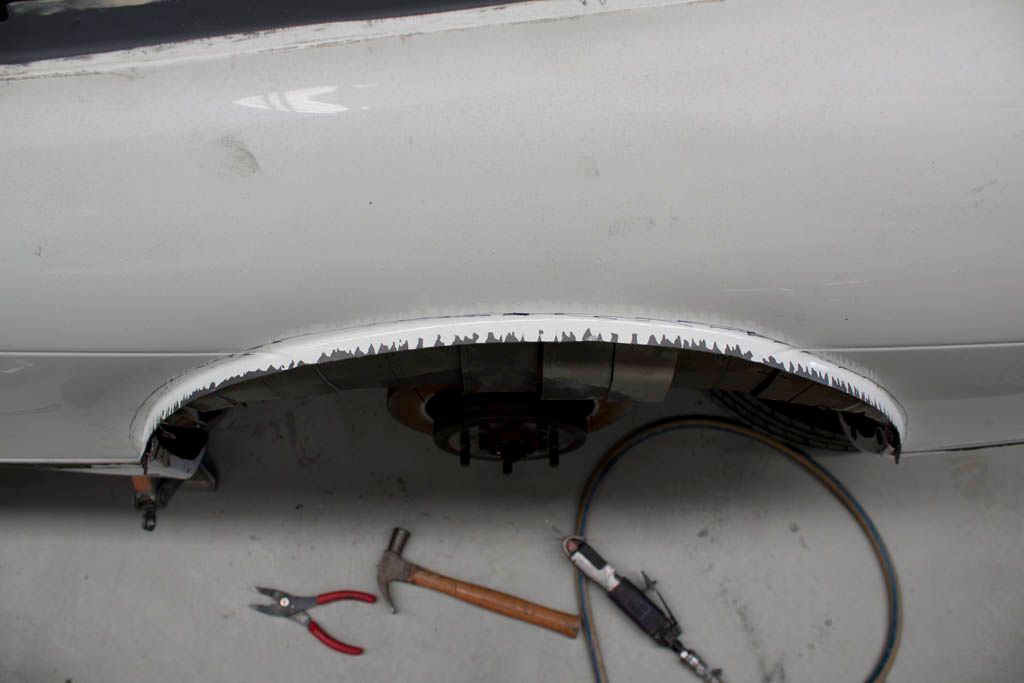 More soon! |
|
|
|
|
07-09-2012, 08:36 AM
|
#5 |
|
Zilvia Junkie
|
So the next time I went back Peter had riveted the inner guard to the new lip on the outside already and cut the excess off. The origin panel had been stuck on with afew self tappers to line it all up and see how it fitted. It was actually better than I thought when we did our bodge tape on method which was a pleasant surprise, usually its the other way around. :P
Looking up in the guard at the new riveted inner guard with the widebody panel on. 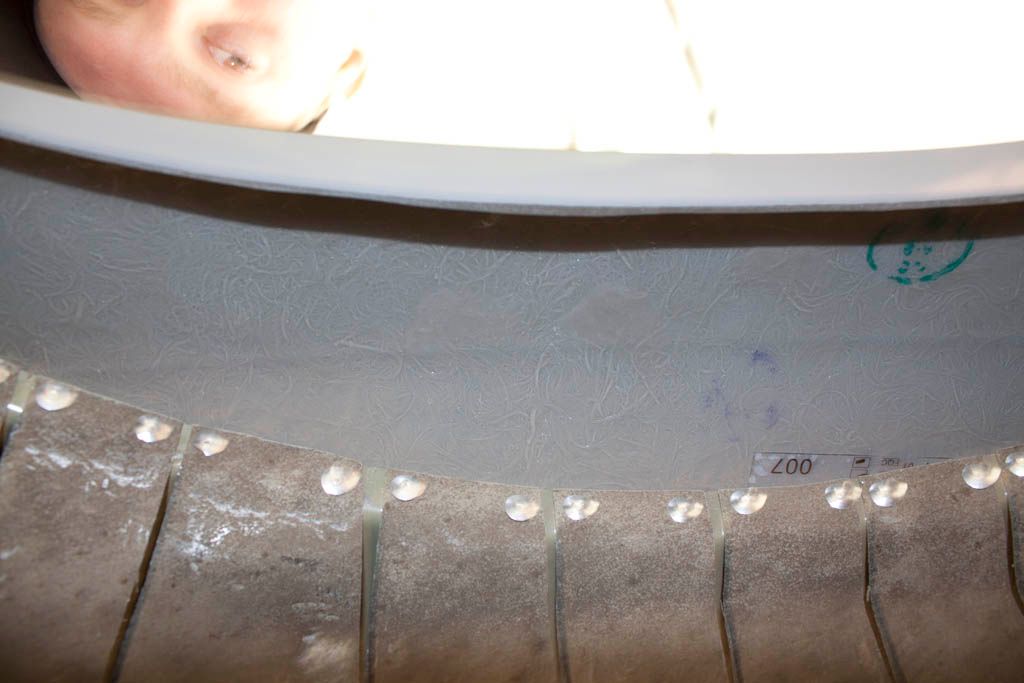 Lots of tiny cuts mean over all the whole thing can have a nice rounded transition. This will all get tied together with urethane paste once its done so it wont fill up with water.  The gap to the outer guard will be covered with a new section of fiberglass. 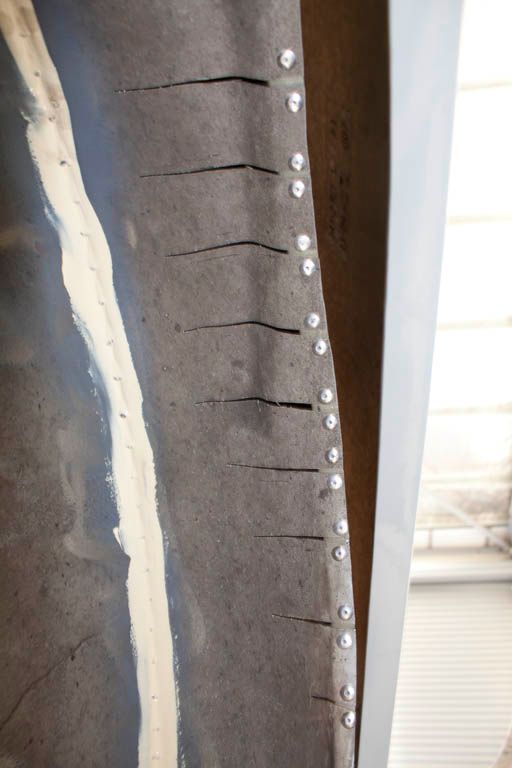 How the panel will sit. 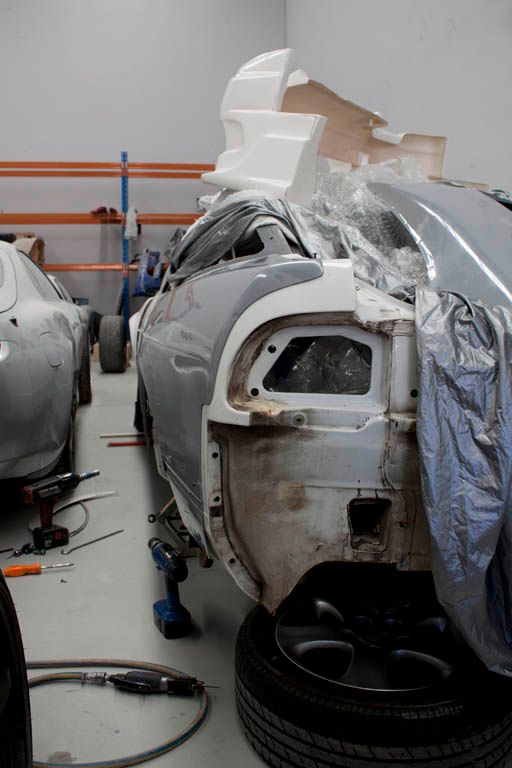 You can see a dip in the back of the panel. Average glass work, will need to be skimmed with bog. =/ 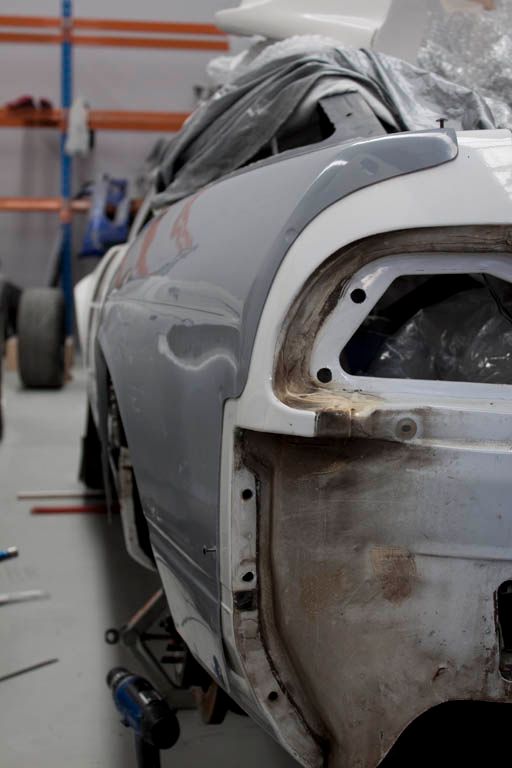 So while we were there with the guard on I thought we'd try on one of the 19x11 -9 SSR rims I'd ordered for a Mate of mine. At full droop this looks like it wont quite fit but once the suspension is compressed it should easily. I've heard the S15 rear subframe pushes everything out 15mm odd further each side though so I'll need to get that in before I can do a proper fitment and order some wheels. 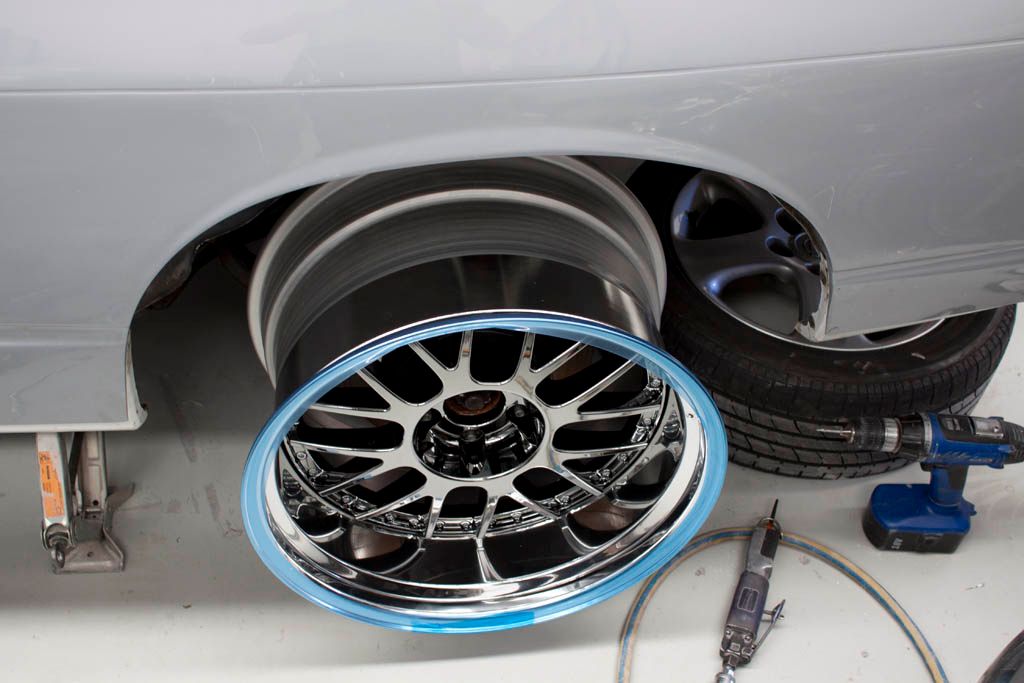 I wish we could have jacked the wheel up. But nothing was handy to do it with that didnt risk damage. 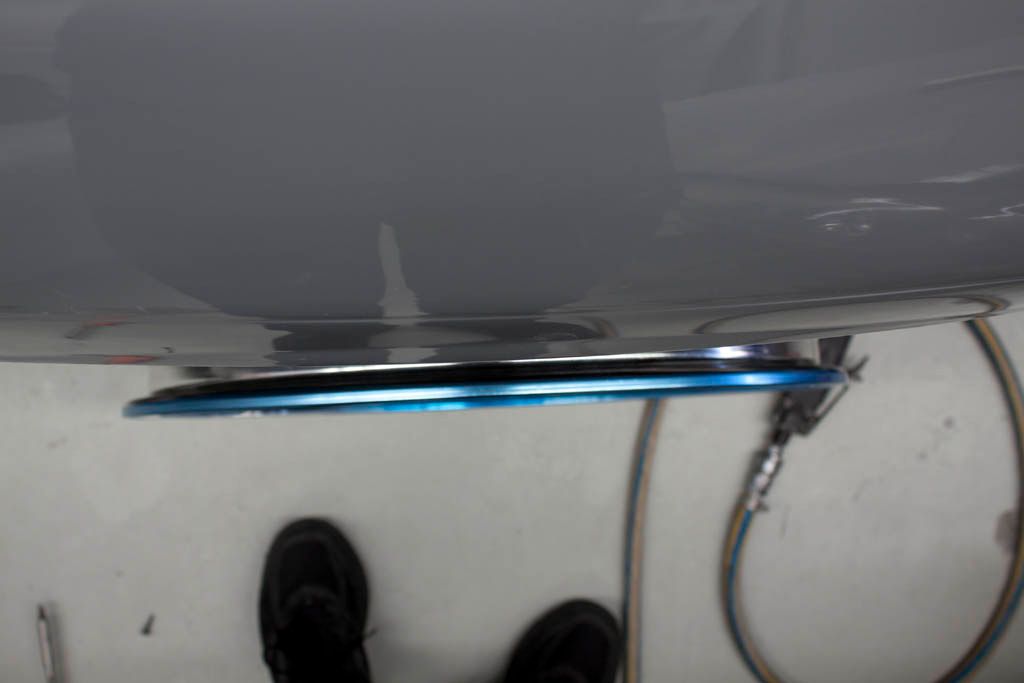 There is a good 25mm or so space on the inside to the strut helped by the 19" size though. I'll probably stick with 18" wheels though so this might be a much tighter squeeze when it gets to ordering wheels. I'll have to wait and see though. 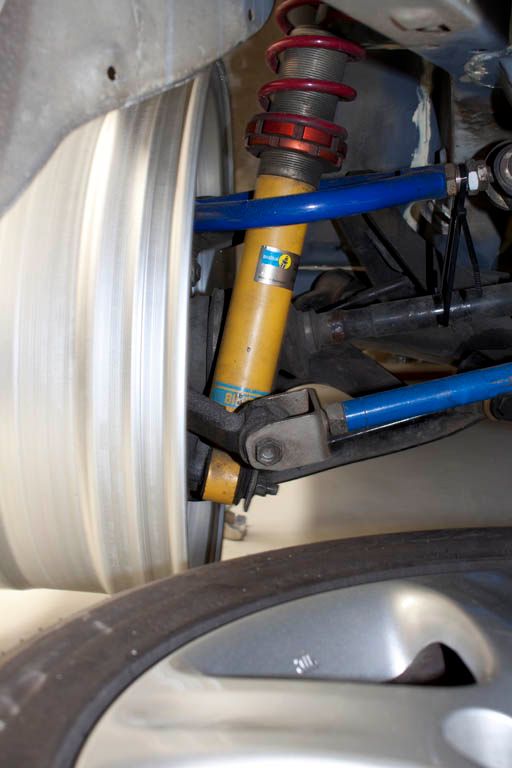 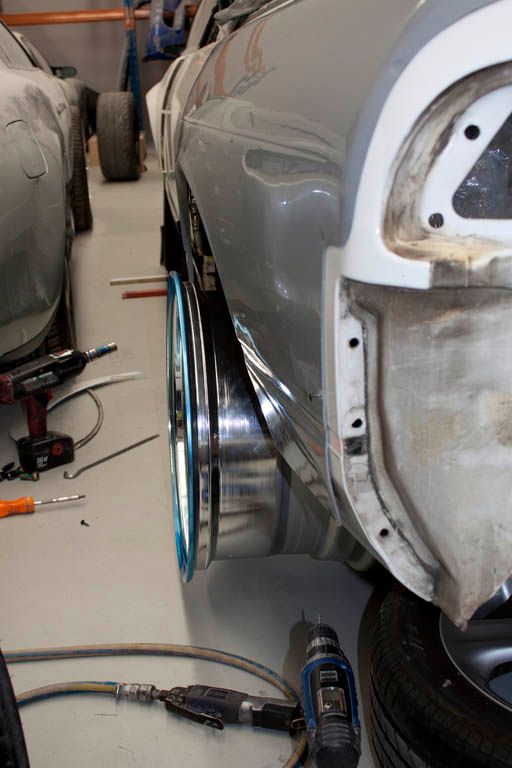 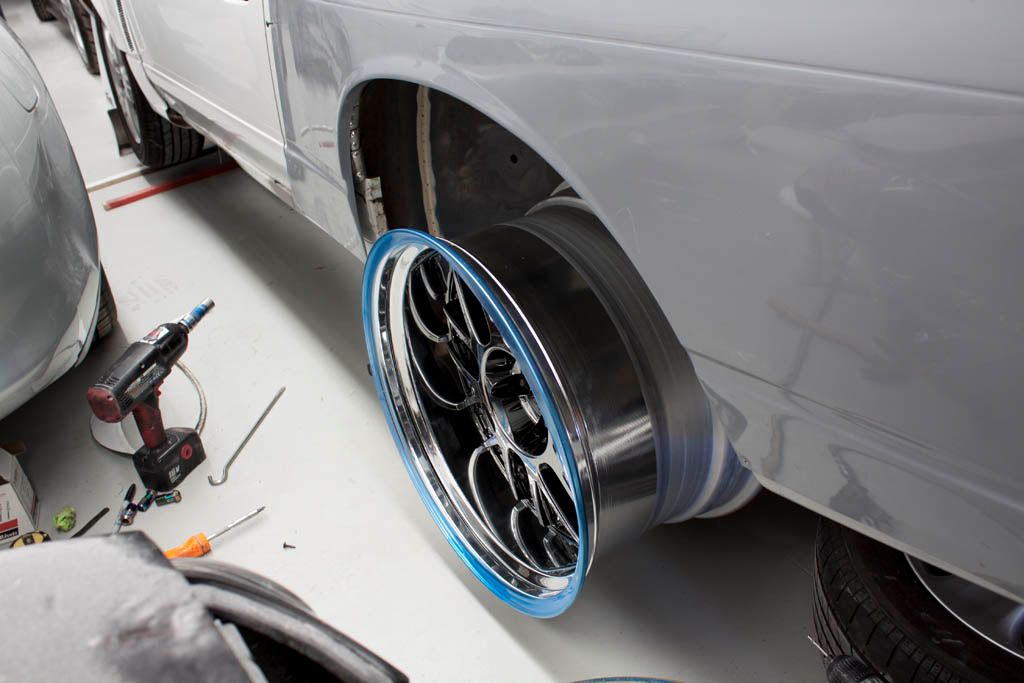 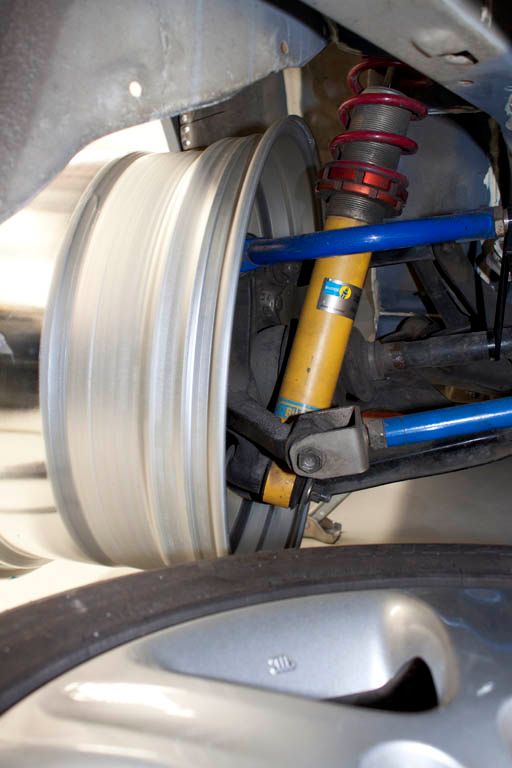 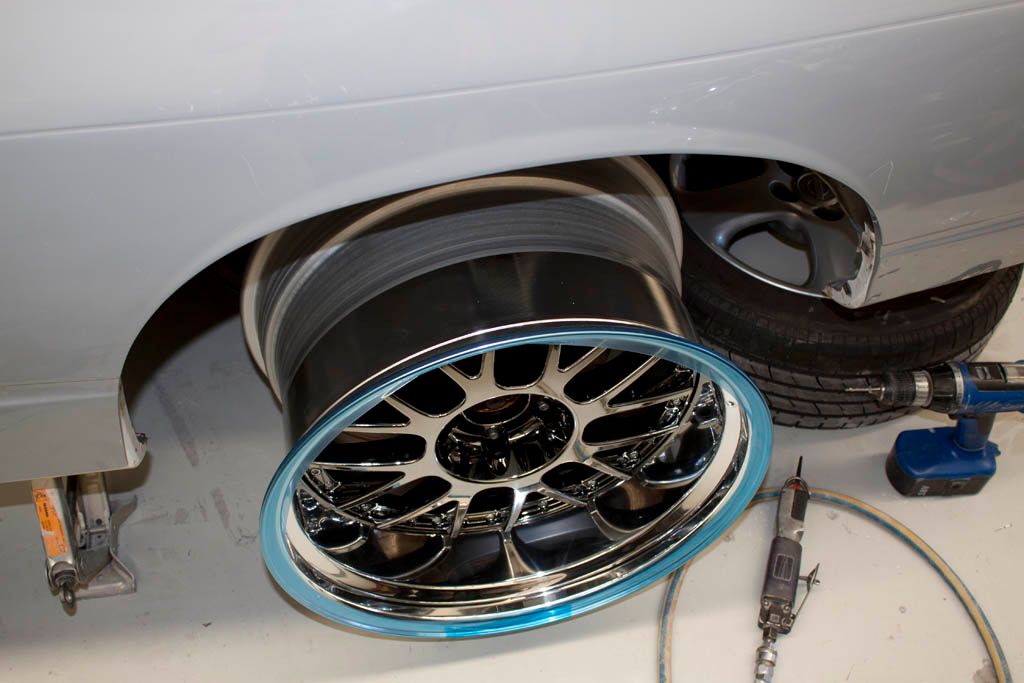 More soon! =) |
|
|
|
|
07-14-2012, 07:05 PM
|
#7 | |
|
Zilvia Junkie
|
Quote:
|
|
|
|
|
|
07-13-2012, 12:00 PM
|
#8 |
|
Zilvia Junkie
|
I went over to see the car and check how things were going again the week after wasnt quite as much as I was hoping for but there had still defiantly been big steps forward. The guard had been sanded back on the underside and re-glassed evenly making the fit tighter and the guard much more sturdy. It was also glued onto the car with epoxy resin before the glass resin had set so the new position on the car is where the glass will set. Rivets were applied for an extra tight fit as well.
A new fiberglass inner guard has been made and glued in bridging the gap between the new metal inner guard and new glass outer guard. There is still a tiny gap but this can be filled with sikaflex. Very happy how its turning out there is still alot of sanding and probably a light skim of bog through the panel to remove all the waves and give it a nice glassy finish once painted. I was trying to organise with Jimmy to go over and check it out and show him what lay in stall for us to work on. Some pics. 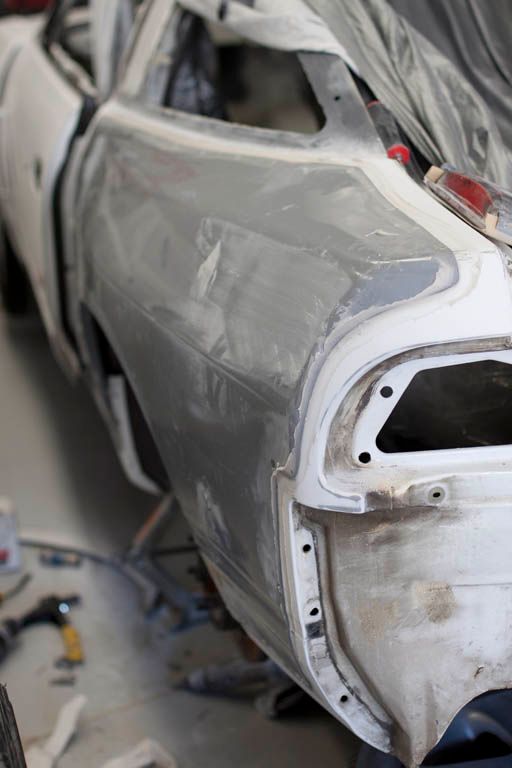 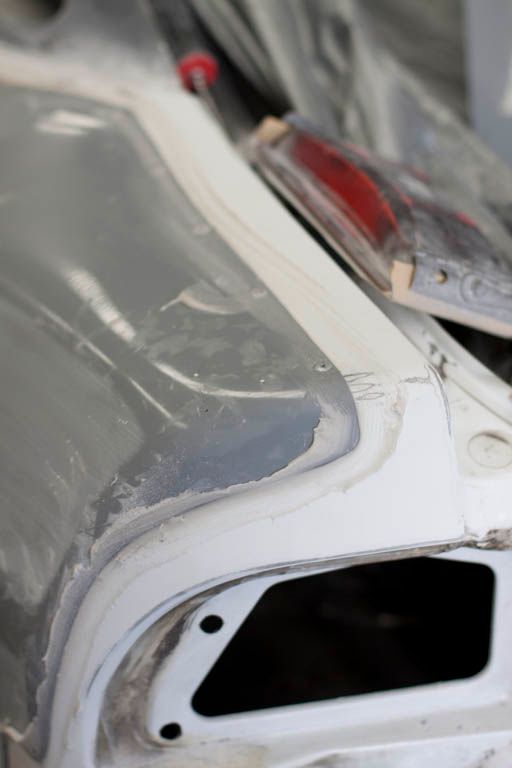 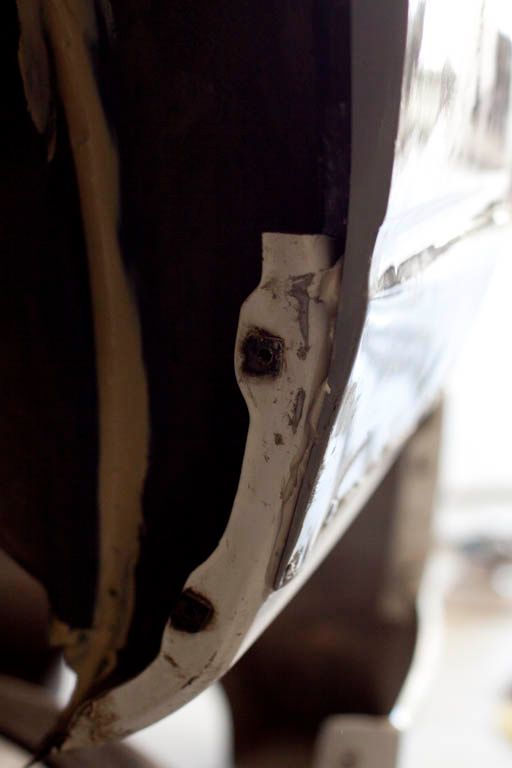 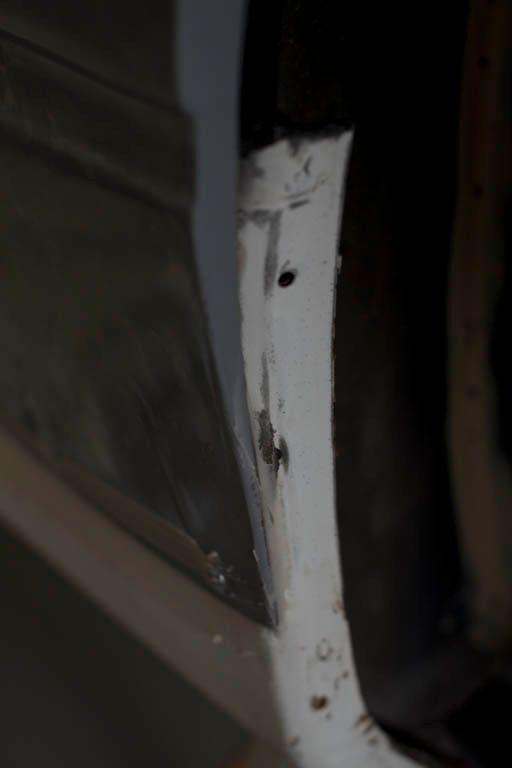 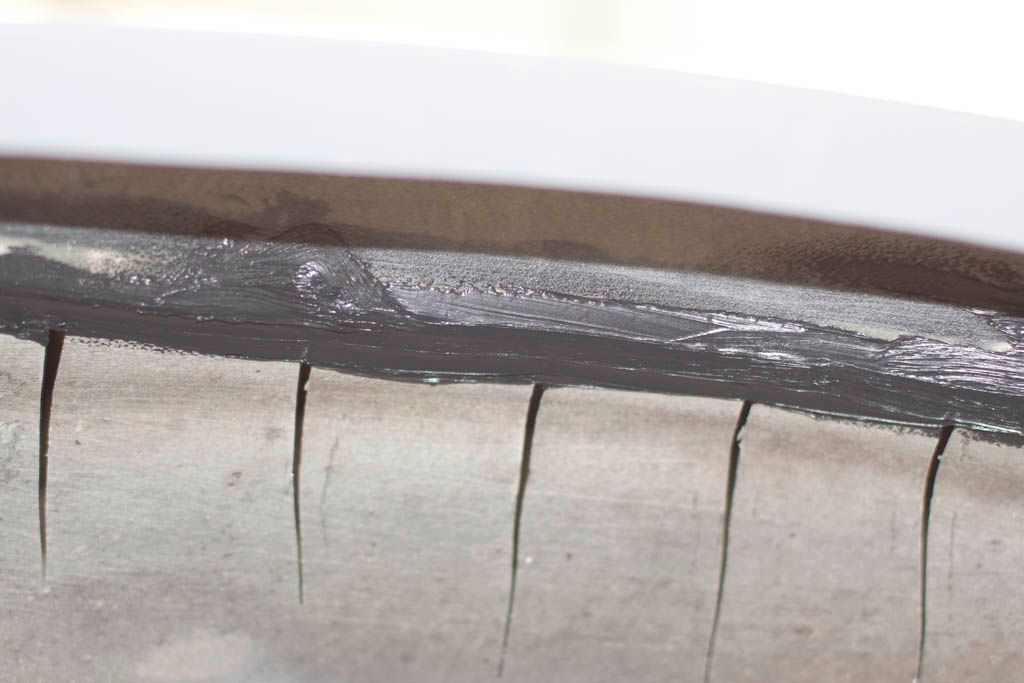  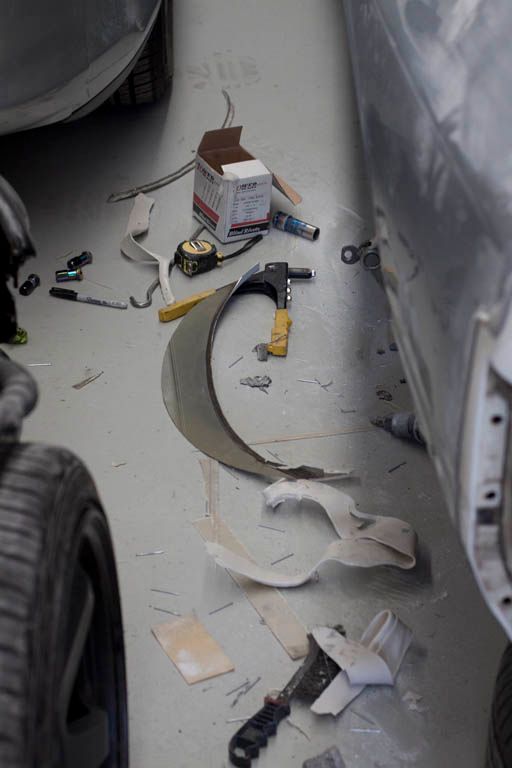 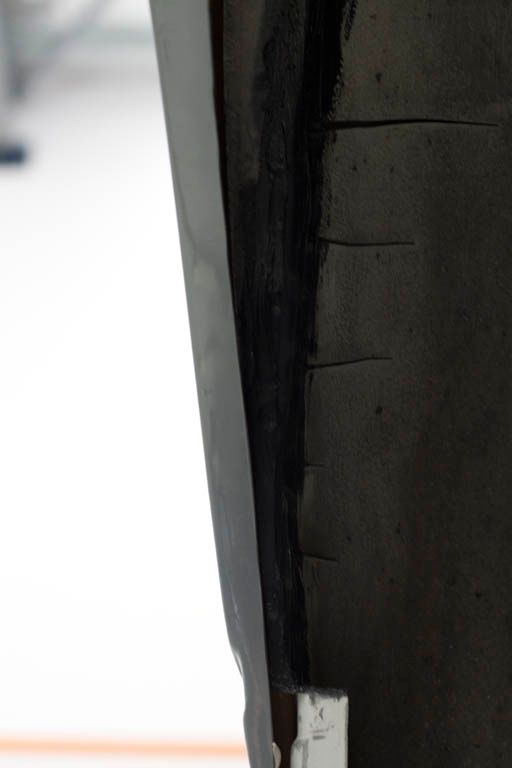 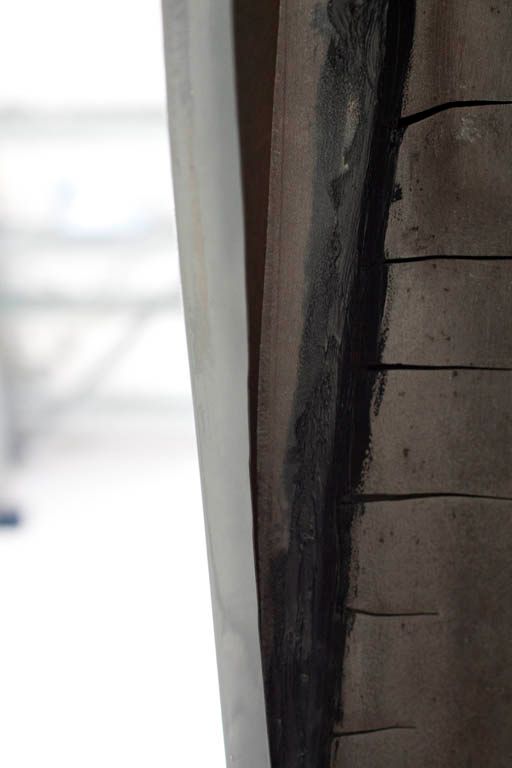 More soon. =) |
|
|
|
|
07-16-2012, 08:31 AM
|
#9 |
|
Zilvia Junkie
|
I dropped over to bodyform at the end of the next week to checkup on the progress. The guards had been glassed on and I was told the car should be good to go soon.
Pretty happy with how it was looking heading towards the end result I was chasing. Anyways some pics. 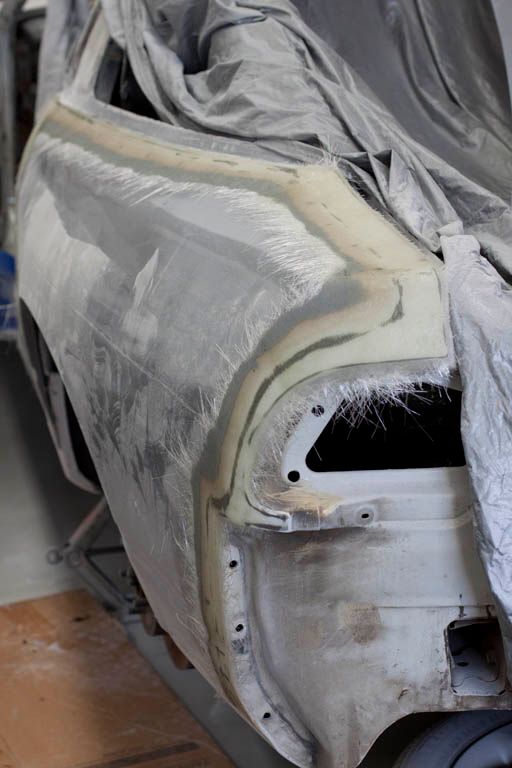  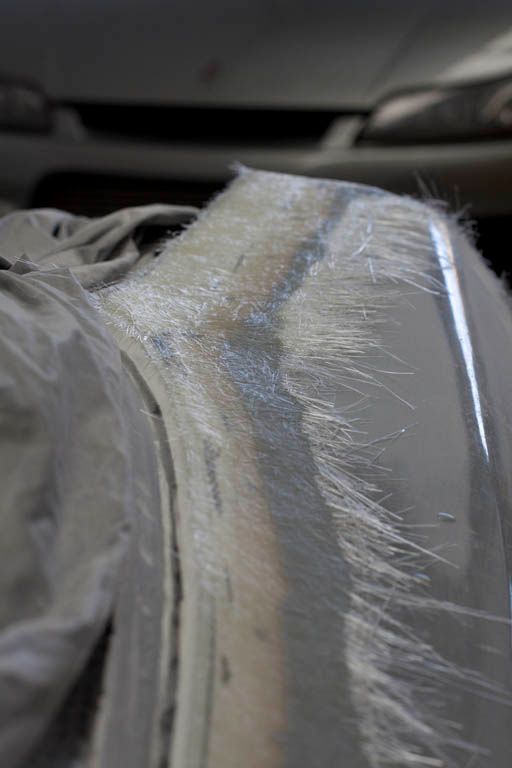 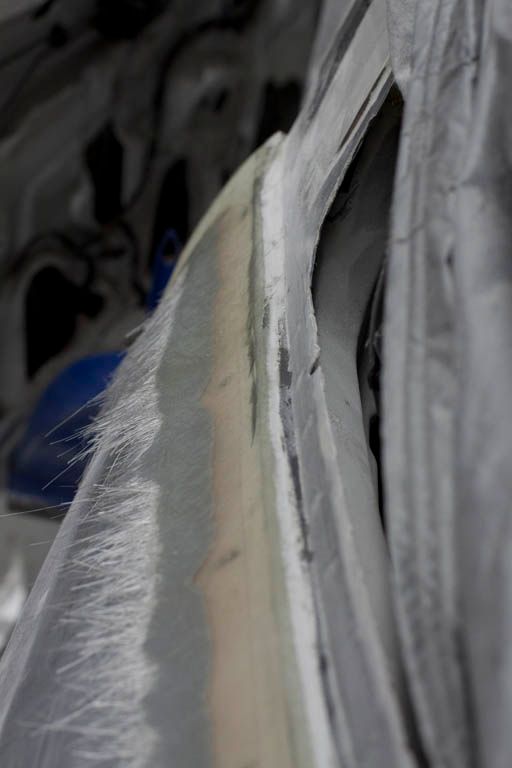 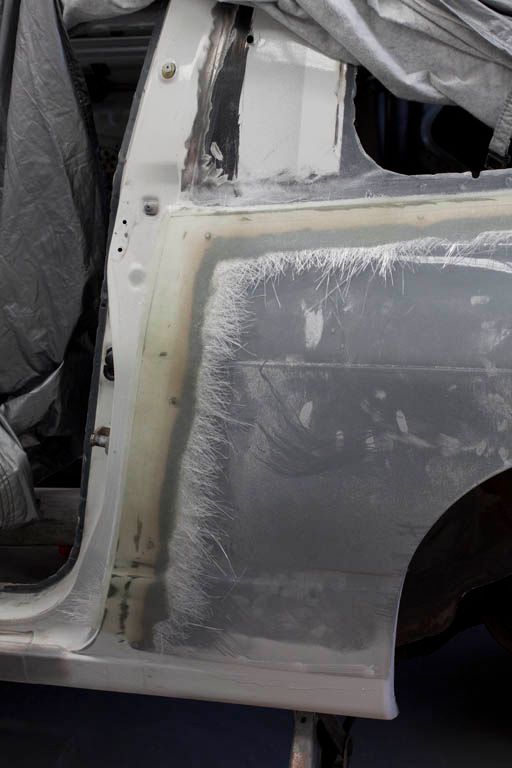 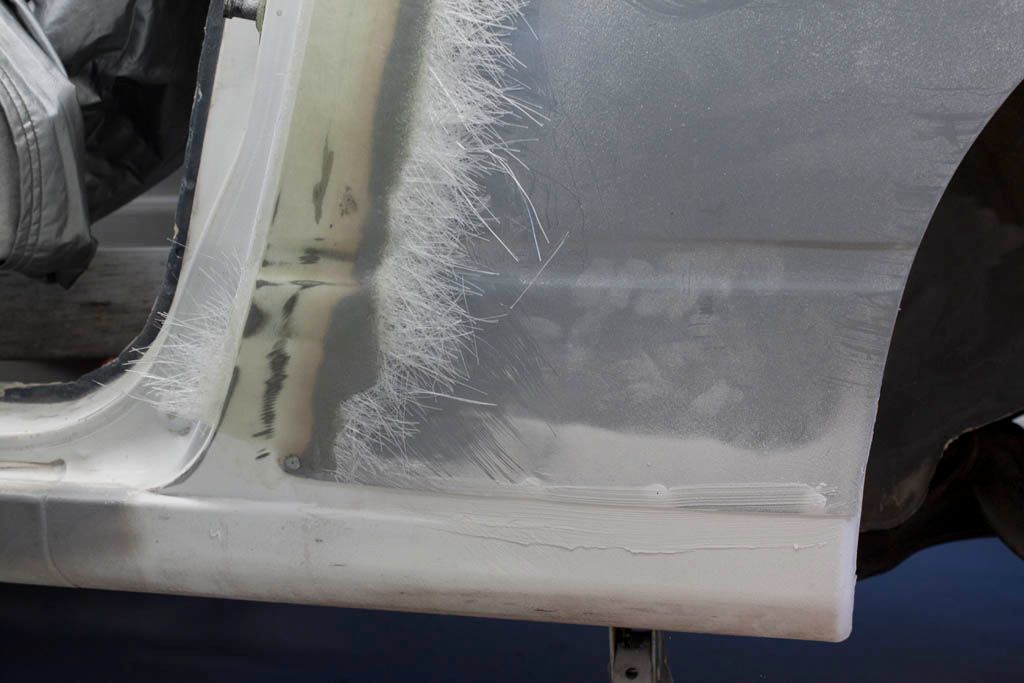 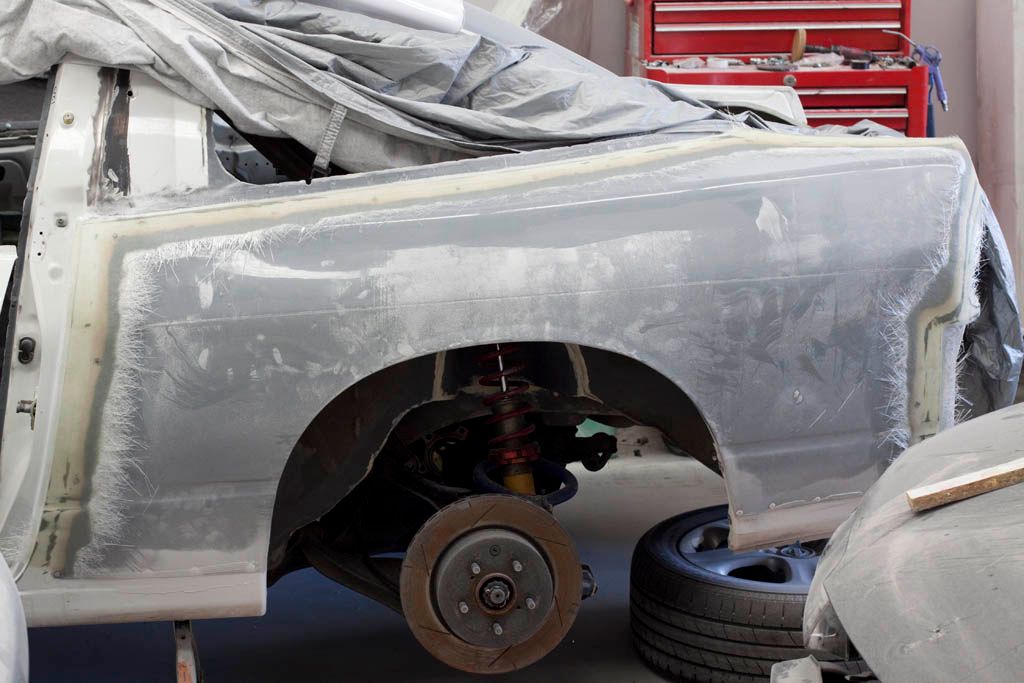 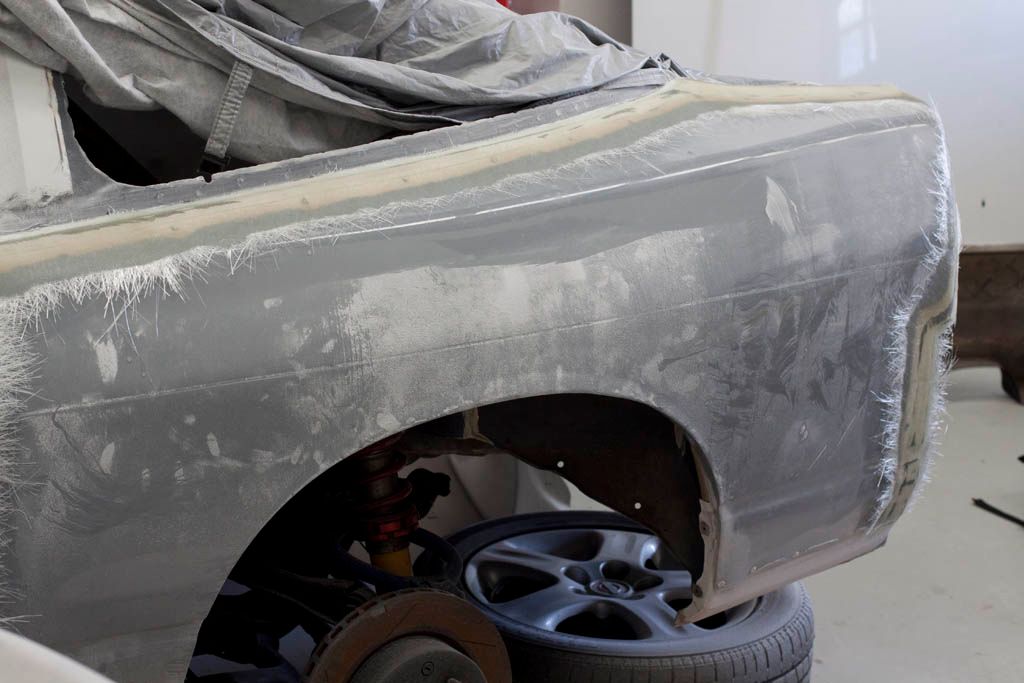 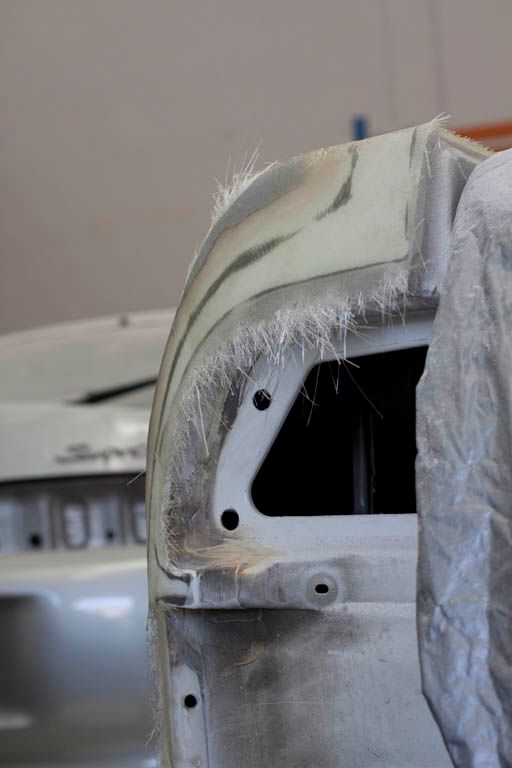 More soon. |
|
|
|
|
07-16-2012, 01:34 PM
|
#12 |
|
Post Whore!
 
Join Date: Sep 2008
Location: It's dark, and hell is hot!
Posts: 9,414
Trader Rating: (23)
  Feedback Score: 23 reviews
|
The body work is coming along rather quickly. I'm interested to see the engine build as I'm thinking about buying a Tomei 2.2 stroker kit myself.
Thanks for the updates  |
|
|
|
|
07-16-2012, 05:43 PM
|
#13 | |
|
Zilvia Junkie
|
Quote:
|
|
|
|
|
|
07-19-2012, 09:05 AM
|
#15 |
|
Zilvia Junkie
|
I went over late the following week and early this week to checkup on the car. The other major job he was sharing work with left the day before my second visit so my car should get done more quickly now. The first skim of bog has sealed up a lot of the gaps the later photos are of the third skim. You can see where the gel coat is still visible at the edges showing how thin the skim is. The whole face of the guard needs a light skim of bog to remove all the ripples before paint. I'm aiming for a nice glassy gloss finish like we got on nfi's car but there is alot more work in mine cause the panels we've started with are much more wavy than his were.
Pink bits 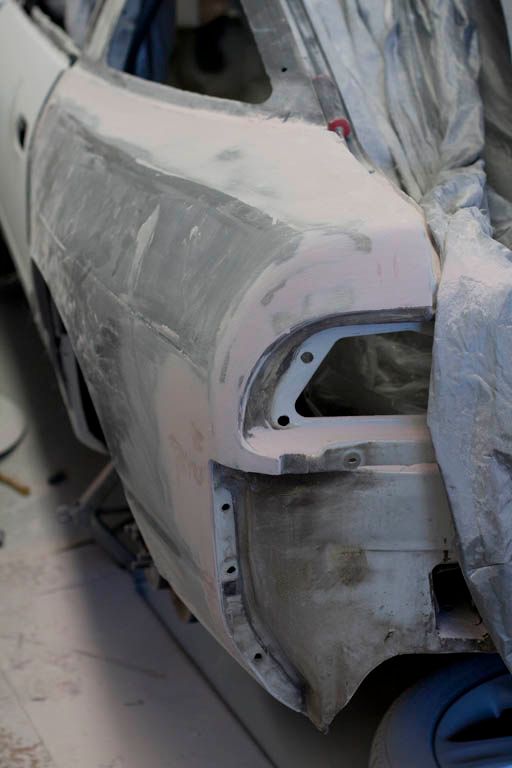 Can see all the spots where the glass comes through. 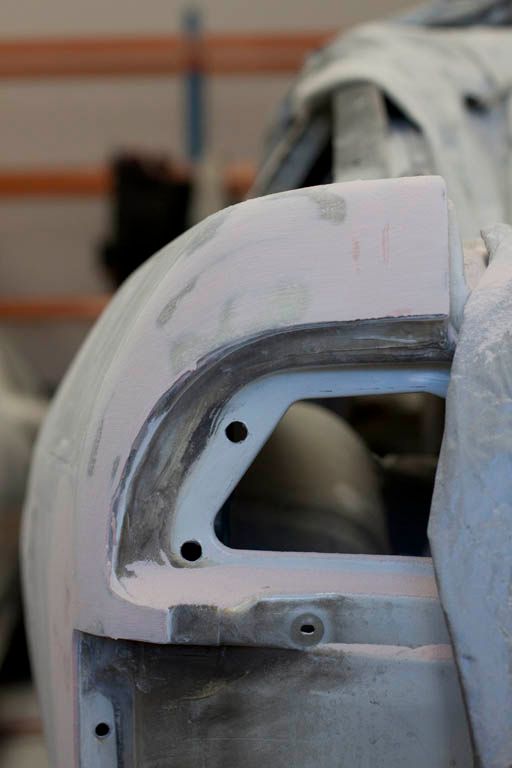 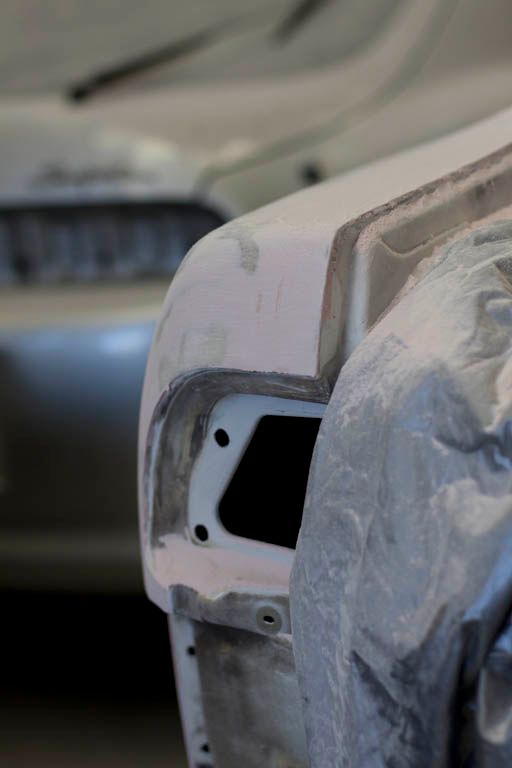 Needs another skim down here this is where there was this largish dip inwards. 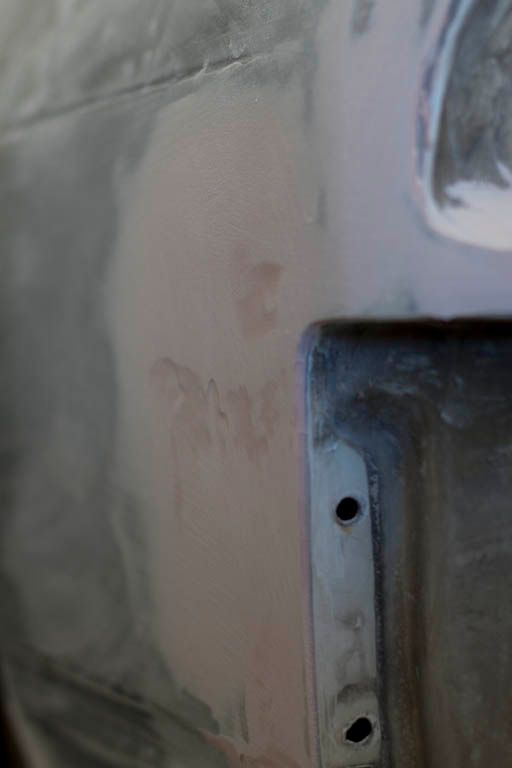 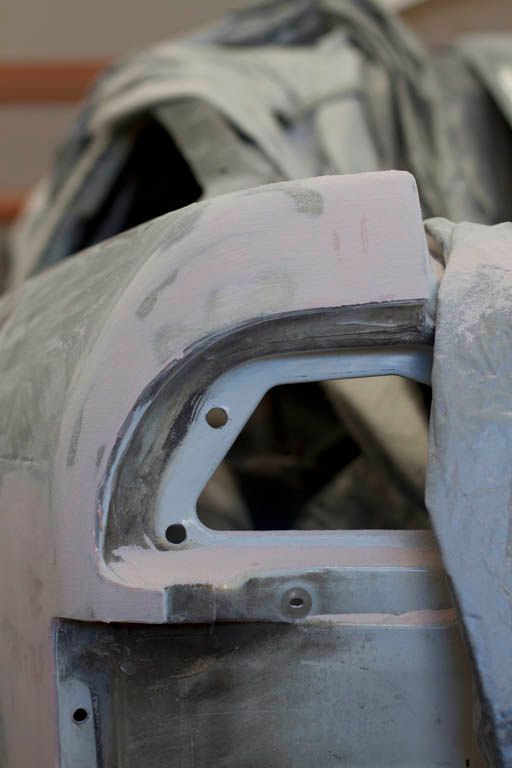 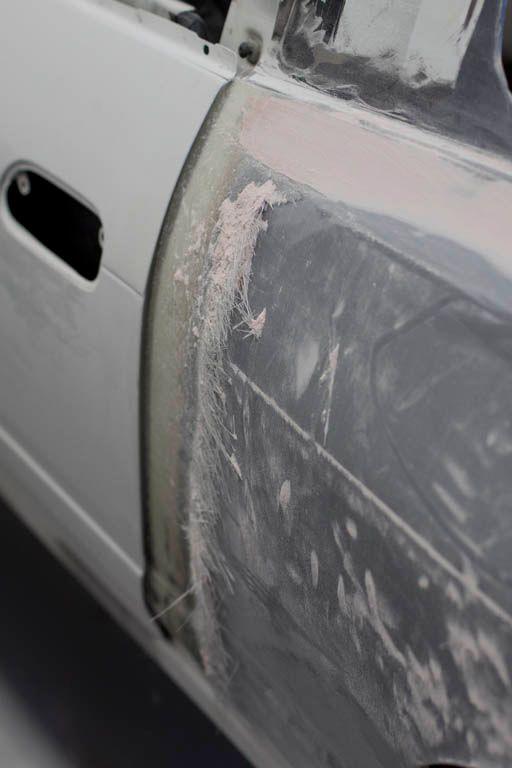 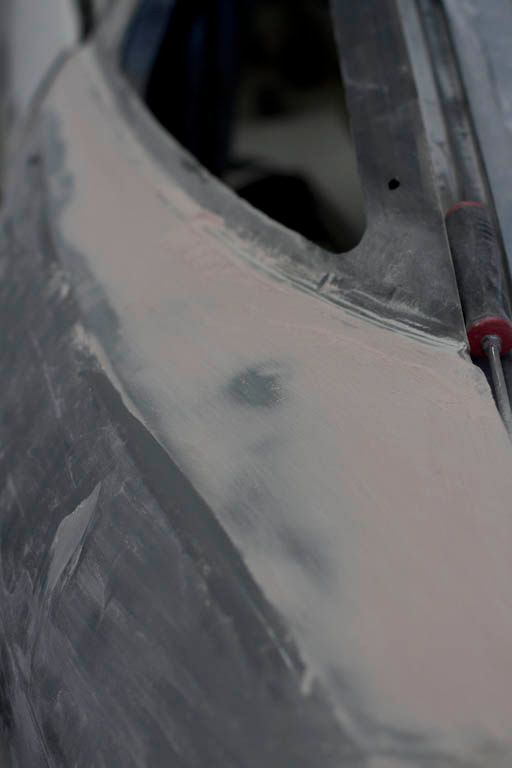 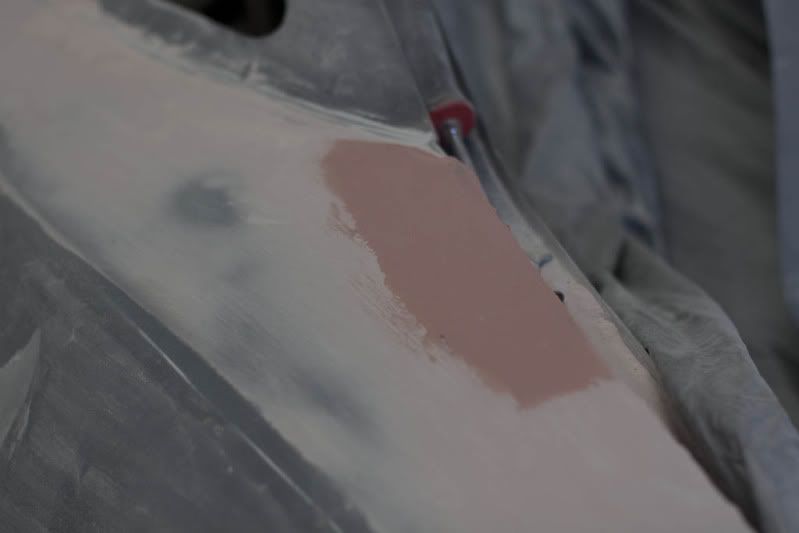 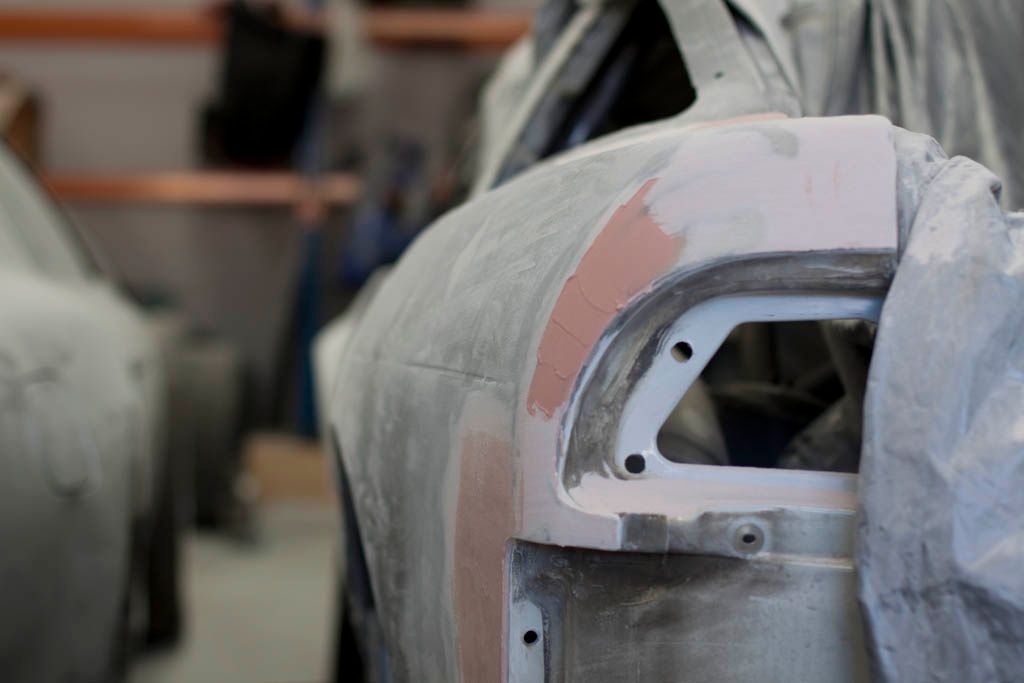 All urethaned up to keep all the shit out. 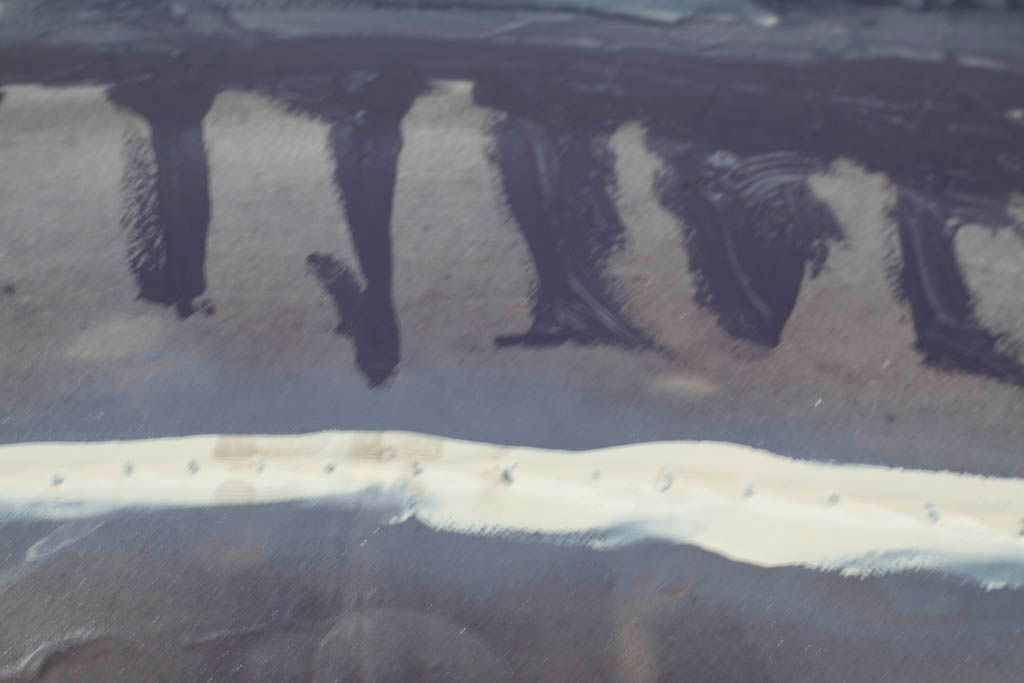 More glue so it can be shaved off flat.  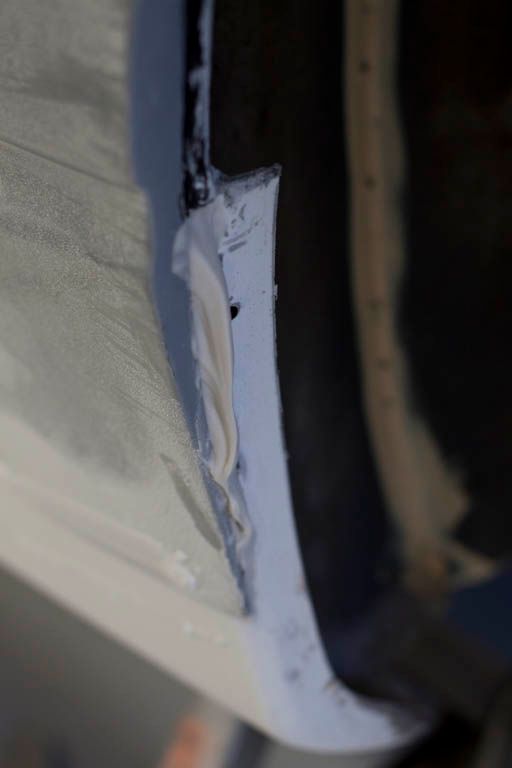 More soon. |
|
|
|
|
07-19-2012, 09:45 AM
|
#16 | |
|
Post Whore!
 
Join Date: Dec 2010
Location: SoCal 909
Age: 31
Posts: 4,743
Trader Rating: (42)
Feedback Score: 42 reviews
|
Finally a car with over fenders and no rivets
__________________
Quote:
|
|
|
|
|
|
07-19-2012, 10:20 AM
|
#18 | ||
|
Zilvia Junkie
|
Quote:
Quote:
|
||
|
|
|
|
07-22-2012, 09:06 PM
|
#19 |
|
Zilvia Junkie
|
Visited the body shop the following weekend and was pleased to find the car almost finished. Had to organise a tow truck for the following week. The guards have turned out ok you can see but the bog marks how smooth the guards are from origin though. :/
They're going to need a coat of spray bog and cut it right back to remove the highs/lows before we high fill them though but this should give us a pretty good finish. The gelcoat on them doesn't like sanding at all. 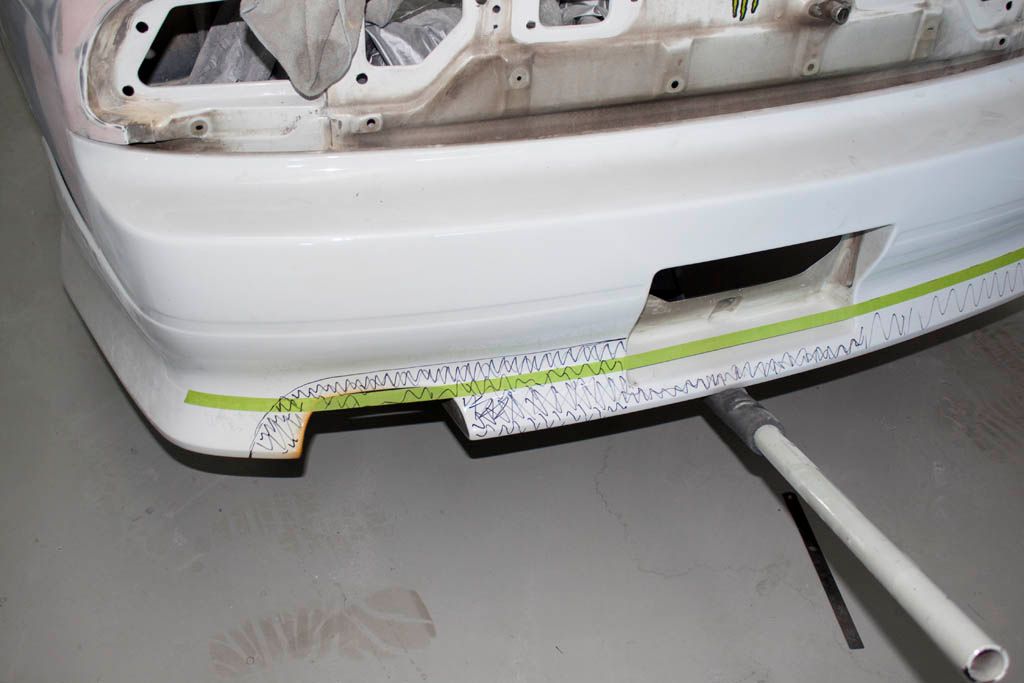 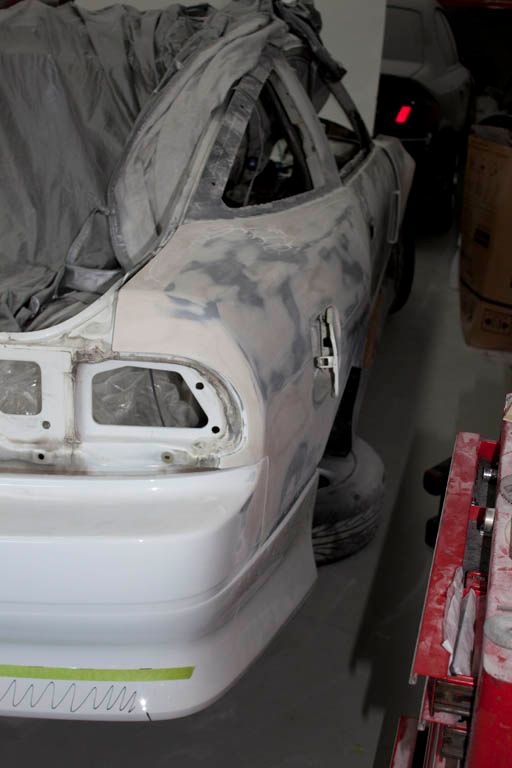 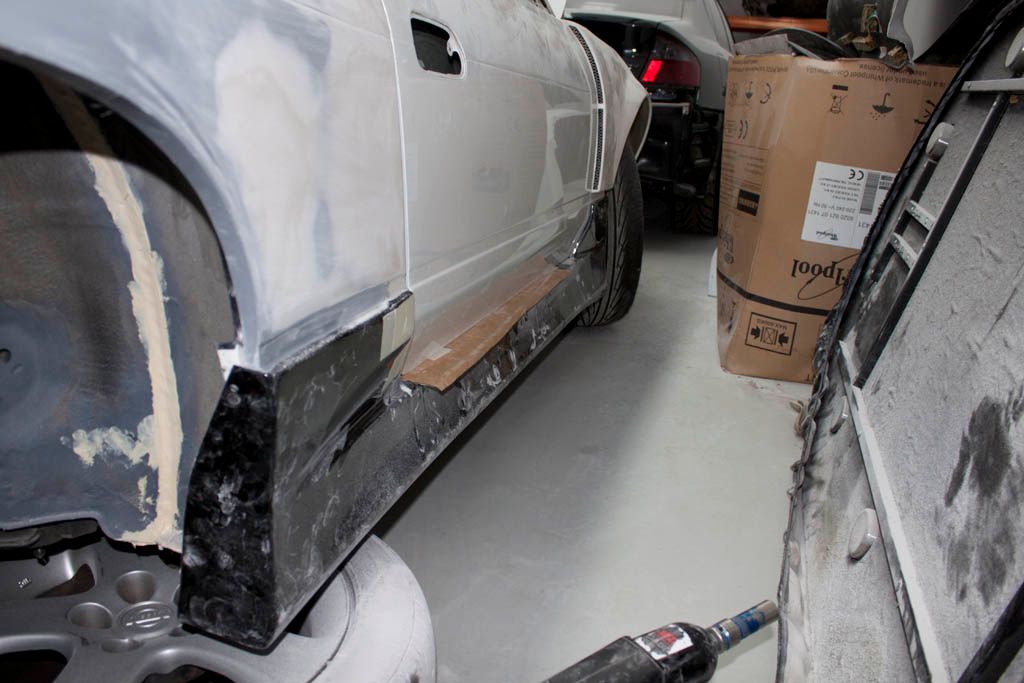 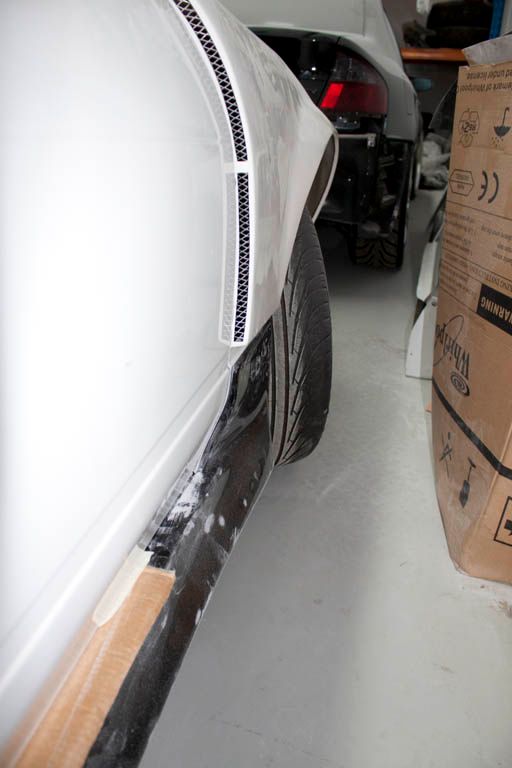 We spent some time trying to decide how high up to cut the rear bar it was eventually decided the free hand top line on the left hand side was going to be the new height. A street diffuser will be made to go on with the bar and stay there. Then a more wild lower one will be fitted below this for the track. 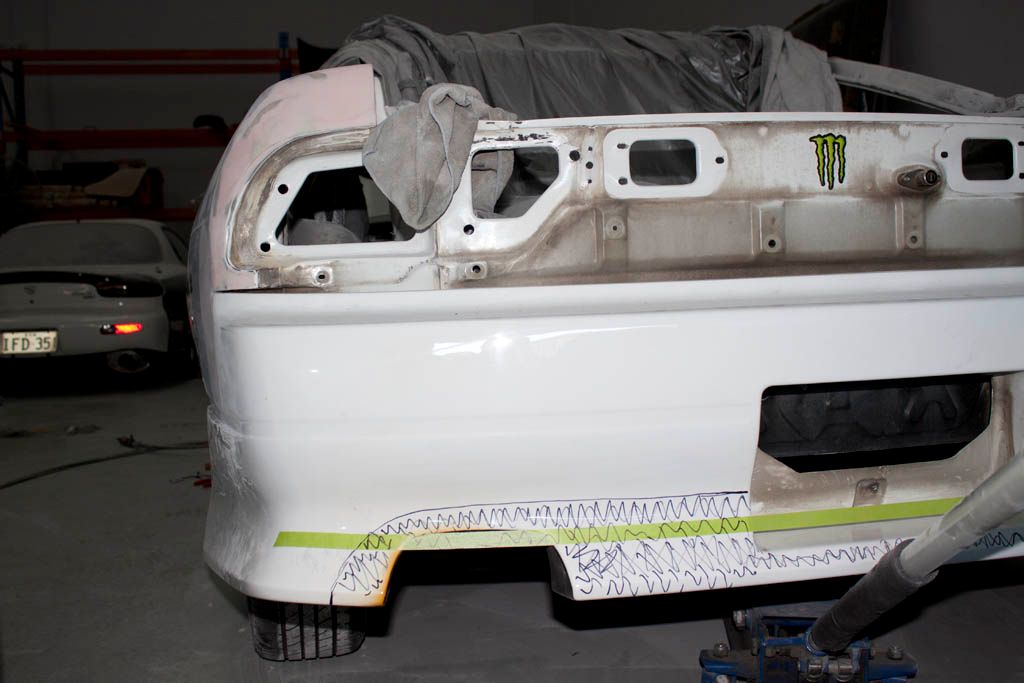 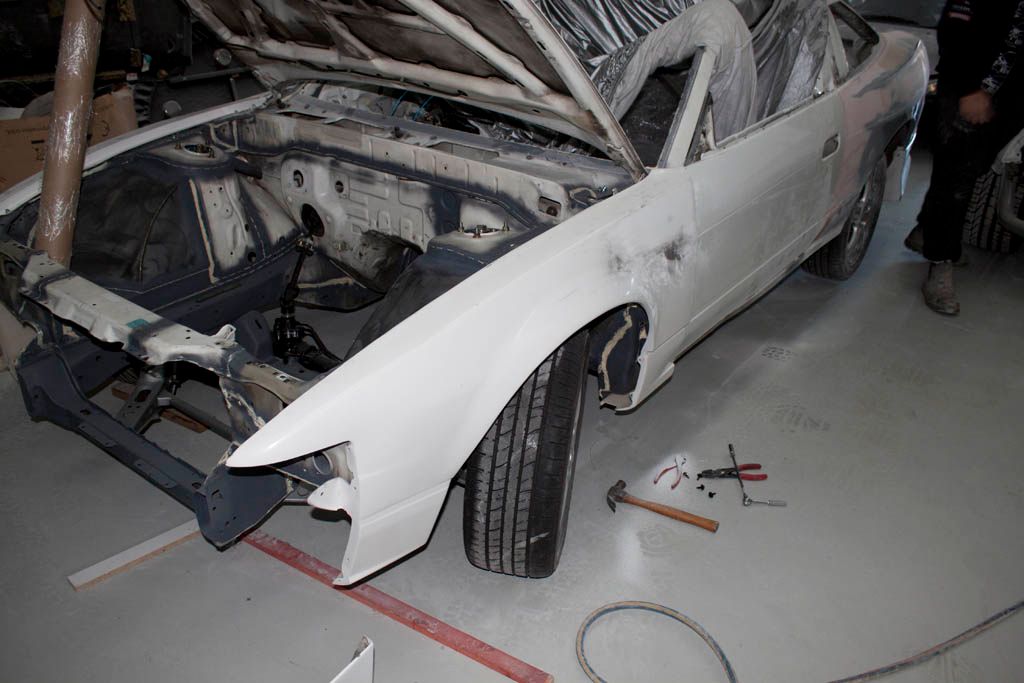 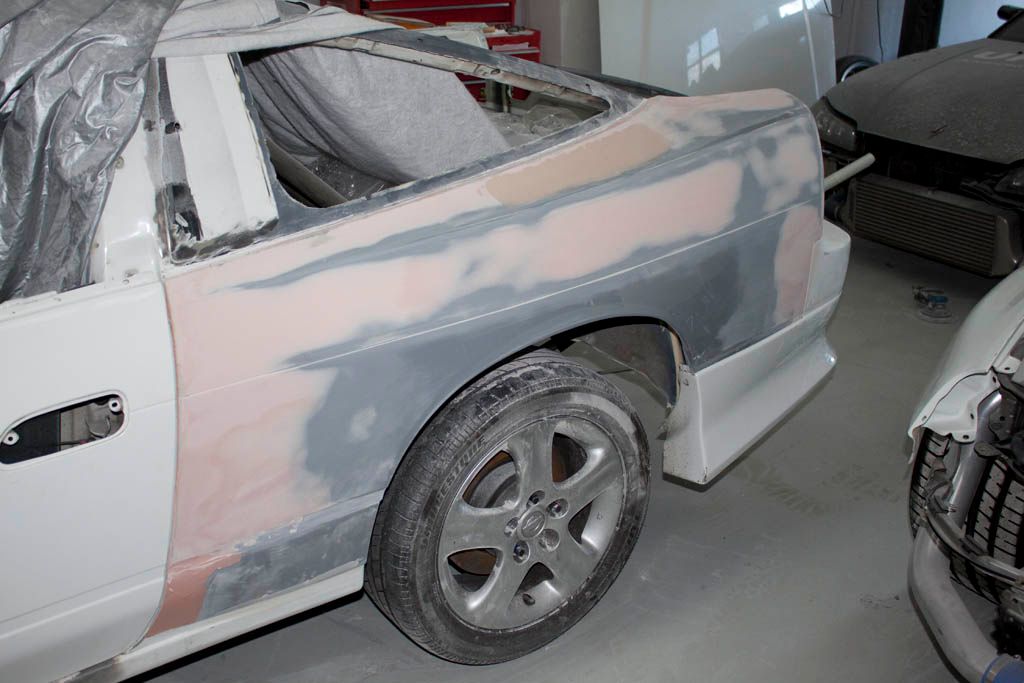 Was looking forward to getting it back although another car will be getting precedence with ongoing works. But this cant be avoided and should be fun in itself. More very soon! I cant wait to get some wheels on it for a test fit! =) |
|
|
|
|
07-24-2012, 06:56 AM
|
#21 | |
|
Zilvia Junkie
|
Quote:
|
|
|
|
|
|
07-25-2012, 08:08 AM
|
#22 | |
|
BANNED
|
Quote:
|
|
|
|
|
|
07-27-2012, 11:03 AM
|
#23 |
|
Zilvia Junkie
|
So my ebay special order arrived the other day. A new wiring loom for the car with a new neat little fuse box. We wont be needing this many fuses so the loom itself can be stripped right down to probably two thirds of the size/weight of this.
Some pics. 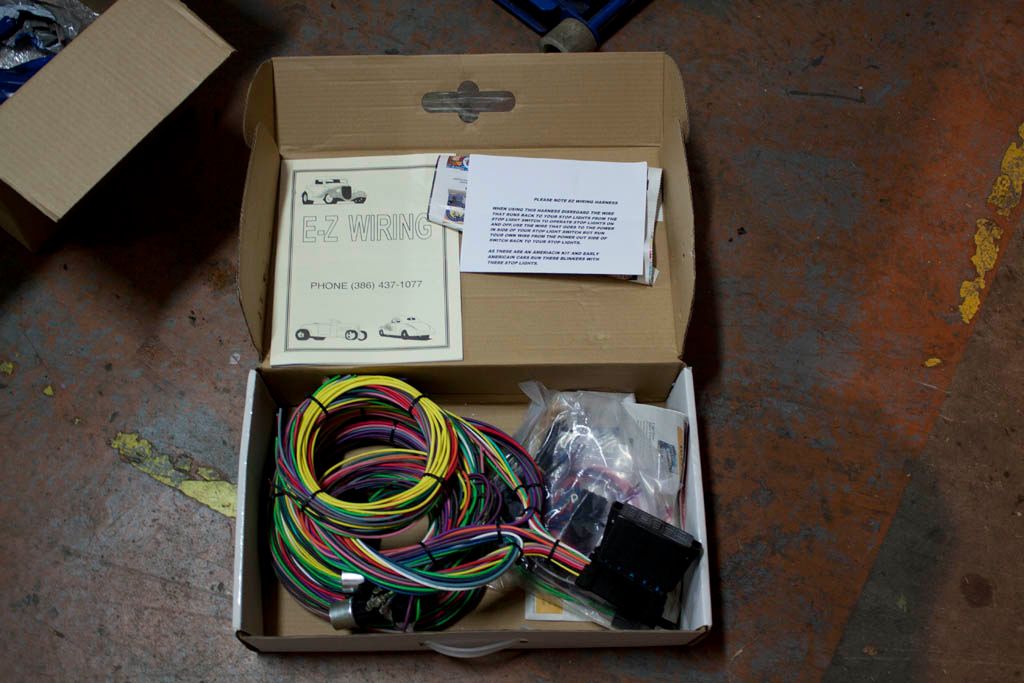 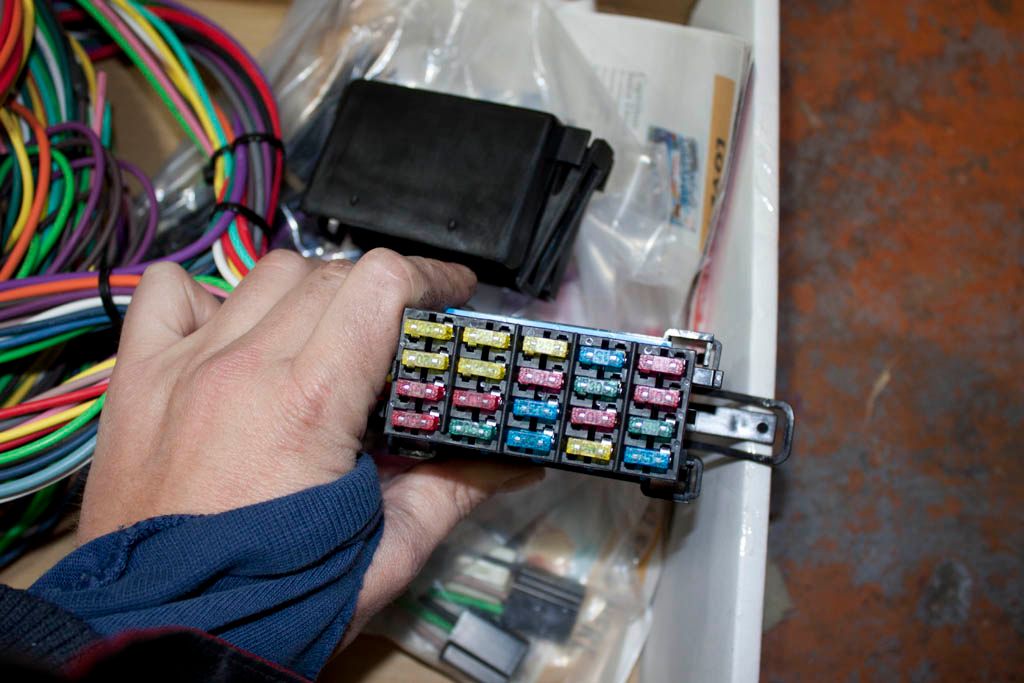 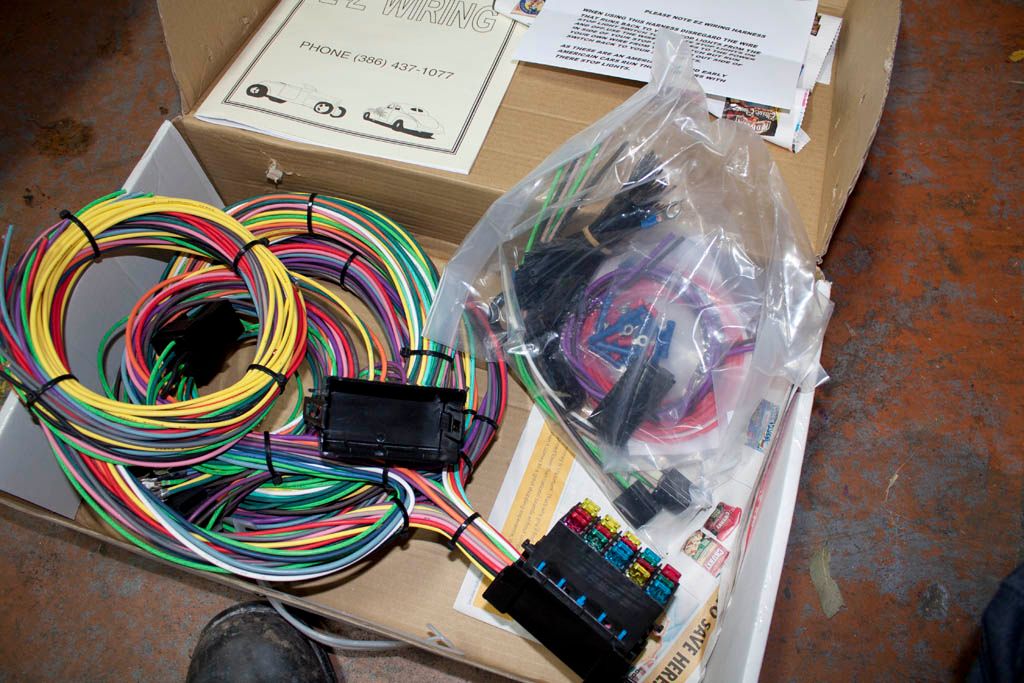 |
|
|
|
|
07-28-2012, 09:14 AM
|
#25 | |
|
Zilvia Junkie
|
Quote:
 |
|
|
|
|
|
07-28-2012, 09:22 AM
|
#26 |
|
Zilvia Junkie
|
Picked up this very neat little setup few weeks back. I'm not running a Haltec so we were unsure if I'd be keeping it for awhile. I've now found out it'll work with what we have planned so its staying.
Anyways some pictures cant wait till its in and setup. =) 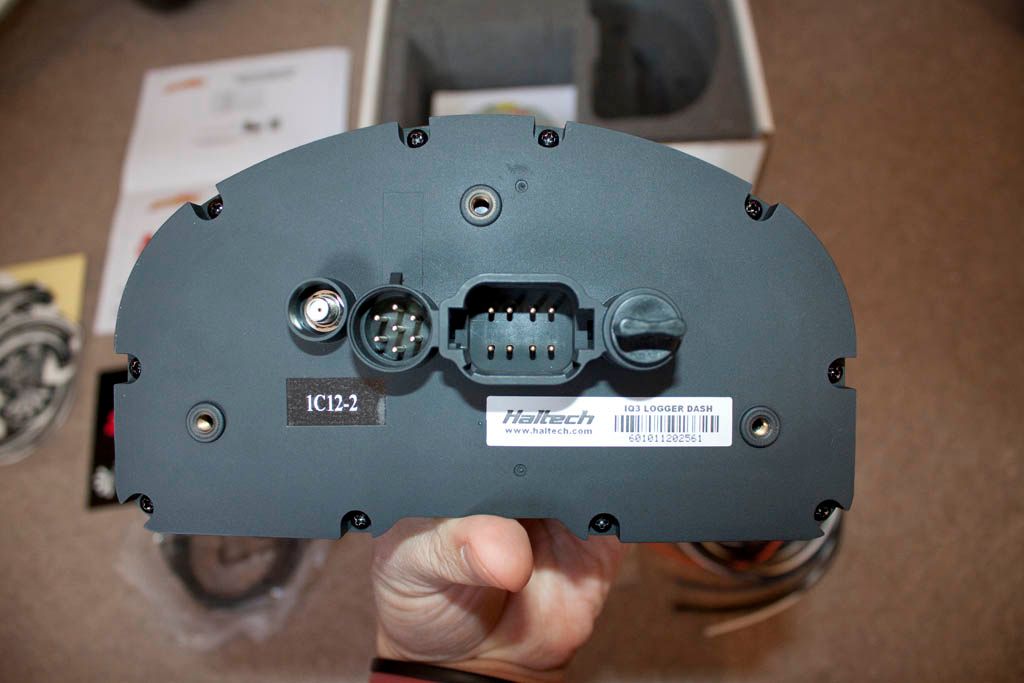 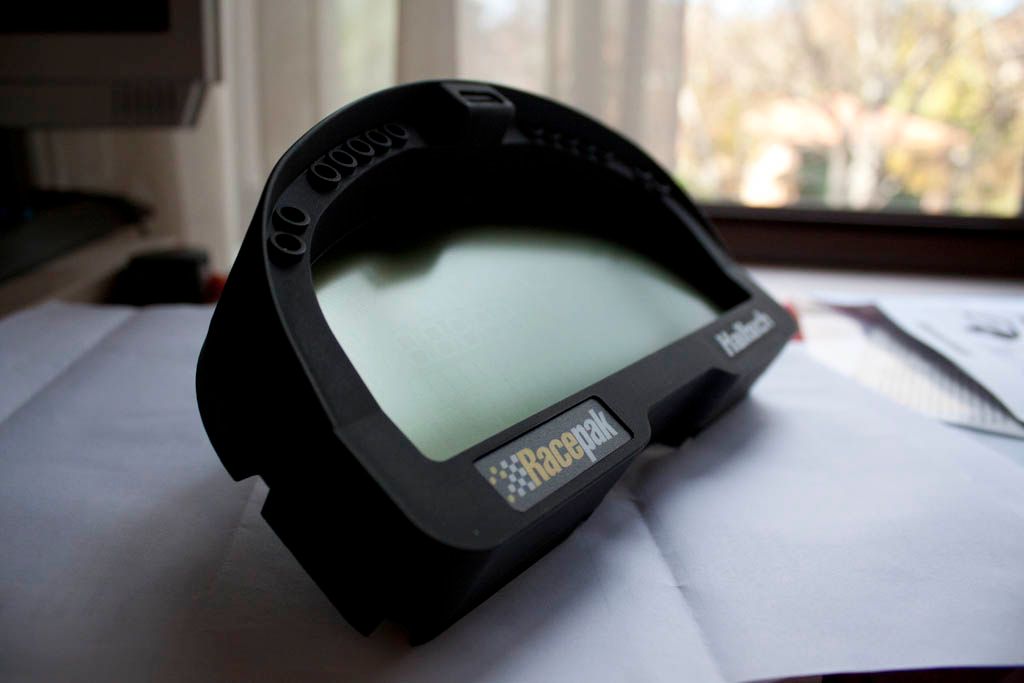 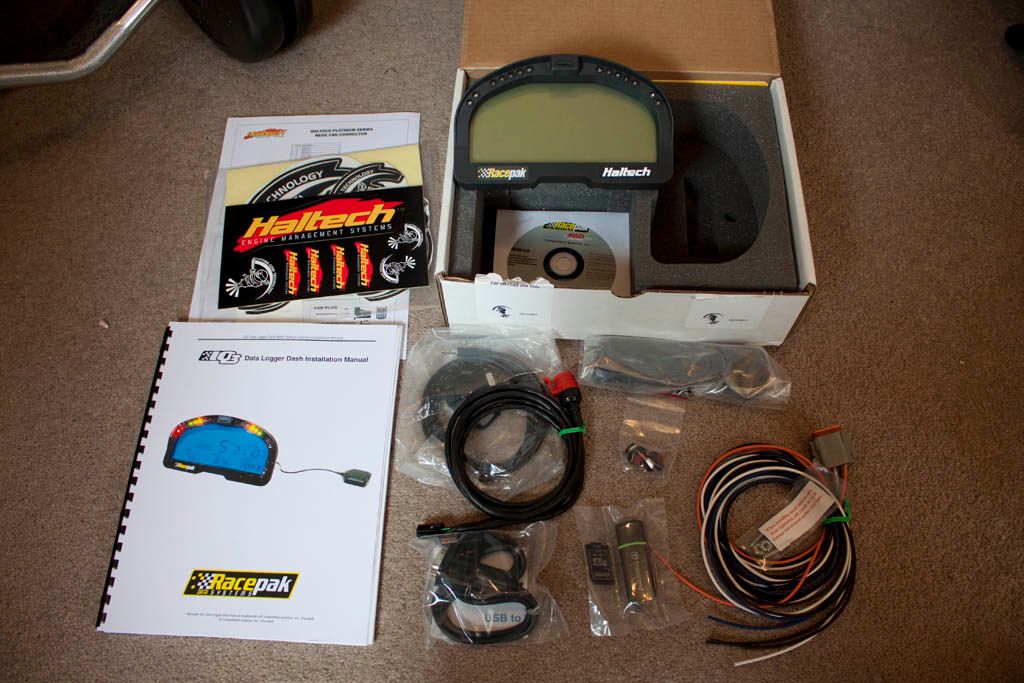  More soon! |
|
|
|
|
07-28-2012, 12:10 PM
|
#27 |
|
BANNED
|
YES! I've been wanting the IQ3 racepak for a year or two now. Please by all means keep me updated on this.... Your review will likely hinge on me buying it or something else.
|
|
|
|
|
07-29-2012, 01:38 AM
|
#28 | |
|
Zilvia Junkie
|
Quote:
Not happy campers.  |
|
|
|
|
|
07-31-2012, 10:45 AM
|
#29 |
|
Zilvia Junkie
|
So Wednesday morning was spent rummaging through all the parts boxes I have of the stripped parts that came off my car. I was looking for the brackets that run between the top and bottom radiator supports which the front bar hangs off. They turned out to be in the very last box I checked which also happened to be the box on the bottom requiring everything else to be moved before I could get to it Murphys law. Pete needed these to finish off his work with the front bar and I was organizing the car to be towed that afternoon.
Front bar custom work. I was really uphappy with how the intake of the bar tapered down to a small mouth also it wasnt straight and bowed in. We cut and re-glassed the whole mouth into this new and improved shape. Should be much better for airflow now. 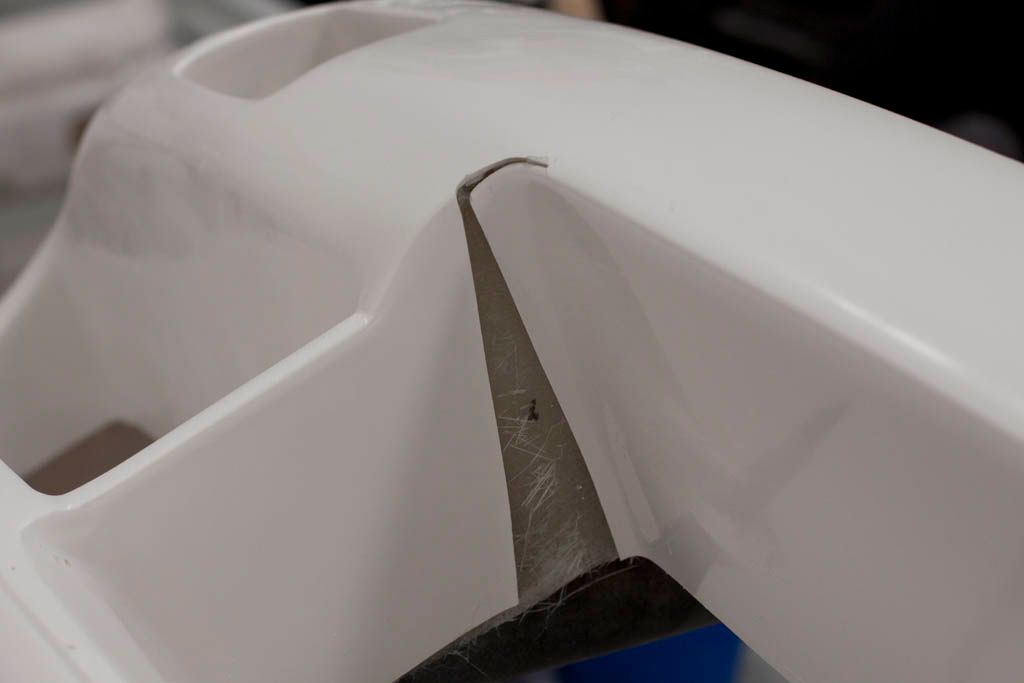 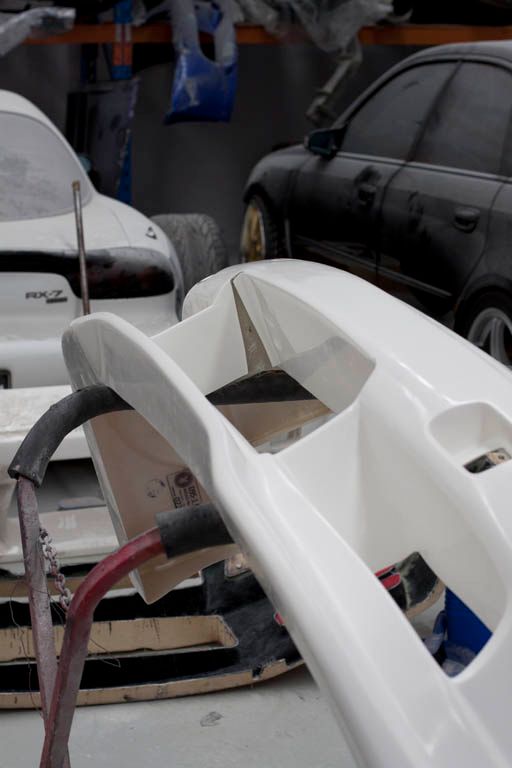 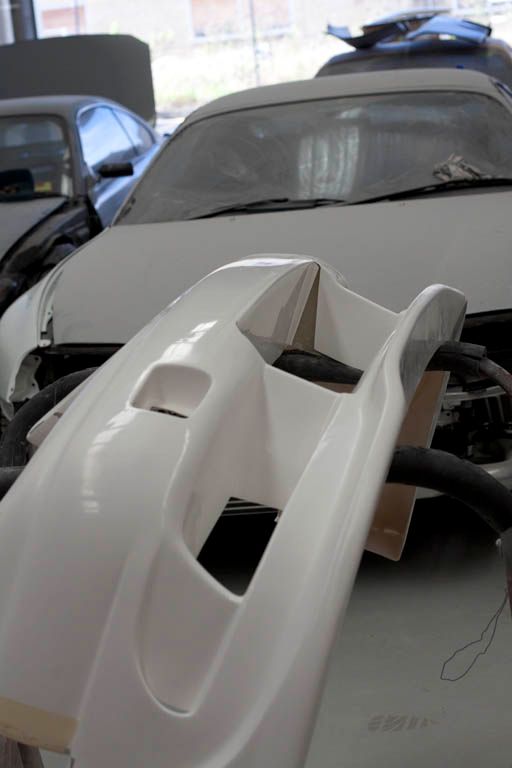 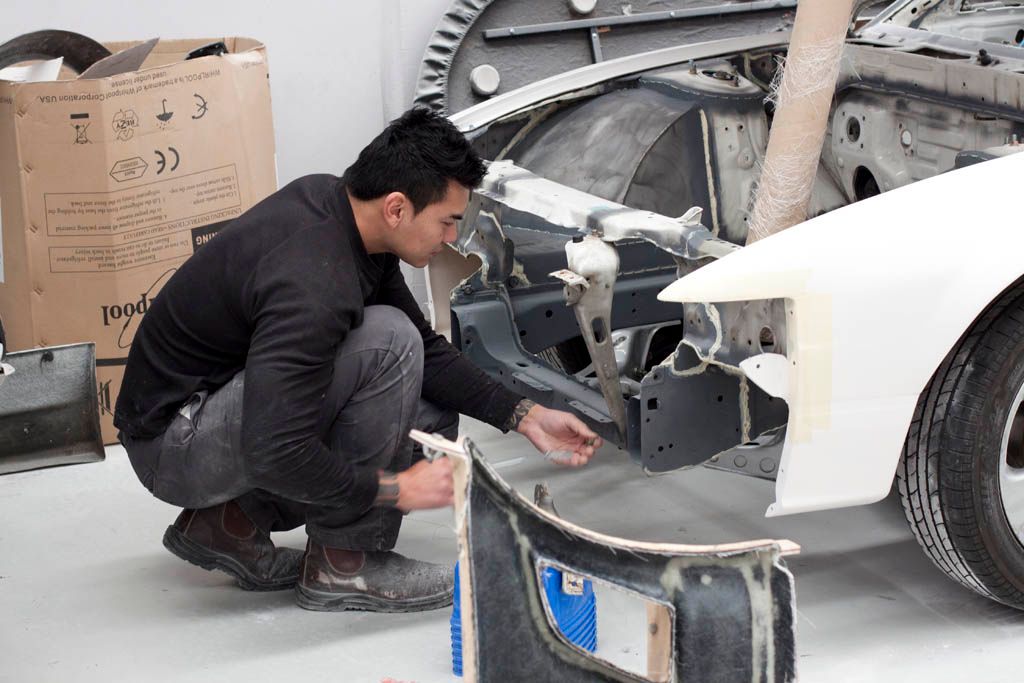 These need the tabs taken off and new ones tacked on. 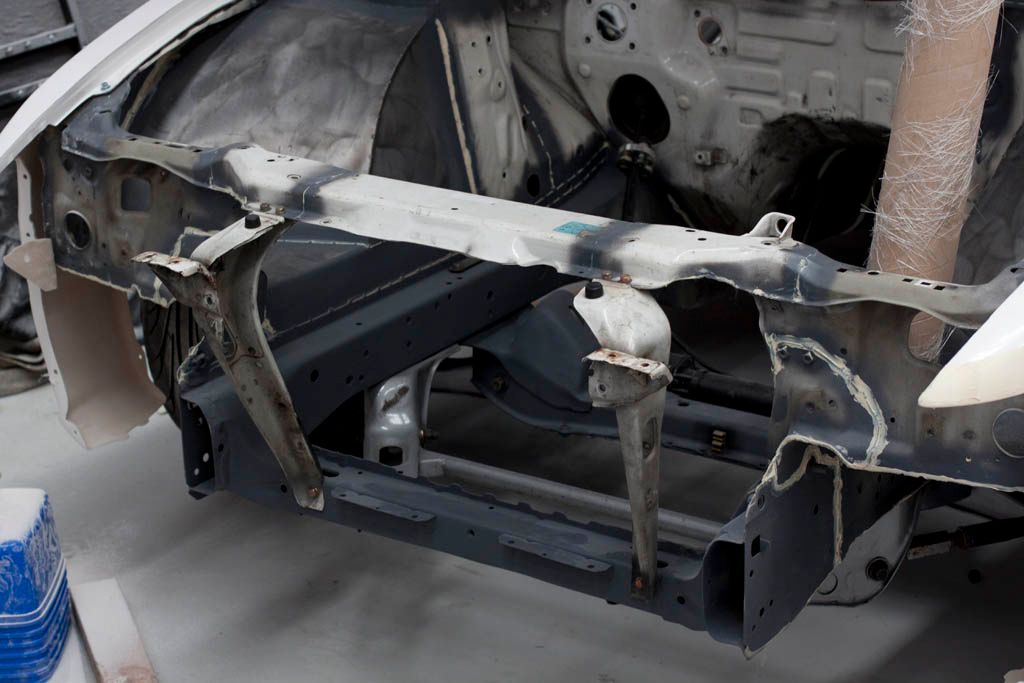 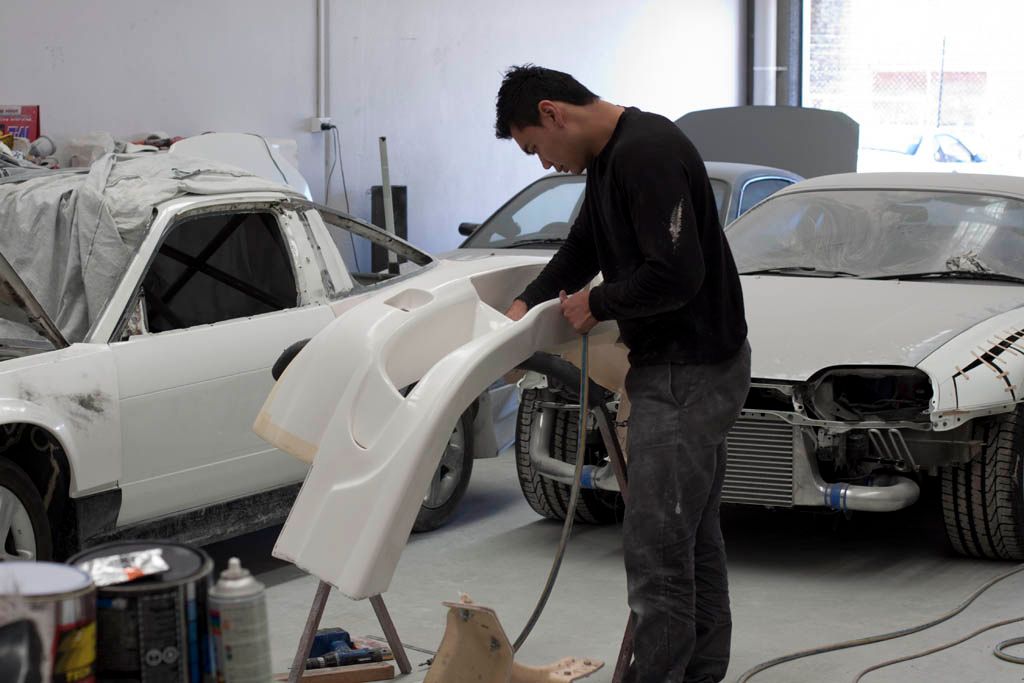 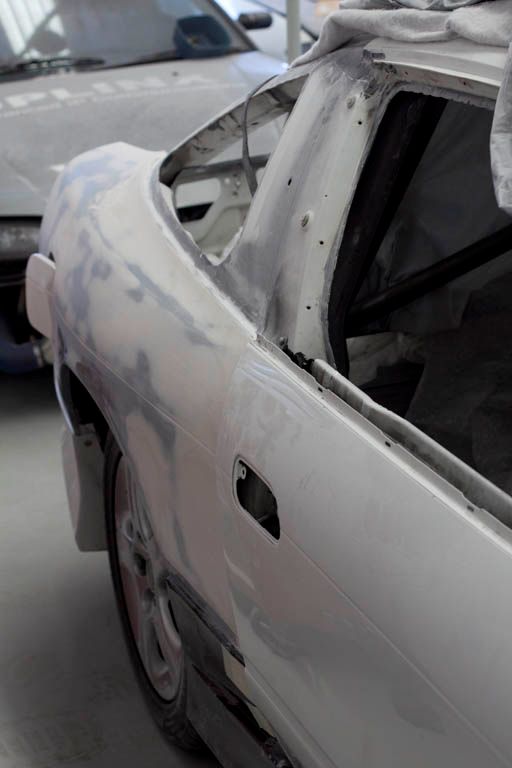 Neat, happy with this. 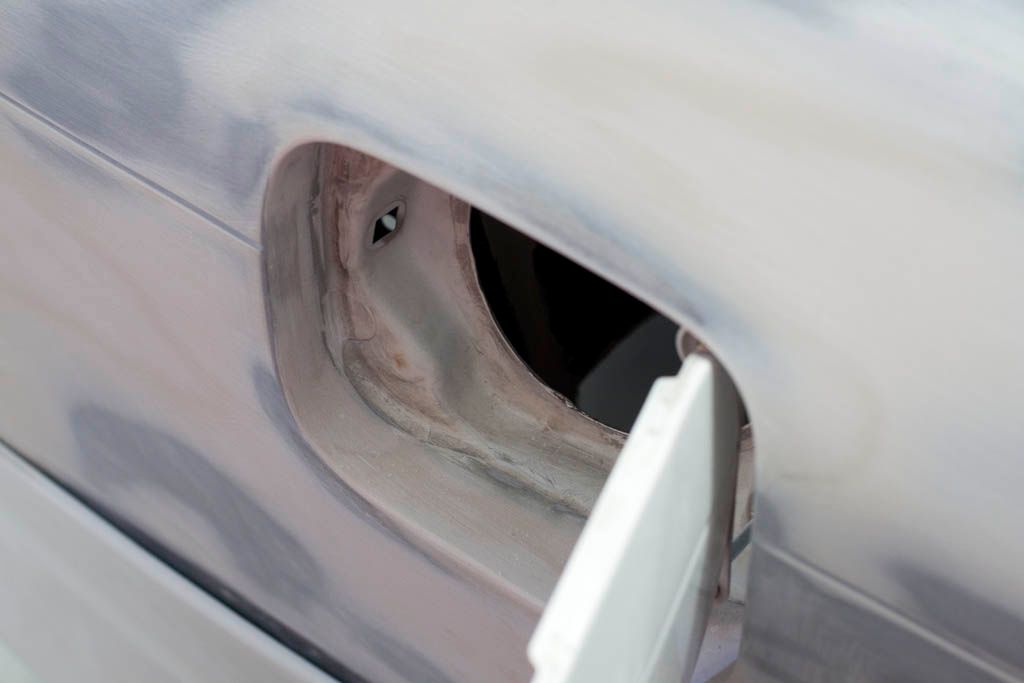 Adjustable offset fuel flap. :P 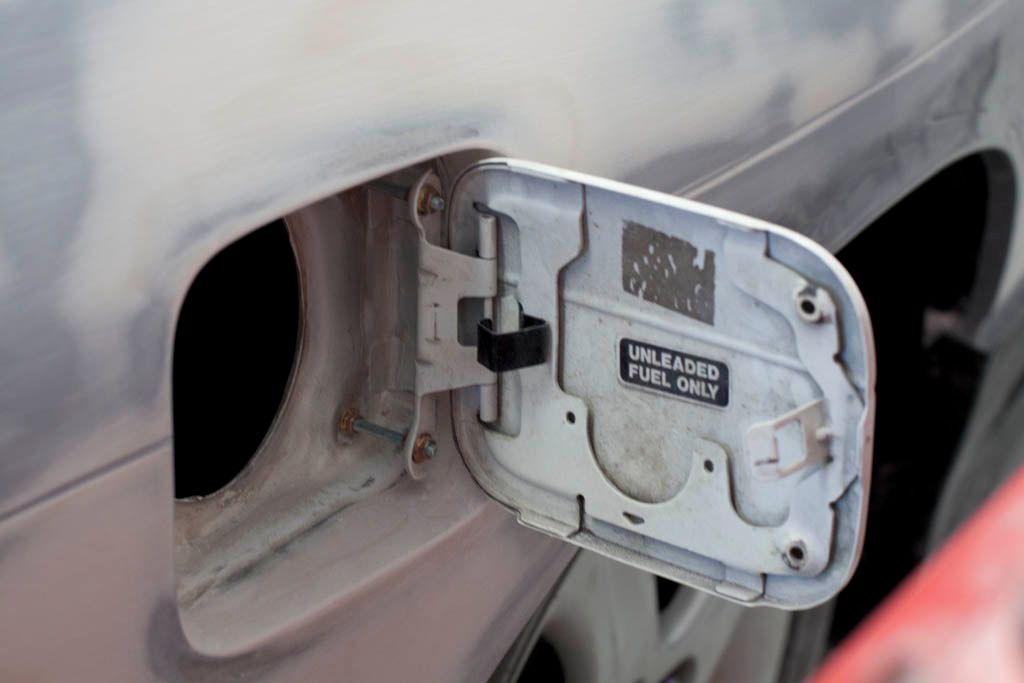 More soon! |
|
|
|
|
| Bookmarks |
|
|


 ...Lets see what you have in mind


 Hybrid Mode
