|
|||||||
| Tech Talk Technical Discussion About The Nissan 240SX and Nissan Z Cars |
 |
|
|
Thread Tools | Display Modes |
 01-07-2011, 04:58 AM
|
#63 | |
|
Post Whore!
 
Join Date: Oct 2006
Location: Greensborough, NC
Posts: 2,783
Trader Rating: (3)
  Feedback Score: 3 reviews
|
Quote:
|
|

|

|
|
01-07-2011, 08:01 AM
|
#64 | |
|
Zilvia Junkie
 
Join Date: Jun 2006
Location: East Coast
Age: 38
Posts: 585
Trader Rating: (20)
Feedback Score: 20 reviews
|
Quote:
|
|
|
|
|
|
01-07-2011, 08:23 AM
|
#65 |
|
Post Whore!

|
I did the zerk fittings.... total waste of time. I even cut extra grooves thinking there would be less stiction..... nope.
Disconnect one of those arms from the subframe and try moving it up and down on the upright side and you will see what I mean... now imagine trying to move all 5 of those bushings up and down at the same time(the ES RLCA bushings are the worst). People only recommend them because they don't know what is going on with their suspension... Yeah they will make your car stiff but in the wrong places... the bushings basically over-power the cheap chinese coils everyone runs and you end up with a bouncy ride at low speeds. |
|
|
|
|
01-07-2011, 05:05 PM
|
#66 | |
|
Zilvia Junkie
Join Date: Jun 2006
Location: East Coast
Age: 38
Posts: 585
Trader Rating: (20)
Feedback Score: 20 reviews
|
Quote:
|
|
|
|
|
|
01-18-2011, 03:18 PM
|
#68 | |
|
Zilvia Junkie
Join Date: Jun 2006
Location: East Coast
Age: 38
Posts: 585
Trader Rating: (20)
Feedback Score: 20 reviews
|
Quote:
The suspension did not take too long, however a lot of the work is labor intensive. Removing the subframe bushings, spindle bushings, and installing the new ones takes a little time. Aside from that, a lot of time was spent powder coating and painting. |
|
|
|
|
|
01-18-2011, 03:47 PM
|
#69 |
|
Zilvia Junkie
Join Date: Jun 2006
Location: East Coast
Age: 38
Posts: 585
Trader Rating: (20)
Feedback Score: 20 reviews
|
Before all the suspension was installed I painted pretty much the entire underside of the car with a spray on bed liner product. It took about 5 cans to do the whole thing. Be sure to apply tape thoroughly, as there are quite a few small mounting holes that go through to the engine bay. There is nothing worse than black overspray on your shiny engine parts...trust me
Product... 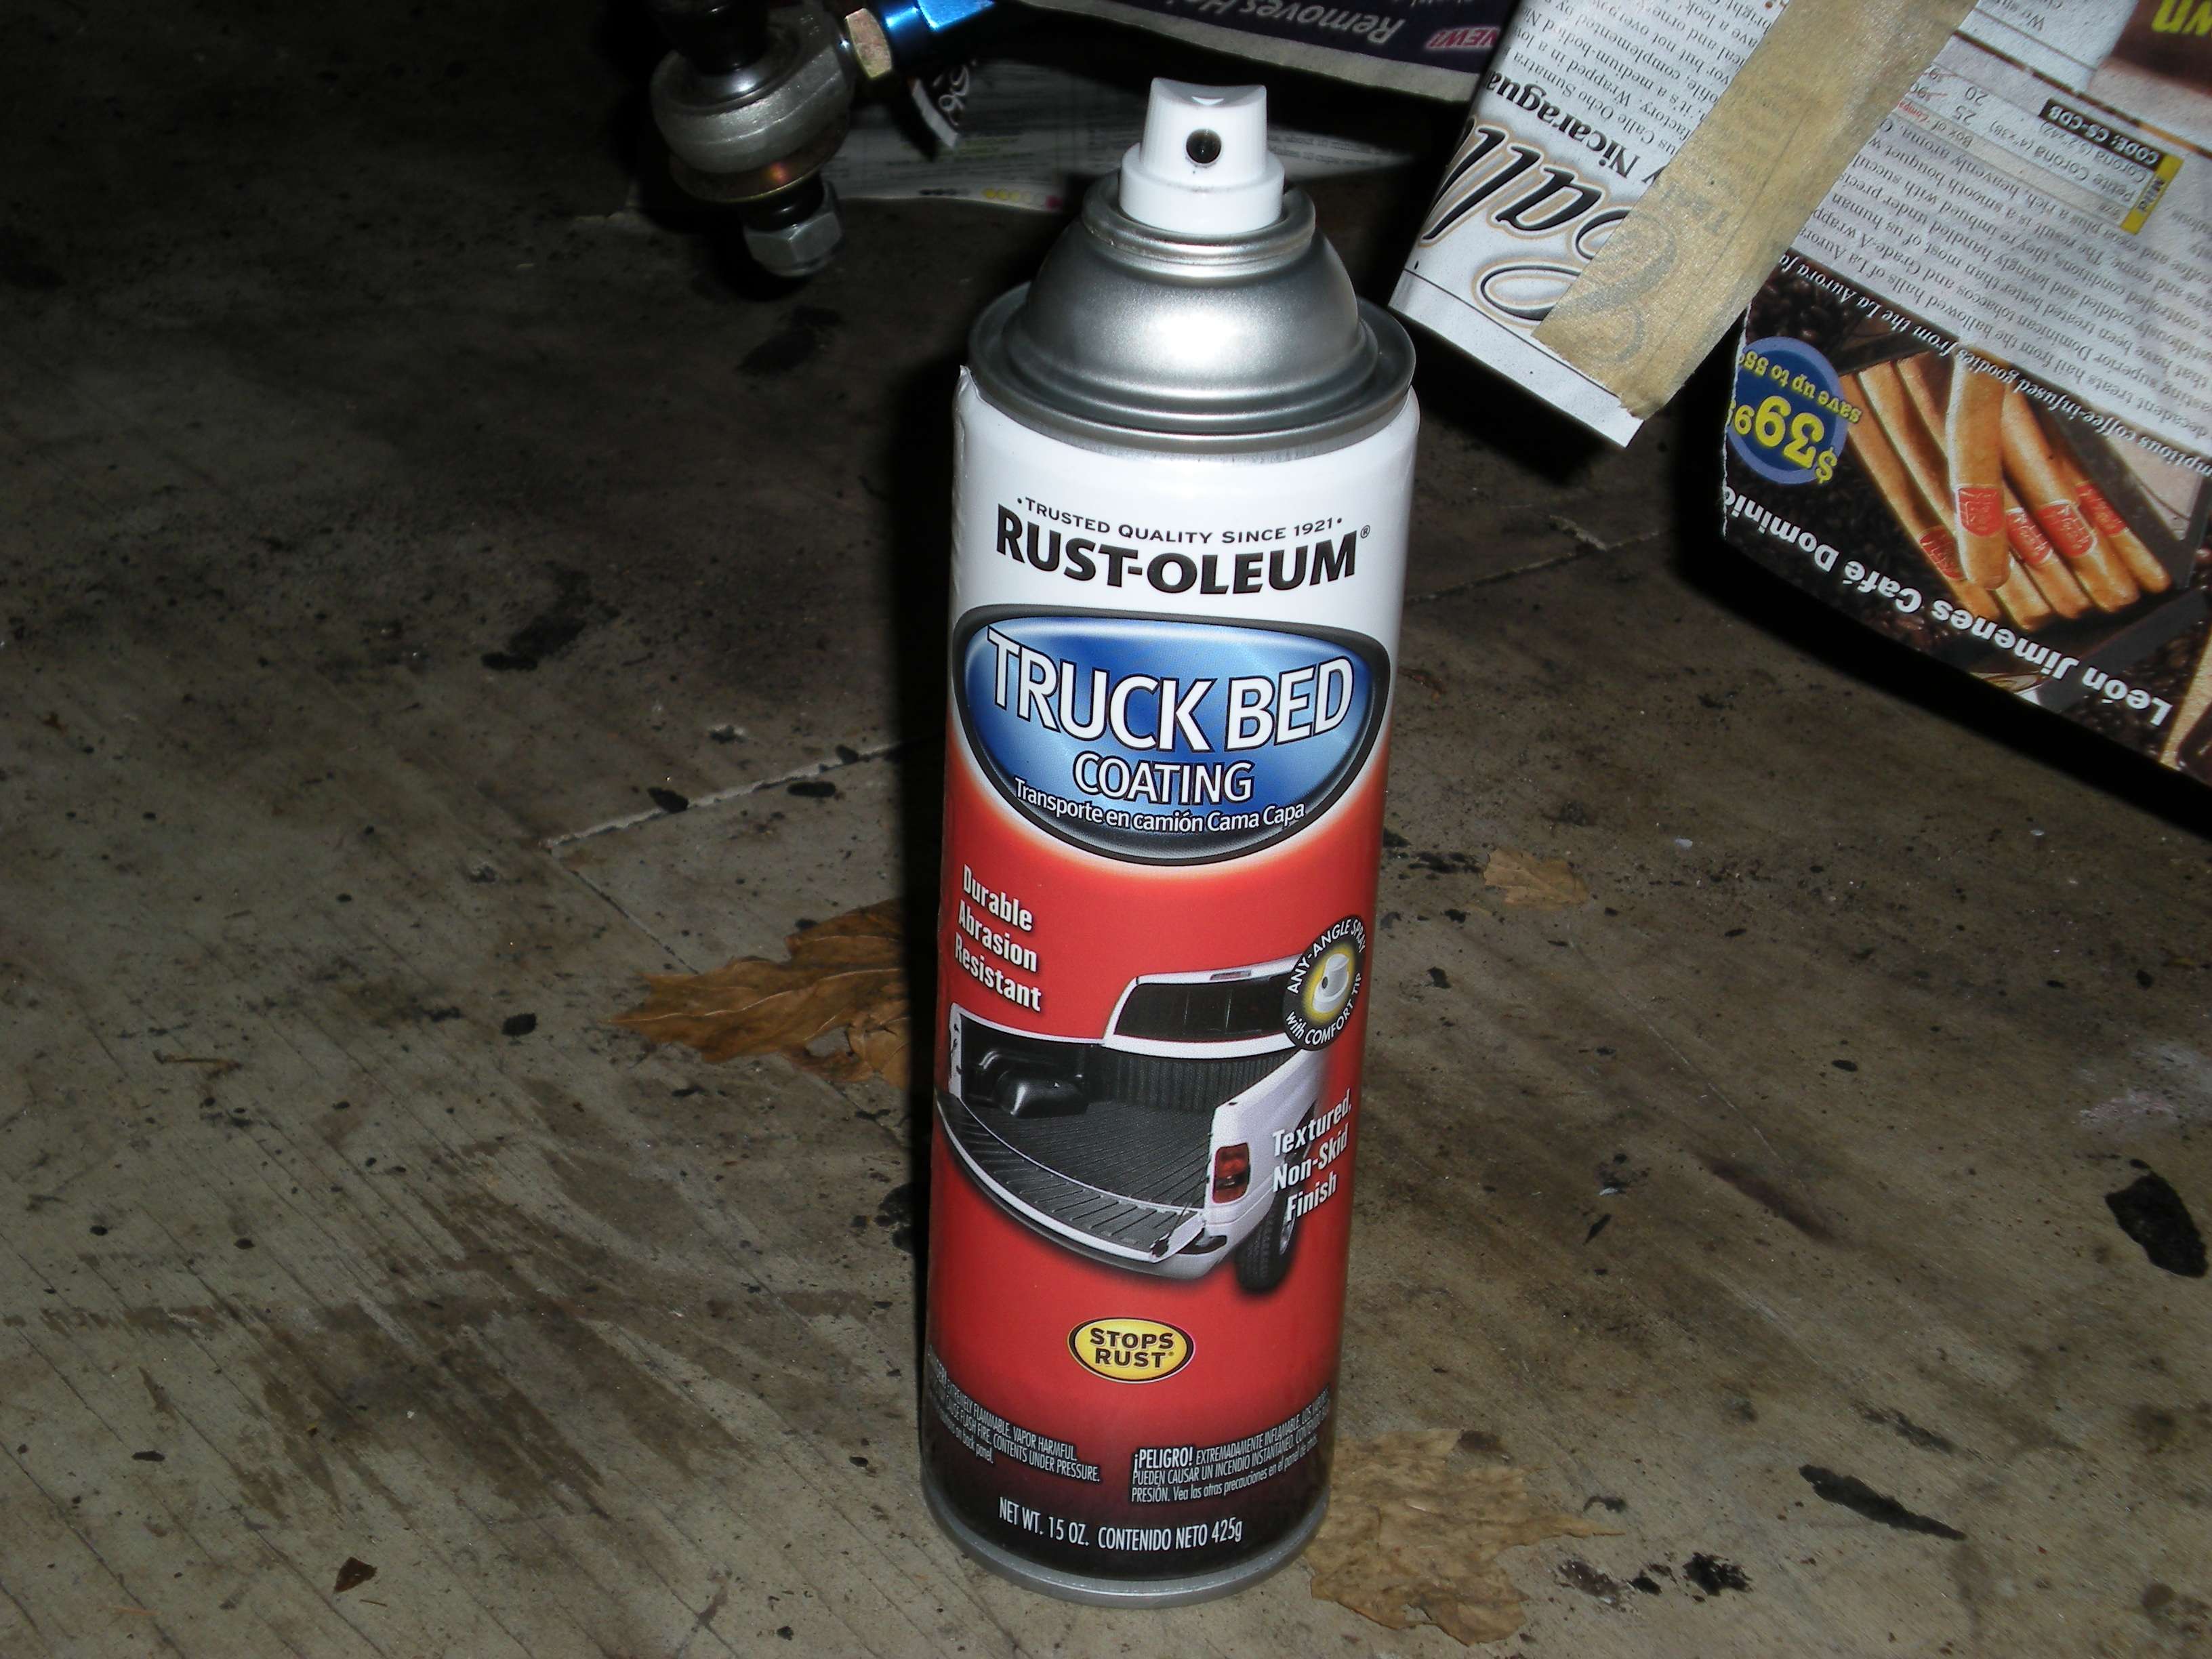 Front... 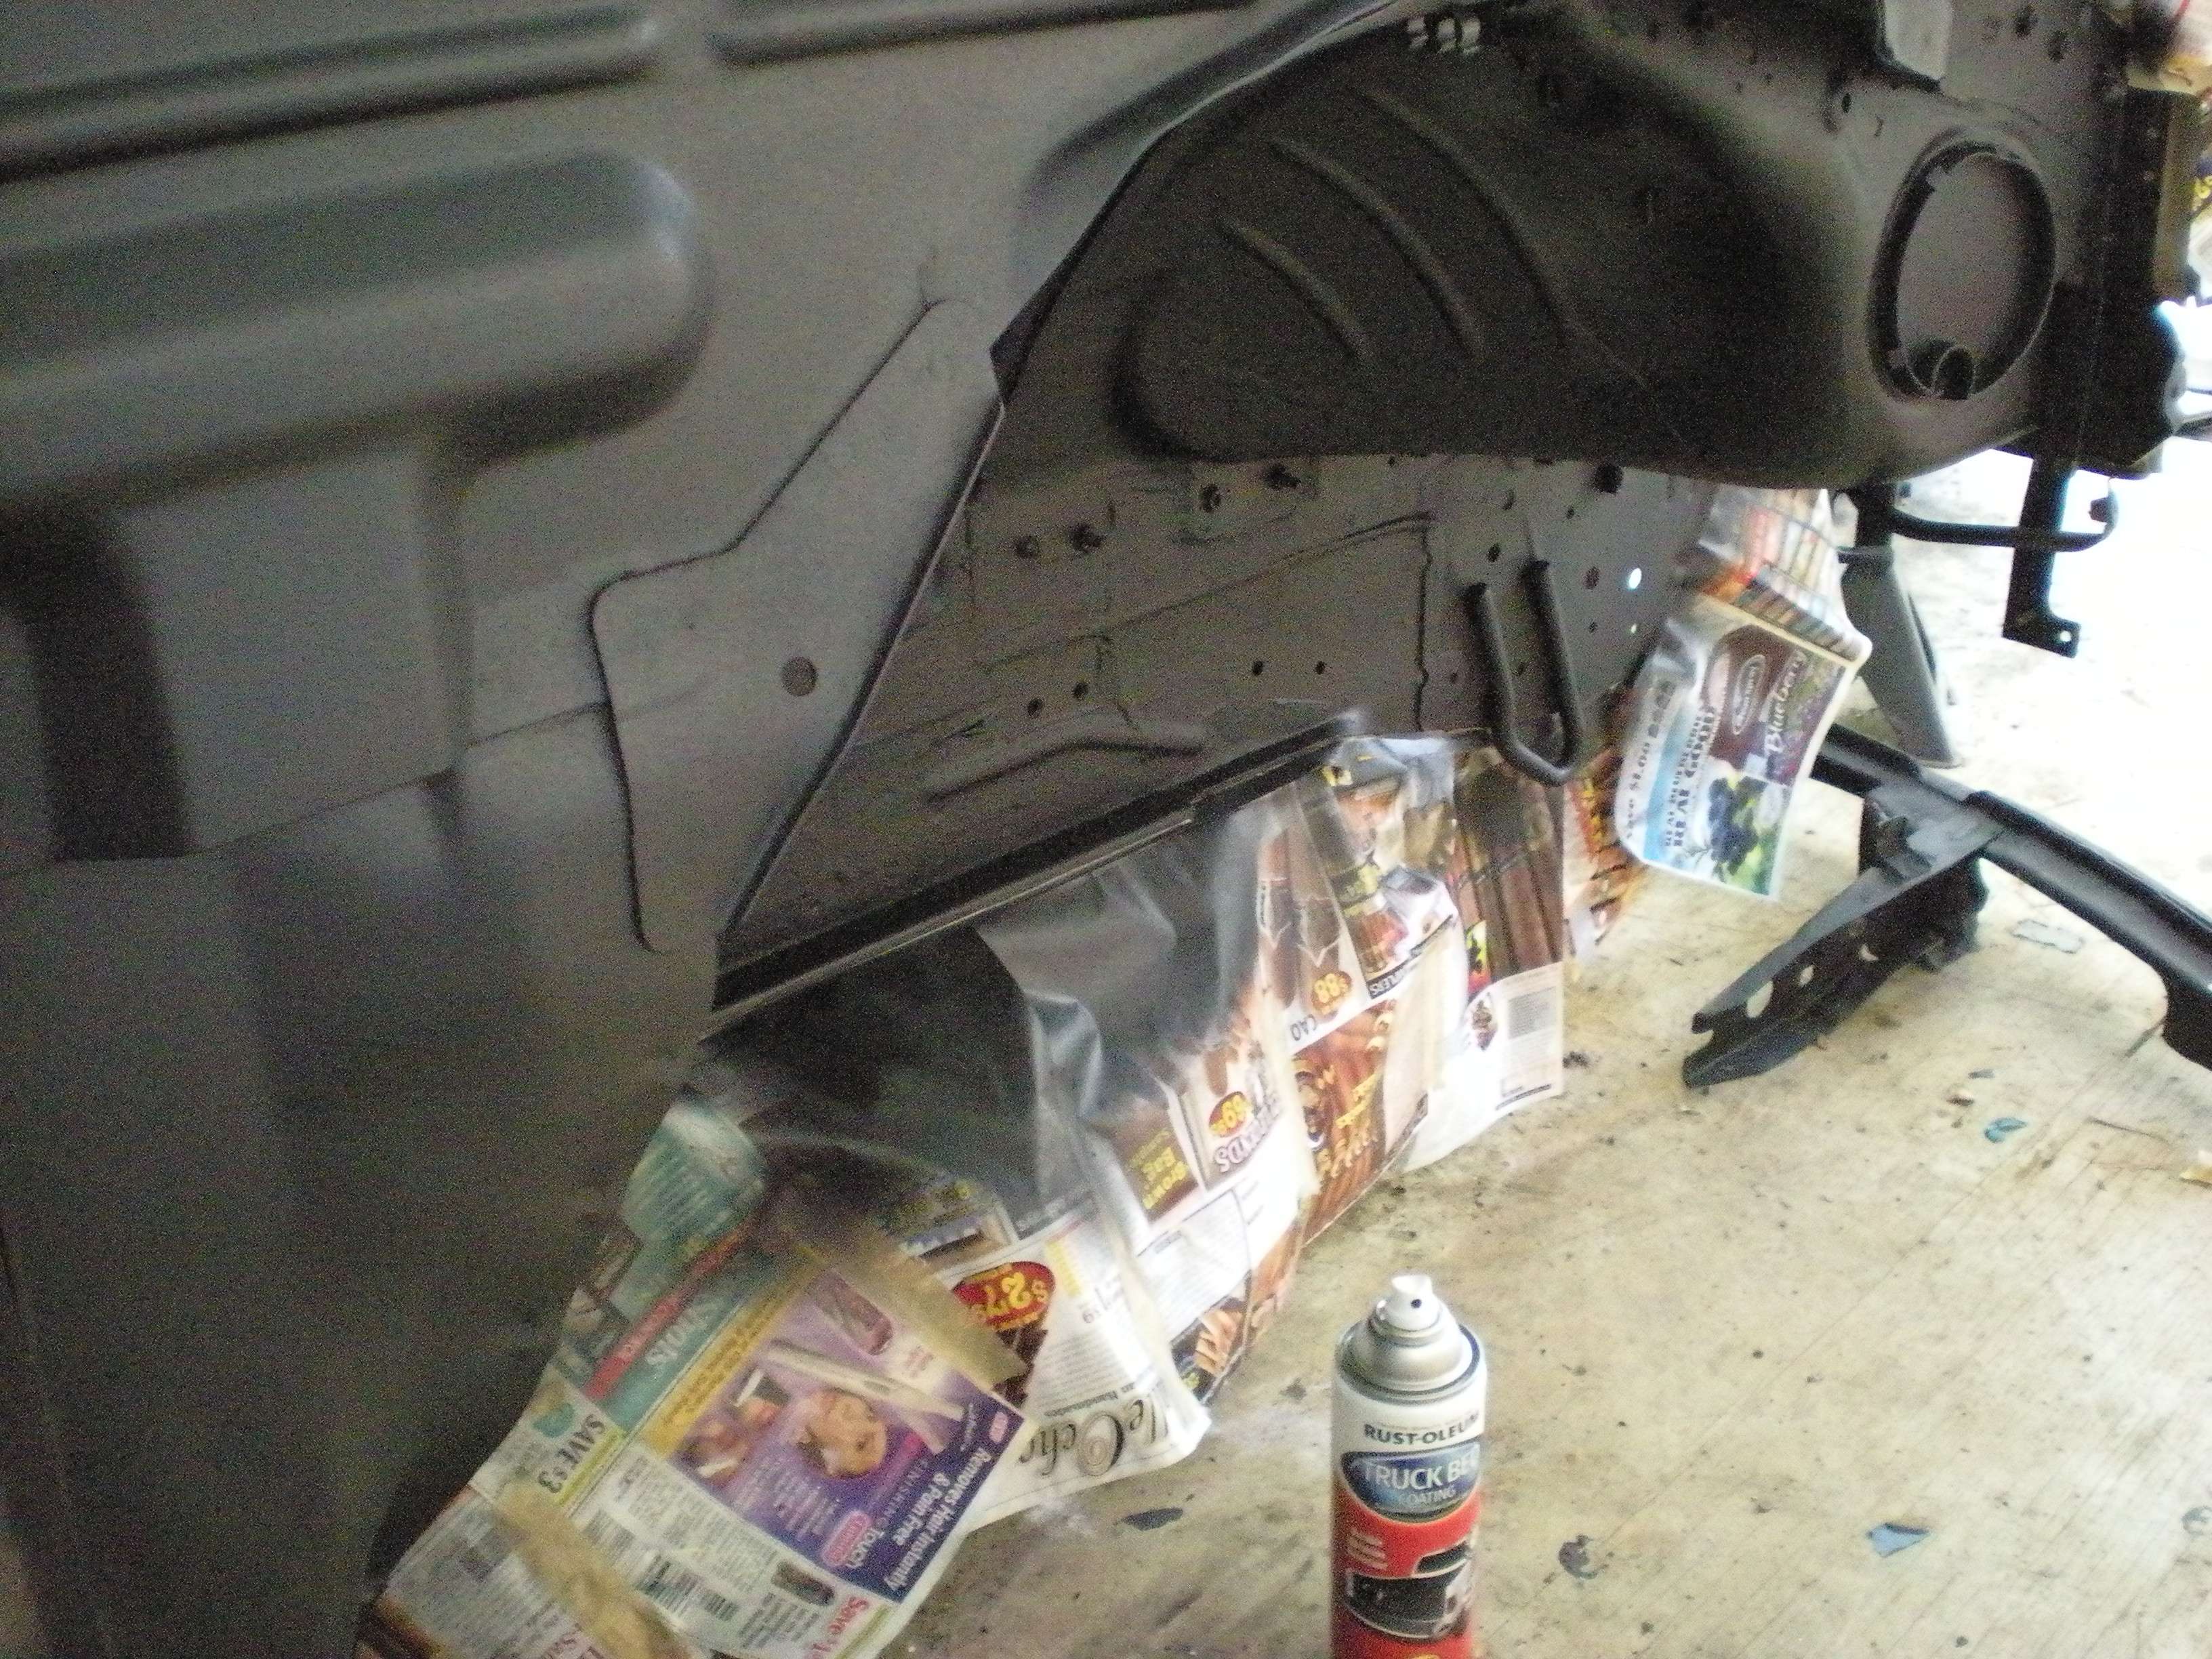  Rear.... 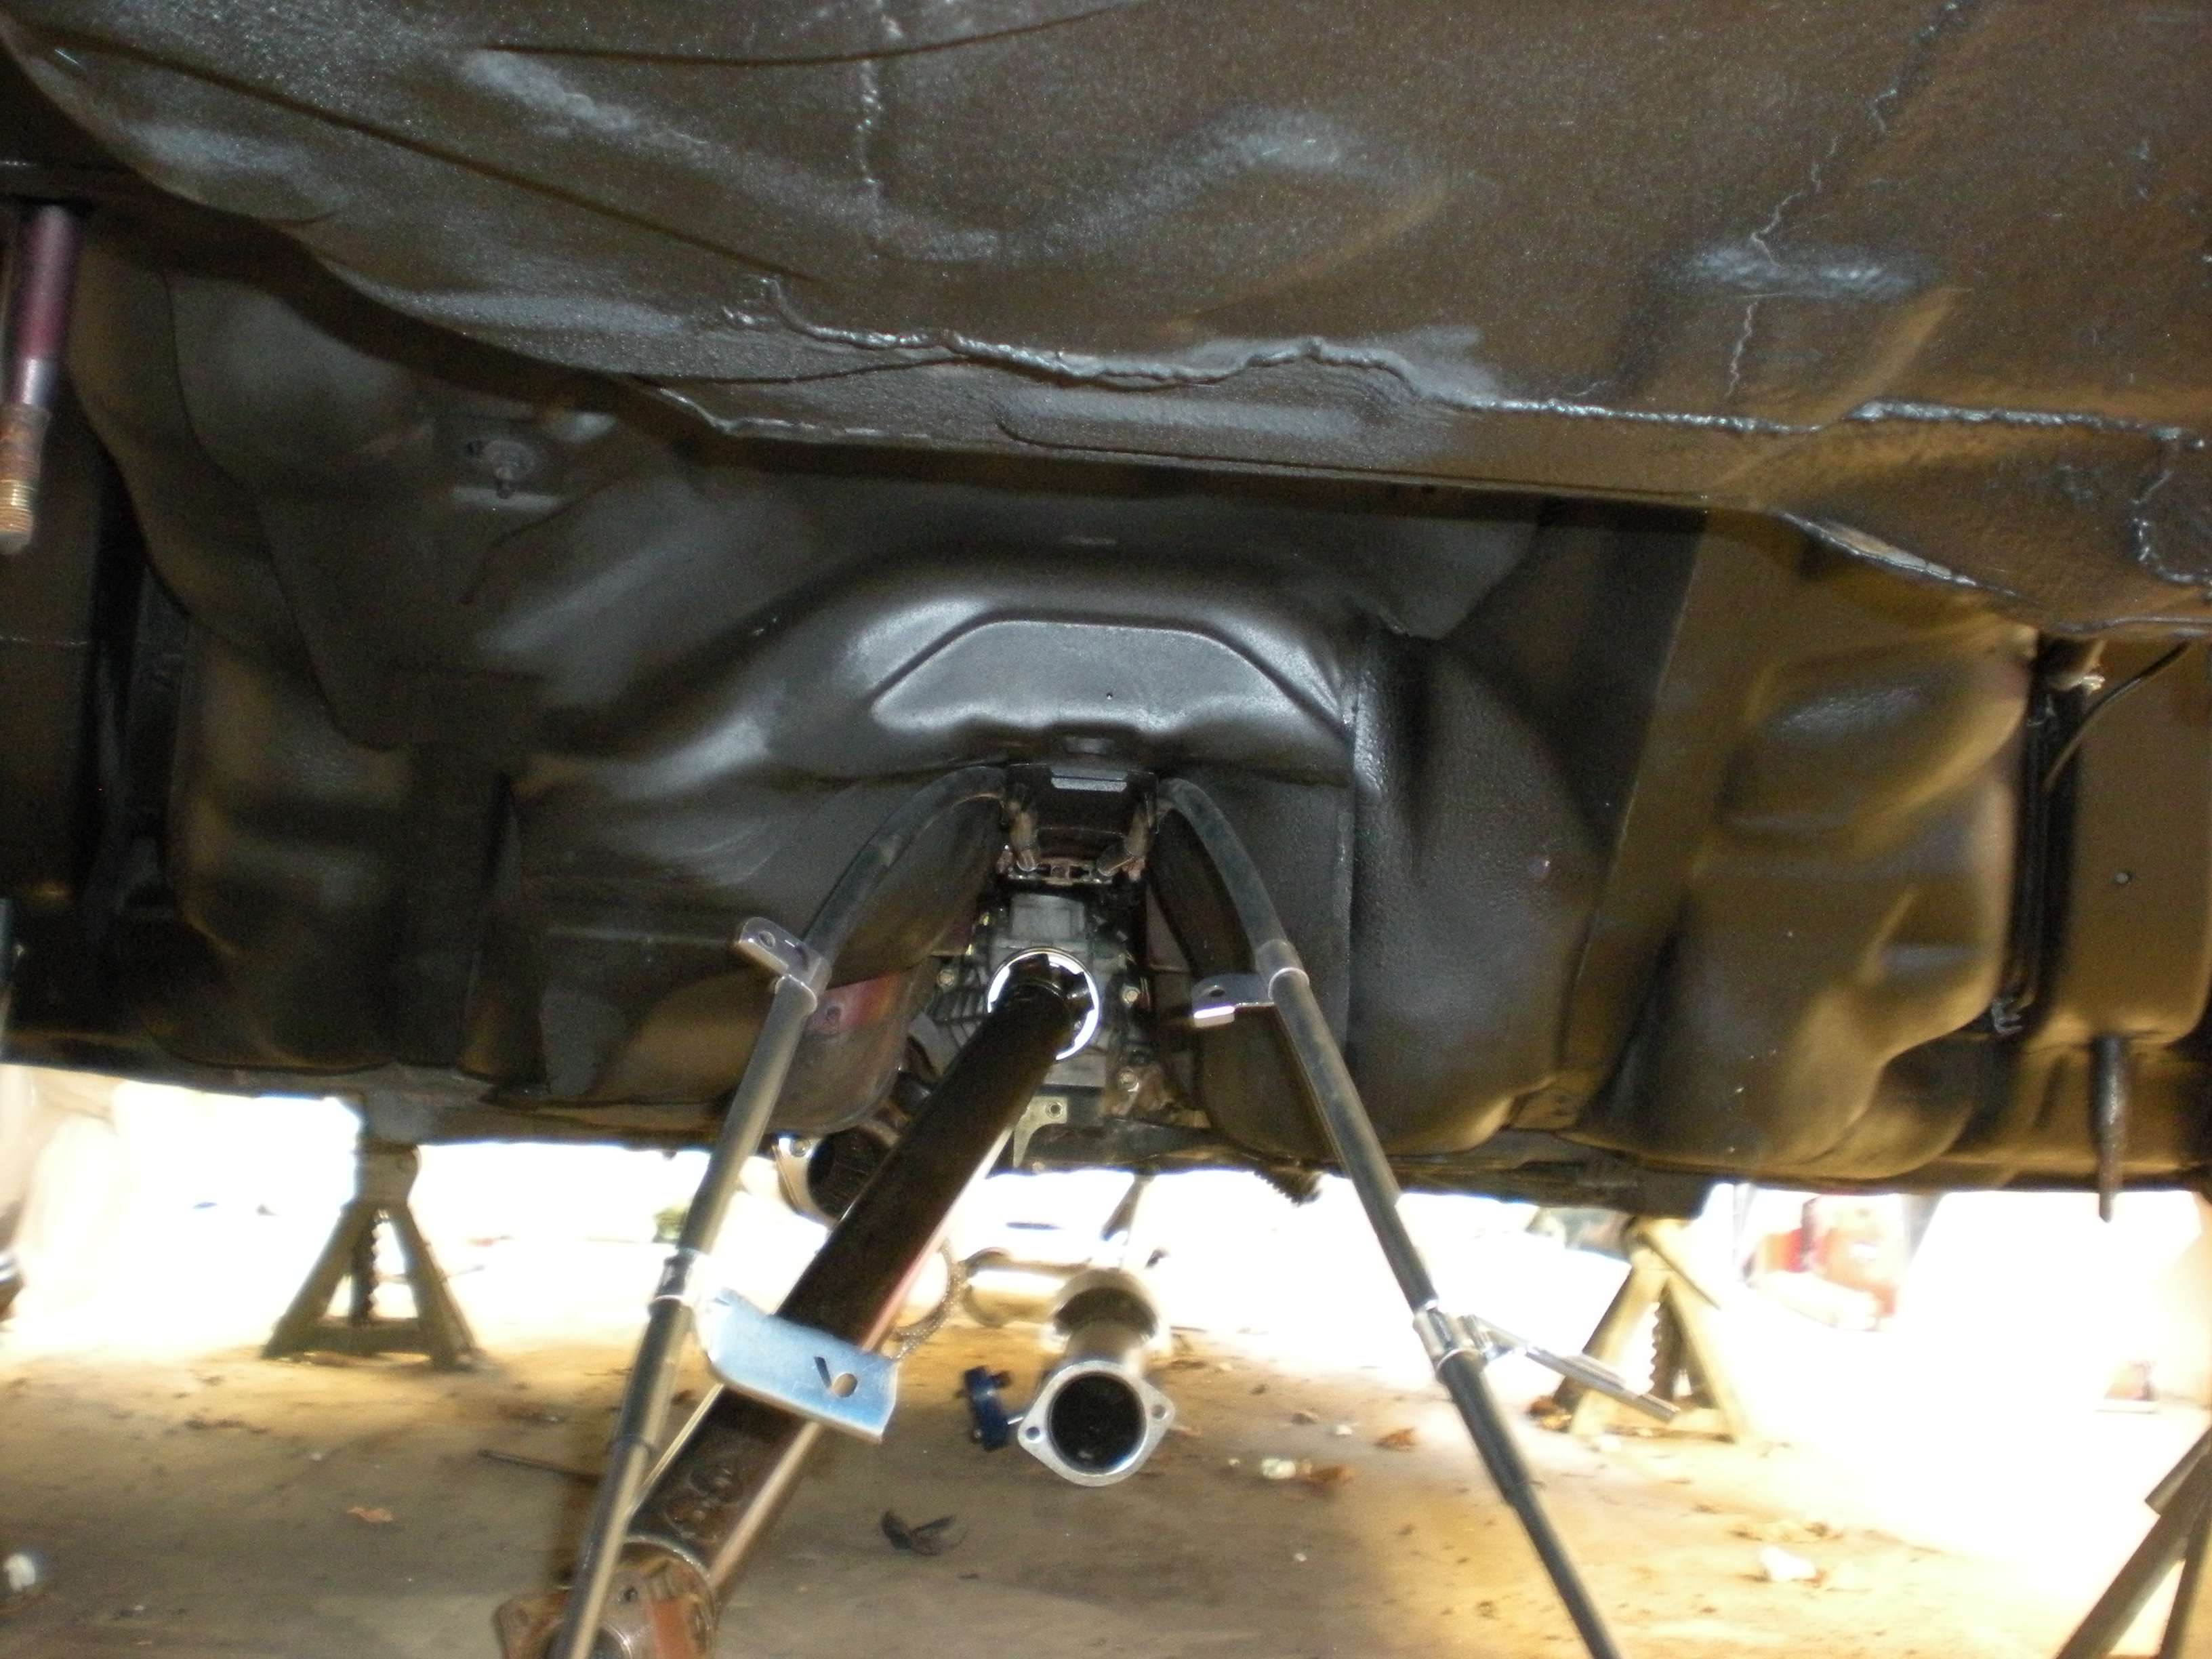 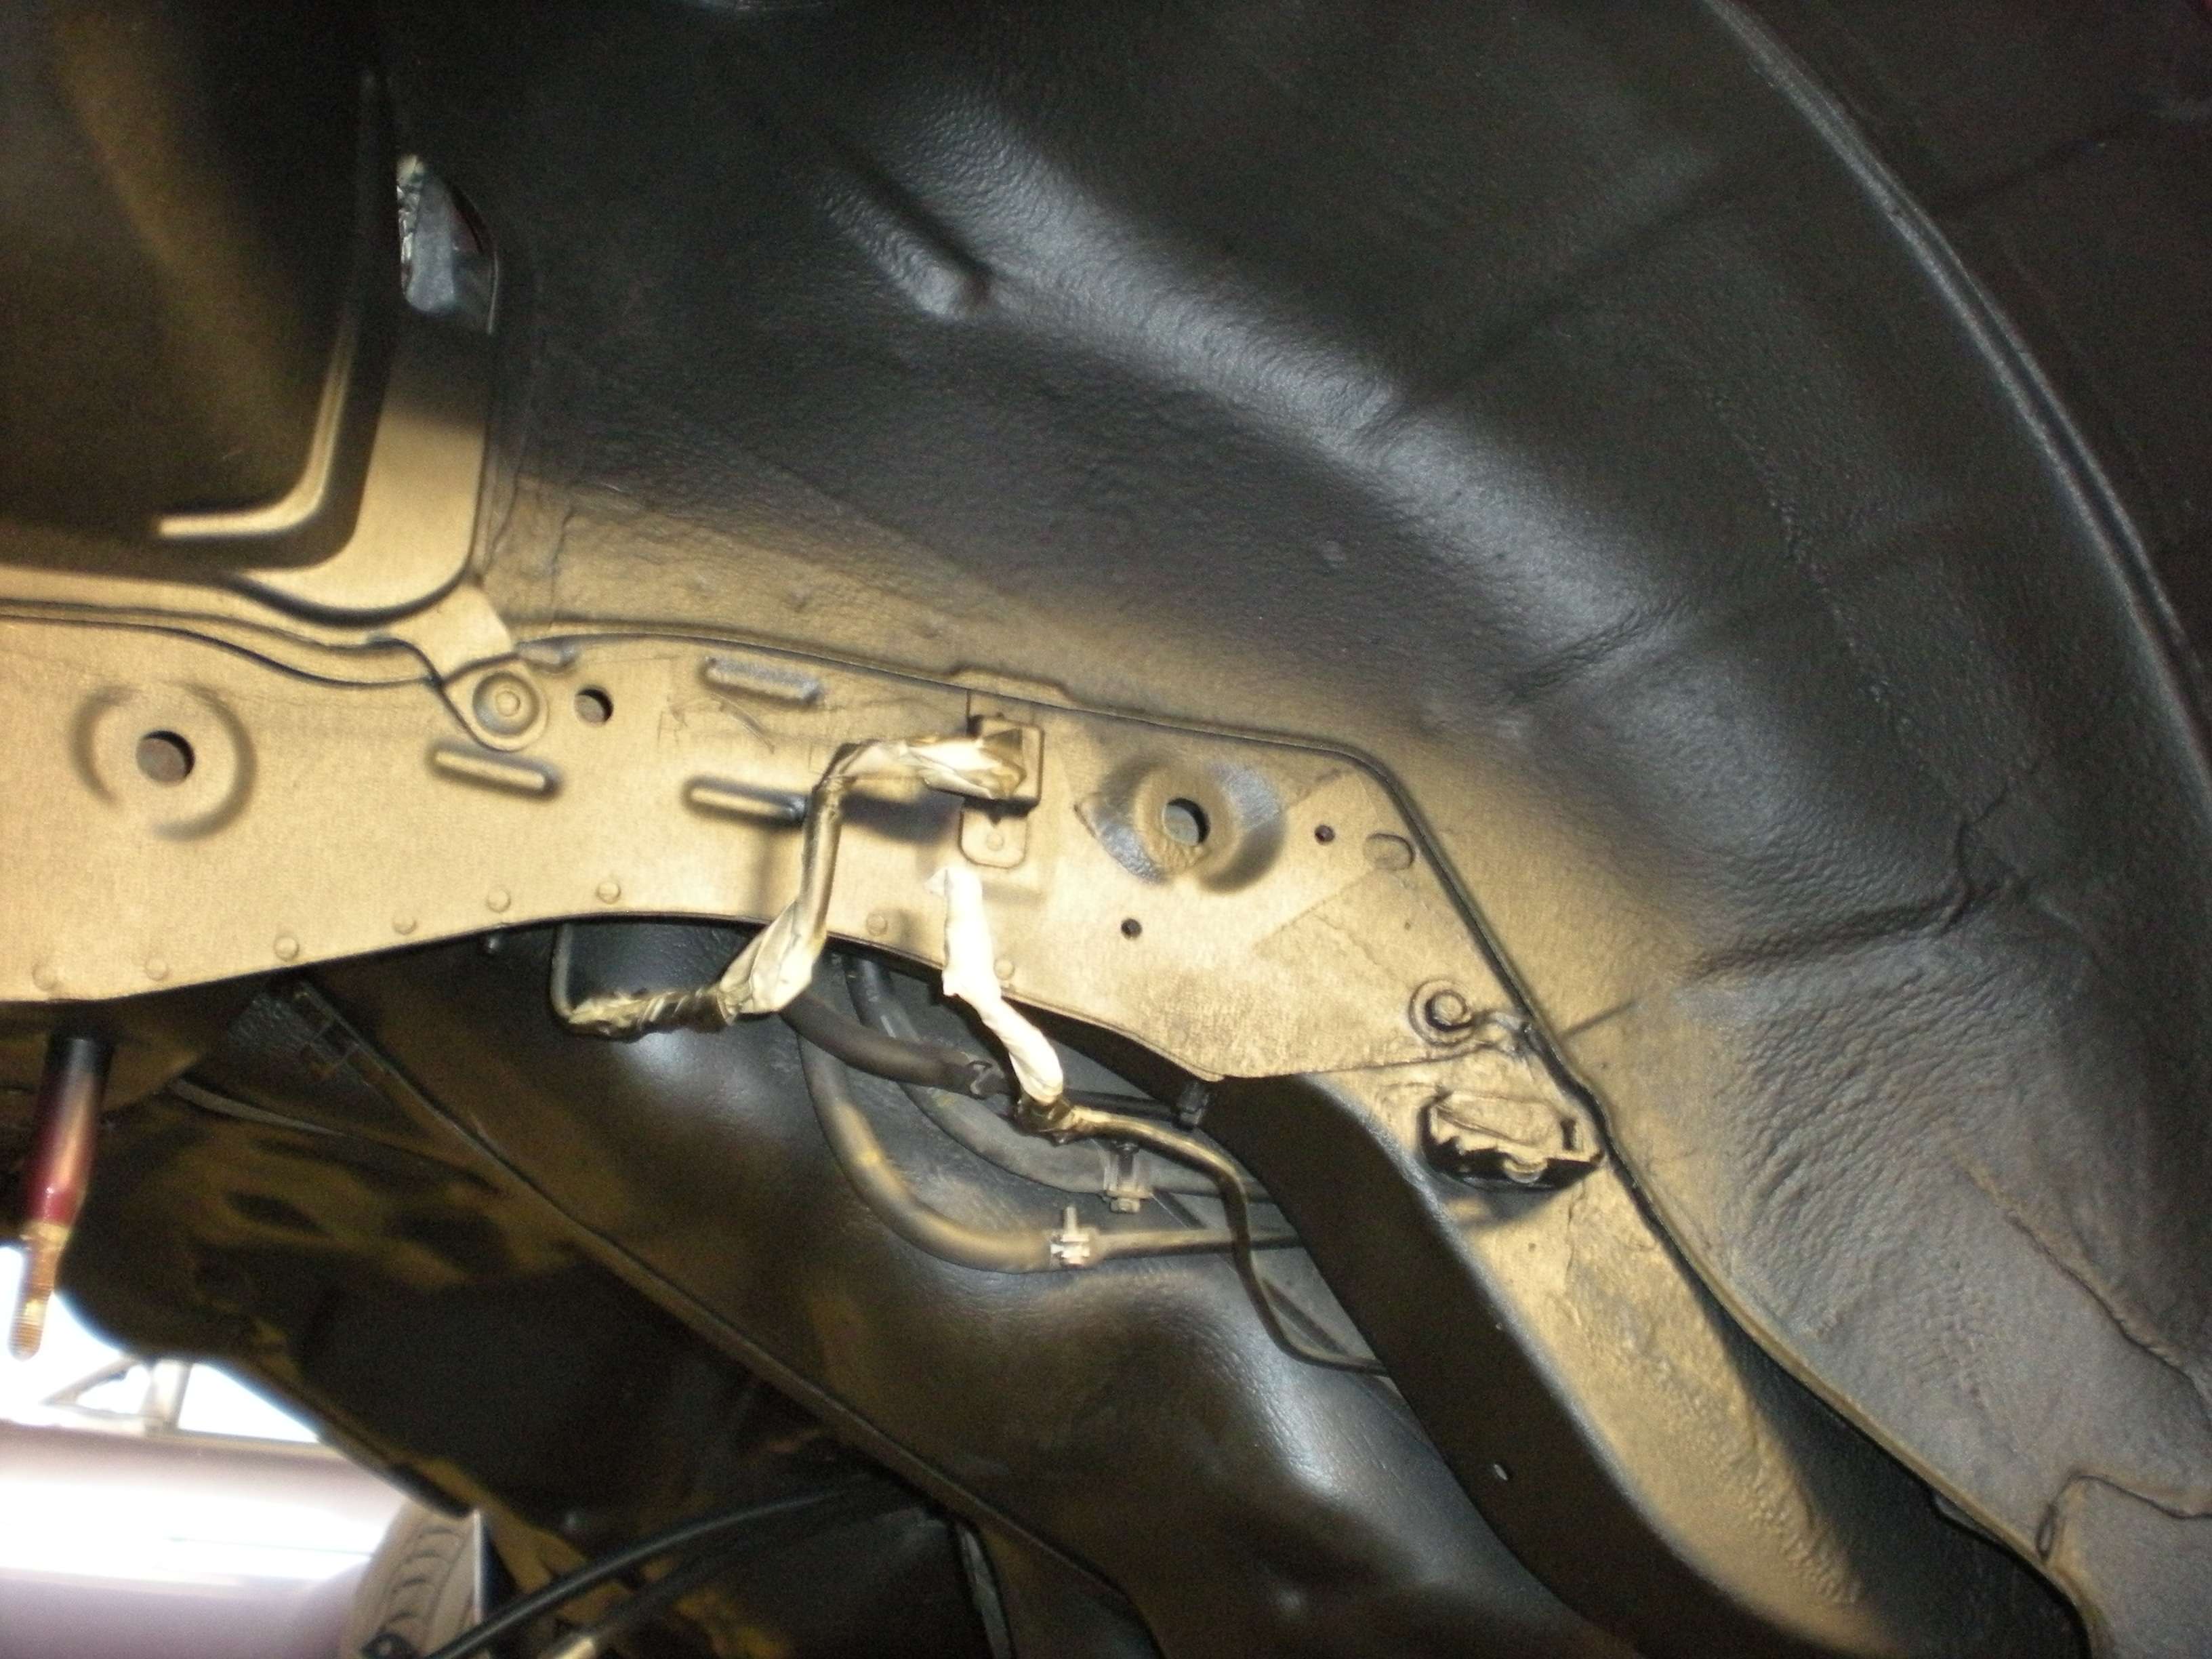 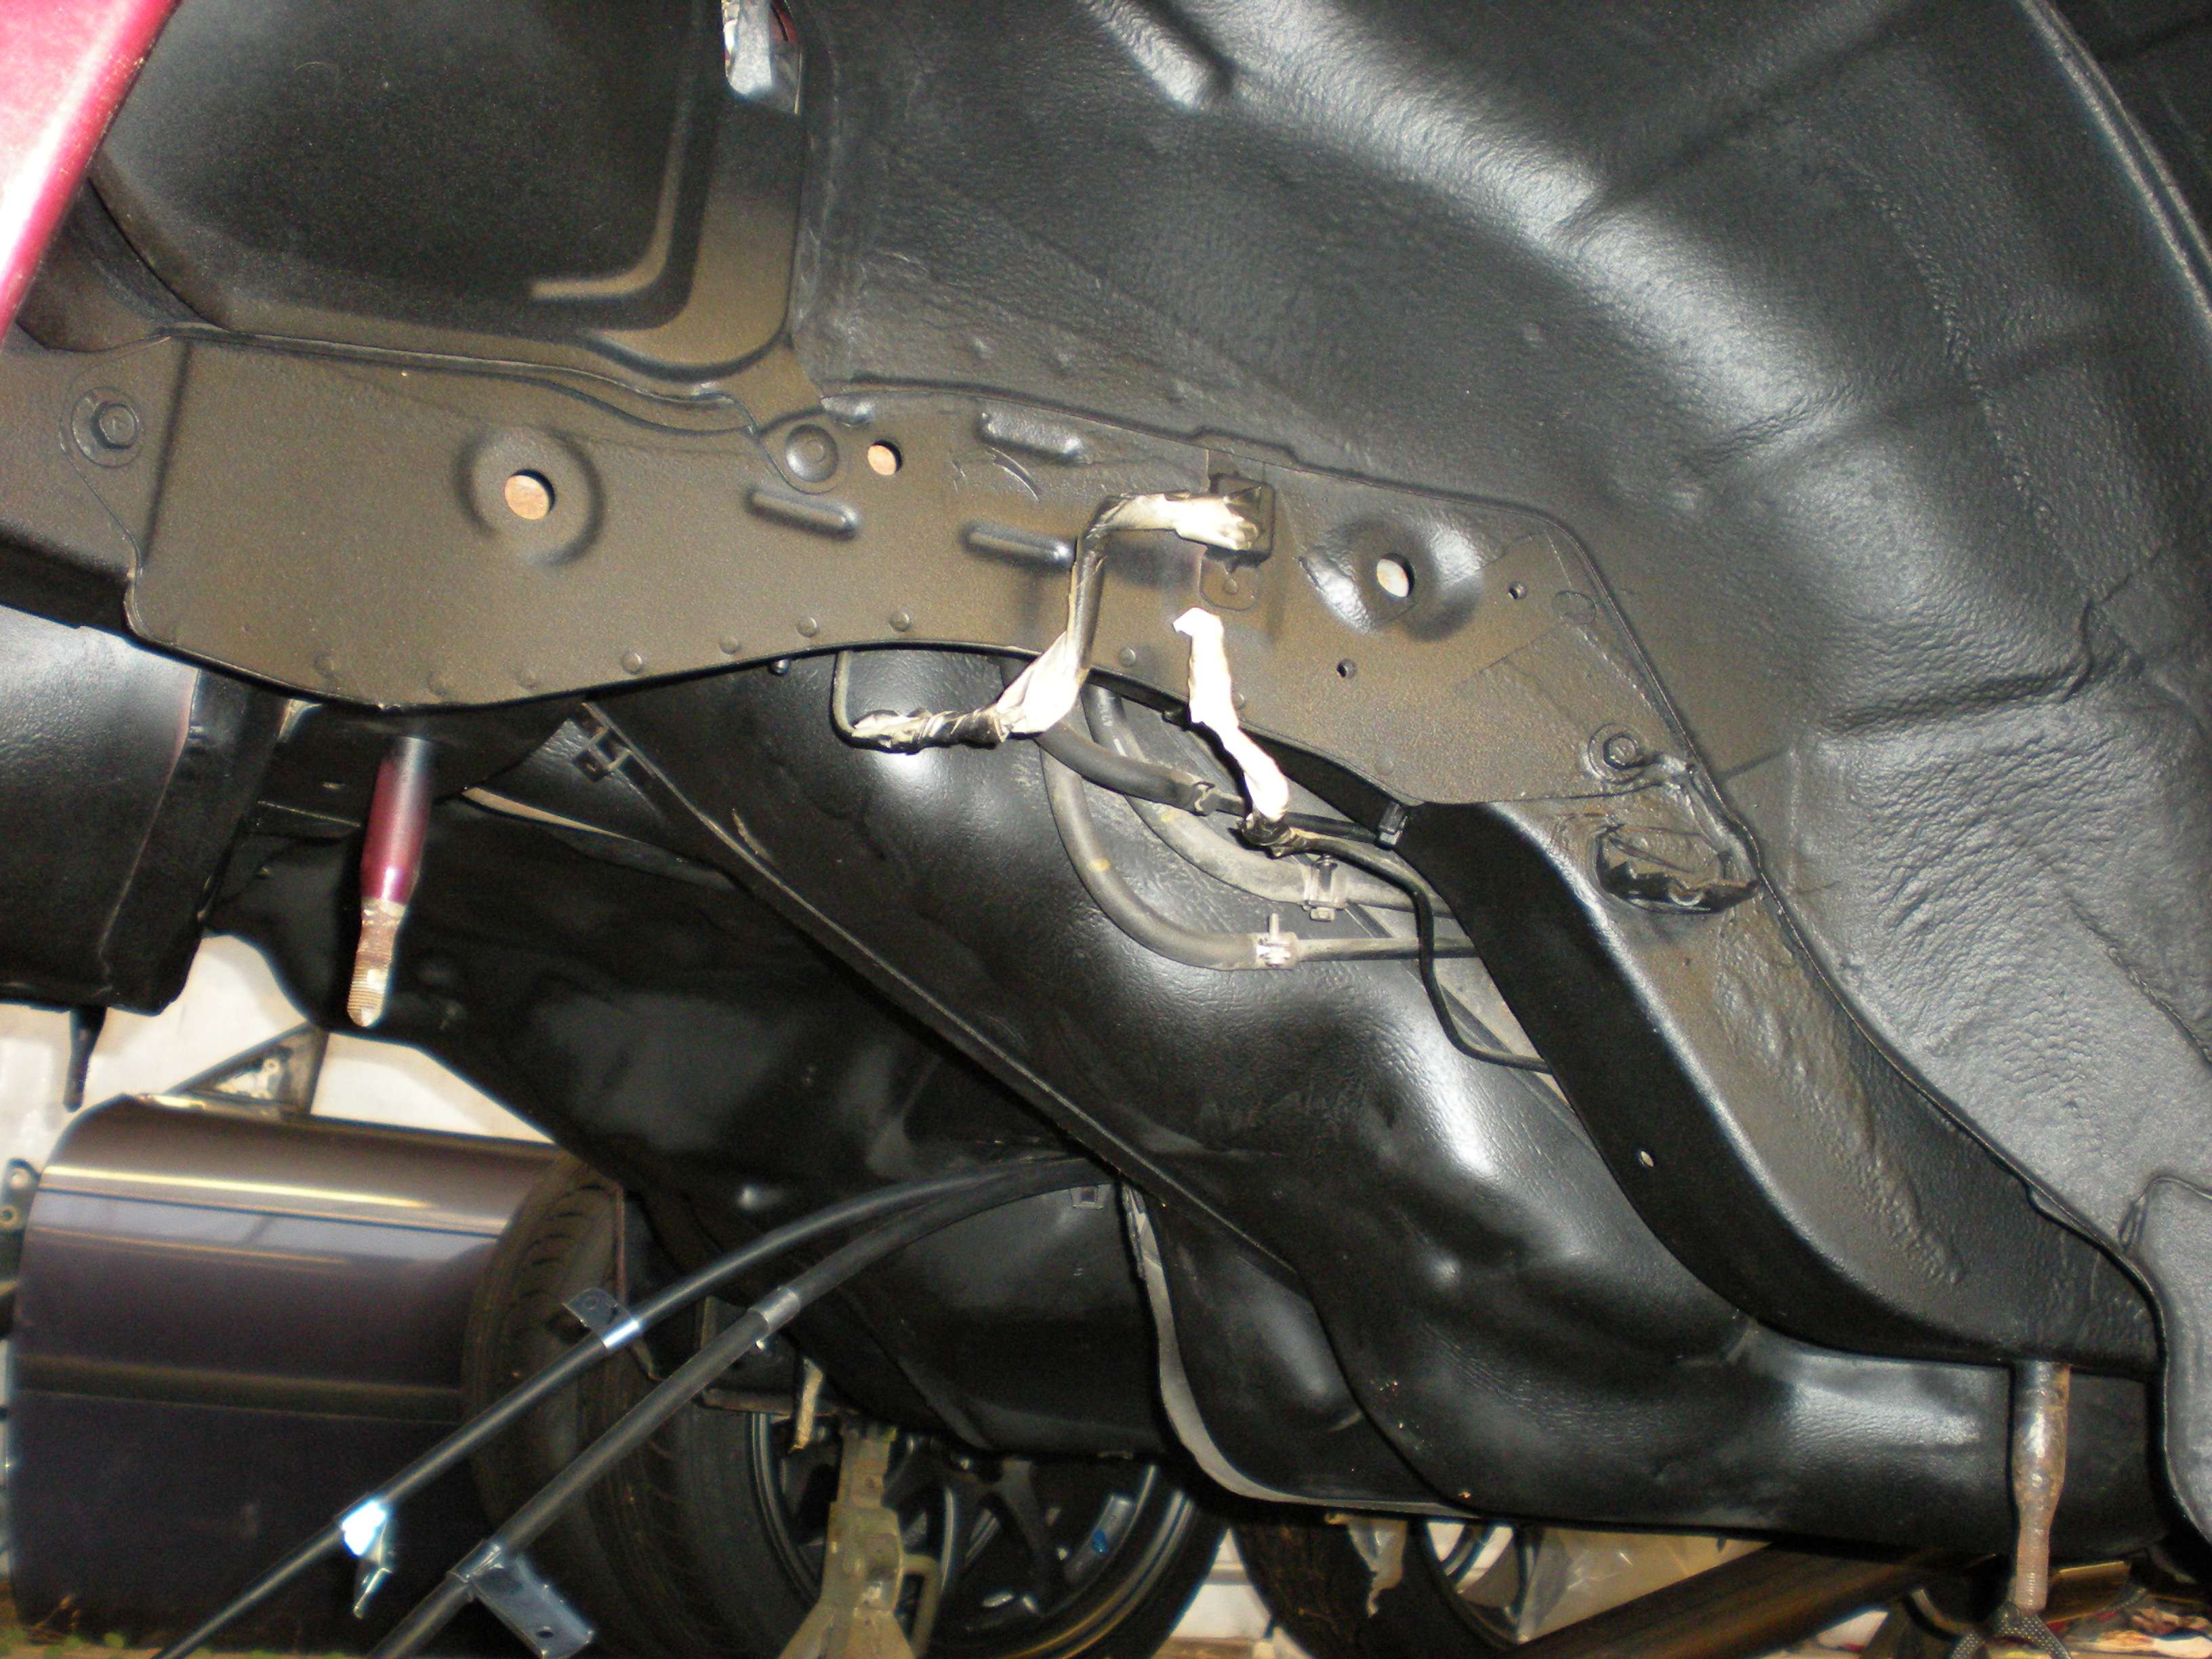 |
|
|
|
|
01-20-2011, 02:37 PM
|
#70 | |
|
Leaky Injector
|
Quote:
|
|
|
|
|
|
01-20-2011, 03:06 PM
|
#71 | |
|
Zilvia Junkie
Join Date: Jun 2006
Location: East Coast
Age: 38
Posts: 585
Trader Rating: (20)
Feedback Score: 20 reviews
|
Quote:
I adjusted all the arms to the same length as the factory arms just so I can get the car to get the alignment done. I will be taking the car to SlideWayz Motorsports for corner balancing and suspension adjustment. They are a great group of guys and could help you with what you need. Slidewayz Motorsports, LLC - Your Source for the Finest in Performance Parts - Homepage 175 Fair St. Palisades Park, NJ 07650 P: (201)-944-4955 |
|
|
|
|
|
01-21-2011, 09:55 AM
|
#75 | |
|
Zilvia Junkie
Join Date: Jun 2006
Location: East Coast
Age: 38
Posts: 585
Trader Rating: (20)
Feedback Score: 20 reviews
|
Quote:
|
|
|
|
|
|
01-22-2011, 12:01 AM
|
#76 |
|
Zilvia Junkie
Join Date: Jun 2006
Location: East Coast
Age: 38
Posts: 585
Trader Rating: (20)
Feedback Score: 20 reviews
|
The front suspension, although less extensive than the rear, still offered up its own challenges, and provided plenty of areas for upgrades. As most you from the northeast know, everything was pretty much rusted into its final resting place, and needed to be violently disassembled. The lower control arm was up first...
After removing the worn out ball joints on the press, it was time to remove the dried out bushings. My preferred method is heating the bushings up with a torch until you are able to hammer out the center metal portion. 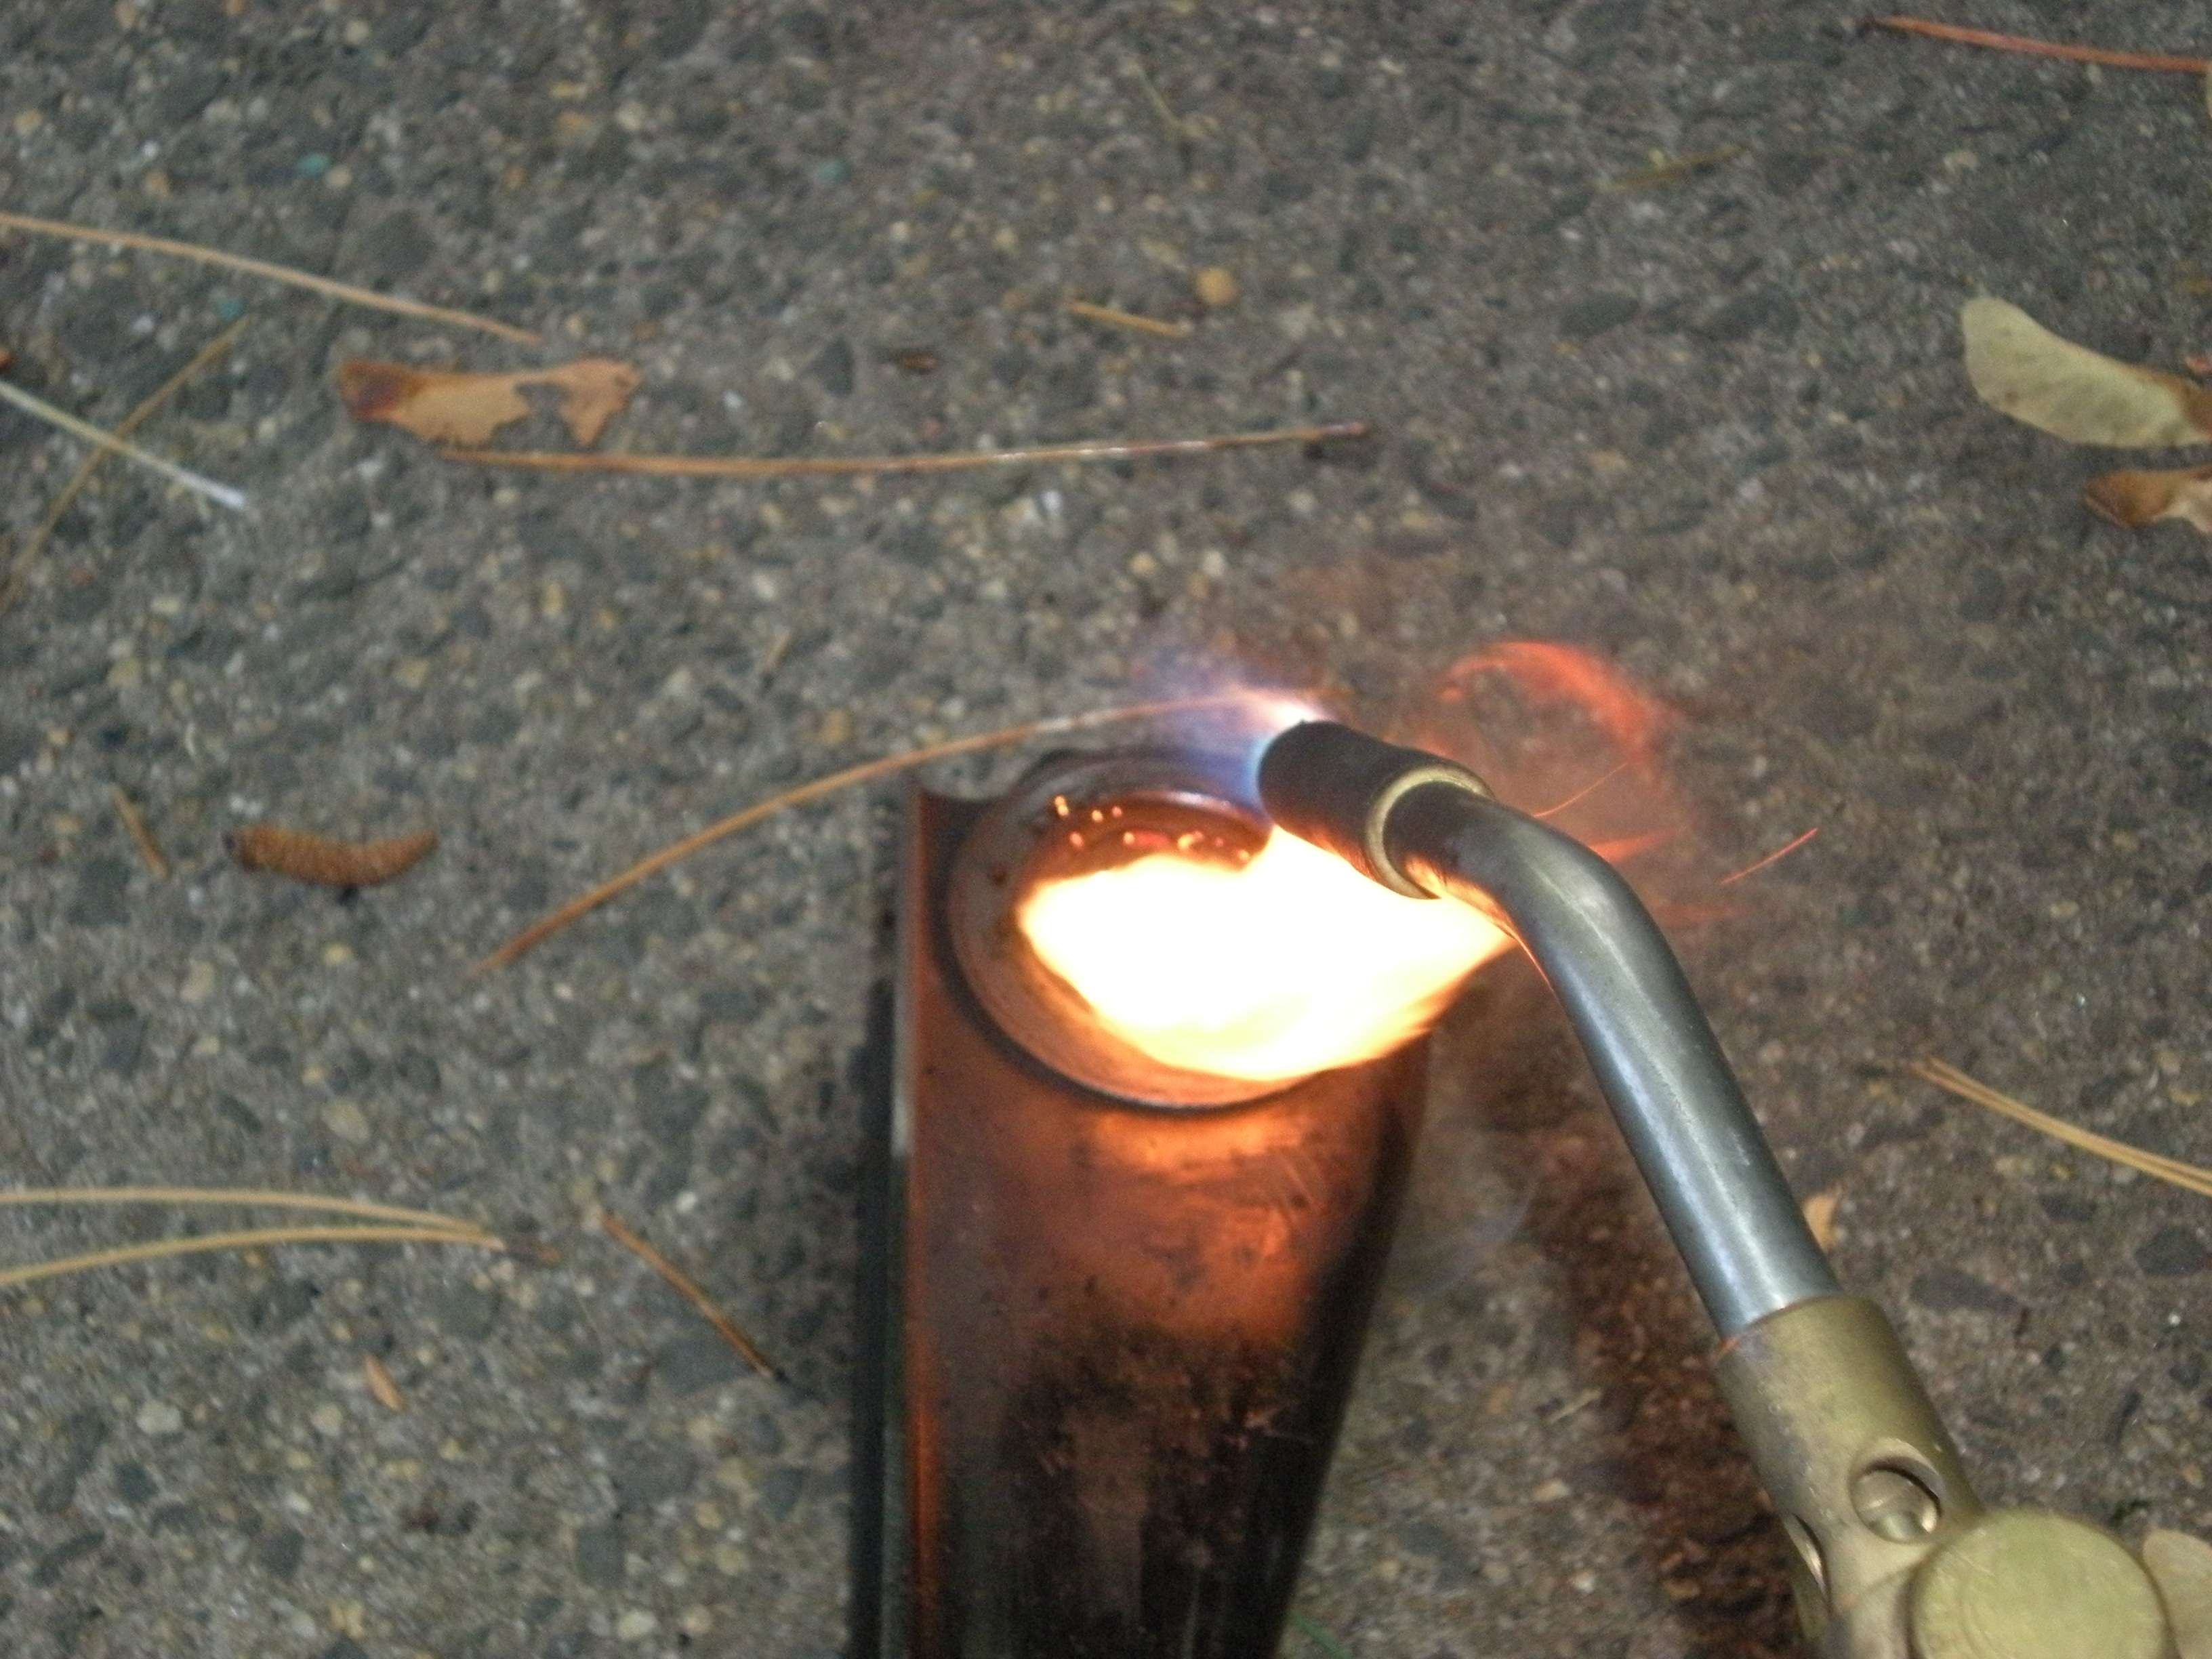 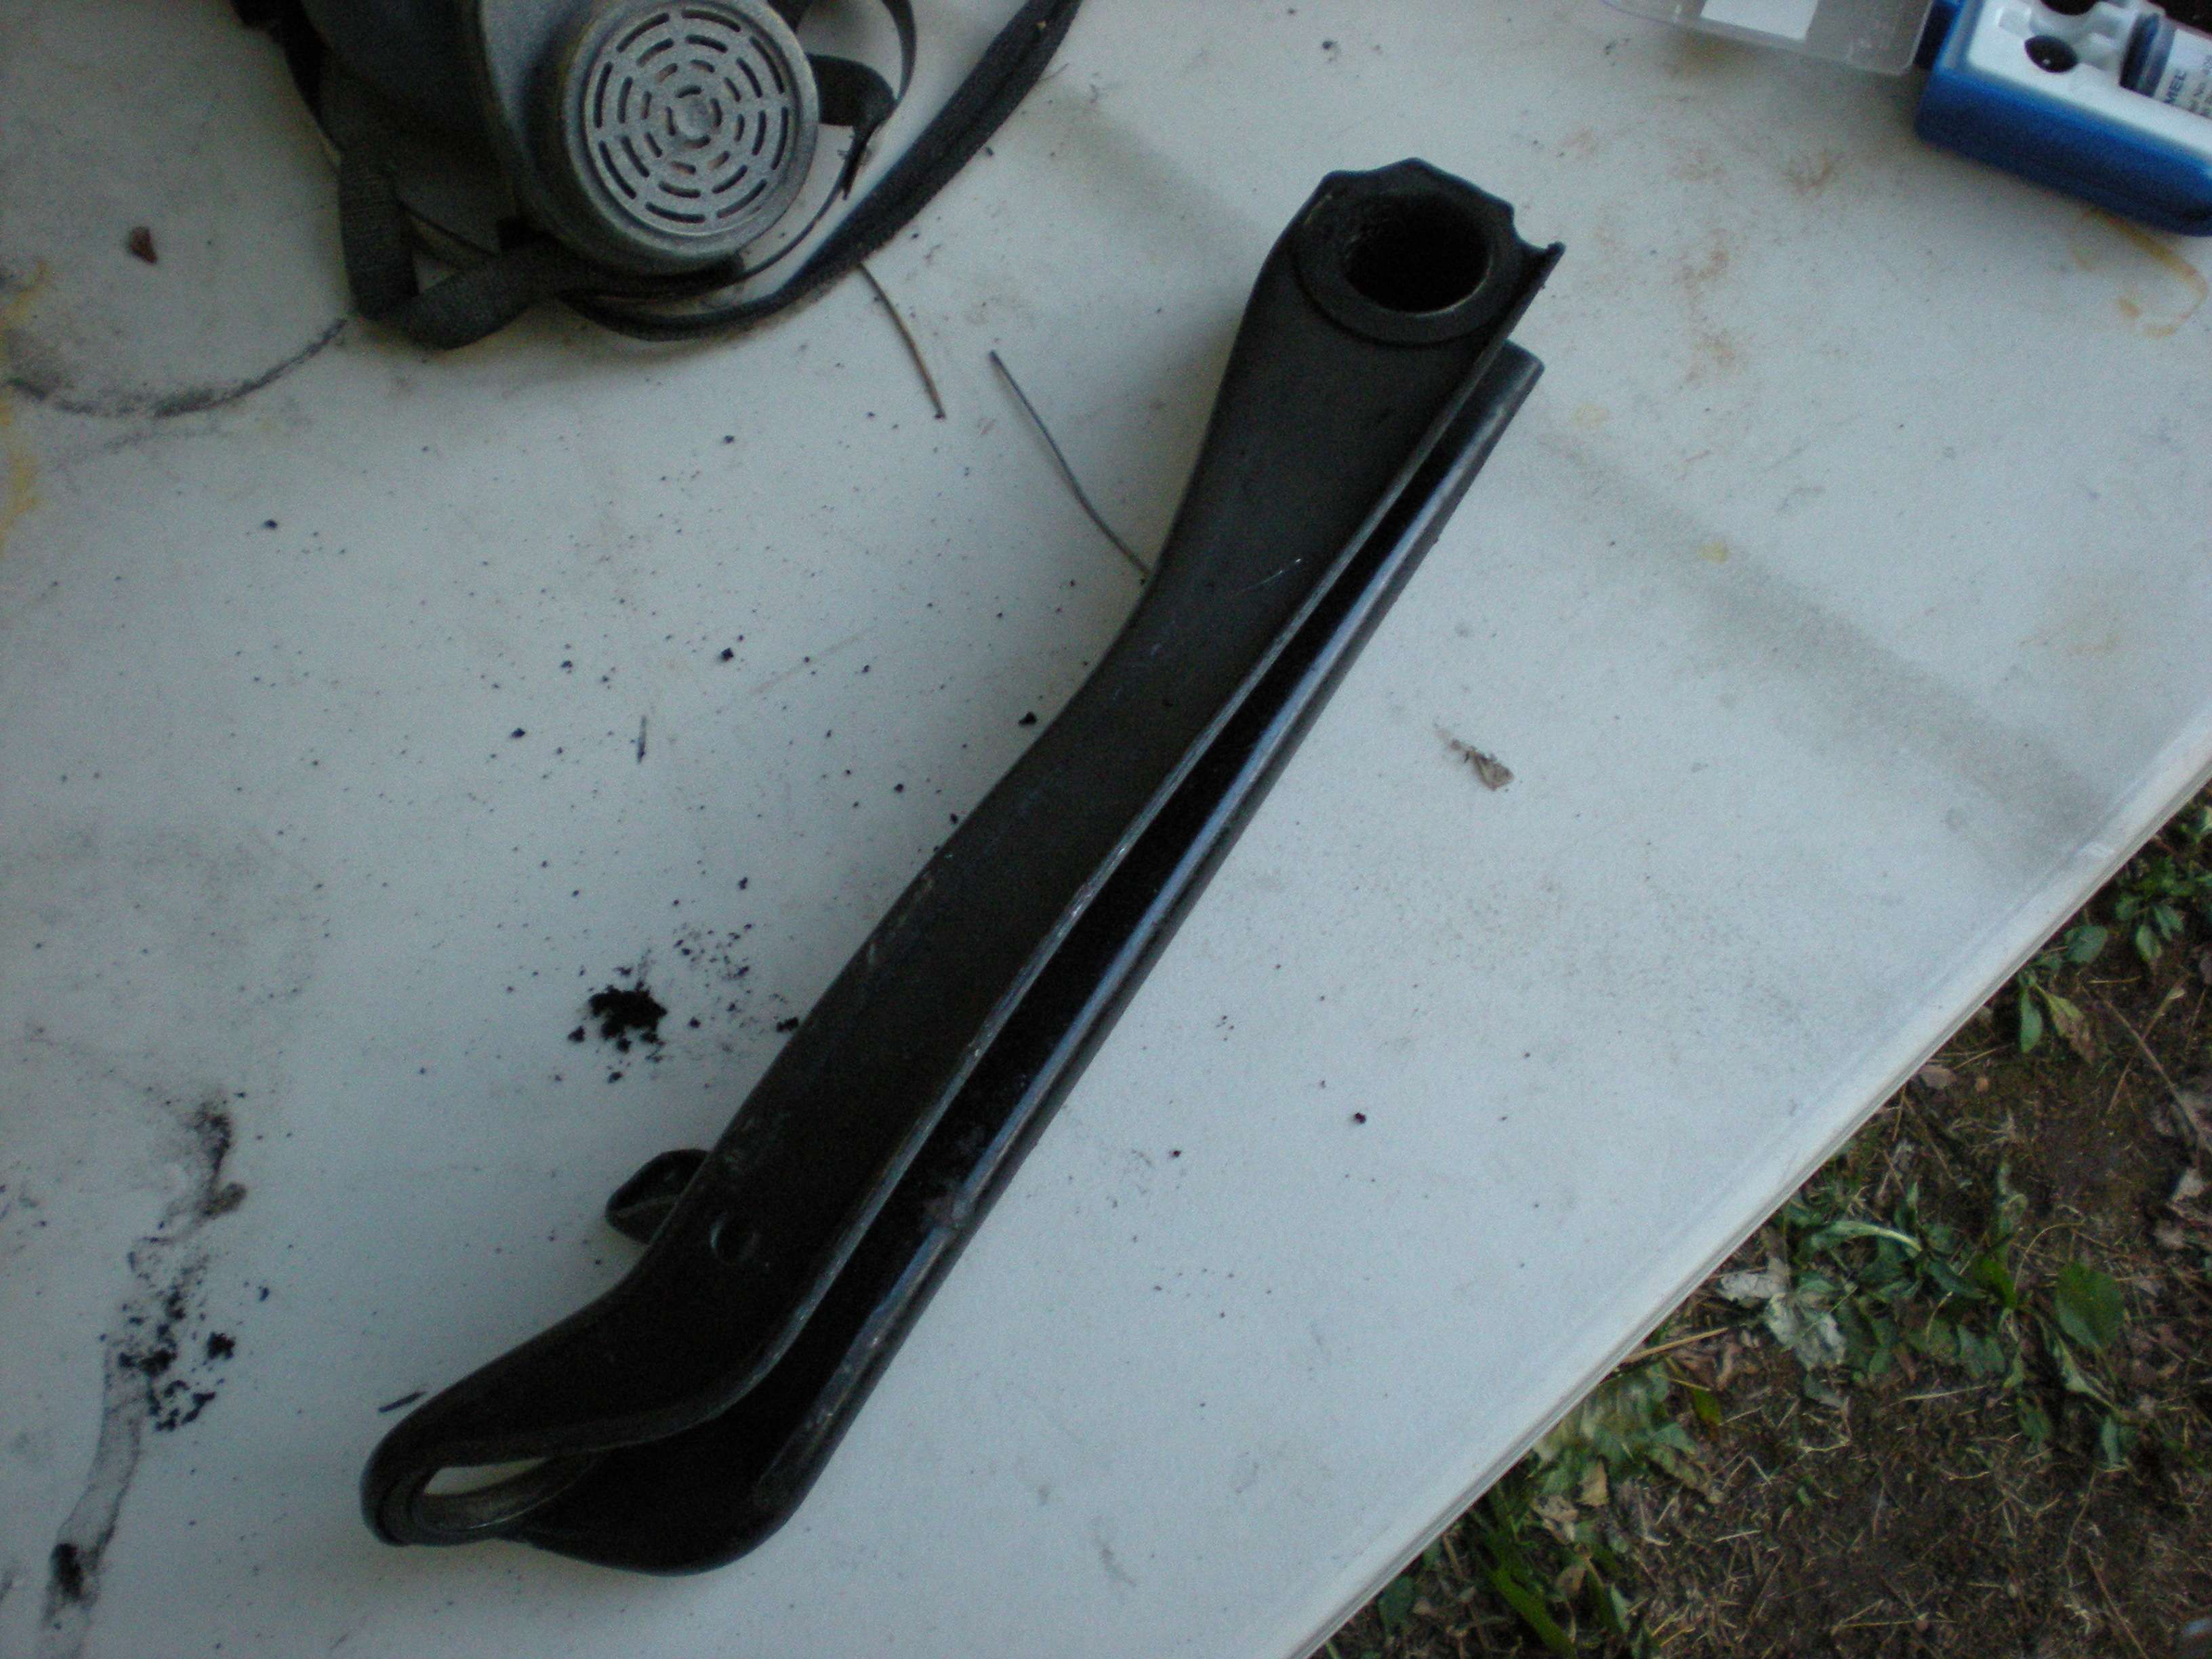 You should turn out with something like this... 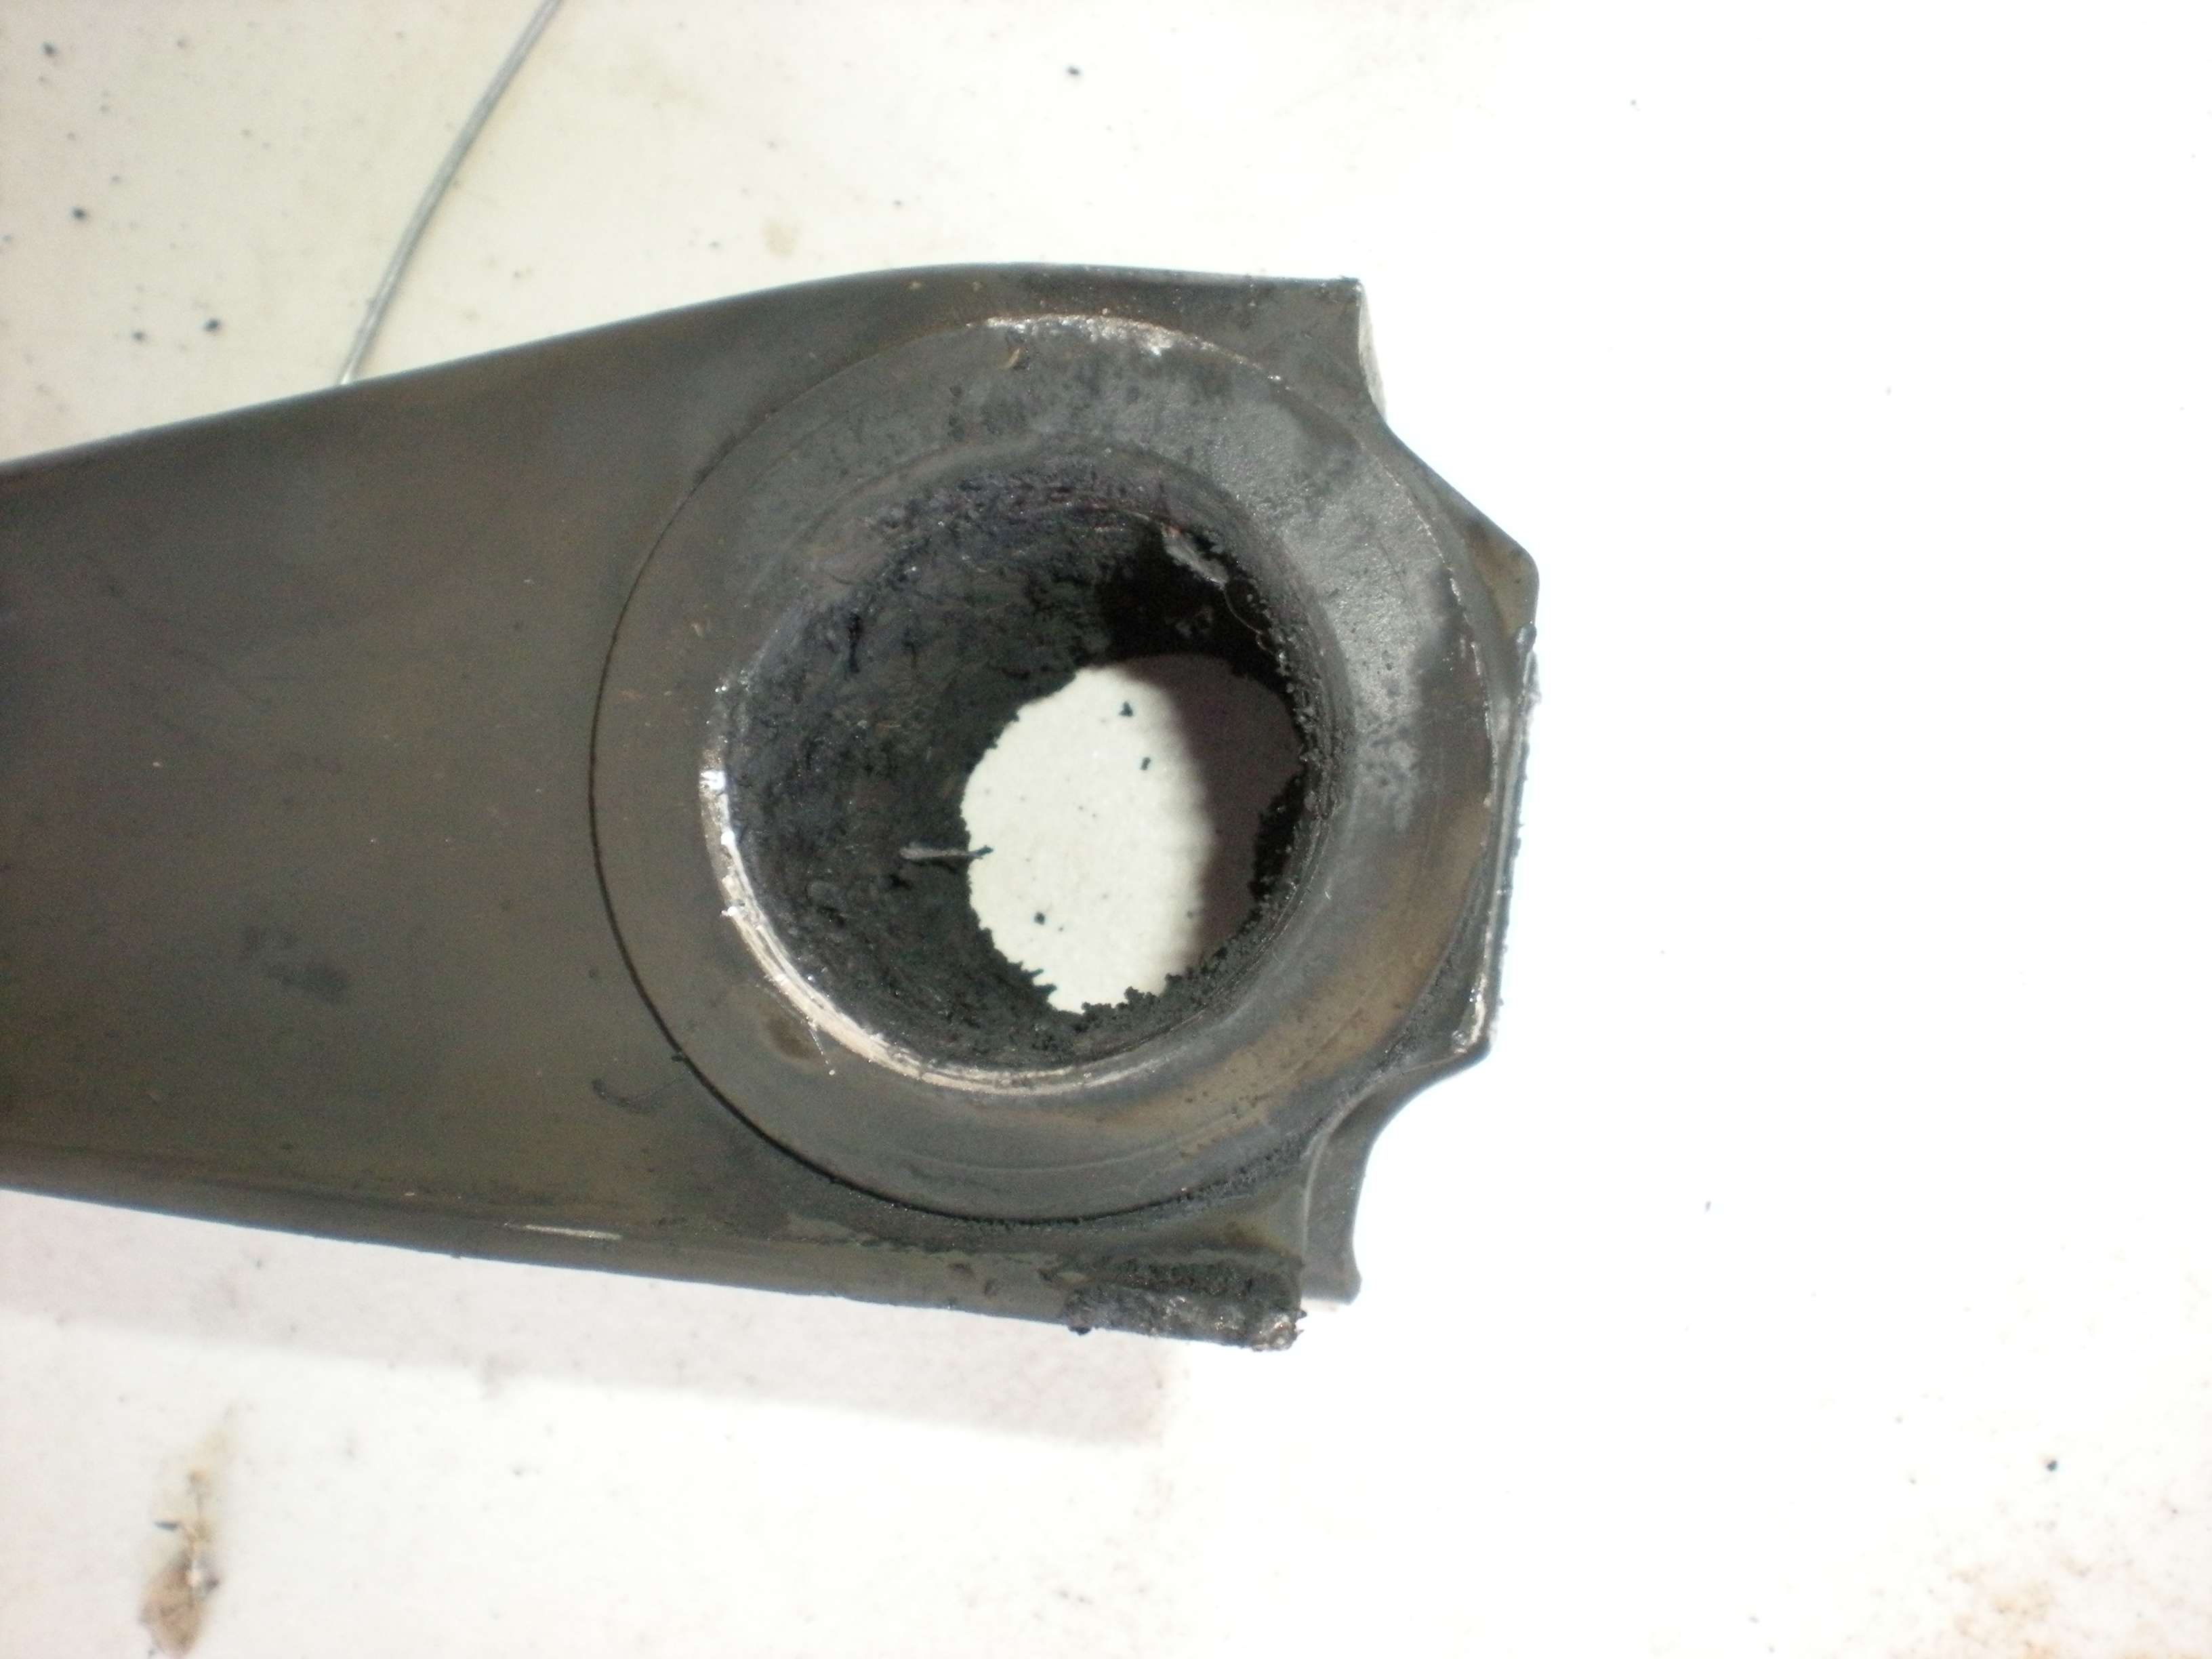 Then using a chisel or screw driver, scrap as much of the rubber out as possible. Applying heat will make this easier.... 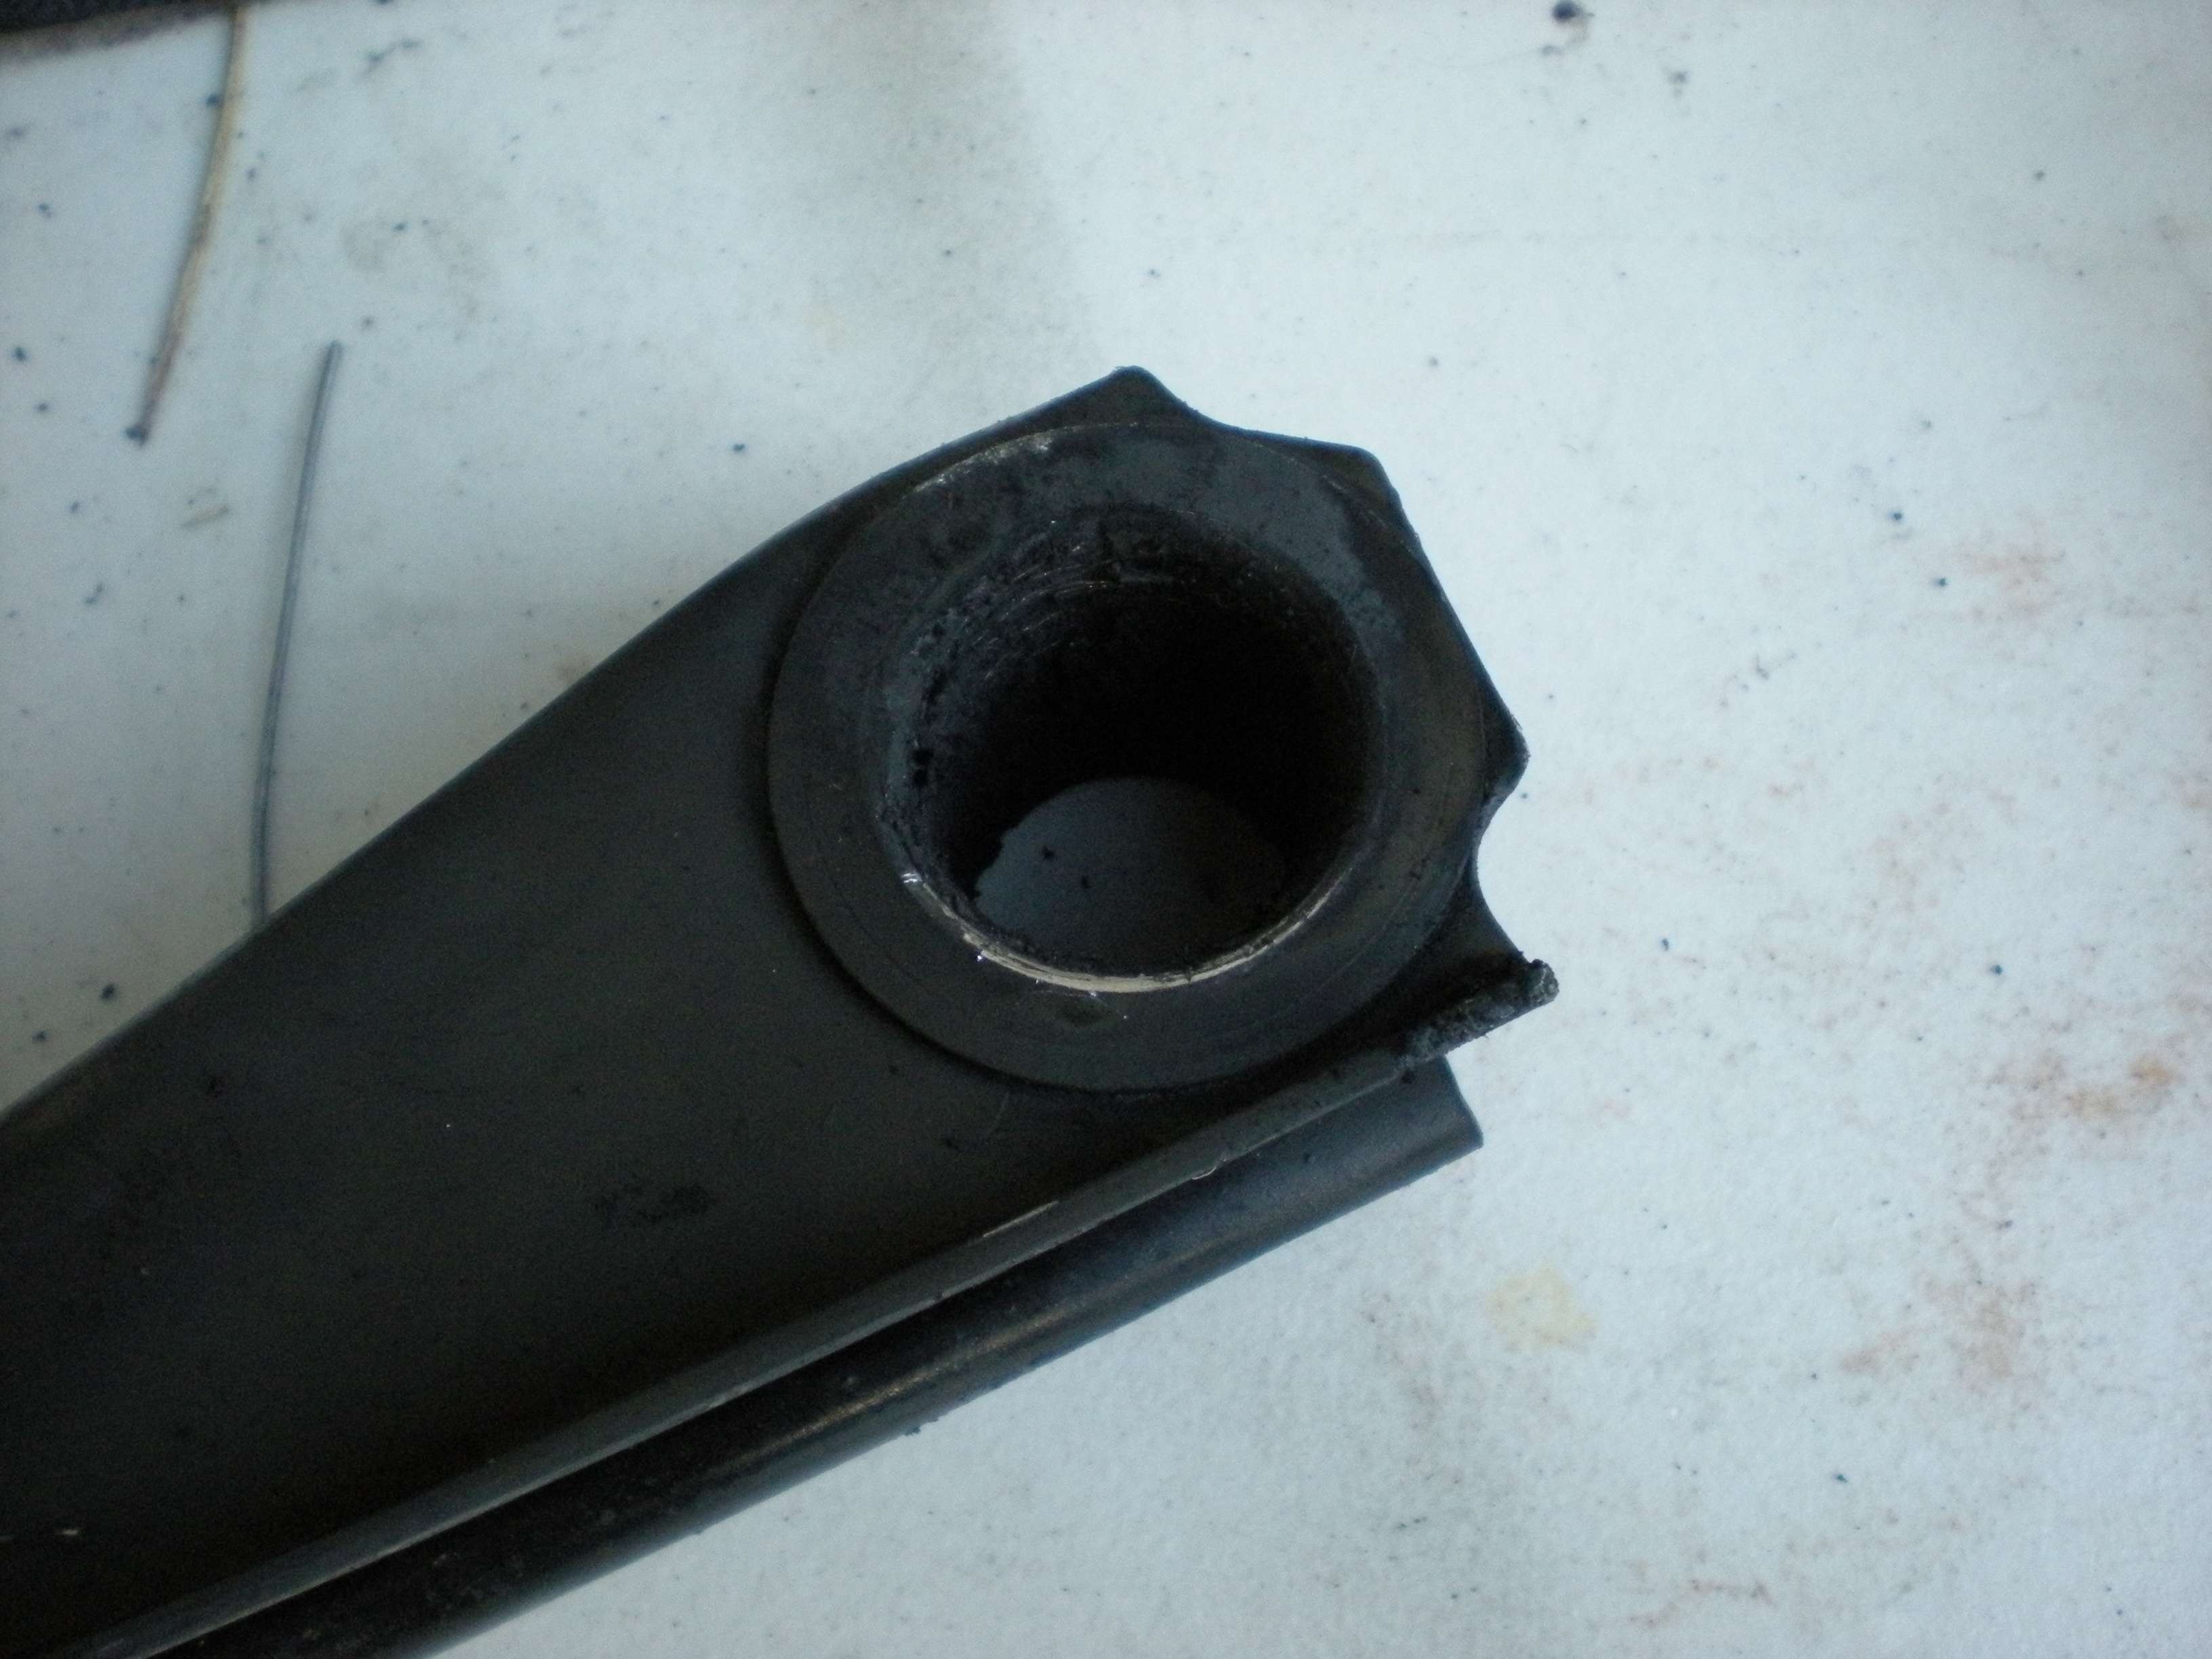 After getting it as clean as possible, the rest will need to be removed with some aid from power tools. I used a Dremel tool, but a drill with a wire wheel, or I am sure number of other methods could be effective. 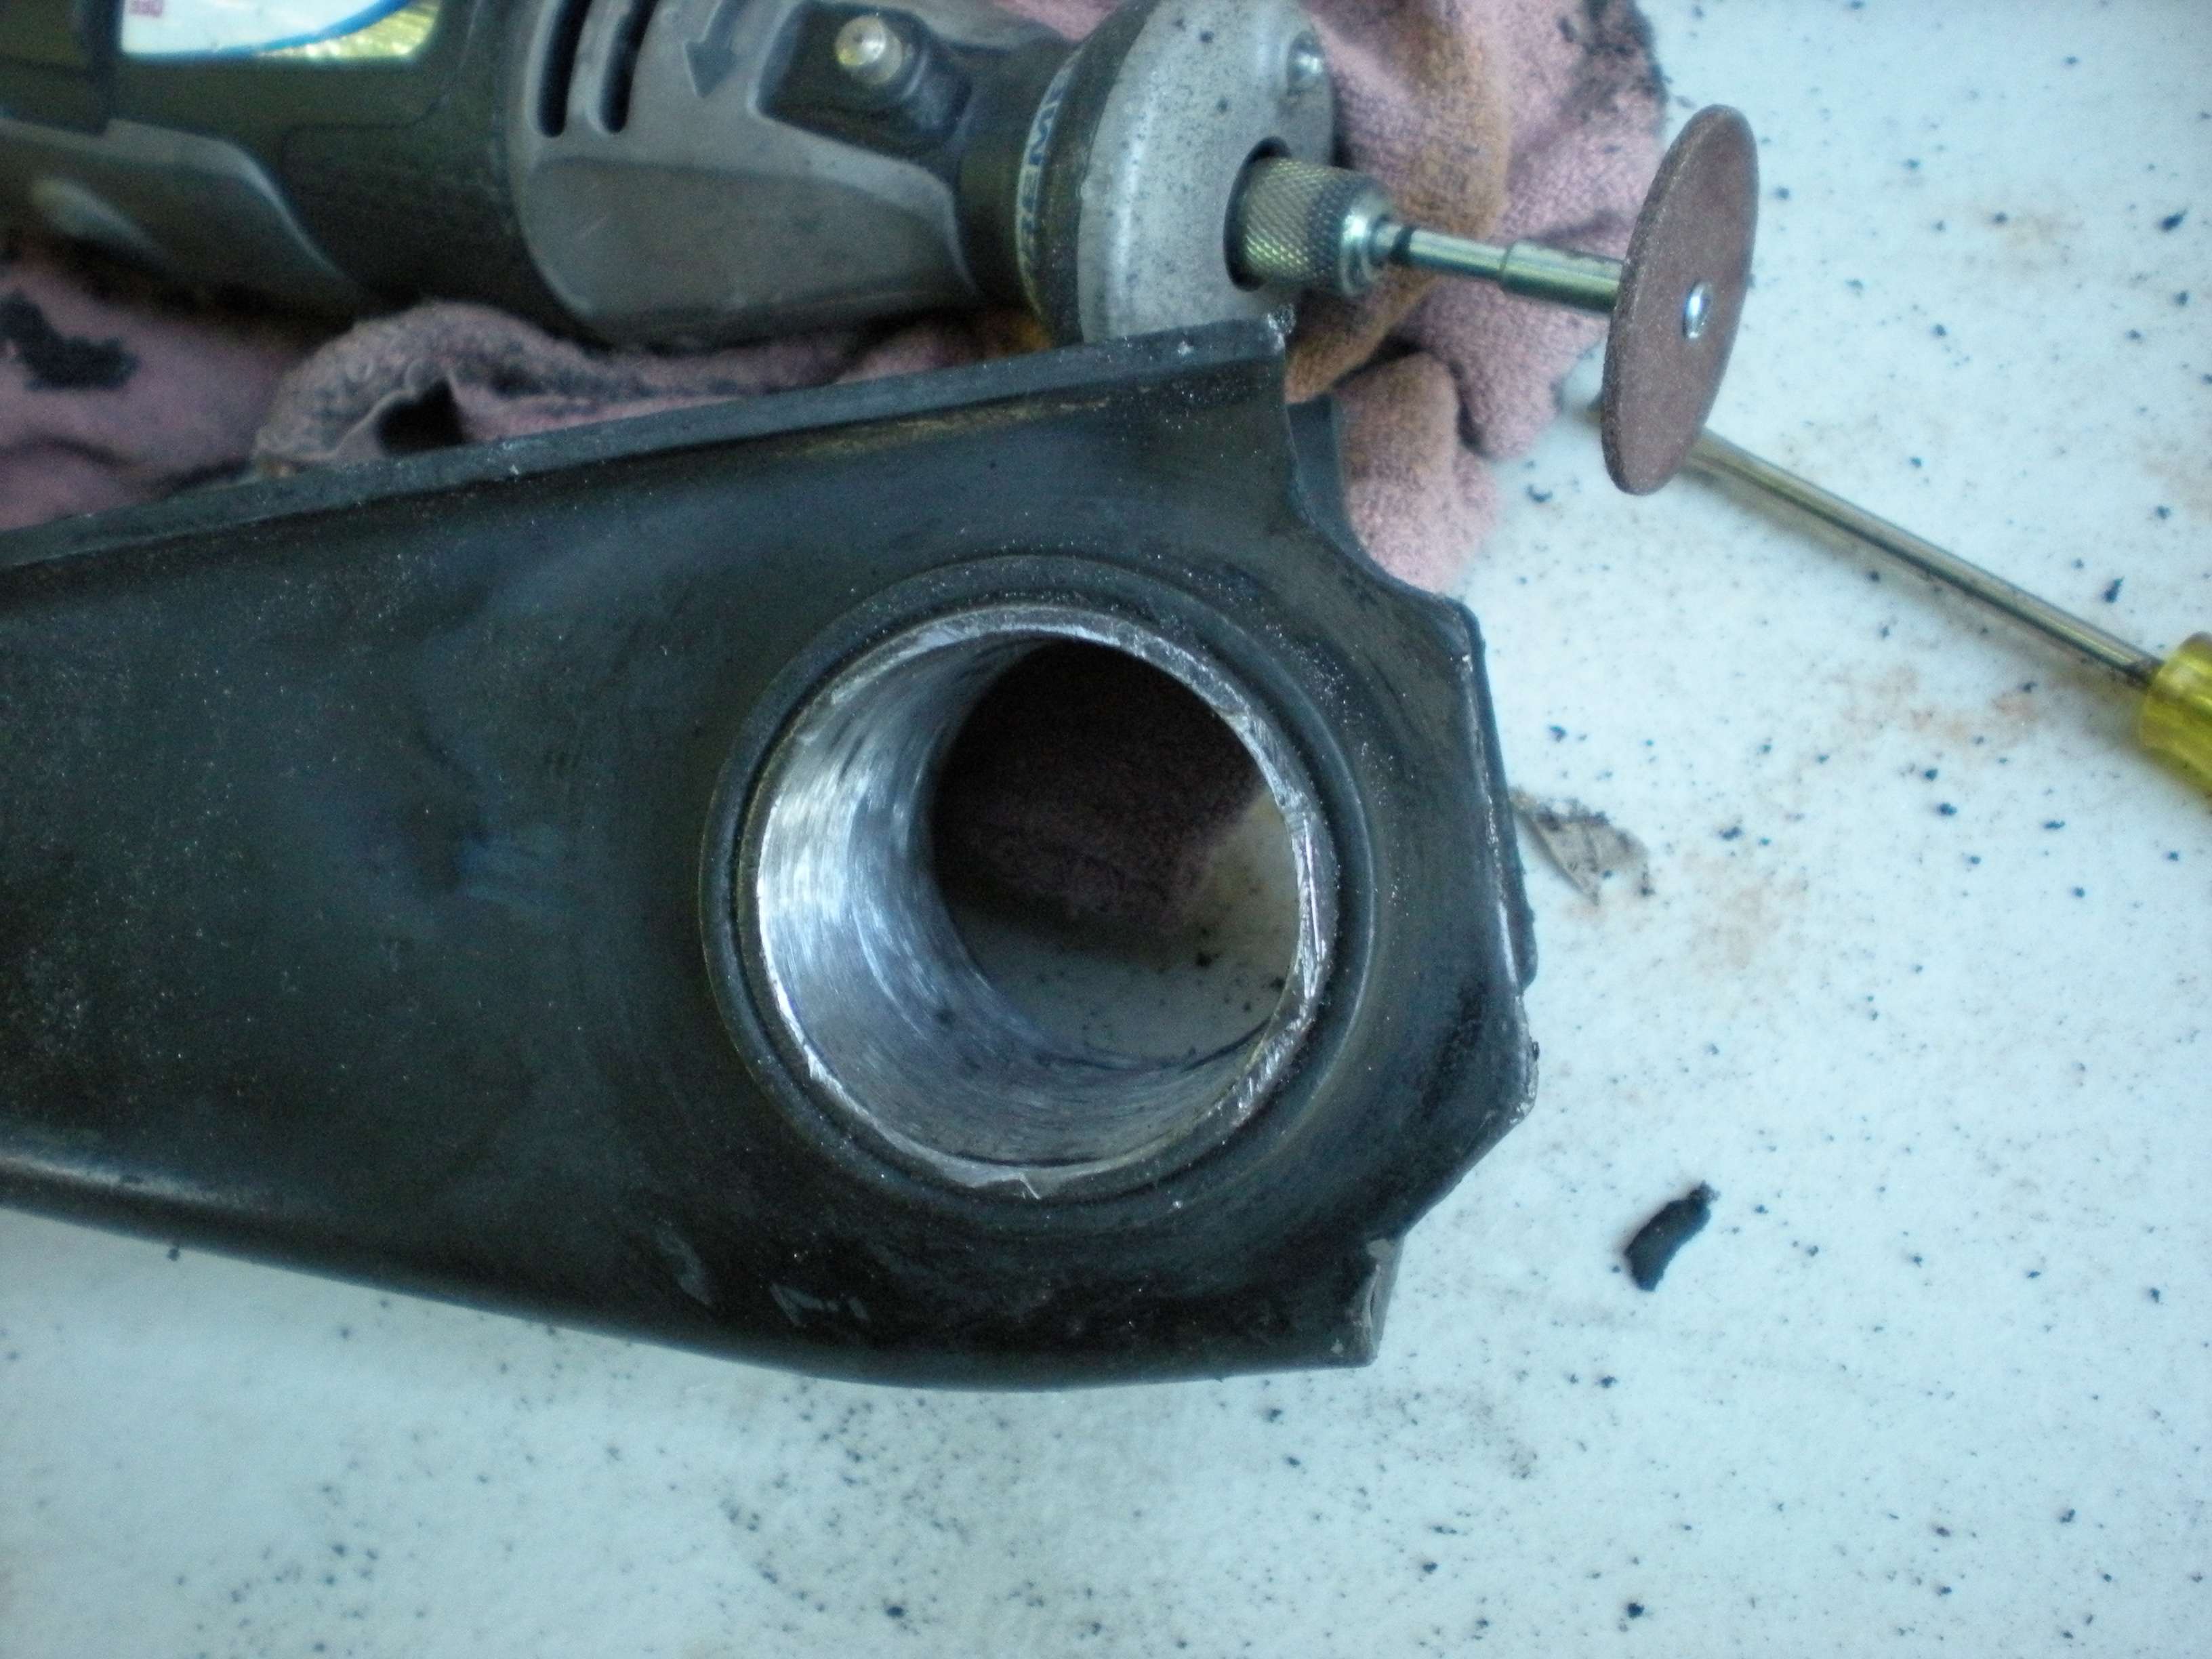 Once the bushing was completely removed, I used a very industrial chemical stripping agent to remove the OEM finish. There are other products and methods for removing paint, however nothing is faster than Benco B17 chemical stripper. It is expensive and not the safest product, but it will strip any you can throw at it. After 3 minutes.... 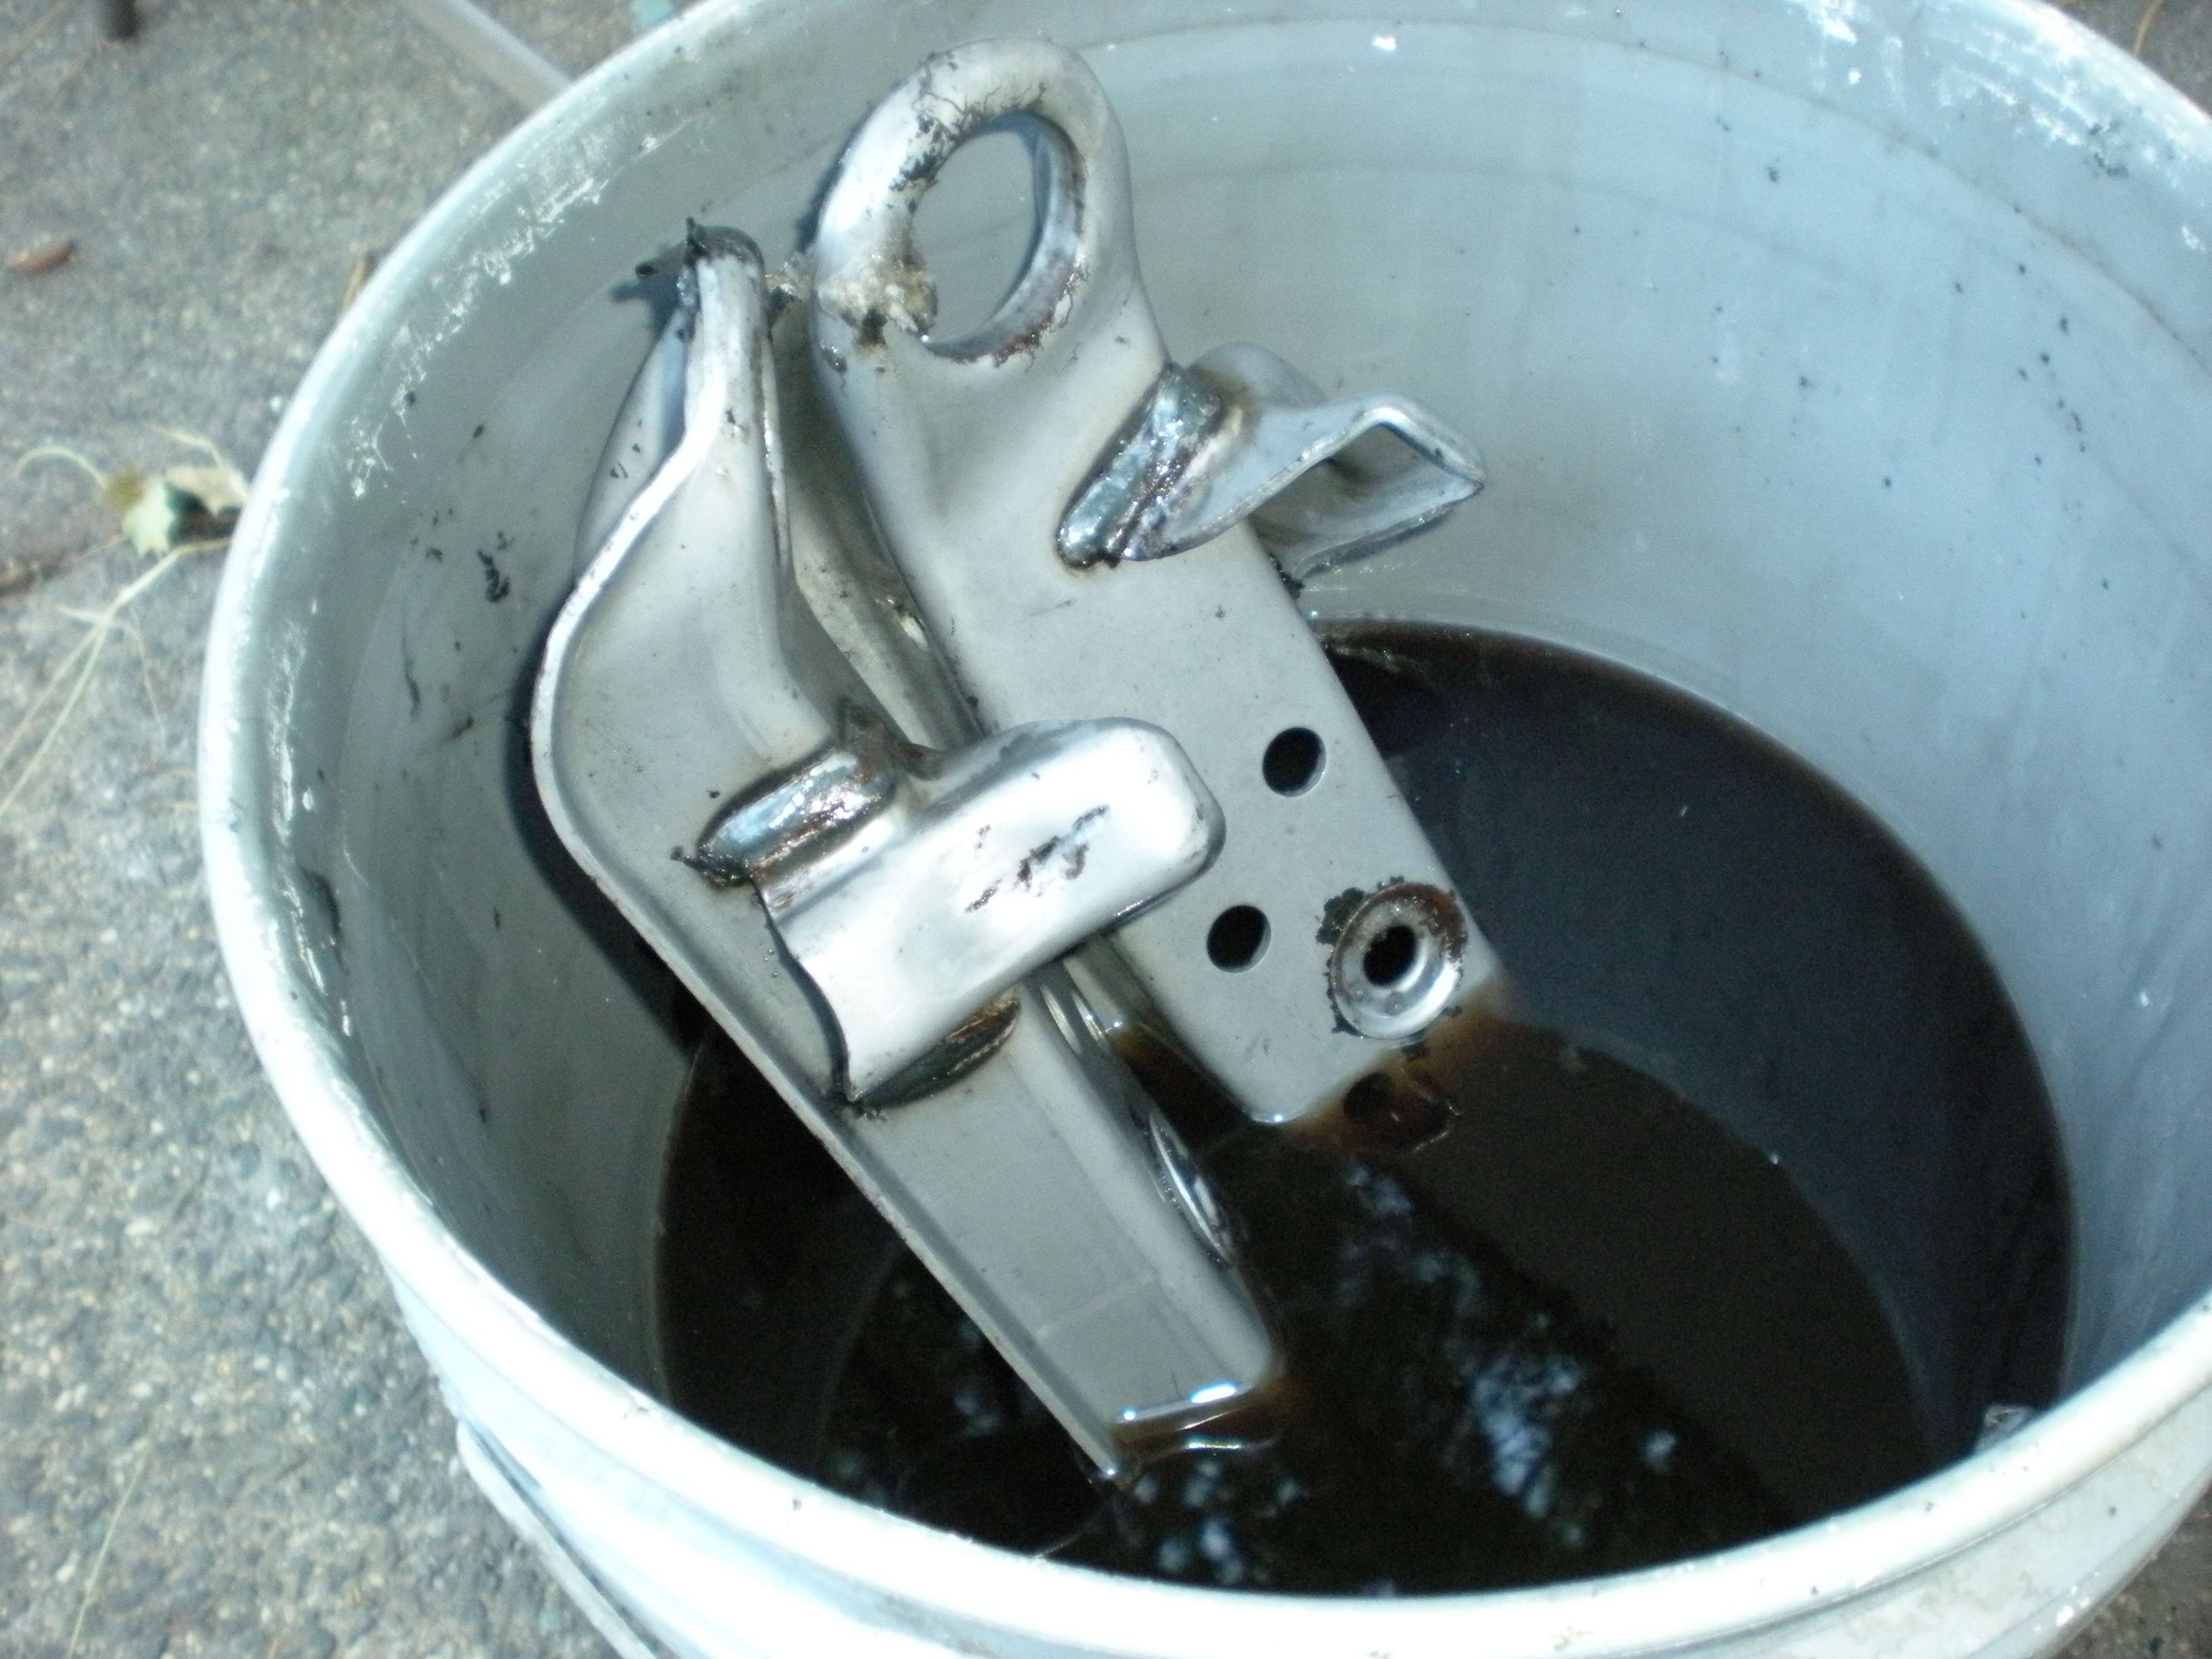 The draw back of chemical strippers is that the surface begins to oxidize almost immediately. The application of phosphoric acid immediately after stripping does prevent this from happening. 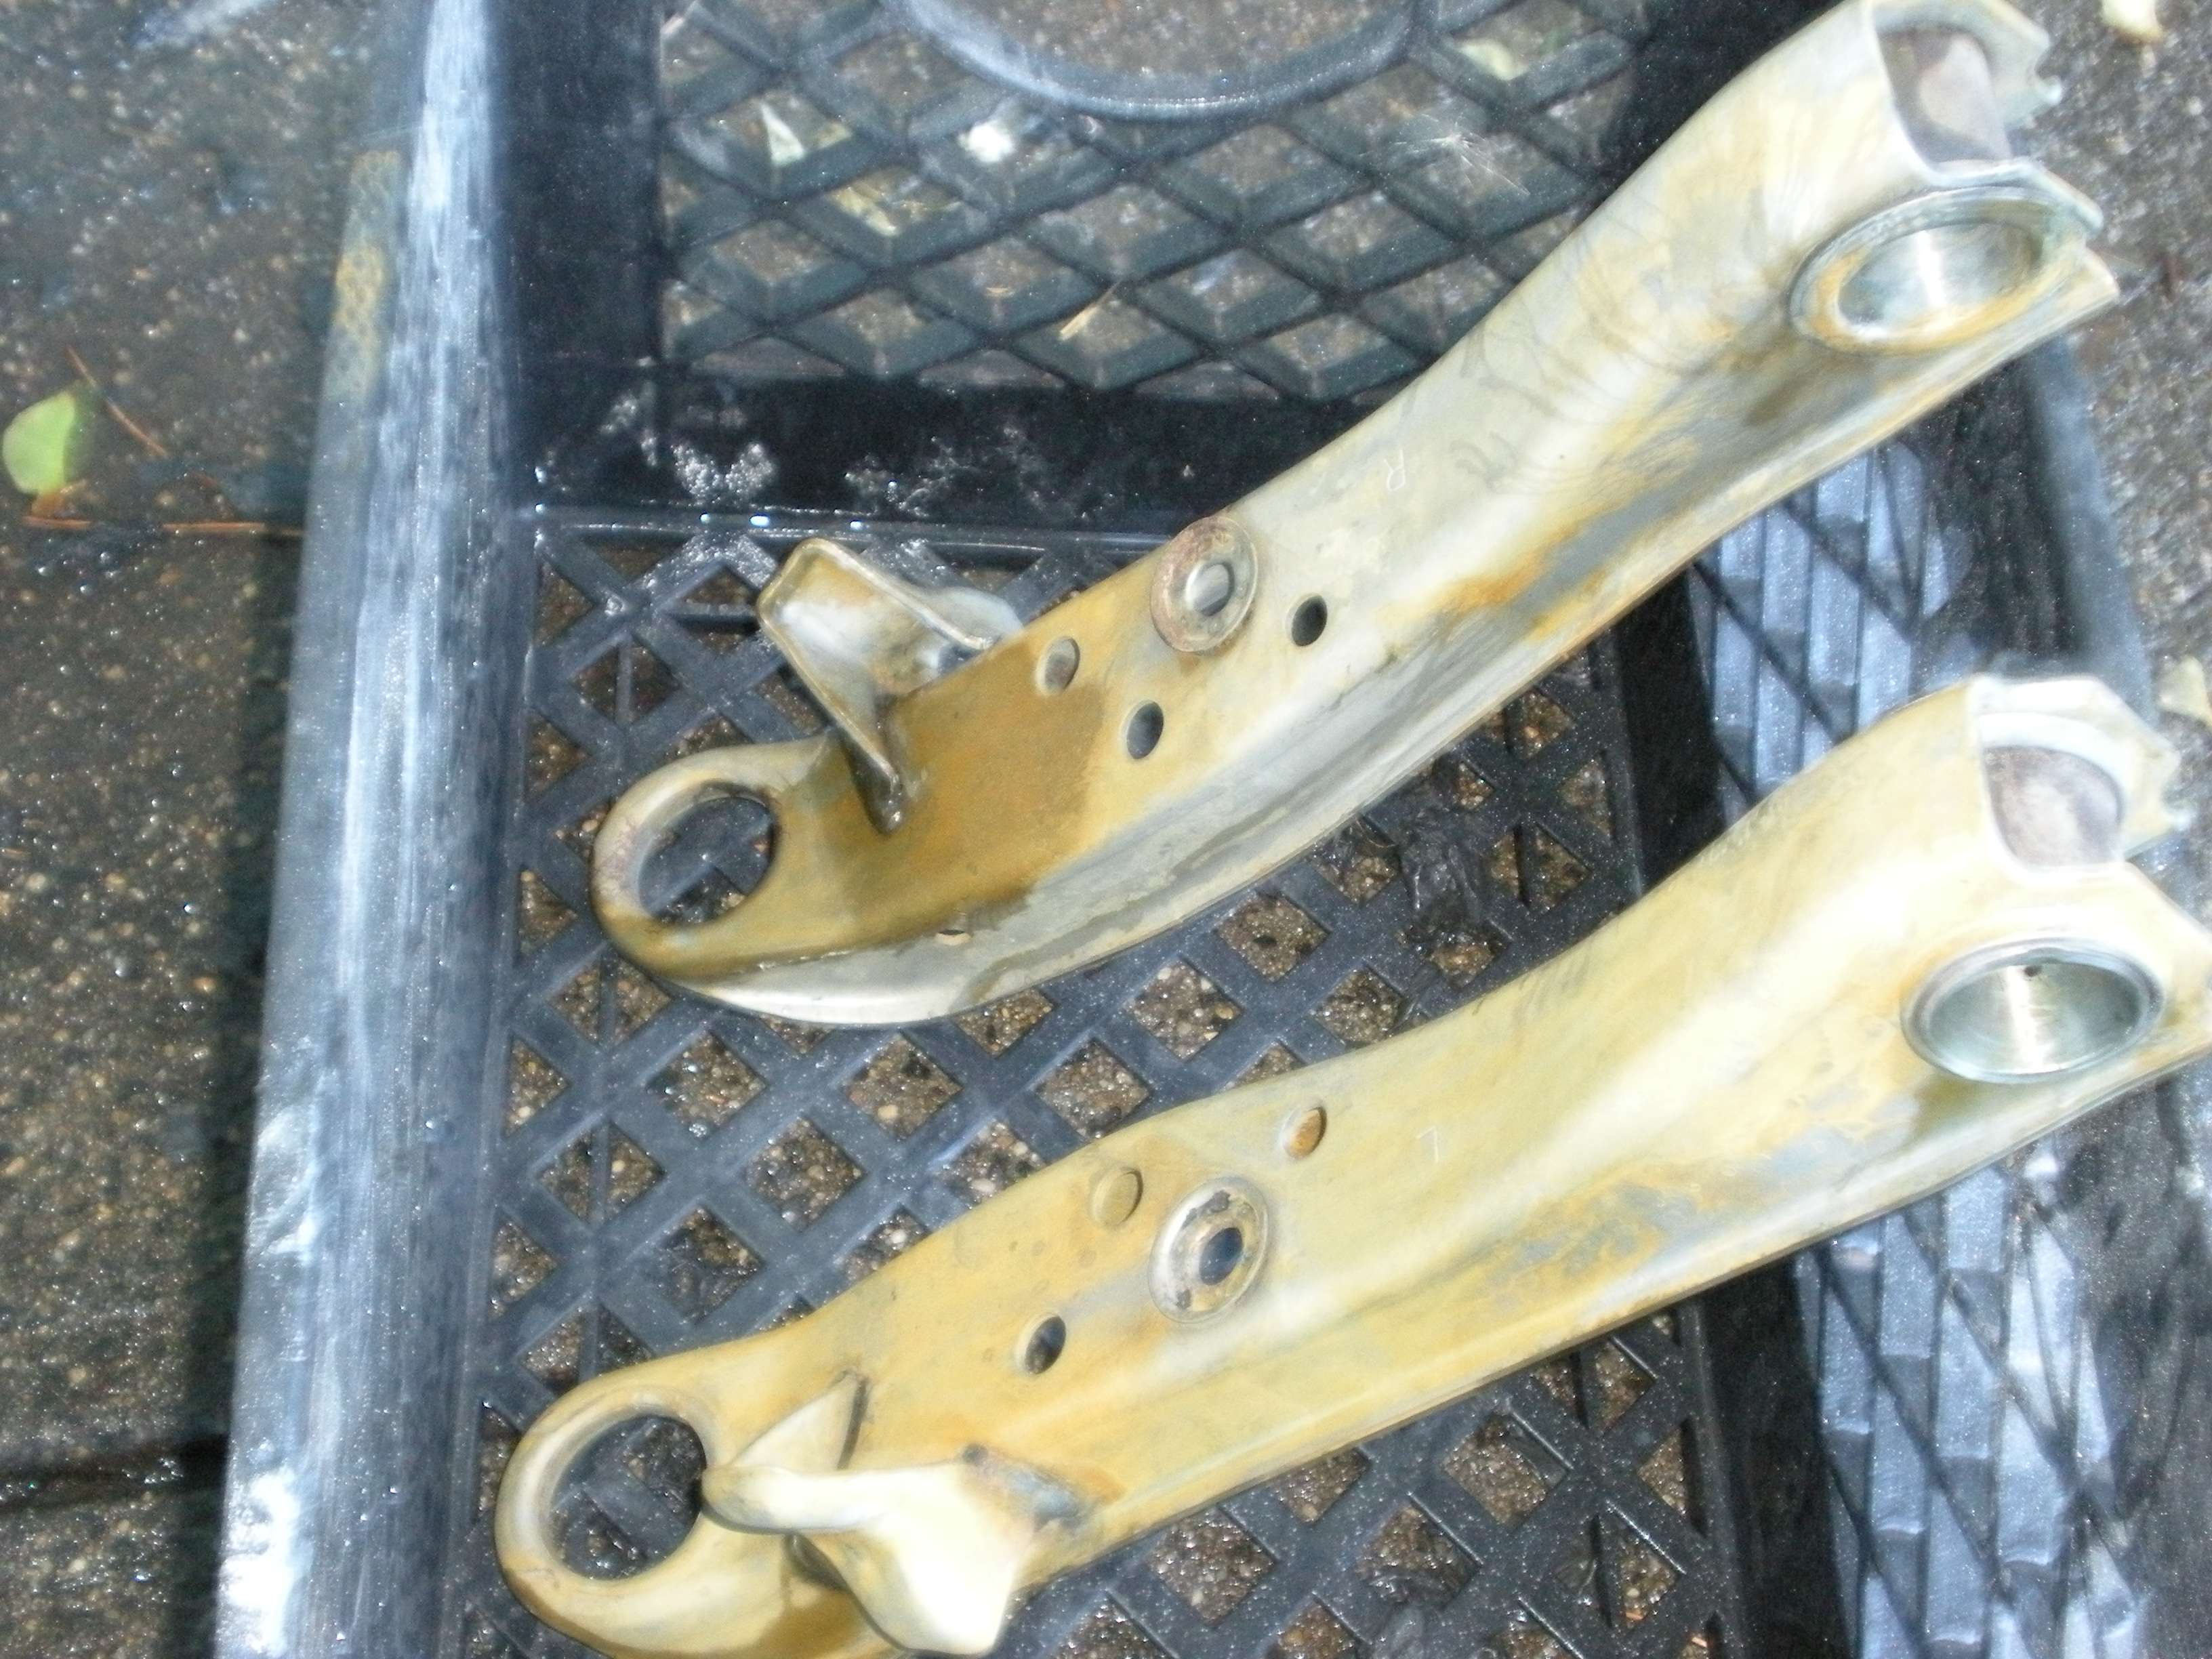 I then quickly glass bead the parts to remove the oxidation, and to completely clean the surface. Unless you plane on treating the surface immediately, you should keep the bare metal parts inside. The surface will begin to oxidize if left outside. 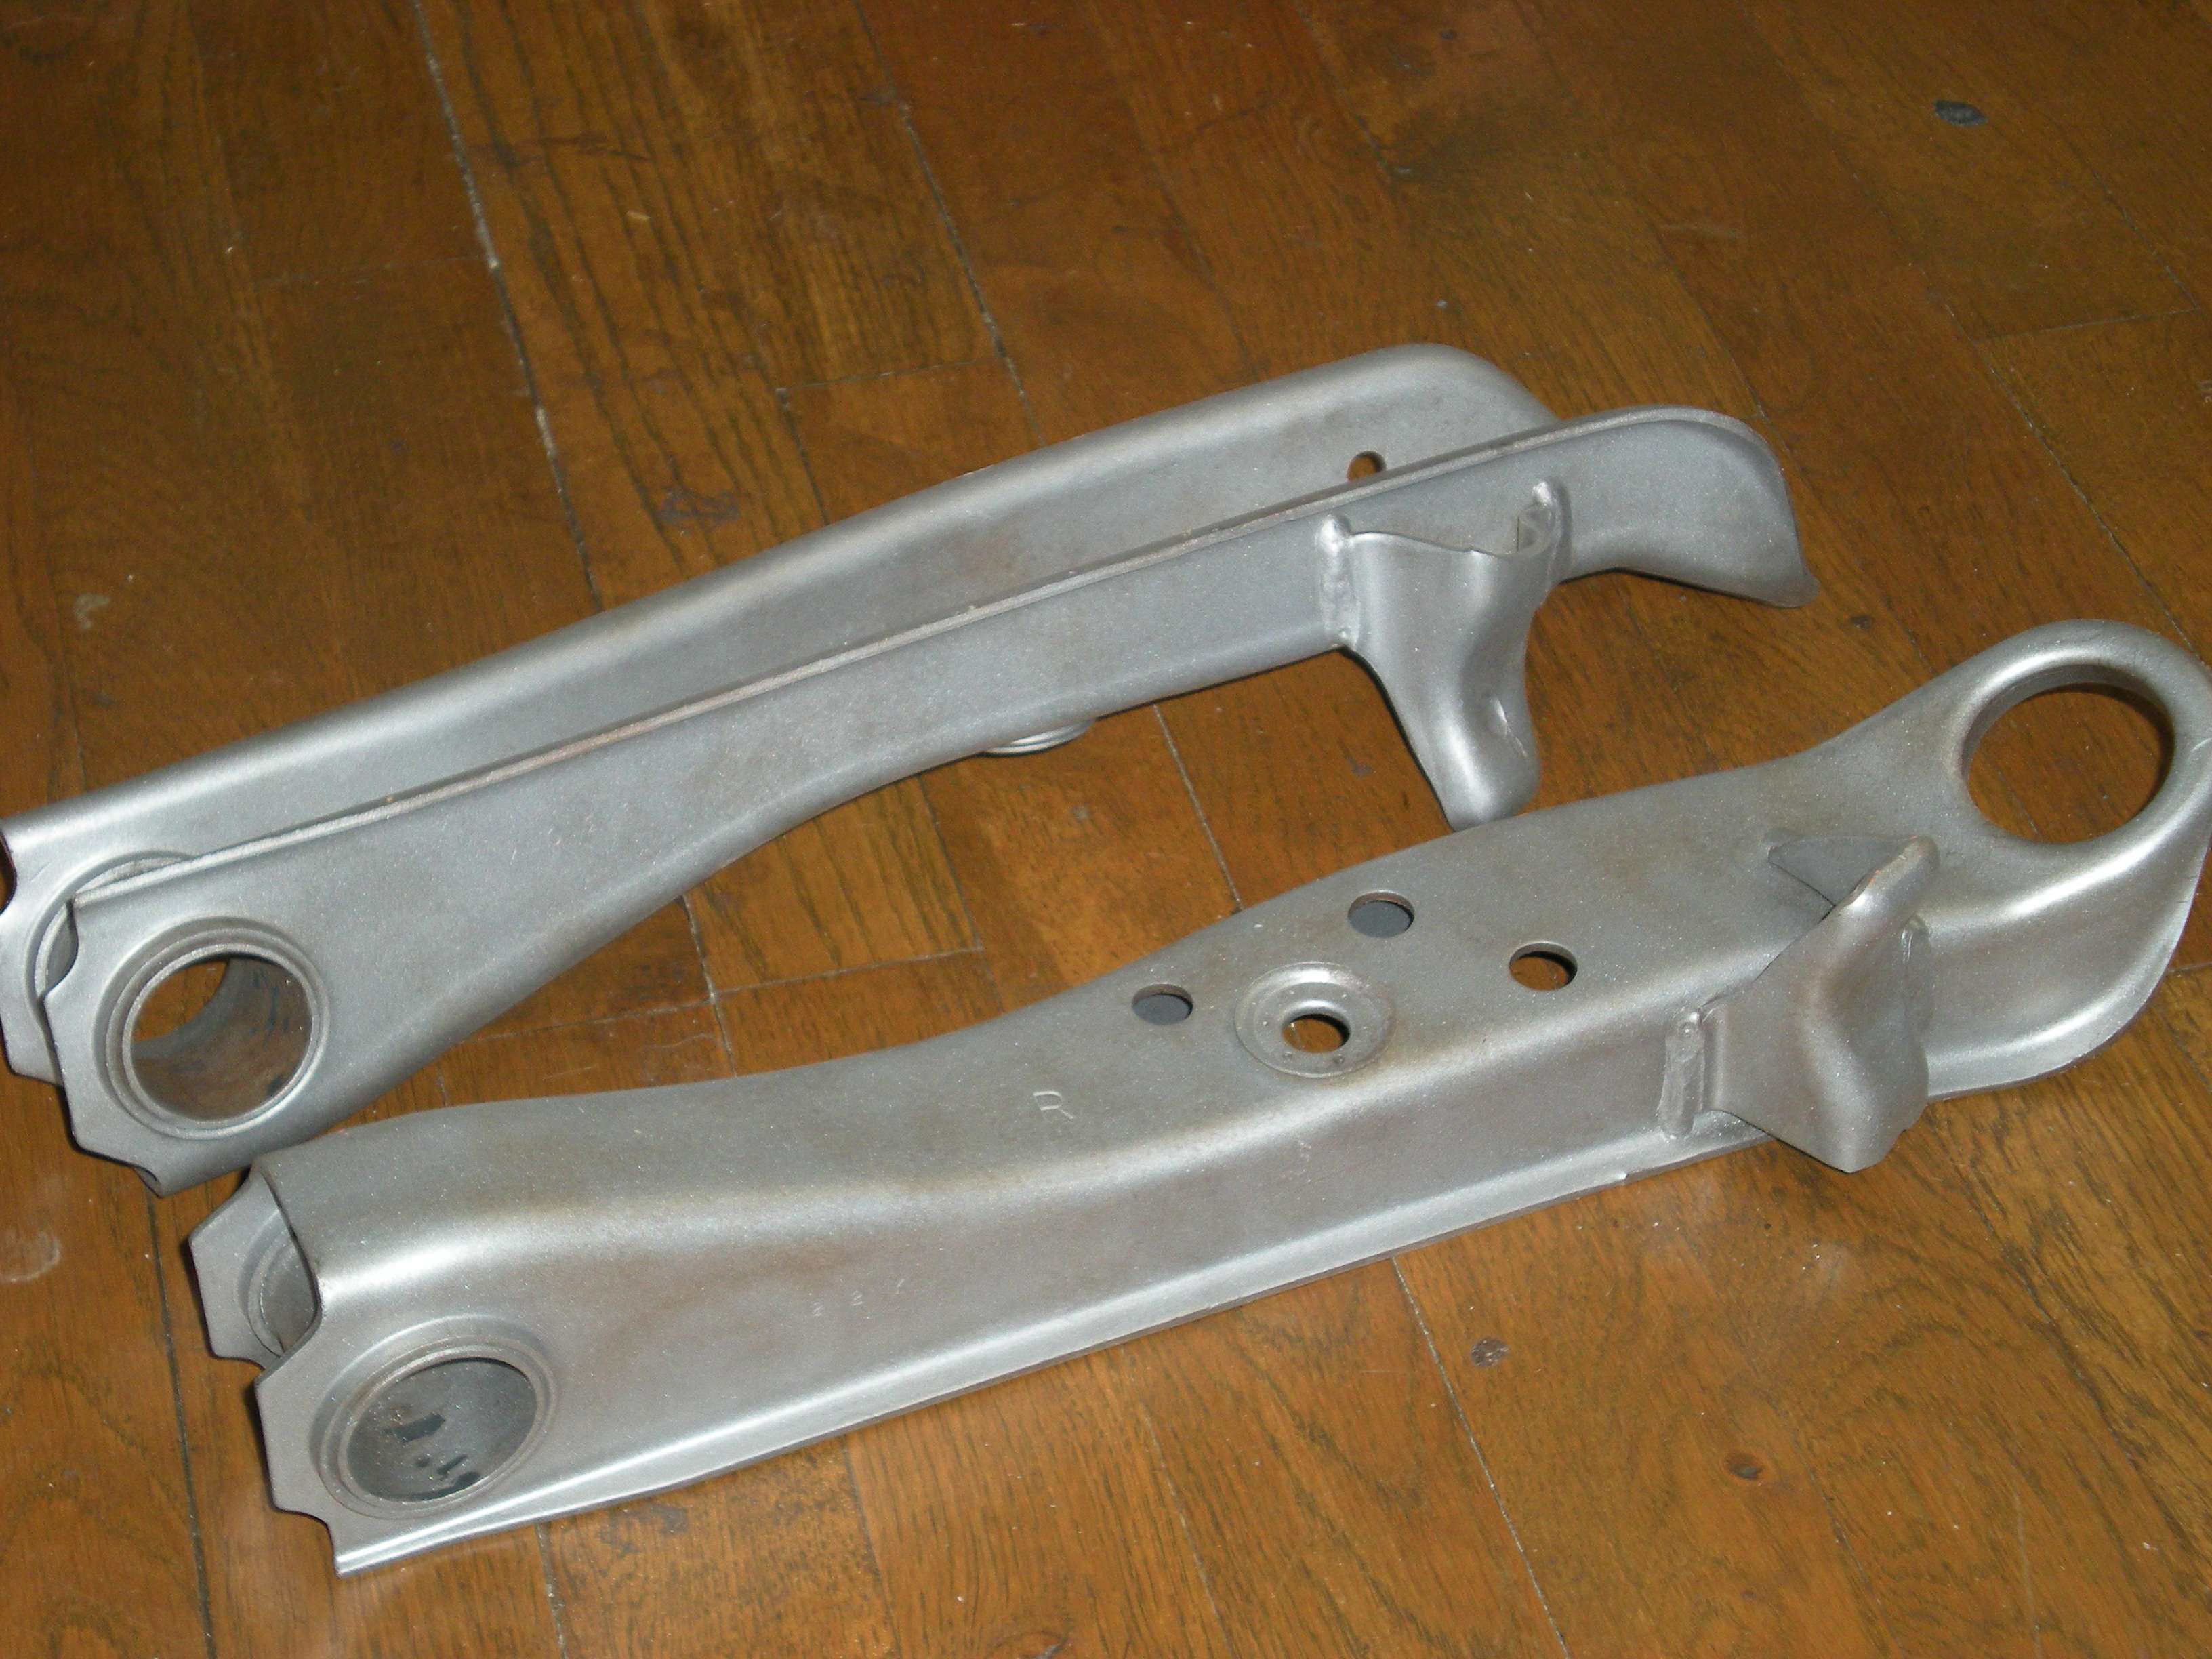 At this point the arms are ready for powder coat, and you turn out with something like this.... 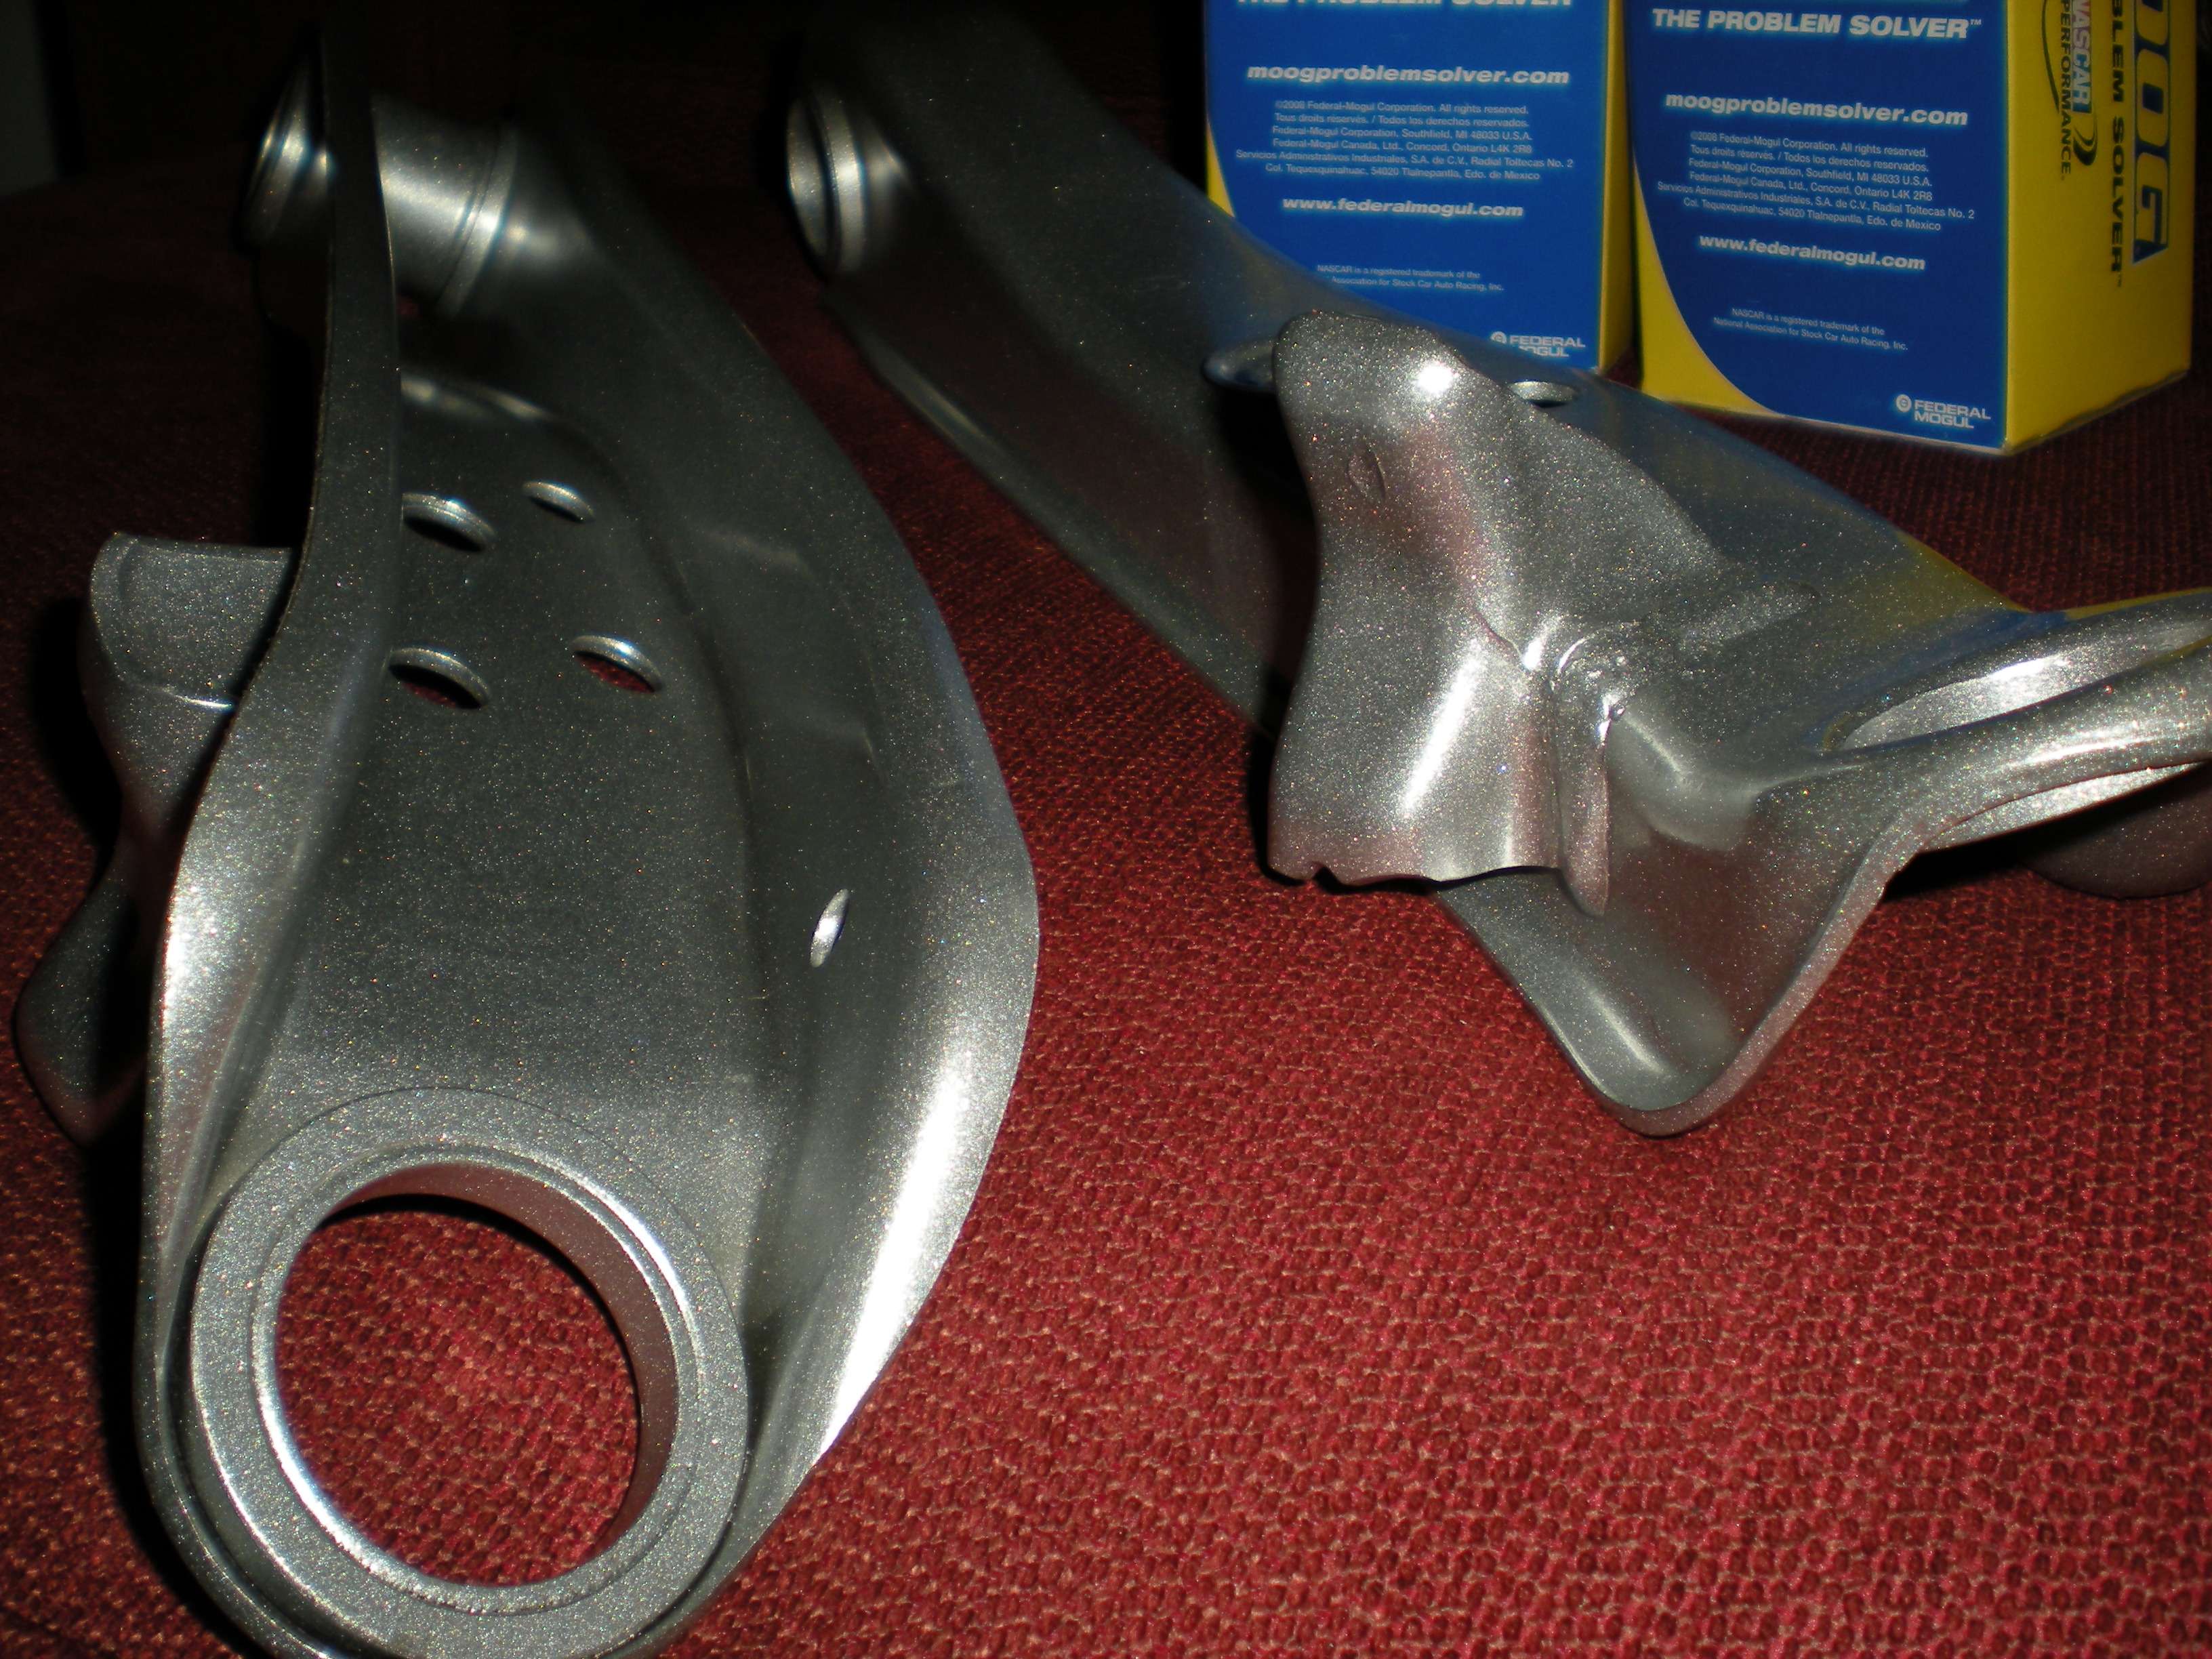 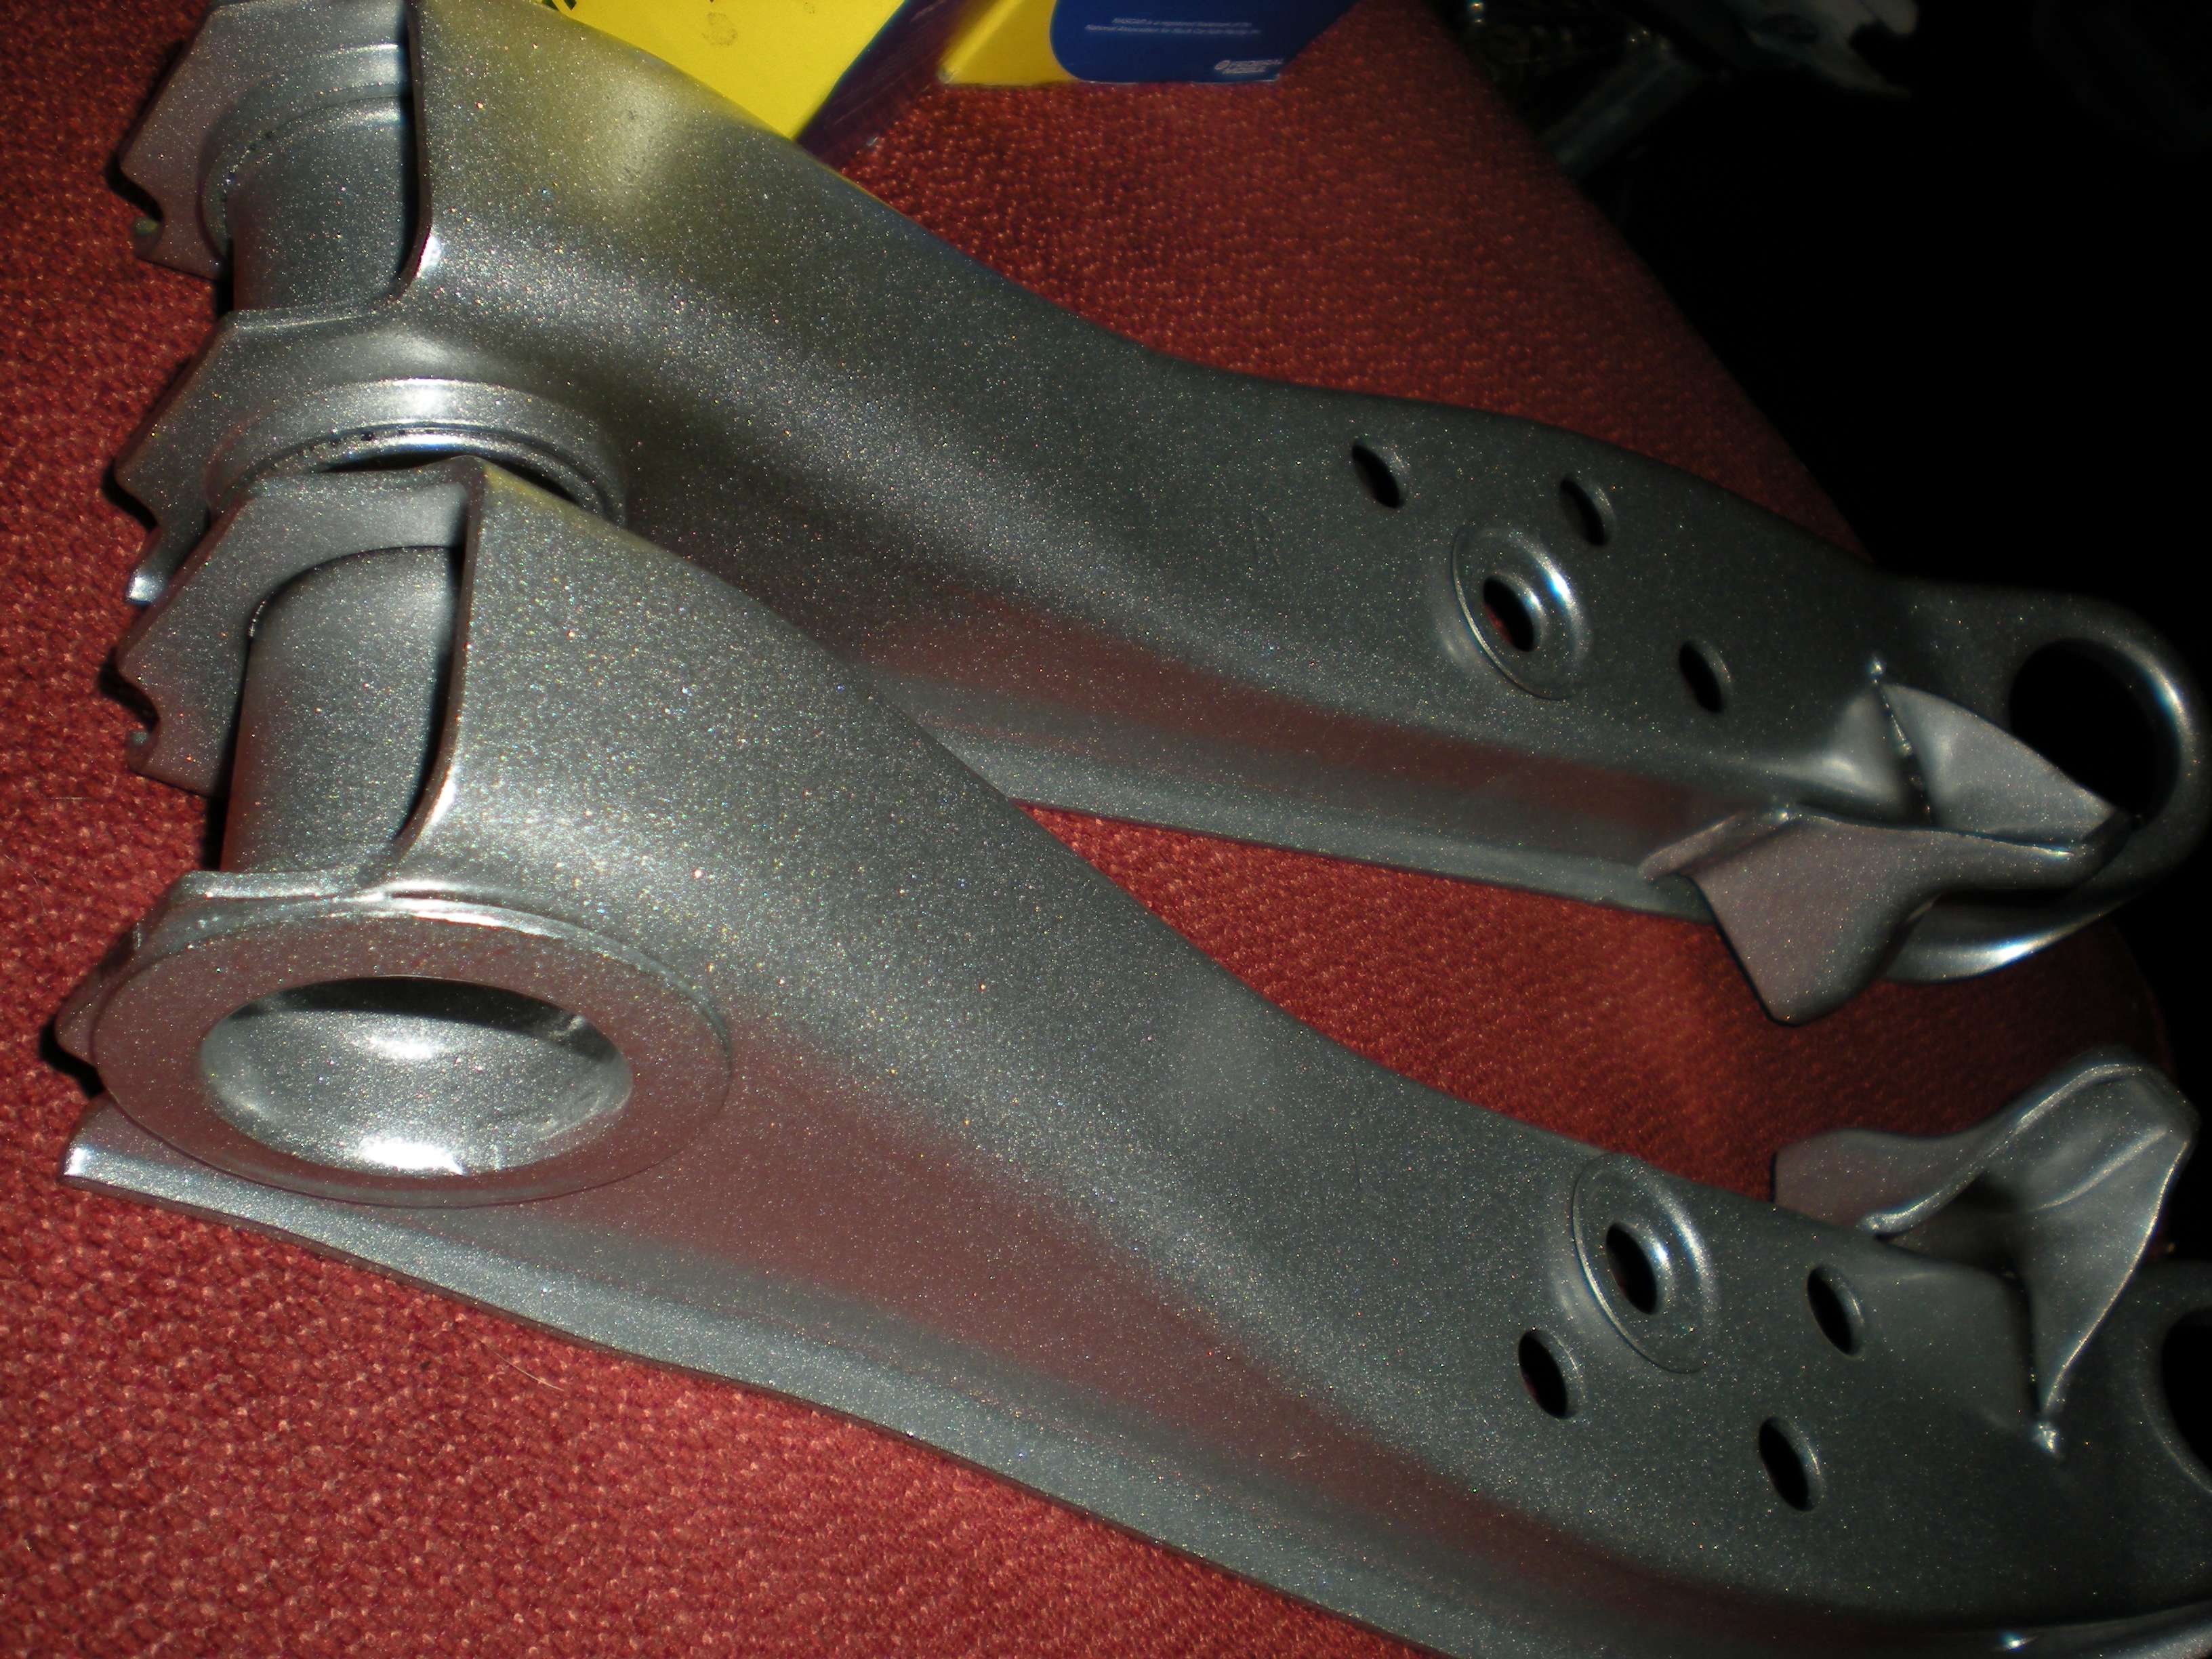 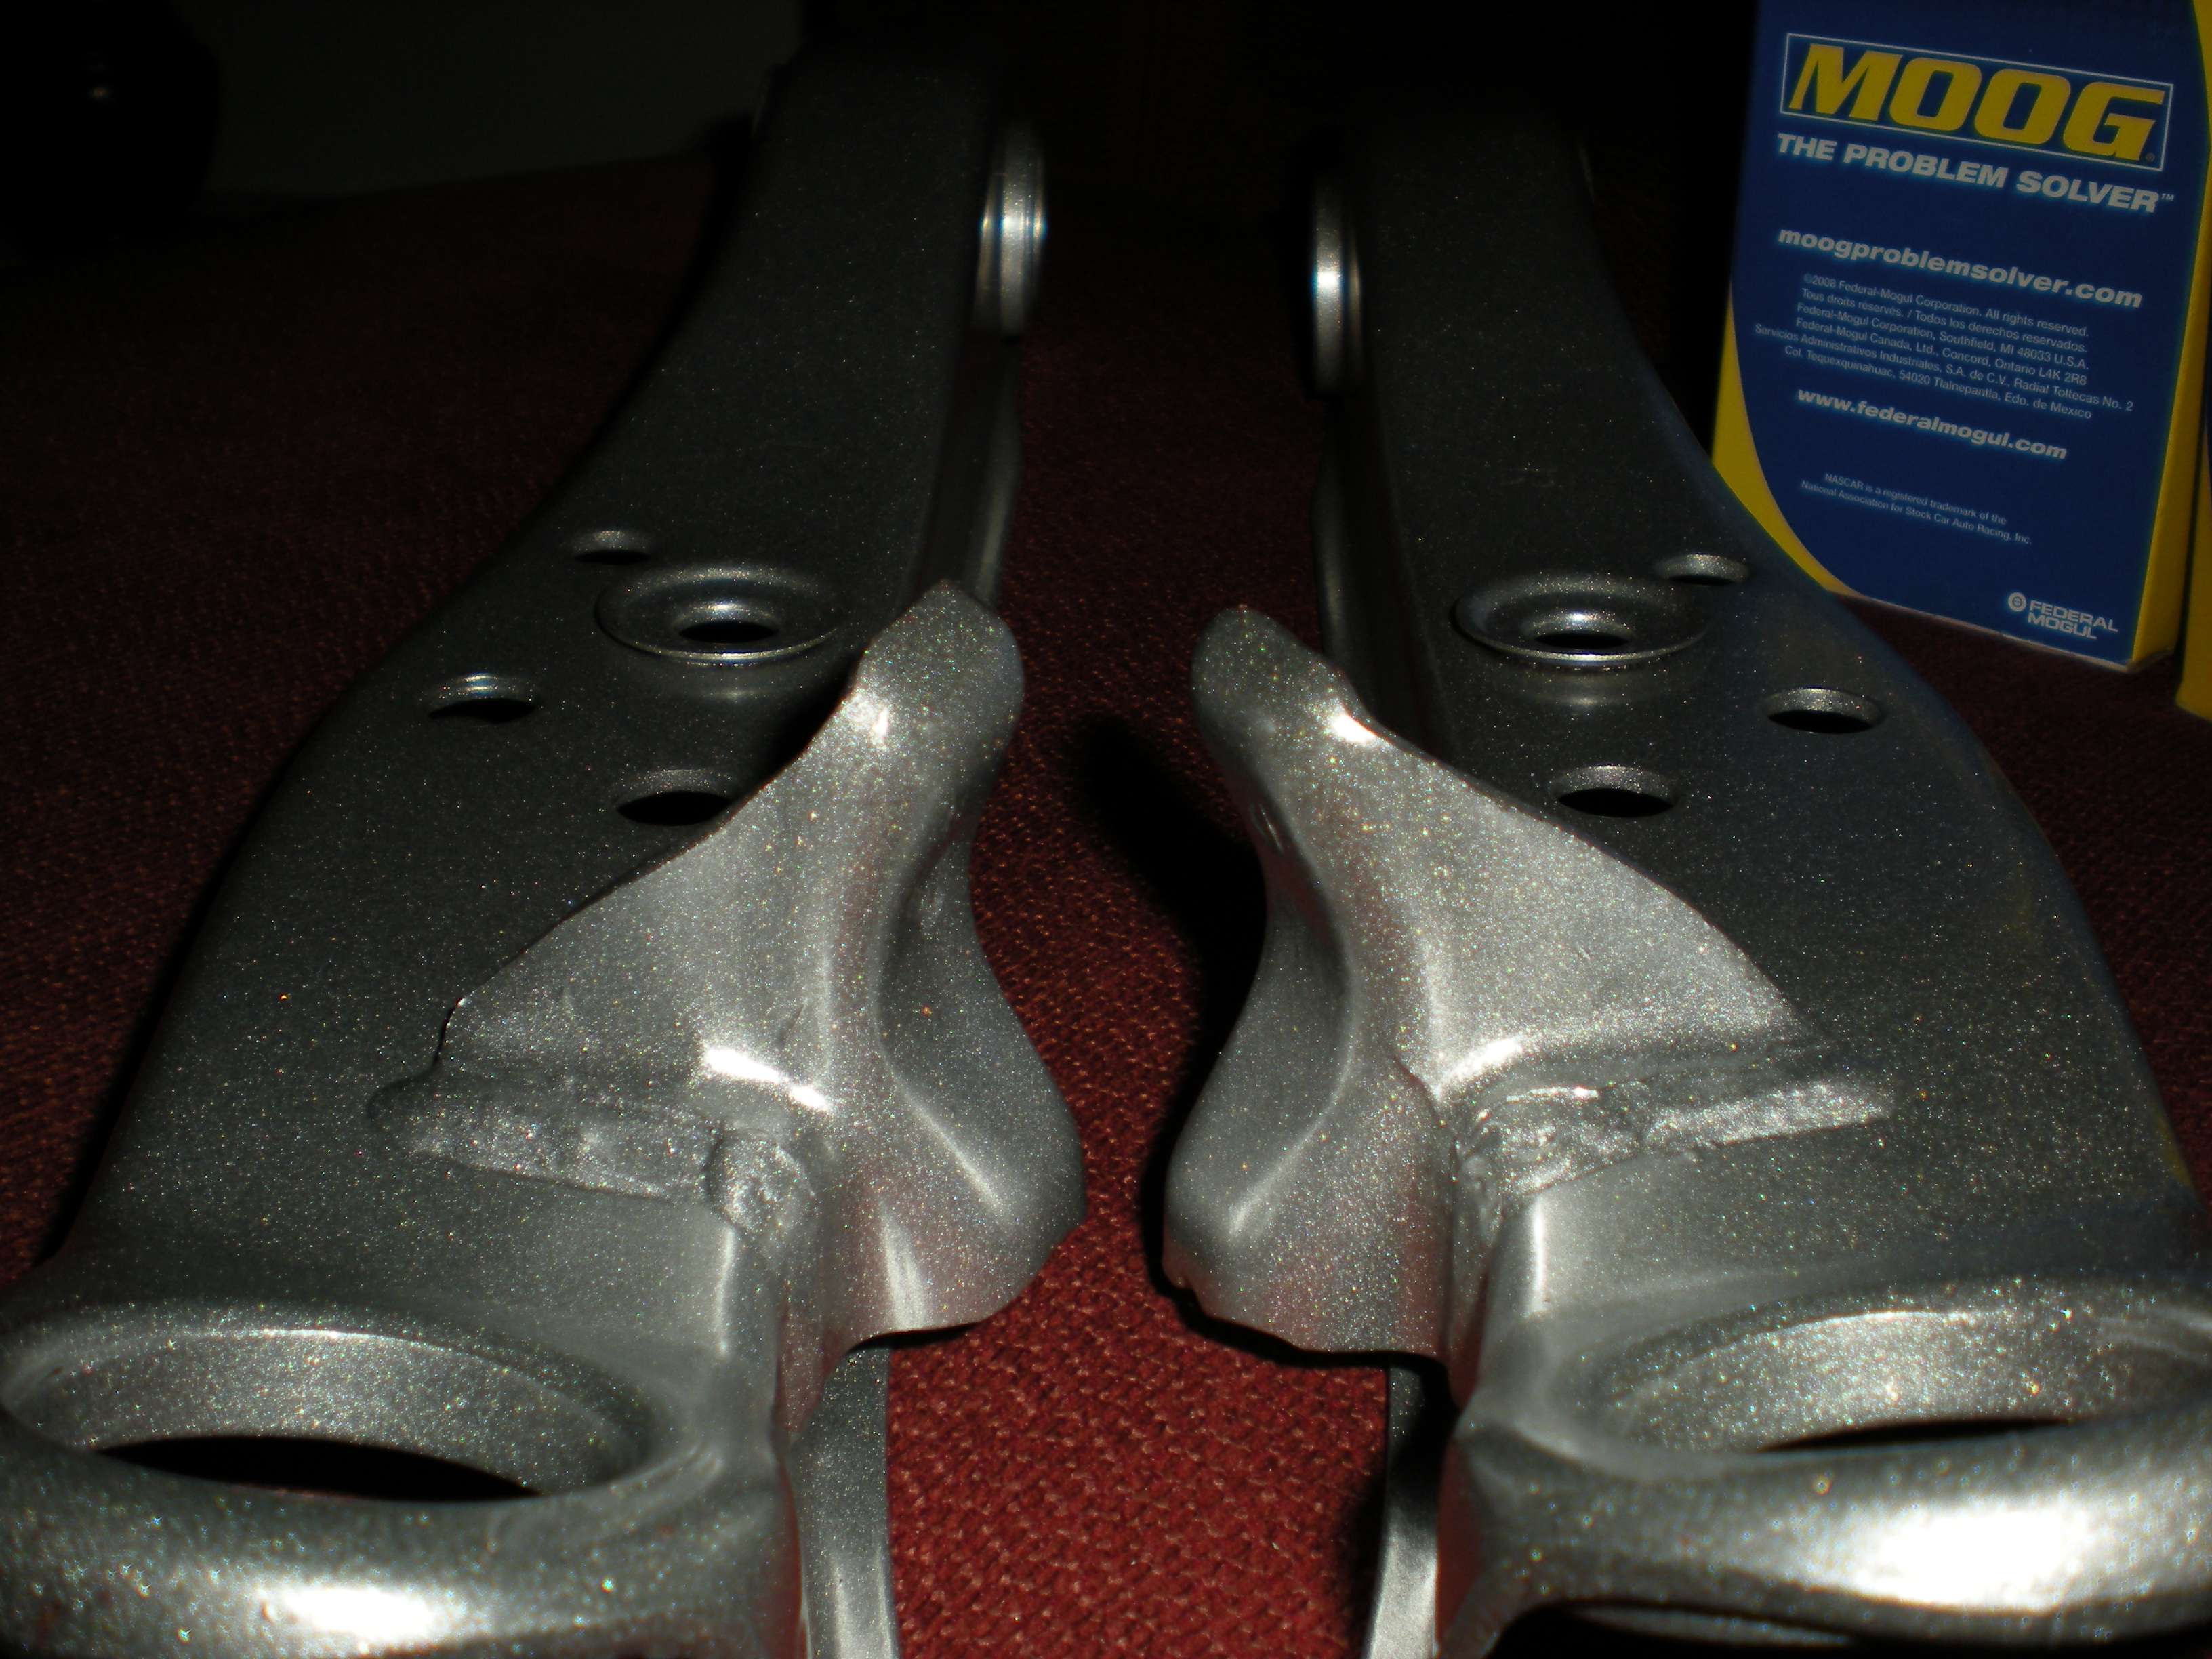 The Energy Suspension bushing are then slipped in, and the Moog (K9820) ball joints are pressed in. |
|
|
|
|
01-22-2011, 12:25 AM
|
#77 |
|
Zilvia Addict
 
|
dope man - can't wait to see the rest of your build. You took great pics of the product.
On the last picture when you received the shipment, did you place the bushing around the logo on purpose? That looks cool
__________________
Yeah.. Umm no.... Rules Violation |
|
|
|
|
01-22-2011, 01:24 AM
|
#80 | |
|
Zilvia Junkie
Join Date: Jun 2006
Location: East Coast
Age: 38
Posts: 585
Trader Rating: (20)
Feedback Score: 20 reviews
|
Quote:
Here is a little clue....  |
|
|
|
|
|
01-22-2011, 01:34 AM
|
#81 | |
|
Zilvia Junkie
Join Date: Jun 2006
Location: East Coast
Age: 38
Posts: 585
Trader Rating: (20)
Feedback Score: 20 reviews
|
Quote:
|
|
|
|
|
|
03-05-2011, 02:34 PM
|
#85 |
|
Zilvia Junkie
Join Date: Jun 2006
Location: East Coast
Age: 38
Posts: 585
Trader Rating: (20)
Feedback Score: 20 reviews
|
Thanks guys, it has been a rough winter here in Jersey, so updates have been few and far between. The weather will break soon, and I will be finishing the car within a few months.
|
|
|
|
|
03-13-2011, 02:22 PM
|
#86 |
|
Zilvia Junkie
|
Did you have to use spacers on your toe rods? I also have Yamato multi links and there is alot of space between the subframe and heim joint so it can move forward and backwards a bit...like 3/4"-1".
Any help would be appreciated.
__________________
http://zilvia.net/f/chat/331550-slyd...pic-heavy.html |
|
|
|
|
03-13-2011, 03:19 PM
|
#87 |
|
Zilvia Junkie
Join Date: Jun 2006
Location: East Coast
Age: 38
Posts: 585
Trader Rating: (20)
Feedback Score: 20 reviews
|
I beleive what you are refering to is this, correct?
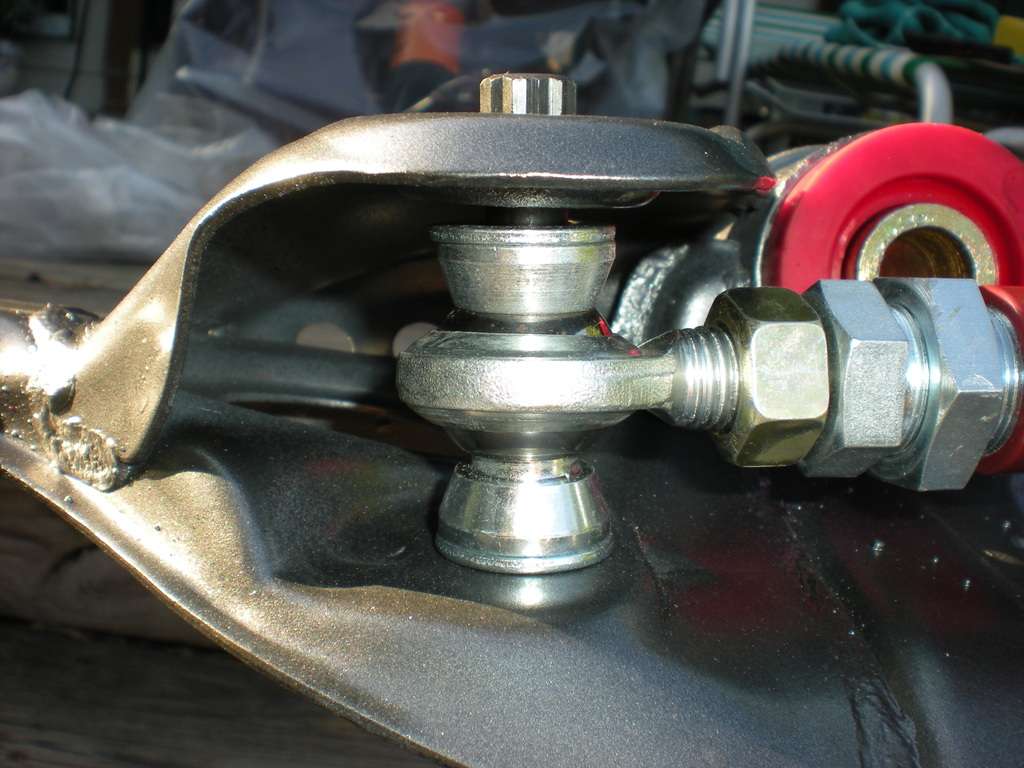 I had the very same problem with mine. They included the spacers with the arms, however there was still a gap. I contacted Yamato Garage and they recomended that I try to torque them to spec, and see if the gap closes. The subframe is surprisingly flexible, and the gap closed up. Hope that helps |
|
|
|
|
03-14-2011, 01:15 PM
|
#90 |
|
Zilvia Junkie
|
Ok, that is what I was talking about. I didn't get any type of spacers though. Where did you find the torque specs?
Thanks for your help, Andrew
__________________
http://zilvia.net/f/chat/331550-slyd...pic-heavy.html |
|
|
|
|
| Bookmarks |
|
|


 Linear Mode

