|
|||||||
| Builds (and builds only) Got a build thread? It goes here, build threads anywhere else on the forum will be locked and never moved. |
|
|
Thread Tools | Display Modes |
 12-10-2011, 02:15 PM
|
#1 |
|
Leaky Injector

|
Chad Dugan S14 drift car build (kouki/racecar)
Hello!
I started this build 2.5 years ago, didn't exactly know where it would go, had not decided on what chassis I was going to use, but I had my first motor built at Canadian Cylinder Head (Graham) in Toronto. I had 3 S14's before deciding that I would use my 97 chassis to turn into a full racecar. Built S14 SR, good for around 500hp - Engine specs - S14 SR (eliminated VVT) (Originally from Varun VHC Performance 5-6 years ago) S13 intake cam gear BC 264 cams BC SS intake and exhaust valves BC valve springs and retainers HKS rocker arm stoppers CCH ported head Apexi 1.1mm HG Oversized Wiesco pistons Crower rods ARP rod, mains, clutch, and head studs ATI crank pulley New oil pump (modified) New water pump (VHC Performance) Greddy oil pan ACL race bearings New timing chain with metal guide Bings polished pulley set New accessory belts New alternator Fuel - -8 steel braided feed and return lines Nismo 740cc Injectors Bosch 044 pump 2x Aeromotive filters Tomei FPR 15 Gal fuel cell with sending unit EMS and Electronics - Vipec V44 universal ECU Racepak IQ3 with Vipec integration cable Splitfire DIS 4 coilpacks Yellow top battery Painless chassis & custom engine harness Custom fuse box and switch panel AEM wideband 02 Drive train - Exedy Hyper single clutch Custom 1 piece drive shaft SR20 transmission (VHC Performance) Solid transmission mount and motor mounts B&M short shifter Welded diff Solid subframe bushings Chassis and Suspension - Bride seats Sparco Rails Vertex style headlights Vented carbon hood GP sports aero 30mm wide front fenders 30MM rear over fenders Aerocatch hood pins Lexan rear windows New glass front windshield MA Motorsports AWESOMETRON 5000 super angle knuckles MA Motorsports modified LCA's SPL outter tie rods TEIN inner tie rods SPL RUCAS Nismo rear LCA New ball joints front and rear TEIN HA 16 way coilovers Cusco TC rods Custom power brace TEIN camber plates Brakes - Z32 front brakes Braided lines front and rear Brembo rotors front and rear 4x Z32 rear calipers Dual rear caliper brackets CNC hydro E brake CNC prop valve Wheels - Enkei RPF1 18x10.5+15 rear 18x9.5+15 fronts I'm sure there is much much more I am missing, but here are some pics - enjoy! 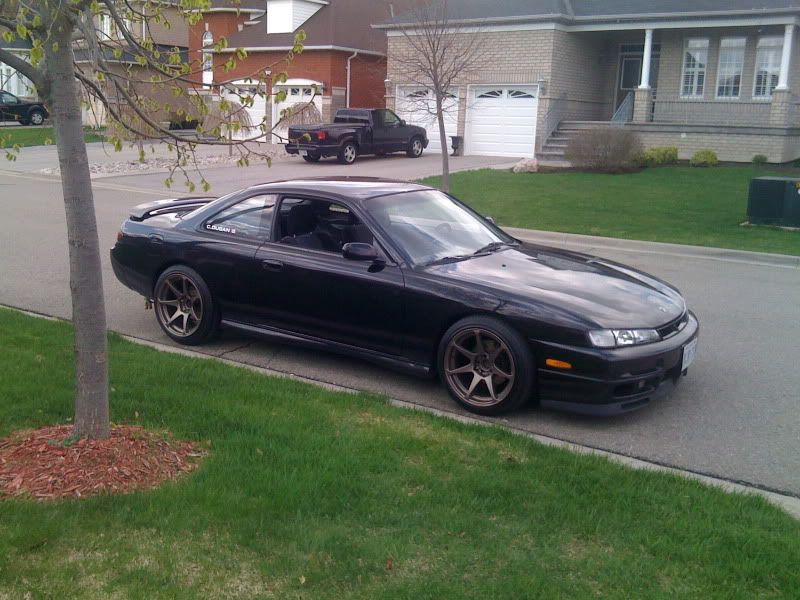 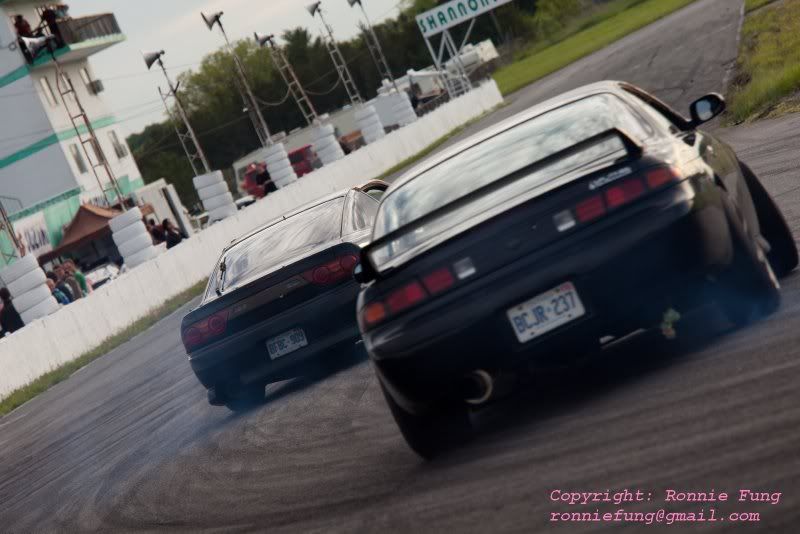 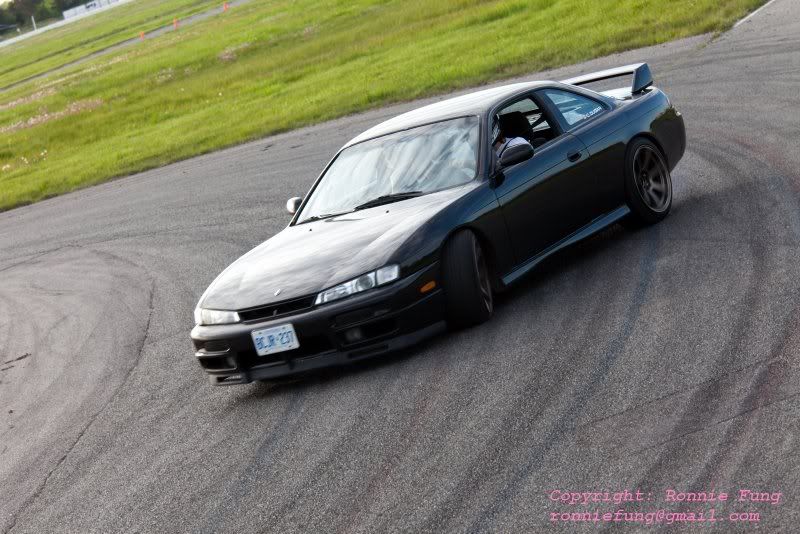  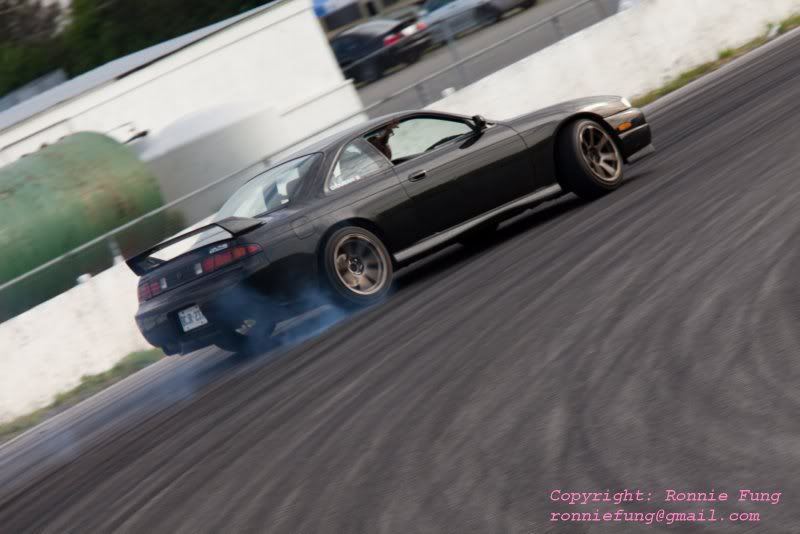 I started the tear down at home in the garage with minimal space and gathering tools as I went along - 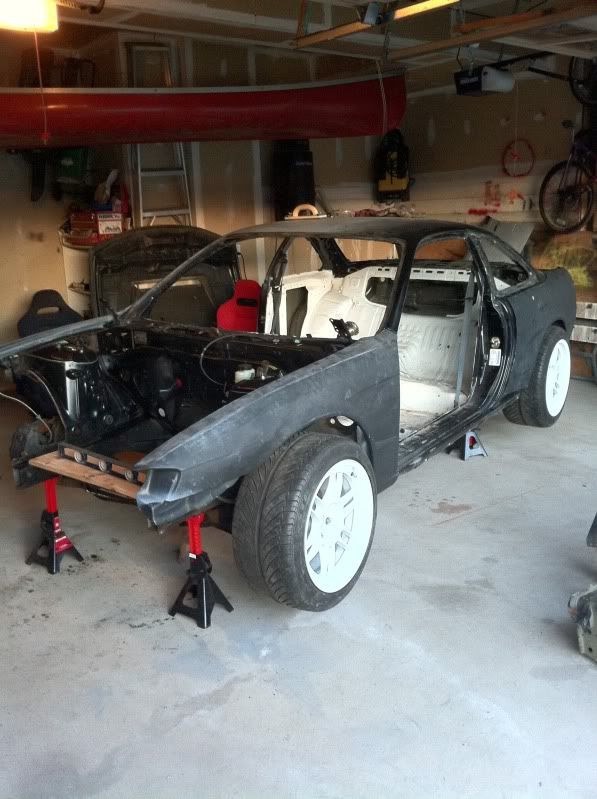  Spot weld removal of the front end, and test fit some areo - Got the car over to a friends house for some heavy fabrication work - 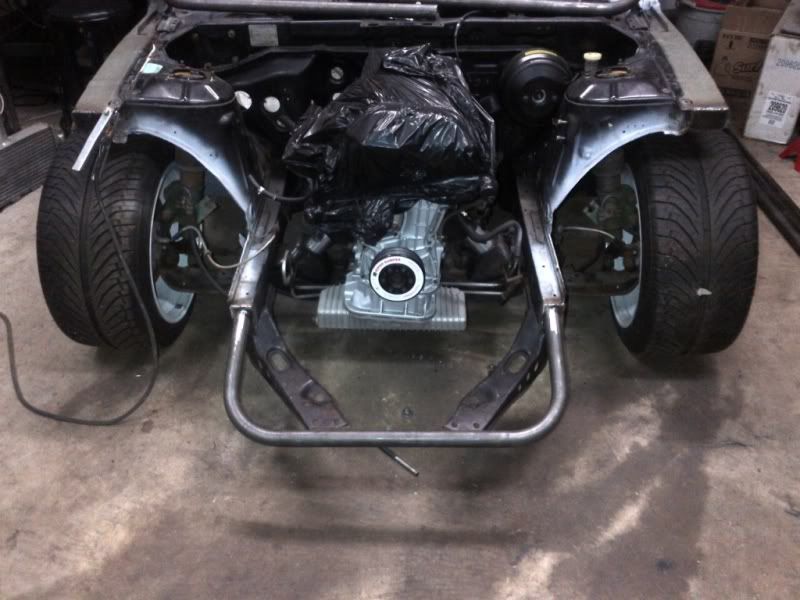 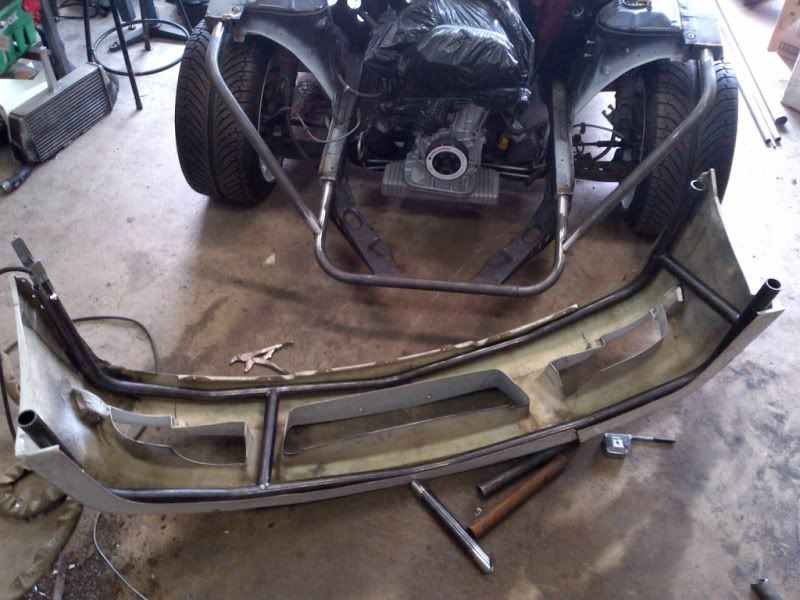 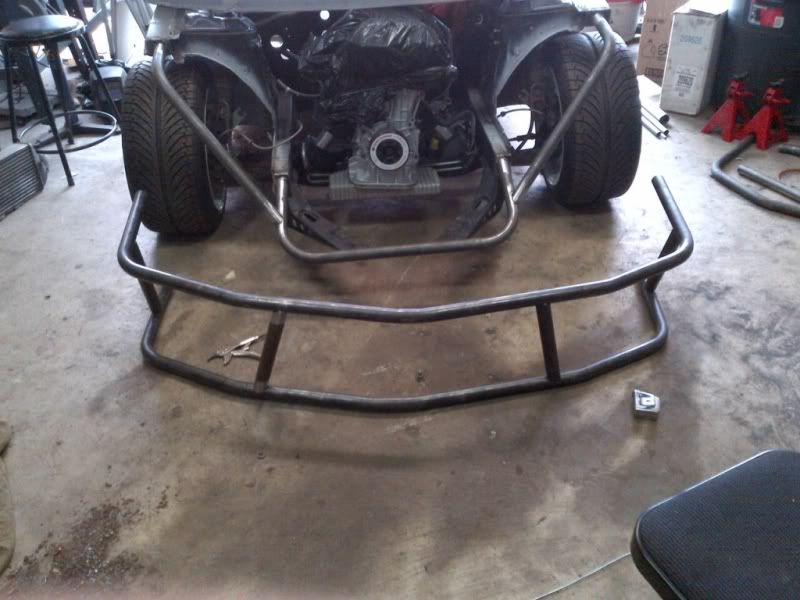 Started on the front end before getting into the cage or rear tube - 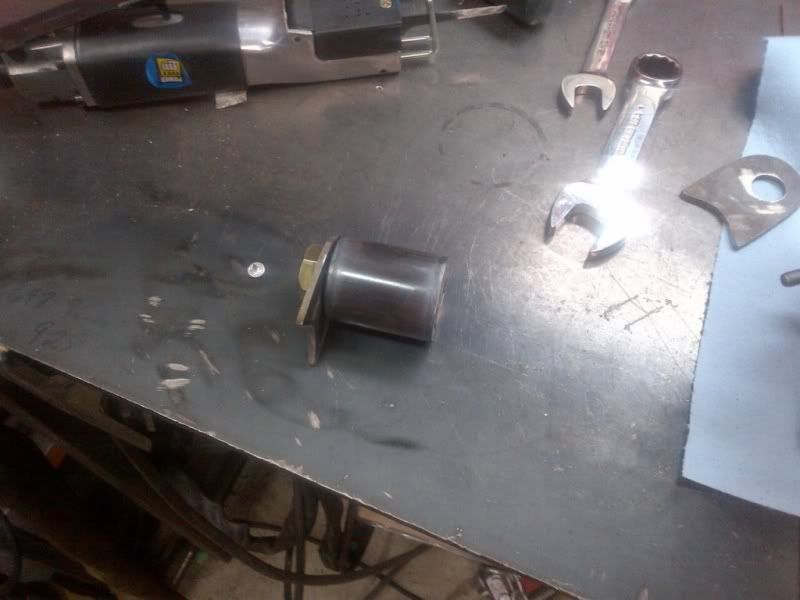 We decided to go with a fully removable front end for easy access at the track for any work needed - and for simple replacement in case of a crash - 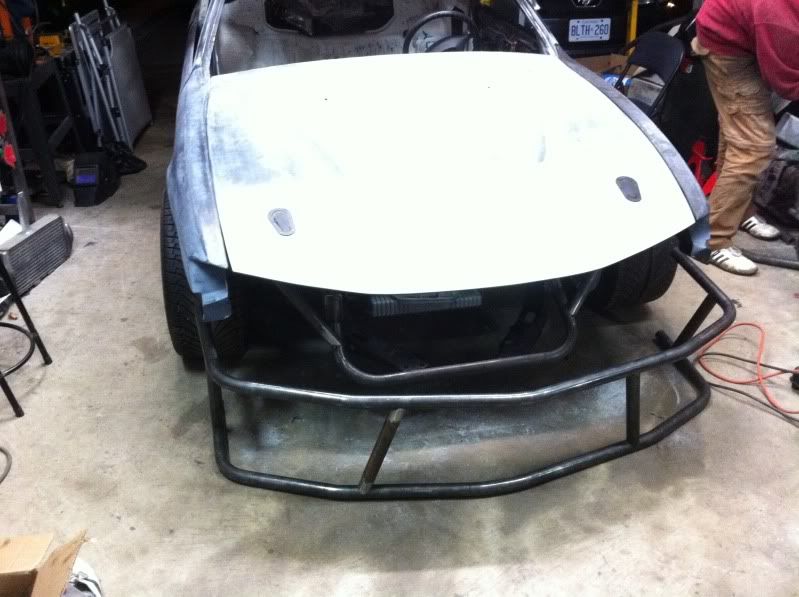 Installed some areocatch pins since we had no more rad support -  Trimming the front fenders 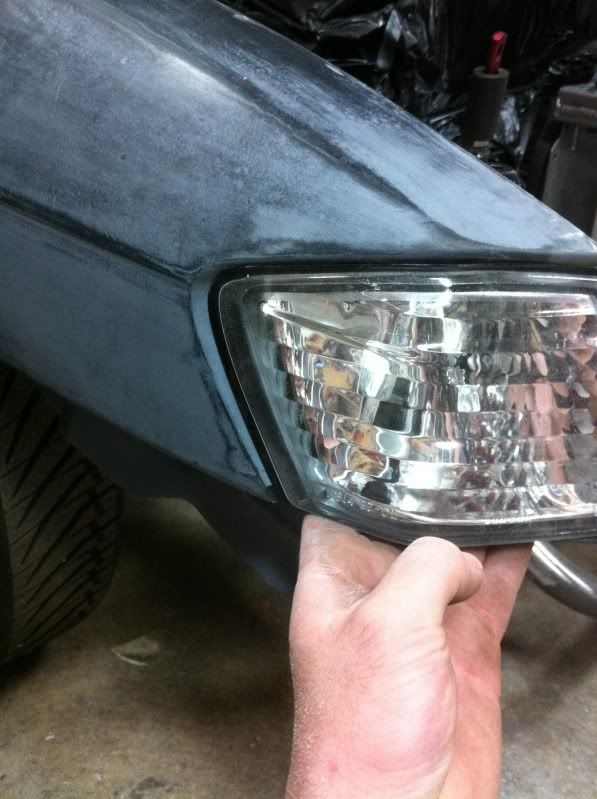 Test fitment of corner lights 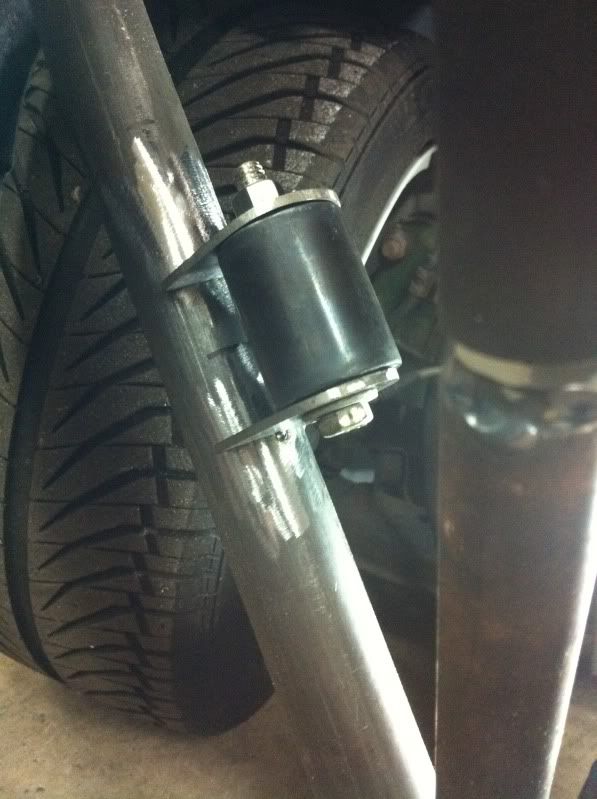 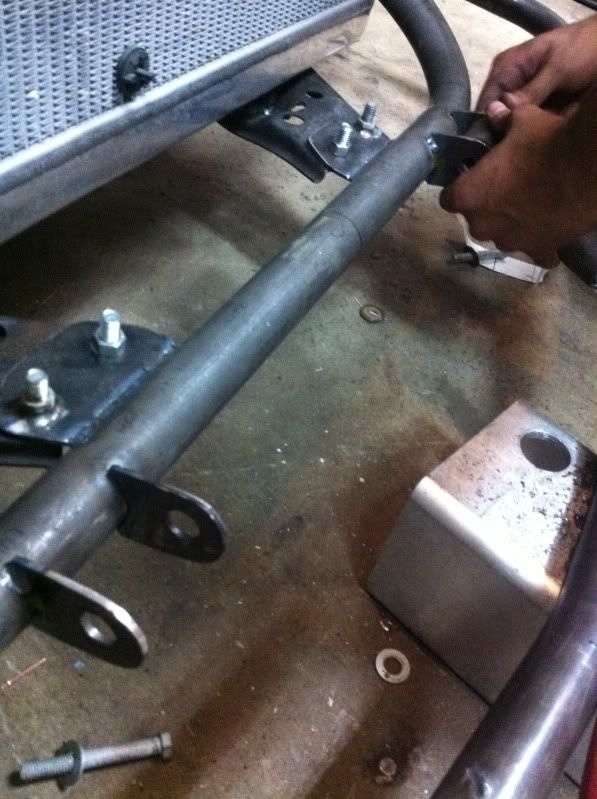 Lower rad support removable tabs 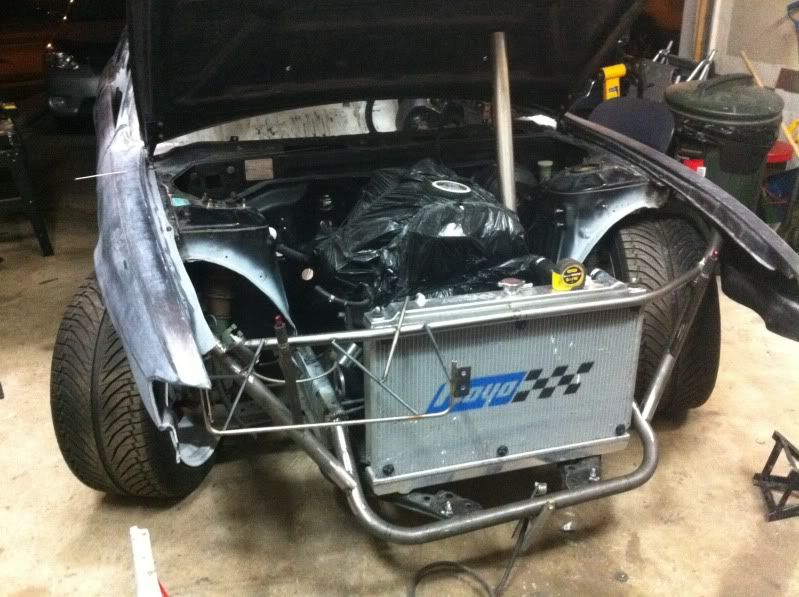 Started on fitting the lights and bumper 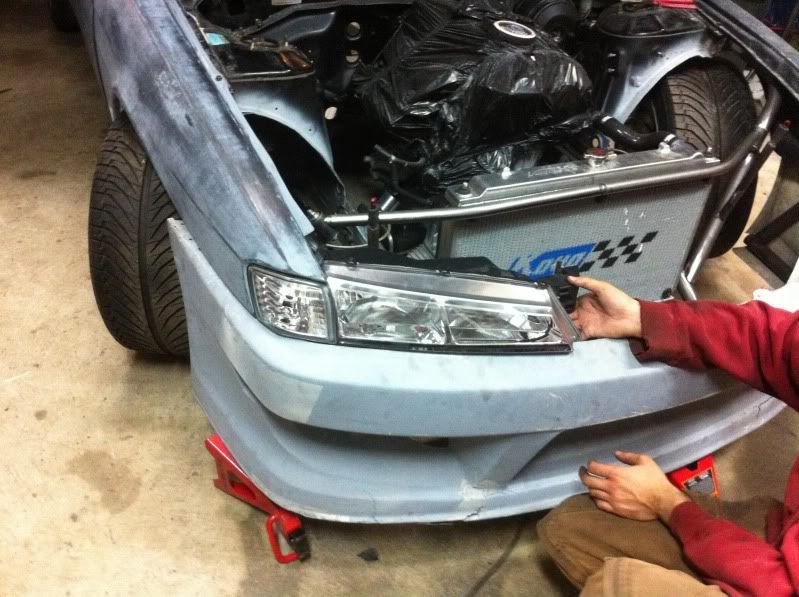 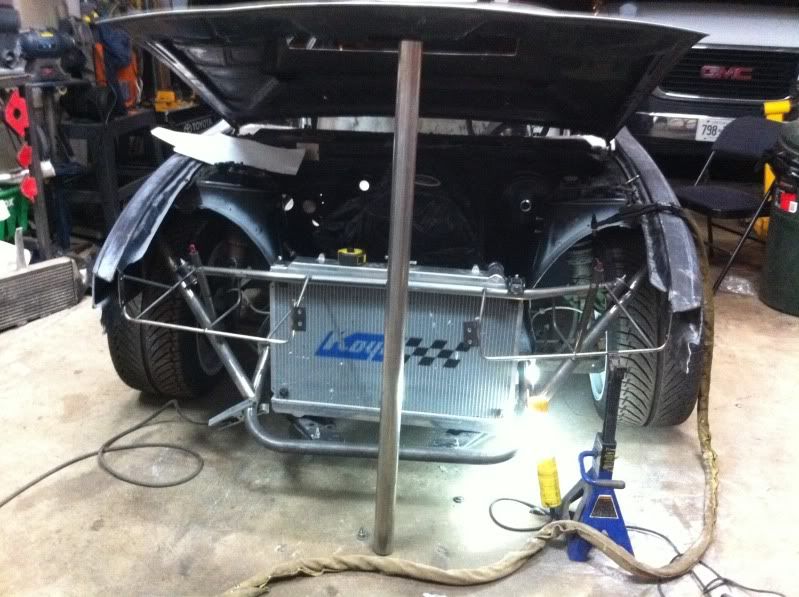 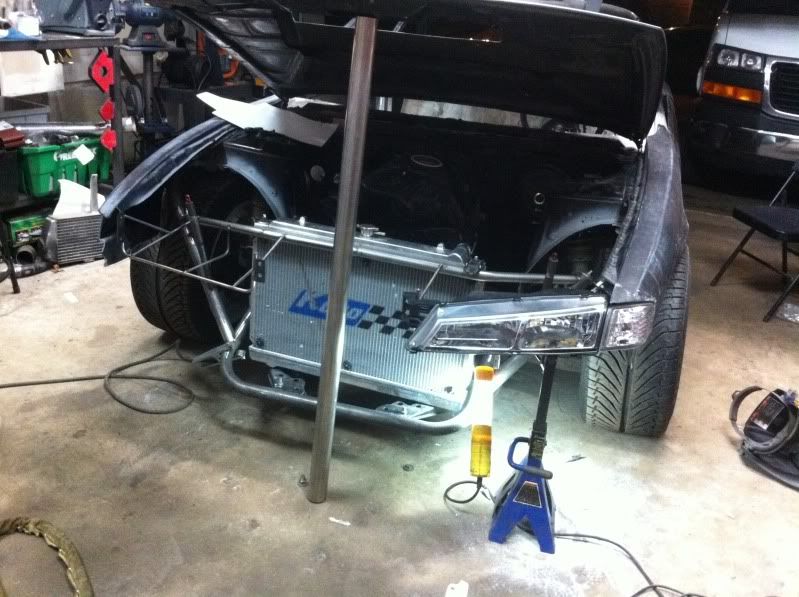 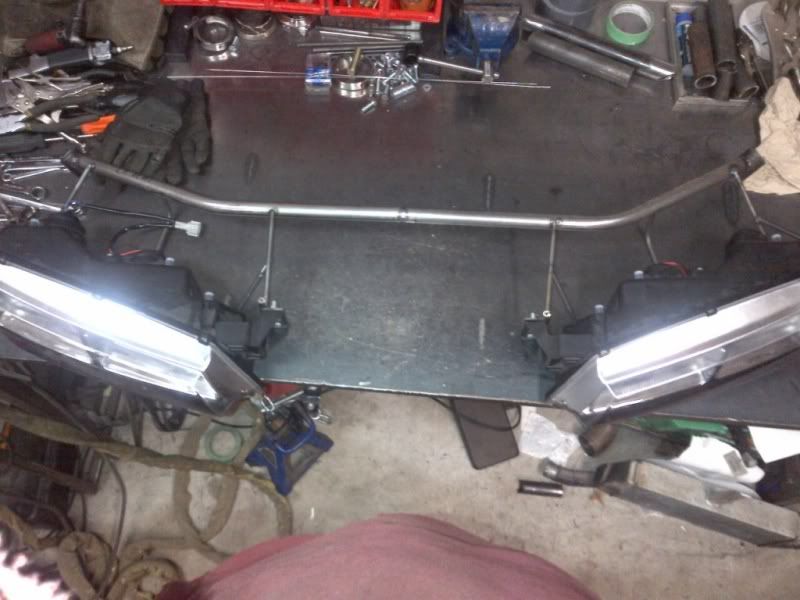 Light bar finished ready to be fully welded up 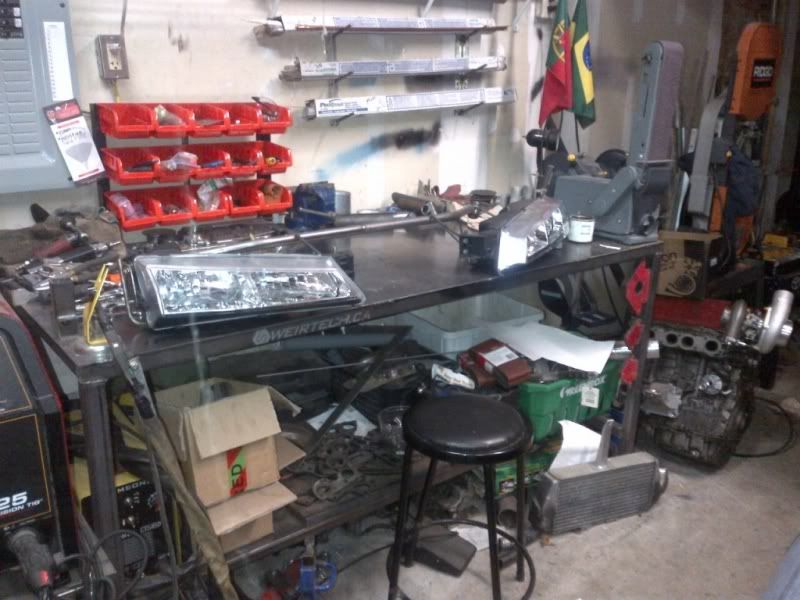 Started gathering material for the rest of the car 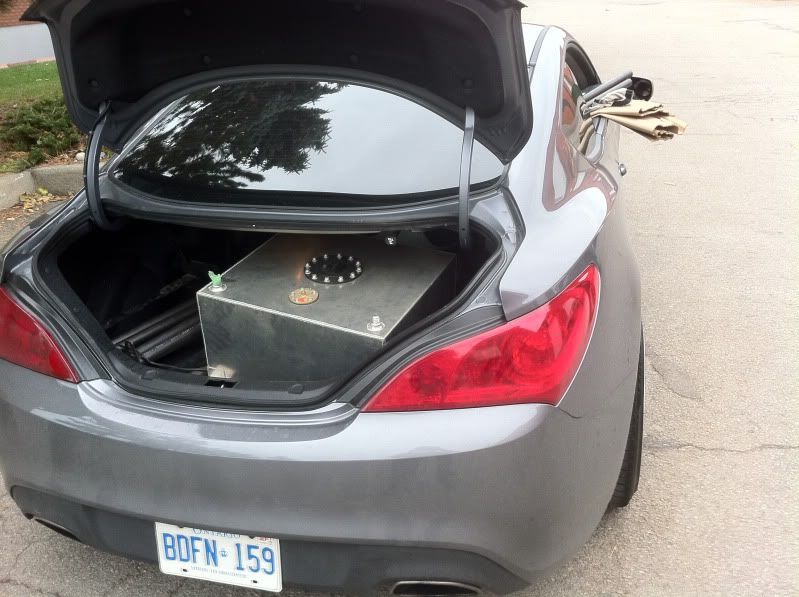 We got the main hoop finished, and decided to gusset it to the chassis - 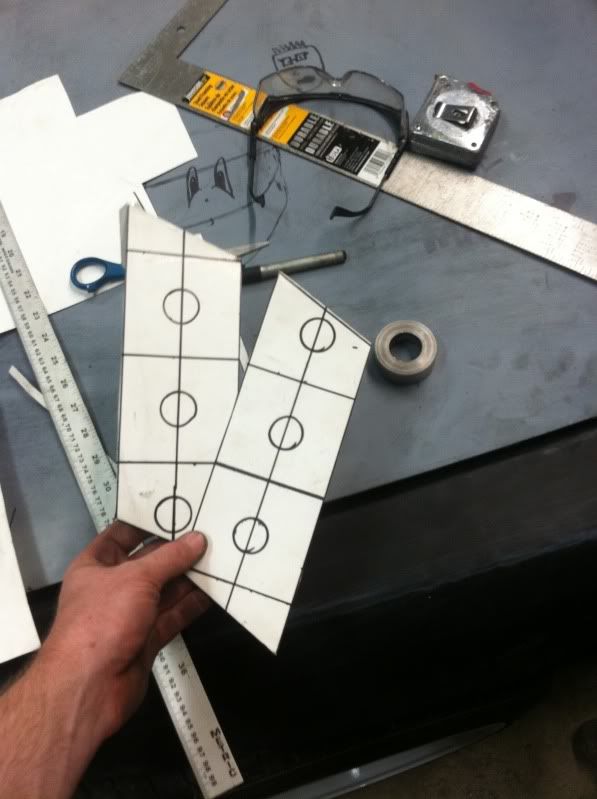 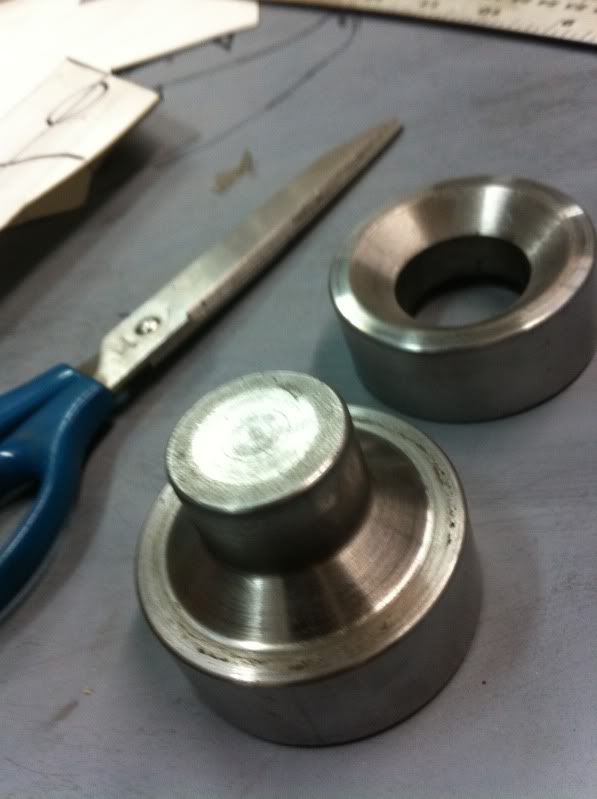 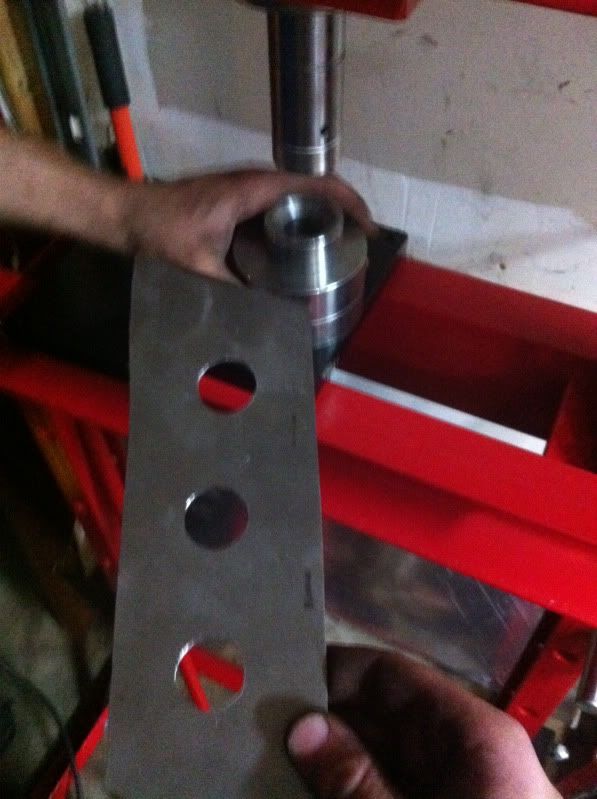 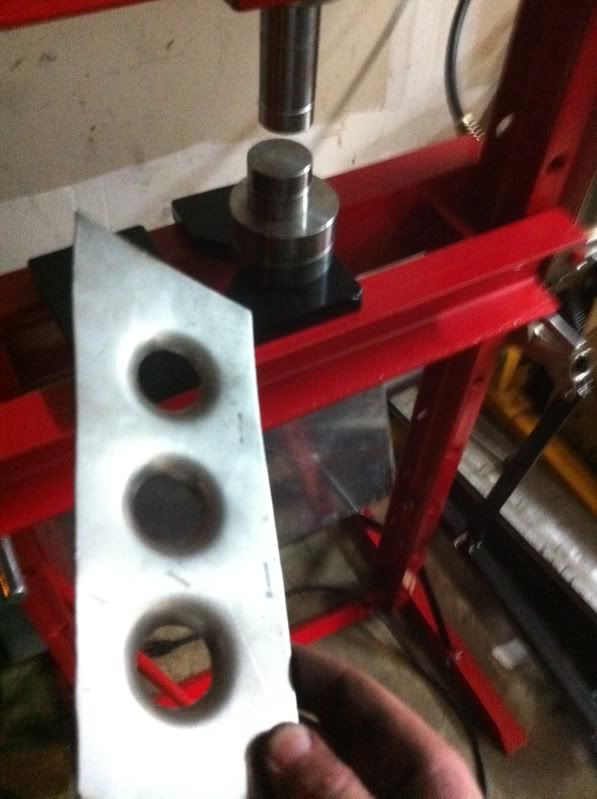 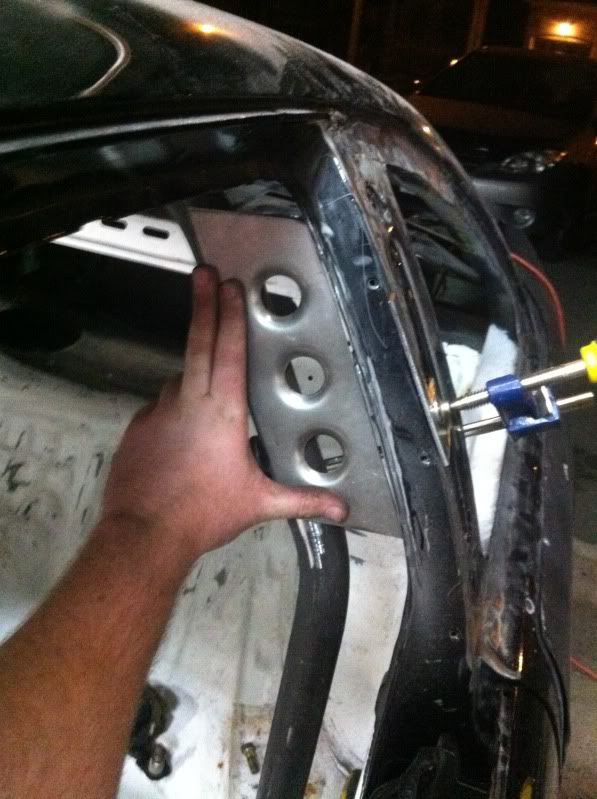  We later decided the main hoop could be higher for head room clearance - 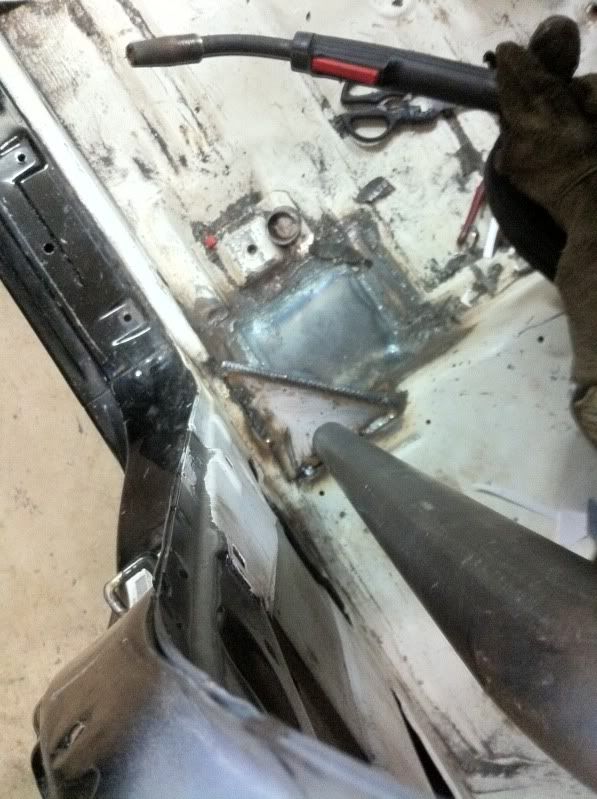 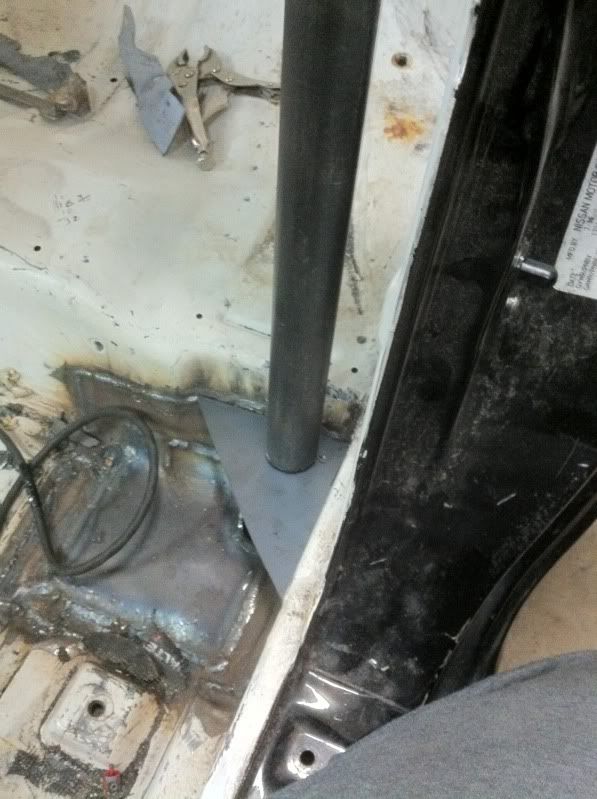 So we boxed it up and got it exactly where we wanted -  Removed the side gussets and now they weren't needed  Started working on front window gussets 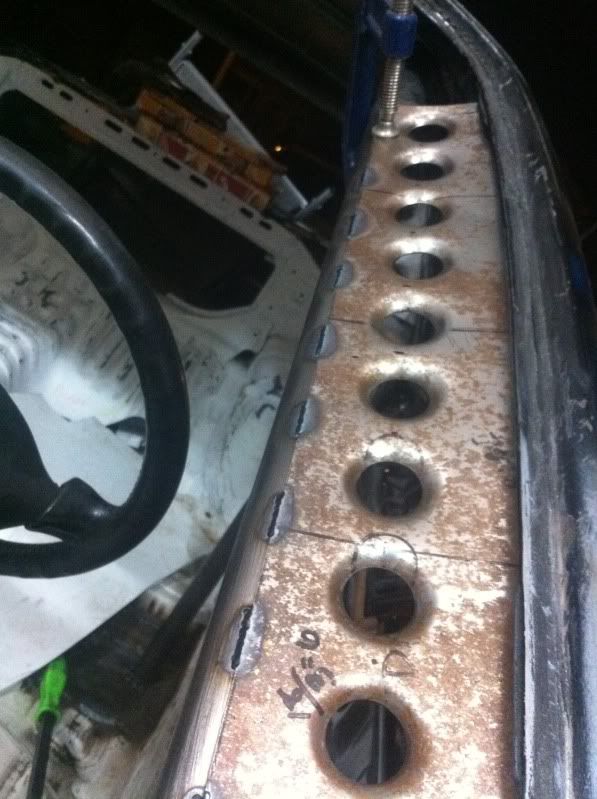 Clean tig welds in between each gusset for added stiffness  Break time.... Looking clean and good head room now -  After cutting and fitting each and every bar we could with the material we had, we labeled everything to be finalized and welded the next day  Fitment is everything 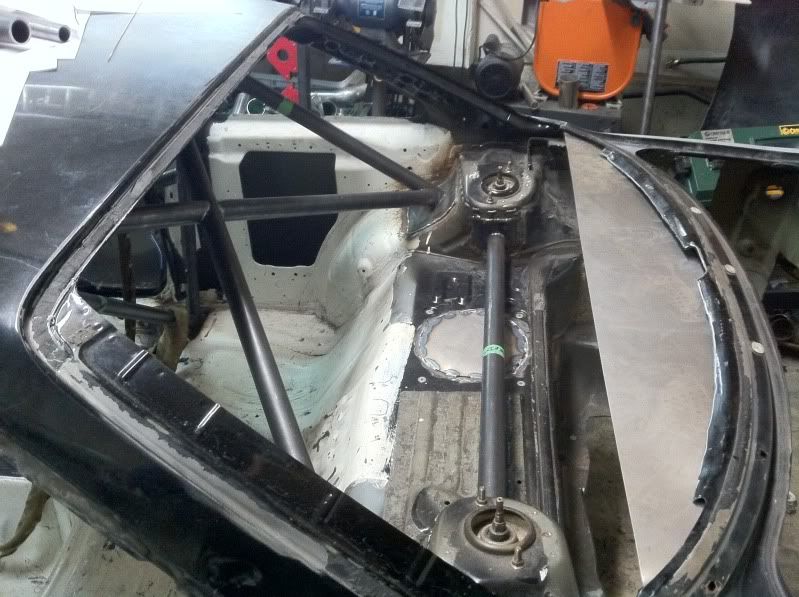 Lots of bars added, and started on a rear firewall  Fast forward and we have got the rear end semi finished and making sure everything fits properly 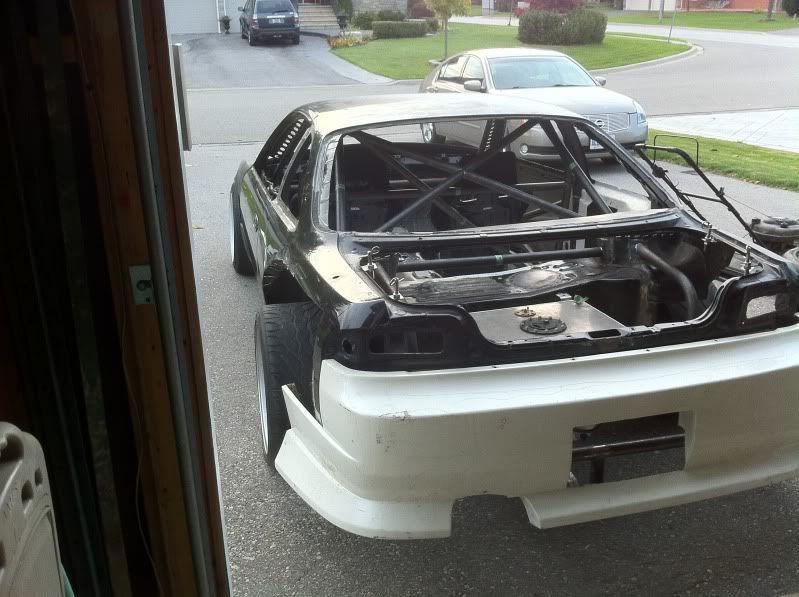 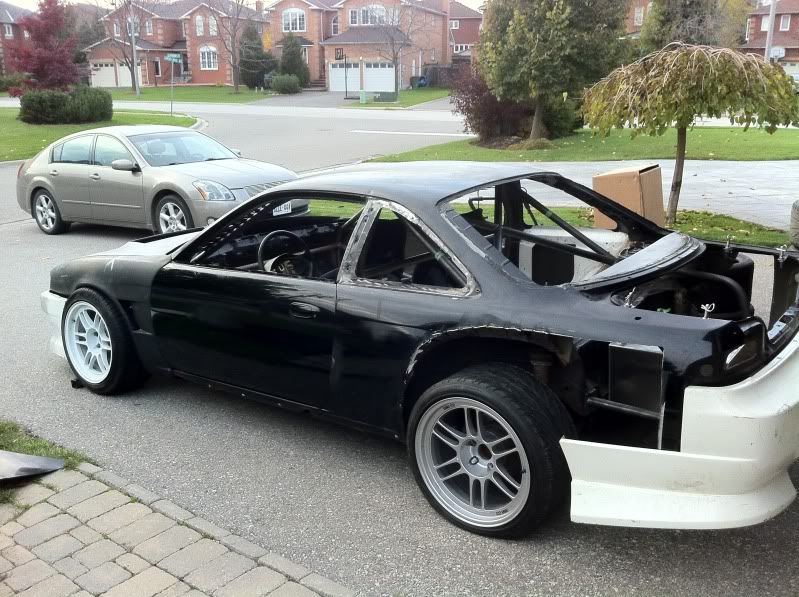 Got the car back home for some more body work and paint 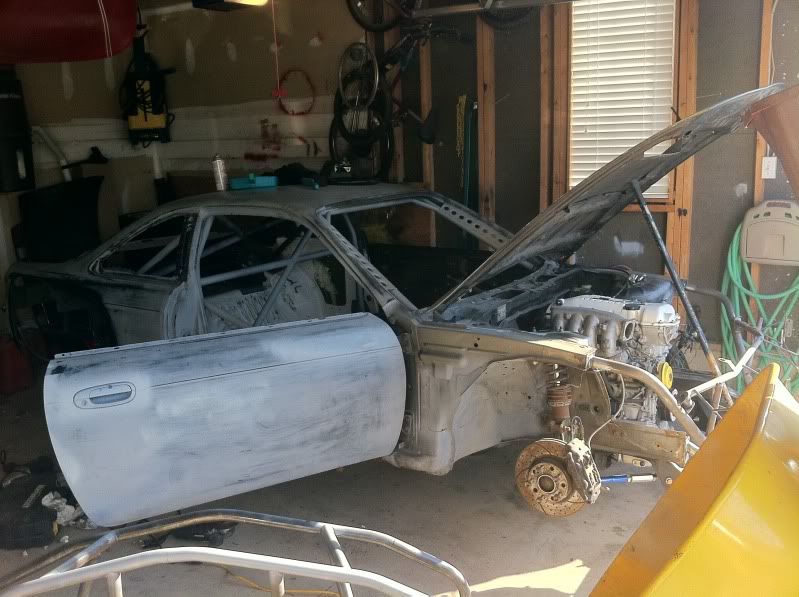 Got the car over to my buddies barn and started to strip the chassis down for paint 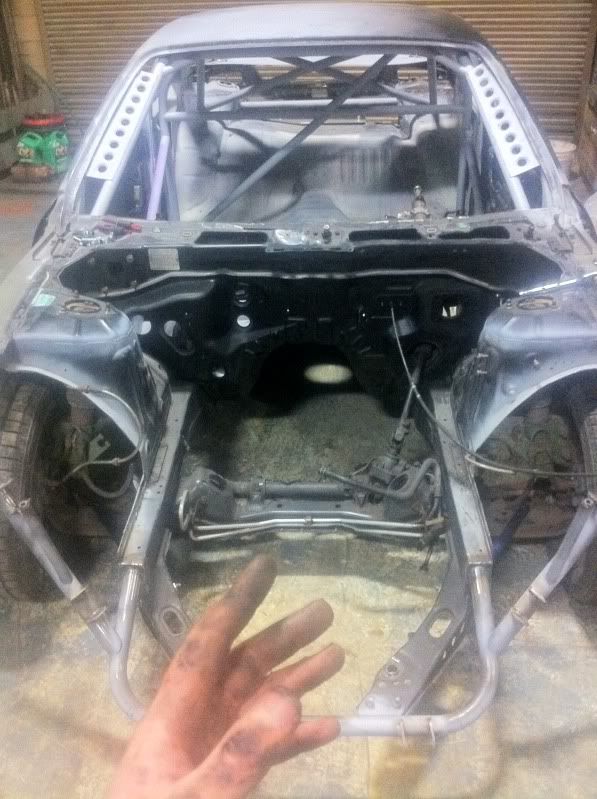 Test fitting over fenders for the last time before finalizing them 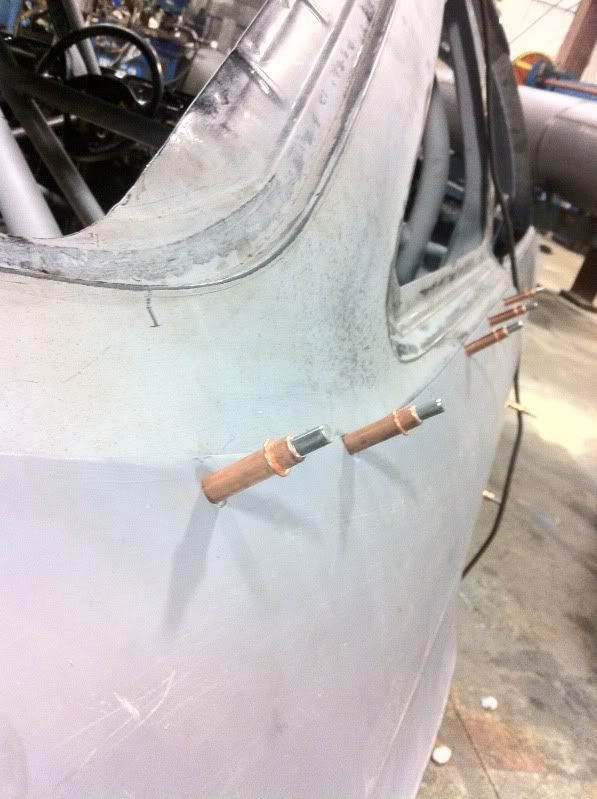 Put the clutch and transmission on with the one piece shaft and got the engine in quick.  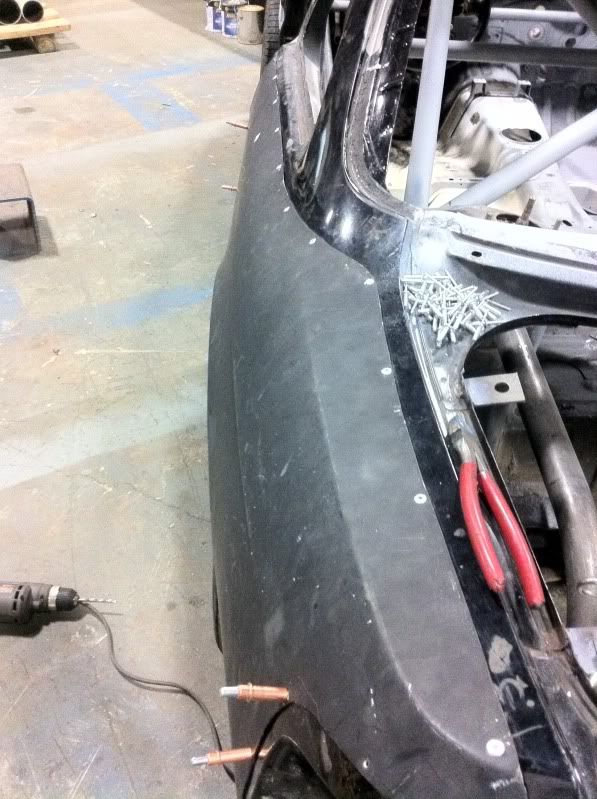 Driver side complete 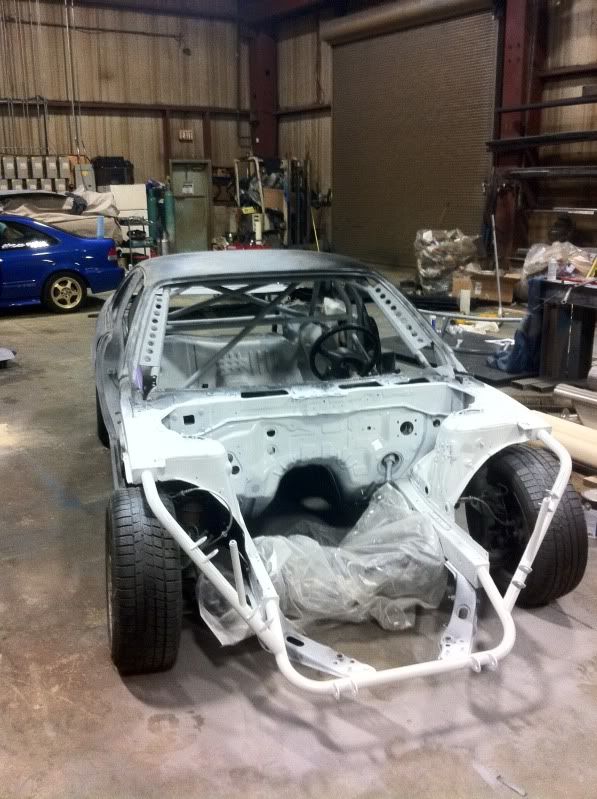 Fast forward again, gave the engine bay a quick cover and clear before mounting the engine - 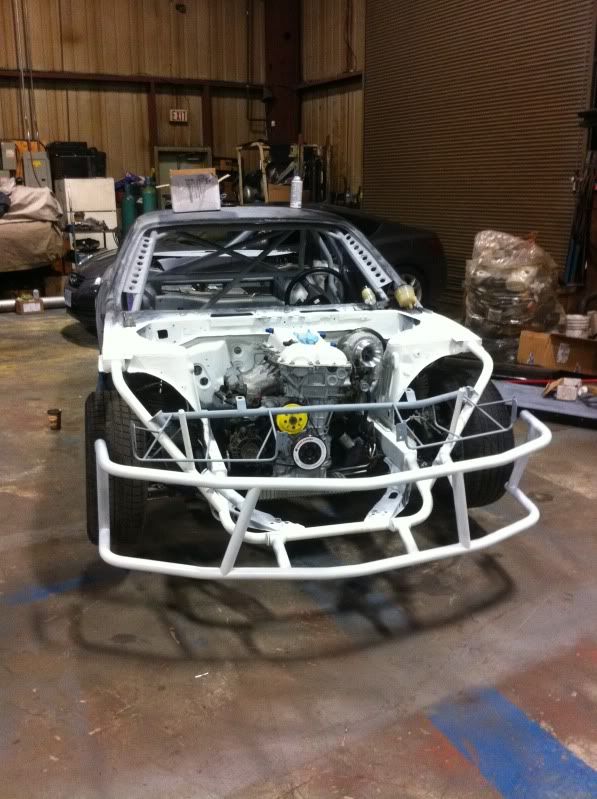 Getting there  I will give updates as I progress over this winter! Thanks, Chad Dugan Last edited by Chad Dugan; 02-14-2013 at 06:43 AM.. |

|

|
| Sponsored Links |
| Bookmarks |
|
|


 Threaded Mode