|
|||||||
| Home | Rules & Guidelines | Register | Member Rides | FAQ | Members List | Social Groups | Calendar | Mark Forums Read |
| Builds (and builds only) Got a build thread? It goes here, build threads anywhere else on the forum will be locked and never moved. |
 |
|
|
Thread Tools | Display Modes |
 10-24-2013, 01:12 AM
|
#1 |

Join Date: Jul 2009
Location: Vancouver
Age: 37
Posts: 41
Trader Rating: (0)
 Feedback Score: 0 reviews
|
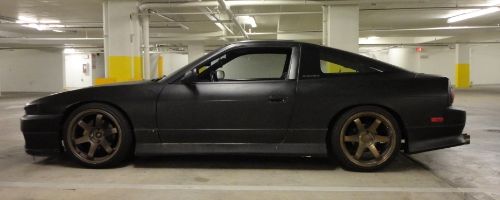
Ever since I watched Fast the Furious I wanted to buy a car and install NOS!! well not exactly...
I don't know since when but I wanted to install a turbo on N/A engine, but I didn't know sh!t about cars. I read a lot and 240sx looked like the best candidate of all RWD car I was considering. Actually I think S13s are ugly, and S14s are too plain, and I knew that this is probably will end up costing me a lot of money that I could use to buy a Lincoln LS or Cadillac CTS or something else that isn't old, looks good and has 4 doors. Anyway after my Lincoln LS got written off, I decided to buy a 240sx with a goal to install a turbo on it before these cars become any older. here is what I got, I think I over paid for it 1990 KA24E 220,xxx KMs HIDs, 3" Cat Back Non-Hicas, ABS, vLSD, KYB shocks w/ lowering springs, 15x6.5" Advan Model 6 rims Sunroof, Power windows n lock, AC S14 re-upholstered fake leather seats, Clean Black Interior 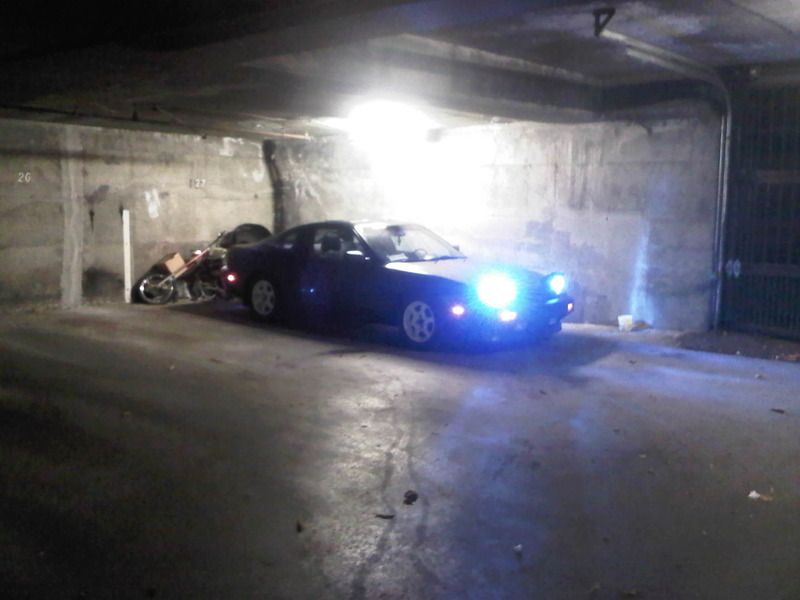 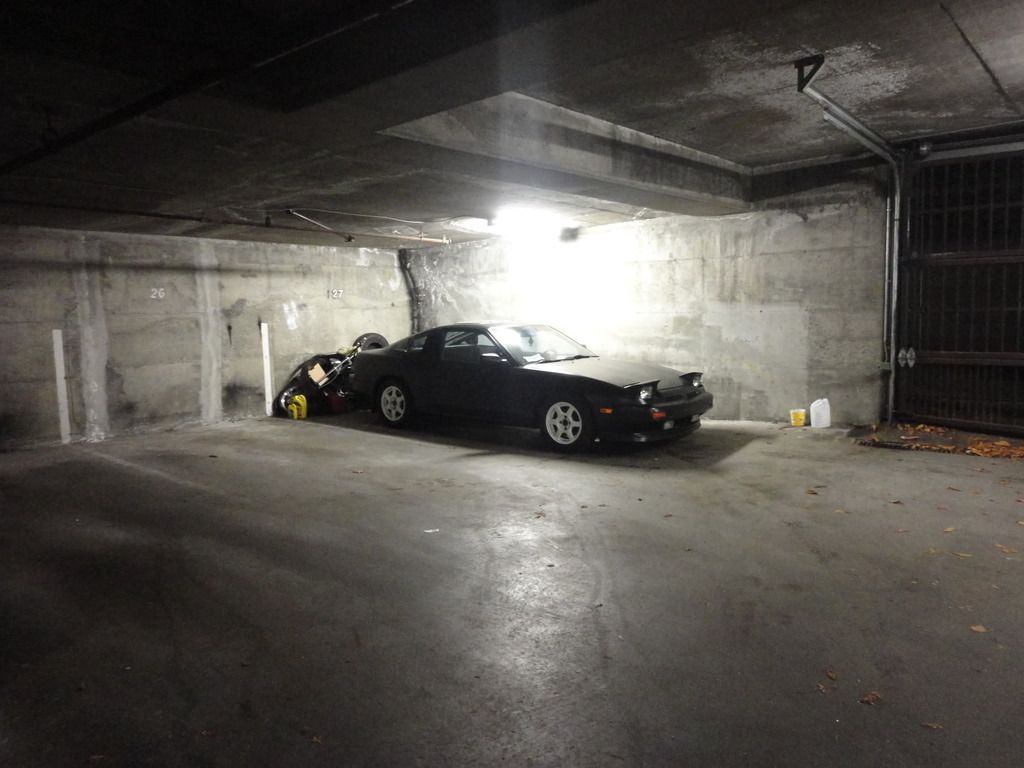 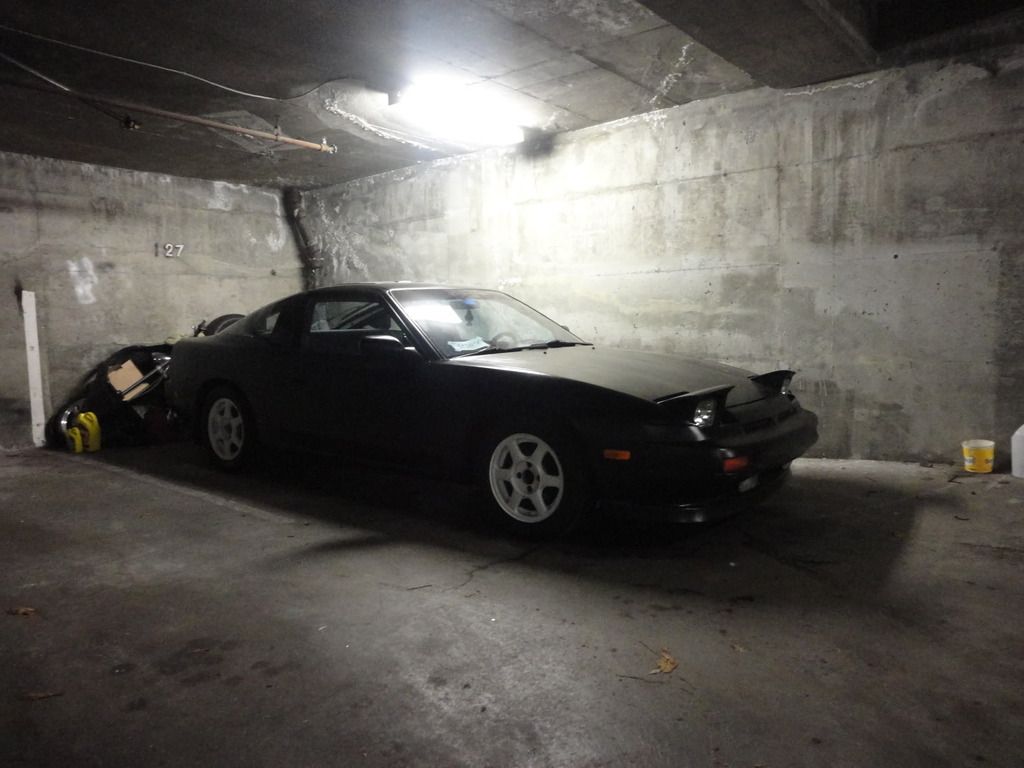 Got some turbo Parts and Exhaust 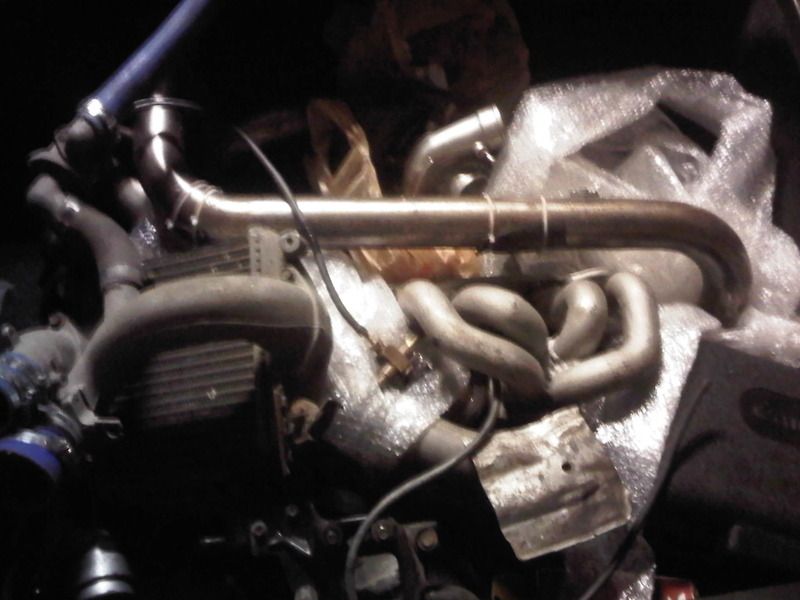 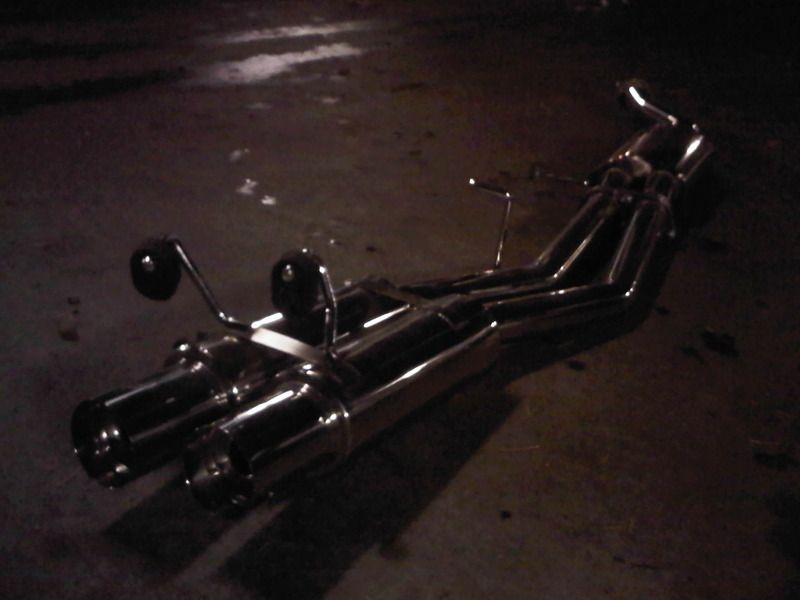 Most people say most difficult part is setting up oil return line, so I decided to start with that... until this point I've never even changed oil in car. 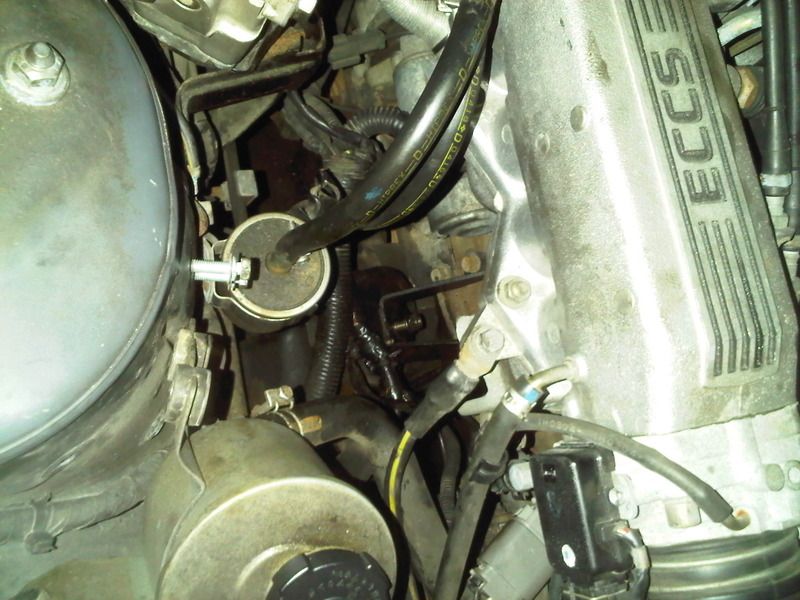 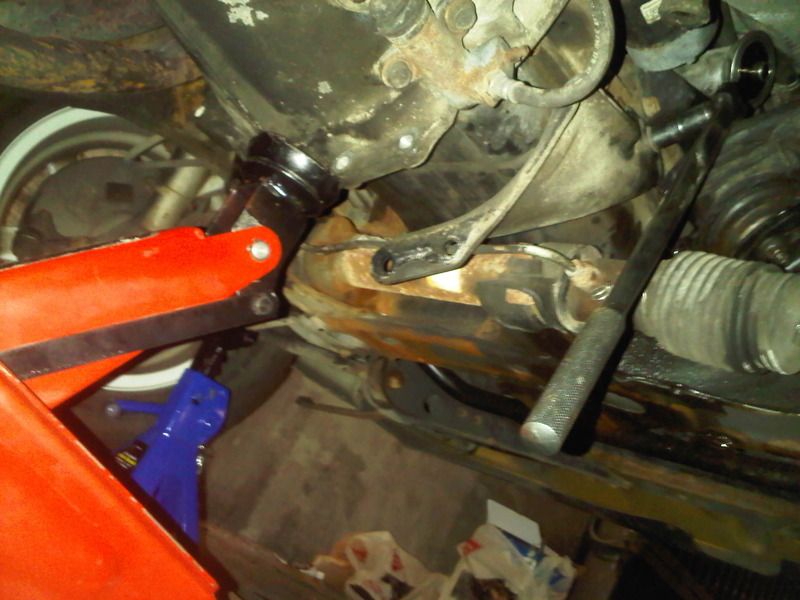 After I took out the bolts the pan was still stuck, tried using this...  Then this 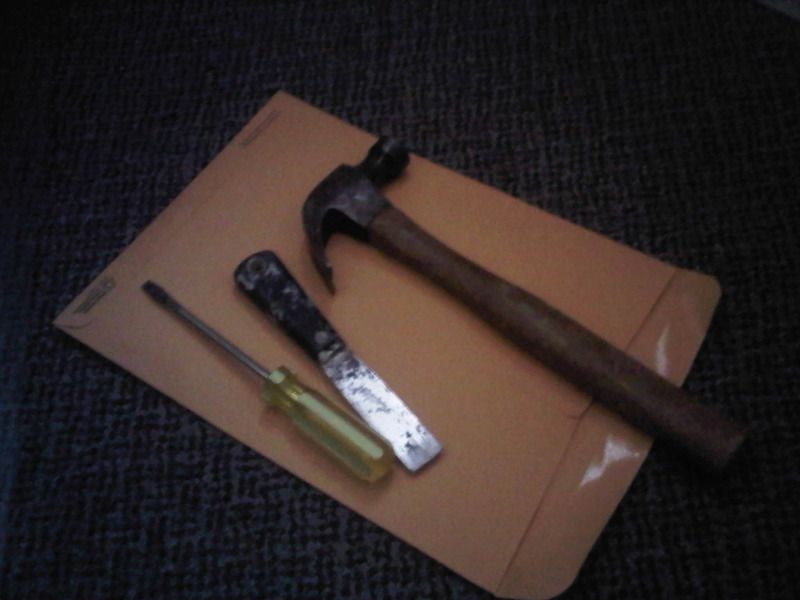 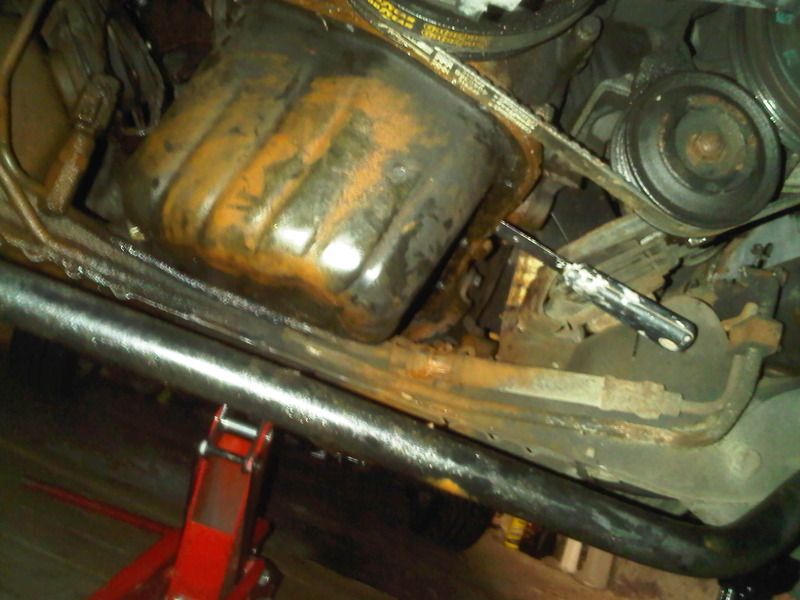 Putty knife + hammer worked a lot better The oil pick up is placed in one of the most difficult places to reach with the engine in the car. it has to be unbolted before oil pan can slide out. 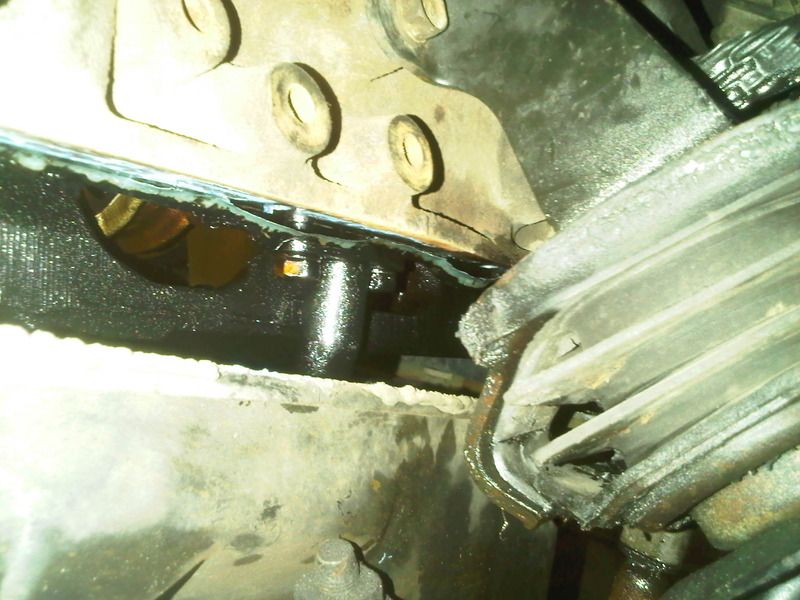 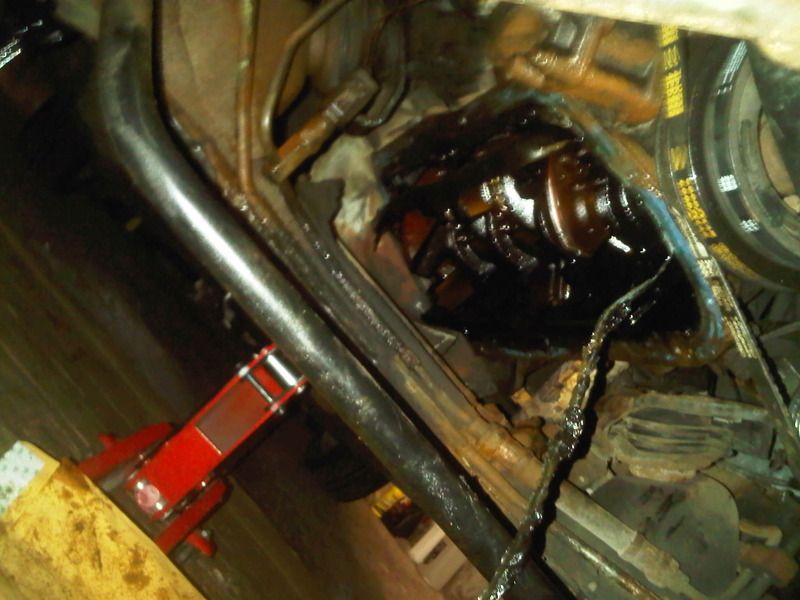 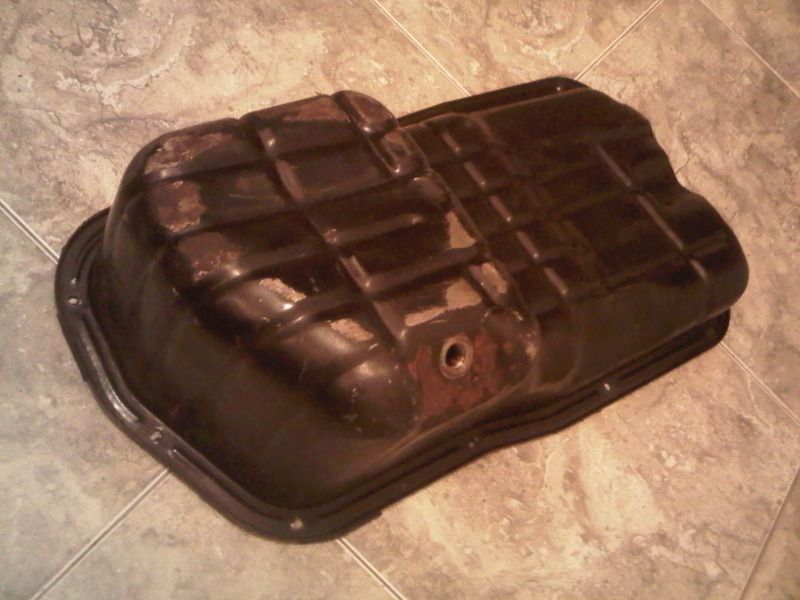 Removed the pan and here is what I found inside the oil pick up line, a bolt, a ratchet and the Timing Chain Guide  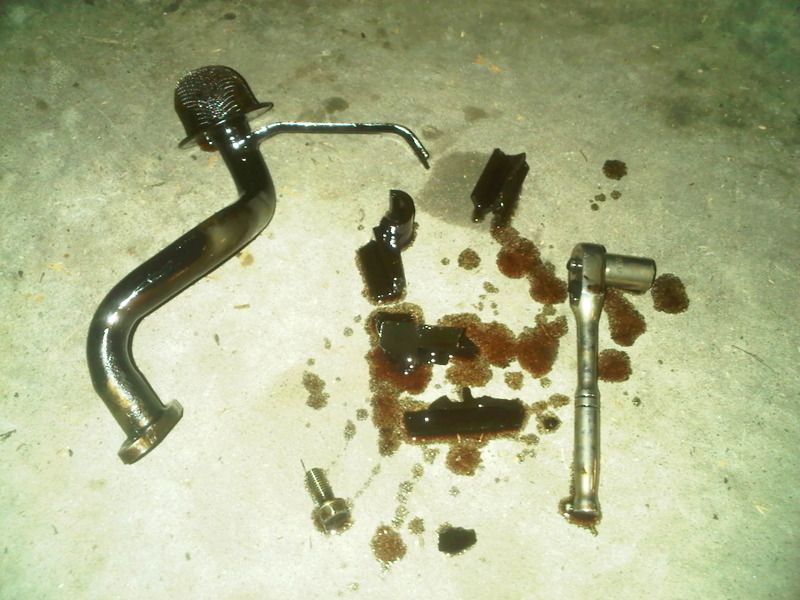 So since I already had the pan out, I thought it would be stupid to put it back on without replacing the timing chain and all that stuff so I started removing everything that had to be removed, throw away what's not needed and relocate the battery... I was planing on getting a different bumper so I removed that as well, it also made it easier to craw out from under the car. 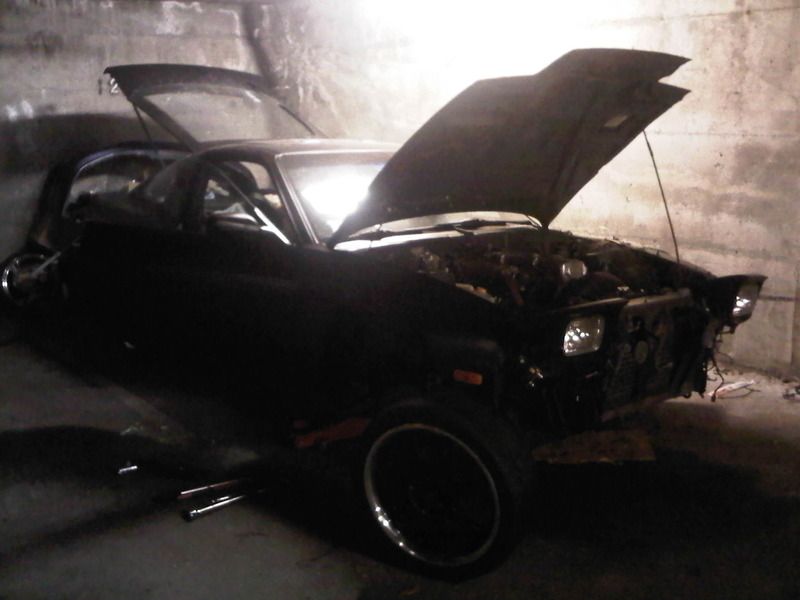 Cutting off the EGR pipe, because I couldn't get it loose (I don't have grinder so I use dremel for all the cutting... I know this sh!t is ghetto) 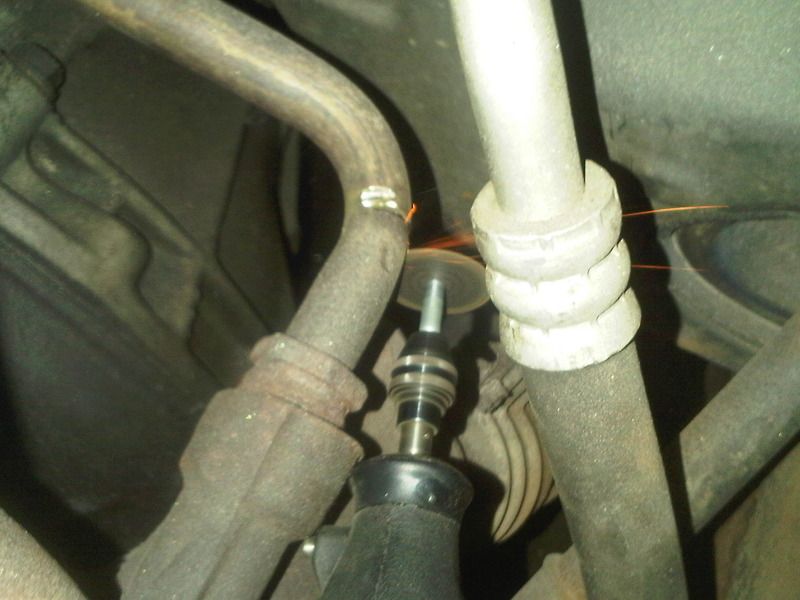 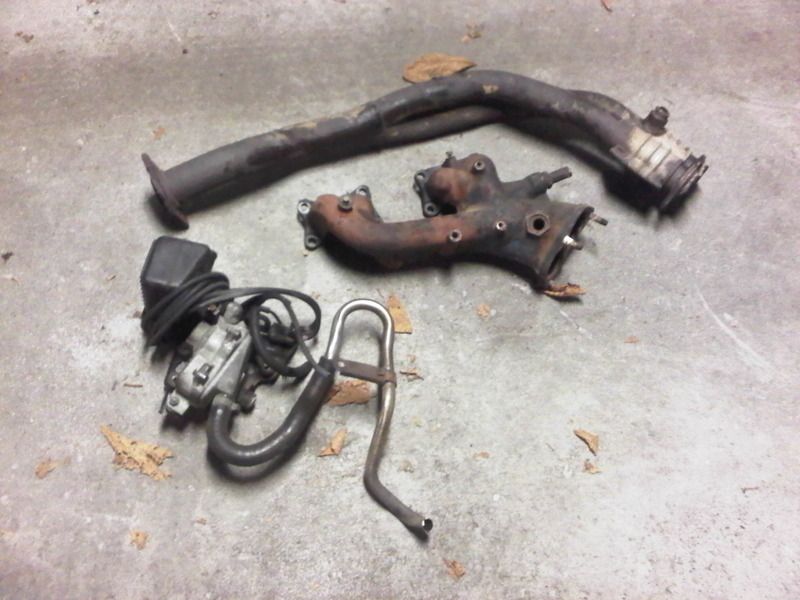 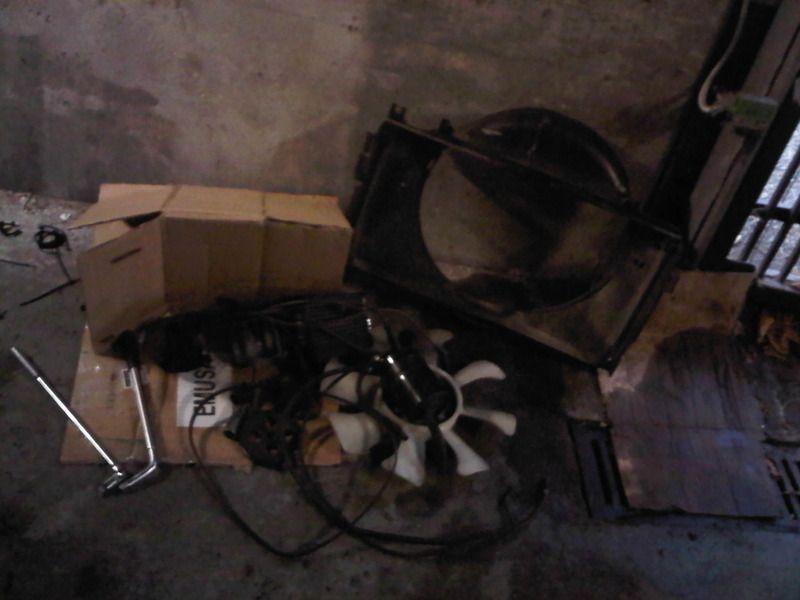 These are the spark plug wires that came with the car and it was running just fine. Makes me wonder if the whole thing about replacing spark plug wires is just a money grab. 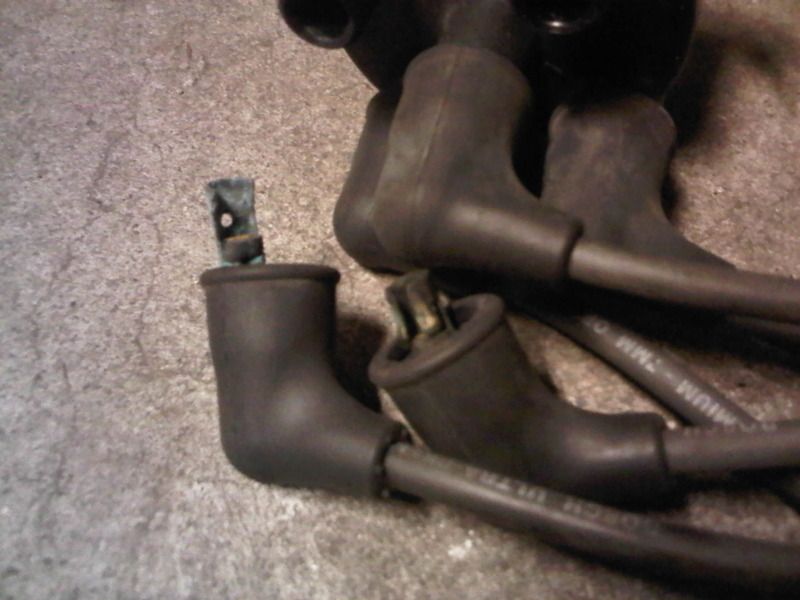 Manifold off, Timing cover off, Timing Chain out  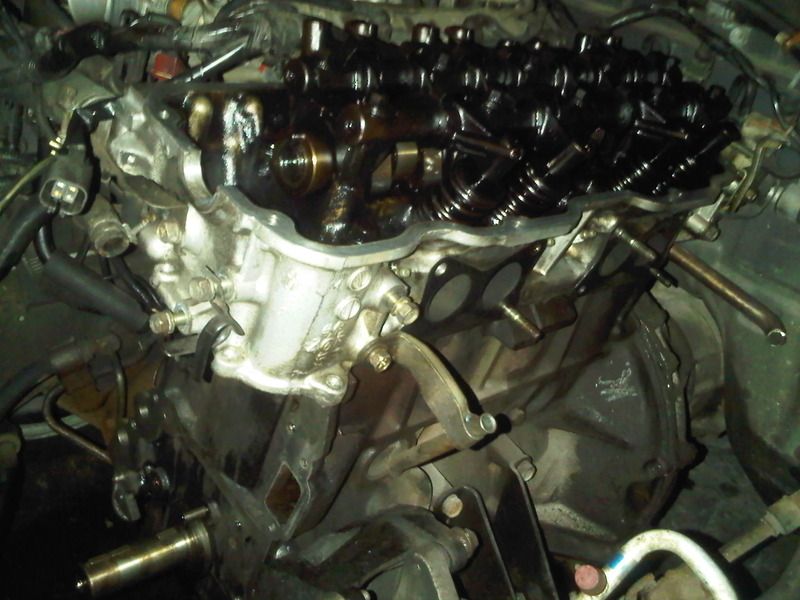 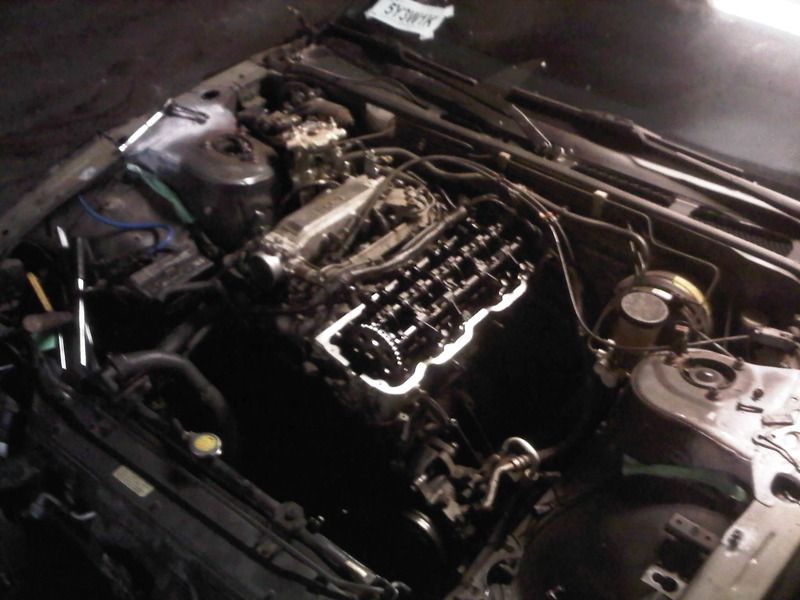  I realized I didn't take any pics of the battery relocation part but it's in the hatch now anyway I had this car for over 2 years now, just trying to upload the photos in chronological order now
__________________
Last edited by Ikera; 10-24-2013 at 05:43 PM.. |

|

|
| Sponsored Links |
|
10-24-2013, 01:46 PM
|
#2 |
|
Join Date: Jul 2009
Location: Vancouver
Age: 37
Posts: 41
Trader Rating: (0)
Feedback Score: 0 reviews
|
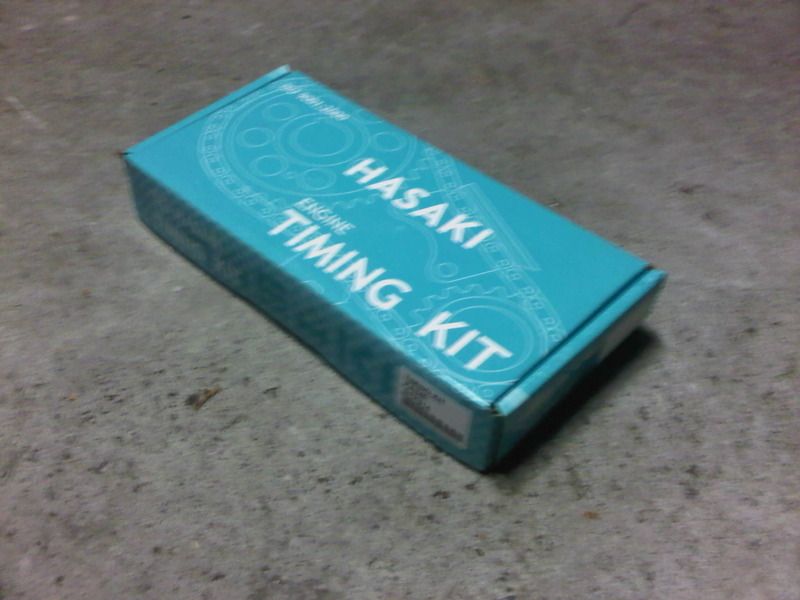
Timing Kit
 Old Full Plastic Guide vs New Metal Plate Guide 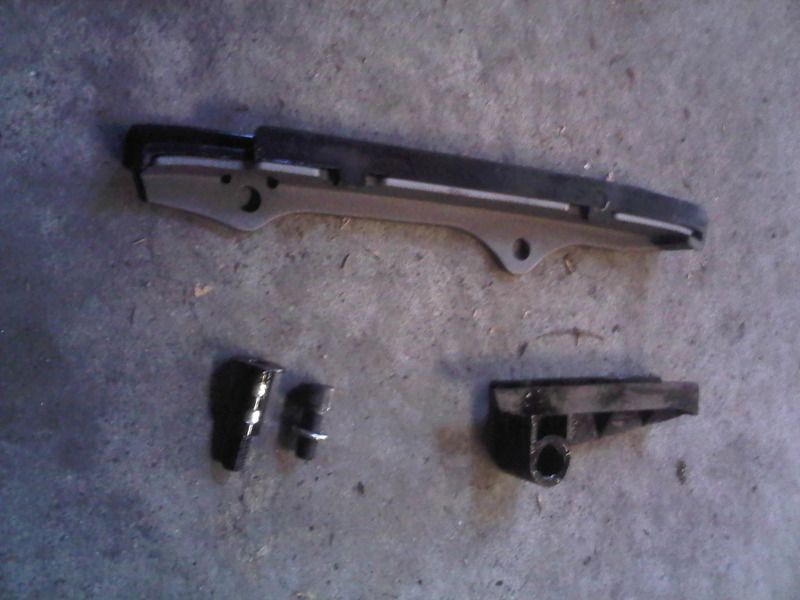 New Timing Chain and Guides Installed 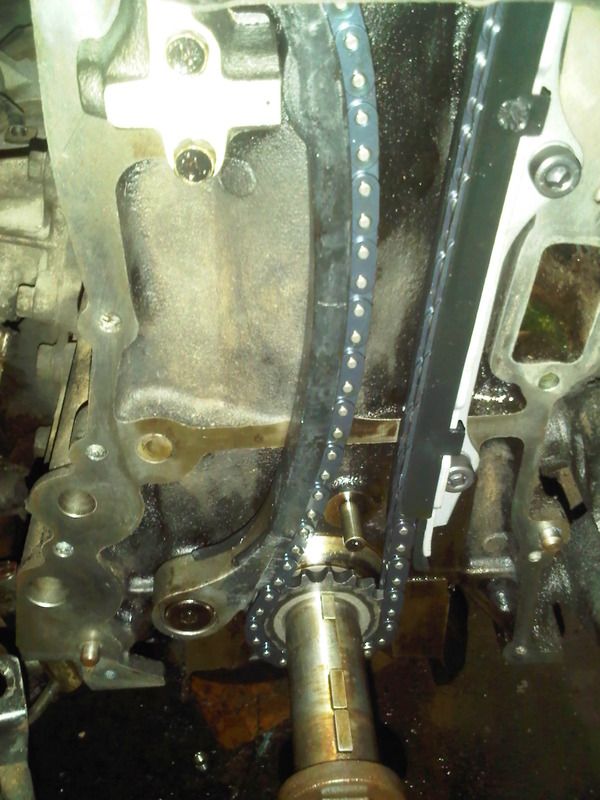 What was kinda weird is that the crank shaft pulley and sprocket came off by hand, I didn't need to use 3 claw 6" crank pulley puller 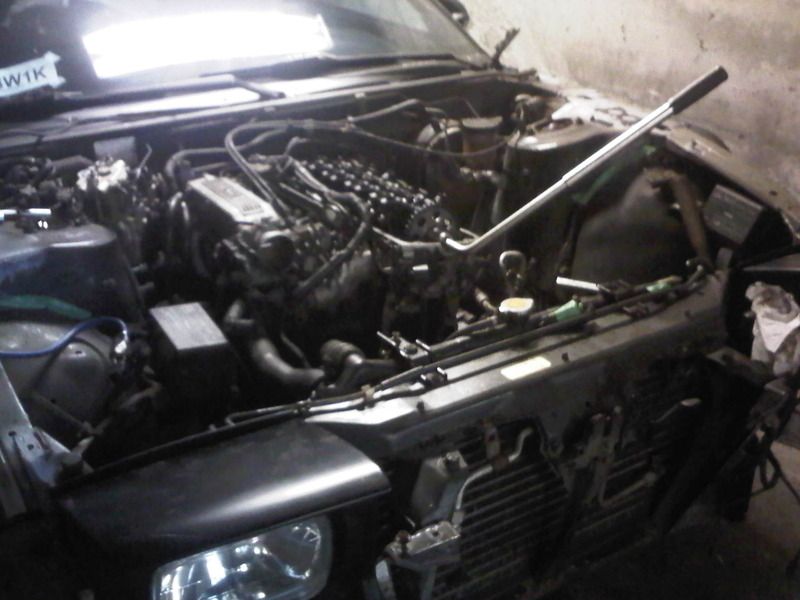 And here comes more ghetto sh!t I was trying to figure out how to set up oil return line without welding, here is what I came up with 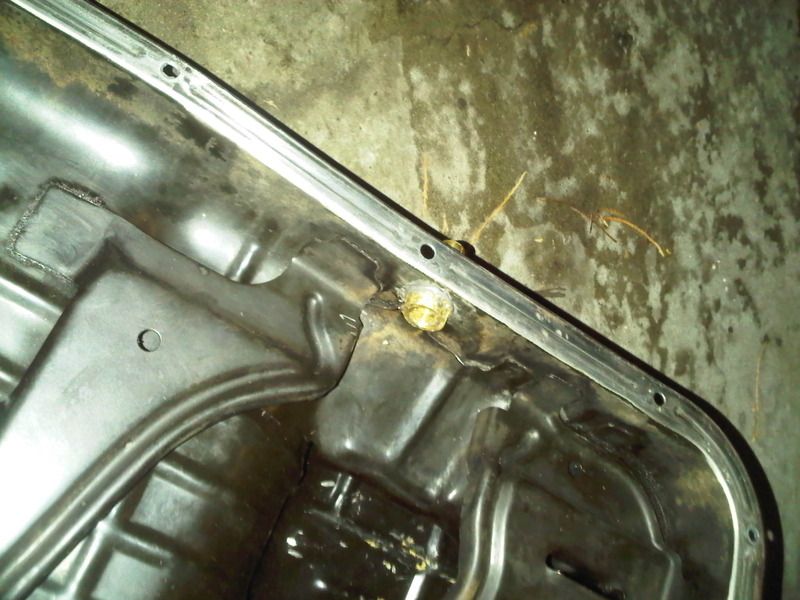 it's a brass barb fitting, screwed into the pan secured with a nut the from inside with JB Weld used as a gasket sealer and thread lock. I think this sh!t ain't going anywhere #1 problem with stalling the oil pan back is the oil pickup line, if I drop one of the bolts into the pan I have to take it off again and try again. I tried to use masking tape to keep the bolts from falling 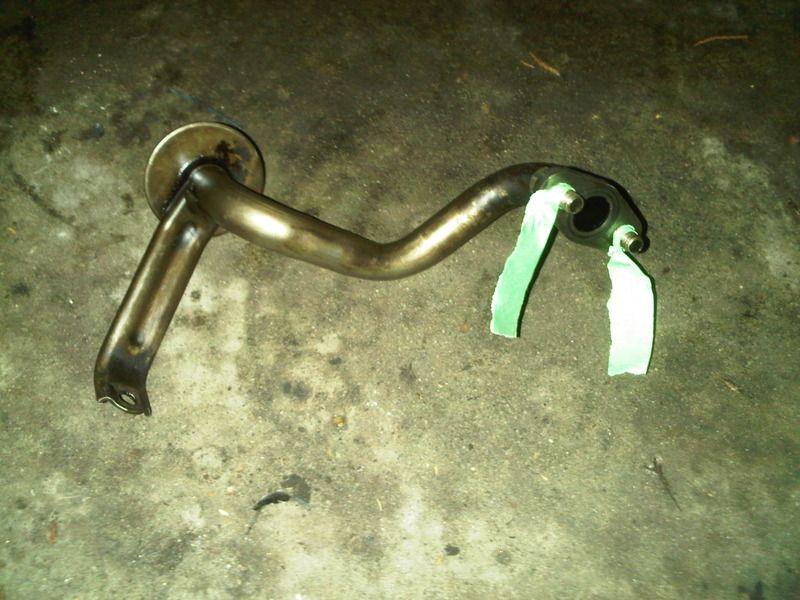 Timing cover on 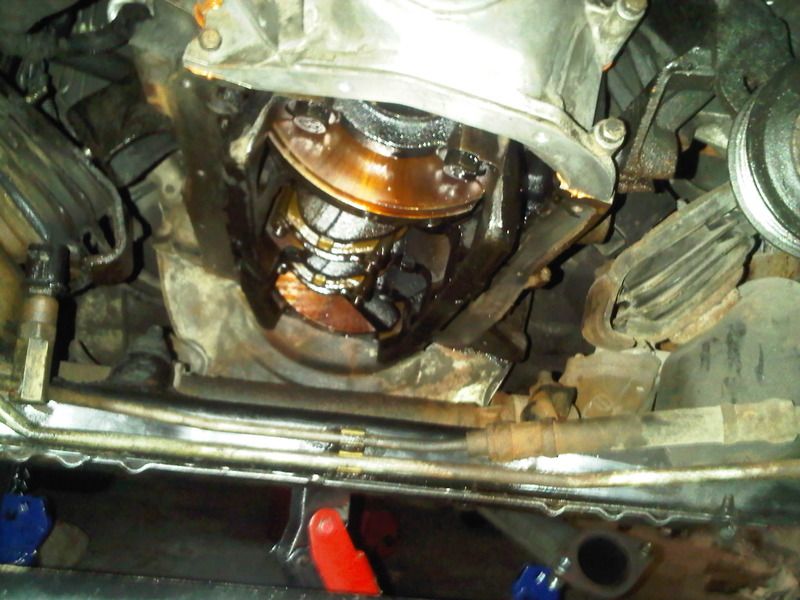 Oil Pan on 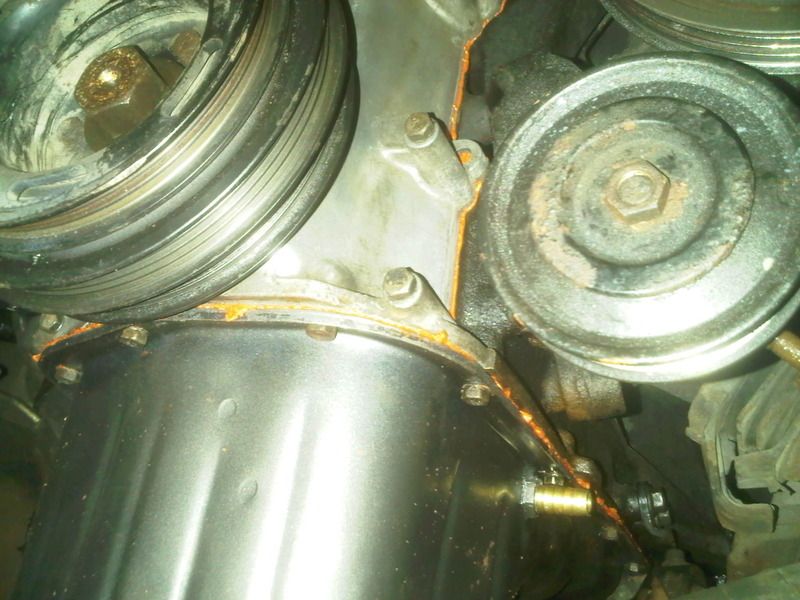 exhaust Manifold on 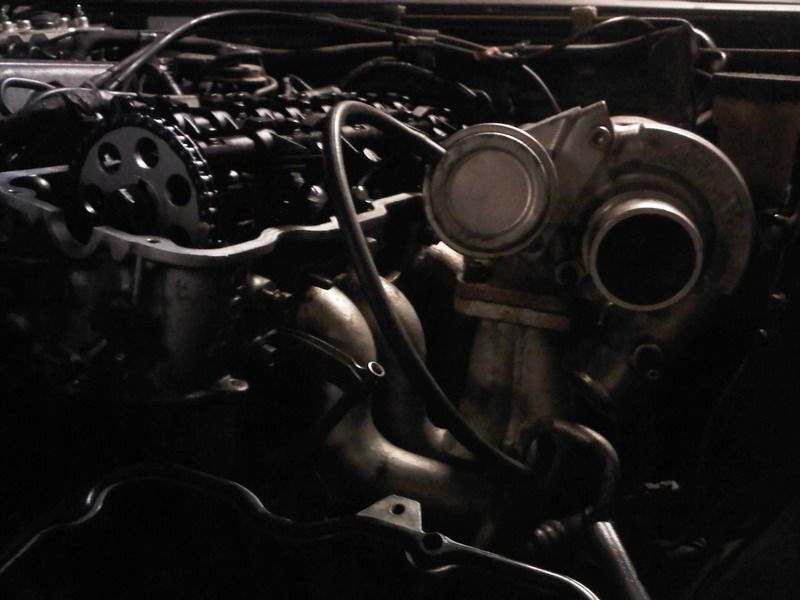 vacuum line map, back in the day when I had almost all my emission stuff still intact 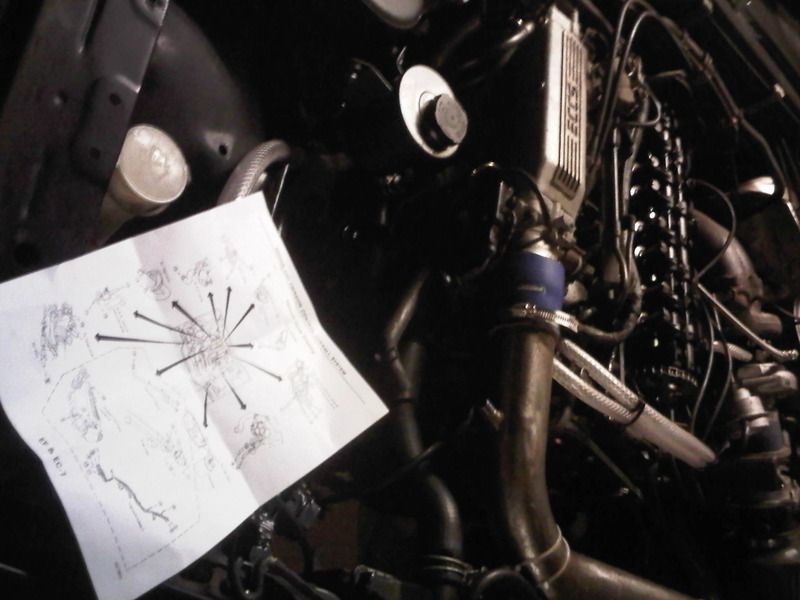 what a pain
__________________
|
|
|
|
|
10-24-2013, 01:48 PM
|
#3 |
|
Join Date: Jul 2009
Location: Vancouver
Age: 37
Posts: 41
Trader Rating: (0)
Feedback Score: 0 reviews
|
the oil return fitting is on there pretty solid, 2 years now and no leaks, no drain problems, iirc it's 1/2" ID
funny thing after I put it all back together, somehow I managed to drop the valve cover semi-circle seal into the oil pan, I was really pissed off at that moment. And do this day there is that seal chilling in my oil pan somewhere. who need HKS Brand Name Sh!t when you can buy anodized purple paint instead A reward for myself for doing the timing chain  Light Weight Under-Drive Pulley Kit Purple color didn't come out well 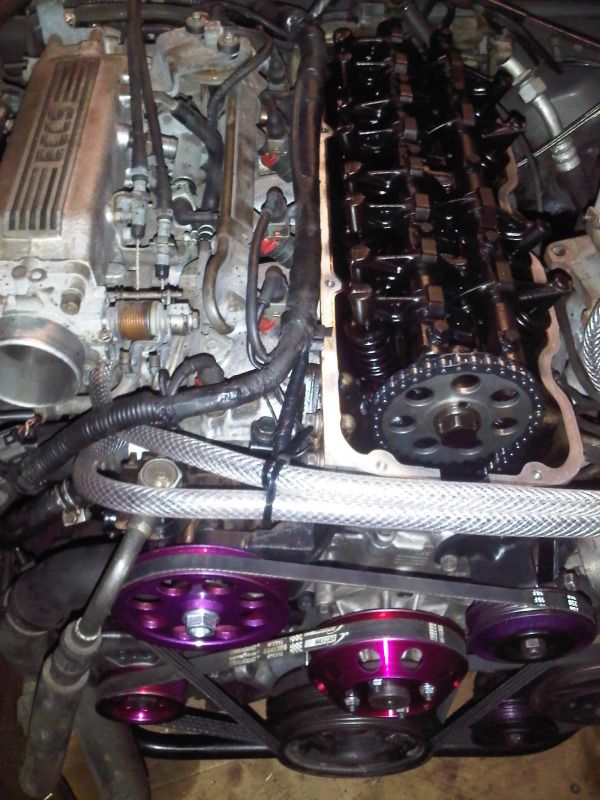 Oil Cap and the Breather Filter 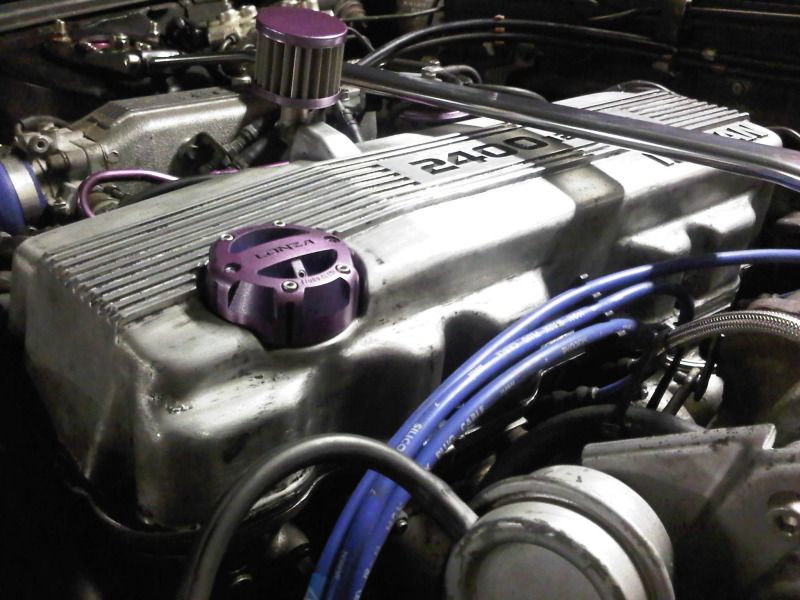 Slim Brake Booster (non-ABS S13), Painted it Copper 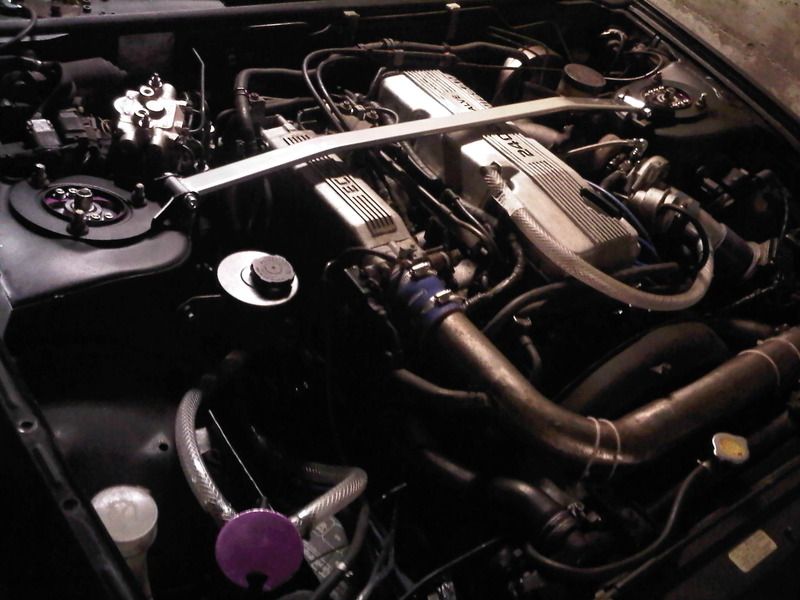 after I put everything back together, of course I didn't fire up on the first tire, there was so many things wrong. Fuel pump didn't prime, until I tighten all the ground, and rechecked all the plugs under the hood, and when it did fire up it was actually running on 2 cylinder because I mixed up the distributor wire. after I got it running on all 4 cylinder I realized my timing was horrible off, it was running at ~10ATDC, it's so far off that it mean I installed the distributor shaft the wrong way. 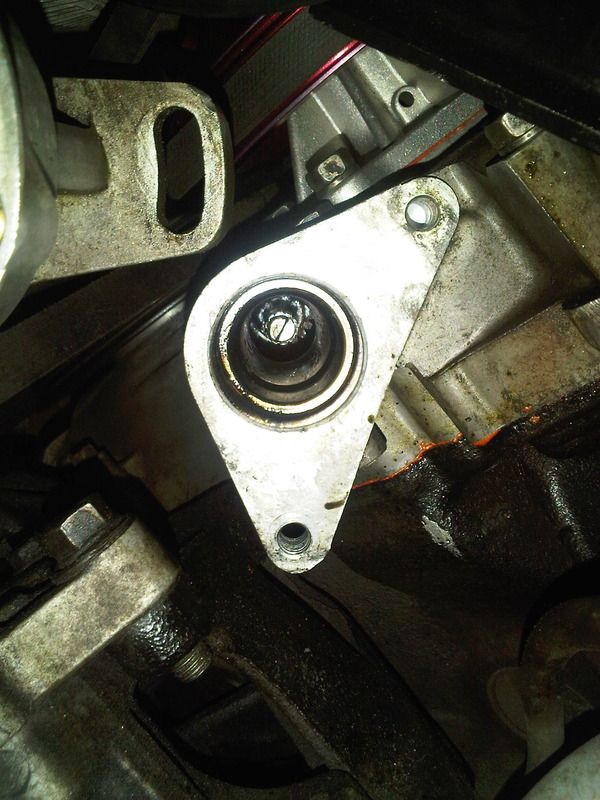 Took out the oil pump and re installed the shaft about 3 times to get into the right place. 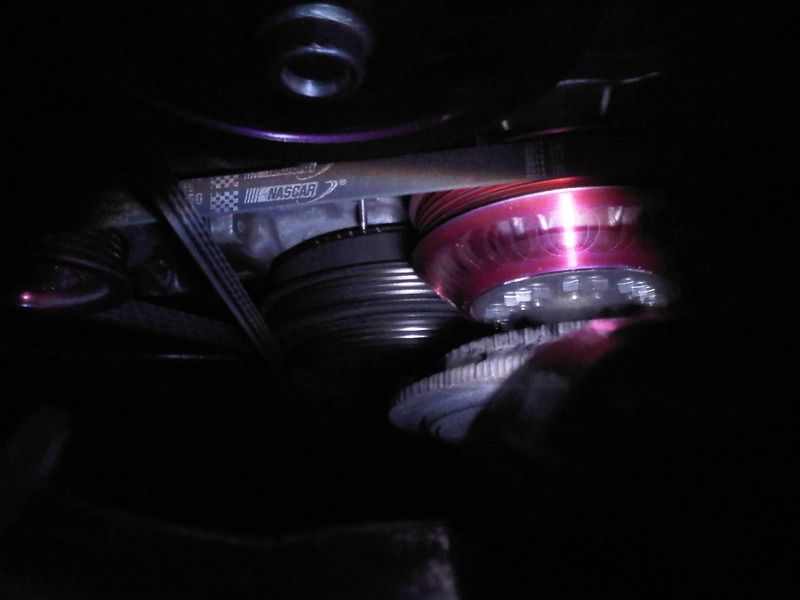 One Step Colder Spark Plug! at that time I ran the 0.045" or 1.1mm gap, because I didn't know anything about gapping 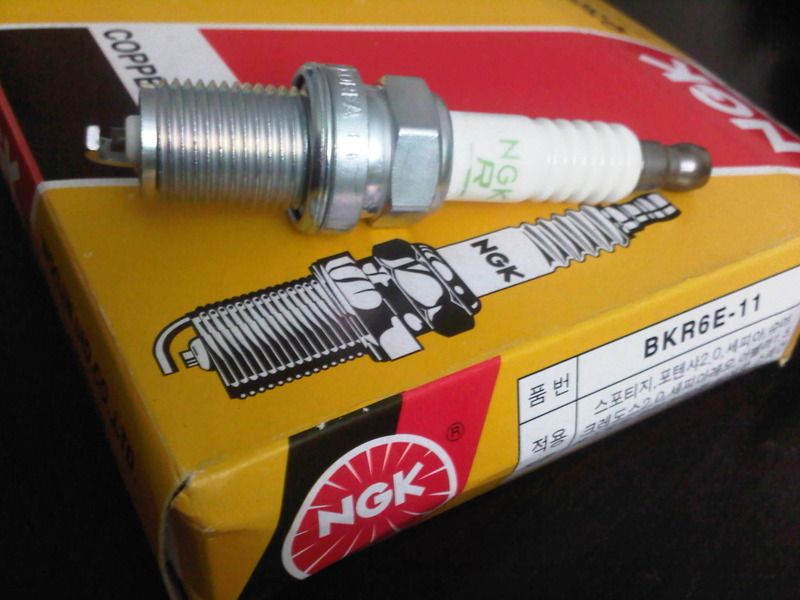 Walbro 255 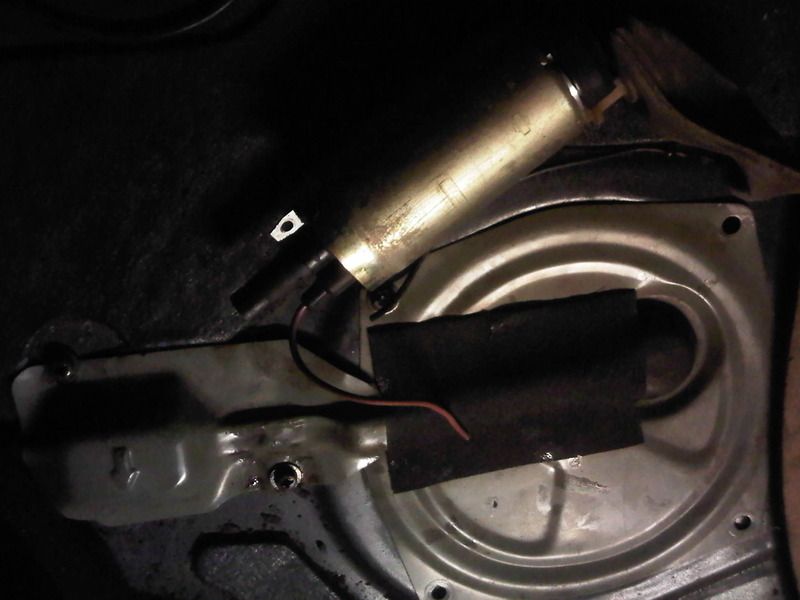 This part is badly rusted 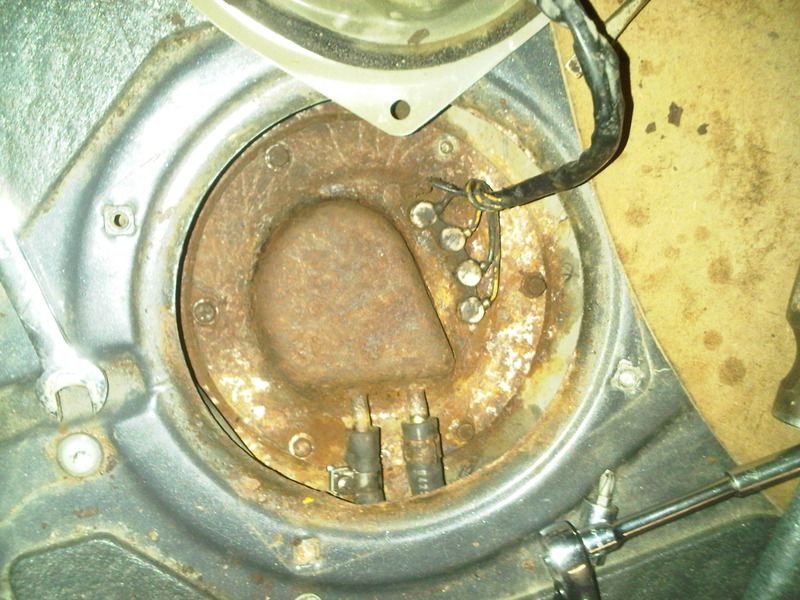 there are 6 bolts holding the sending unit, I broke 3 of them after install I used Black RTV instead of the rubber gasket ring, since I have half as many bolts holding it in place. It sealed up fine and can hold the pressure Next Injectors (CA18) 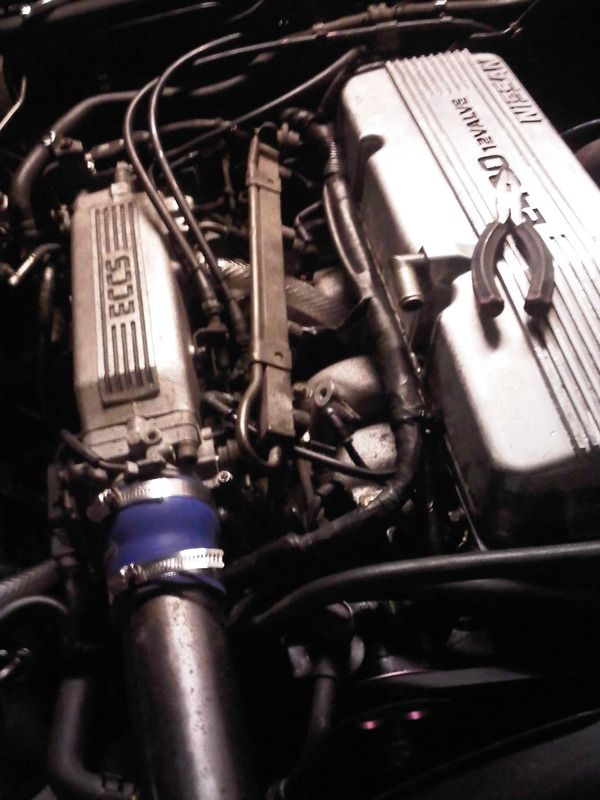 decided to paint the fuel rail 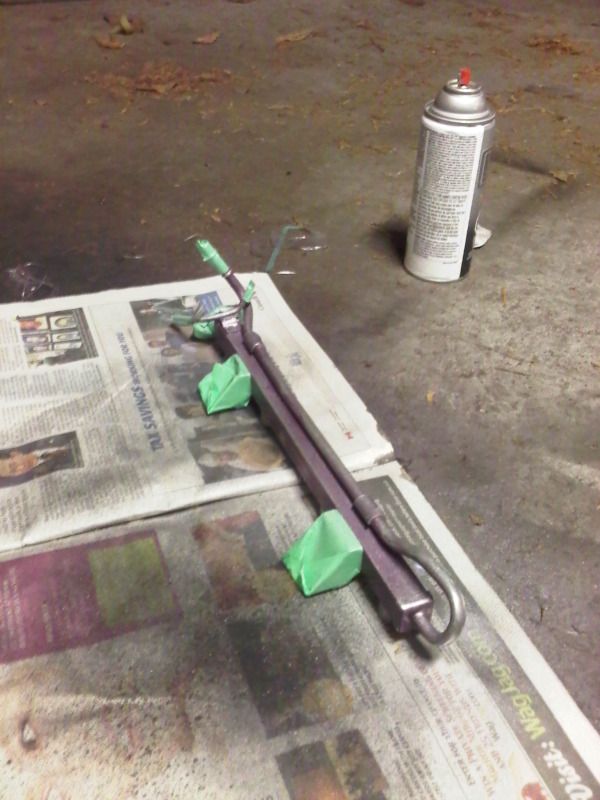  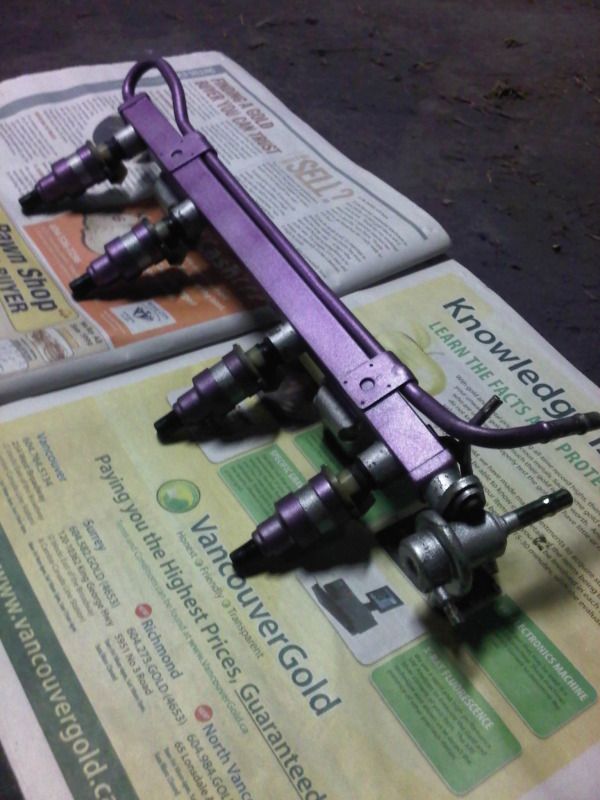 Painted the injectors Purple/Silver so I can tell noobs I'm running HKS injectors Z32 Fuel Filter Painted 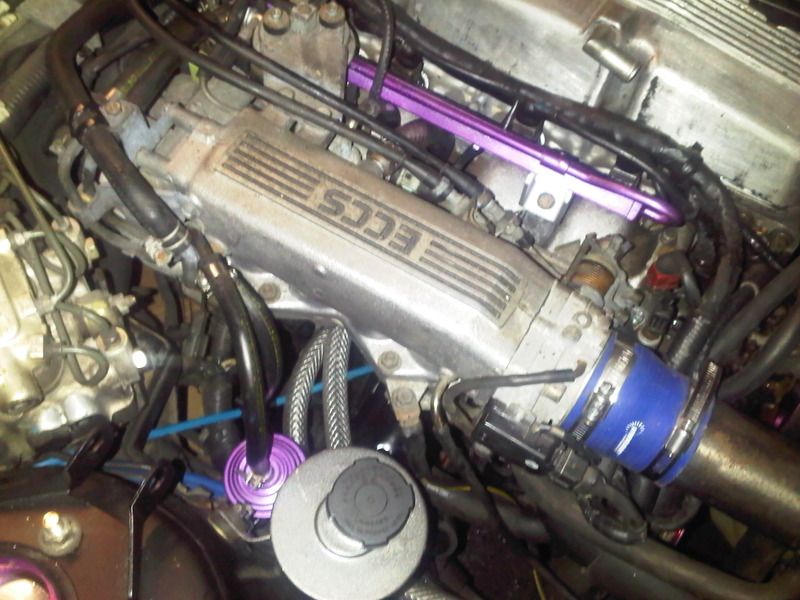 since CA18 Injectors are low impedance I need a resistor pack Got 4x 10W 6.8 ohm resistors, some speaker wires and some random heat sink and here is what I got 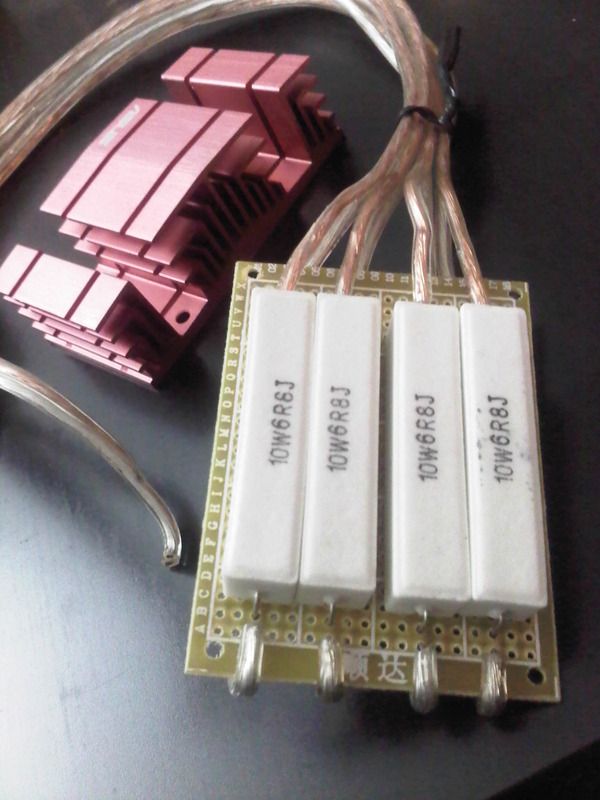 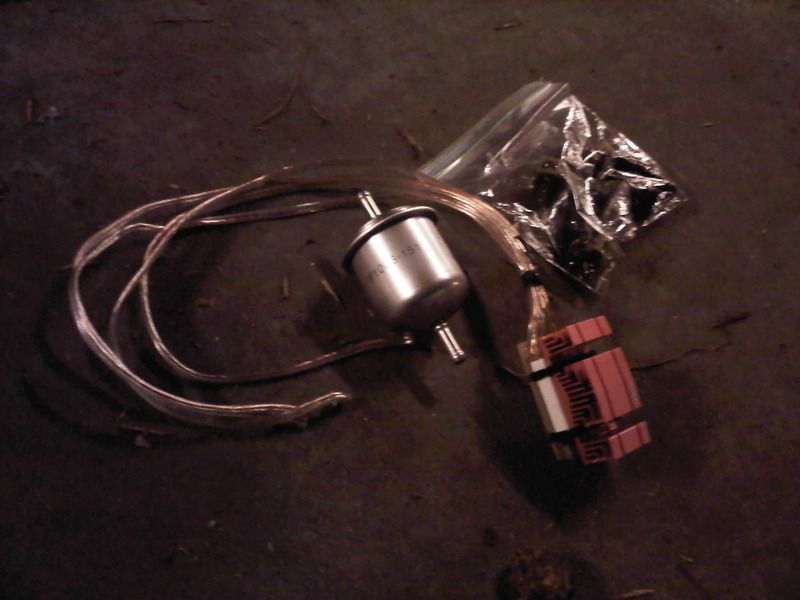 Z32 Fuel Filter Now here is the fun Part, wiring stuff 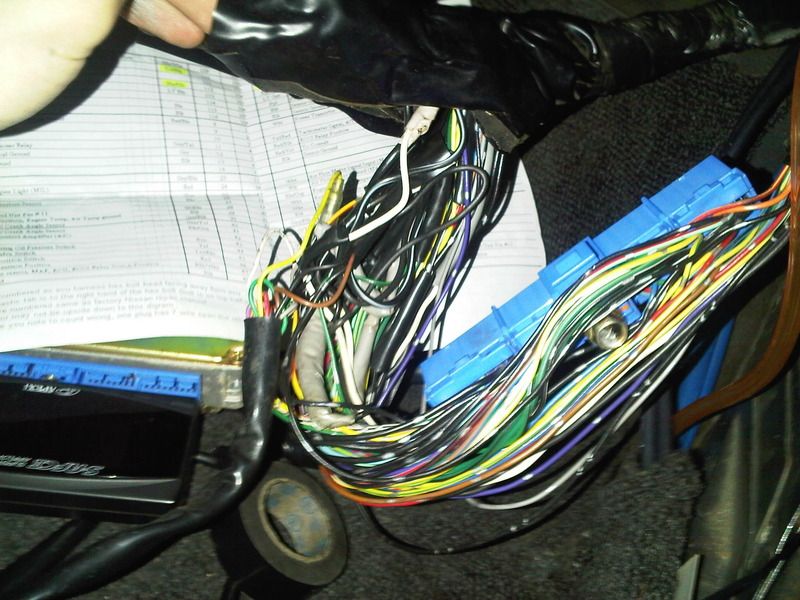 I'm not really sure what I was doing 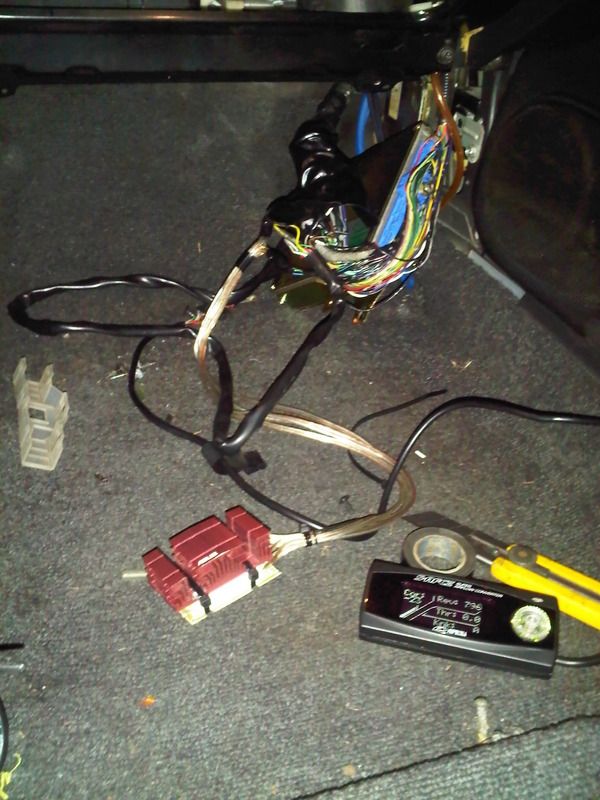 Wired the resistor pack, S-AFC II and the wideband 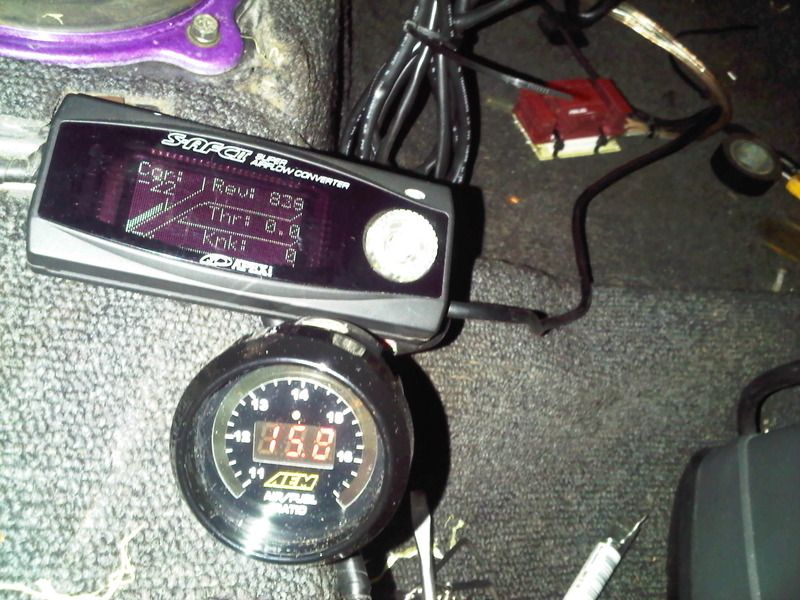 Surprisingly the injectors fired up on the first try, that means my DIY Resistor pack worked and SAFC wiring was correct, however the next day I sprung a horrible leak from one of the injectors O-Rings after that I replaced all of the them. 
__________________
|
|
|
|
|
10-24-2013, 05:49 PM
|
#5 |
|
Join Date: Jul 2009
Location: Vancouver
Age: 37
Posts: 41
Trader Rating: (0)
Feedback Score: 0 reviews
|
well not really, I was the one who dropped the ratchet into the pan while trying to remove the oil pick up. And there was no way to get it out, luckily I had a wrench that was able to get the job done
__________________
|
|
|
|
|
| Bookmarks |
| Tags |
| ebay, ka-t, ricer, sohc, turbo |
| Thread Tools | |
| Display Modes | |
|
|


 Linear Mode

