Quote:
Originally Posted by k00laid83

Sounds good man. Yea most of the colors match the most part but there are a couple that differ, but it's nothing crazy. Did your clip include the back portion of the body harness or was it cut off? Only reason I ask is that I tried to splice the jdm one to the back portion of my original usdm one and I couldn't get things to work. I ended up getting a new body harness from a pick n pull.
I think the the eastwood welder are great for a hobbyist. I started with an eastwood tig 200 and upgraded to an ahp alphatig 200. I loved both machines.
For the seam sealer I brushed all of mine on when it was my final/top coat. I tried to match how it was done in the factory.
|
If you click a picture to take you to my flickr photostream, i have a picture (dsc_8024) that shows the rear section. UNCUT all plugs are on the harness! I feel lucky to have that, as you said most are cut to the rear.
I did make some more progress, I've just been busy with the house interior remodeling and the holidays, to make a post about it. So, HERE GOES!!!
I had a couple days to lay some of the seam sealer down.
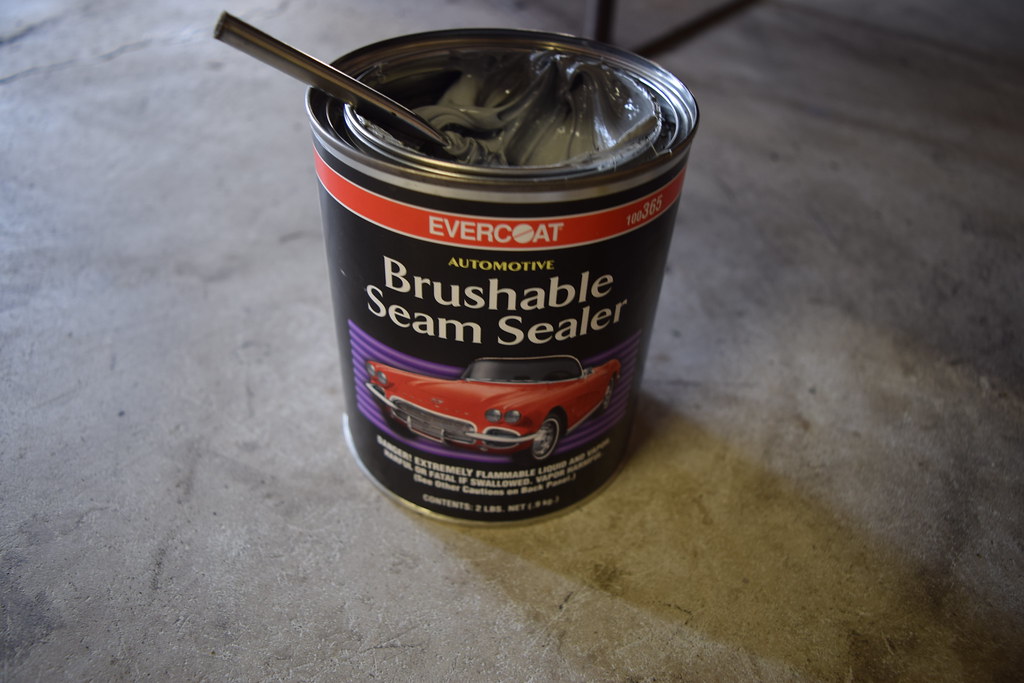
First wire brushed and sprayed some sealer/primer over the areas that were bare metal.
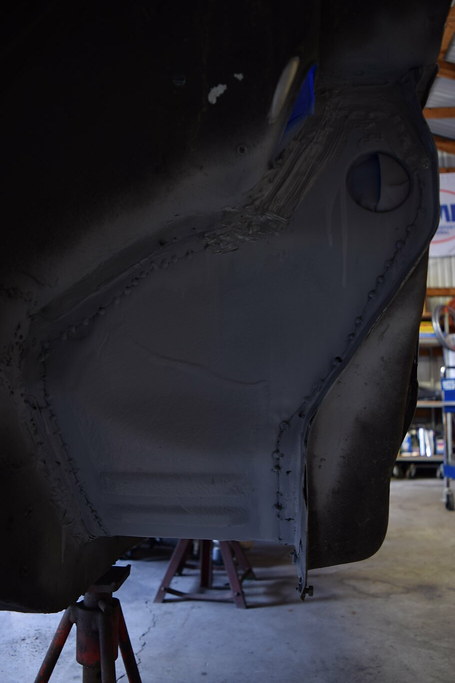
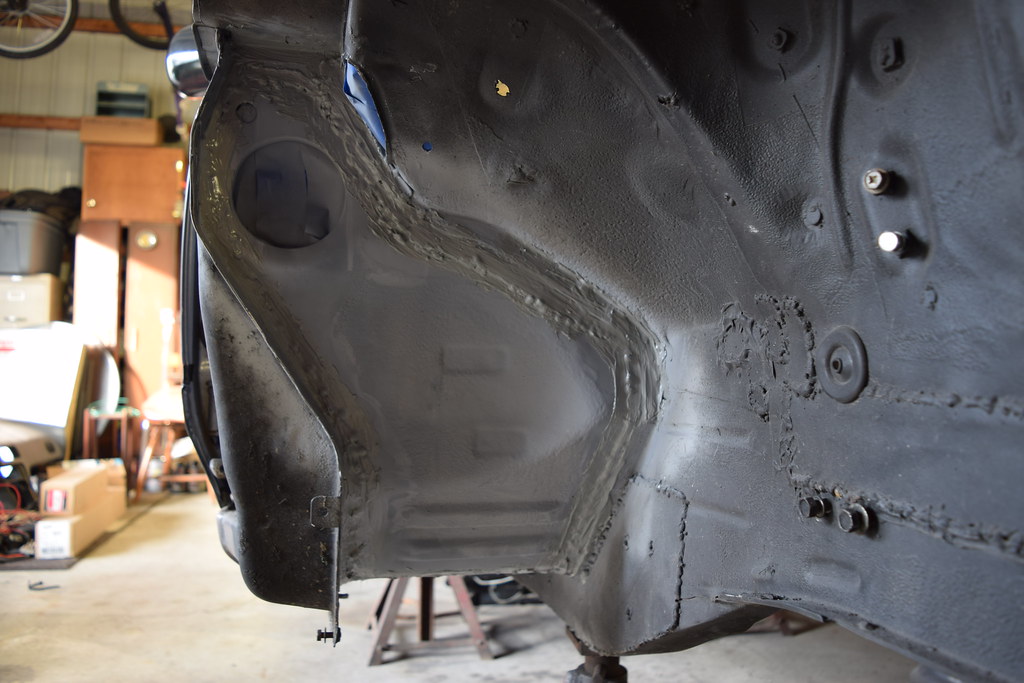
since its the wheel well, i just smeared it on all over where the panels were welded and very liberally as to seal it as best i could.
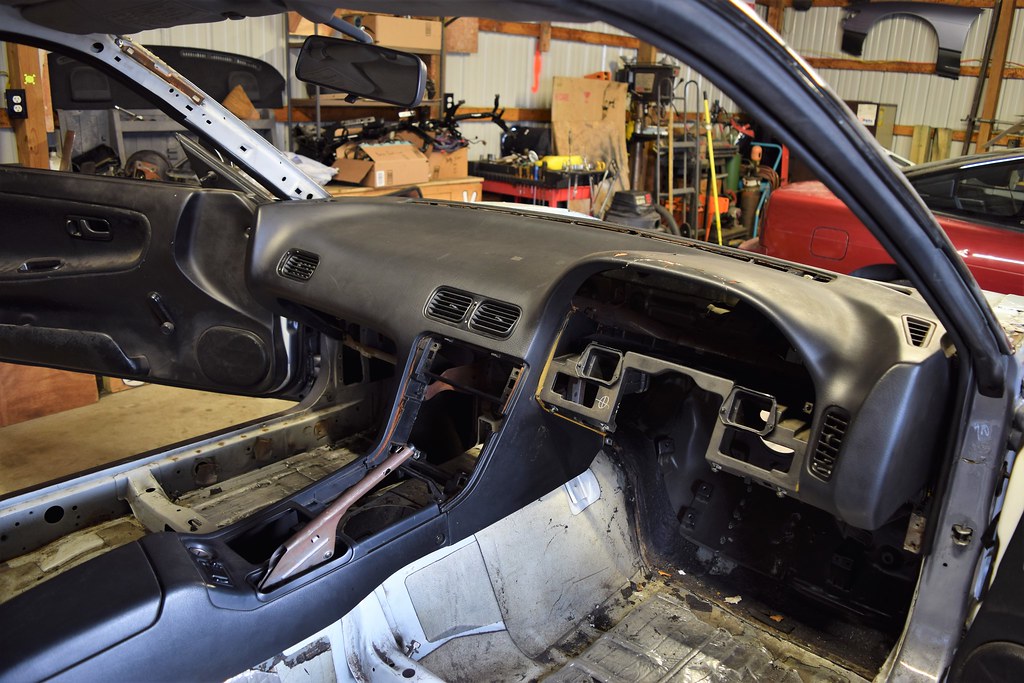
Pretty much the last big welding task was to swap the hand-brake bracket to the other side of the trans tunnel.
Started by drilling out the spot welds.


After i trimmed the bracket, I bolted the bracket to the hand-brake, set the center console on the dash/over the hand-brake, and made marks about where the bracket should be tacked.
I skipped the process during welding/pictures, but after the bracket was positioned and welded, This morning, i wire brushed it and threw some primer on this morning and taking pics.
It snowed a little bit this past weekend. The G35X is stupid in the snow. I hate it (and all the electronic bullshit assists


) and I think i want a Kouki to daily and maybe another D21 pickup to get supplies for the house and what not...


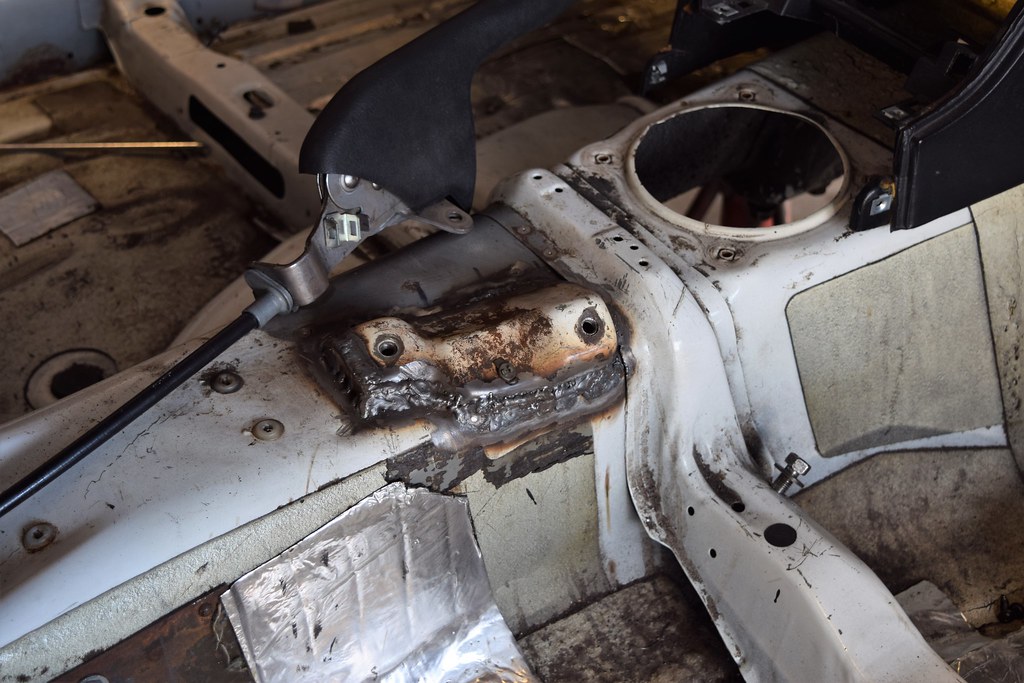

welds are probably over kill but i know if i add something like a small extender piece on the handle i know it can hold yanking it!!

This is how it sits right now.
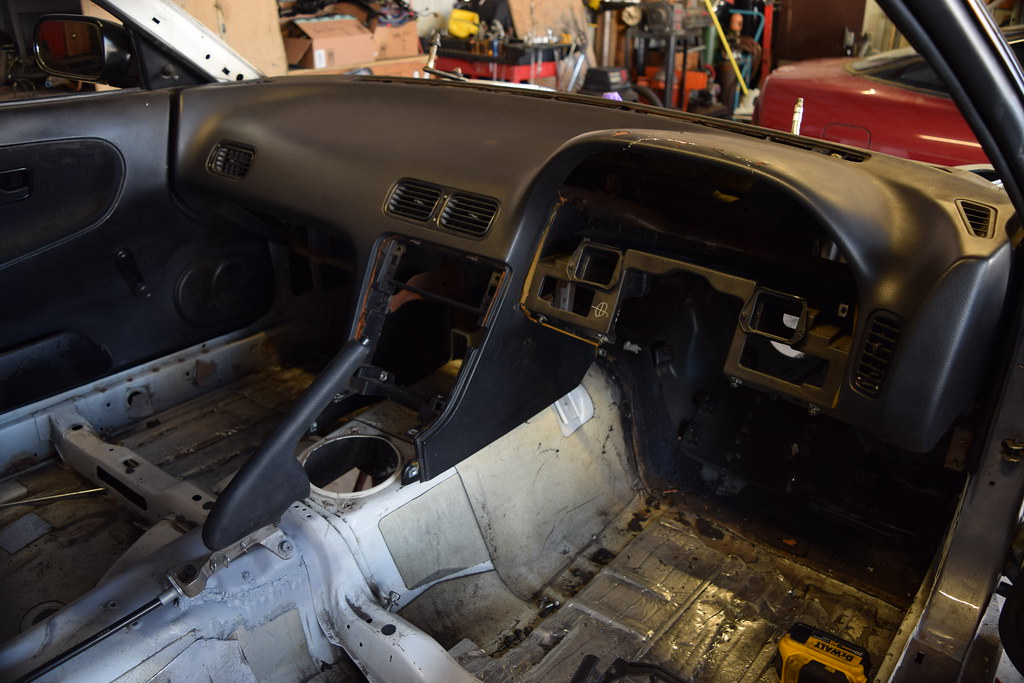
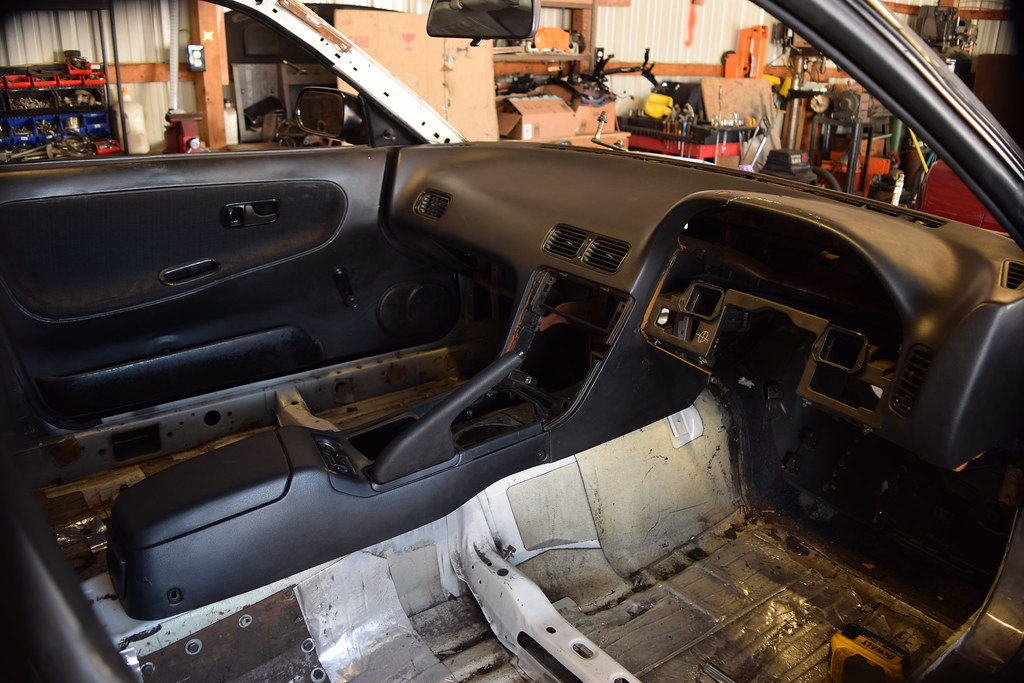
All thats really left is more seam sealer on the interior side, filling in spots on the firewall/cowl seams with the welder, more seam sealer, and wait till the weather breaks to start body work and re-finish the engine bay.

----------------------------------------------------------------------------------------------------------------------------------------------------------------------------
**SUPER**EXTRA**
After reading TSSS22 build. I PM'd about some special parts that were re-designed. hopefully they will hold up (I think they will) since the bearings will take the load instead of the plastic wearing out like from factory.
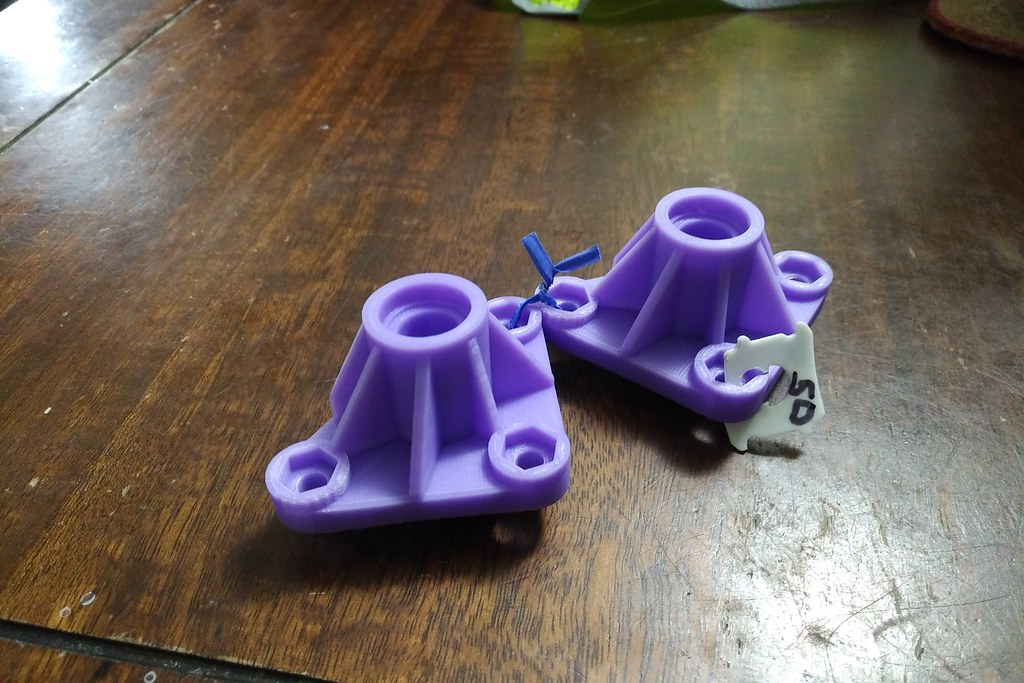
My Uncle that lives in New Hampshire has a 3D Printer and he printed this for me in 2 different fill %. One is 15% which is VERY light and i don't think it'll handle the heat nor have the strength for the loads to stay put and break/wear out. But the other pair is 50% infill and SIGNIFICANTLY stronger/solid.
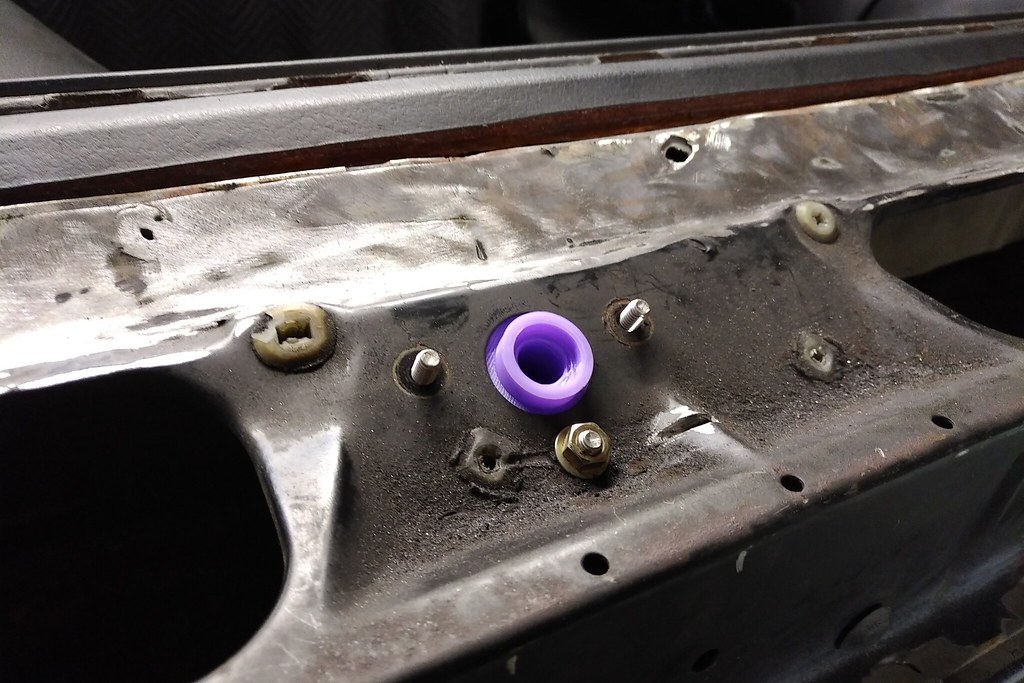
Ordered the bearings it was designed around and they were a perfect press fit. I was suprised on the hold and shape/tolerances on the PLA.
Rubber sealed ball bearings to keep the water and dust out the best it can.

Also picked up some stainless hardware for them. M6-1.0-16mm long seemed to be the best length without cutting to length. I'll probably put some jb weld/epoxy on 2 sides of the bolt heads before i assemble them so they don't rotate/strip the hex out in the mounts.

heres the link for the mount on thinsverse.
https://www.thingiverse.com/thing:2961561
link for the bearings i used.
https://www.amazon.com/gp/product/B0...?ie=UTF8&psc=1
All the credit for design goes to TSSS22.