Once again, Its been a couple months since an update...
To kick off 2015!!
At the end of November I registered for the Rod/Custom/Tuner Show at Motorama 2015 in Harrisburg, PA. If you've never been to it, it has ALL kinds of stuff going on over 2 days. Supercross style racing with bikes and quads ranging from small 50cc to large size 700cc in all age ranges. go-kart racing, micro wingless sprints, 1/10th and 1/8th scale off road RC racing, Robot Wars, and a bunch of friends hook up and have a big RC Drift Demo/Fun Comp setup somewhere in the venue. Plus a Shitload of vendors and Advertisers for different racing venues from all over.
Anyway, My car was "accepted" to be there in the car show portion. So I started prepping the car/cleaning it up/acquiring some new parts.
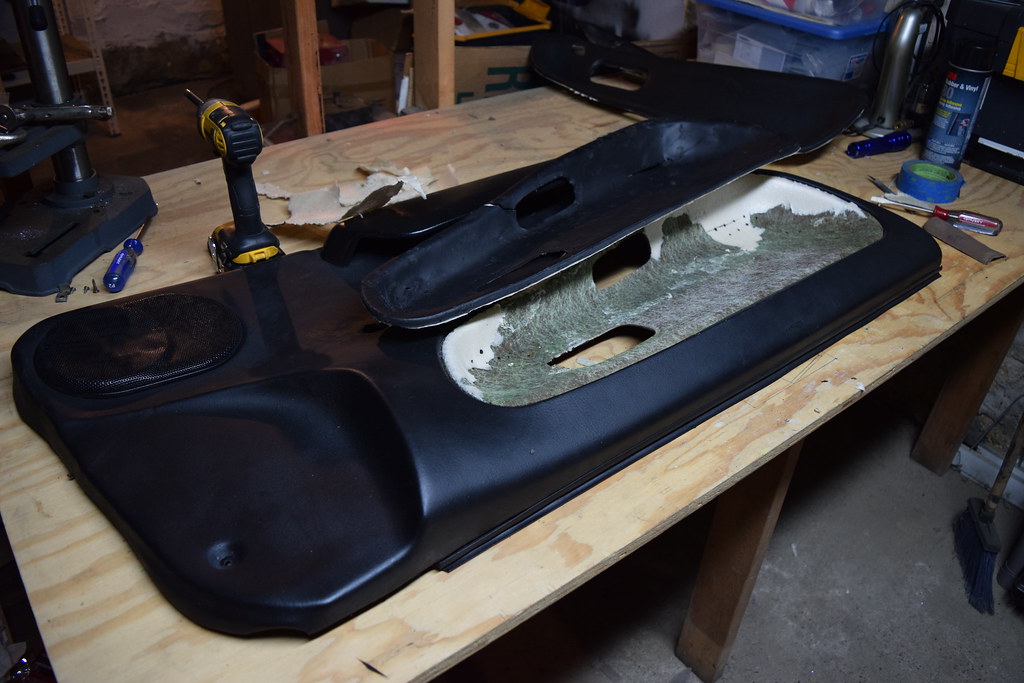
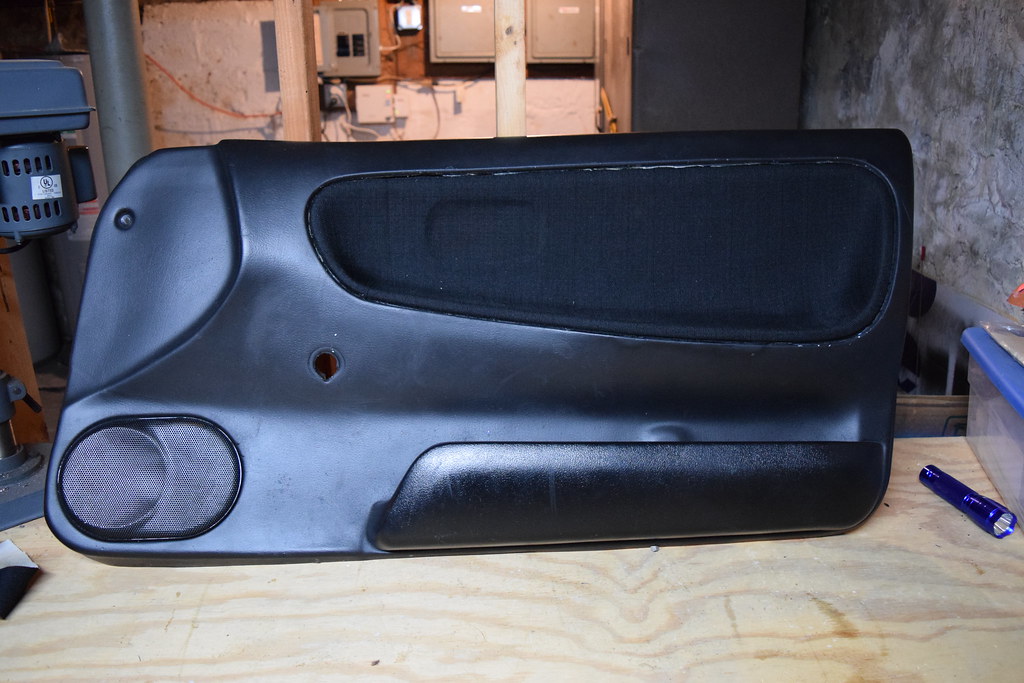
I started by giving the interior a re-fresh and covering the door cards and glovebox.
Start by using a razor blade and cutting the black skin off the door showing the hardboard shell..
 DSC_0091
 by
super_ok_s13, on Flickr
Tools of choice.
 DSC_0092
 by
super_ok_s13, on Flickr
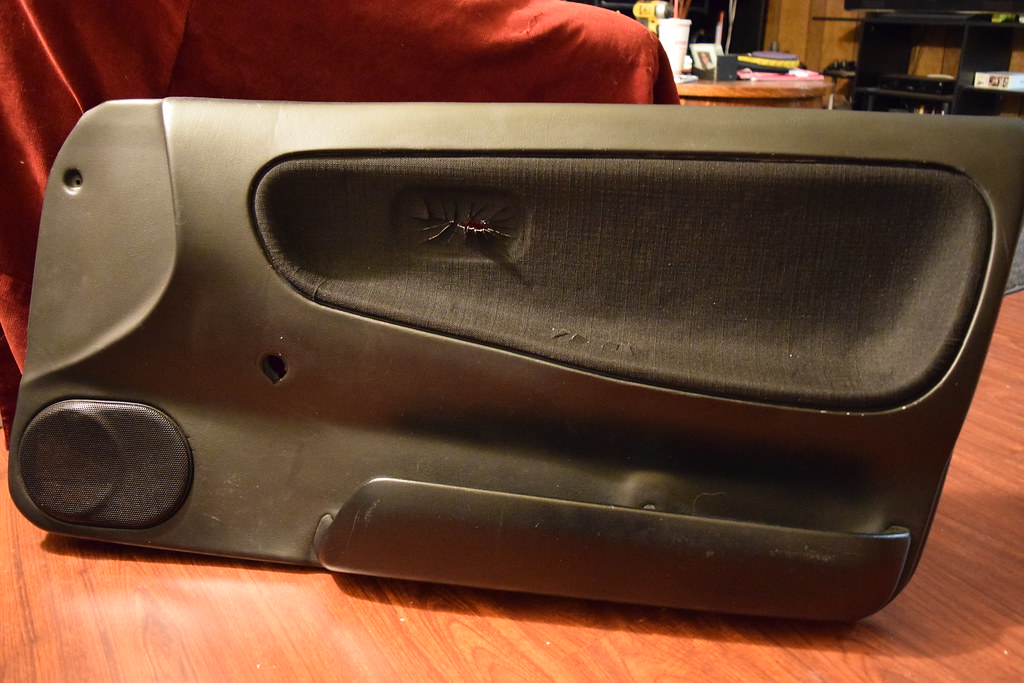
under the vinyl skin is a foam skin that needs to come off. most of it pulls off but some sections needed to be scraped and loosened up easily/scraped off.
 DSC_0090
 by
super_ok_s13, on Flickr
 DSC_0099
 by
super_ok_s13, on Flickr
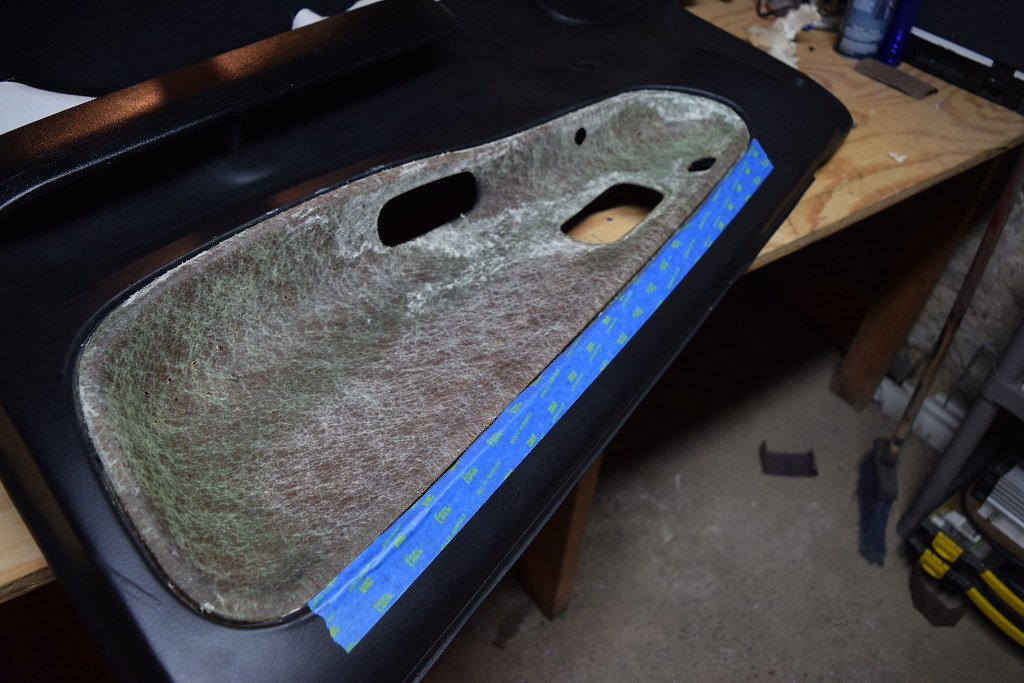
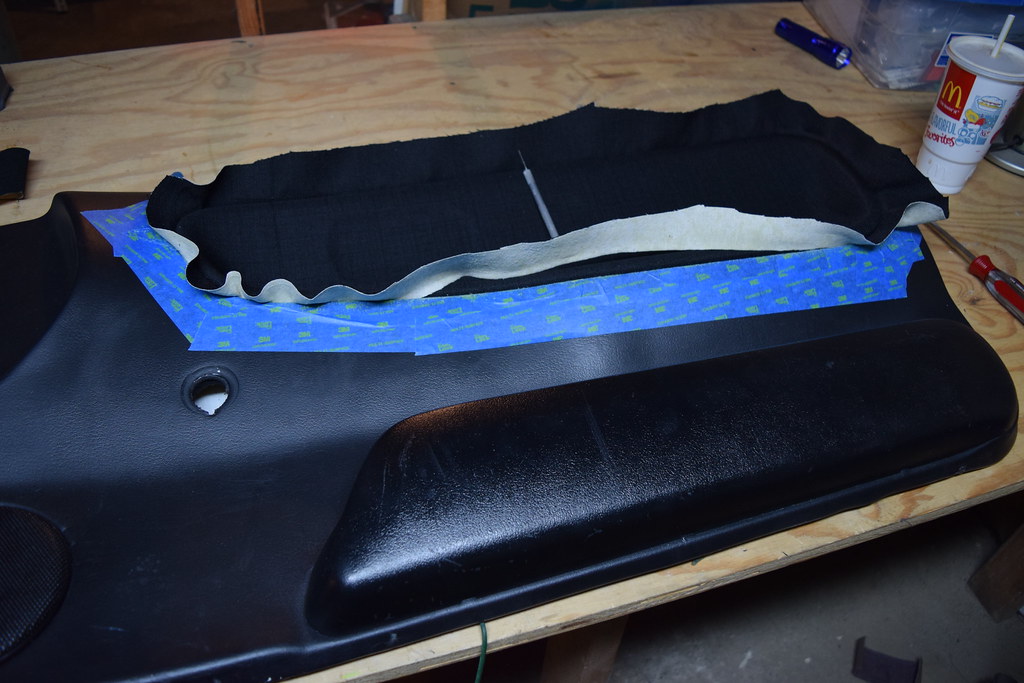
the tops of my skins were pulling away from the door shell, so the next step is taping off around the door.
 DSC_0100
 by
super_ok_s13, on Flickr
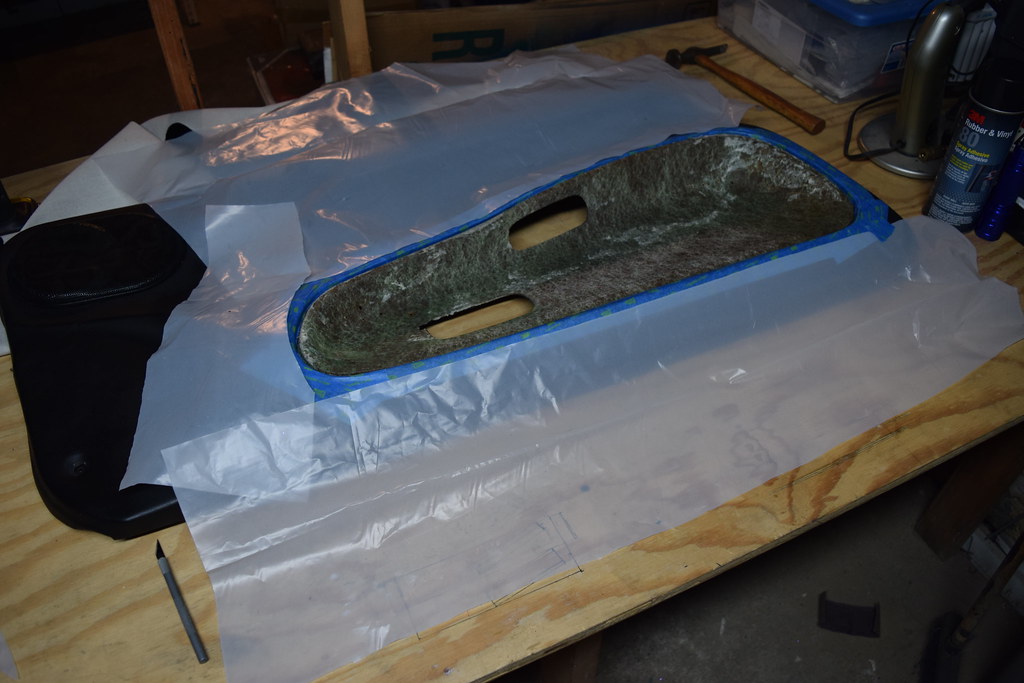
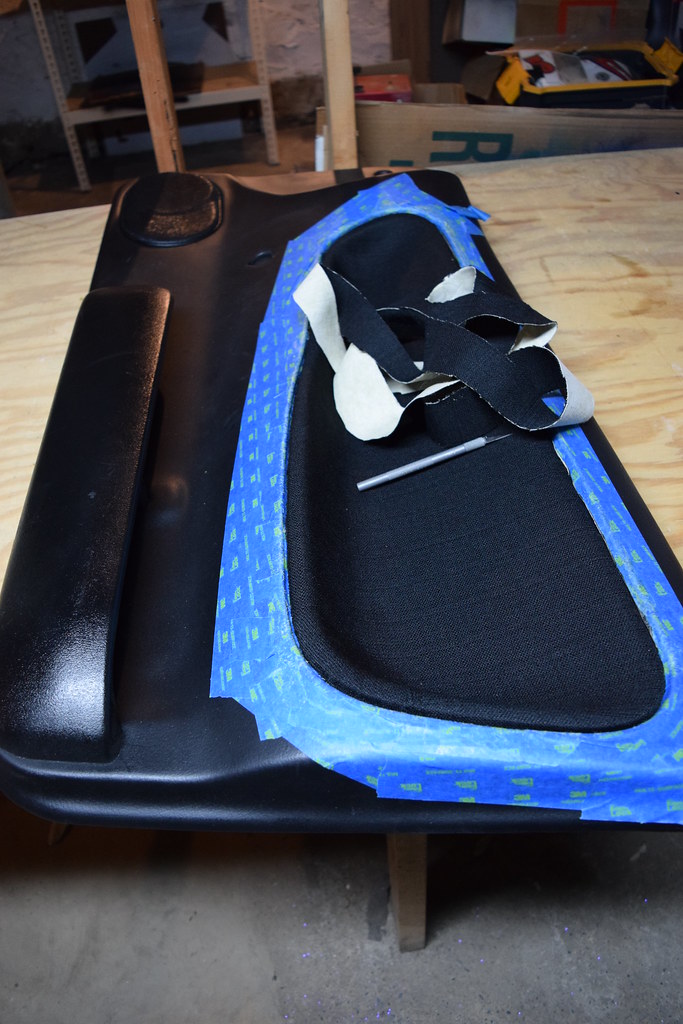
I cut up some plastic on account of overspray.
 DSC_0102
 by
super_ok_s13, on Flickr
I sprayed under the top section and let it setup for a bit and finished taping the plastic..
 DSC_0104
 by
super_ok_s13, on Flickr
trimmed the fabric a little bit extra to tuck into the groove.
 DSC_0107
 by
super_ok_s13, on Flickr
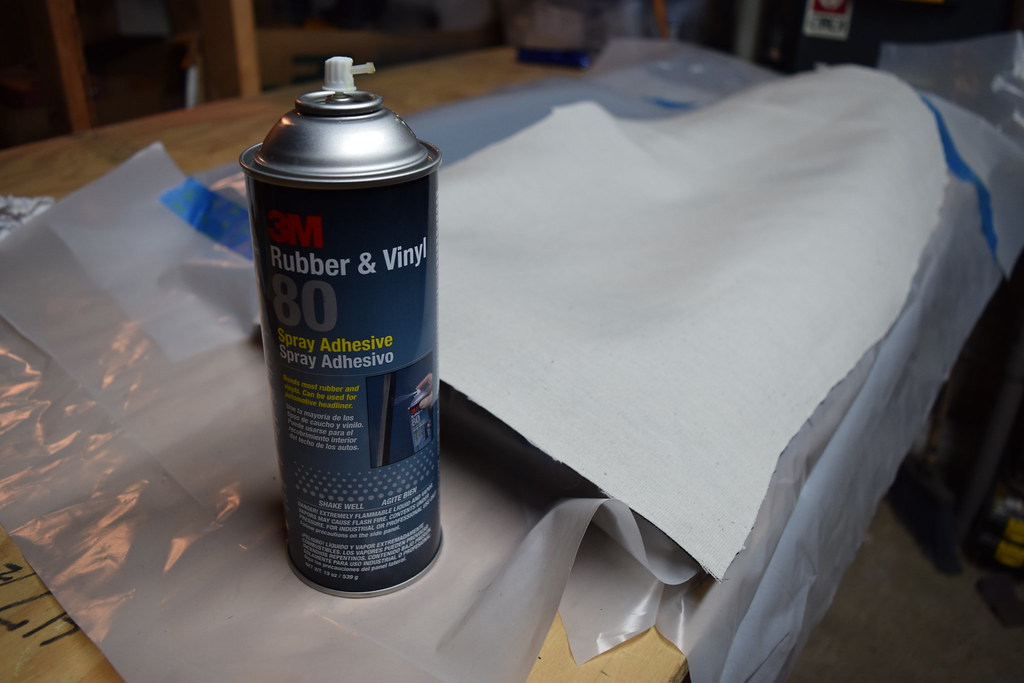
this is the spray glue I chose, as it says its good for head liners. I guess that means it should be ok for a little heat..
 DSC_0109
 by
super_ok_s13, on Flickr
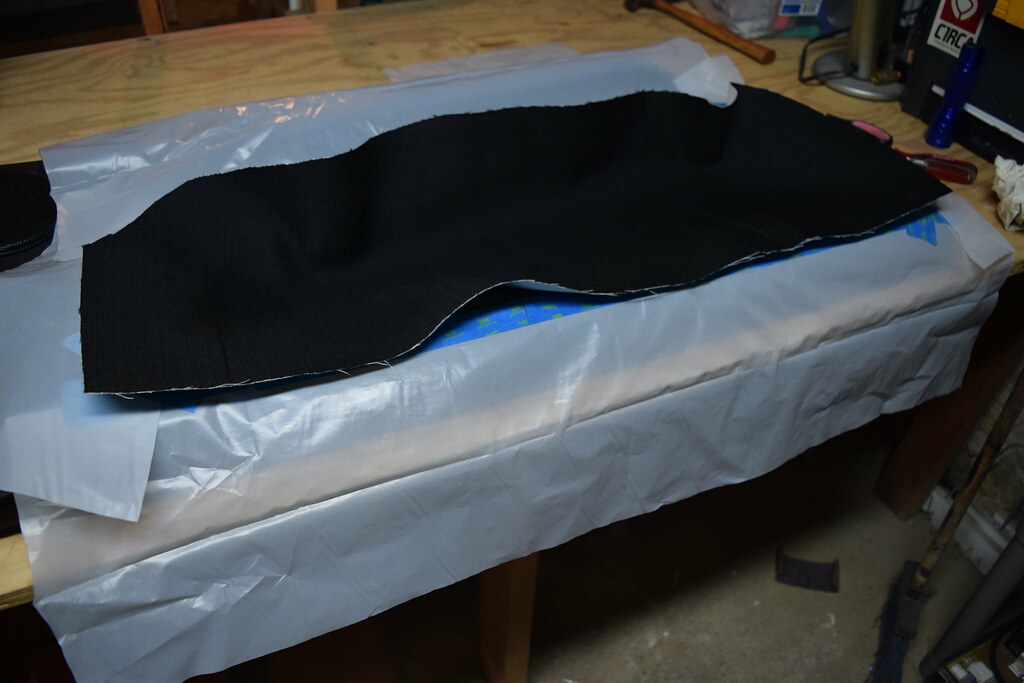
spray both the shell and the back side of the fabric and let it setup for a couple minutes.
 DSC_0112
 by
super_ok_s13, on Flickr
 DSC_0113
 by
super_ok_s13, on Flickr
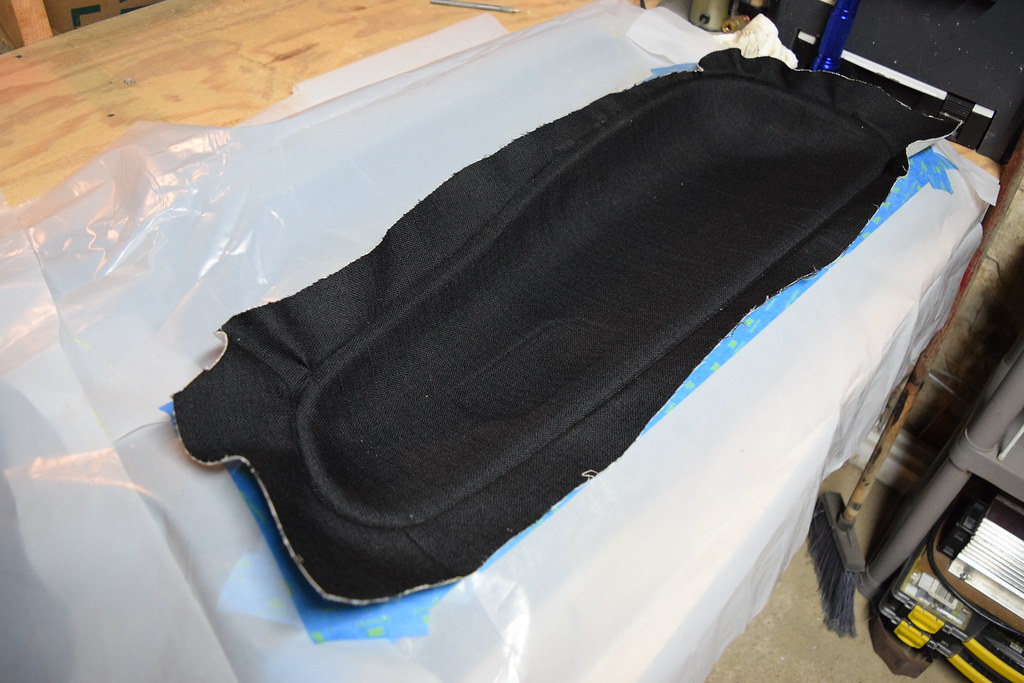
next I laid the fabric on and pressed the fabric into the contours with the back of the screwdriver and tucked it into the groove as tight as I could with the tip.
 DSC_0108
 by
super_ok_s13, on Flickr
after its all tucked in I started on the other panel to let the glue cure. once I got done with the second panel I started cutting the excess fabric off with the exact-o knife.
 DSC_0118
 by
super_ok_s13, on Flickr
 DSC_0116
 by
super_ok_s13, on Flickr
 DSC_0120
 by
super_ok_s13, on Flickr
as you cut I recommend tucking the fabric also. it will hide the edge of the fabric.
 DSC_0121
 by
super_ok_s13, on Flickr
here you can kinda see the back of the fabric.
 DSC_0122
 by
super_ok_s13, on Flickr
since most of the fabric/craft stores in my area have idiots working at them they didn't know what the black plastic vinyl piping was and I couldn't find it myself, sooooo. I found that black Para-cord worked, so that's what I stuffed into the groove to hide the edges of the fabric. no glue was used in doing this, just stuff it in there.
 DSC_0135
 by
super_ok_s13, on Flickr
 DSC_0133
 by
super_ok_s13, on Flickr
 DSC_0137
 by
super_ok_s13, on Flickr
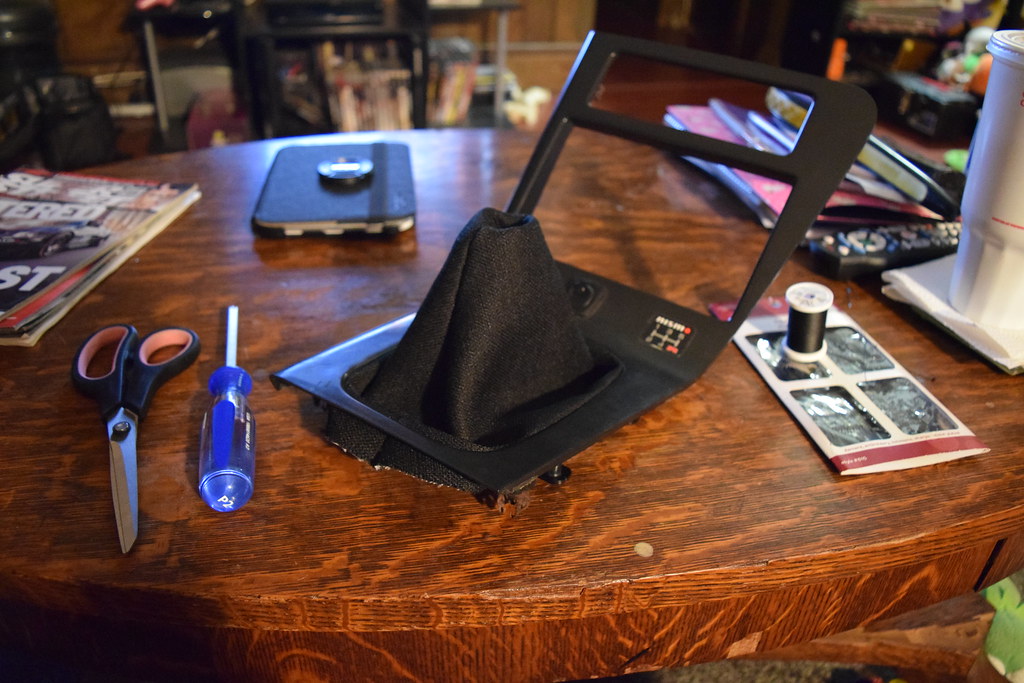
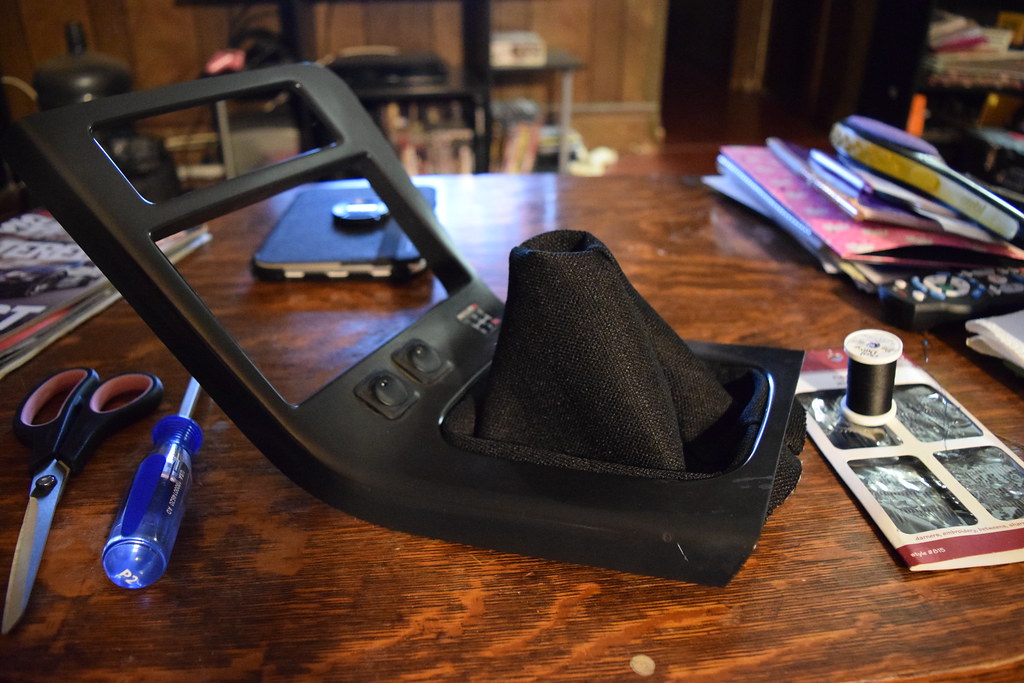
I ended up using leftover fabric to make a shift boot.. had to hand sew it since we don't have a machine and my sister wasn't home to do it with hers.
 DSC_0080
 by
super_ok_s13, on Flickr
 DSC_0082
 by
super_ok_s13, on Flickr
 DSC_0085
 by
super_ok_s13, on Flickr
I don't have much on the glovebox but the same concept applies as far as taking the old stuff off, making sure to cut the piece is big enough to wrap around to the backside. it also needs notched and cut around the lock/handle holes carefully.
 DSC_0086
 by
super_ok_s13, on Flickr
 DSC_0087
 by
super_ok_s13, on Flickr
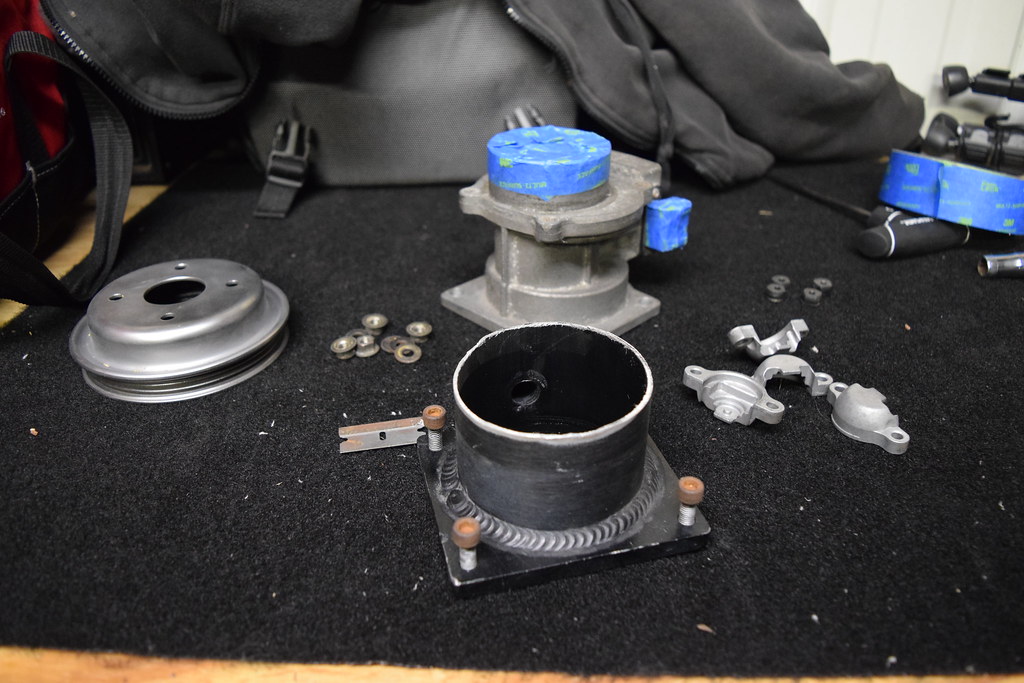
after the interior was all but done I started on some of the engine bay parts, cleaning them up for paint.
 DSC_0089
 by
super_ok_s13, on Flickr
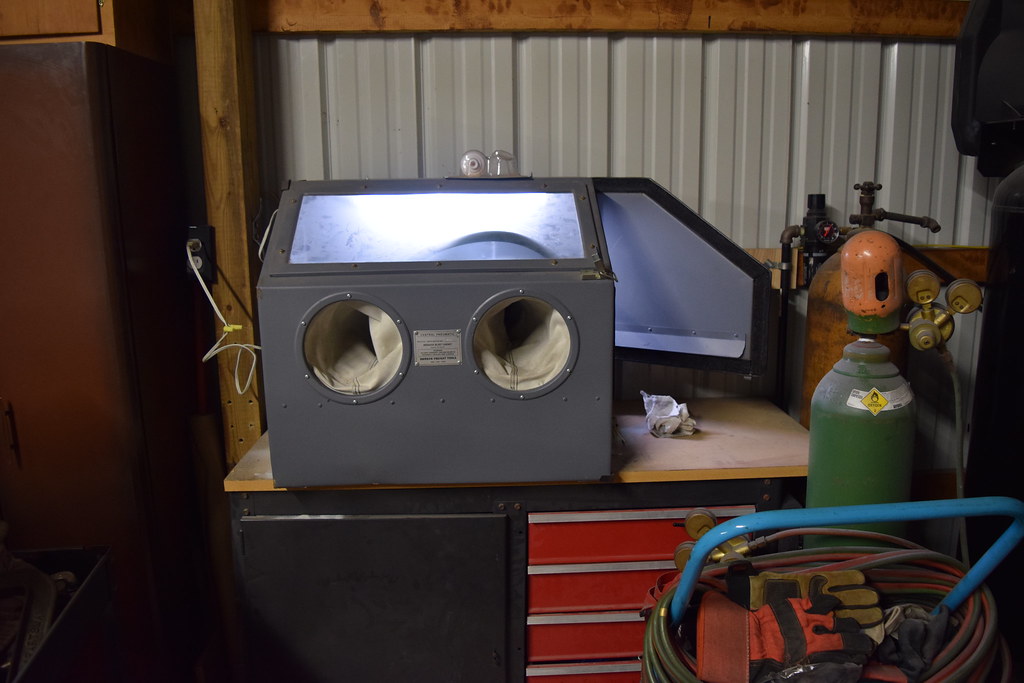
obiously not the maf but the other parts were glass beaded before new paint...
 DSC_0098
 by
super_ok_s13, on Flickr
Bought a couple cool stickers for my garage door =)
 CSC_0071
 by
super_ok_s13, on Flickr
 CSC_0073
 by
super_ok_s13, on Flickr
I decided it was time to add some color to the engine bay and started with the valve cover as there was waaay to much black and silver. it just looked monotonous and plain..
I will post later tonight with the rest of the update...