Just wired up my s14 Ganador Super Aero Mirrors and though I would share the process.
My ganadors came with a different plug (JDM) than the one that goes into the plug on my door on my USDM s14. I tried to pull the pins out of the plugs but was not successful so I decided just to cut the wires and splice.
Here are the following tools I used for this install. All the tools can be found at harbor freight for cheap! Should not cost more than $50 for everything. Keep in mind that you might not need all of the below tools to complete this job.
1) Soldering Iron
2) Solder Wire
3) Shrink Wrap
4) Wire cutters
5) Wire strippers
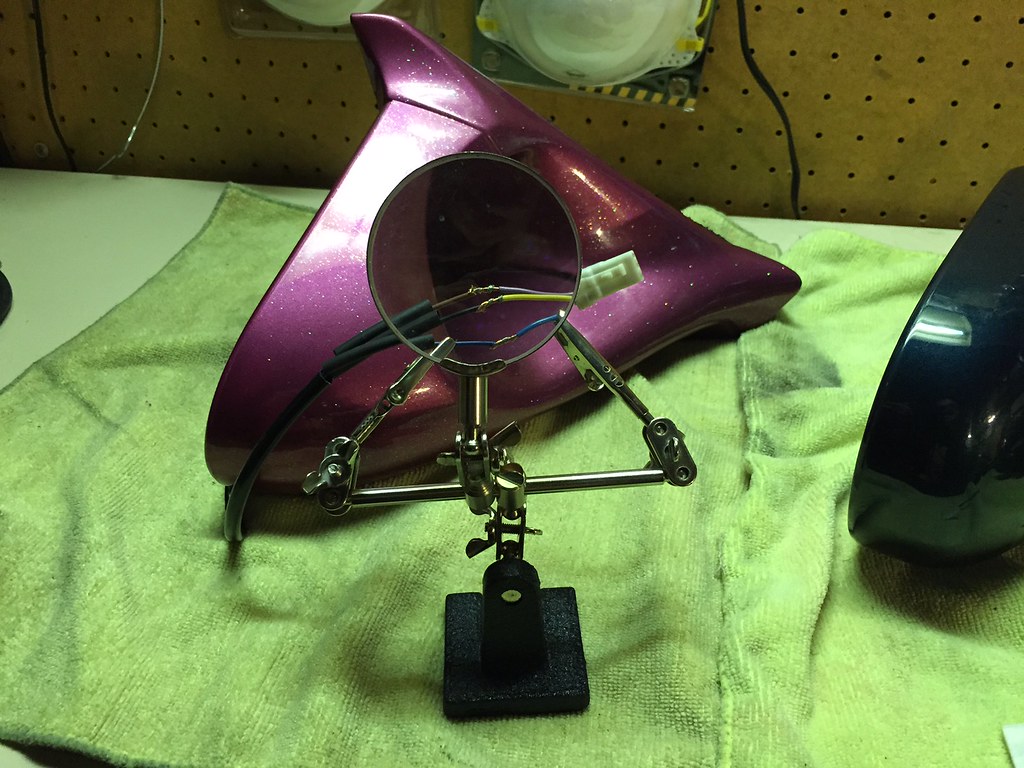
6) Soldering Wire Clamp
7) Heatgun
Lets begin...
Here is the ganador mirror plug on the left compared to the OEM USDM mirror plug on the right. As you can see, both are three pin, just with different connector plugs. Instead of pushing the pins out I decided that I was going to cut and splice.

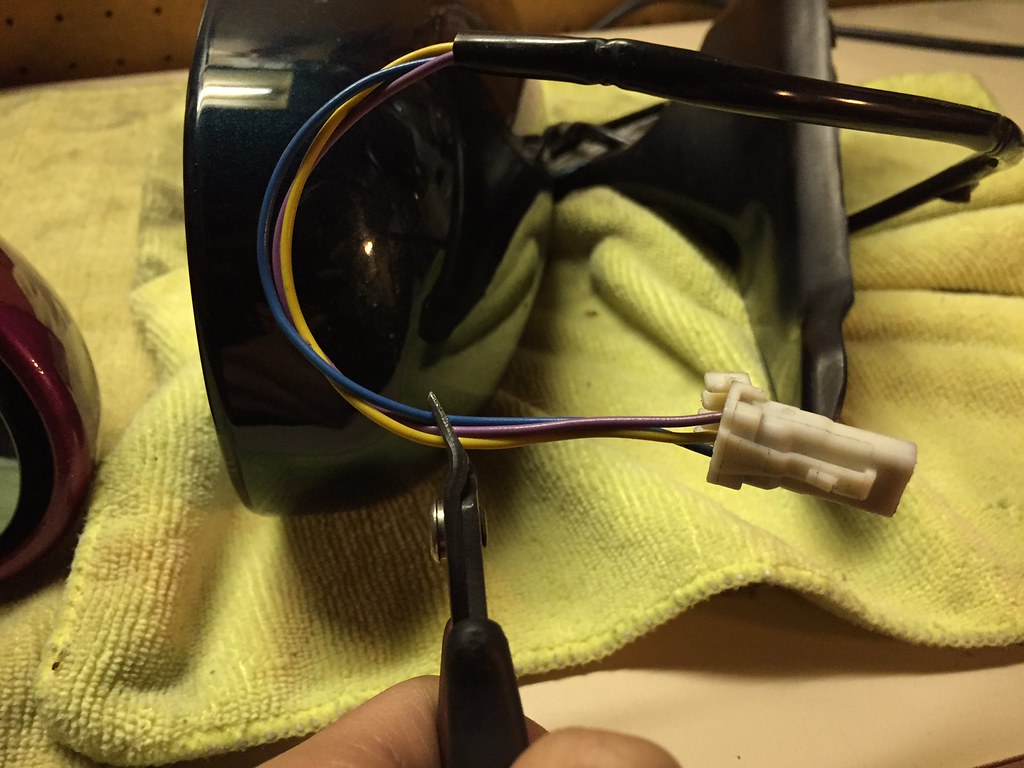
Start by cutting and splitting the wire tubing to expose more of the wiring for the mirror. I cut straight down the middle of the tubing and pulled it back and then chopped off the excess. Be cafeful not to cut the wires while you are doing this.

Next, chop off the connector from the USDM mirror and then do the same on the JDM Ganador mirror. Make sure to leave enough wire to play with. An inch and a half from the plug should be good.
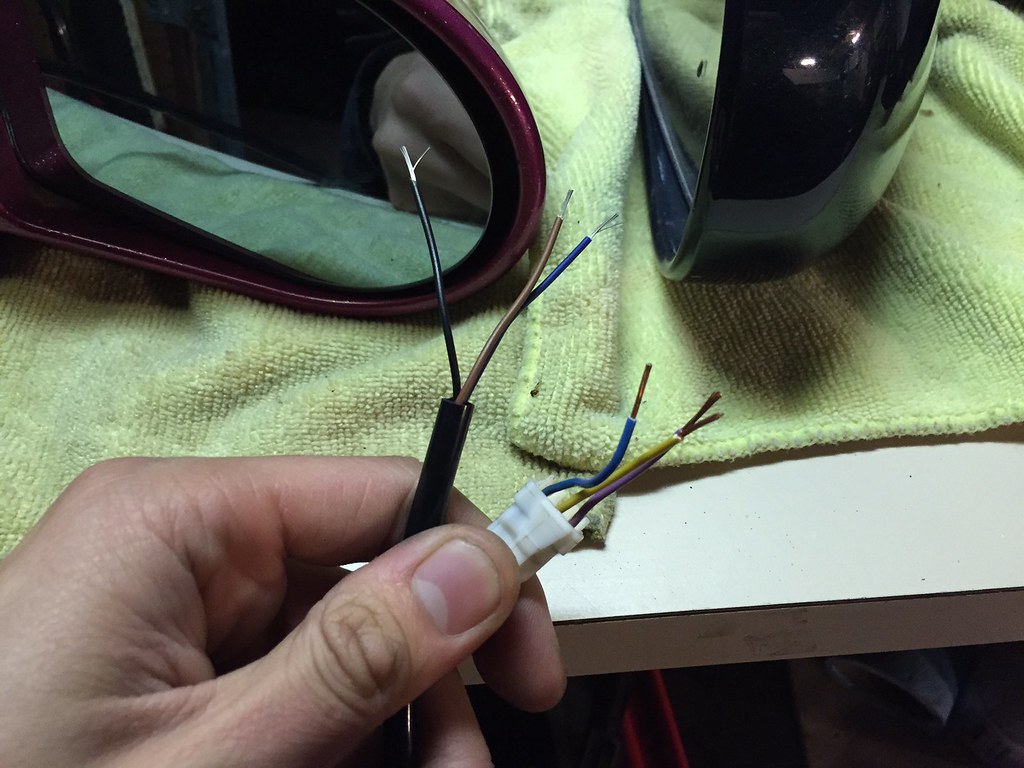
Now take your wire stripper and begin to strip the wires. I would strip about half and inch of the casing. Do this for all three wires on the USDM mirror and also the three on the ganador mirror.

Here is what the wires should look like after you have stripped all of the casing off to expose the bare wires. Twist the bare wires with your fingers.
Now connect the wires to each other by twisting them together. Make sure to cut your shrink tubing and put the wires through them before you make the connections.
The Wiring is as follows:
Blue -> Blue
Black -> Yellow
Brown -> Purple
Before I soldered the wires, I pulled the shrink tubing over the exposed wires and plugged the mirror back into the door connector to make sure the powered mirror was working and that my connections were good. You do not have to solder if you don't want to, but I highly recommend it so that your connections are solid and do not come apart.

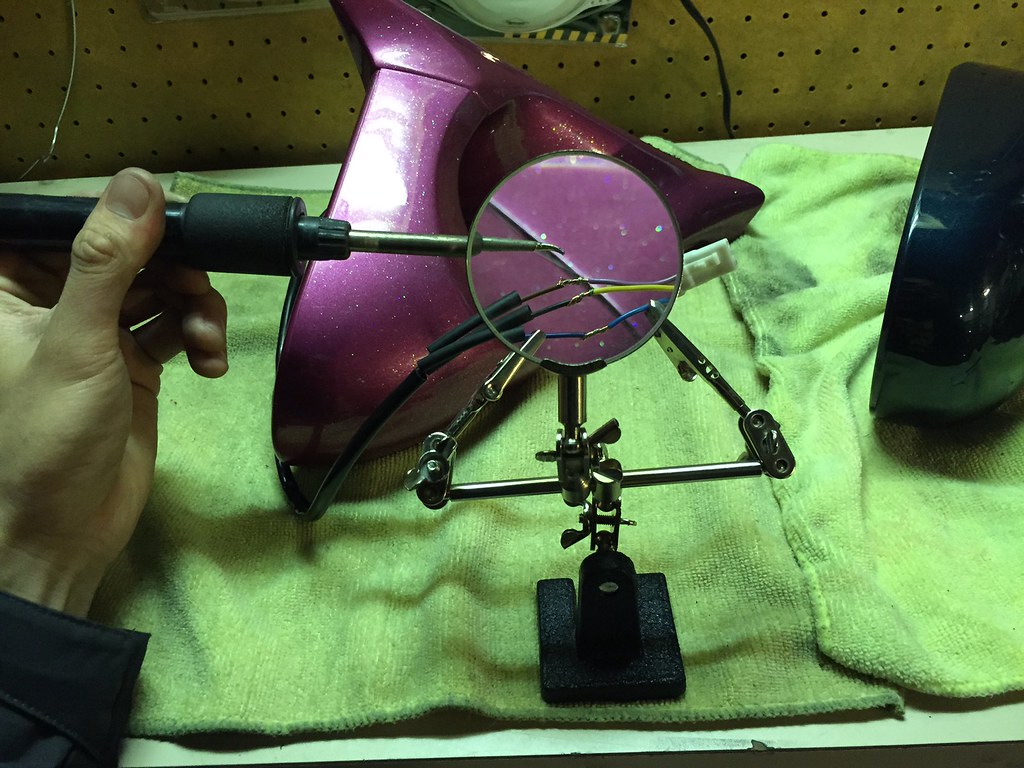
Now that you have confirmed your connections are good and that the powered ganador mirror now works, clamp up your twisted wires and prepare them for soldering. This clamp is not necessary, but it makes soldering a lot easier.
Take your soldering iron and dab some tin on the tip. Hold the soldering iron against the bare wire to heat up the wire. After about 5 seconds your wire should be hot enough to lay the tin on top. Tap the wire slowly with the tin and watch it melt onto the bare wires. Move the tip of the iron up and down the bare wire to clean up the solder. Do this for all three wires.
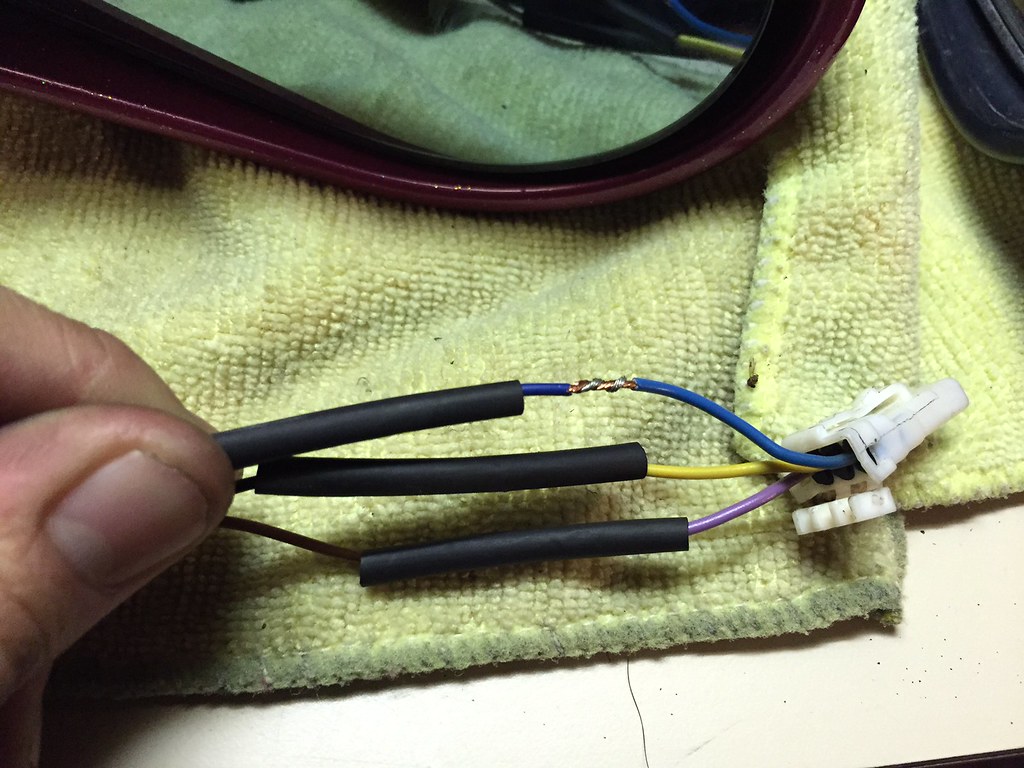
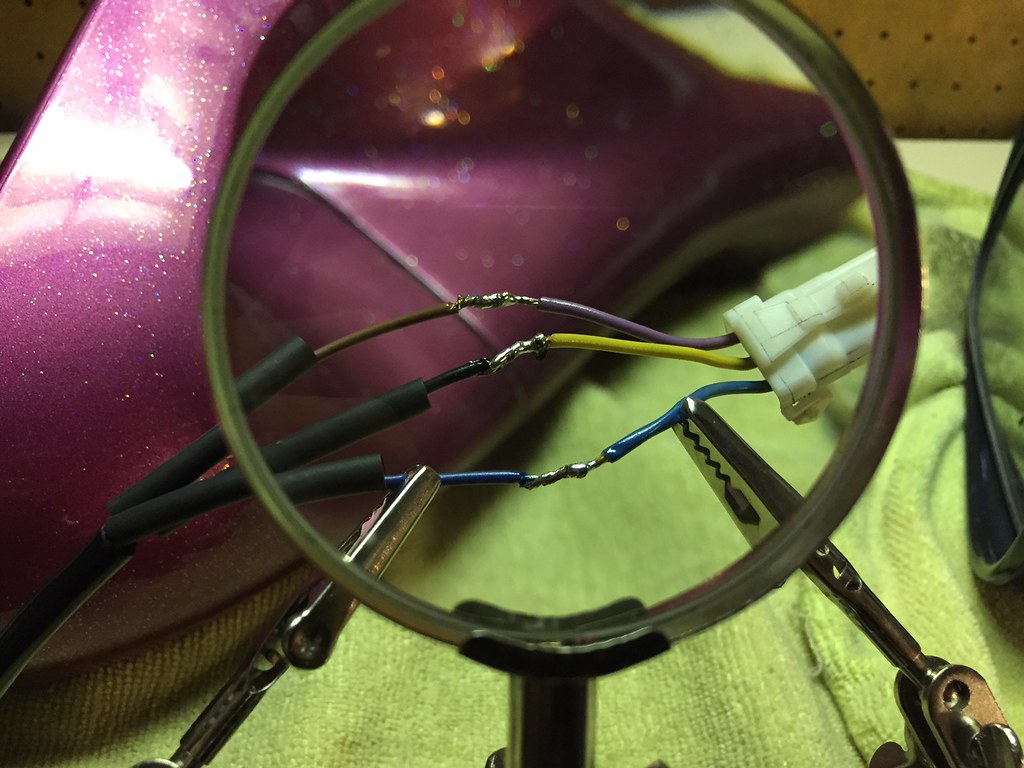
Here is what the wires should look like after you have soldered them together. Excuse my shotty soldering, I am still learning!
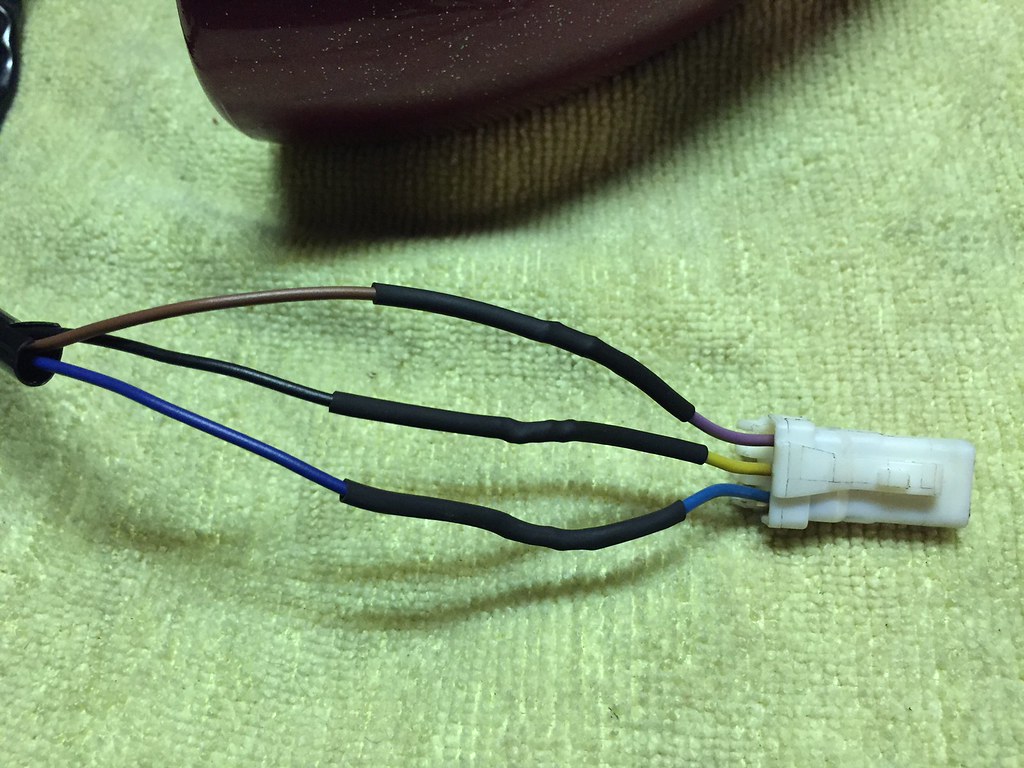
Finally, pull the shrink tubing over the exposed wires and heat up the shrink tubing with your heatgun for a few seconds. The shrink tubing should shrink over the exposed wire. If you want to go an extra step you can use electrical tape to tape the wires together.
Hope this was helpful! Feel free to PM me if you need any help or have any additional questions!