Quote:
Originally Posted by Green Arrow

The heat should create a pressure enough to push out of the chimney. I’ve messed with a few barrel-wood stove conversions. Awesome cap!
When you get it running, make sure to start it with a leaf blower....that’s loads of fun
|
I really need some sort of draft fan. I might Tee into the pipe right out of the back of the stove and use a piece of 1.5 inch pre-bent 90* exhaust pipe facing the chimney pipe, and hook up a fan/blower of some sort. So when its on it'll have a venturi effect and blow air up the chimney thus creating a draft of sorts to pull the smoke through the stove and out of the chimney.
Quote:
Originally Posted by stopbruh
are those dorkidori sideskirts and rear valances?
|
They ARE!! Very good quality might I add too! If you go back through my build you can see other pics before we wrapped them/fitment.

Quote:
Originally Posted by obscene
Good stuff!!! You'll have it warm and toasty just in time for spring lol
|
HAHA. I hope it gets warm soon, i've been getting cabin fever!!
So, onto the stove. I lit some papertowels and fire starter sticks and then laid a couple scrap white pine 2x2's on top with space in beween so it didn't smother it. There some was fire and it smoked like hell,

So i got my hair dryer out and stuck it in the top chamber and it blew the smoke up the chimney. I think i'll build a platform and use the upper-half portion of the firebox and close/seal off the lower half of the firebox. and somehow seal the doors better. Theres just not enough heat to force itself up into the top section and out of the chimney.

----------------------------------------------------------------------------------------------------------------------------------------------------------------------------
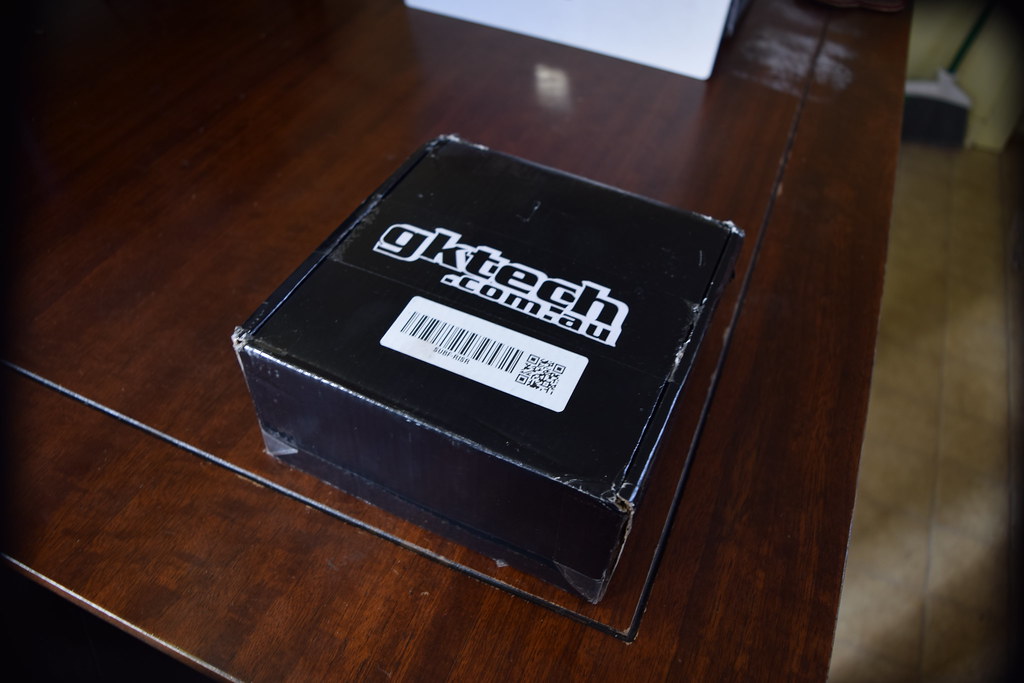
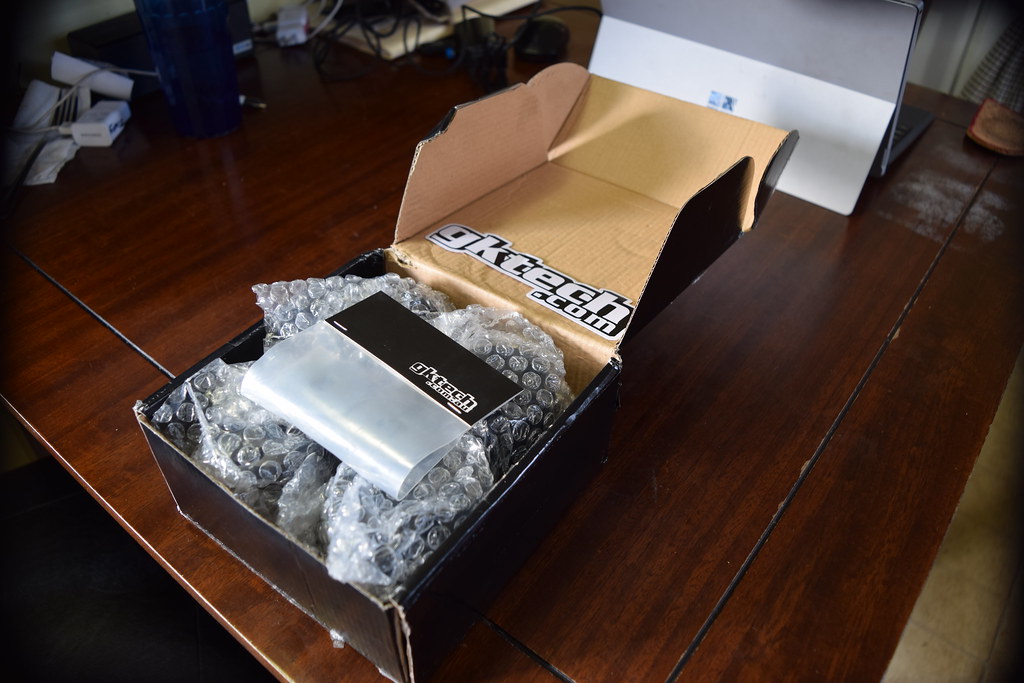
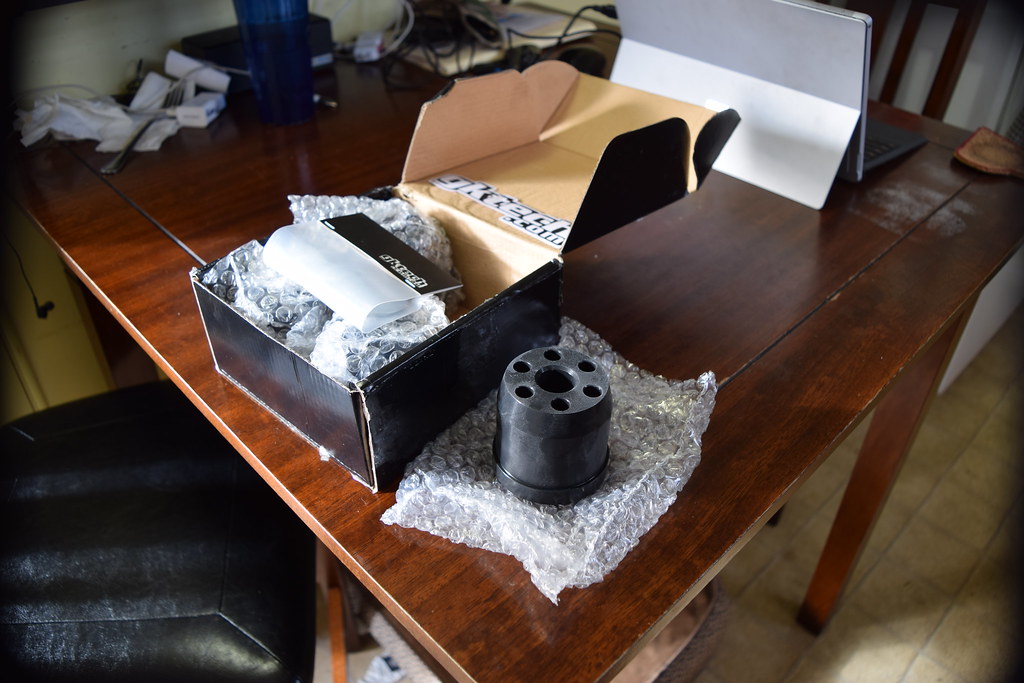
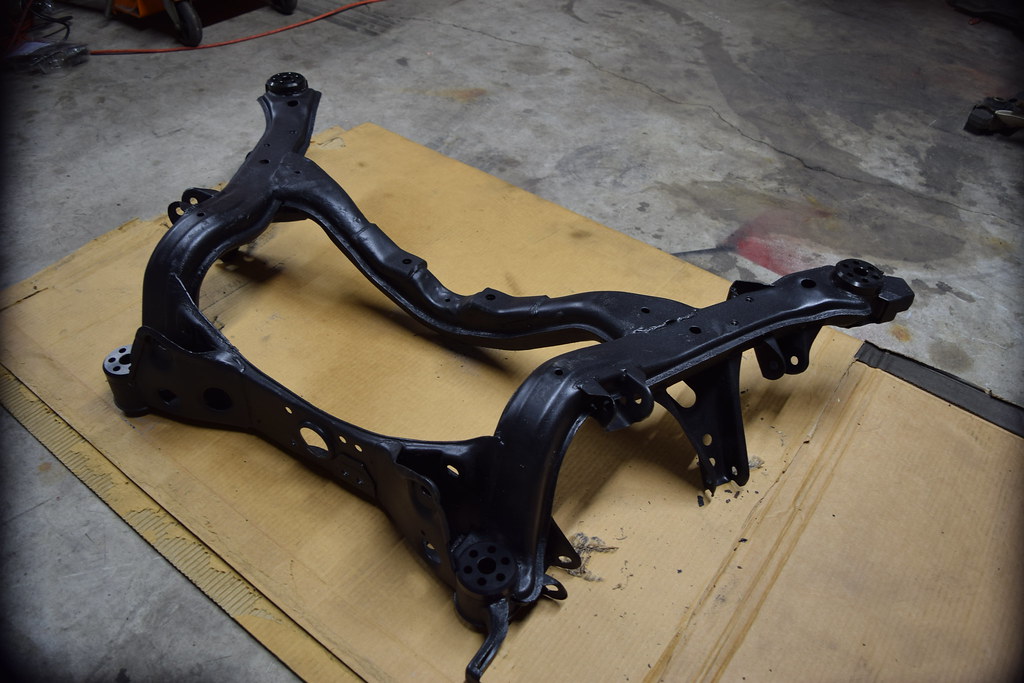
I received the GKTech solid Subframe risers...
I heard installation is a little bit easier when you put them in the freezer and shrink them a tiny bit. So i did that and a couple days later when i was ready i pulled them out to install them.
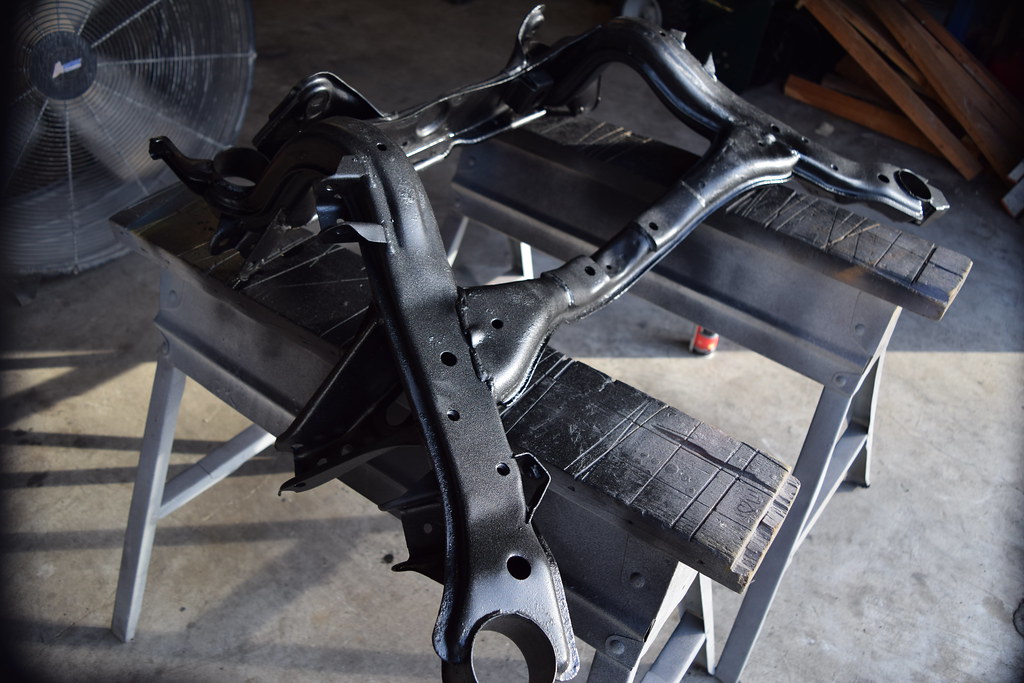
When i was ready to paint the subframe. I wasnt sure on color. i wanted crazy colors then I wanted simple plain..... I cleaned up the subframe after sandblasting it a while ago.
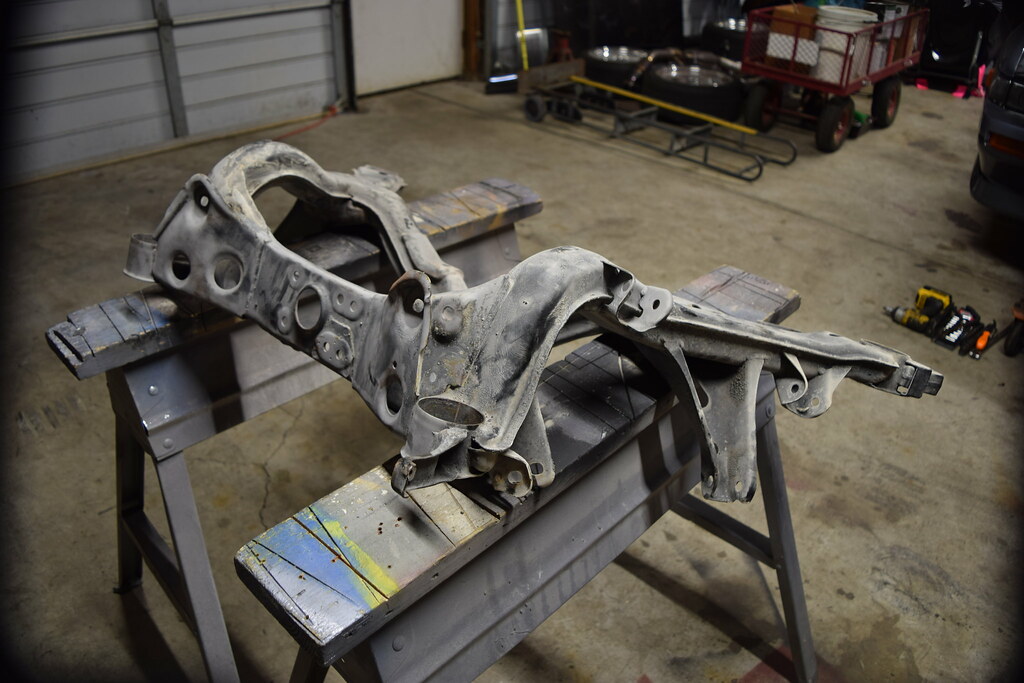
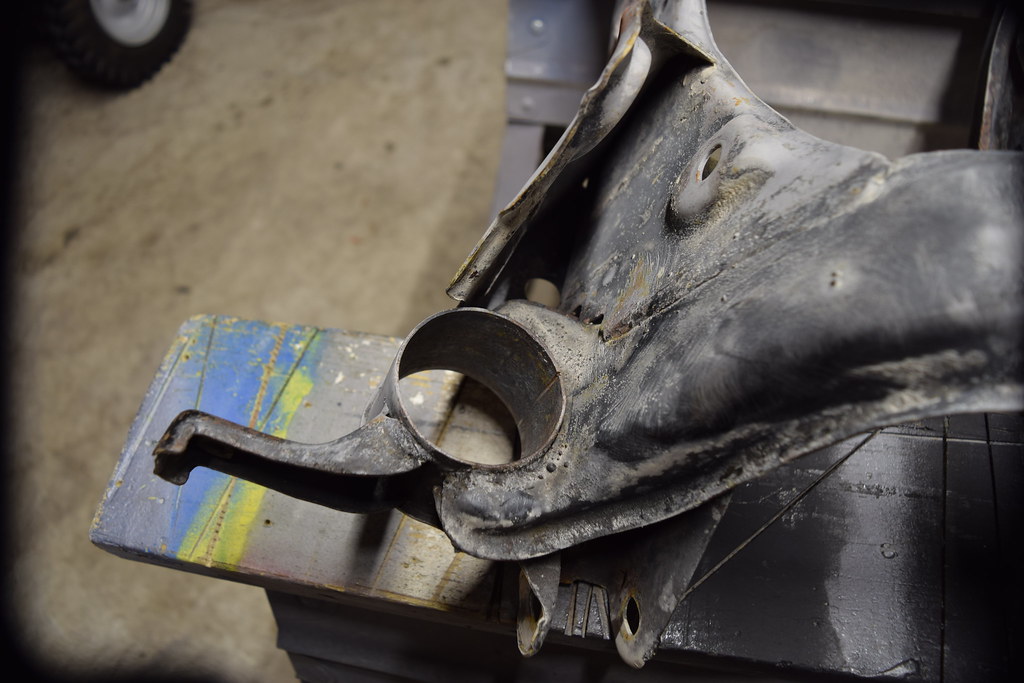
I had to smooth a couple spots where it was damaged getting the old bushings out. So a file and a dremel did the trick...
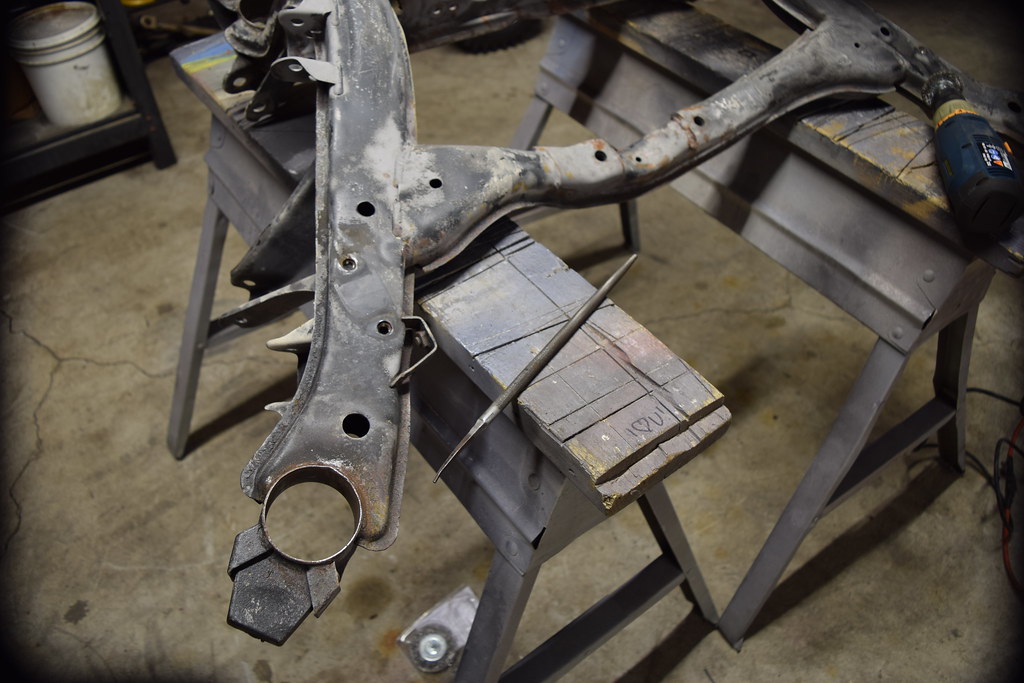
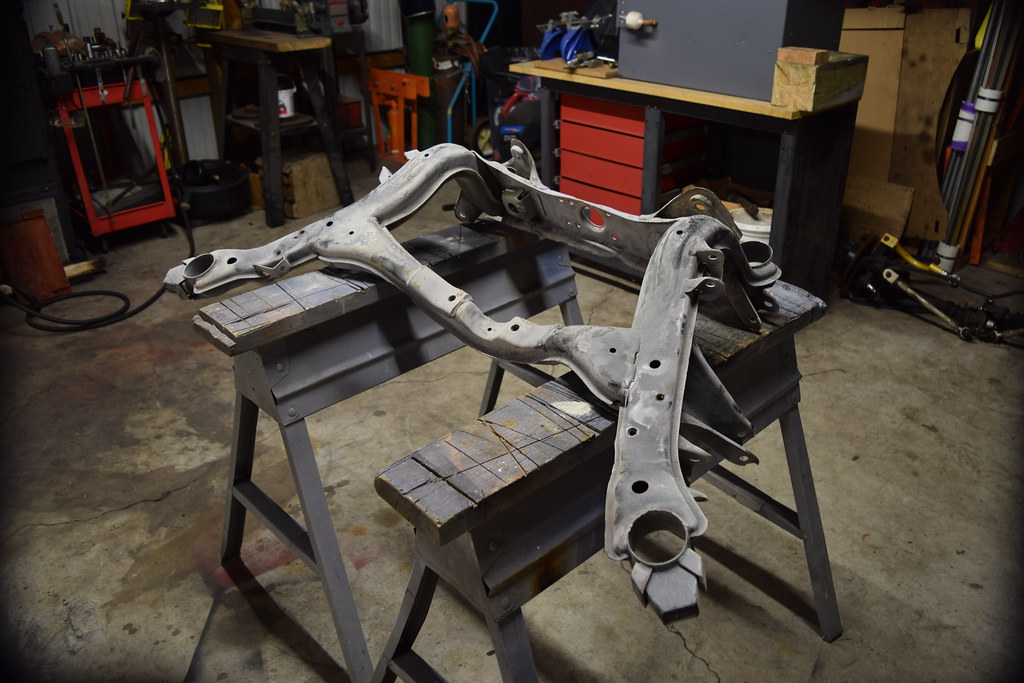
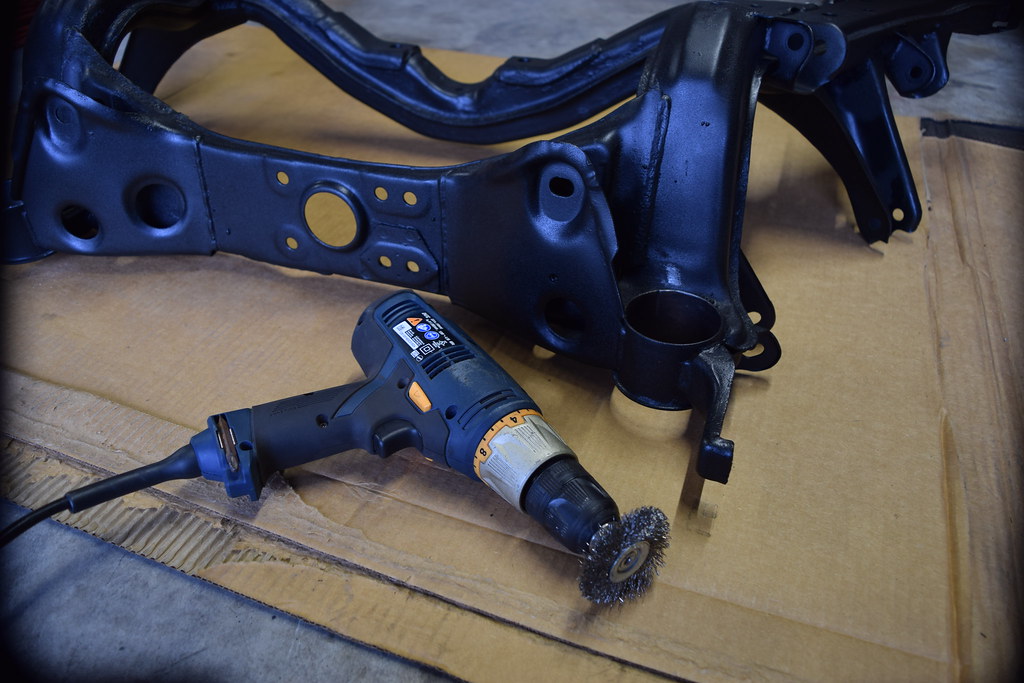
Cleaned up the inside once more with the wire brush on a drill.

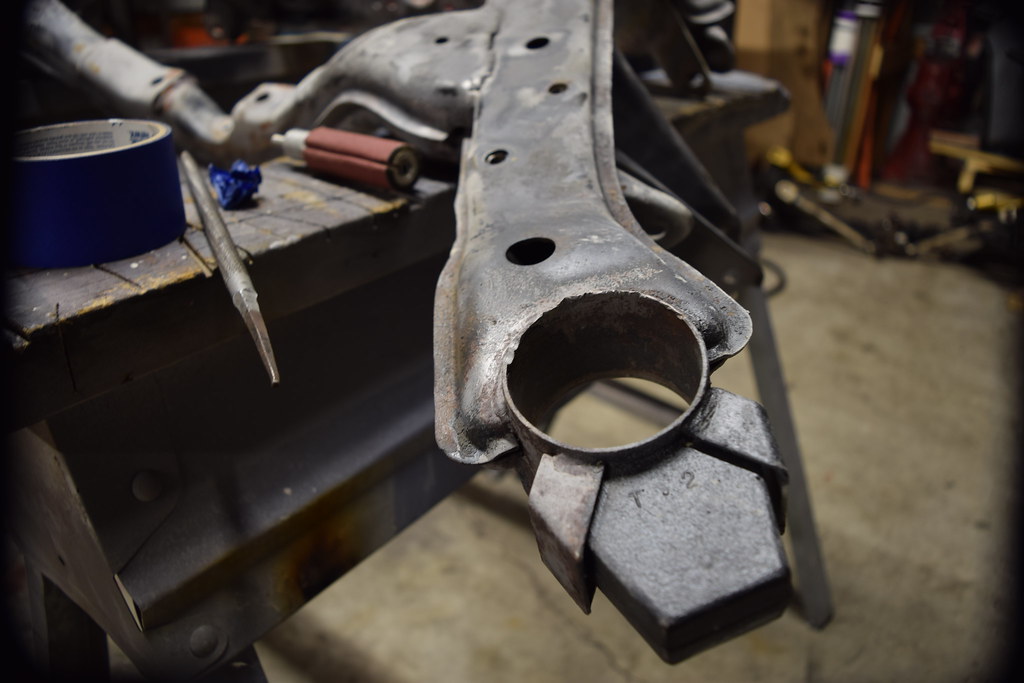
Used the air gun and blew out the rest of the sand and wiped off the surface, used a little acetone so it was semi clean.
I've had good results using this stuff from rustolem. I like the texture and it creates a hard shell (not rubbery) that's not too rough and thick towards what its sprayed on. My front wheel tubs were coated in 2014 and are still in great shape.
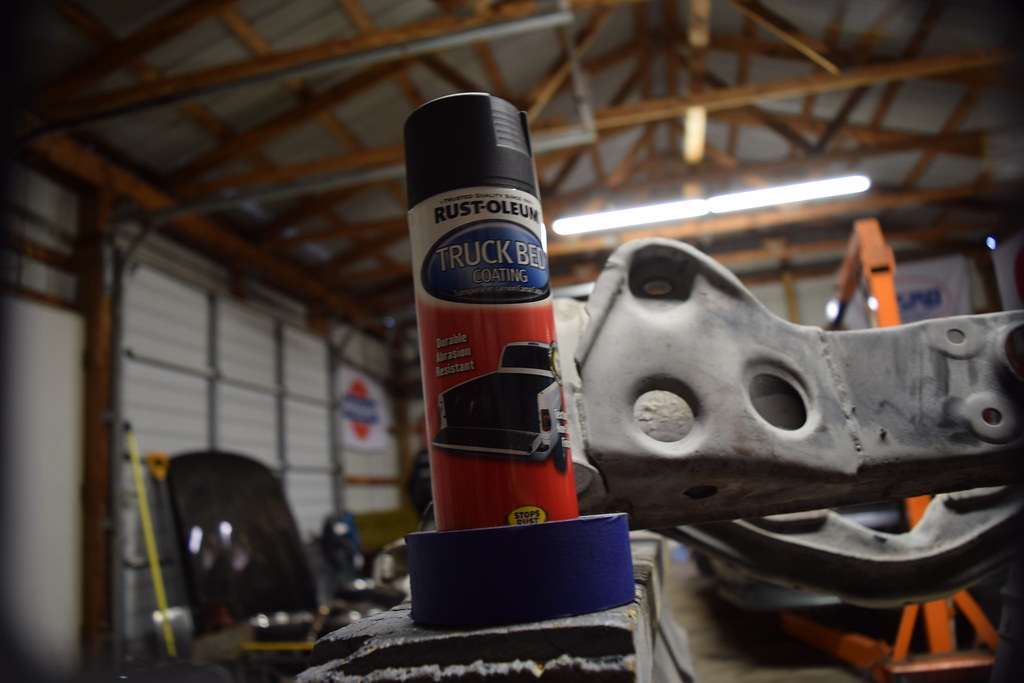
1st coat.
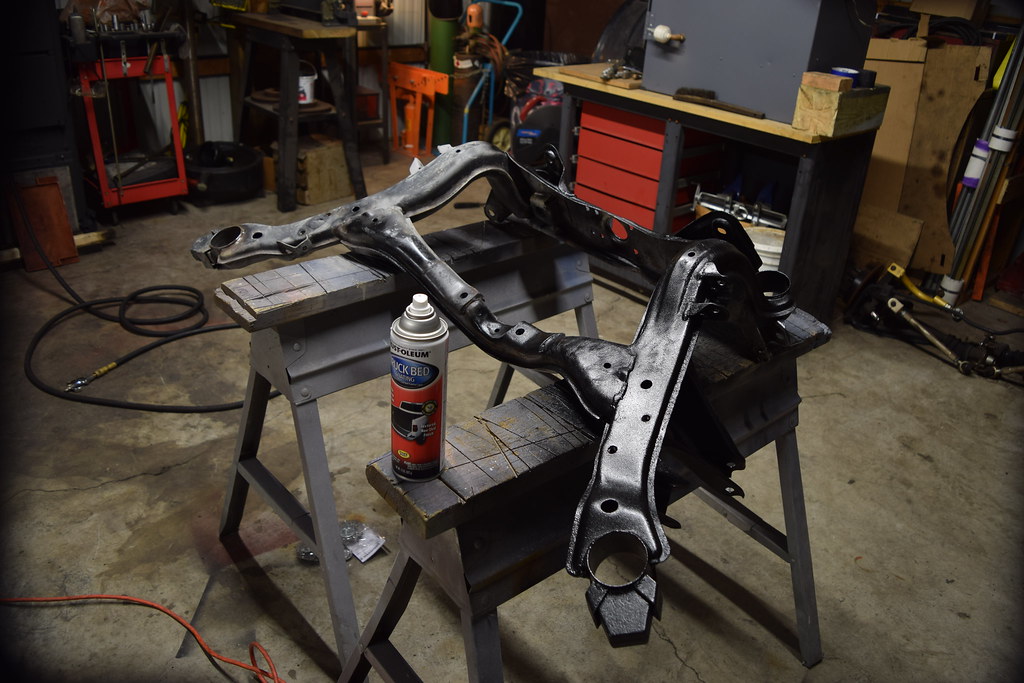
Pulled out the big fan, and opend a garage door.

Sitting in the sun, drying.
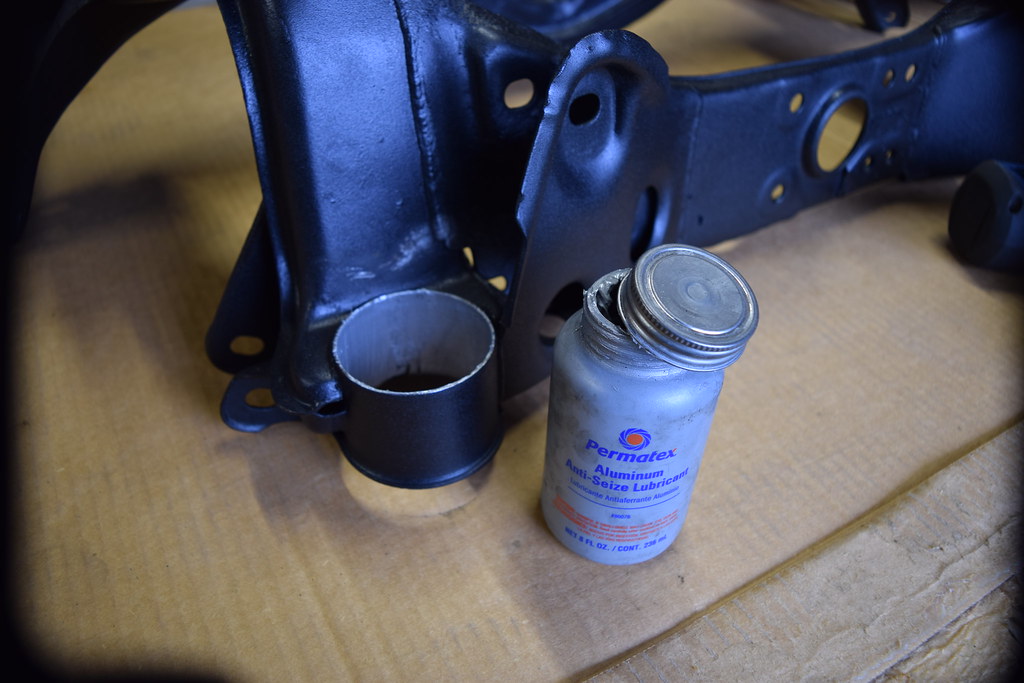
Next day, i decided to put the bushings in. Dropped a piece of cardboard on the floor, and the subframe, the n ran the wire brush through each one to clear out any overspray.
My great uncle made me use this stuff pretty much on every bolt I ever put back into place after wire brush/wire wheeling it. Only downside is it gets on everything
(even if your careful!

) Oh, used as a lubricant too, it was a little tight!!

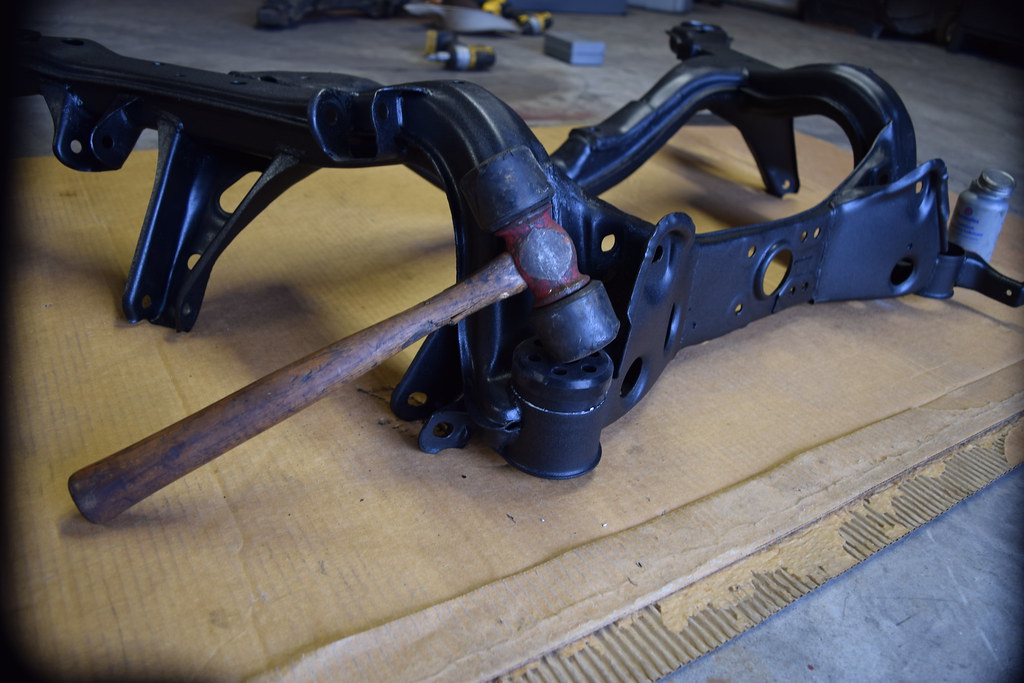
Frozen Subframe bushings served up!
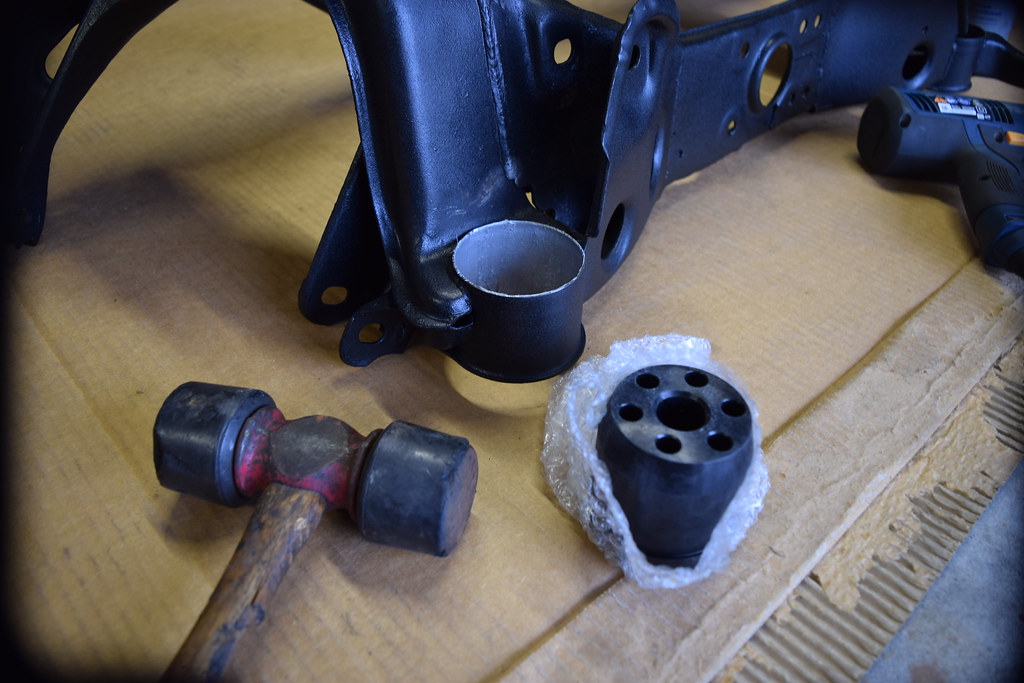
Couple of good whacks with a rubber mallet and the first one is in.
Fancy close-up!
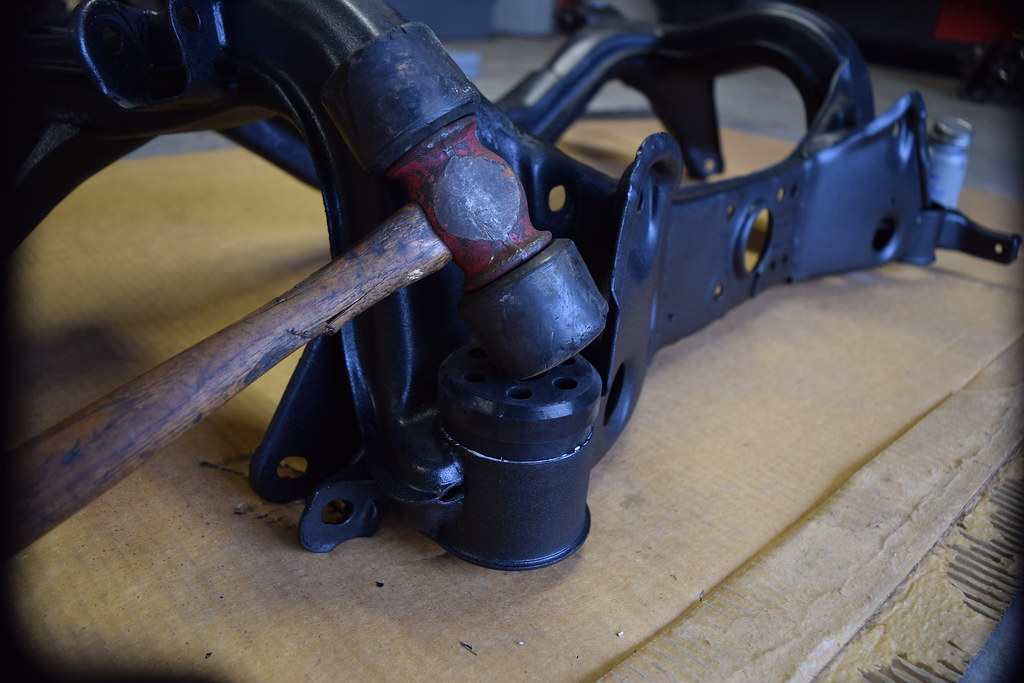
2 down! 2 to go!
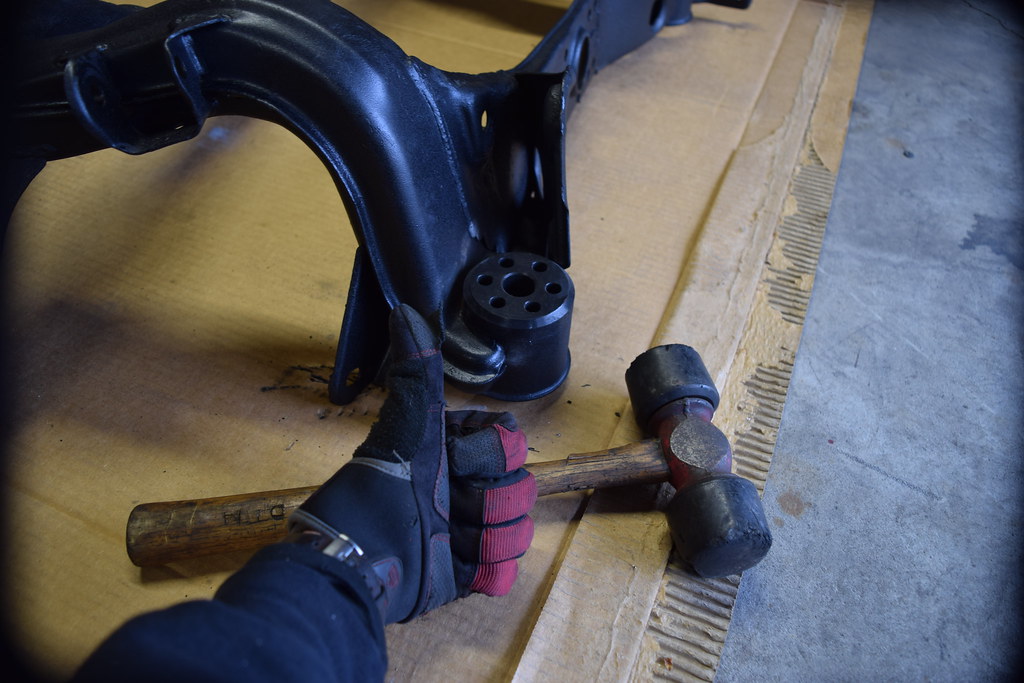
The other 2 needed a little more tap from a mini sledge with wood on top to protect the anodizing finish. Otherwise they went in and was a tight fit..
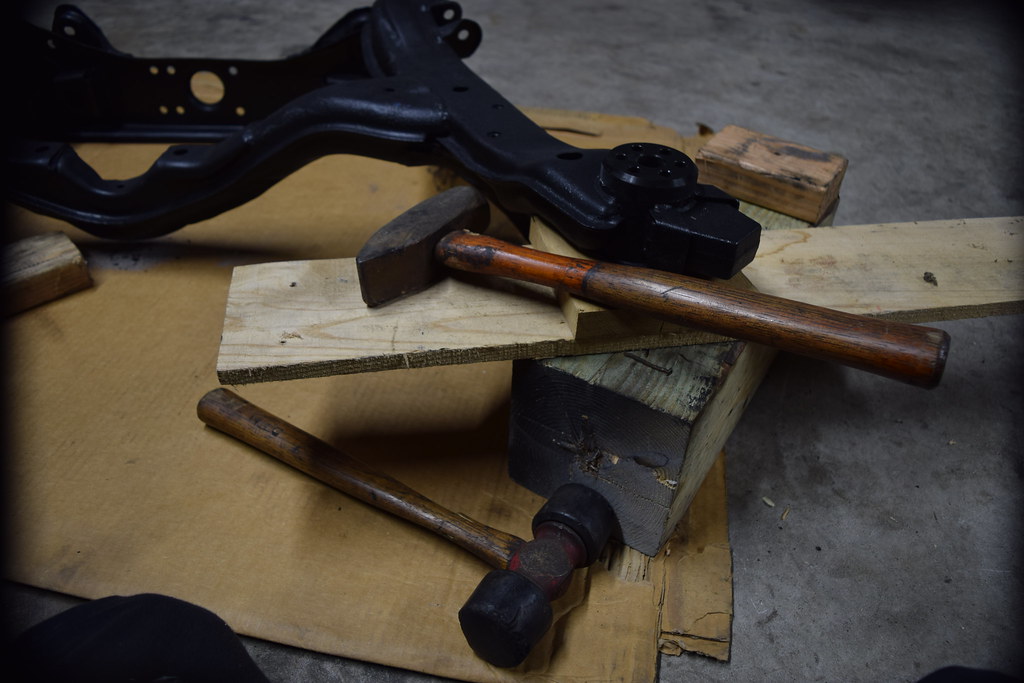
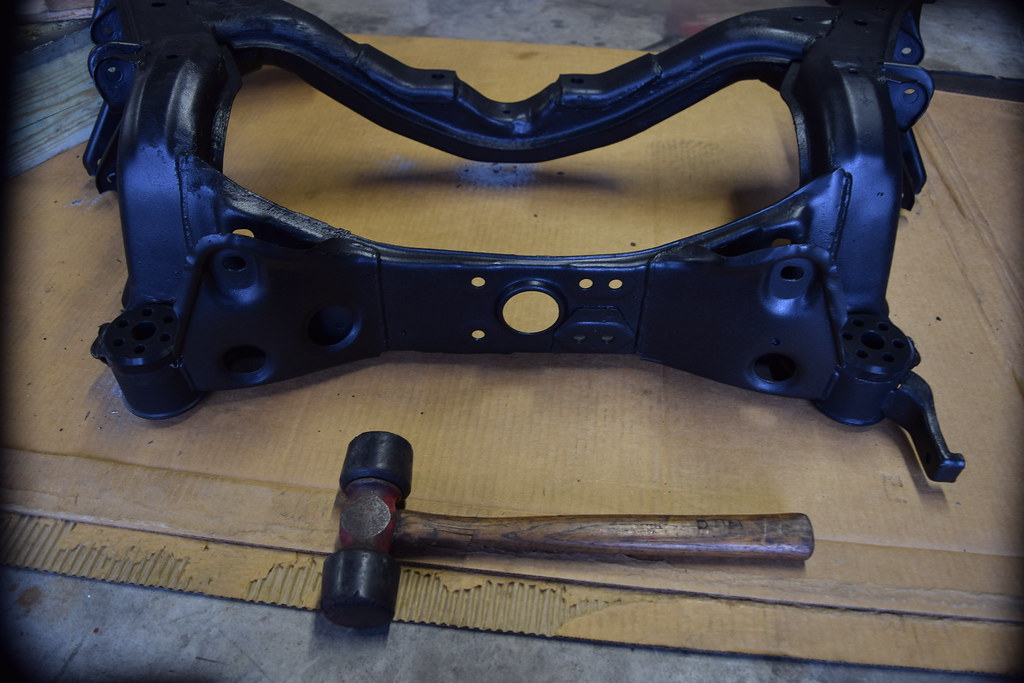
ALL IN!
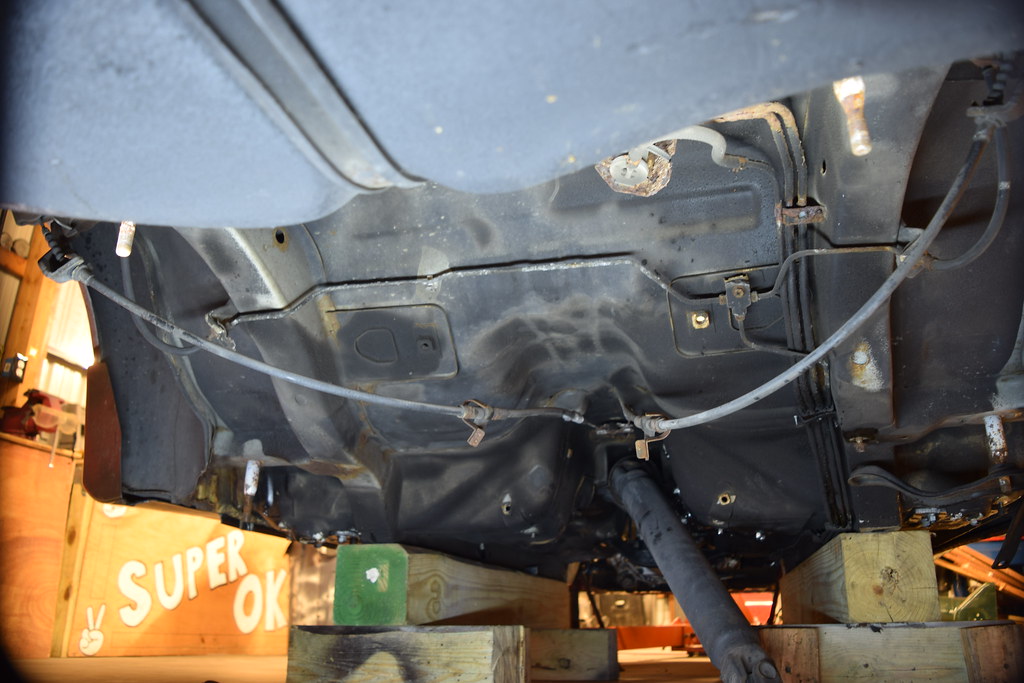
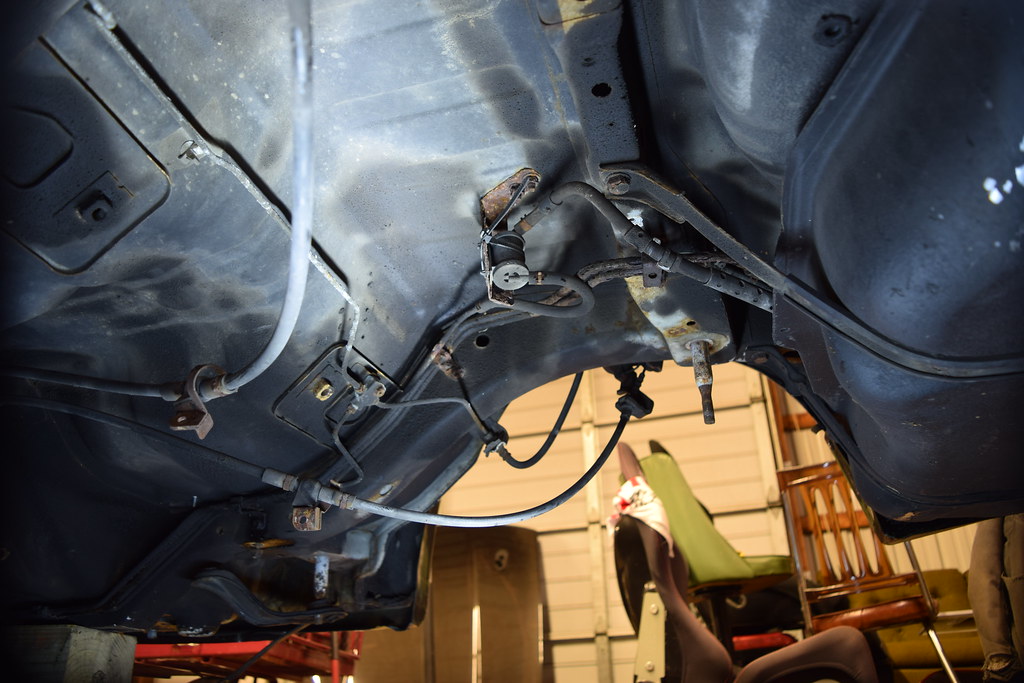
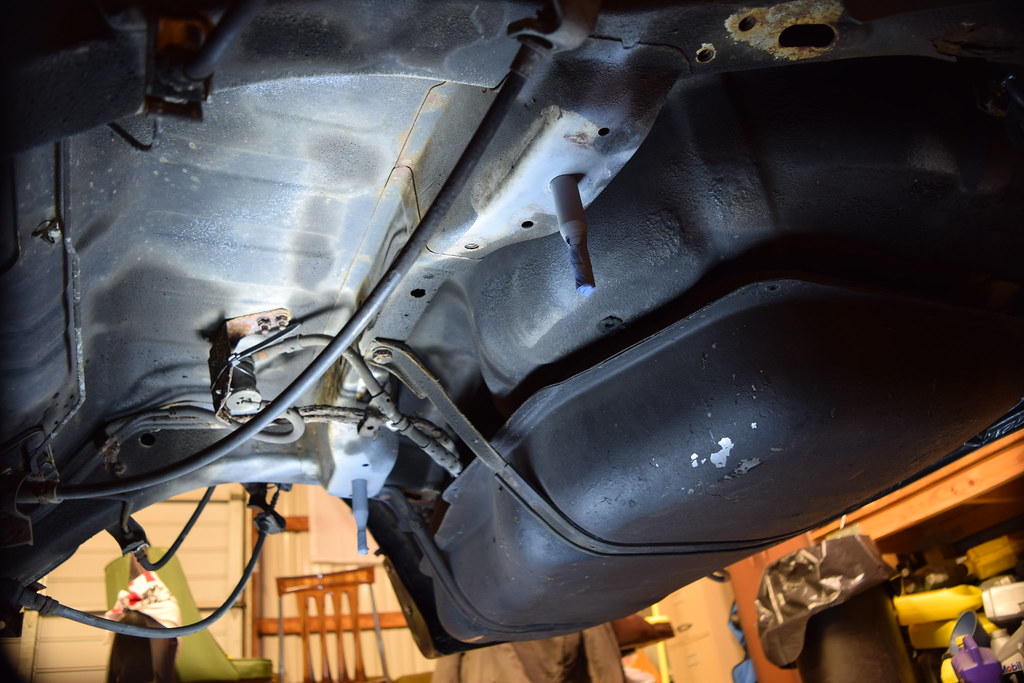
The underside is a little dirty and has surface rust but not as much as i thought would be there. All i'm going to get is some AN fittings and flare the end of the line by the frame make some small lines from there to the tank. replace the other rubber line to the check-valve/ re-route the vent line to the back with a breather filter on it. While everything is out, i'll undercoat the rear of the car.
Here's the rust

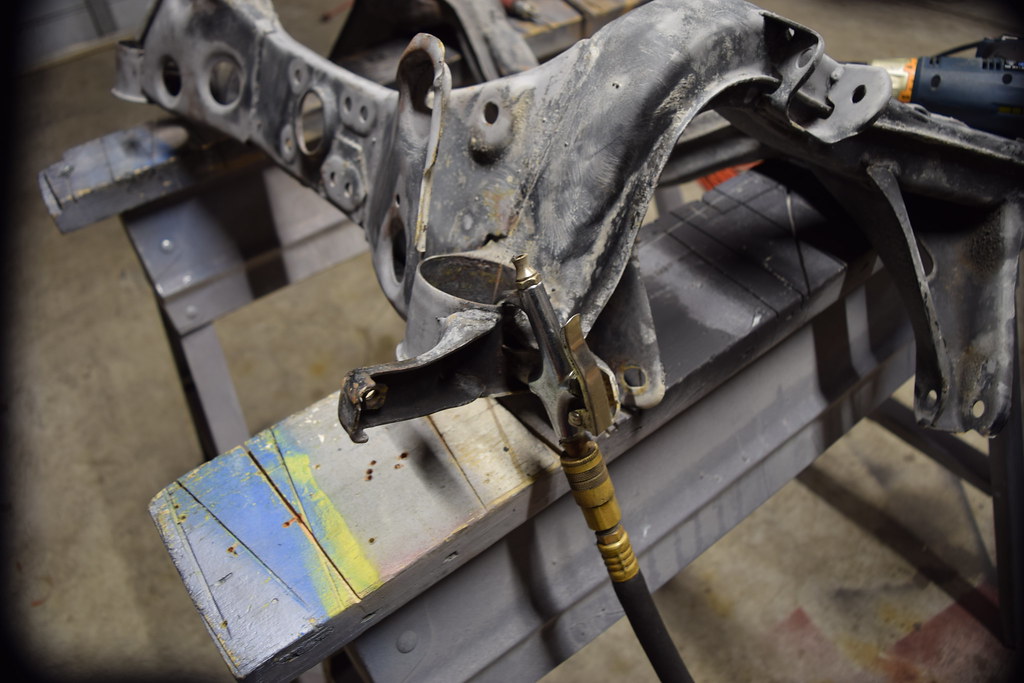
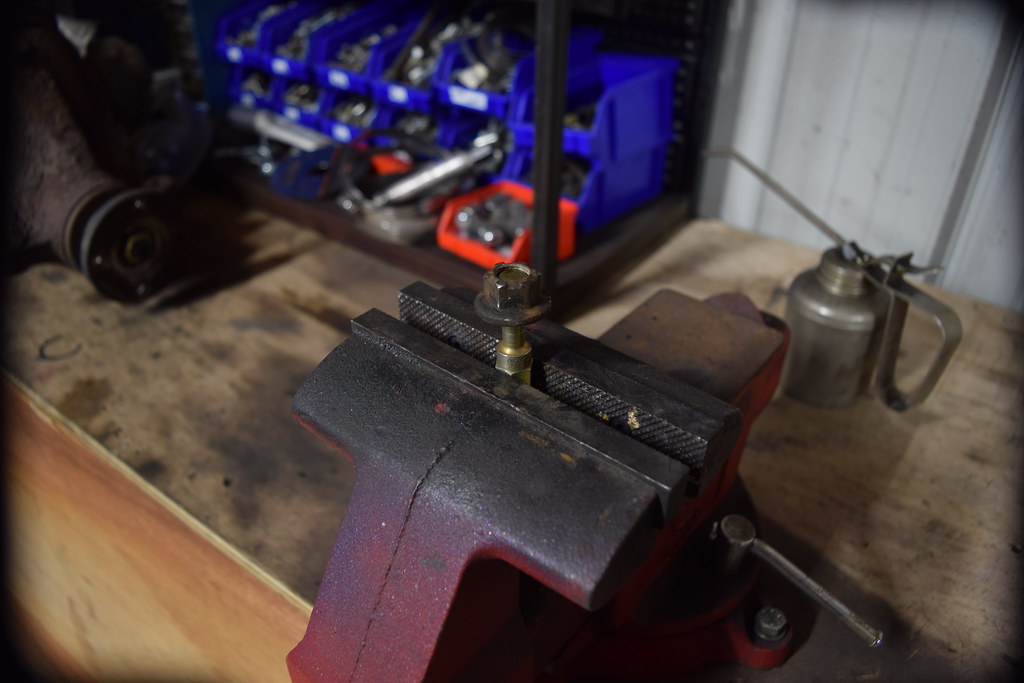
I've started by cleaning the posts for the subframe and priming them. ill put some ANTI-Seize on them before the subframe goes in to help with corrosion.
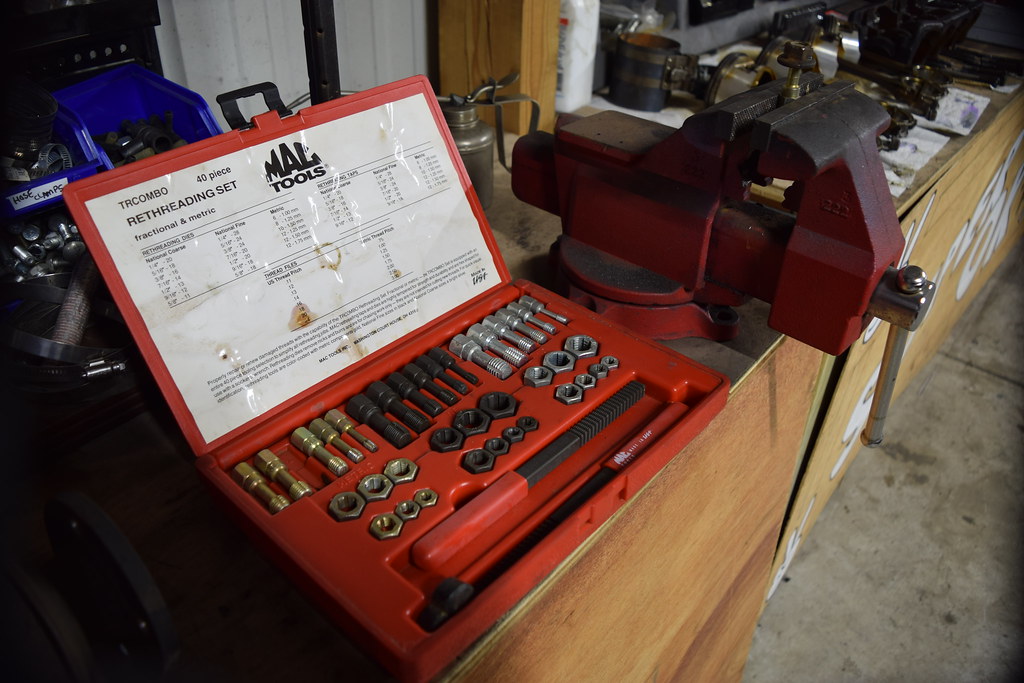
I also cleaned up the threads on the subframe posts/nuts with a wire wheel and the a thread chaser kit.
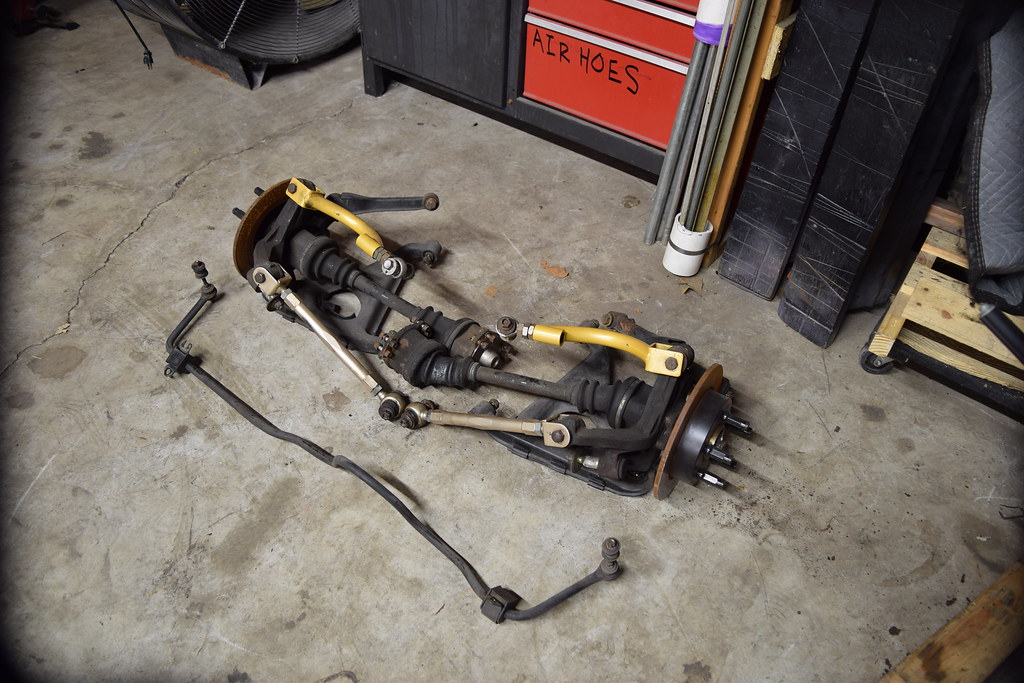
The arms and diff!!! Got something special for them and the fiance' suggested it in her favorite color!
Need to clean them up and prep them. Plan on new bolts and nuts for the install.
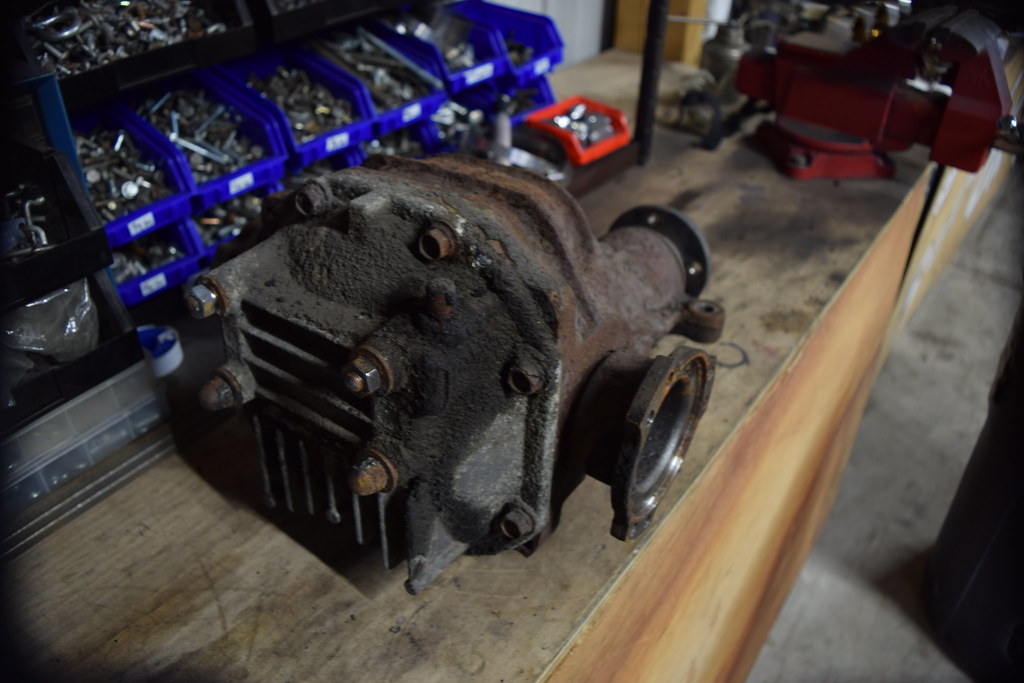
The diff will be getting the same treatment as the arms.
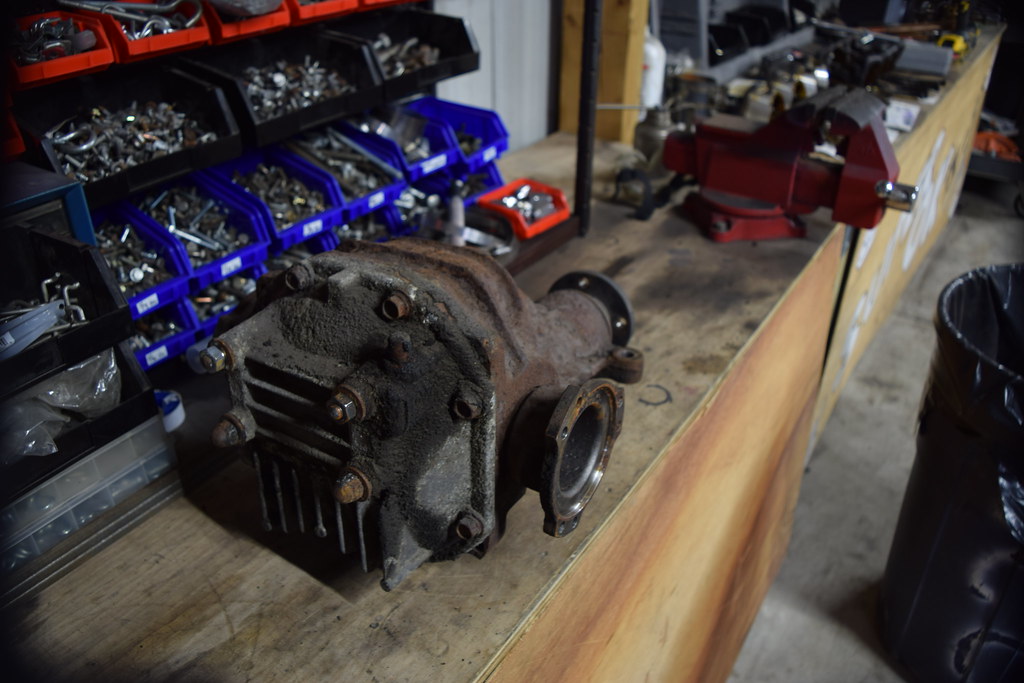
So far i've chased the threads on the rear cover and the nuts too.
On days when the weather breaks a little and is warmer i'll be in the garage.