 01-27-2014, 05:39 PM
|
#3
|
|
Zilvia Junkie
Join Date: Feb 2008
Location: Carry Water, Chop Wood
Age: 36
Posts: 507
|
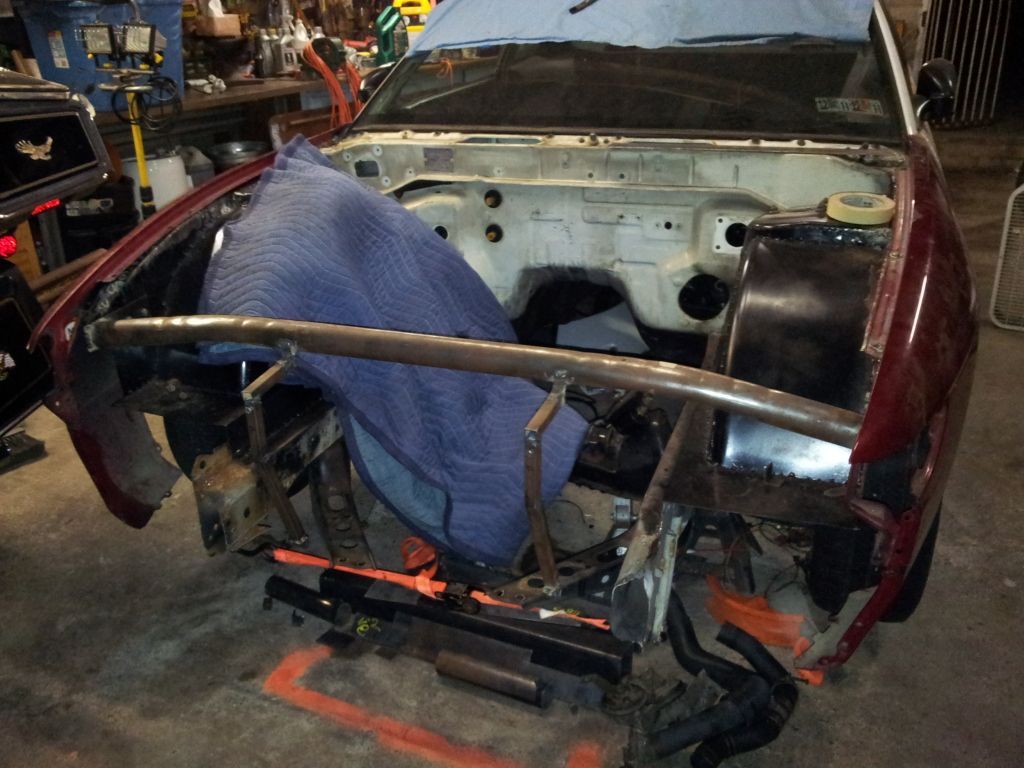
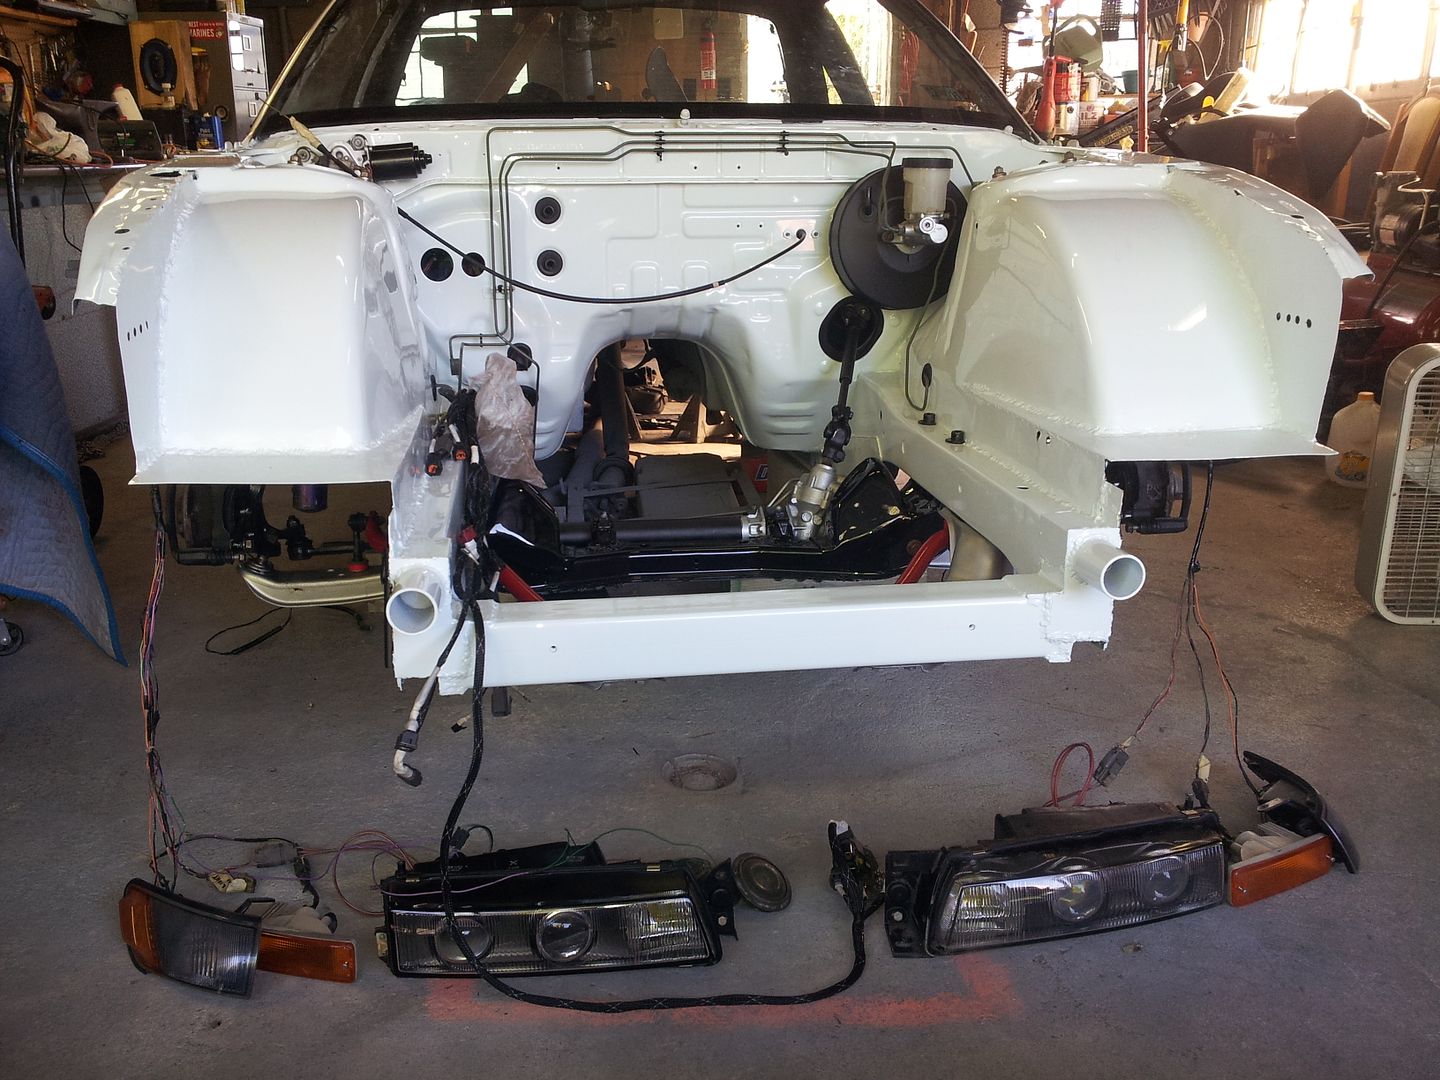
Since my two-tone fenders were kinked near the corner light and headlight brackets out of spec, my friend that is doing a silvia front on his coupe let me borrow his fenders and hood to fabricate the core support and headlight brackets.
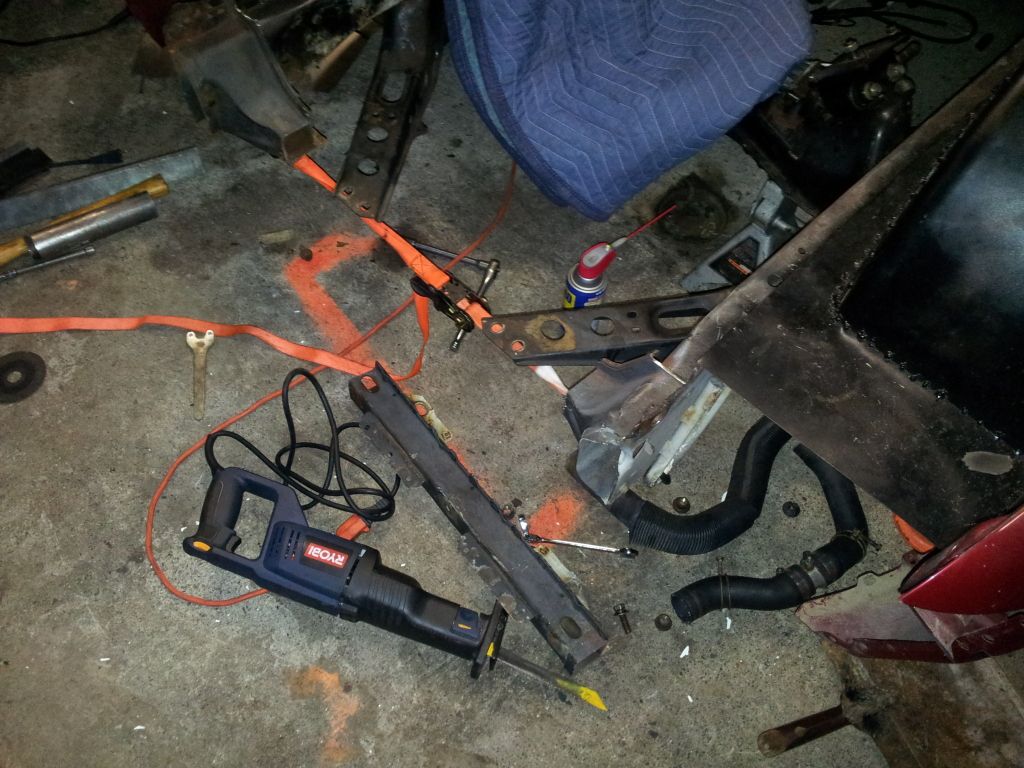
fabrication begin!
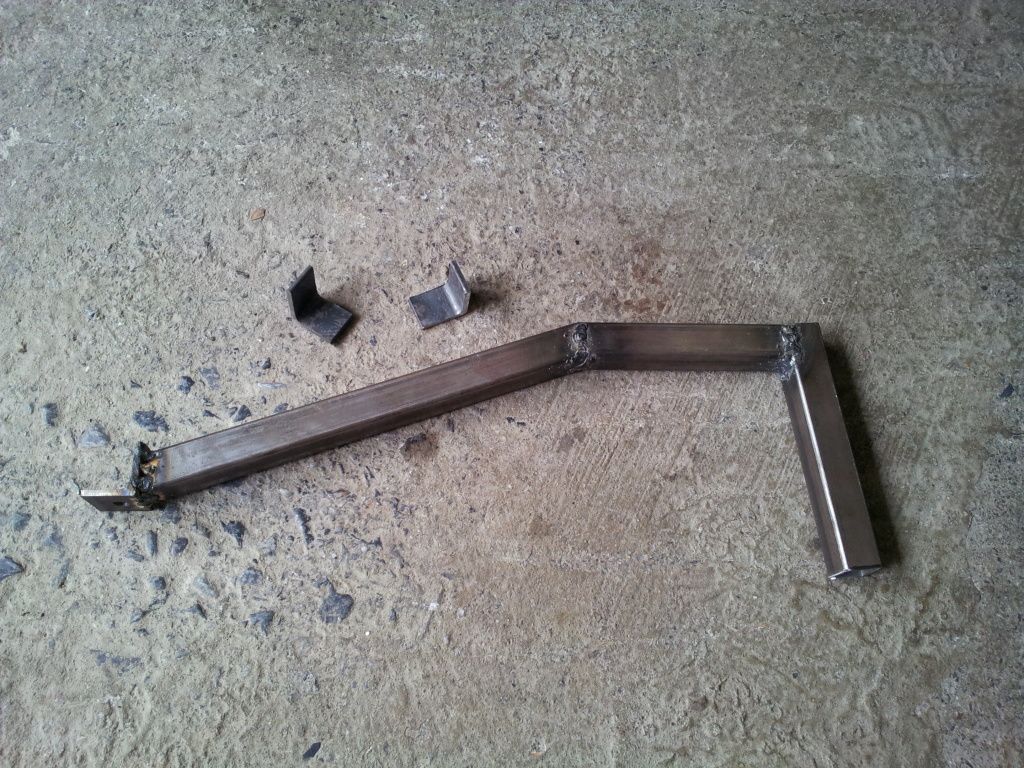
core support tube after bending into shape
 side mounting tabs
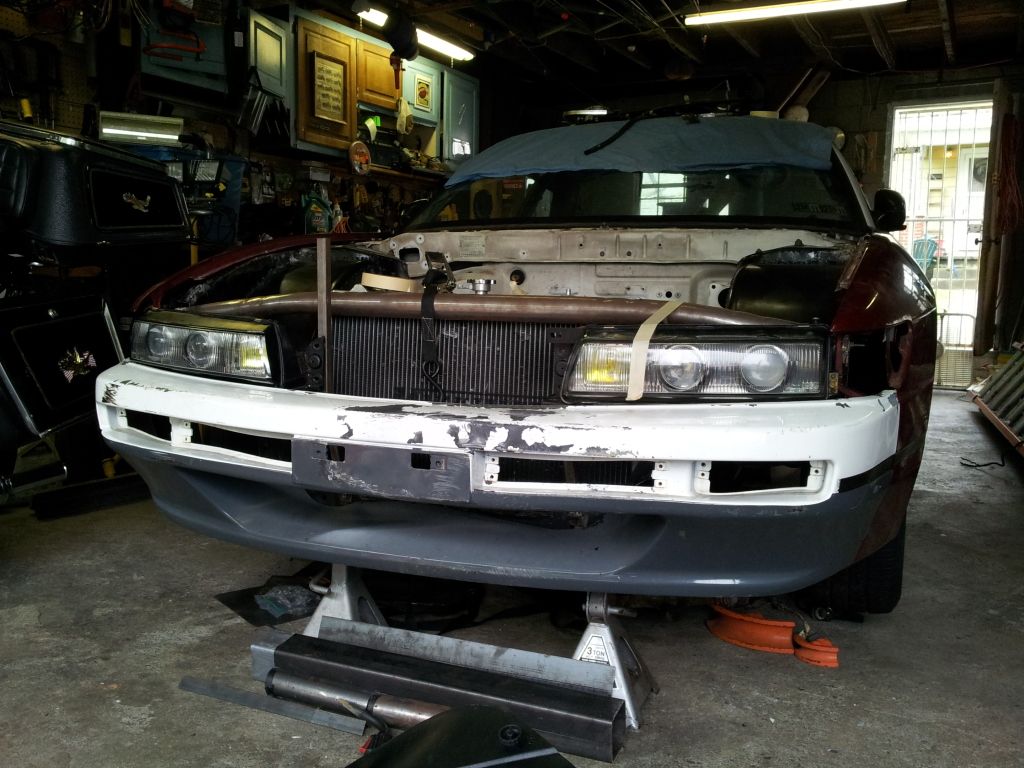
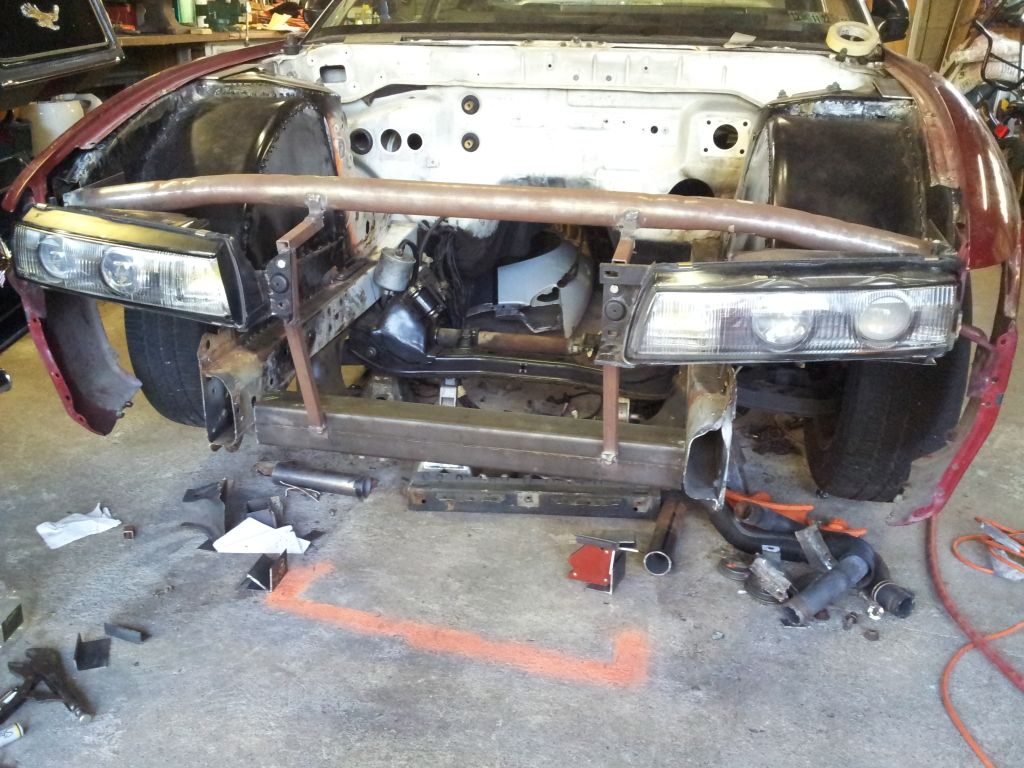
 bolted support in and taped lights in place for headlight brackets
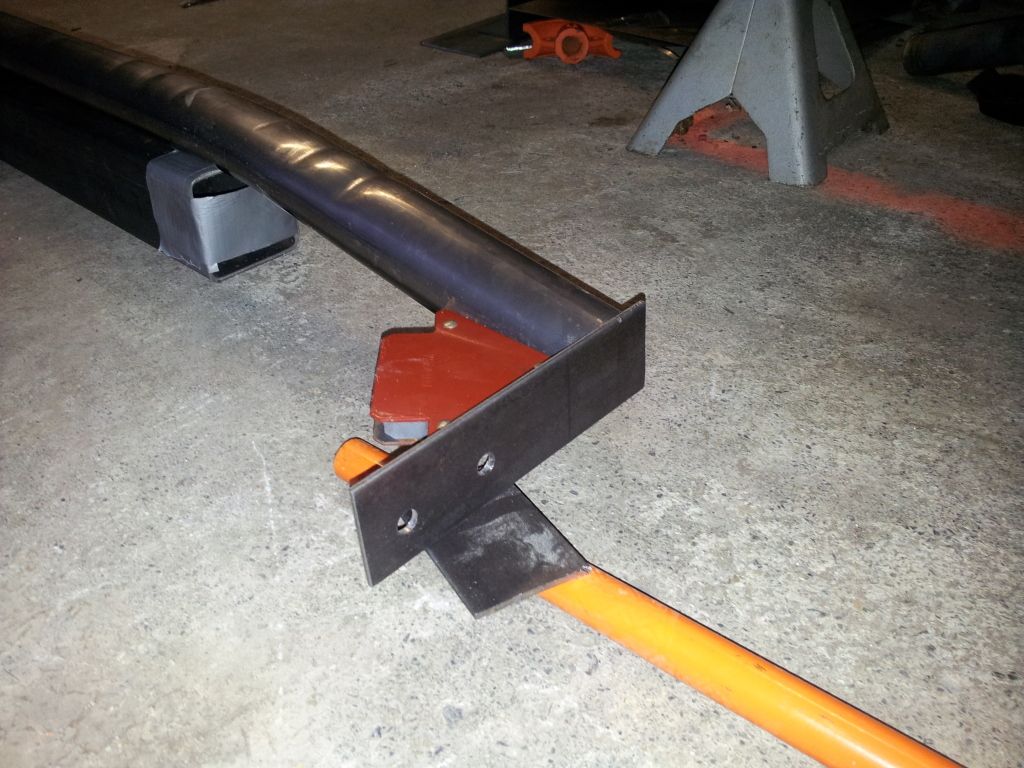
 head light brackets
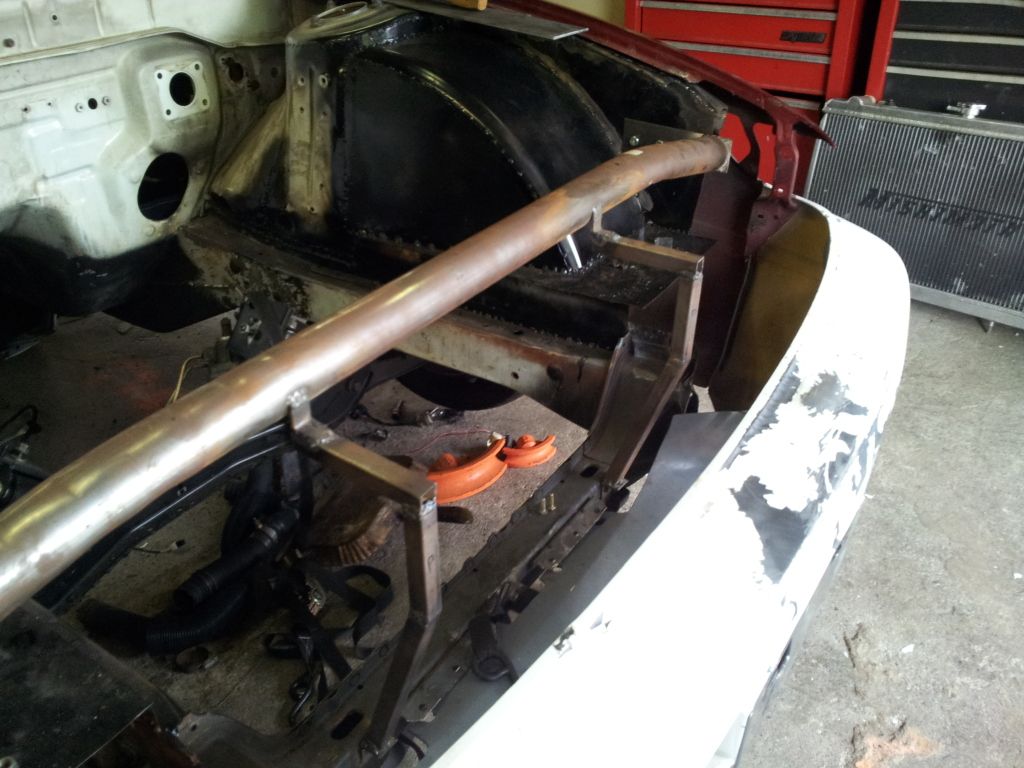
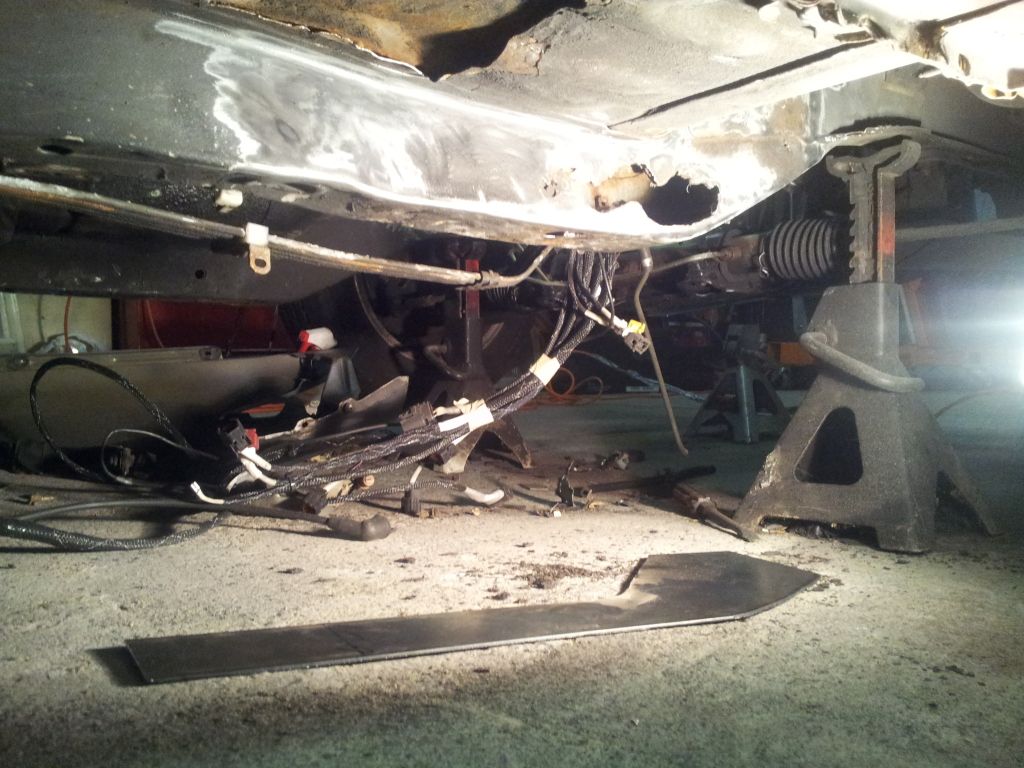
 both welded up and ready to mount, but first i needed to replace the rusted lower support first.
 cut it out!
 marking for the headlight bracket holes and tension rod brace holes
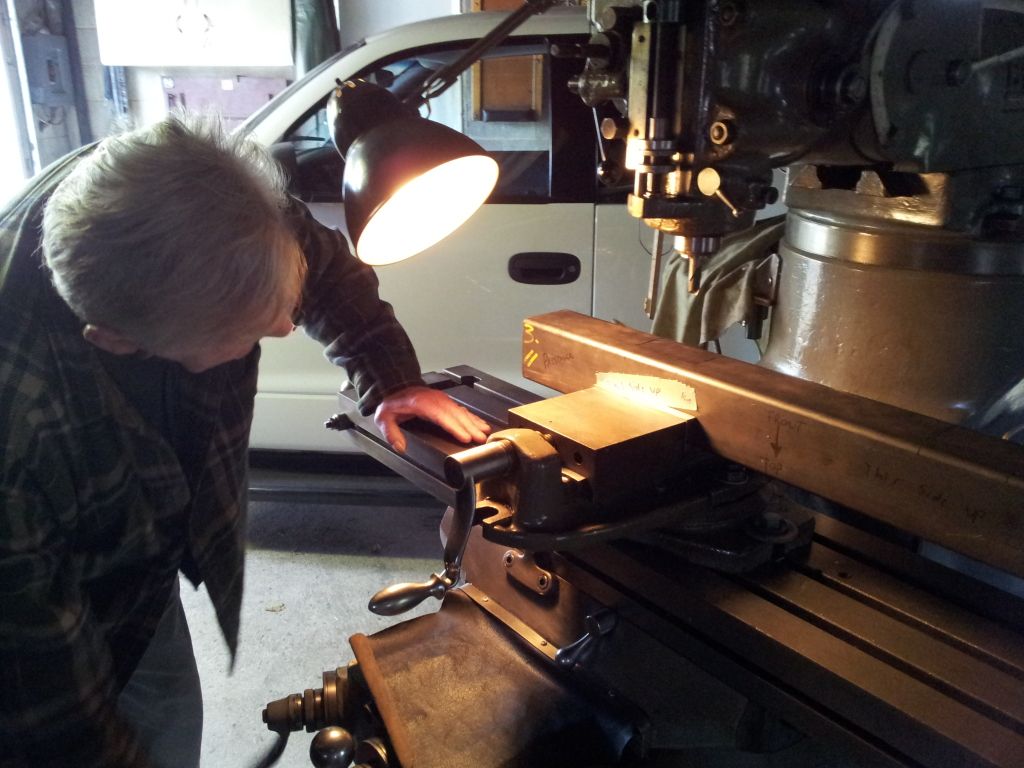
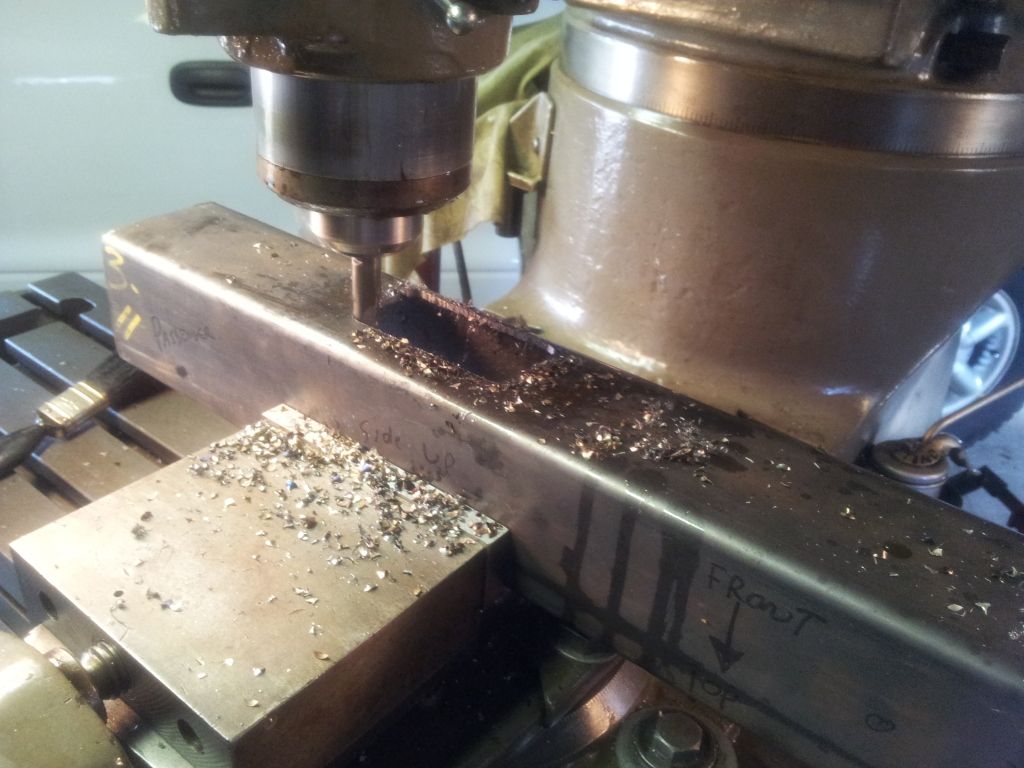
 in my pap's garage to mill access for the tension rod brace bolt plates and other holes for the brackets.
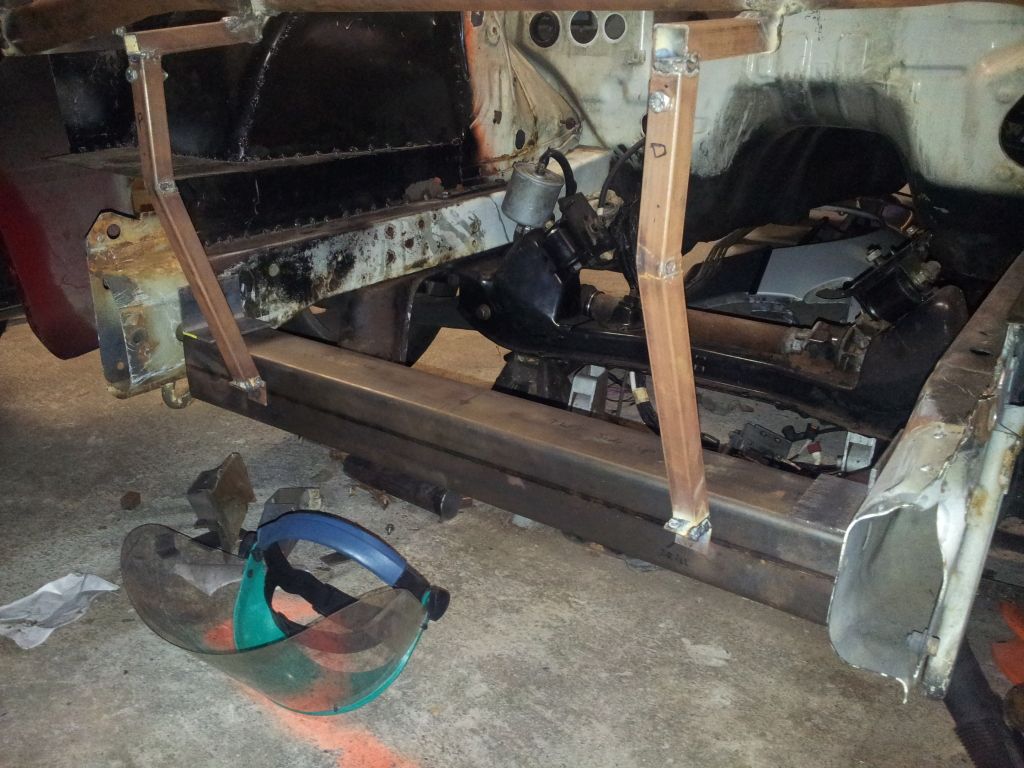
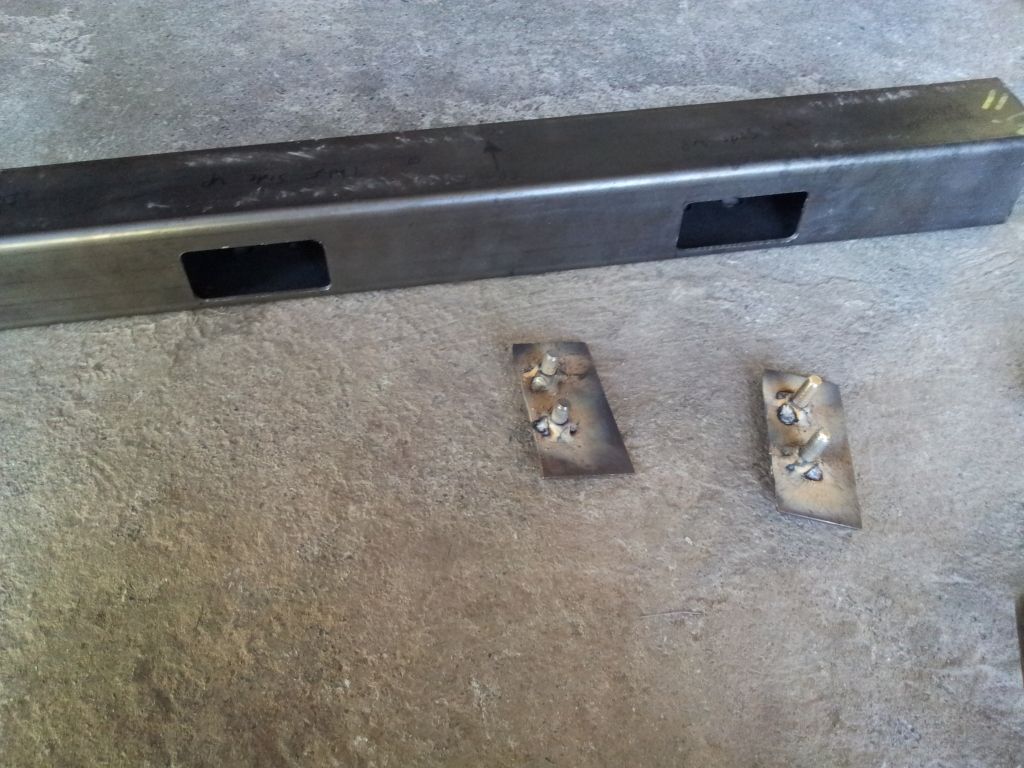
 bolt plates for the tension rod braces.
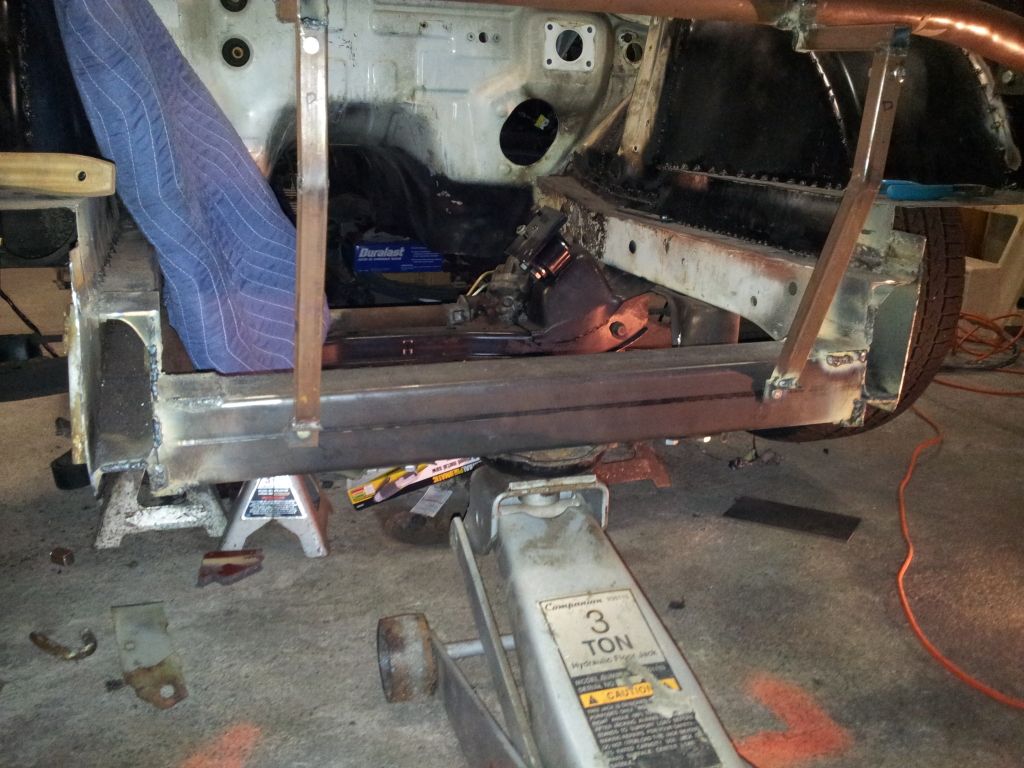
 ready to weld in place.
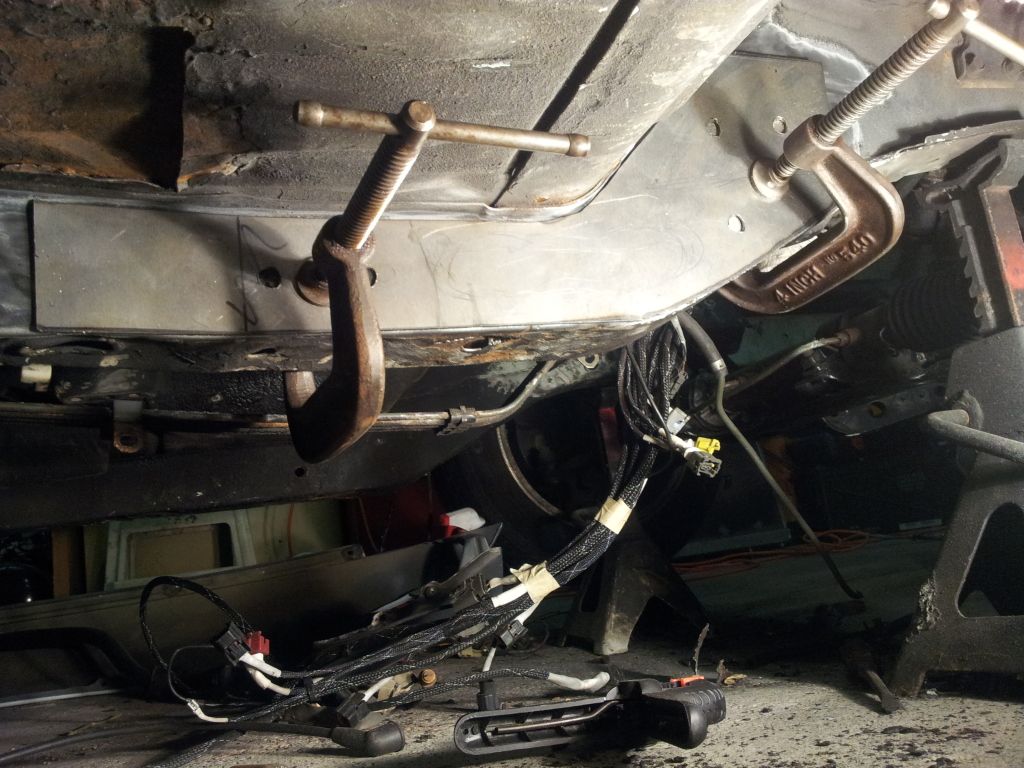
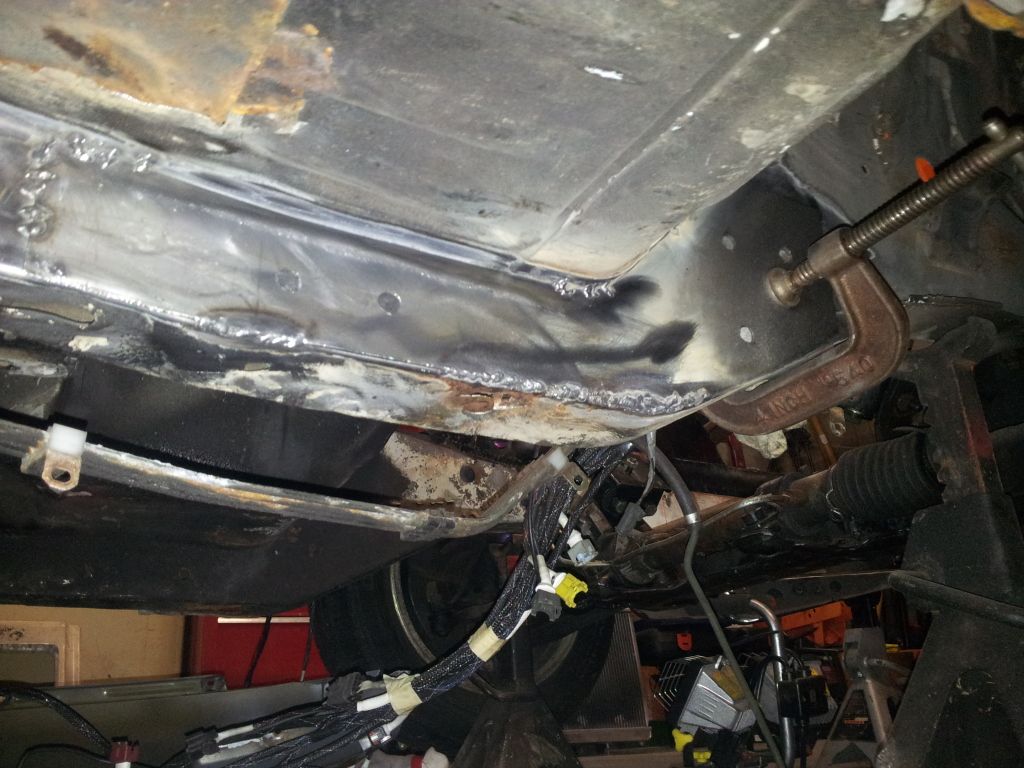
 welded and frame rails trimmed flush
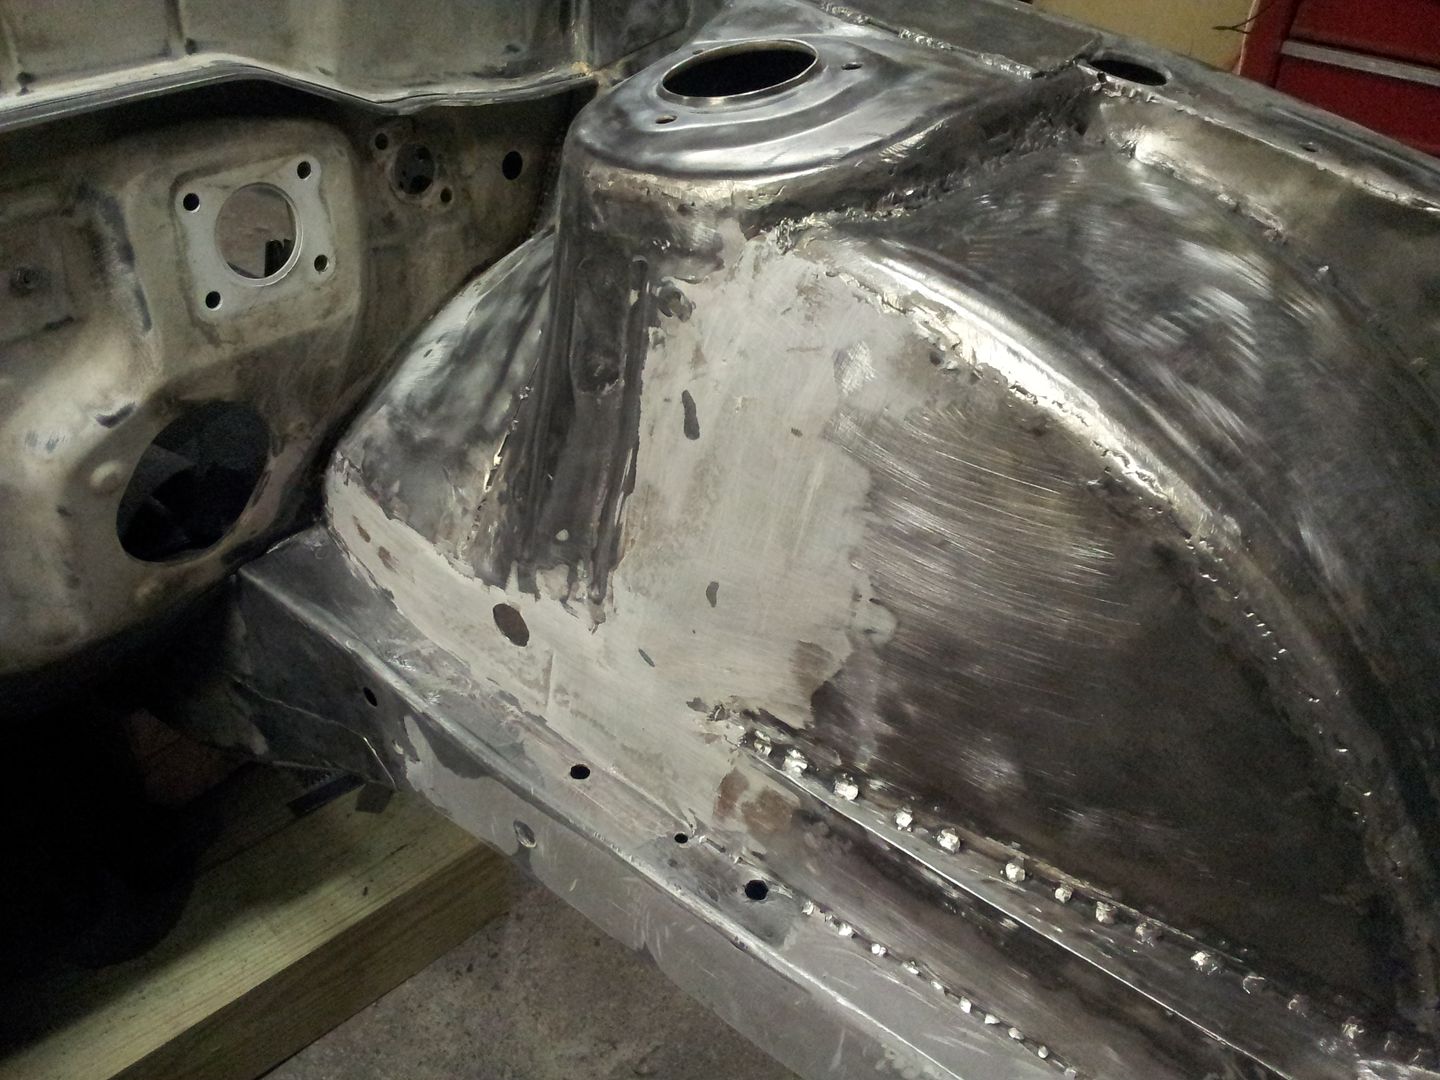
 my uncle that runs the metal shop i get my metal from cut out some frame patches for me.
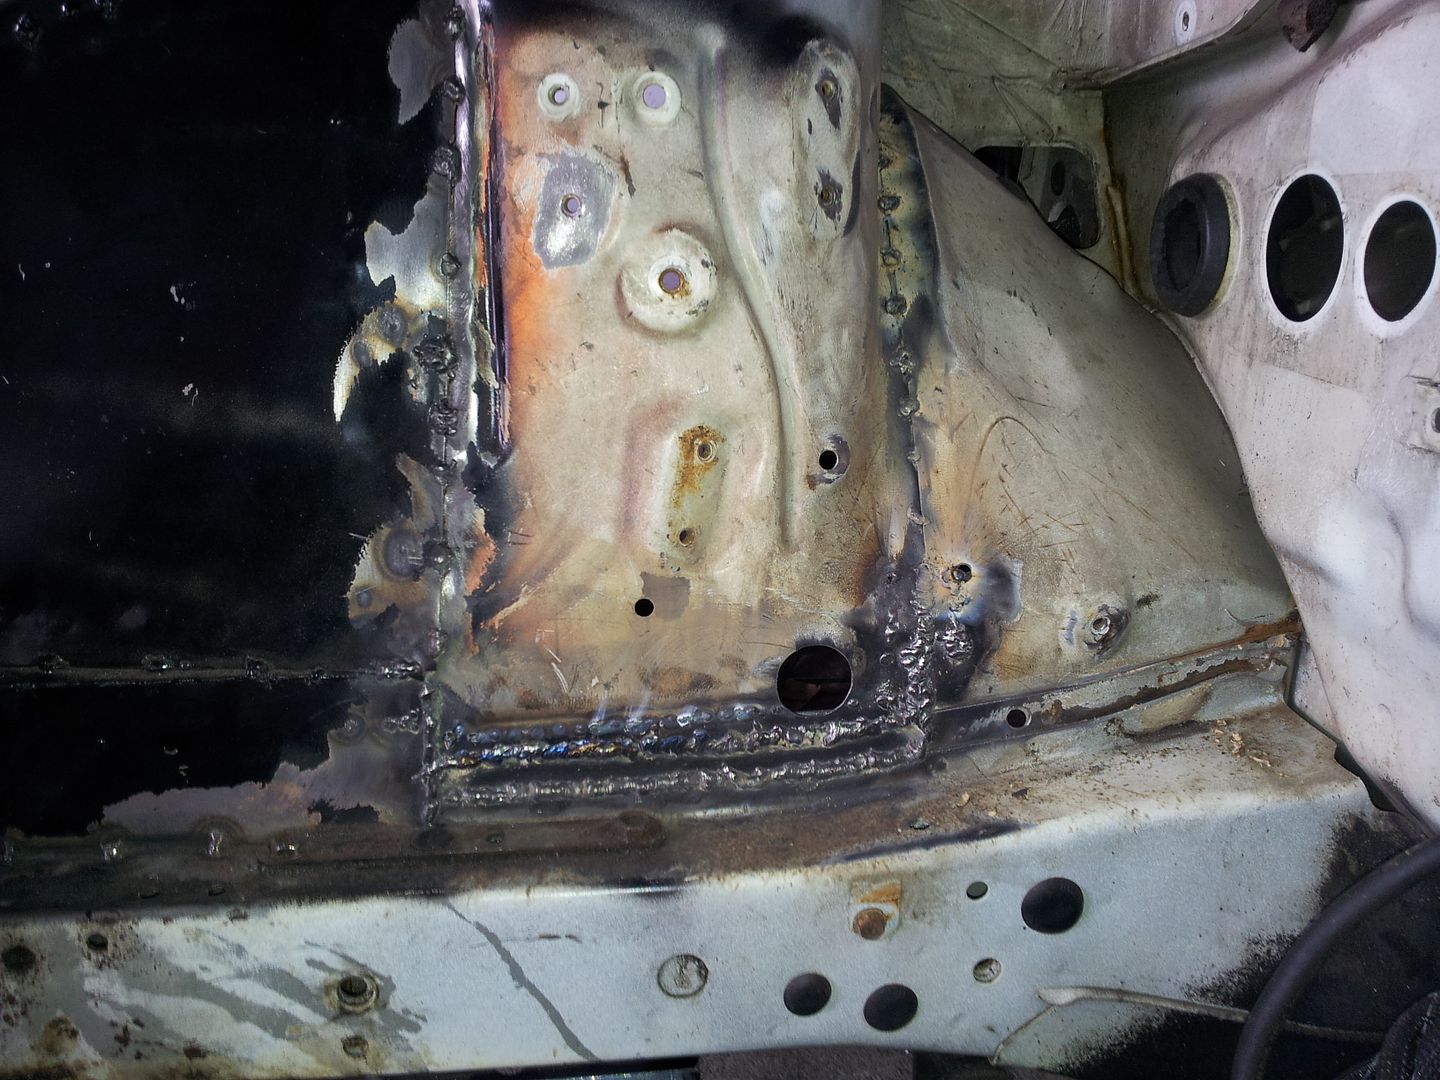
 drilled some holes to plug weld in place till i welded around the outside of it
 not completely done, you get the idea.
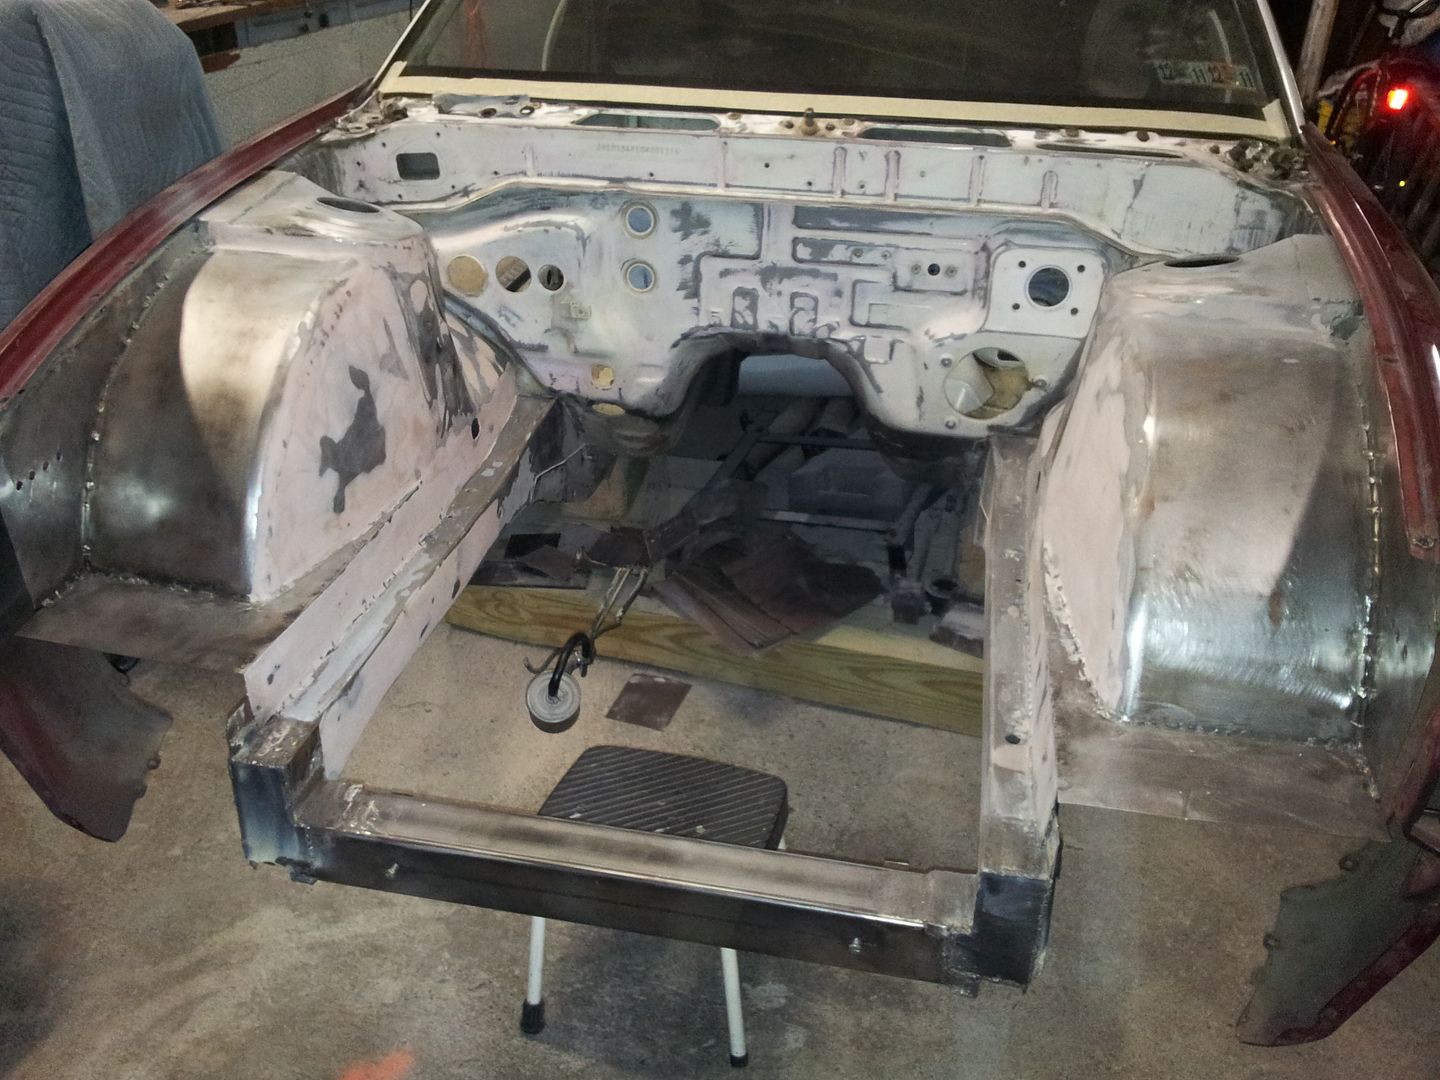
 time to finish up welding in the bay before body filler.
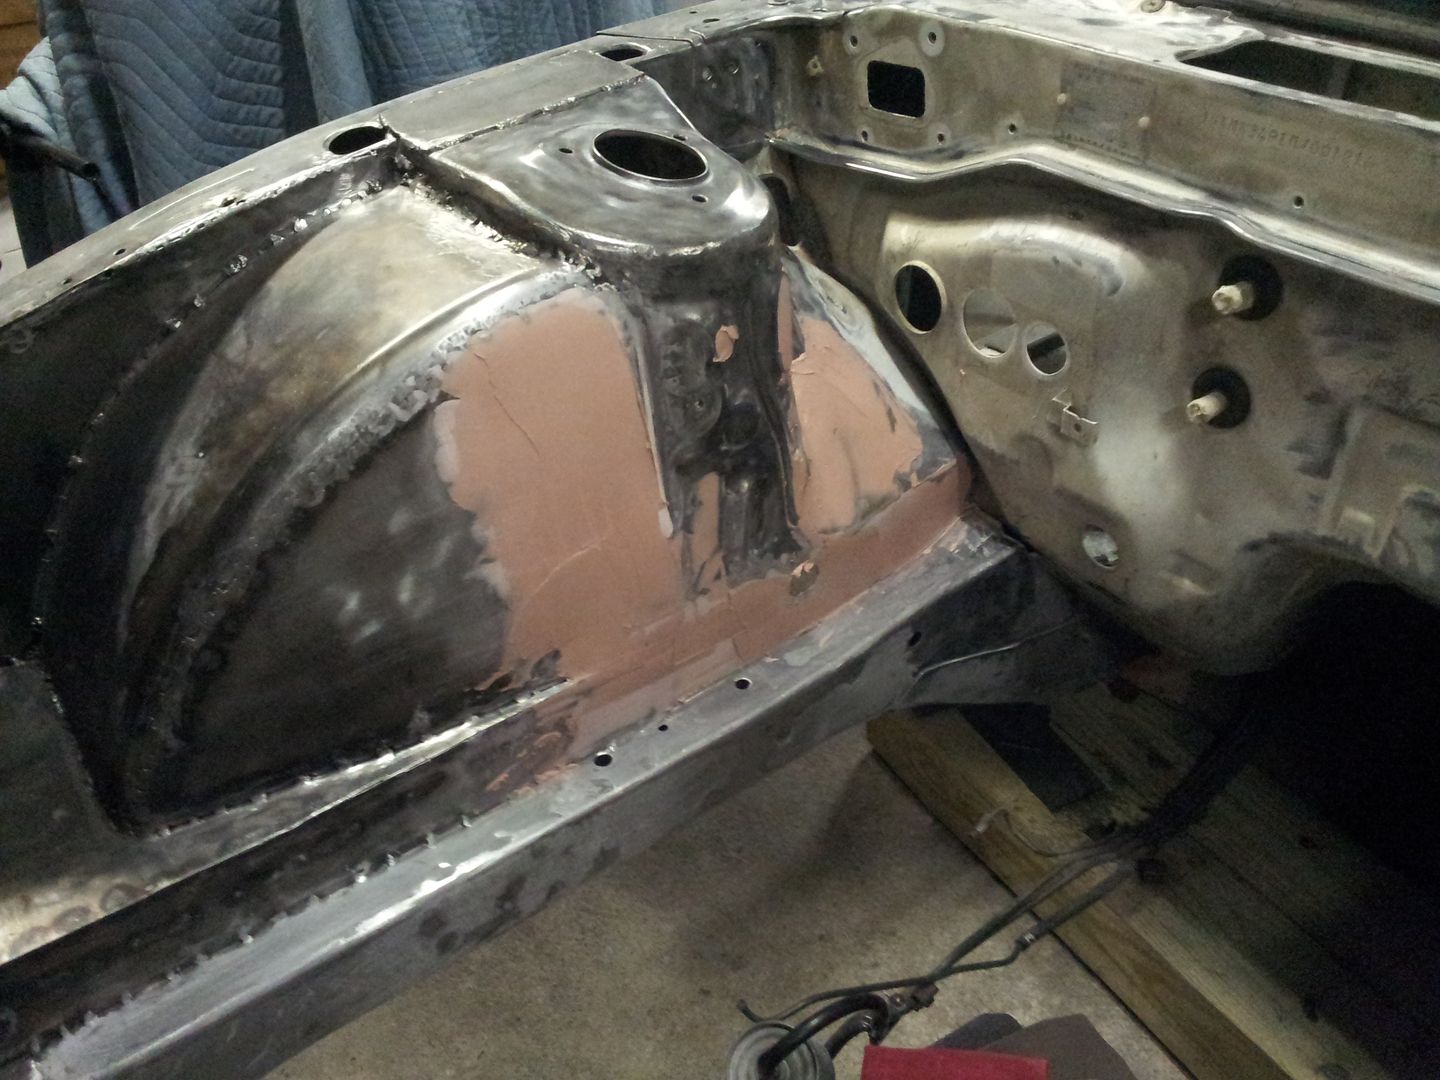
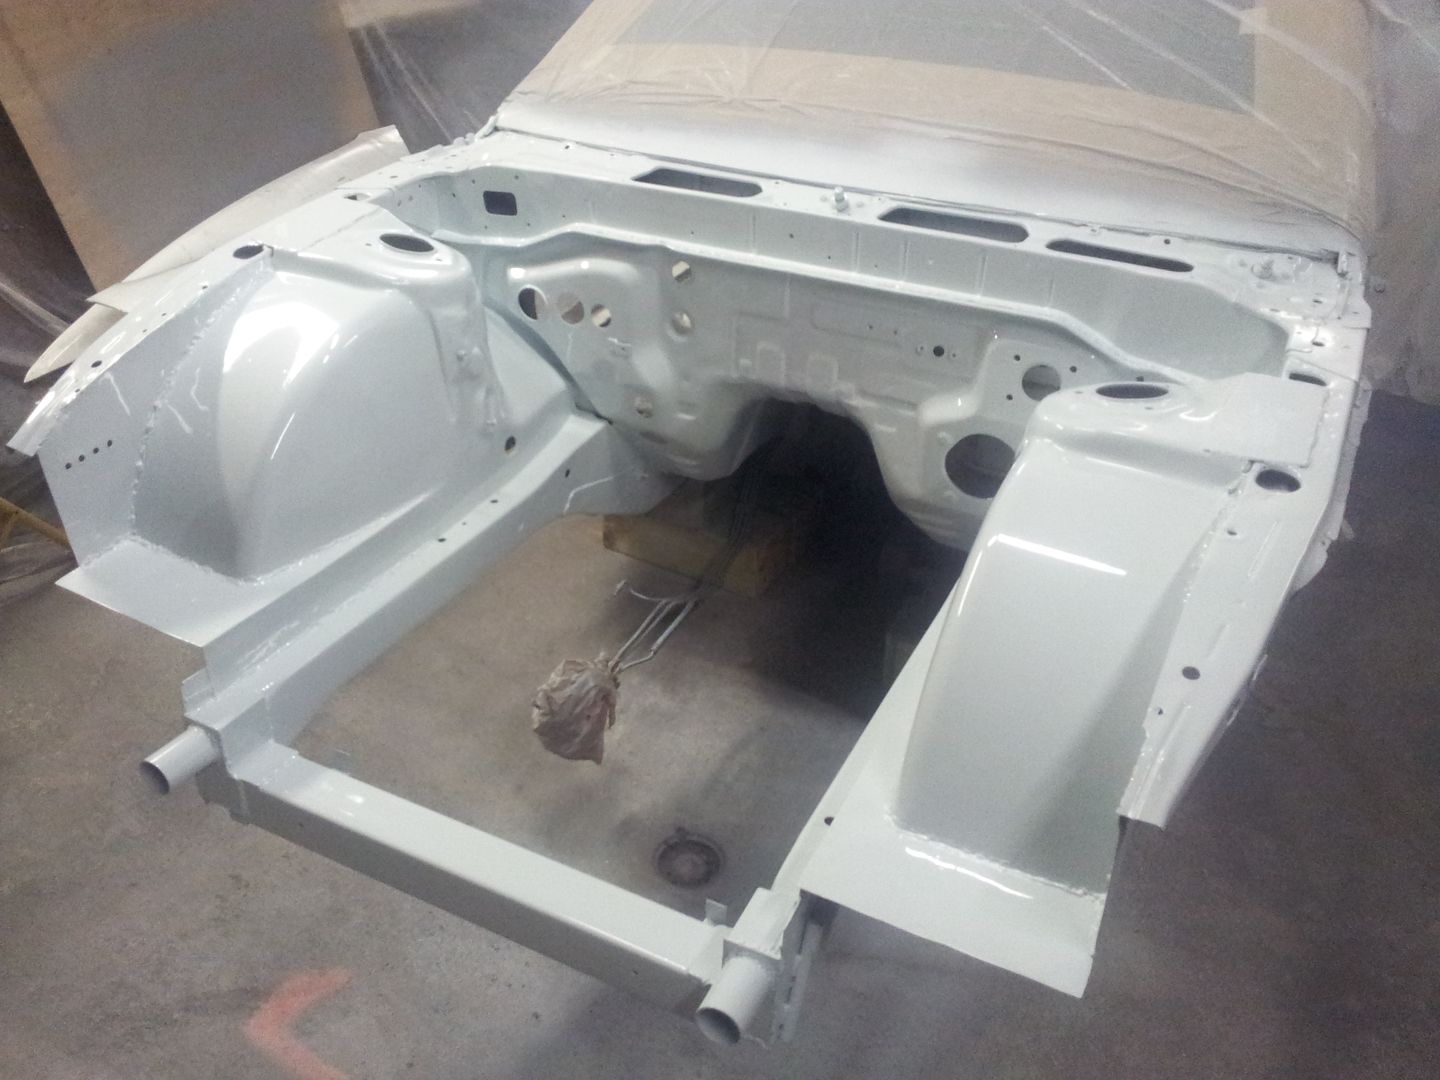
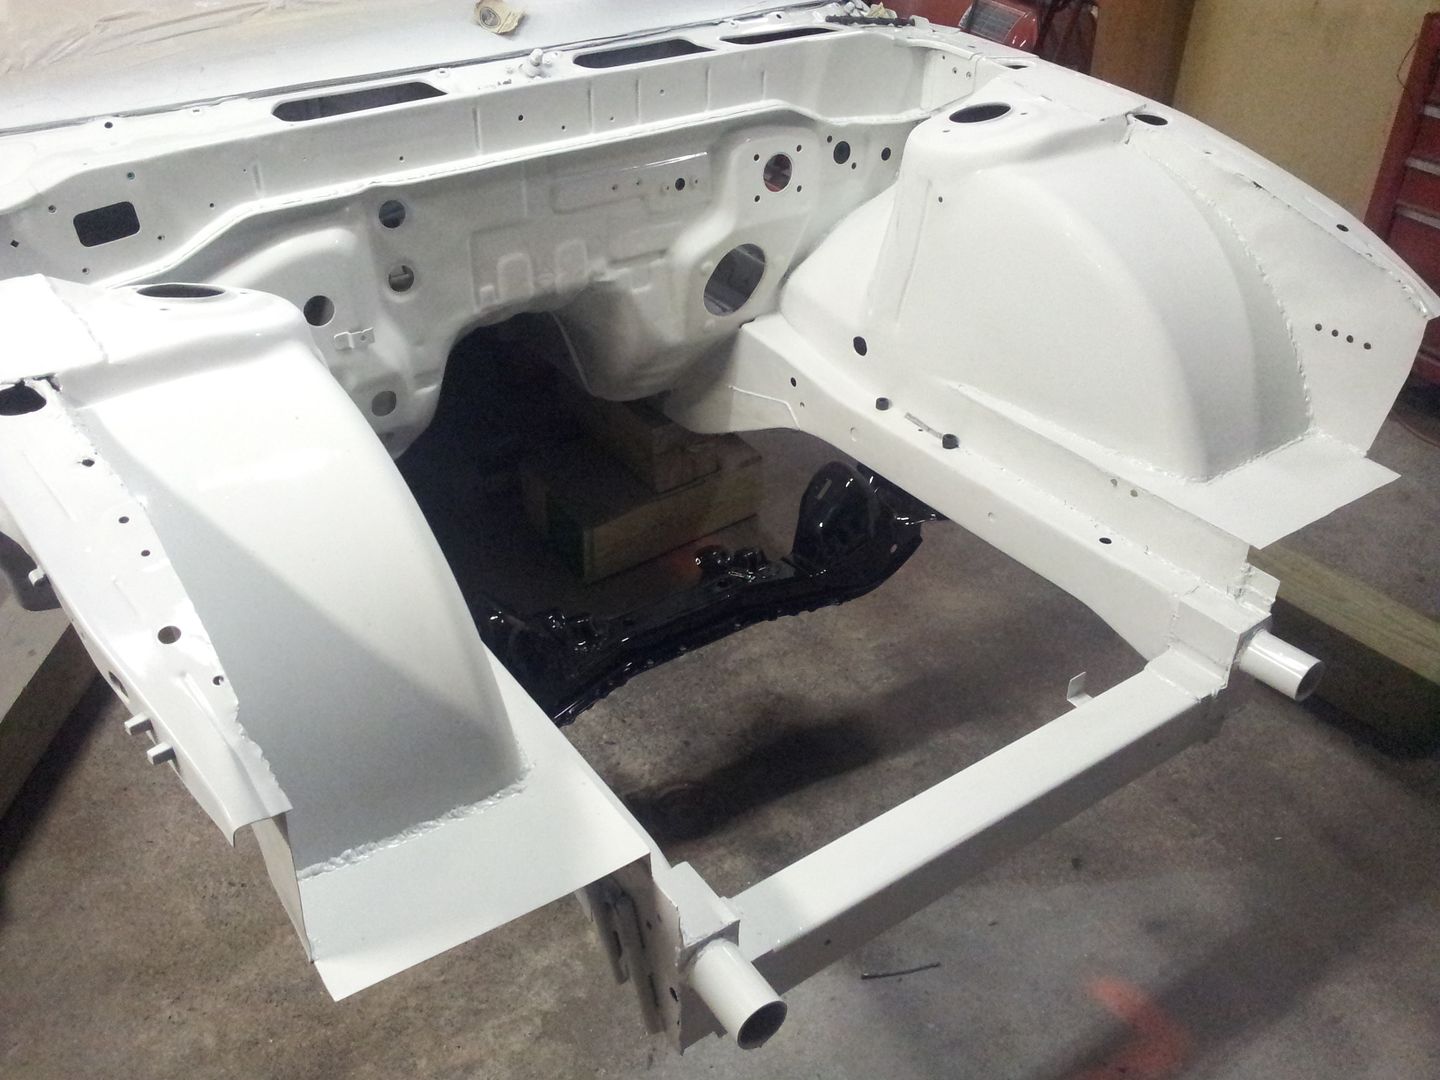
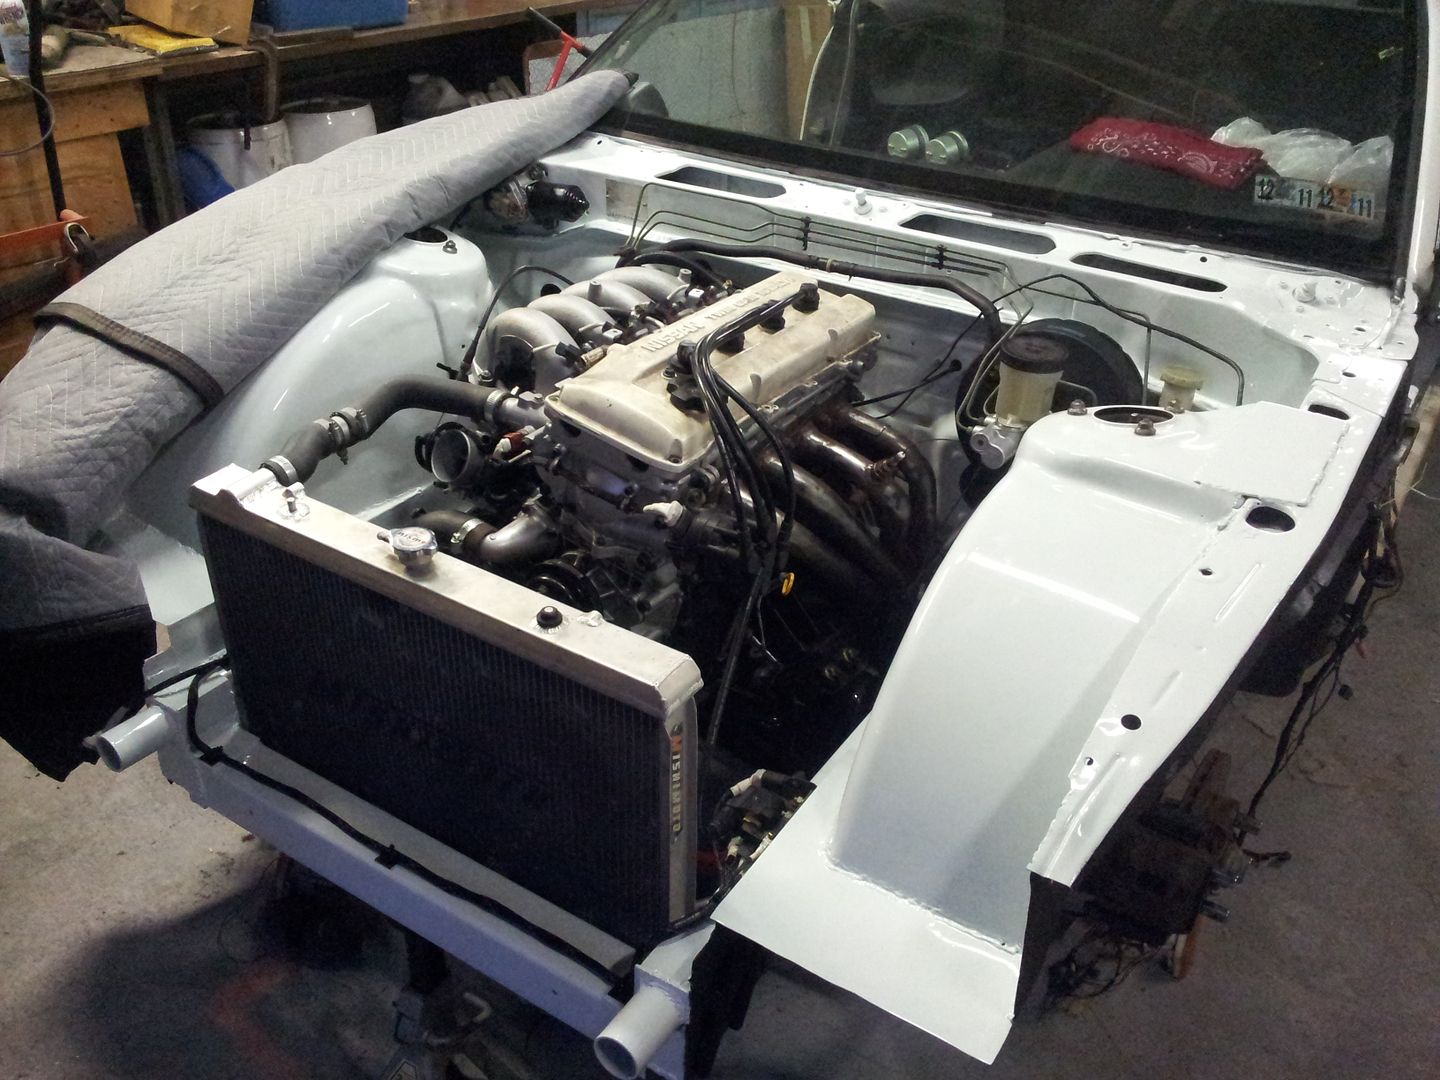
 after I stripped the bay to bare metal it was time to shave and tuck some stuff in the bay. i chose to use fiberglass reinforced body filler mainly because of the heat in the bay, then finish in some spots with regular and a glaze to fill in pin holes.
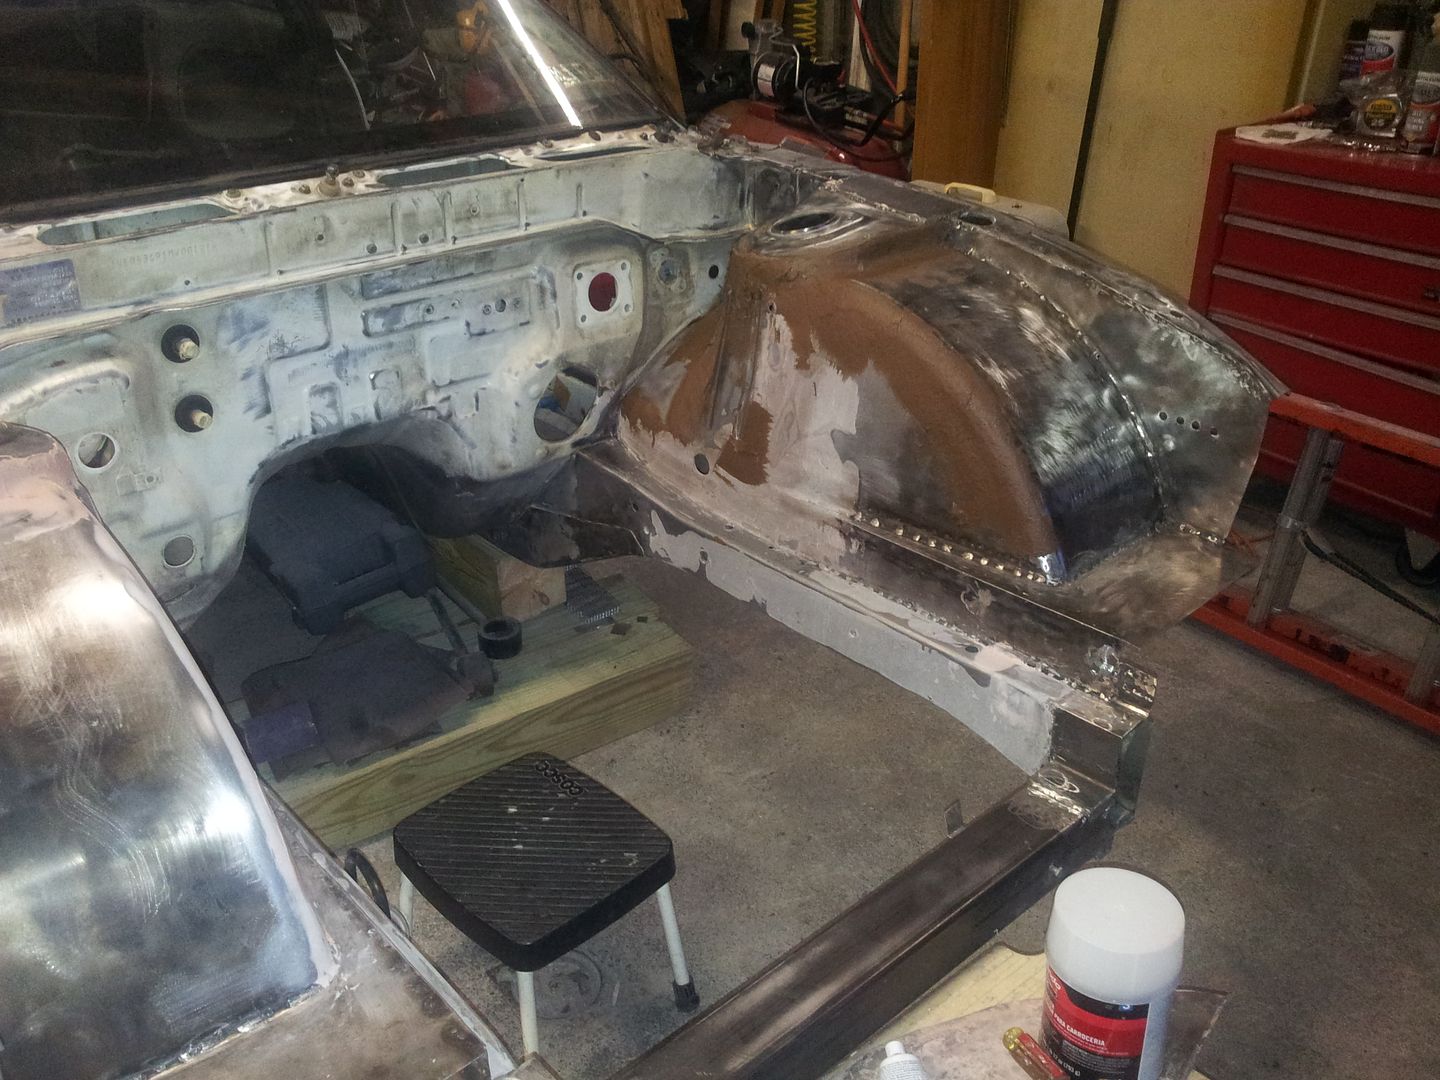
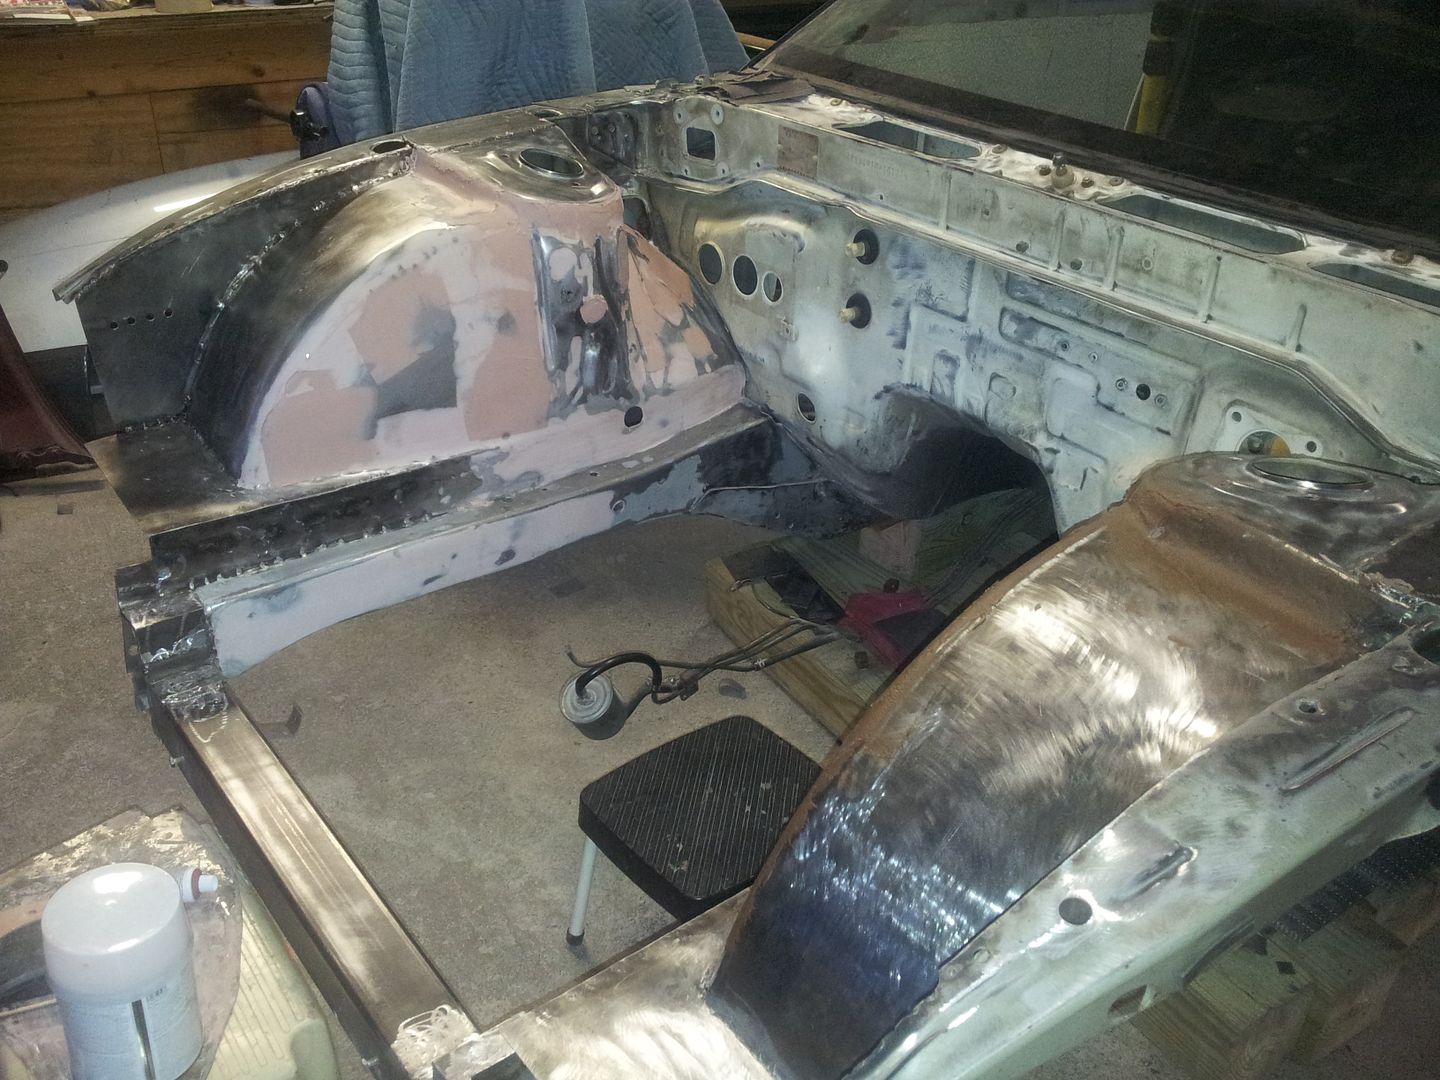
 little more sand, fill, repeat...
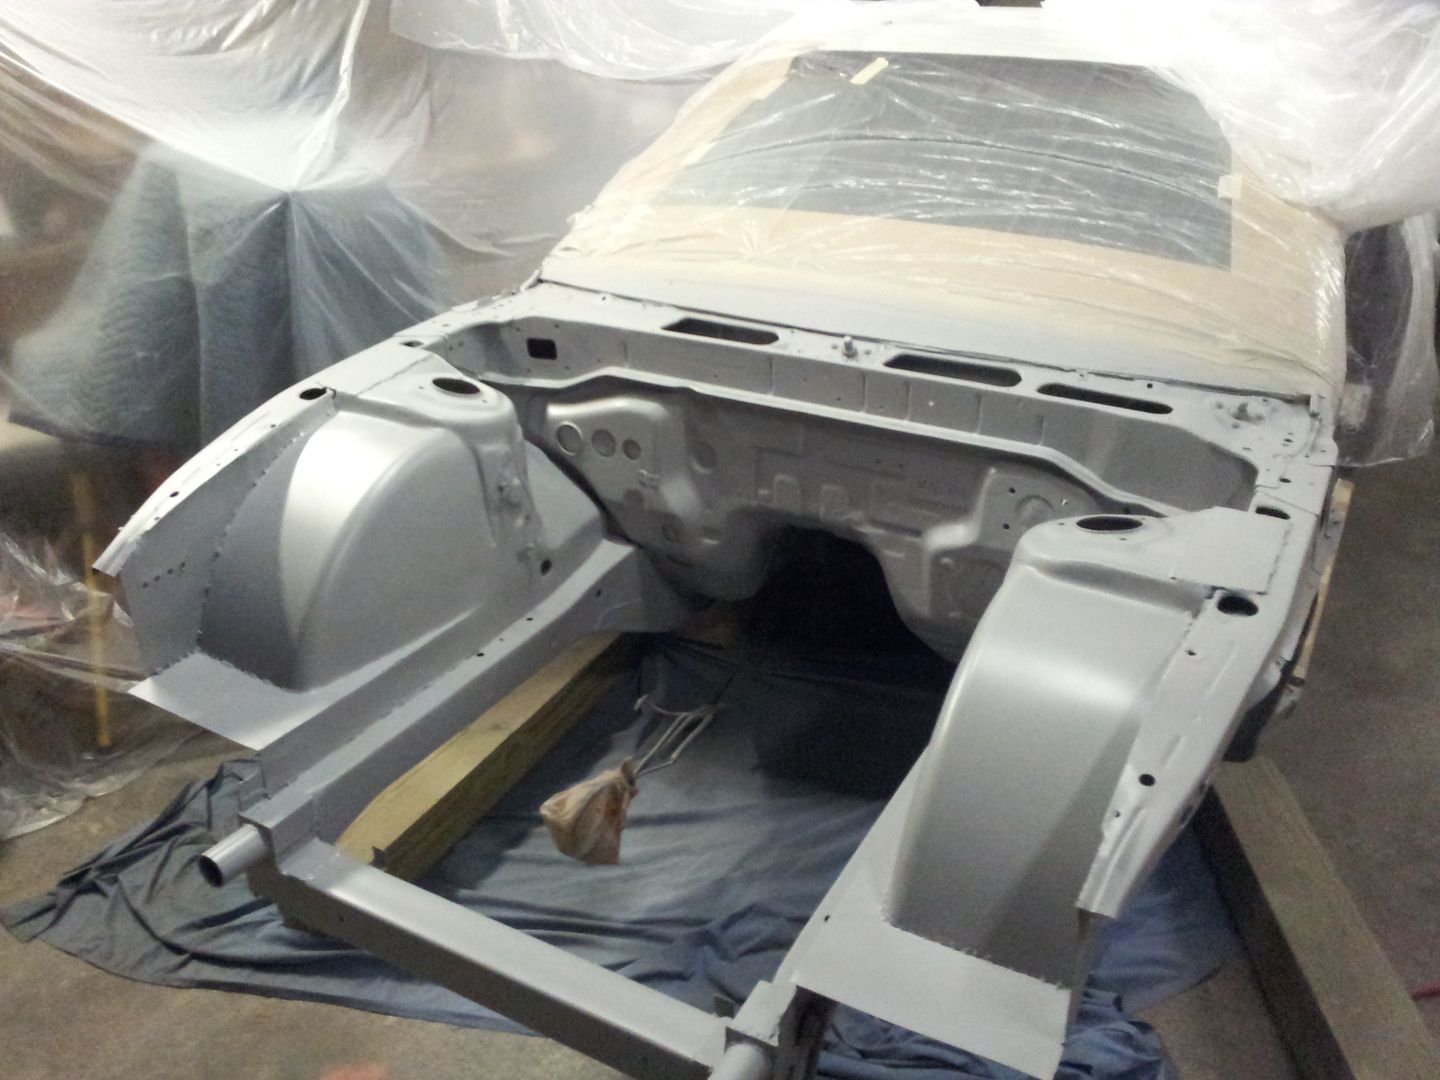
 Time for primer after a good wipe down to get all the dust clear.
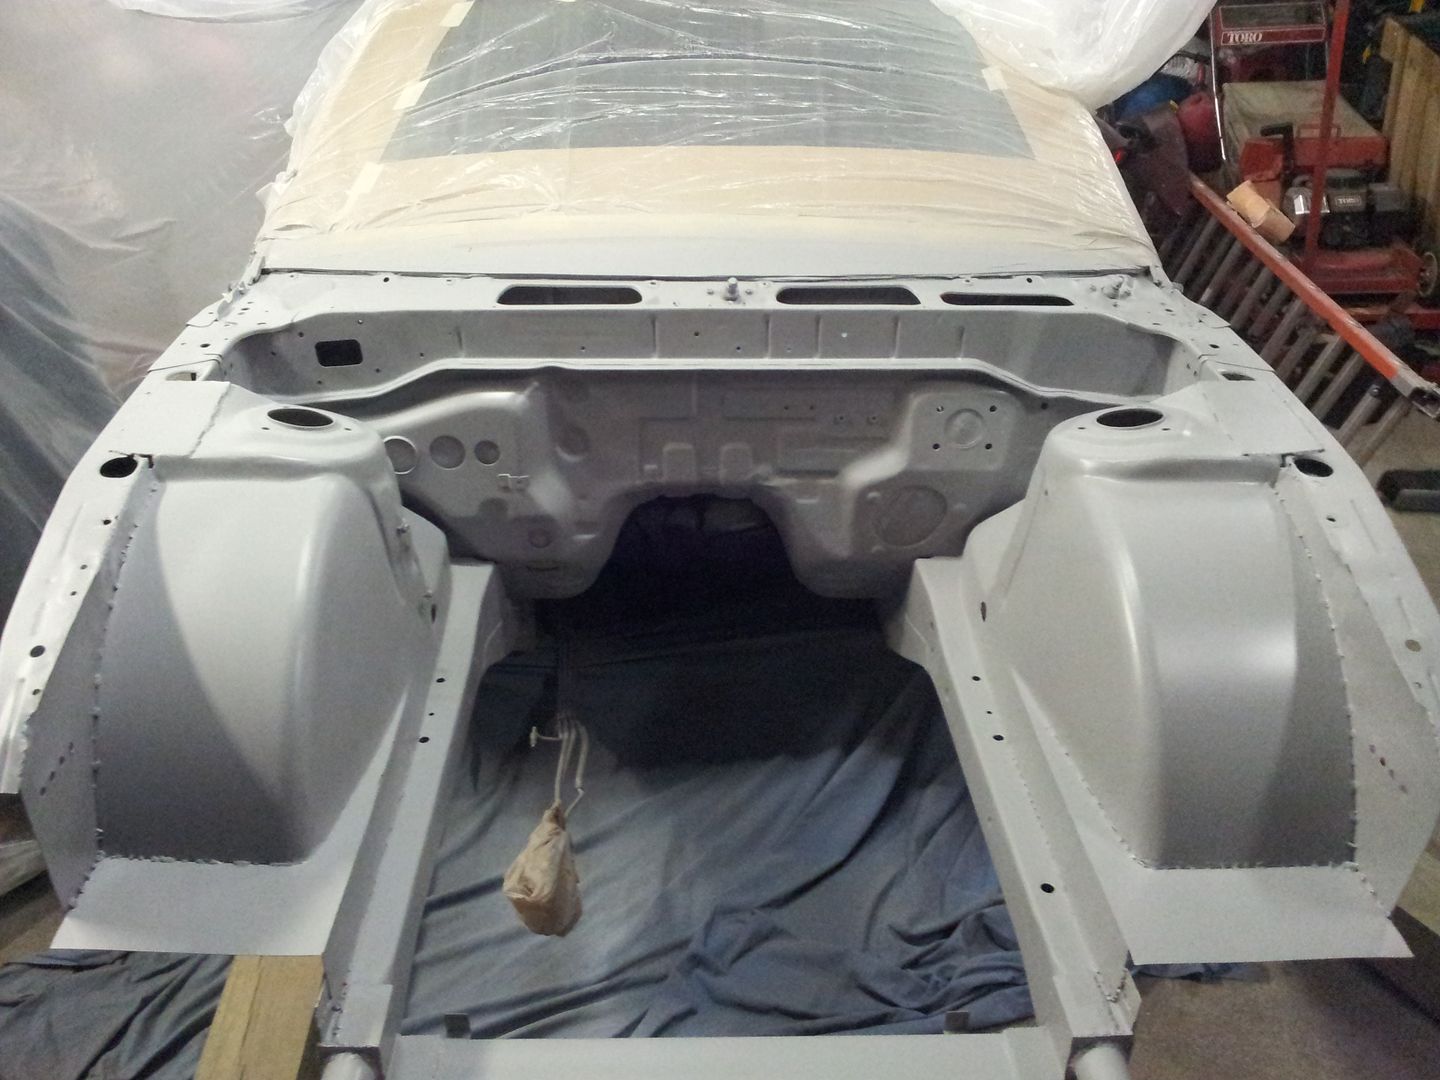
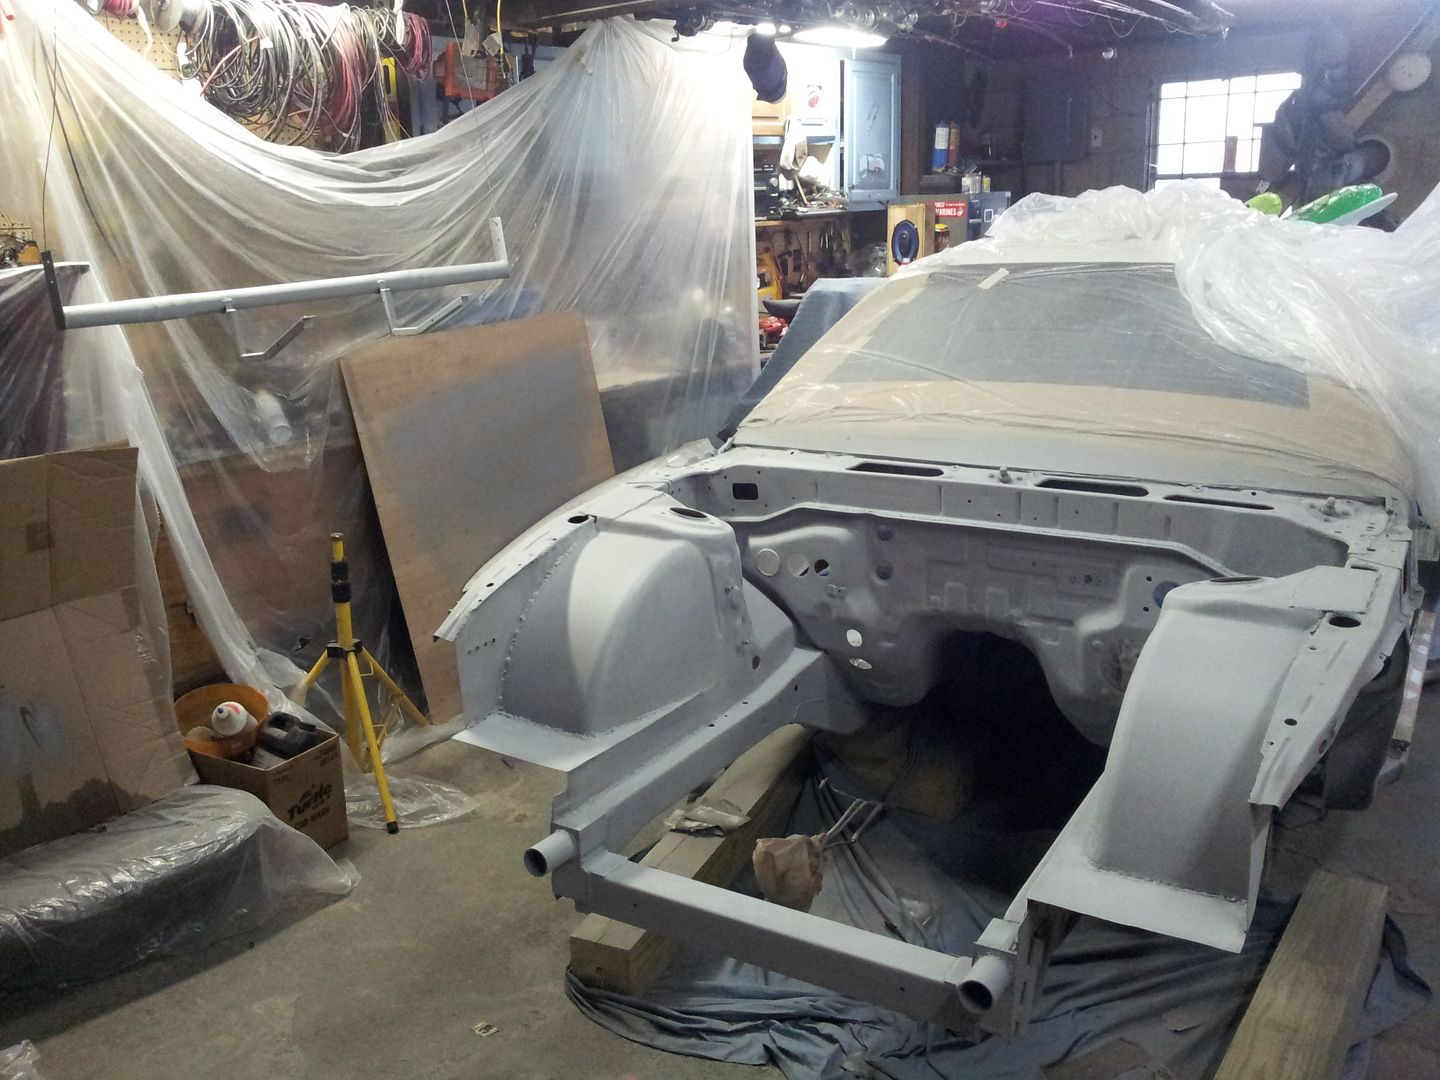 so i sanded the primer with red scotch brite pad. up until this point i have done everything. the only thing i didn't feel comfortable spraying the actual color because i only had a couple hours behind the gun spraying primer which is forgiving in the sense i can sand out the runs or high spots. so i had the friend that sprayed the car in 2010 come over and spray the color and slipped him a couple $$ for the paint and his time..
the color i chose was "viper white". very bright in the sun! i was very happy he sprayed it but there was some runs and fisheye/dirt in it.
so i sanded the primer with red scotch brite pad. up until this point i have done everything. the only thing i didn't feel comfortable spraying the actual color because i only had a couple hours behind the gun spraying primer which is forgiving in the sense i can sand out the runs or high spots. so i had the friend that sprayed the car in 2010 come over and spray the color and slipped him a couple $$ for the paint and his time..
the color i chose was "viper white". very bright in the sun! i was very happy he sprayed it but there was some runs and fisheye/dirt in it.
 so we let it sit for a week or so, then he came back to spray it again. this time i sanded it with 600 grit and right before he sprayed it i wiped it down with a cloth and acetone followed by a tack cloth to get the dust out..
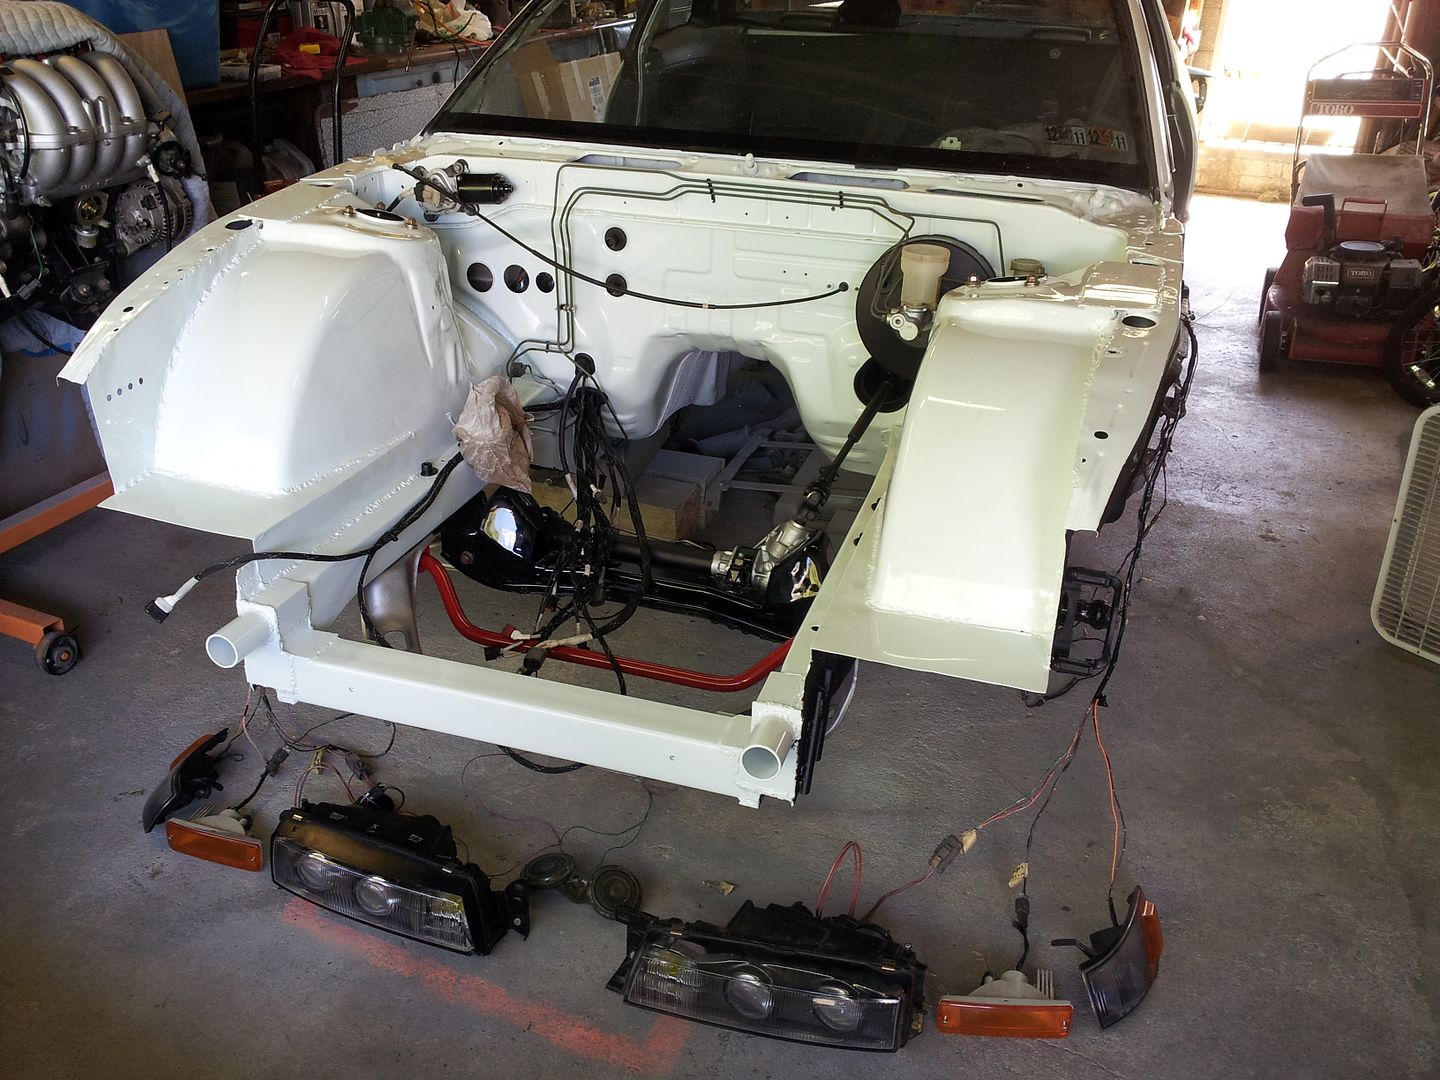
 about a week or so later after letting it sit to cure it was time to start putting parts back on.
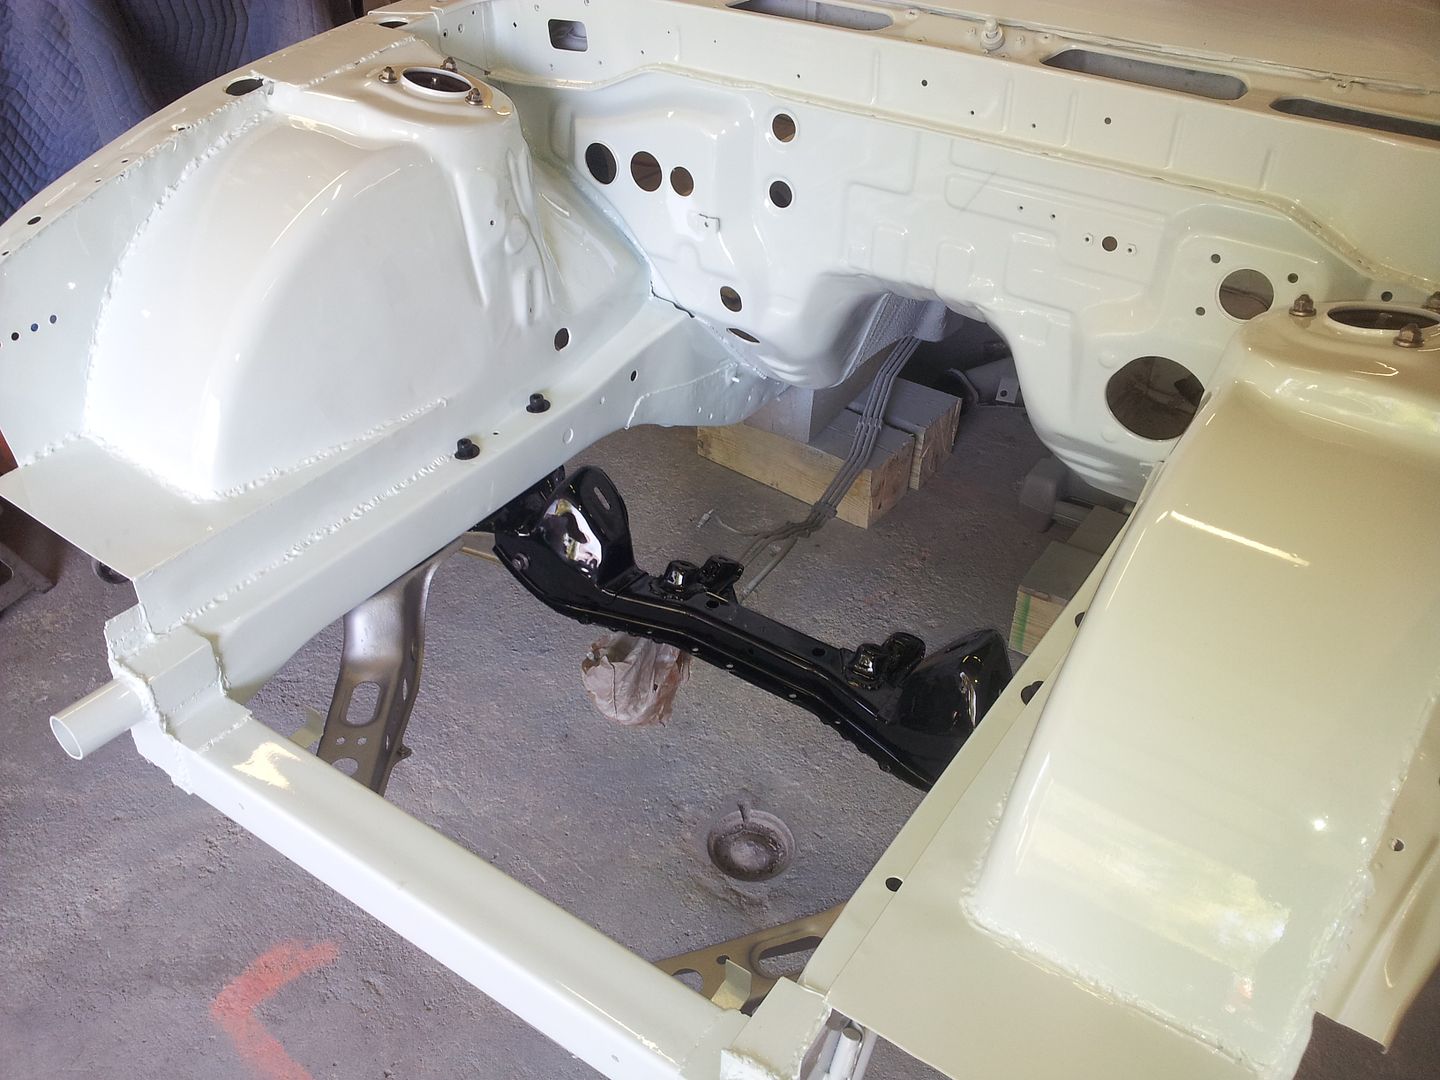
first was my powder coated crossmember.
i painted my tension rod braces and put those in and put the throttle cable through.
about a week or so later after letting it sit to cure it was time to start putting parts back on.
first was my powder coated crossmember.
i painted my tension rod braces and put those in and put the throttle cable through.
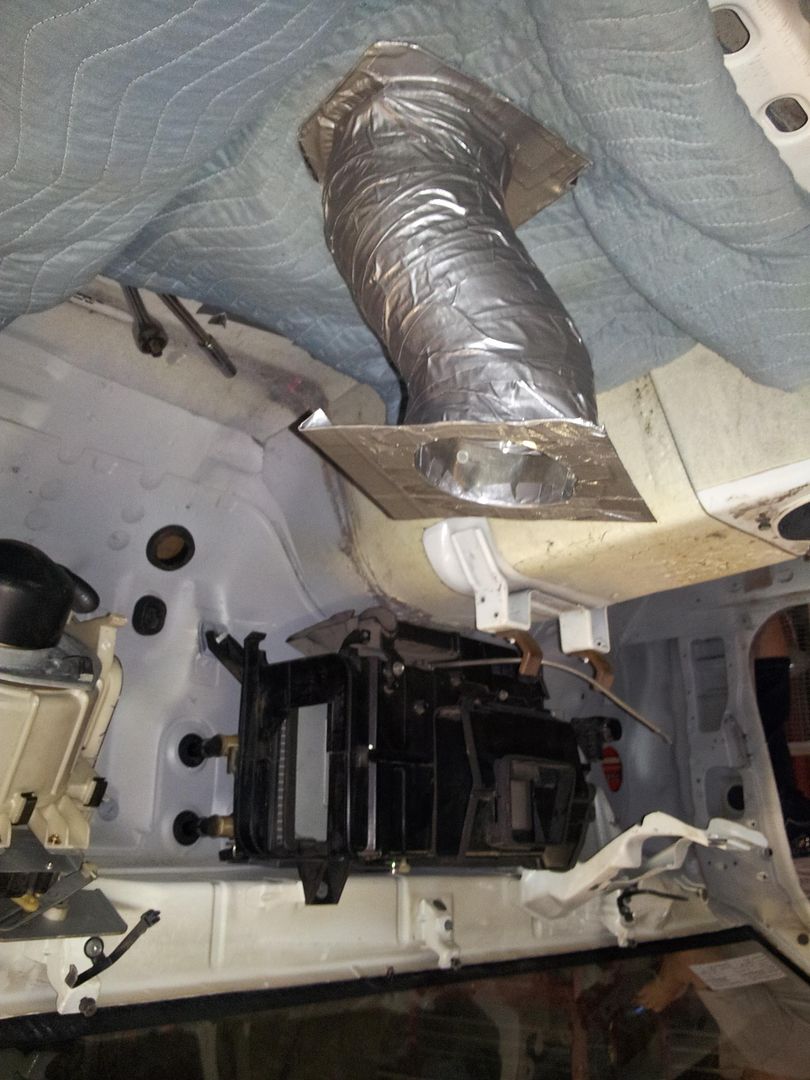
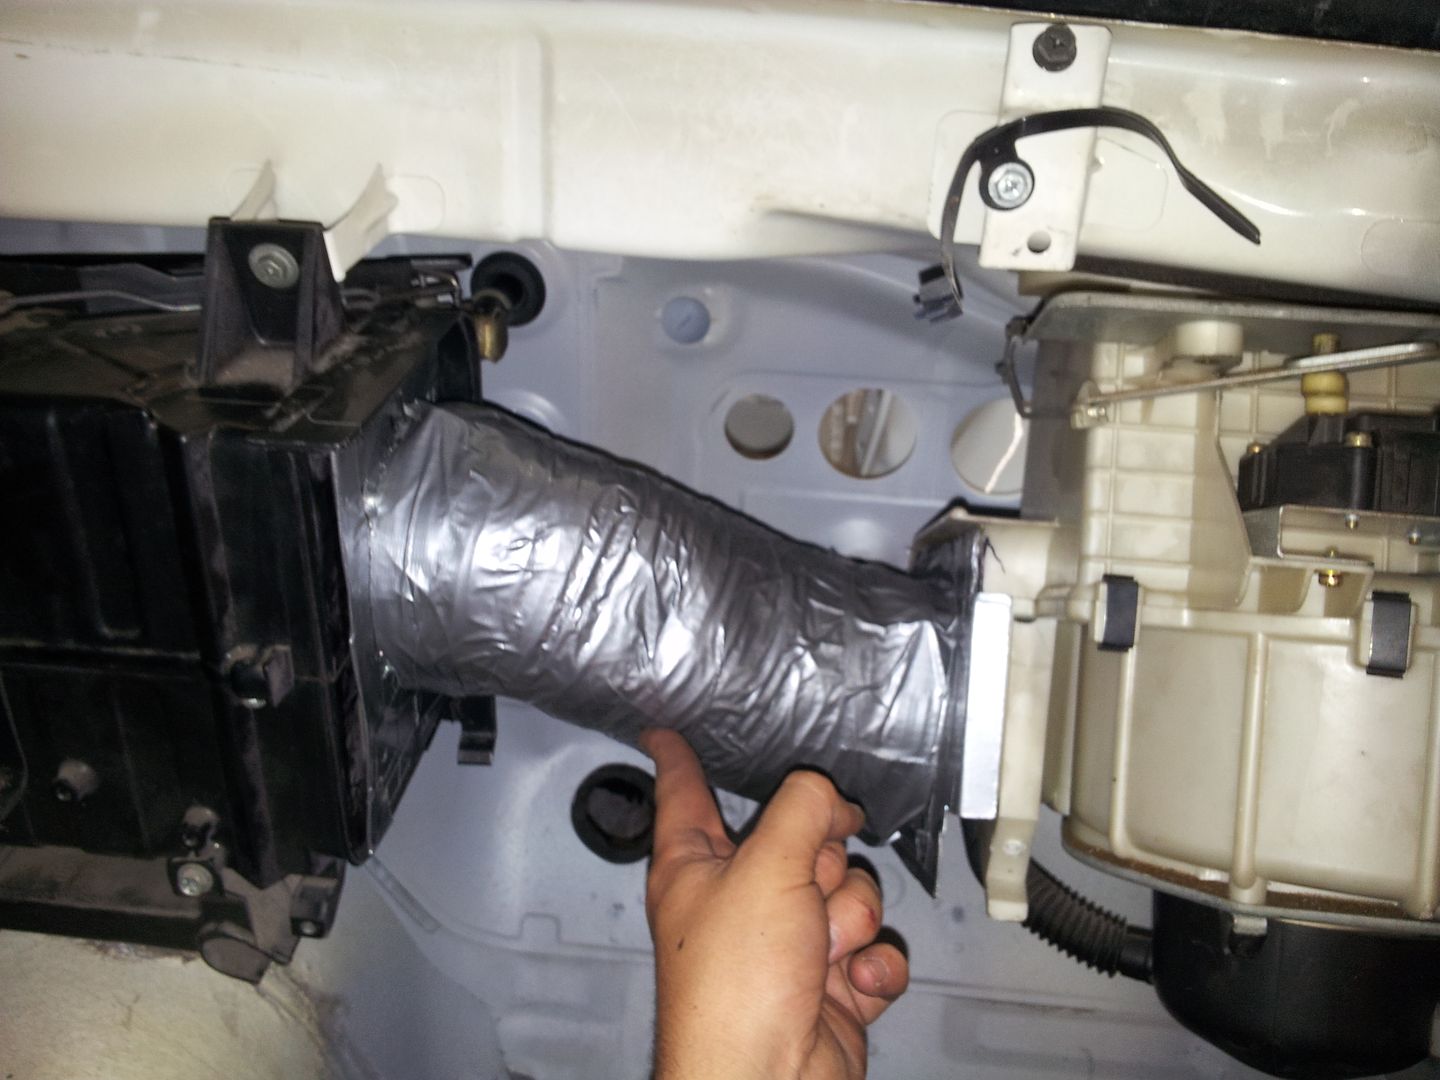
 i made some changes about how and where the fuse box was (jammed in the old A/C condenser box). so i took out the box and made a custom duct and plate so the fuse box doesn't fall to the floor and stay behind the blower duct.
 all installed and hooked up.
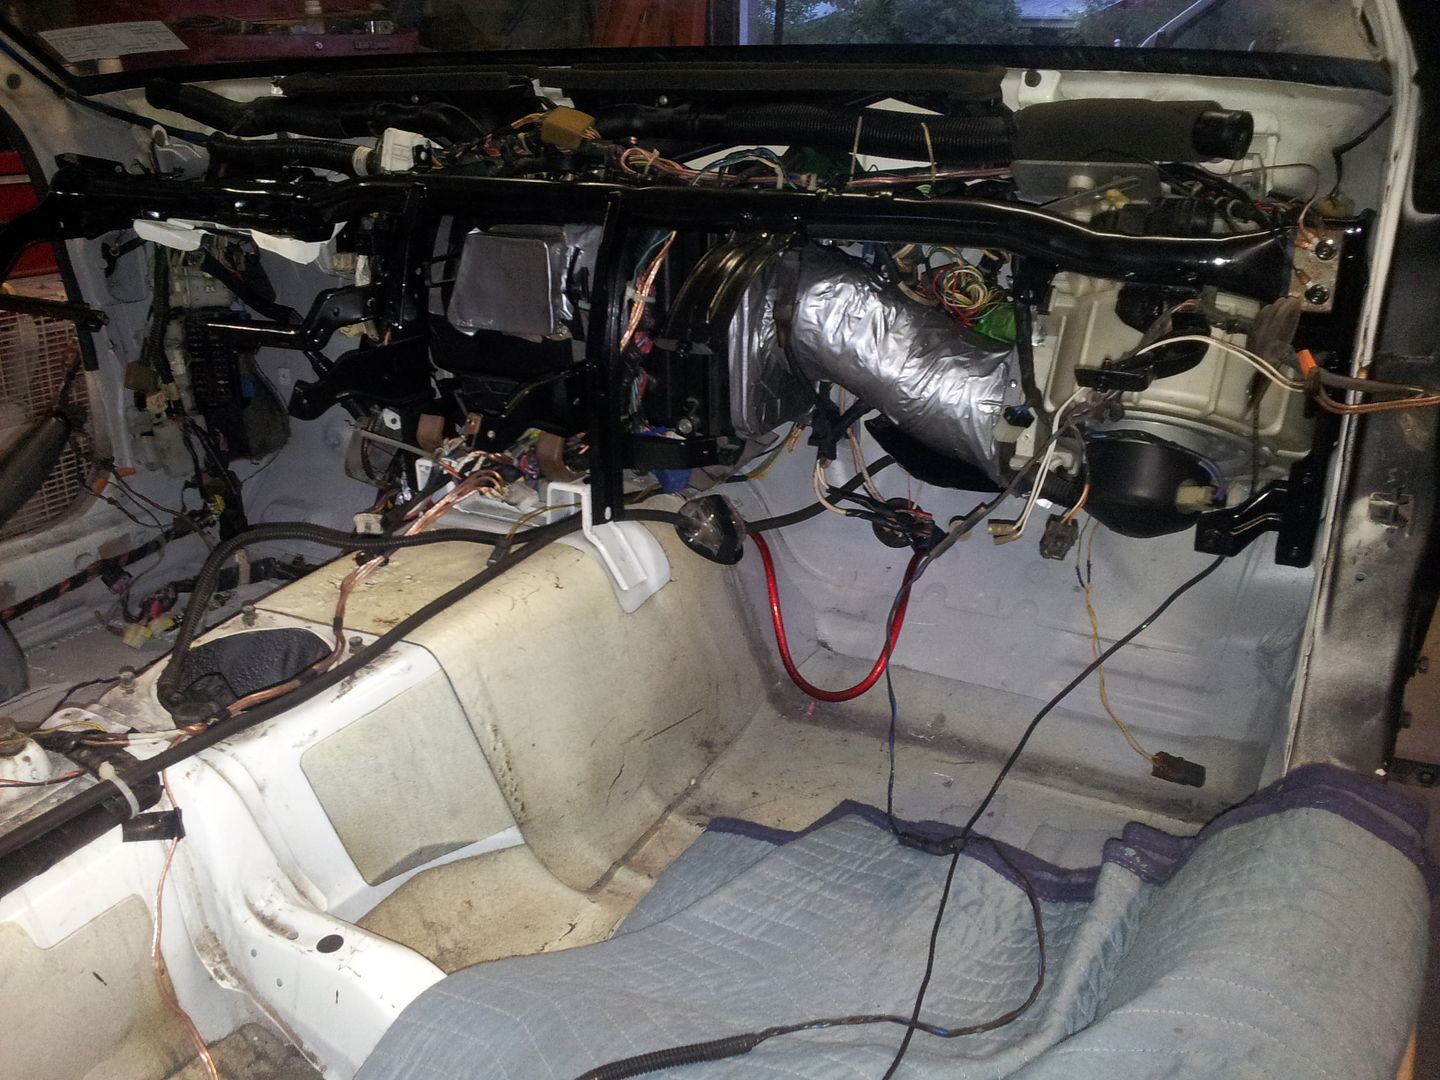
 pulled the wiring through and started adding more parts to the bay. also bolted the front suspension on minus the tension rods.
 after putting the new clutch, flywheel and transmission together (white bunny setup) my awesome wife came by and was on the floor guiding the transmission while i guided the engine onto the mounts. it was really easy since there was no core support to lift over.
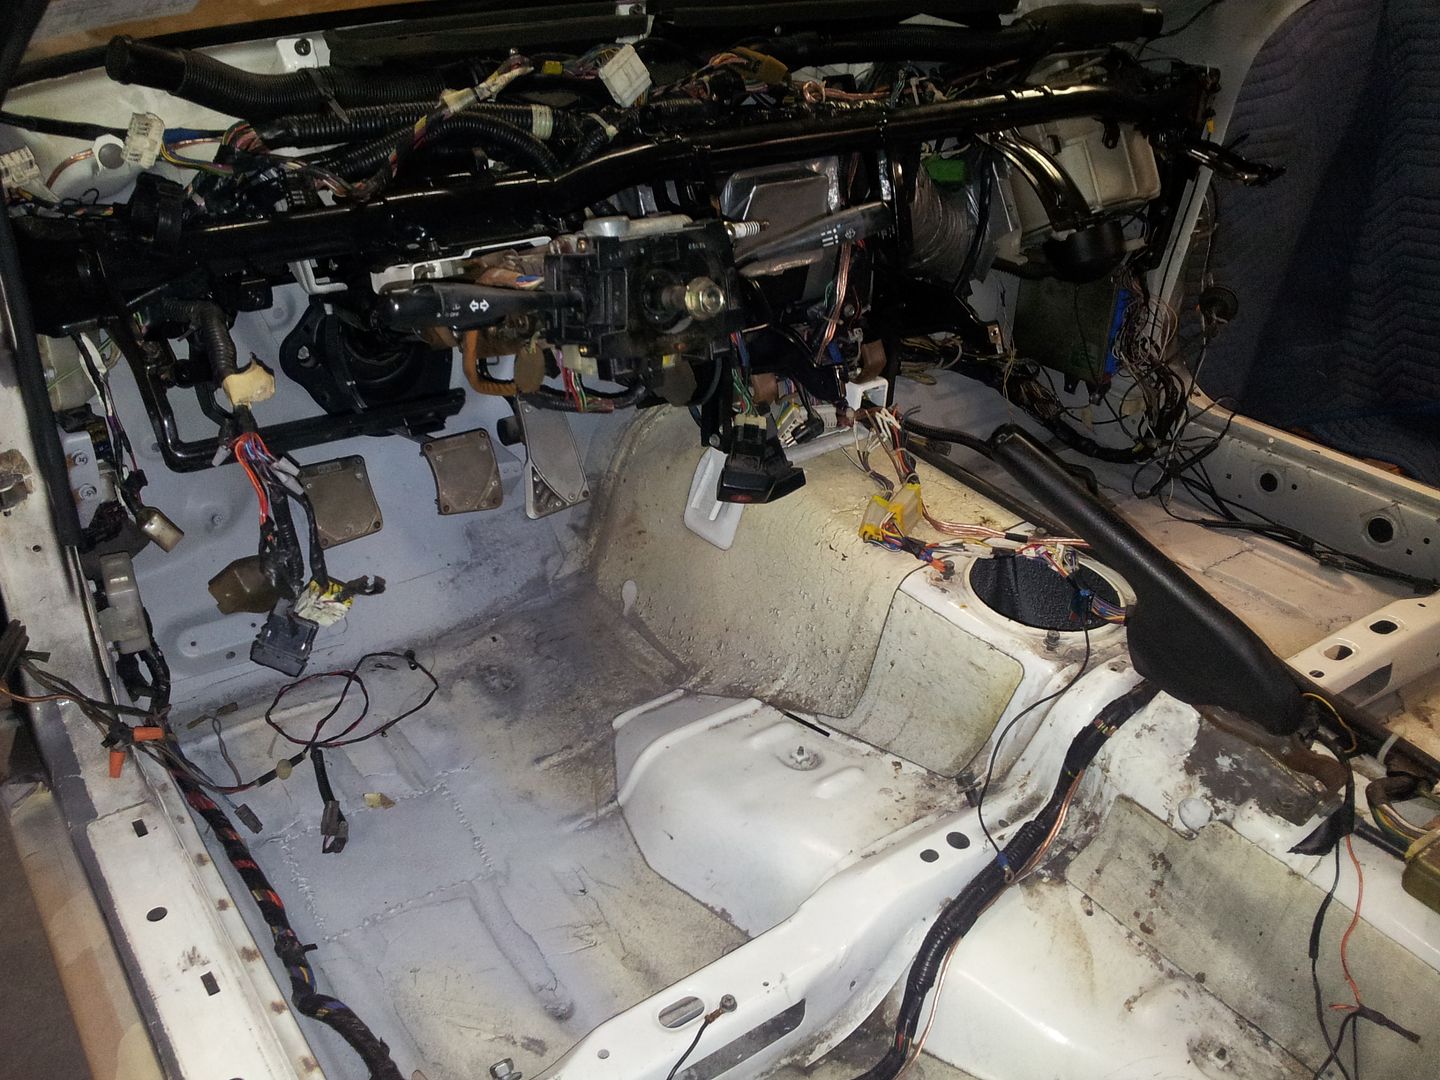
 made sure the dash and interior was working still..
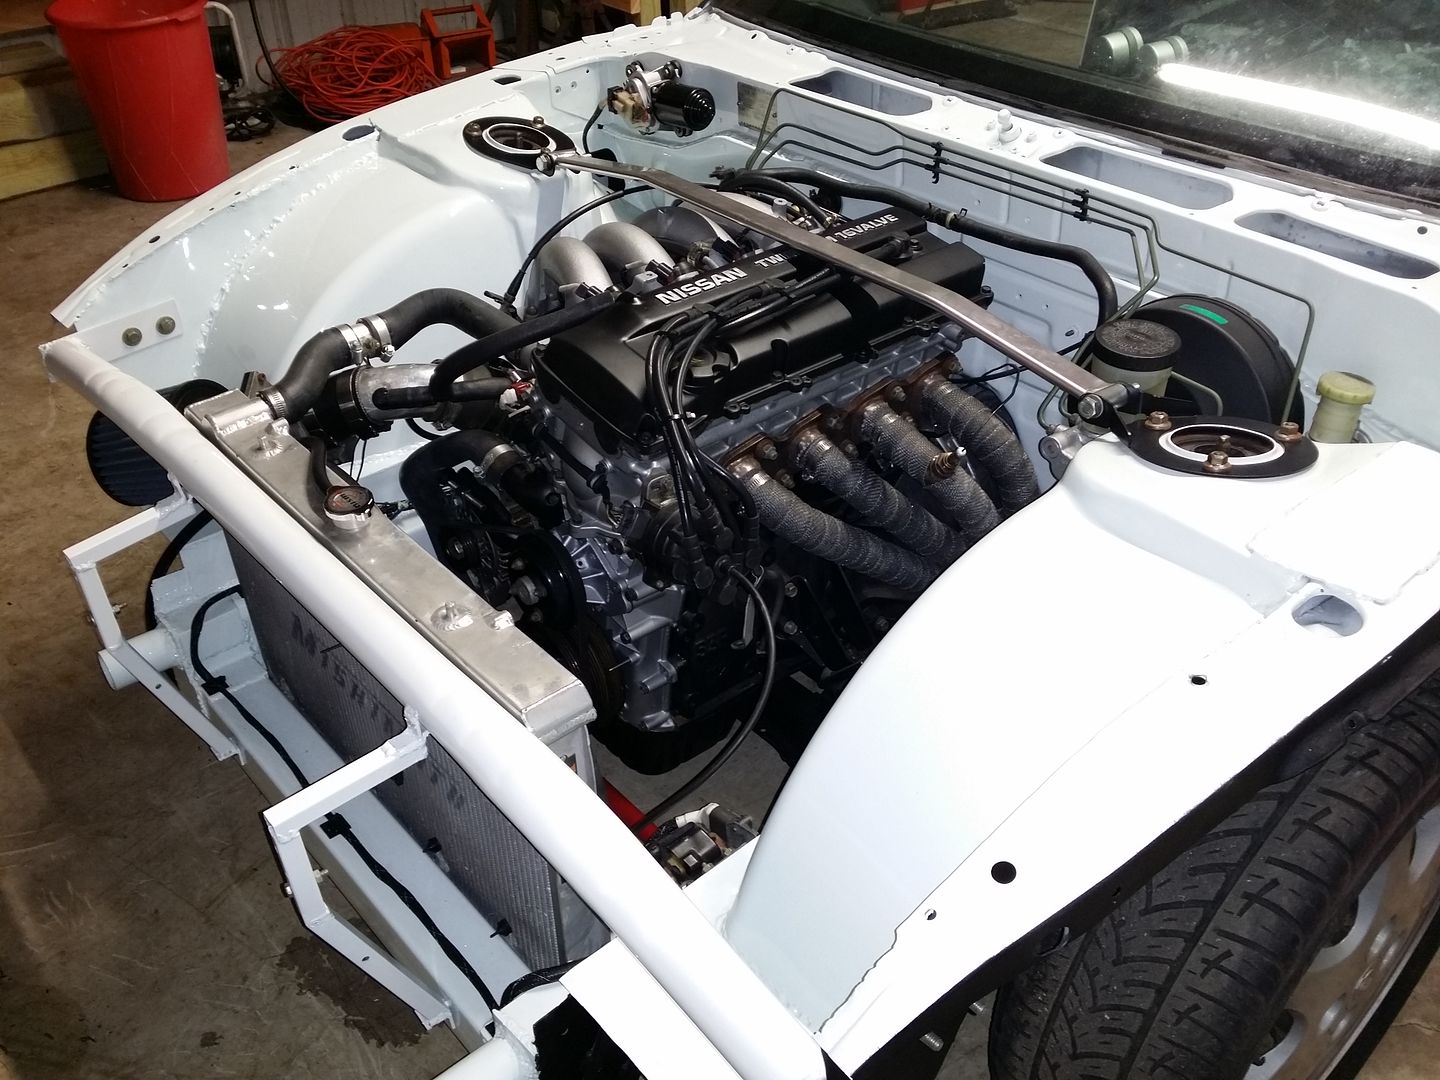
 motor wired up and ready for the intake materials to get here.
 So, i got all the stuff ready to just crank the motor since it hasn't ran for 2 years now. i put a little oil in the spark plug holes to lube the cylinder walls, a little on the cams, timing chain, and left the plugs out so it would crank easier with little to no compression. i tried and the motor cranked a couple times then i saw smoke in front of the valve cover. so i stopped, jumped out and saw the wire for the crank angle sensor was melted through. i unhooked the battery. i was so pissed, that night i had the car towed to my garage.
after fixing the wires and feeding them back through the engine. i cut the belt i was going to run from the water pump pulley to the crank with no tensioner. i think it was too tight and caused the starter to over work. i also had the coil wire hooked up but draped over the lower core support so that could have caused the short..
i wrapped all the spark plug wires and coil wire in little towels and unplugged the igniter, filled the motor with oil and cranked the engine a couple times and forgot the oil filter so there was a puddle on the floor. i put the filter on and cranked it a couple more times and realized im probably flooding it so i stopped. i know its priming and has oil in the top end.
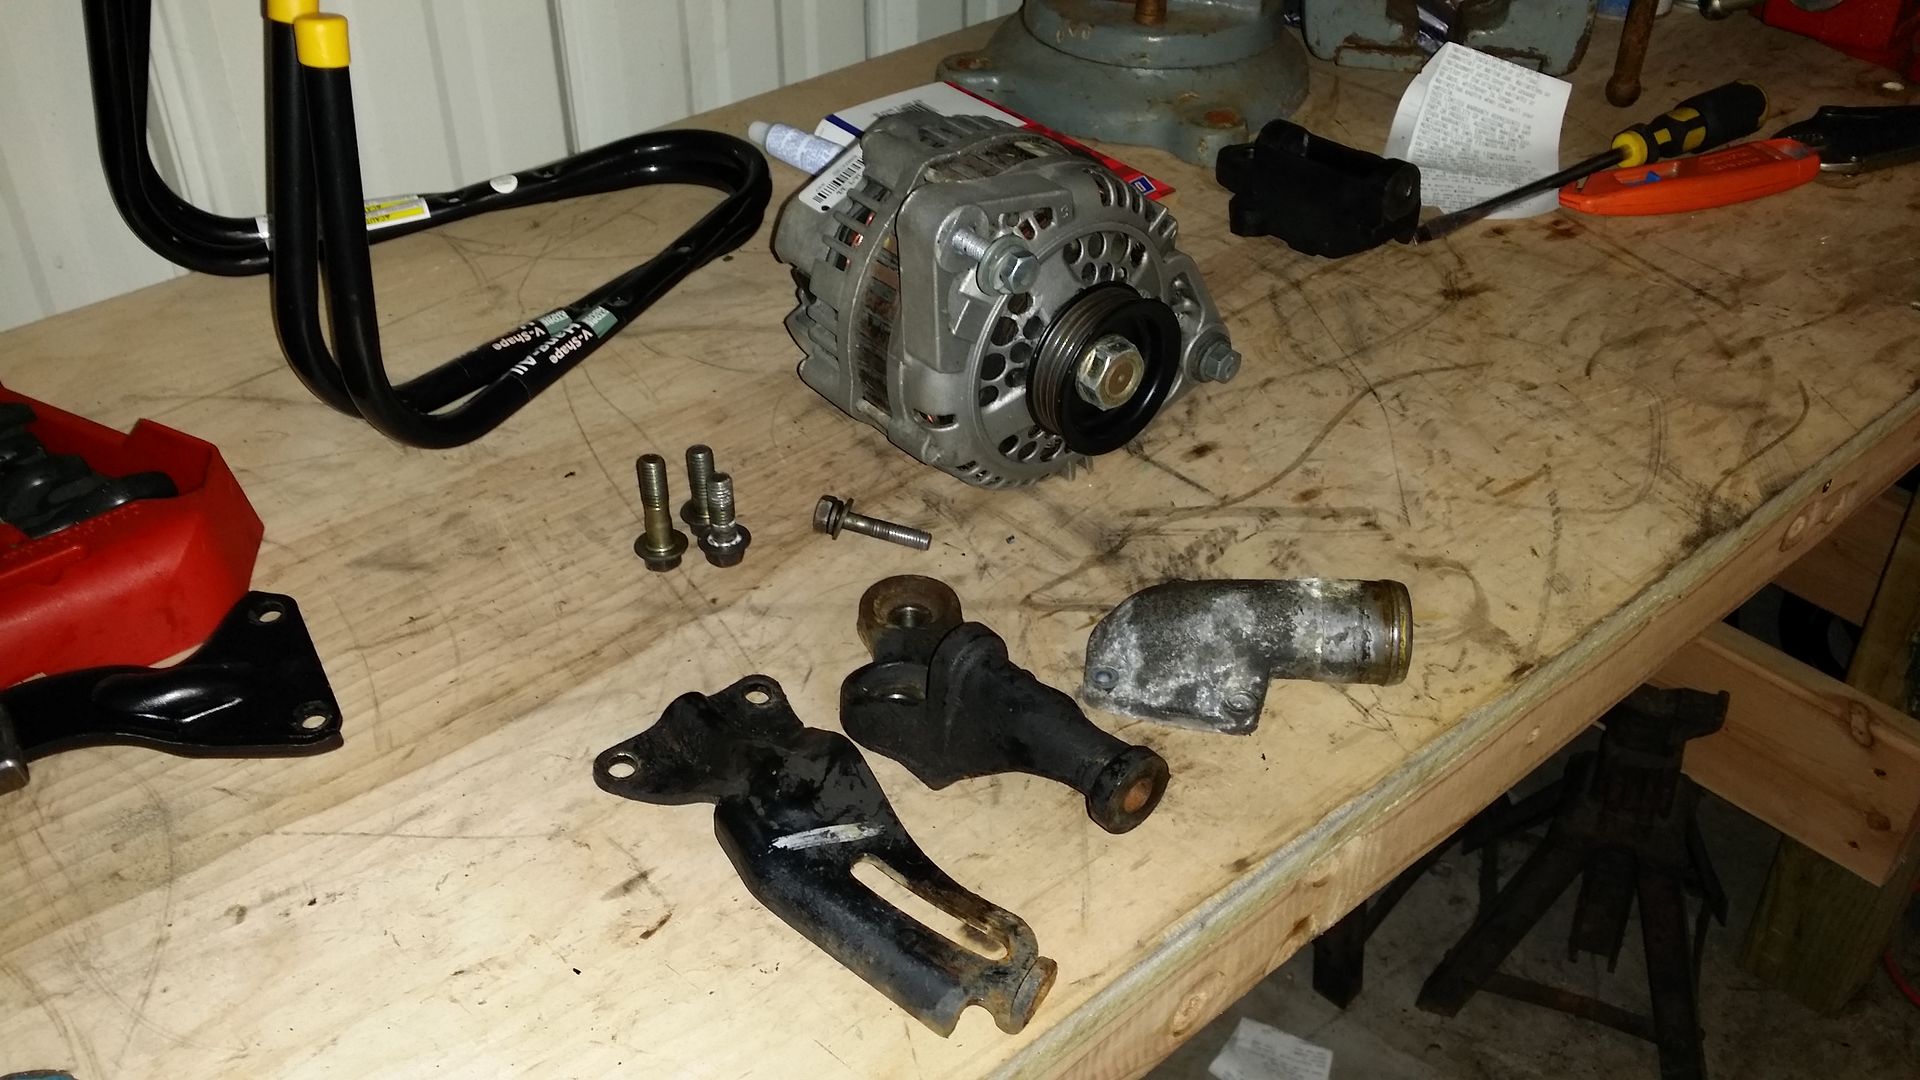
i found the parts for a single belt conversion on a KA24DE.
single cam alternator brackets and thermostat housing and a .25" spacer in between the upper bracket and the alternator.
So, i got all the stuff ready to just crank the motor since it hasn't ran for 2 years now. i put a little oil in the spark plug holes to lube the cylinder walls, a little on the cams, timing chain, and left the plugs out so it would crank easier with little to no compression. i tried and the motor cranked a couple times then i saw smoke in front of the valve cover. so i stopped, jumped out and saw the wire for the crank angle sensor was melted through. i unhooked the battery. i was so pissed, that night i had the car towed to my garage.
after fixing the wires and feeding them back through the engine. i cut the belt i was going to run from the water pump pulley to the crank with no tensioner. i think it was too tight and caused the starter to over work. i also had the coil wire hooked up but draped over the lower core support so that could have caused the short..
i wrapped all the spark plug wires and coil wire in little towels and unplugged the igniter, filled the motor with oil and cranked the engine a couple times and forgot the oil filter so there was a puddle on the floor. i put the filter on and cranked it a couple more times and realized im probably flooding it so i stopped. i know its priming and has oil in the top end.
i found the parts for a single belt conversion on a KA24DE.
single cam alternator brackets and thermostat housing and a .25" spacer in between the upper bracket and the alternator.
 cleaned up and painted
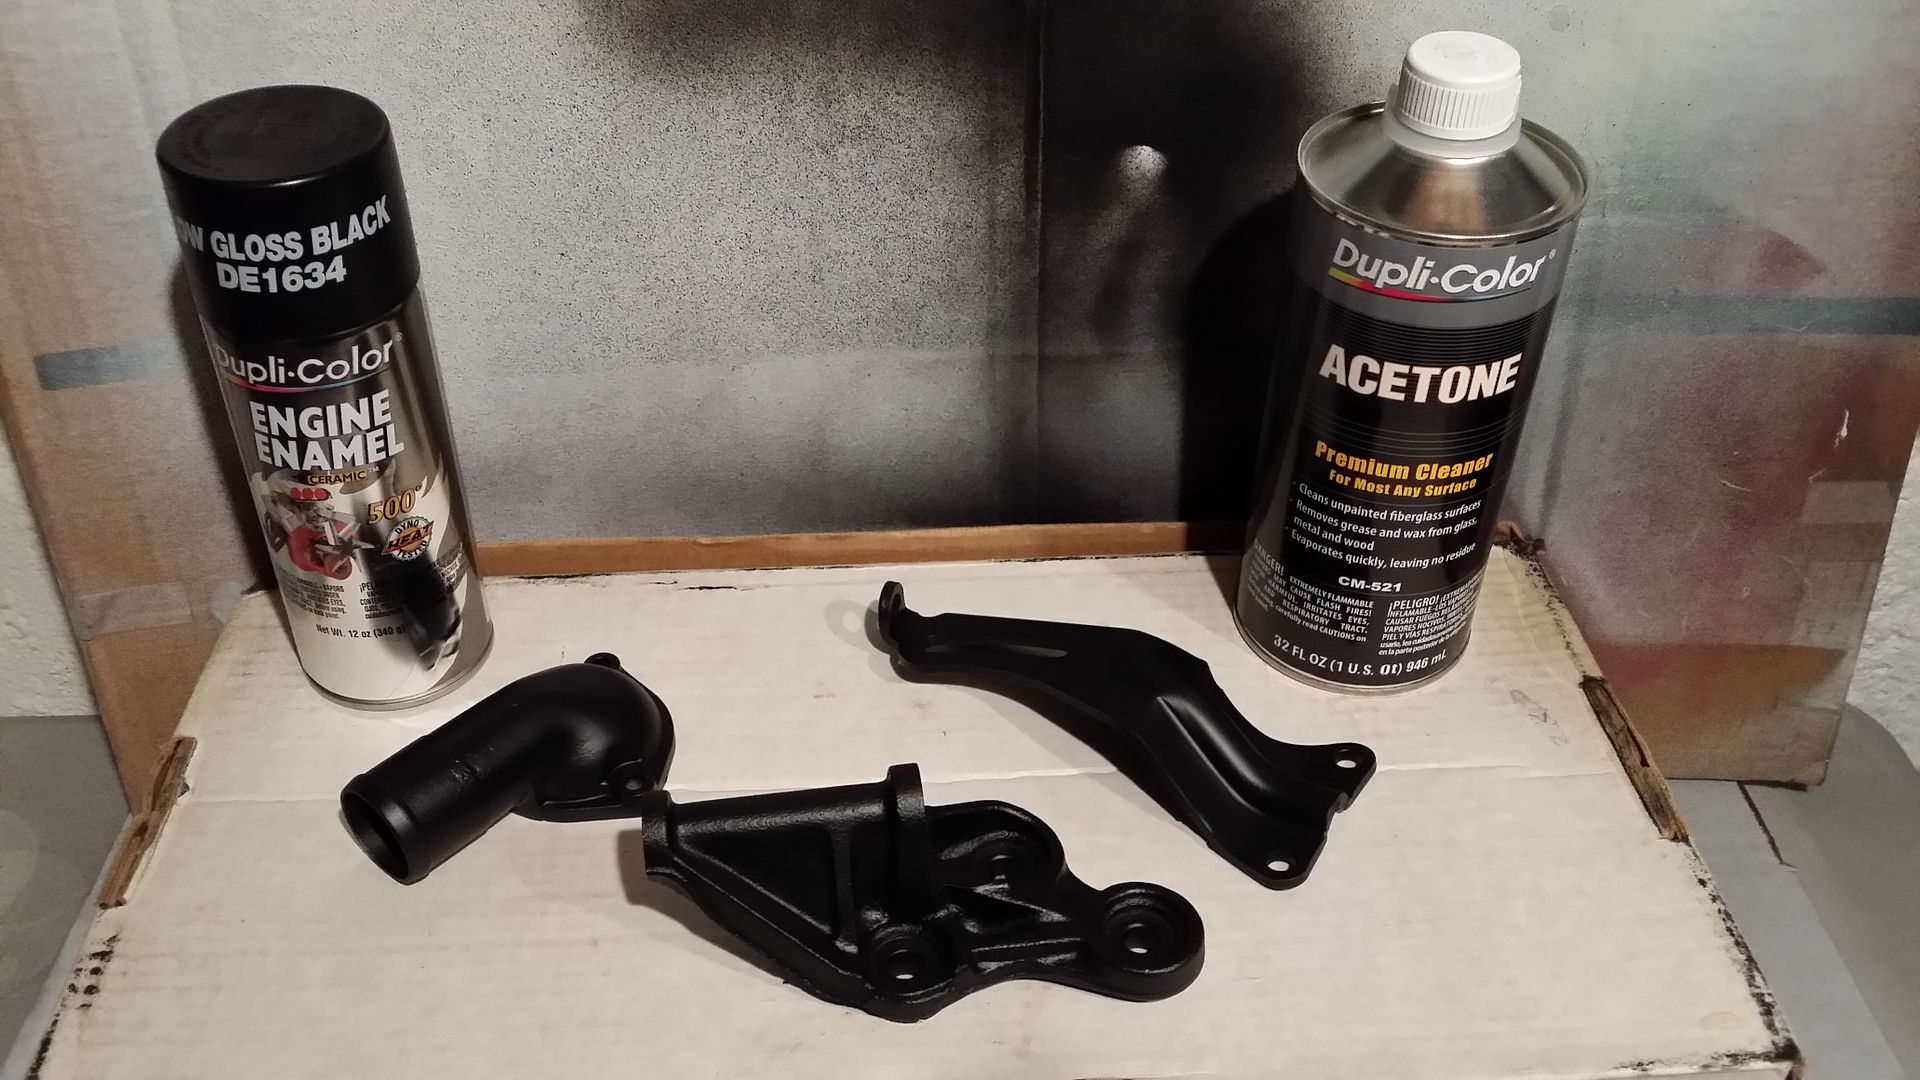 after i installed that, i put the final touches on the motor. the valve cover was disgusting, so i painted it low gloss black and sanded the letters. this is temporary as i think there is WAAYYY to much Black and Sliver going on in the bay.. i will add color to the valve cover, the intake pipe, and the injector caps to break up the black and silver.
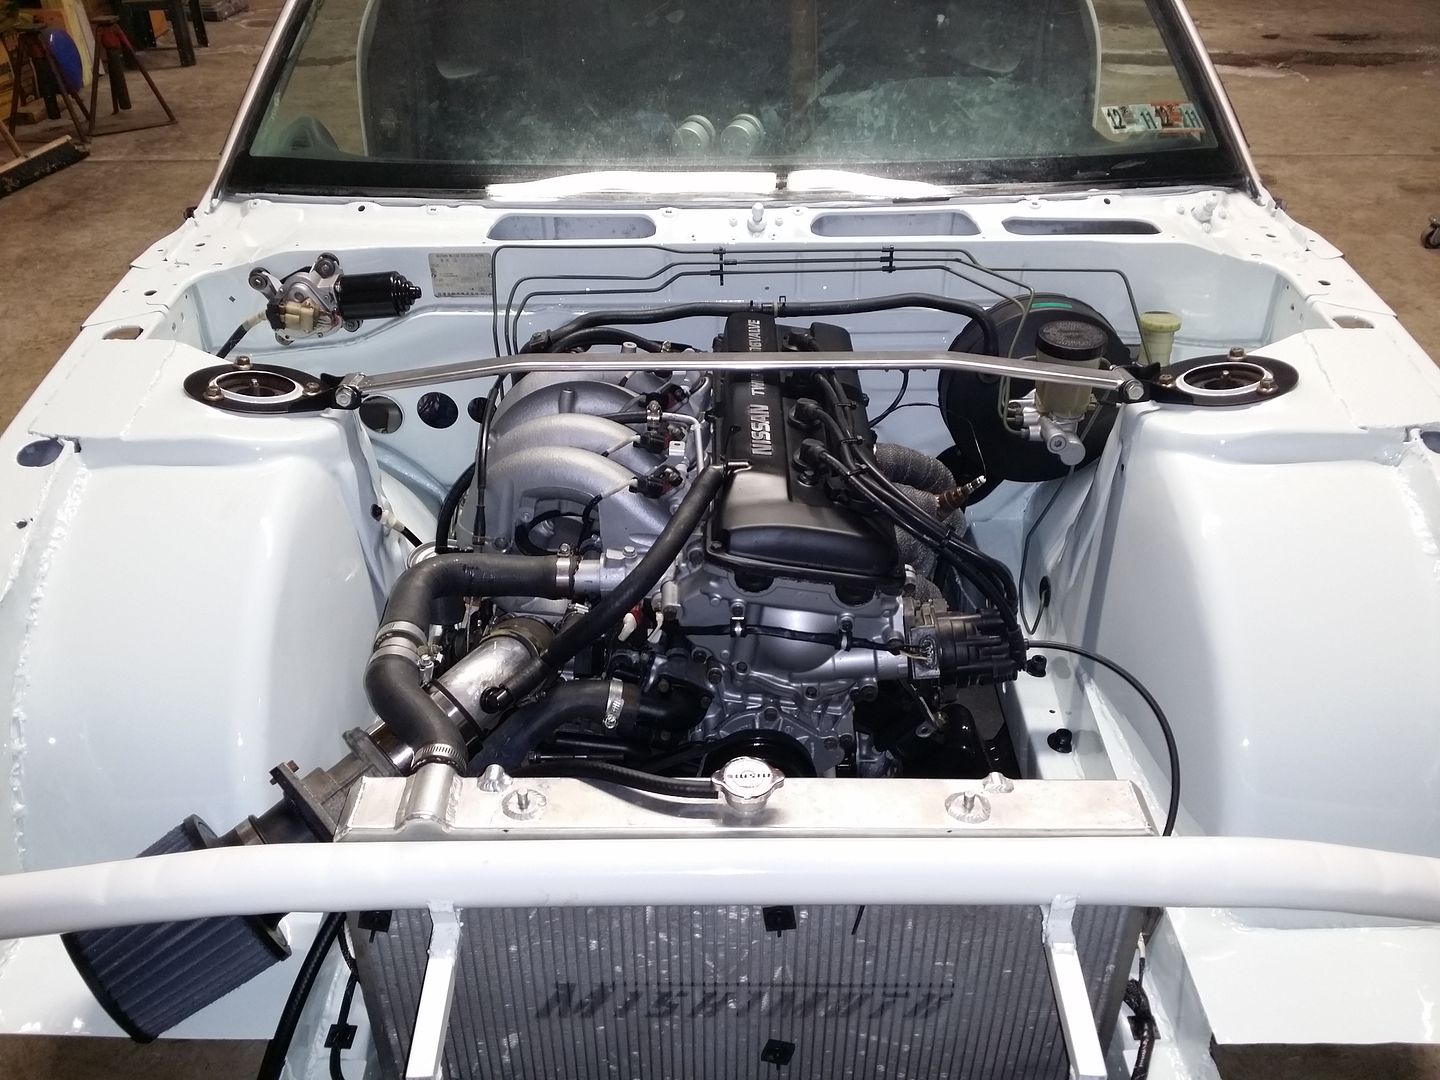 i have ALOT more to do, including -> tucking the brake lines, booster line, clutch line, wrapping wires on the passenger frame rail, building a triangulated strut tower brace, cooling panel to cover the headlights infront of the core support.
thanks for looking!!! =)
-Jimmy
i have ALOT more to do, including -> tucking the brake lines, booster line, clutch line, wrapping wires on the passenger frame rail, building a triangulated strut tower brace, cooling panel to cover the headlights infront of the core support.
thanks for looking!!! =)
-Jimmy
|

|

|