Now this is a writeup I did on a dual pump install on a s13. My reason behind it was for my e85 needs but I worded things in a way that it will be familiar for anyone still using gas or a 3 bar setup. Just keep this in mind when reading it.
This is good for anyone running more than 16.5 lbs on a 3 bar fuel setup with a walbro 255lph pump or a 4 bar setup.
Quote:
Many people think they will be just fine with the in tank version of the walbro 255lph pump. The truth is if your running stock 3.0 bar fuel pressure and anything more than 16.5 lbs of boost you should start considering running dual pump as well.
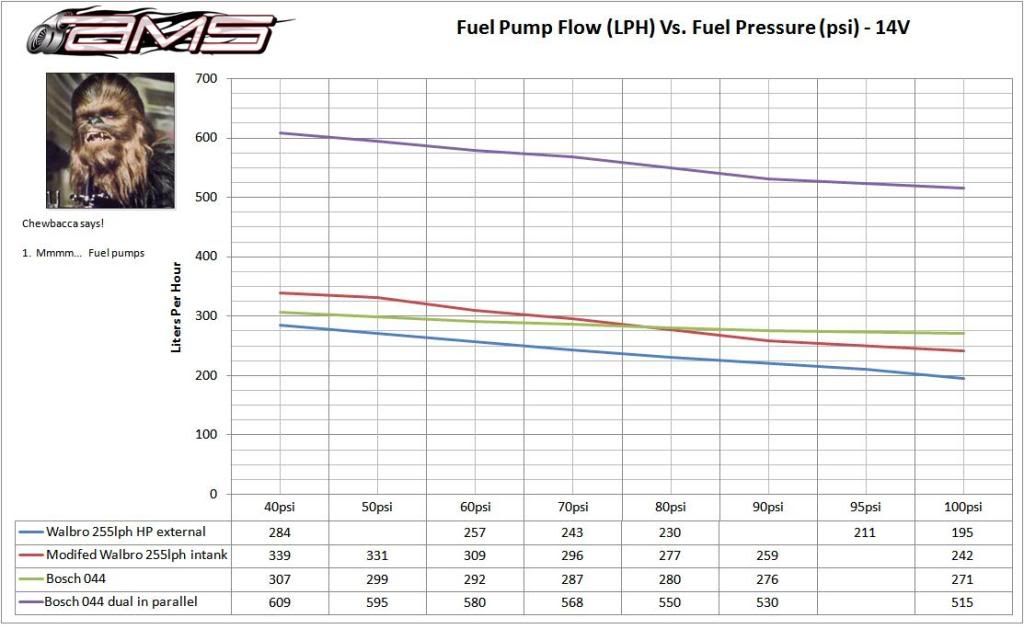
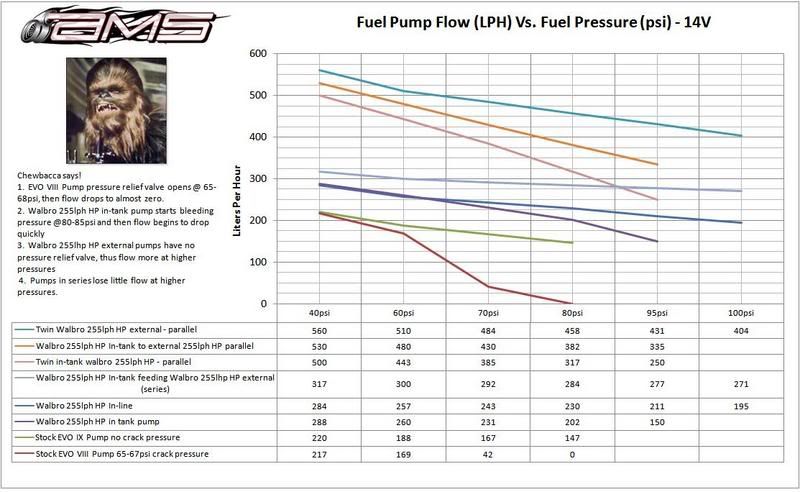
If your running a 4.0 setup don't even think about doing that on a walbro in tank pump. The reasoning behind this is because the in-tank walbro 255lph pump has a safety crack pressure starting at 60psi, and then it strikes again even worse at 80psi. If you were to look at pump dynos for the 2 pumps its clear to tell the in-line pump is more of a hoss than the in tank.
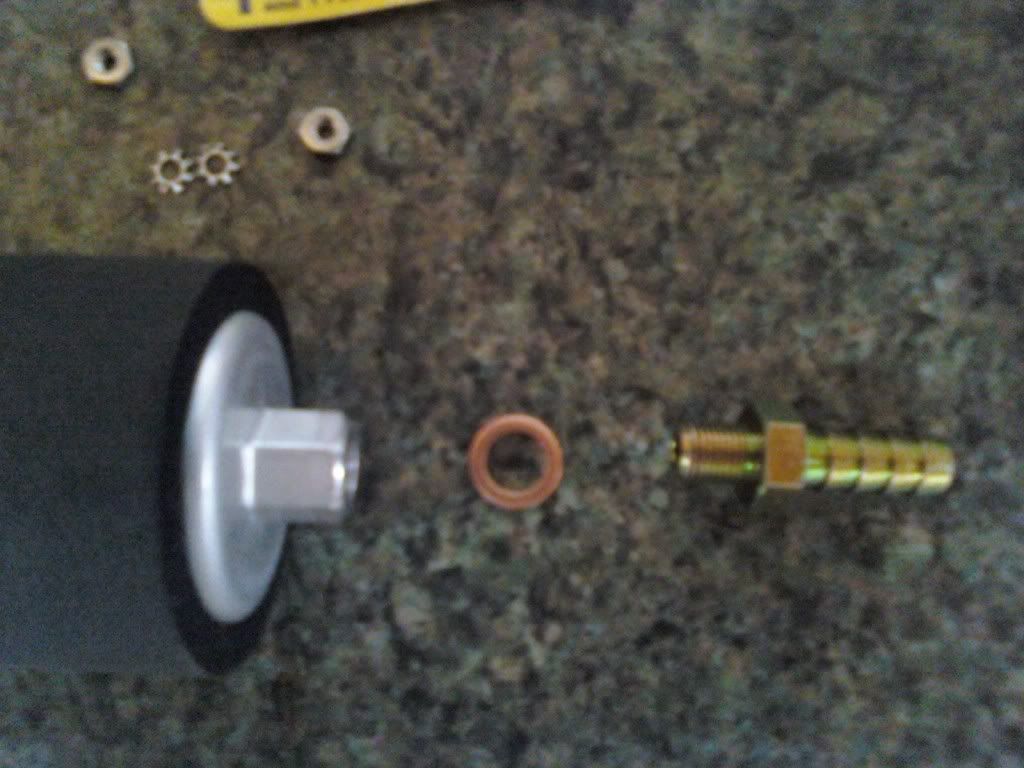
Here is a picture of some of the items you will need.
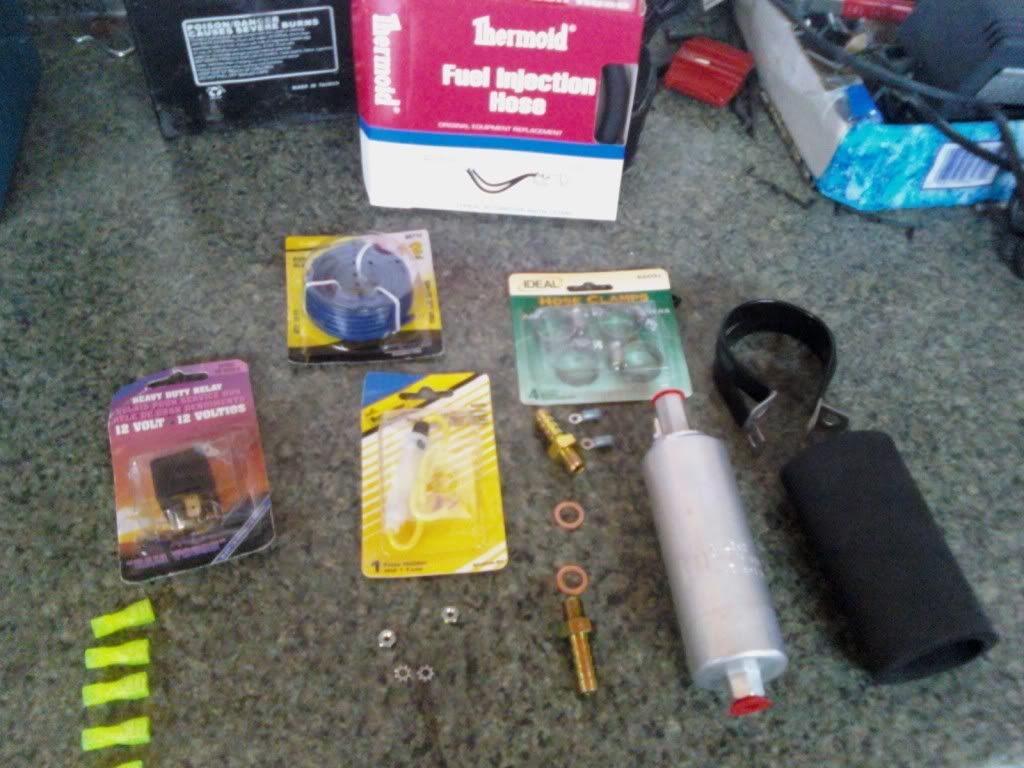
You will need a relay that can handle at least 20A. You will need wire. You will need 2 fuses, one a 20A and you can get away with a 5-10A. You ill also need the pump and the install kit. Some fuel line is a good idea too. Instead of just reusing the old lines, just replace them. I had replaced the line to my pump and from my pump to the fuel pressure sending unit and the line I didn't even touch the line coming off my fuel pressure sensor going into the rail and I discovered a leak in that line from just moving that line around after installing the extra pump so I then replaced that too.
First:
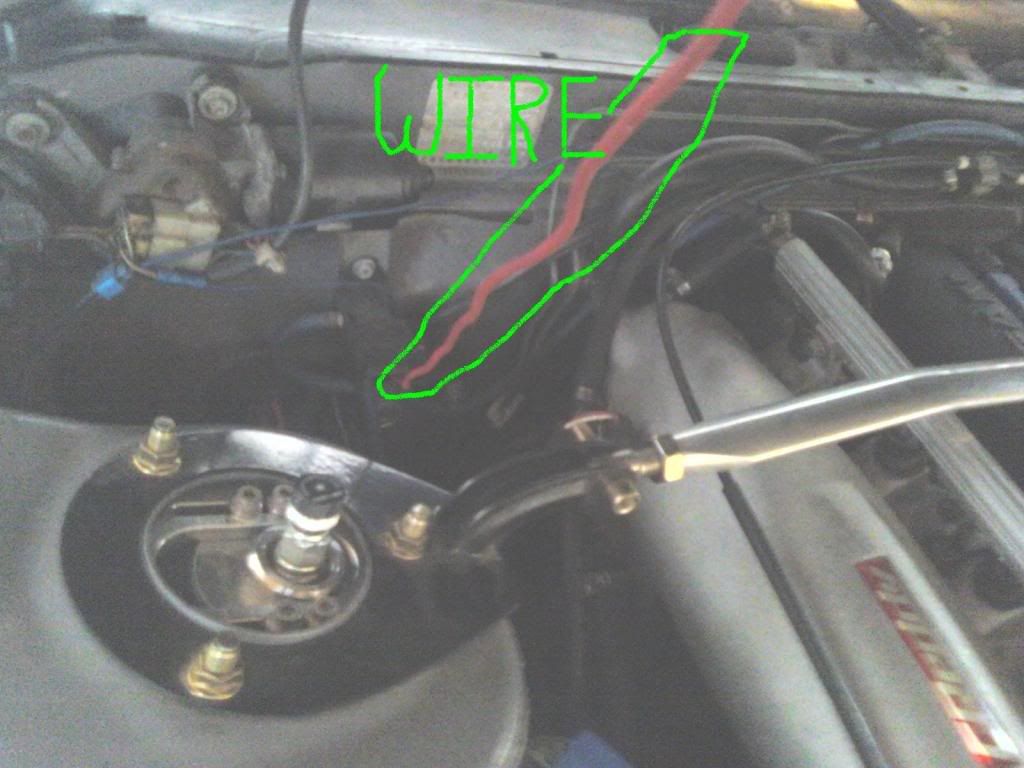
Run a wire from under your hood all the way back to your trunk or hatch.
You will need to go through your fire wall. You may already have a place you use to run wires through (as I did) or you will need to make a new spot.
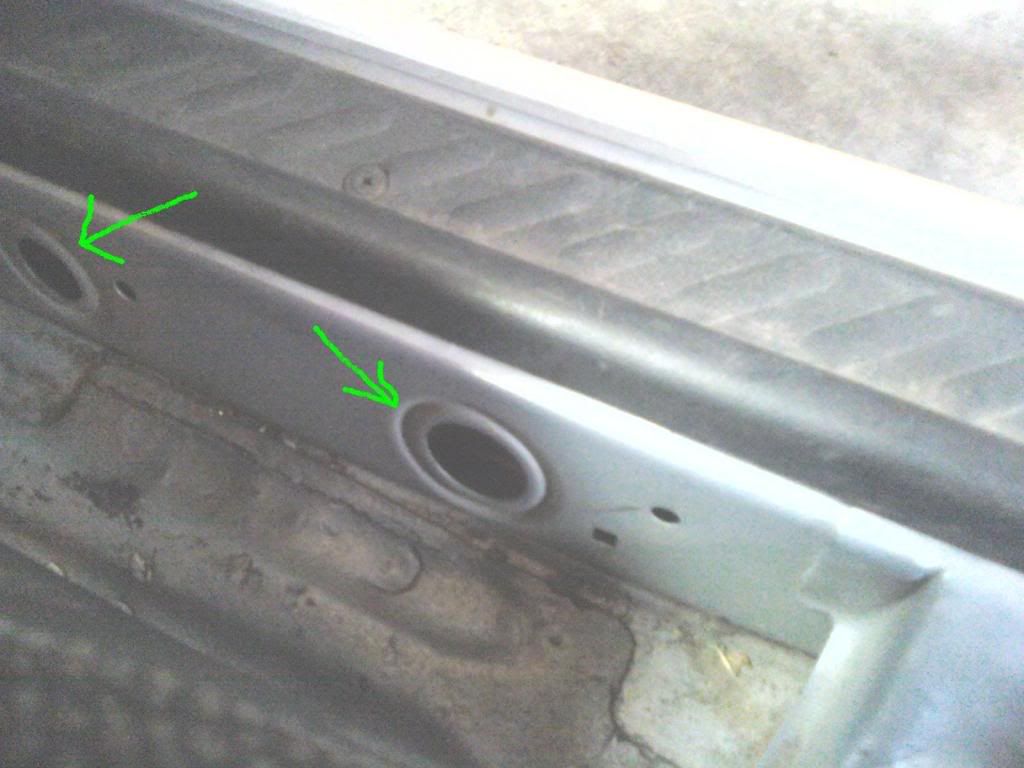
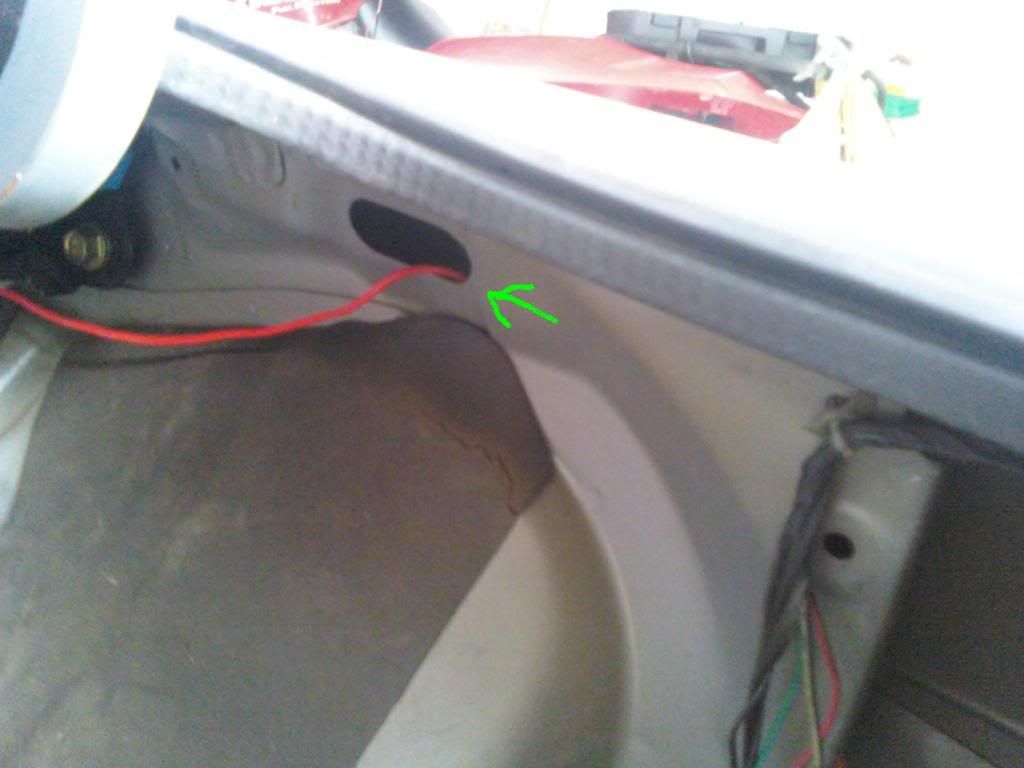
I have very limited interior in my car and I didn't want a wire exposed that can get damaged so I found places to hide the wire all the way back. You can pull back your carpet and hide it under there or pull it back even further and run it through the rail along your door as I did. The holes that are punched along it will allow you to stick your fingers in there to guide the wire back.
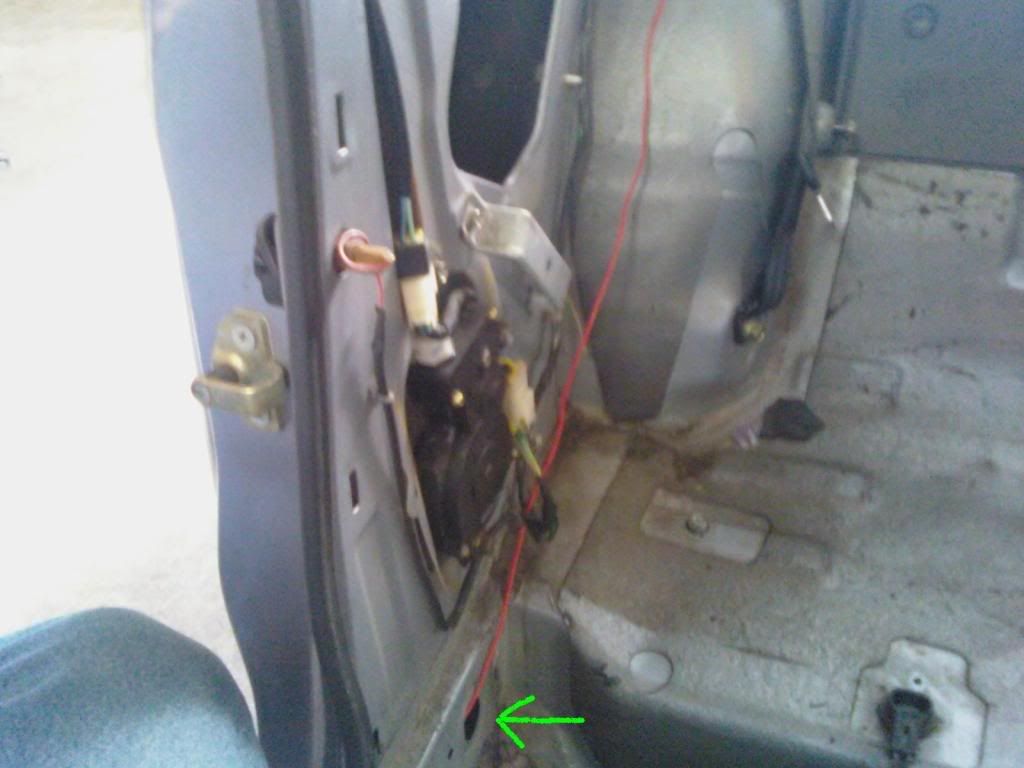
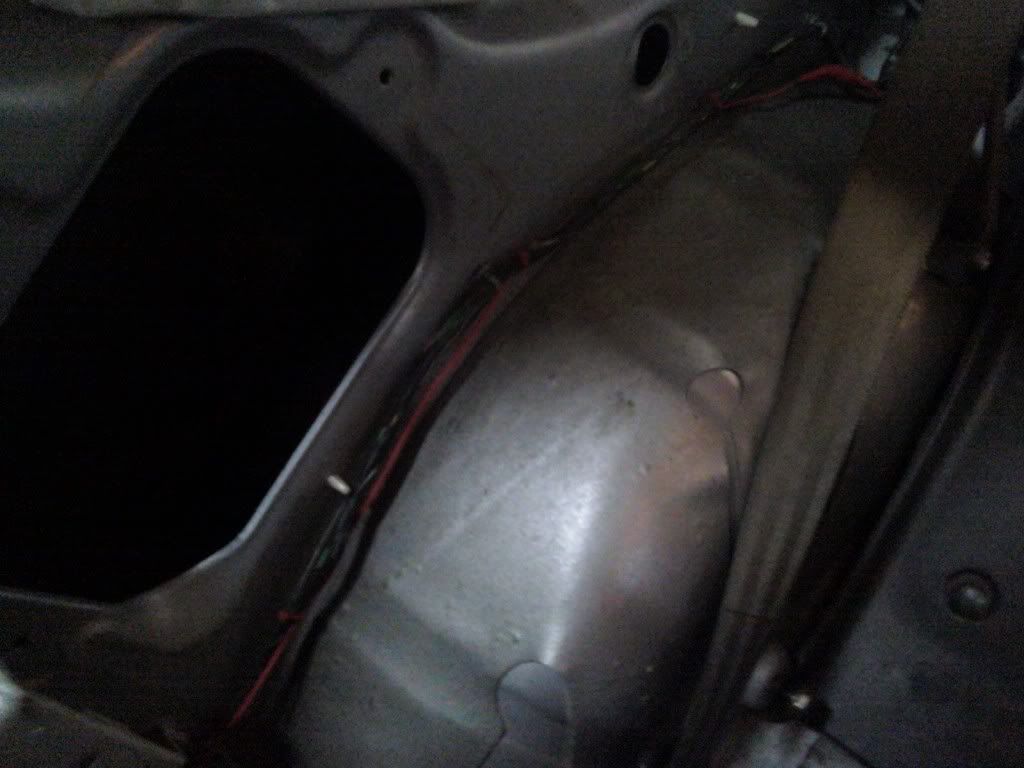
The wire will come out behind your passenger seat. There is a small hole that is taped up right under your speaker partial shelf that you can feed the wire through.
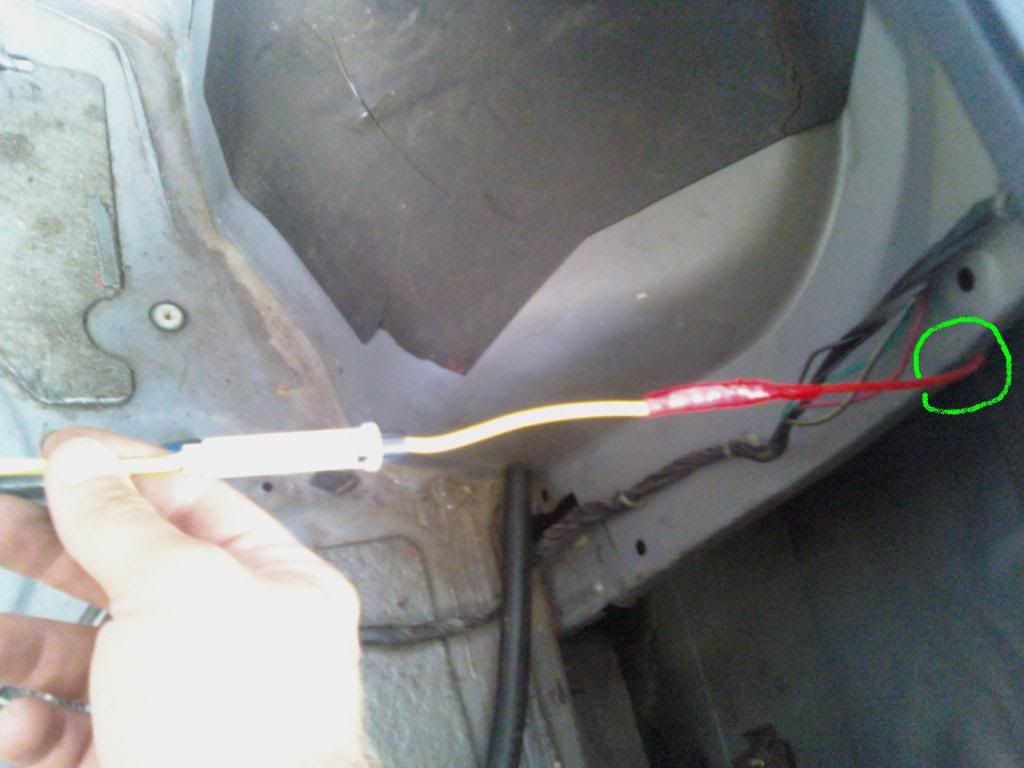
Here it is coming into my trunk.
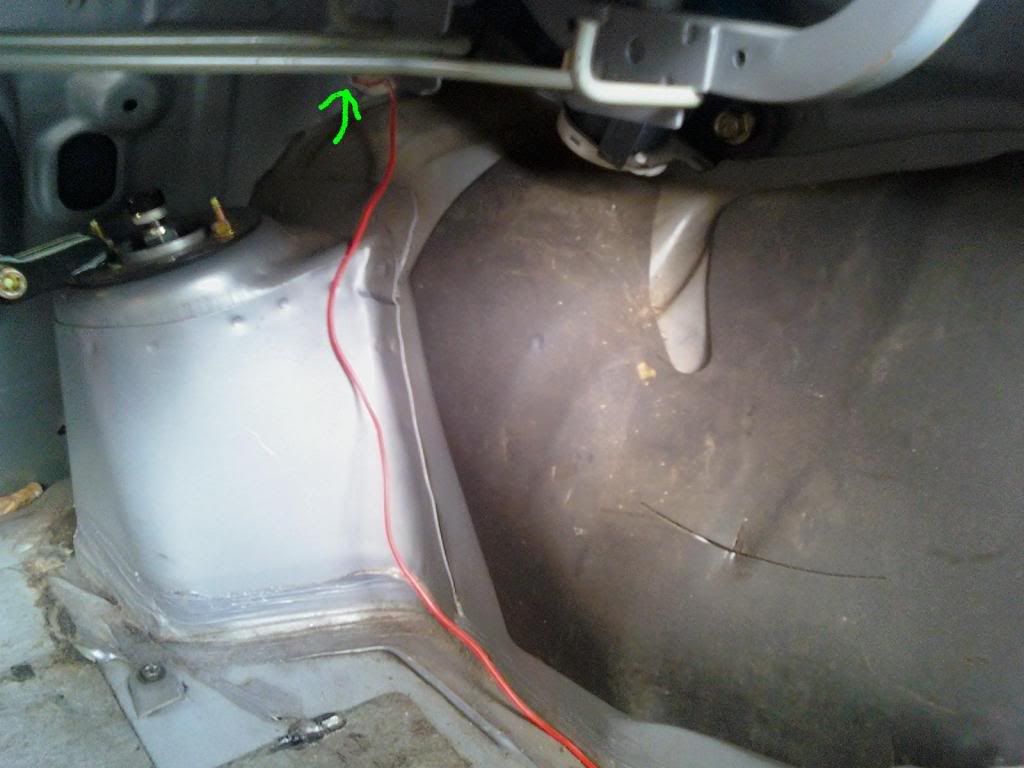
Dont just leave it loose because items in your trunk can damage the wire and cause your second pump to shut off or for the wire to short. Rout the wire into the hole along your trunk.
You will be able to easily grab it and pull it out through here. Take this time to throw an in-line fuse on it here. 5-10A will be best here.
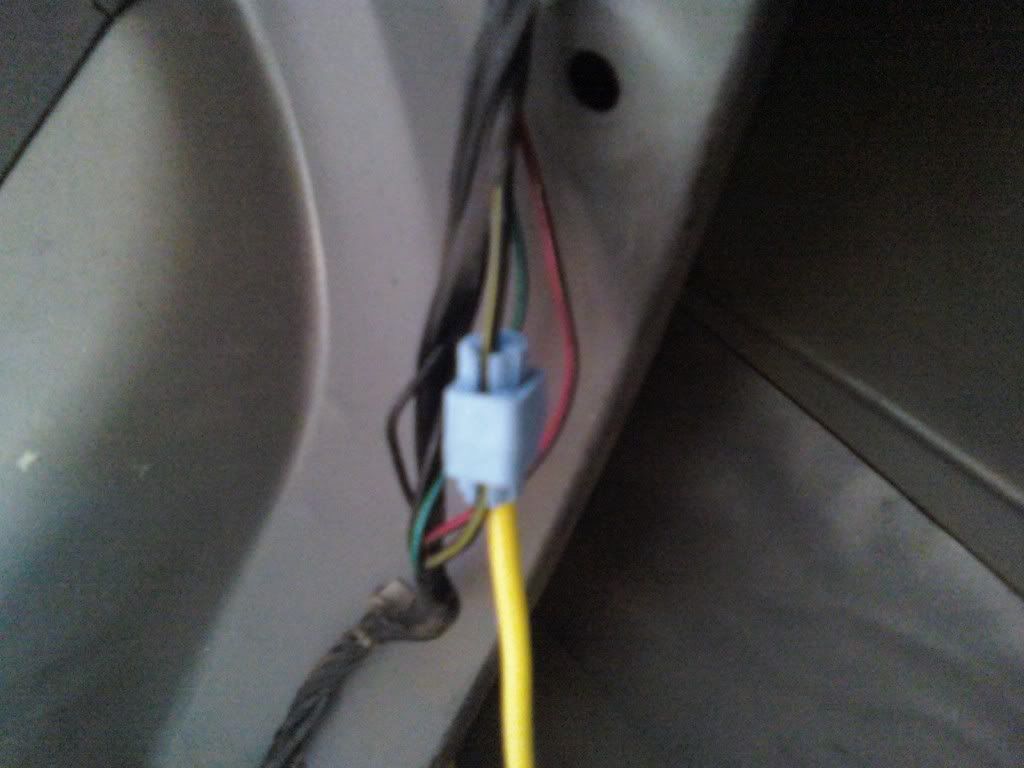
A simple Y wire connector will be suitable here because of the ease of them and since your not carrying much current through this wire. Your just going to be using it as a switch to turn on a relay. The wires that run down to your pump will need to be accessed. You will want to check out which wire turns on when your pump is on. Get a test light or multimeter and find out which wires turn on with the key, but more specifically find out which wire turns the pump on. Have someone turn the key, you will hear the pump prime. When you find the wire that shuts the light off when the pump is done priming you have your wire. On my 91 S13 it is the black wire with the yellow stripe.
Now before you crimp the Y connector to the pump wire, start the engine and then pull the 10A fuel pump fuse under the hood and let the car die. This will cause the engine to run out of fuel reducing the pressure in the lines so you don't get sprayed when you un-clamp the first line. Set that fuse aside so no power is going to the pump while you work. Crimp the wire on.
Your wire is ran now. Time to move onto the next step.
Second:
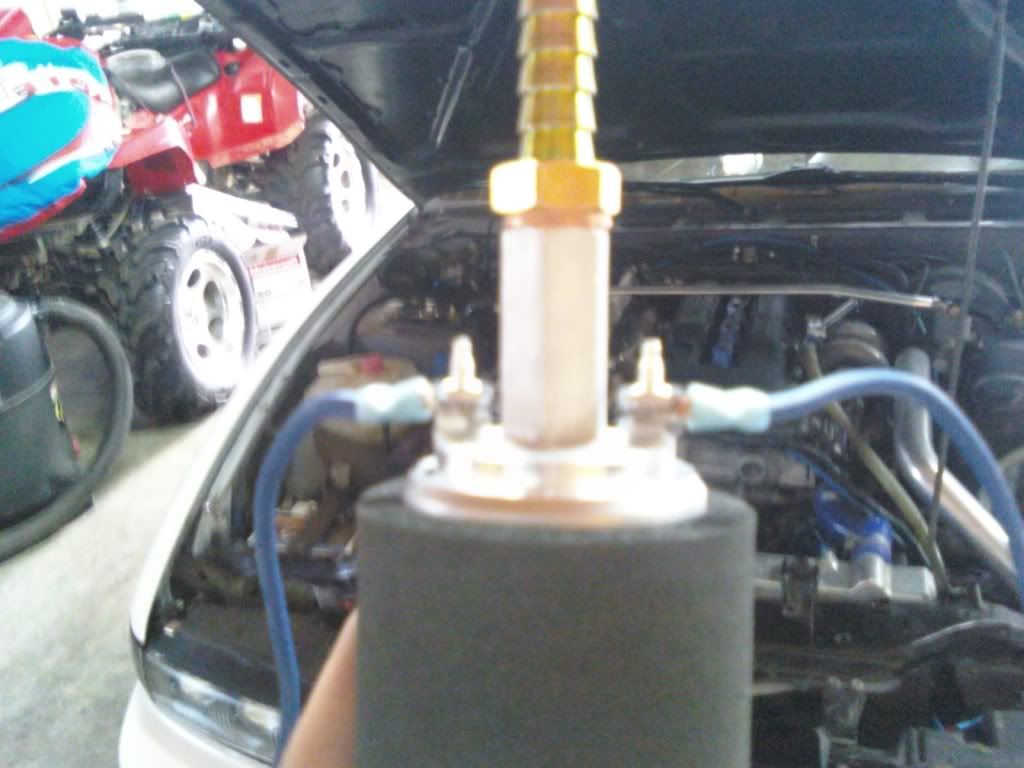
Now its time to partially assemble your pump if necessary. Since I'm using a walbro 255lph HP pump I will go through those steps. Slip the insulator over the pump. Put the feed and output fittings on the pump. Make sure to use the brass seal between the pump and the fittings. The size wrench you need to use on the fittings is 5/8".
Next take wire and crimp the terminals on the ends. Place those on the terminals on the top of the pump. The size wrench I used on those nuts was an 8mm. I'm sure it was most likely a standard size but 8mm worked perfect and I have a limited amount of standard tools.
Third:
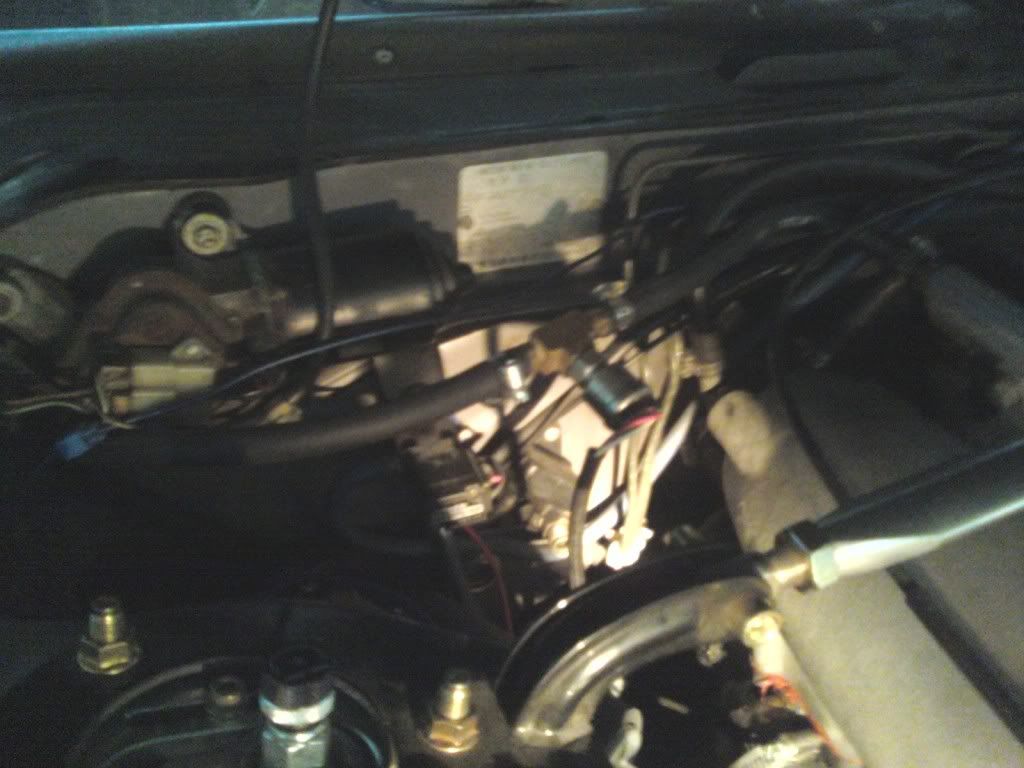
Its time to start planning whats going on under the hood. Where your going to run wires and where your going to mount components.
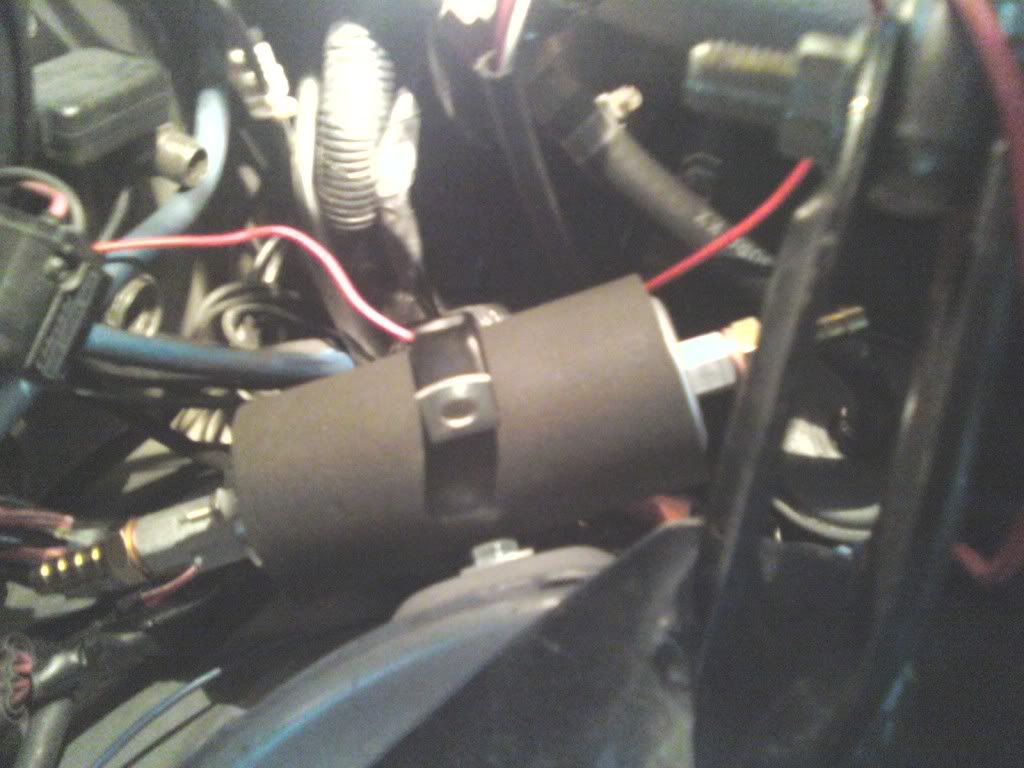
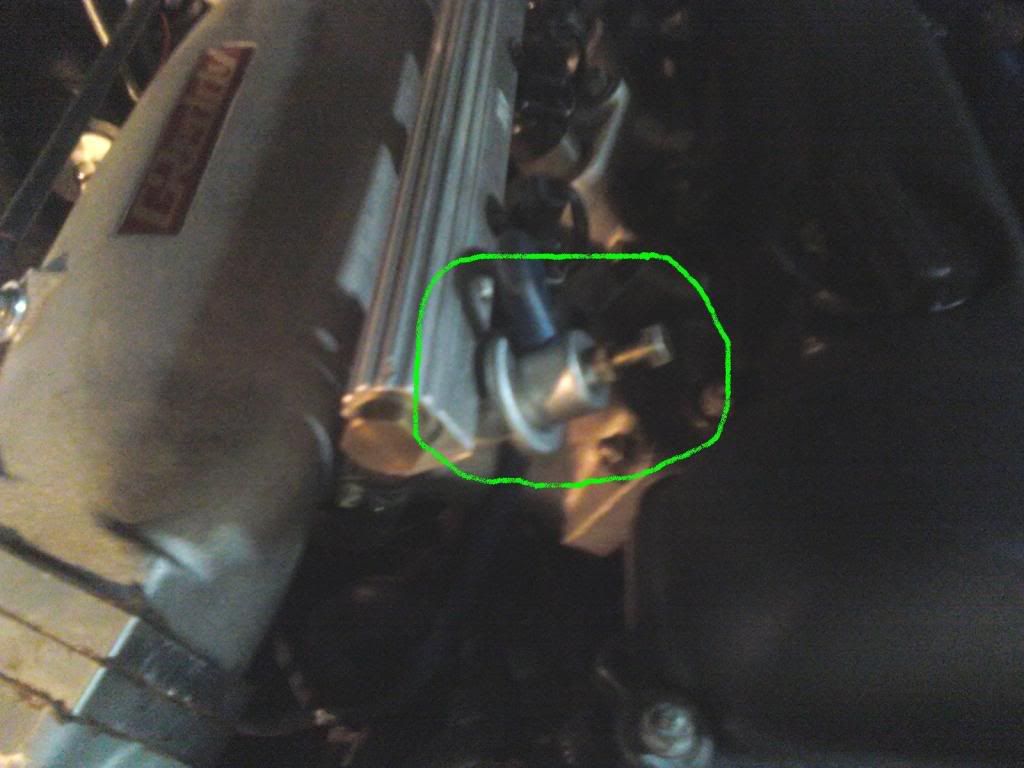
Try to find a suitable location for the pump. I found a spot on the passenger side strut tower that was already threaded. I used a M6-1.0x16mm bolt and it was the perfect length. I also ended up finding that was was a good ground and that allowed for a short ground wire so I used that location as a ground later on. Just cut the wire on the ground side of your pump long enough to reach that mounting location and crimp on a terminal eye.
Now pay attention that the pumps mounting bracket is not closed up properly yet. Until your done with the project you may need to take the pump out to make putting the lines on easier along with other things. When using this location I would recommend having the positive terminal on the pump always stick up, it will make it less likely to ground out. I'm later on going to come up with something better than electric tape to protect the positive terminal from grounding out.
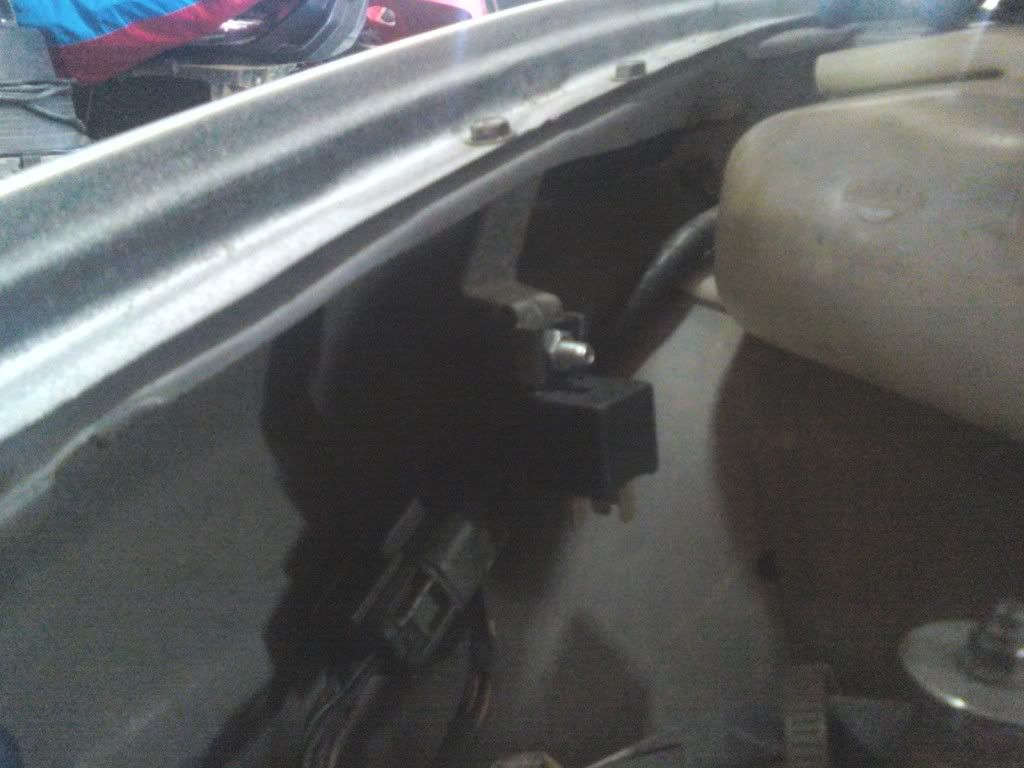
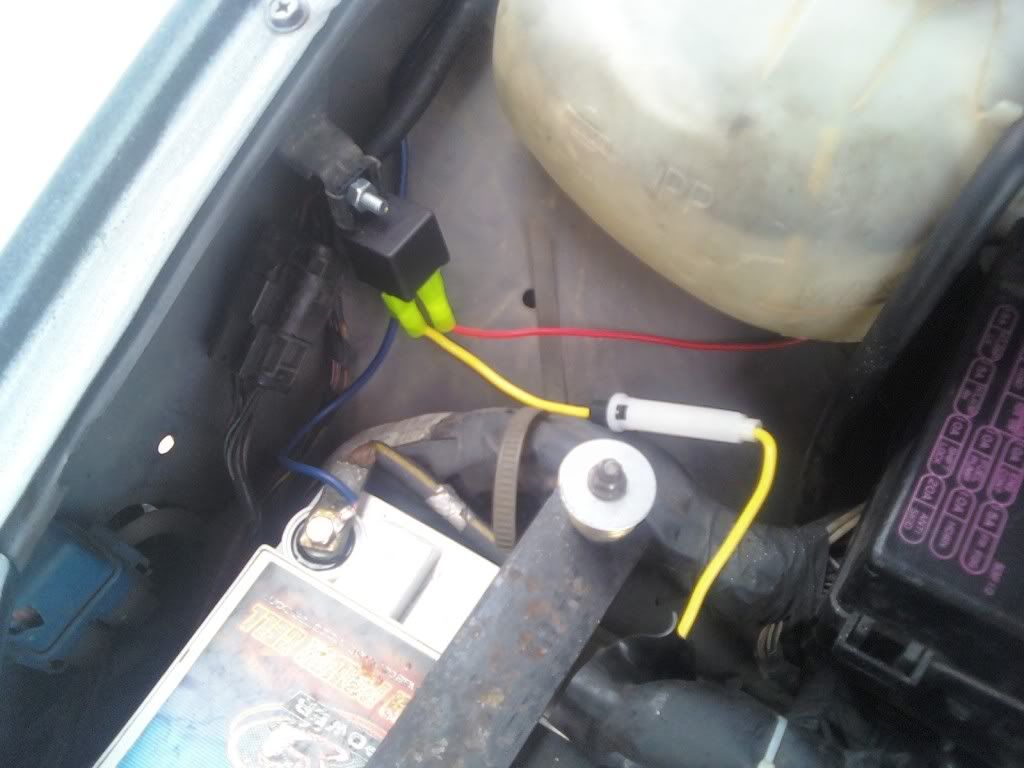
Now find somewhere for your relay. I found a great spot by the coolant overflow tank, between it and the battery tray.
Fourth step:
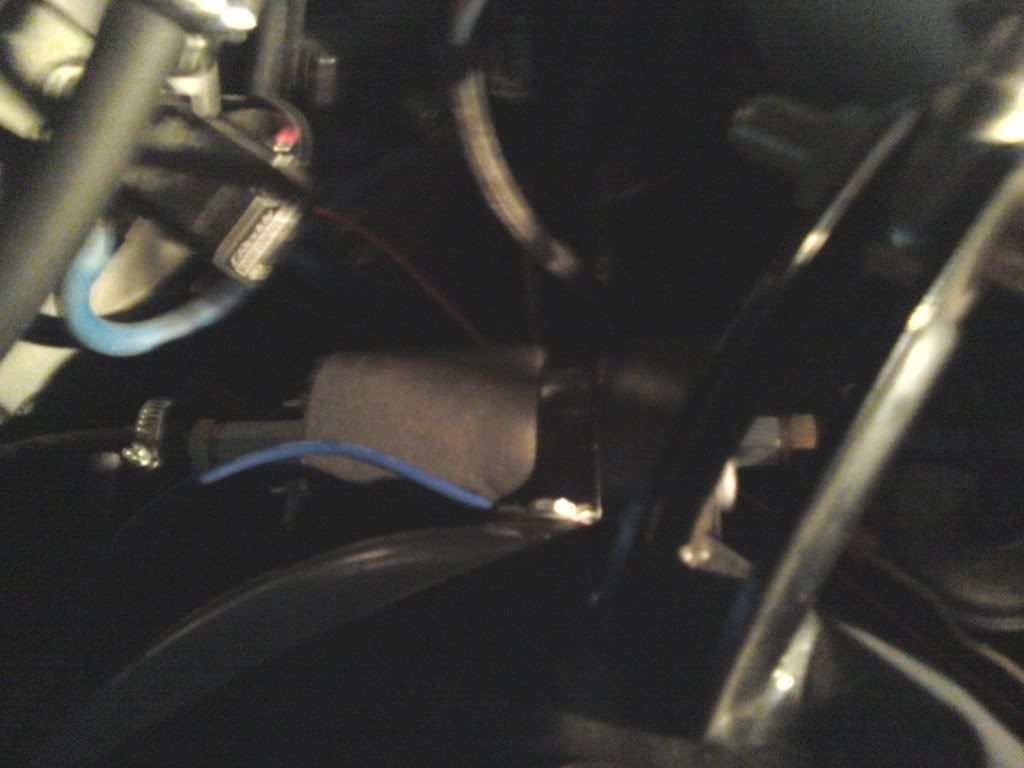
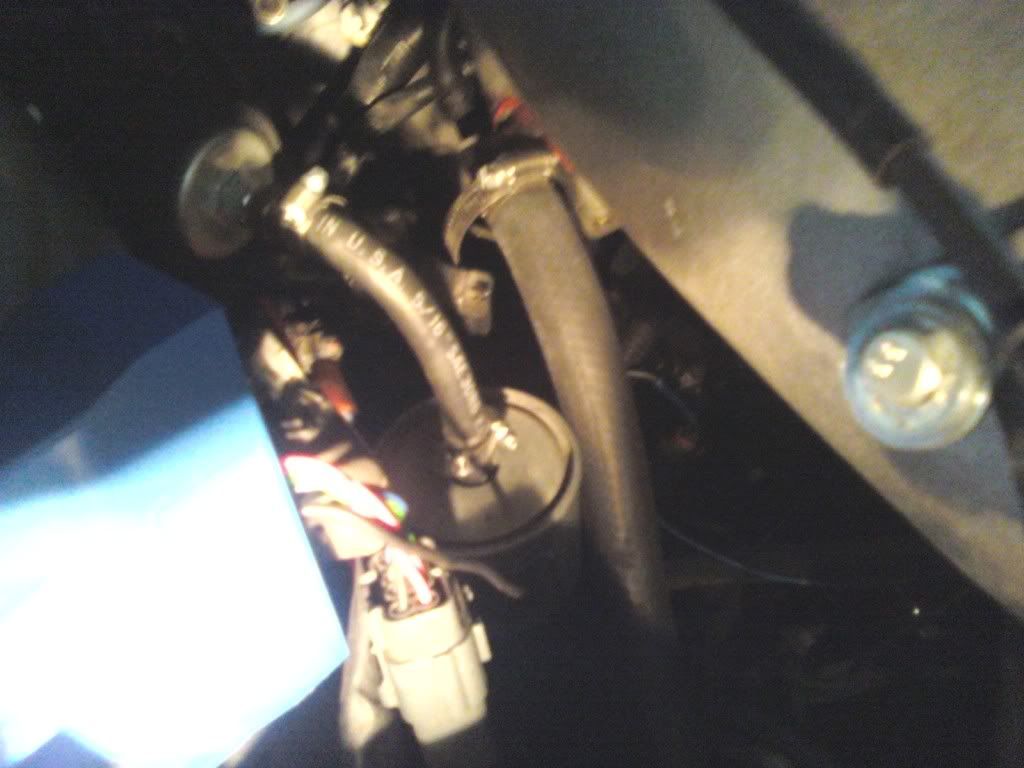
Now you need to replace your fuel lines. Take the line off of the output of your fuel filter and take the line off your rail. Put the new line on the back of your rail and plug it into the output of your new pump. Make sure there are no kinks in the line and that they wont occur easily from small movements and vibrations. Use clamps to secure those lines. Do the same from your fuel filter to the input on your new pump. Here are some (dark) pictures to show but this is pretty self explanatory.
Step five:
Complete your wiring. As I have mentioned before I used the pump mounting location as the pump ground. You still need to wire up your relay in order to get everything to come alive.
Take a 20A in-line fuse and crimp a terminal eye on one end of it and a insulated female connector on the other end. Connect the eye terminal to the + post on the battery and plug the other end on the relay in the location that is supposed to accept full time power. Now take a section of wire and crimp a terminal eye on one end and a insulated female connector on the other. Plug the female connector to the relays ground and find a ground close to the relay. In my case the battery ground was the closest and easiest ground to use therefore I did. Now take the wire you ran from under the hood all the way back to the the fuel pump wire in the trunk and crimp a insulated female connector on that as well. Plug it into the switch post on the relay. Lastly crimp a insulated female connector on the + wire from the new fuel pump and plug that on the output spot on the relay.
Step six:
Put the 10A fuel pump fuse back in the fuse box.
Now everything should be fully operational. Have someone get in and prime the pumps with the key while you watch for leaks. You should hear both pumps running and you will also probably hear air being pushed out of the lines. Have the person keep turning the key and then shutting the key off after the pumps shut off and then turn it back on until you no longer hear the air going back and fourth. Your job while looking under the hood is checking for leaks.
Step seven:
Have the person in the car start it. You need to keep checking for leaks but with the car running now you need to adjust your fuel pressure. The extra flow is going to have raised your fuel pressure some. If you were previously running a stock 3.0 bar setup you need to bring it back down to 3.0 bar.
The way you go about this is let the car idle, then take the vaccume line off the fuel pressure regulator. You need to set it back at 3.0 bar. Leave the vac line off the FPR while you use the locking nut to finilase your adjustment and double check that you didn't alter the fuel pressure by locking it down. Now put the vac line back on the FPR and race the engine a few times in order to get any extra fuel out of the cylinders that may have got in them from running slightly rich while setting the FPR.
Step eight:
If you haven't already, clamp the pump mounting bracket down properly. You don't need to be able to easily remove it anymore. Also clean up your wiring with zip ties (they are not just for holding your bumpers on, go figure). Do this under the hood, in the back seat area and in the trunk.
|
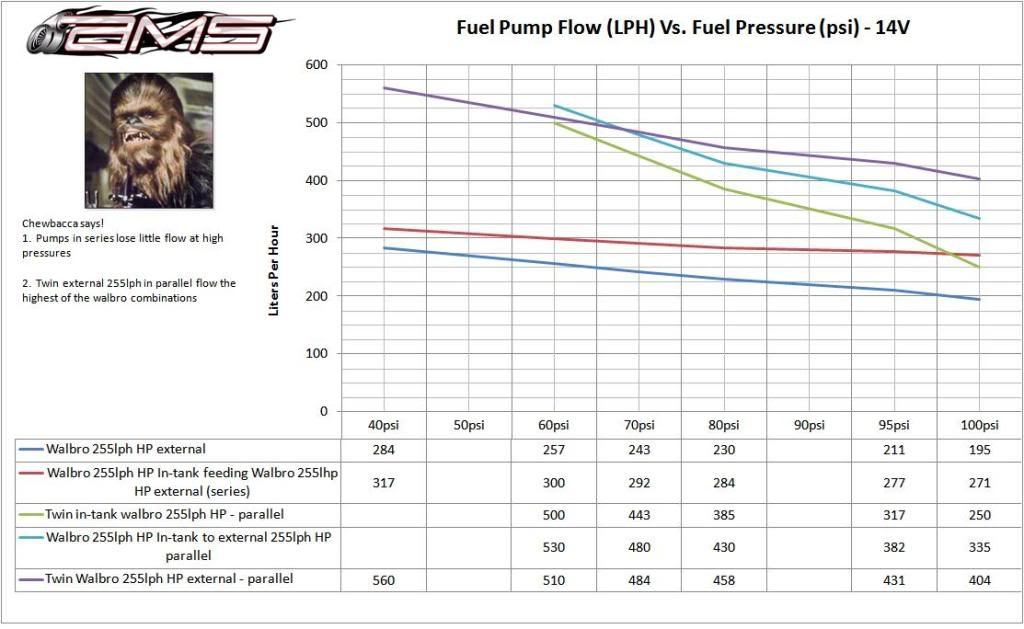
Here are some pump dynos. This setup is listed. Not the biggest and baddest but it is consistent and practical for most people.