Quote:
Originally Posted by DJTTon

Maybe seal up the tube thats punched through the wall?
|
Im sure there is plenty of natural draft since its pretty open with a big ridge vent on the roof, and the garage isn't 100% sealed.. Im just thinking the design of the boiler might need a draft fan plus the natural draft created by the heat from the fire.
:::Update:::
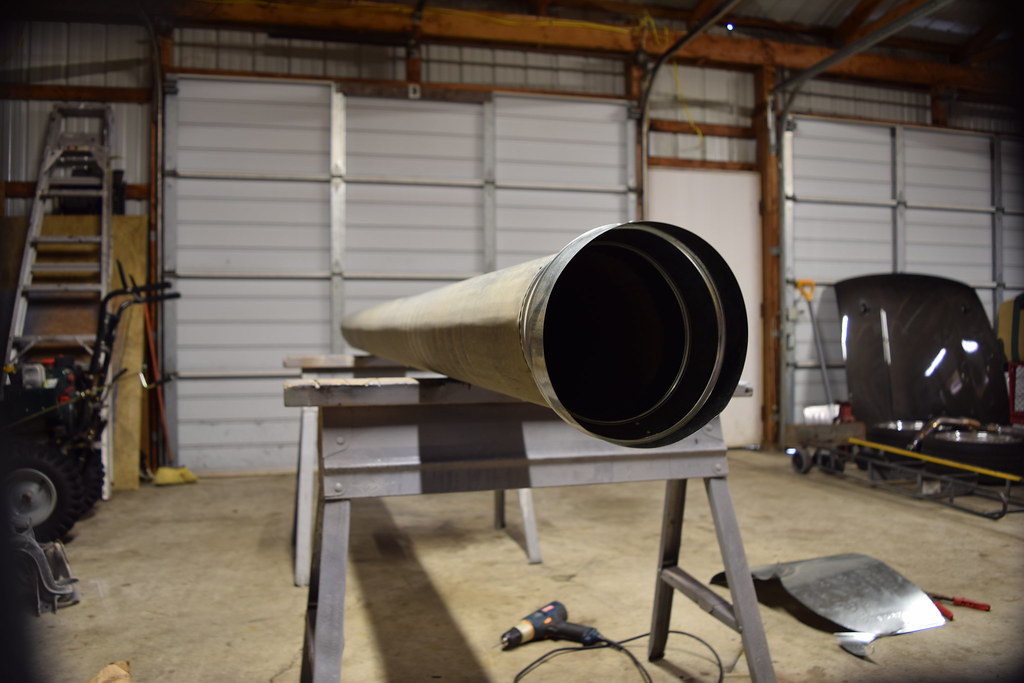
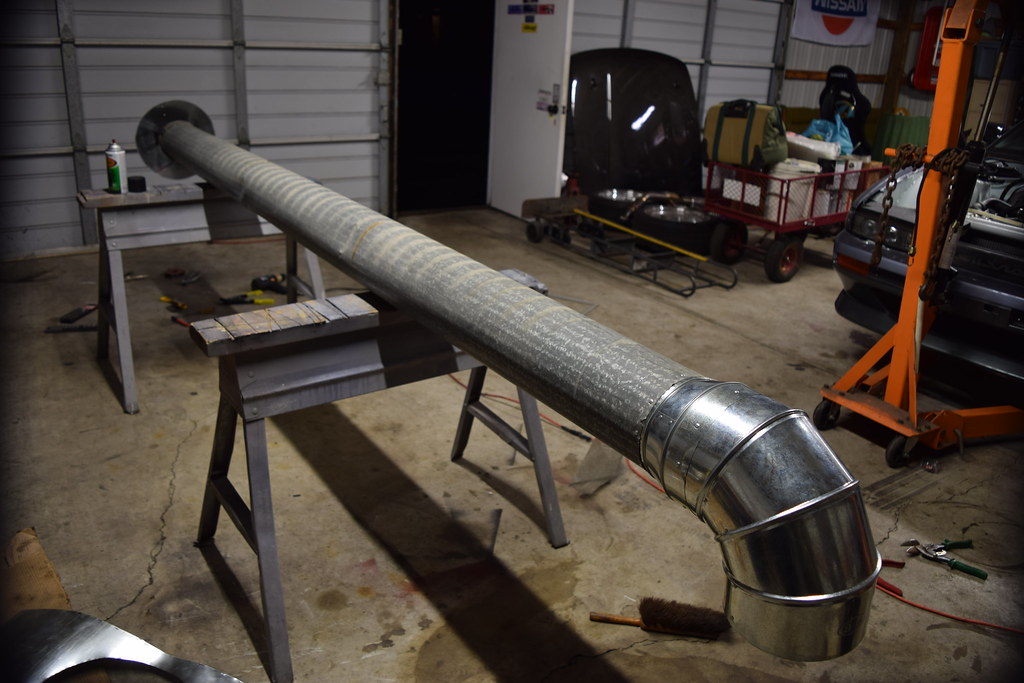
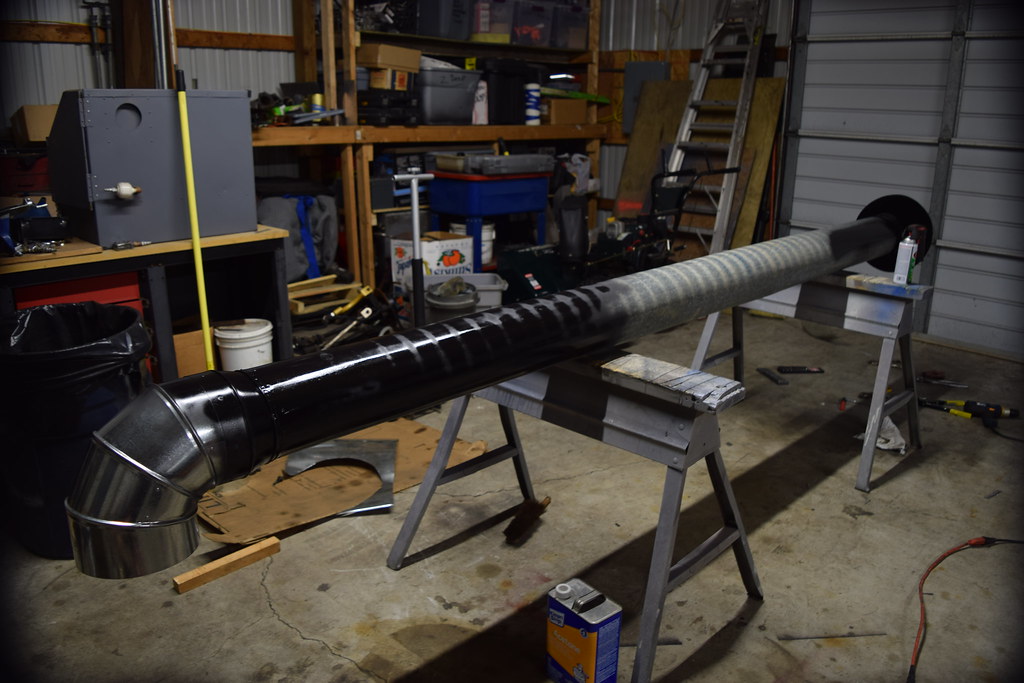
I got a call from my Dad and he said, "I have a Chimney pipe for you". He brought it over and set it outside the garage door for me while i was at work. Its a piece of 7"x10ft long. the one end had tabs cut into it so i only lost an inch after trimming them off.
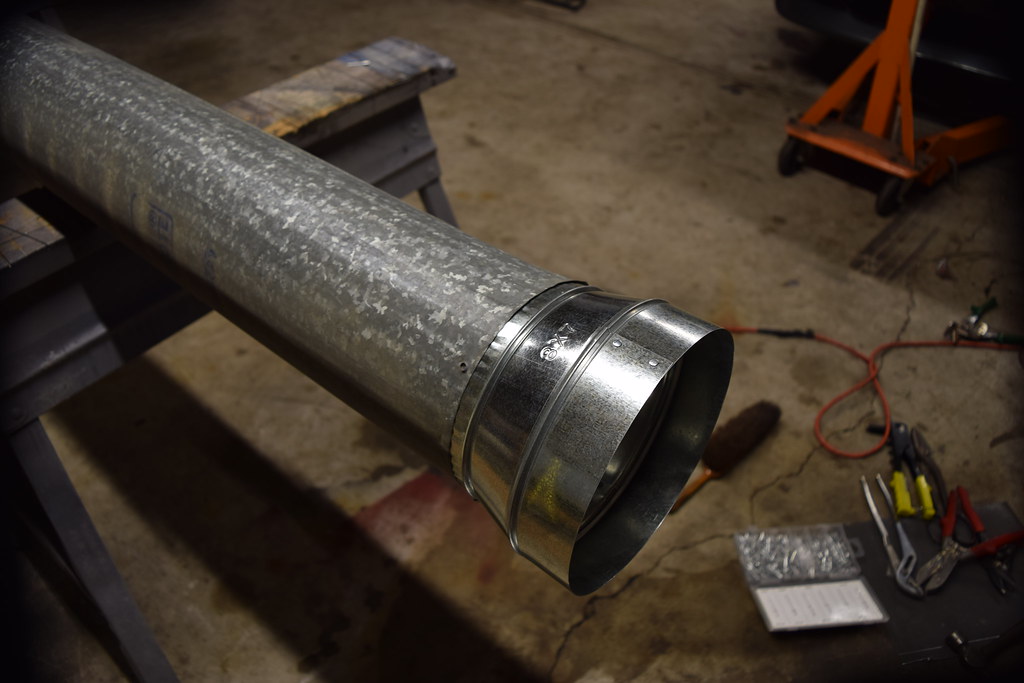
After work i stopped by the local plumbing supply house and Picked up an 8" 90* elbow and a 8"-7"reducer. The next day i stopped by my dads and got his crimper tool since the reducer needed crimped on the 7" end.
Reducer in place.
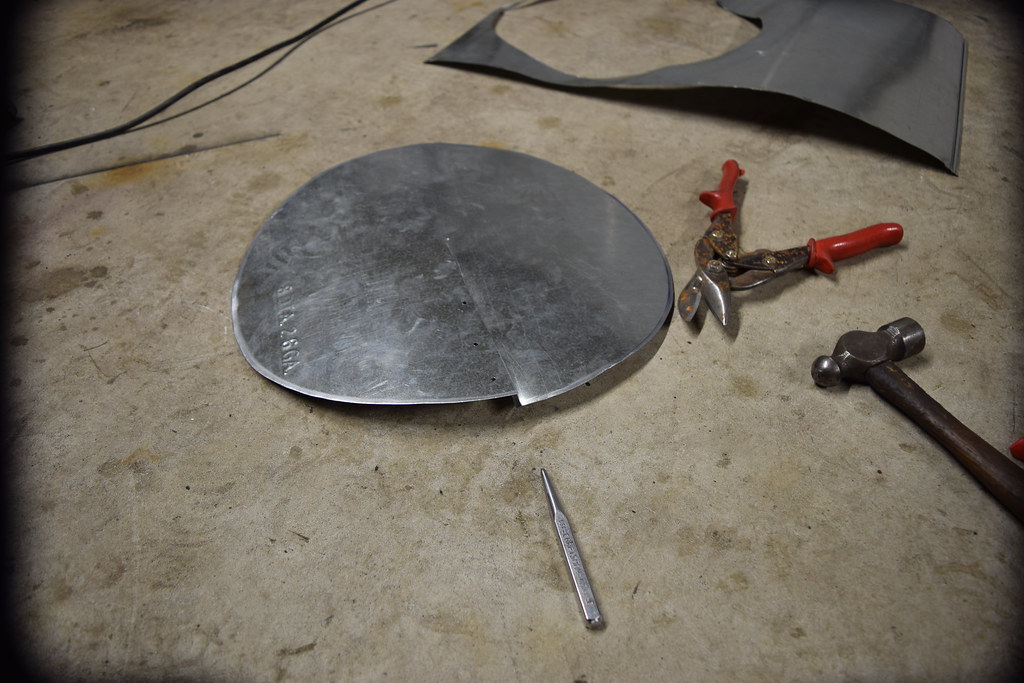
The guy at the plumbing supply house showed me a chimney cap but for 7" it was 15$ (it's an odd size i guess). i chose to make my own... :thumbup:
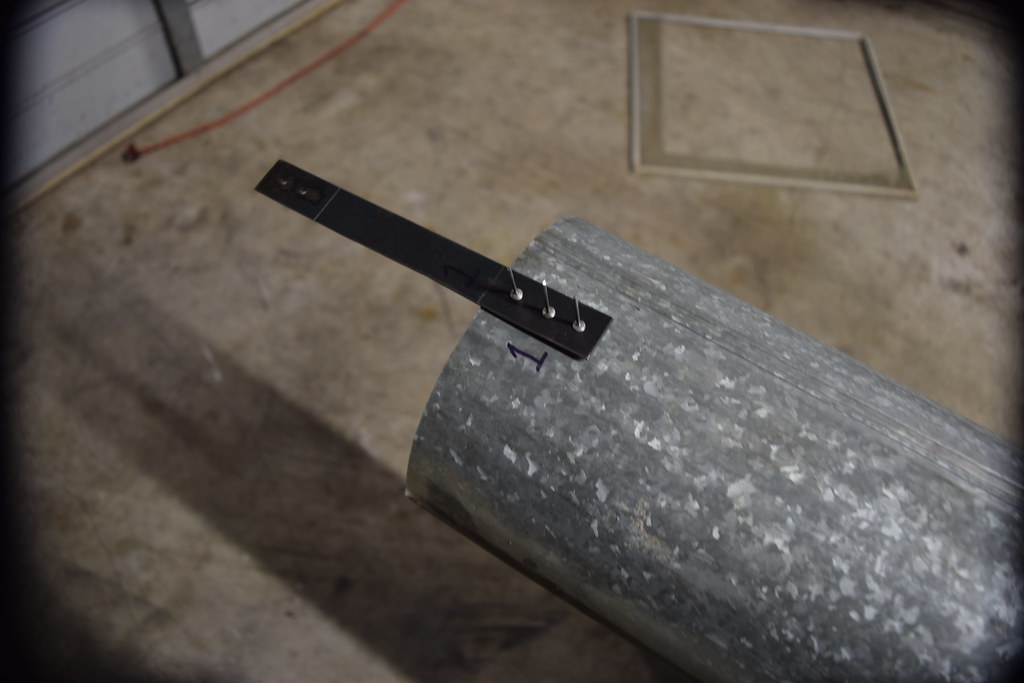
Started with the top.
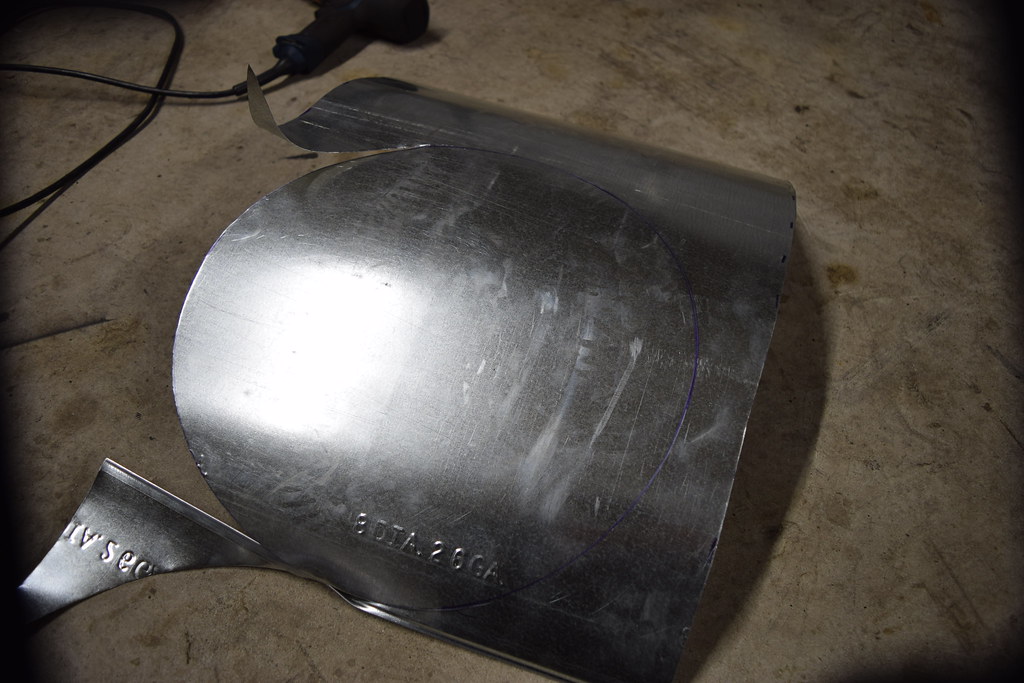
Cutting the circle.
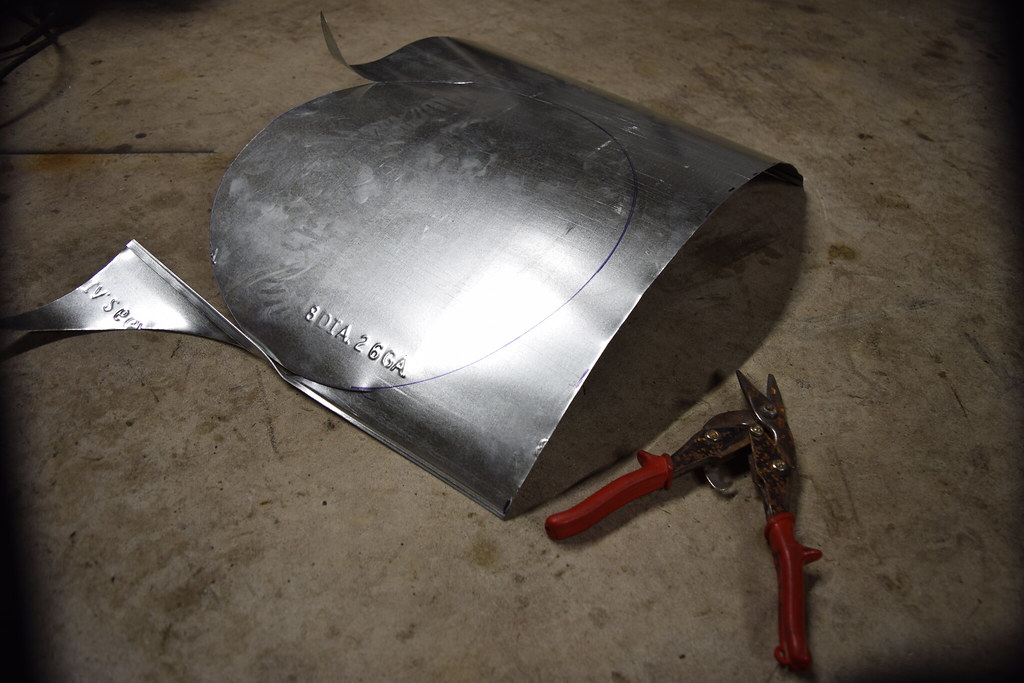
After cutting, I cut a line from the edge to the center, and drilled a few holes in the over lapping top side.
Once that was together i started on the side pieces to hold the top on and to the chimney pipe.
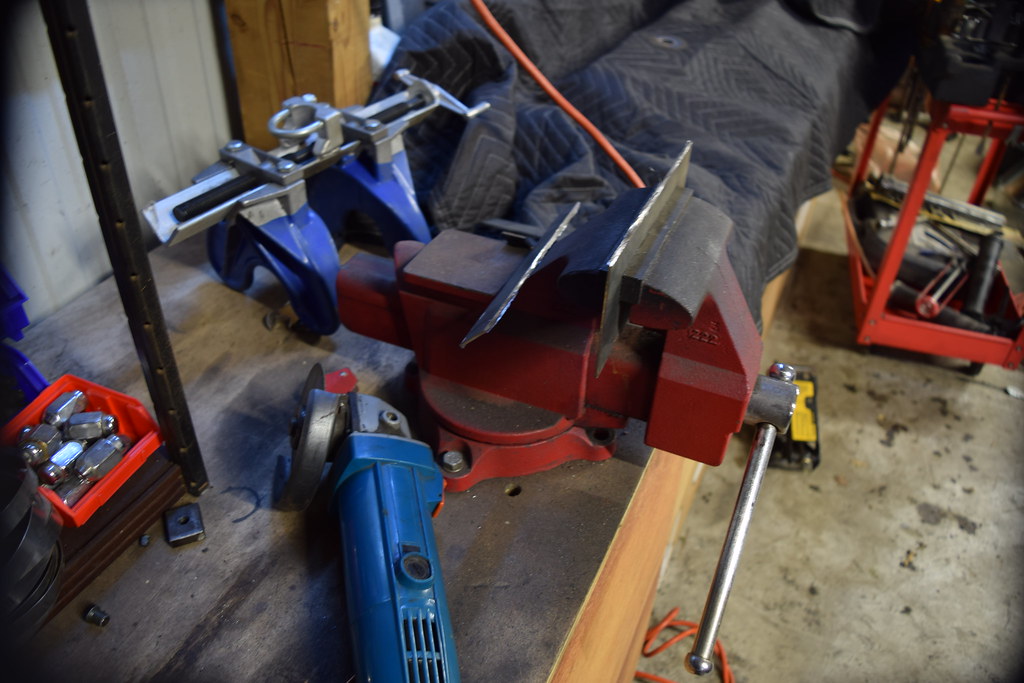
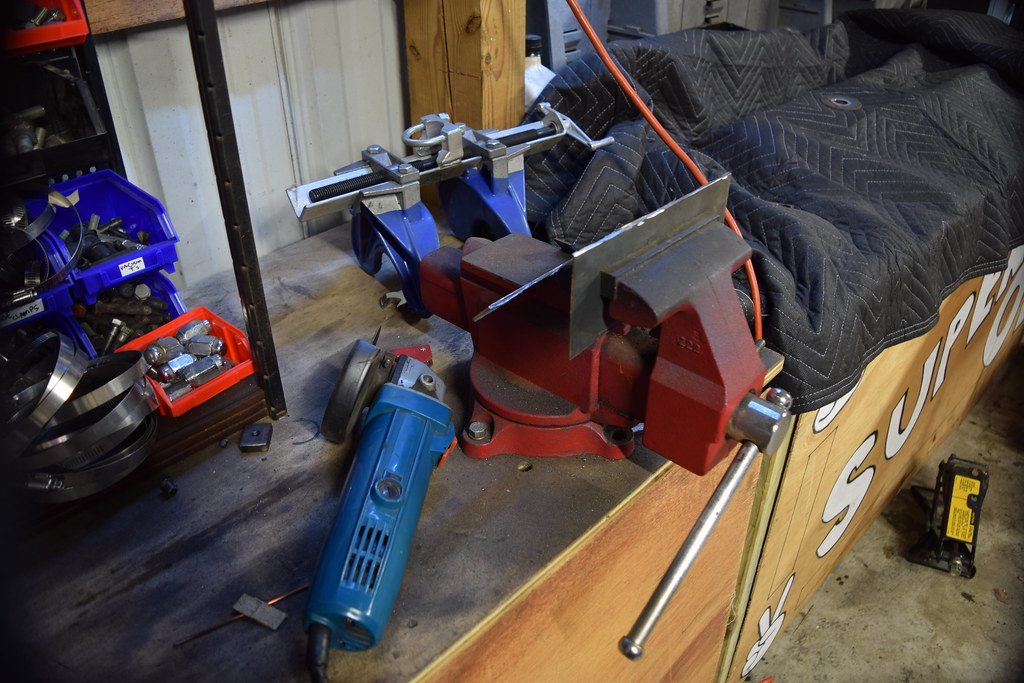
Needed 3 of them.
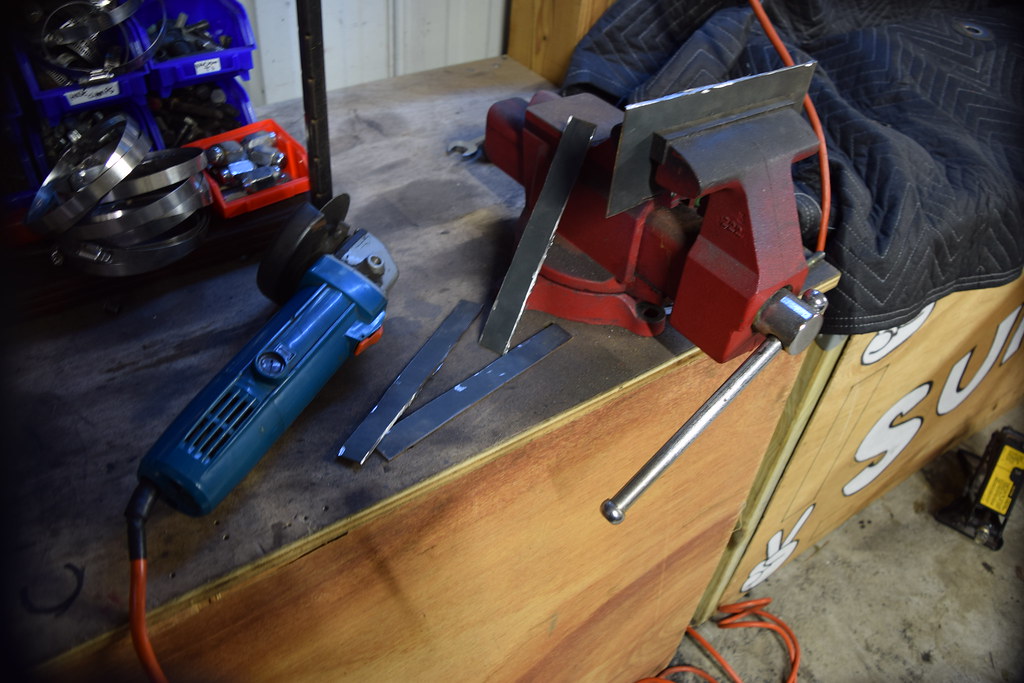
Drilled the holes in them for the rivets that hold it all together. 3 on the pipe, 2 on the cap.


My Dad suggested putting a metal screen on top of the chimney to prevent any ashes that might work their way up and out and land on something outside so i used hose clamps to hold it in place. Then after bending the top of the brackets for the cap, i riveted the brackets over the screen and left the hose clamp in place. I also put a couple rivets in the hose clamp after it was tightened to secure it in place.

Riveted the cap on.
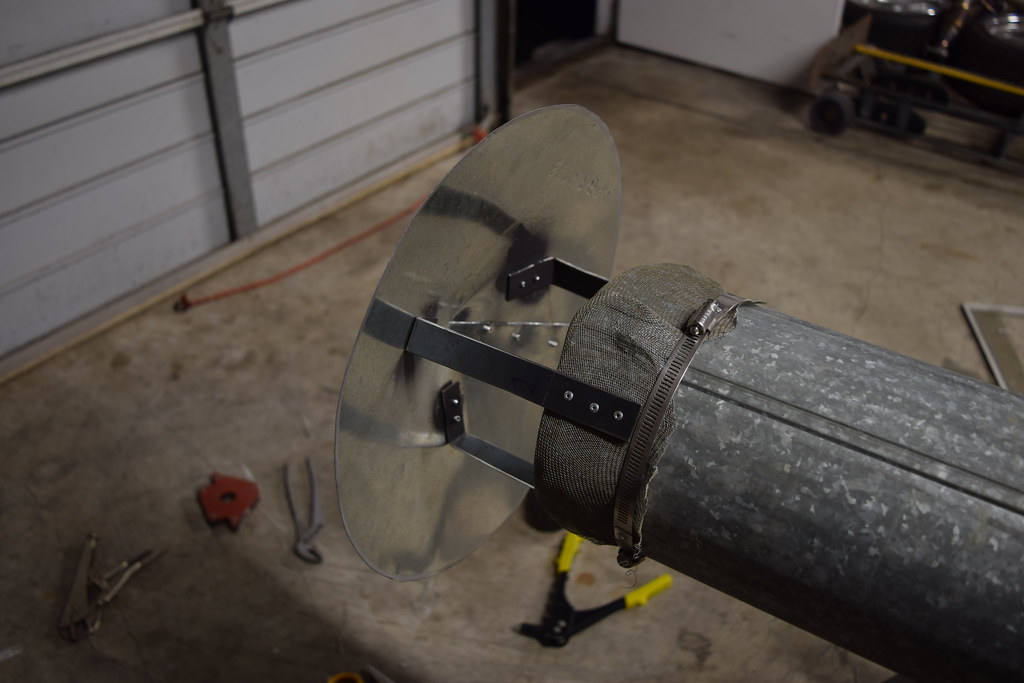
Put some rivets to hold the pipe to the reducer, and the reducer to the 90* elbow.
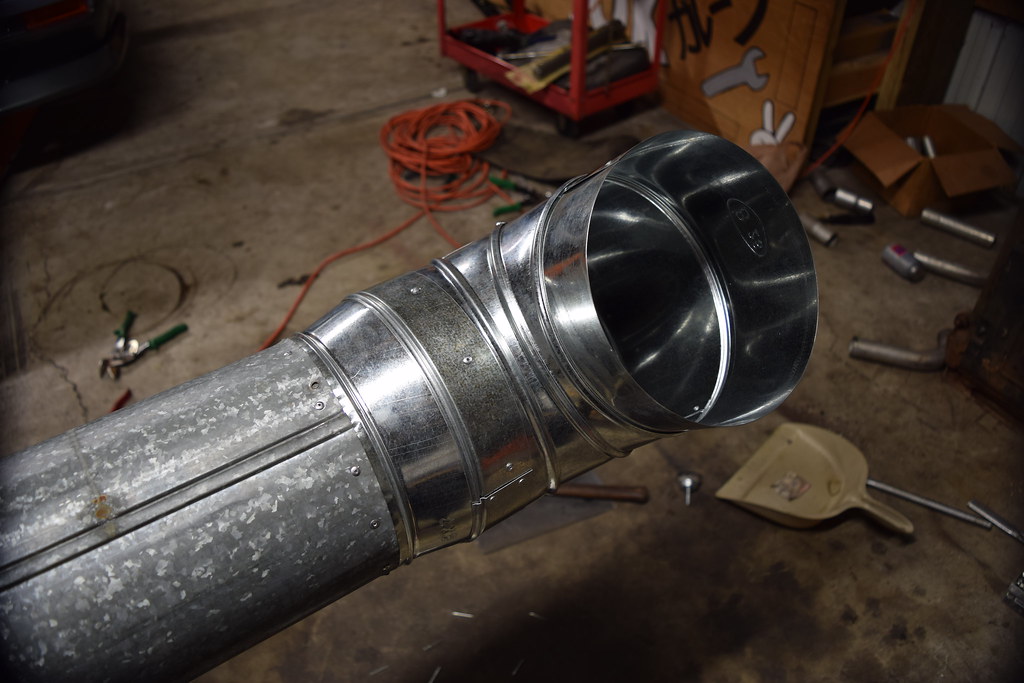
All together ready for some paint.
After a quick wipe with acetone, i started to shoot it with black grill paint. it was a little cold so i stopped for the night.
Next thing is to fit it up outside along the wall and make brackets to hold it up and against.