|
|||||||
| Home | Rules & Guidelines | Register | Member Rides | FAQ | Members List | Social Groups | Calendar | Mark Forums Read |
| Tech Talk Technical Discussion About The Nissan 240SX and Nissan Z Cars |
 |
|
|
Thread Tools | Display Modes |
 01-30-2009, 11:31 PM
|
#1 |
|
Leaky Injector
Join Date: Oct 2008
Location: Anaheim
Age: 44
Posts: 79
Trader Rating: (0)
 Feedback Score: 0 reviews
|
Fiberglass bumper repair
This is a method we use to repair fiberglass bumper.
Finish product 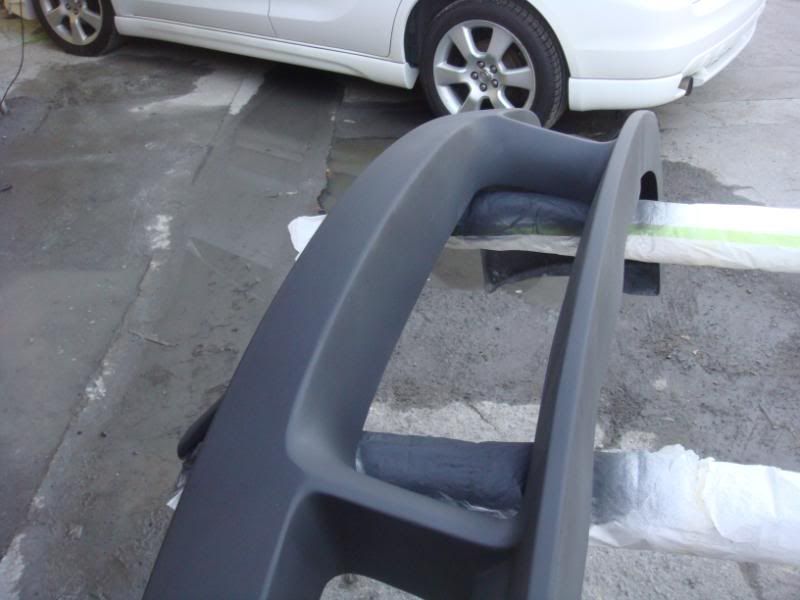 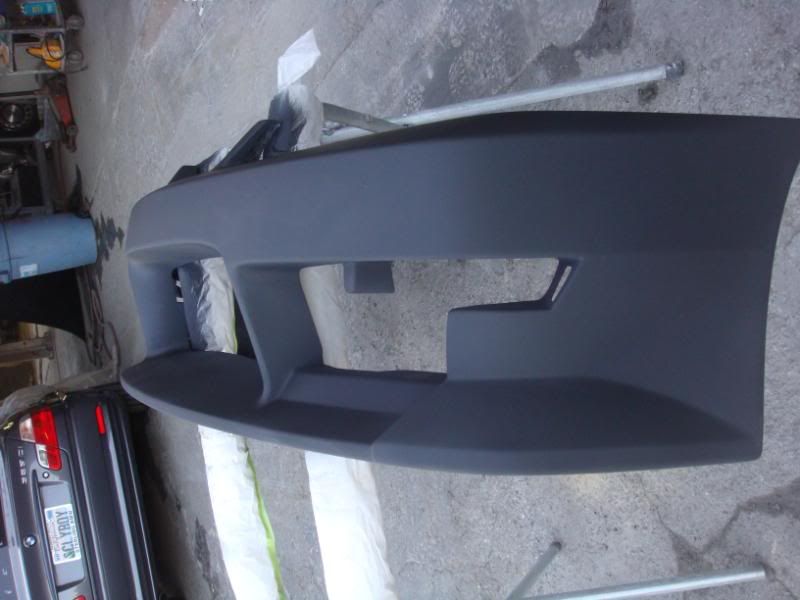 First The fiberglass bumper repair Items needed Fiberglass resin (you can buy a repair kit with all the necessary stuff at autozone, kragen ect.) Sandpaper ( various grits and types read on to find out what) Various fillers ( Just "bondo" will do but i recommend using stronger stuff if the repair is to last) tools ( grinder, sanding blocks 6" 18" ect, brushes) Safety equipment ( gloves, eye protection, dust mask) BABY POWDER!!!! ( if you ever worked with fiberglass this is a life savor)  this bumper had a Van back into it. Some bumpers are not worth fixing, this one being pretty high priced, it was worth the effort to fix. First thing is always clean the part off, soap and water then a degreaser, acetone or some type of cleaner, I like autoprep. Next step is to get the bumper back close to its original shape as possible. Use tape, vice grips, ect to secure it in place. 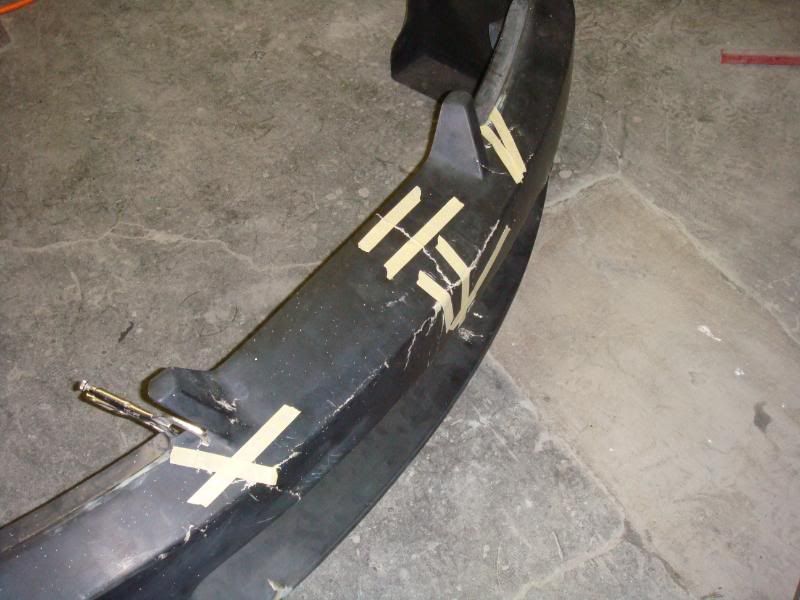 This step can be done by hand but I just like using a 90 degree grinder. 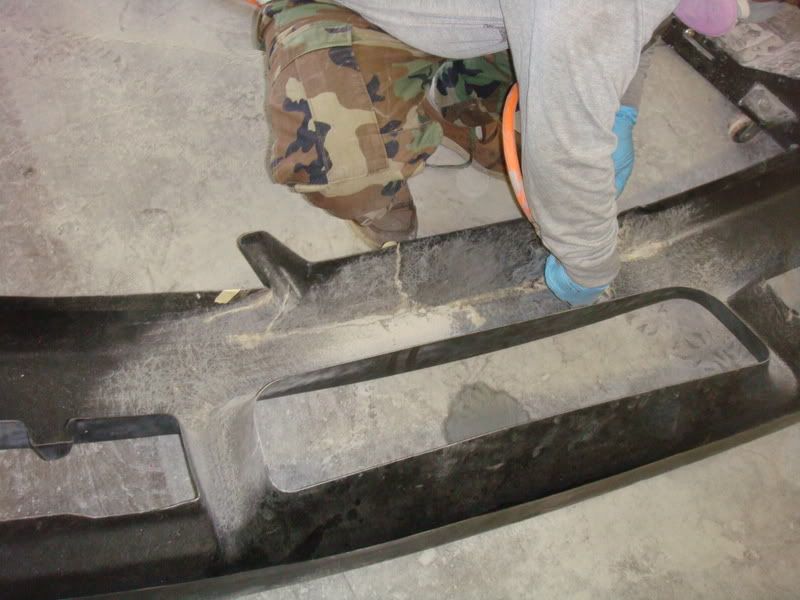 Sand all edges flat with each other as possible, Ie get rid off the the frayed edges, use a 40 grit sand paper or below, just get rid of the edges don't worry about the cracks yet. 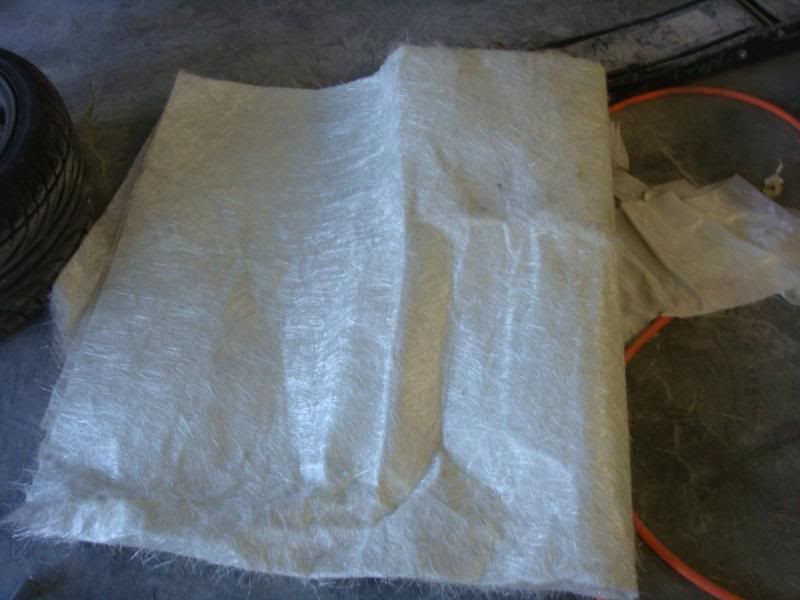 the next step involves using a fiberglass mat like the one above. The mat is used to reinforce the back of the repair area. Tear off pieces 4"x4" in size, enough to cover the repair area with a 50% overlap in two to three layers. 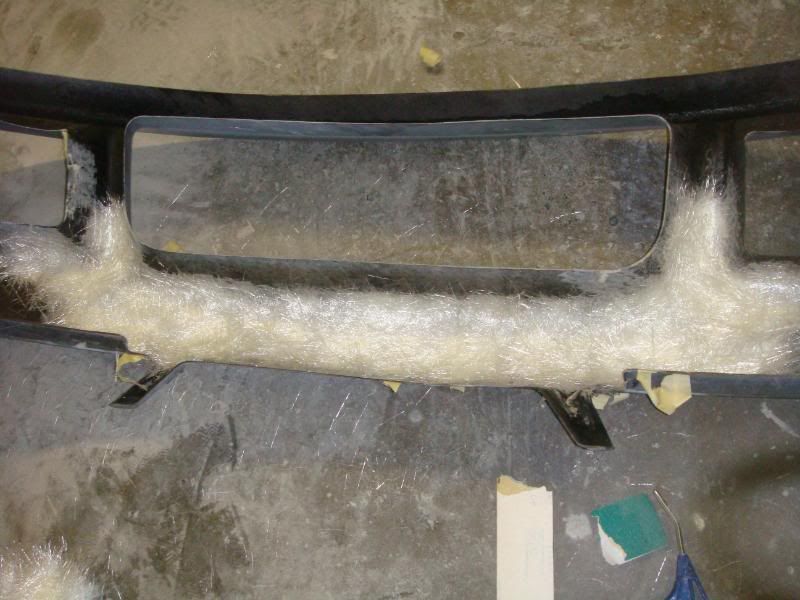 next lay down the first row of matt fiberglass like so in the bumper, it is very important that there is enough overlap between the pieces to form a solid bond, 25-50% of the individual pieces should over lap each other.  mix a small amount of resin according to your resin brand instructions, only enough to wet out the first layer. For the area shown in the picture, it took about 12 oz of resin. mix about 6 oz of resin and poured it over the fiberglass. Then using a stiff bristled brush spread out the resin using a jabbing motion. don't worry about getting all the air bubbles out just yet. Next mix the remaining resin now dip the brush in to the resin and use a jabbing motion to completely wet out the fiberglass, it should look like this when done 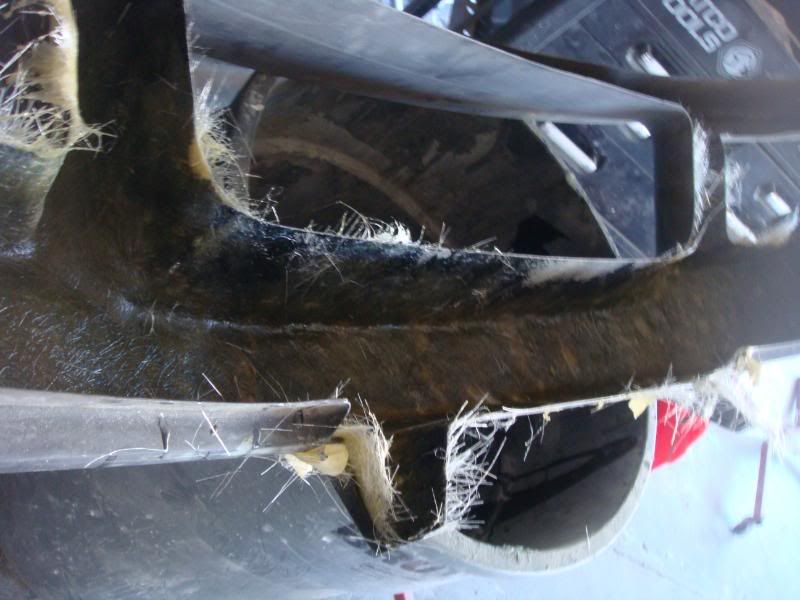 Let it set up for about 5-10 mins depending on amount of hardener used. Most fiberglass resin uses a chemical reaction that creates heat. If the fiberglass is built up too fast the heat might warp the bumper of become brittle upon full cure. After the 5-10 mins are up repeat to add the second layer of fiberglass. Let the fiberglass completely cure. I like to let it sit over night. 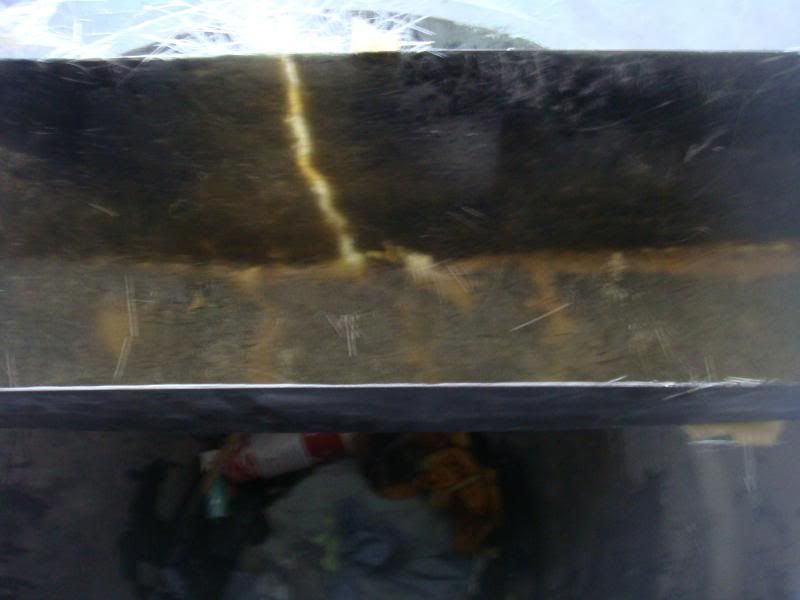 the cured fiberglass Next flip the bumper over and sand all the broken fiberglass making sure there is no looses pieces left, exposing the fresh layer of mat. Again use 40 grit or lower sand paper. 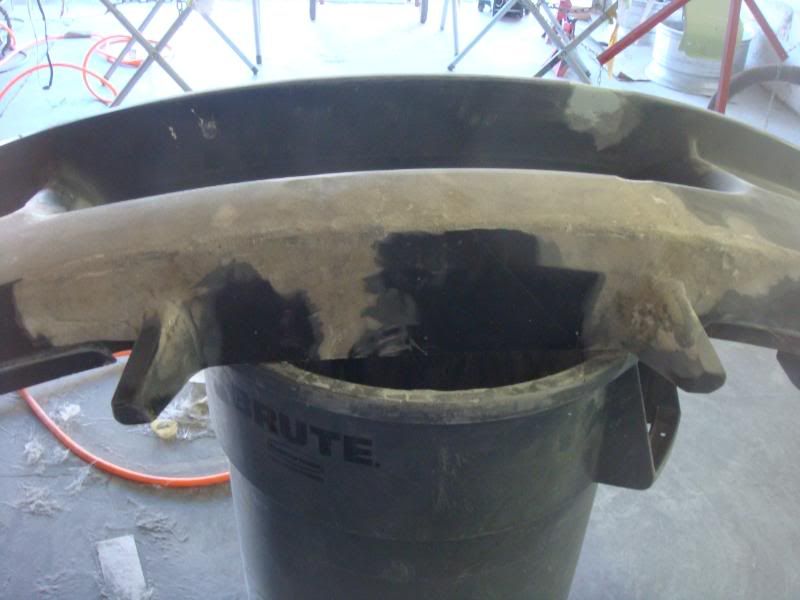 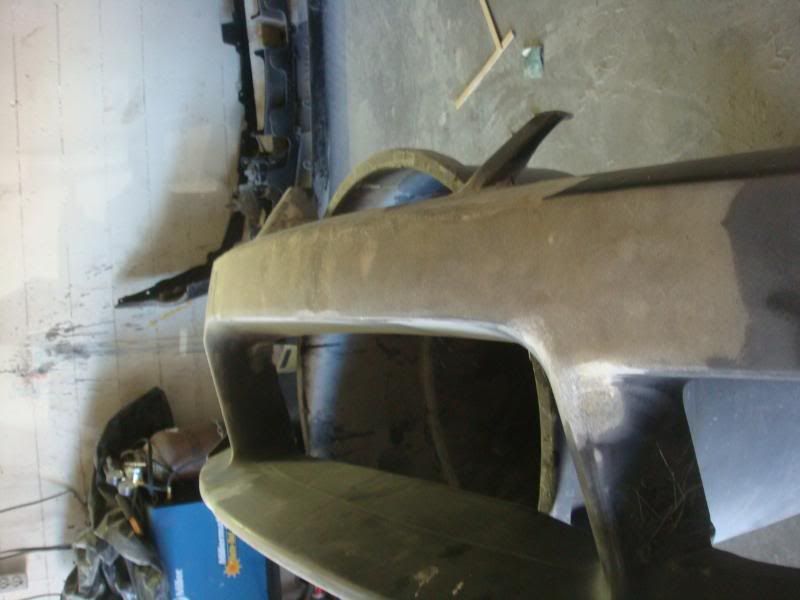 This next step is where the material choice comes in. I am using a Kevlar reinforced filler for my initial coats, you can use "bondo" but it wont be strong as the kevlar stuff but it will be easier to sand. Apply a generous layer of filler to the sanded area. Remember this filler is whats shaping the front of the bumper. Make sure there is enough filler to cover the low spots. 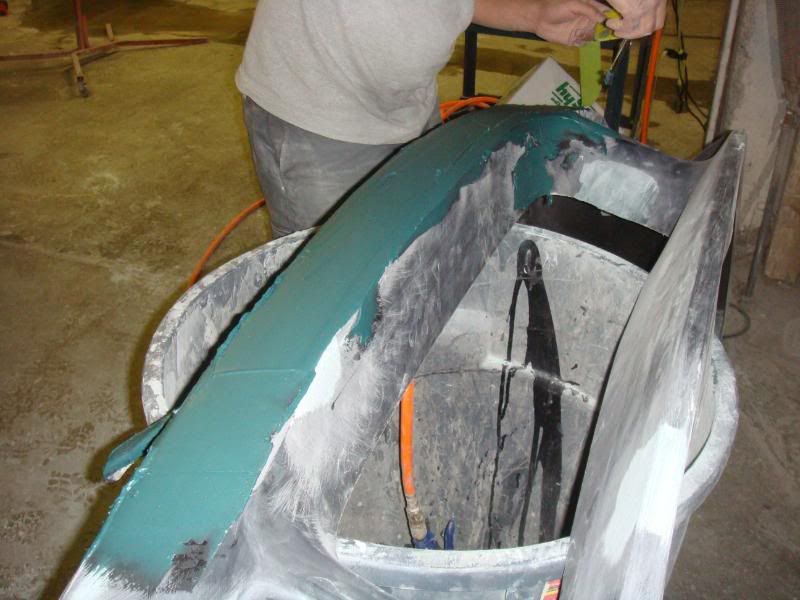 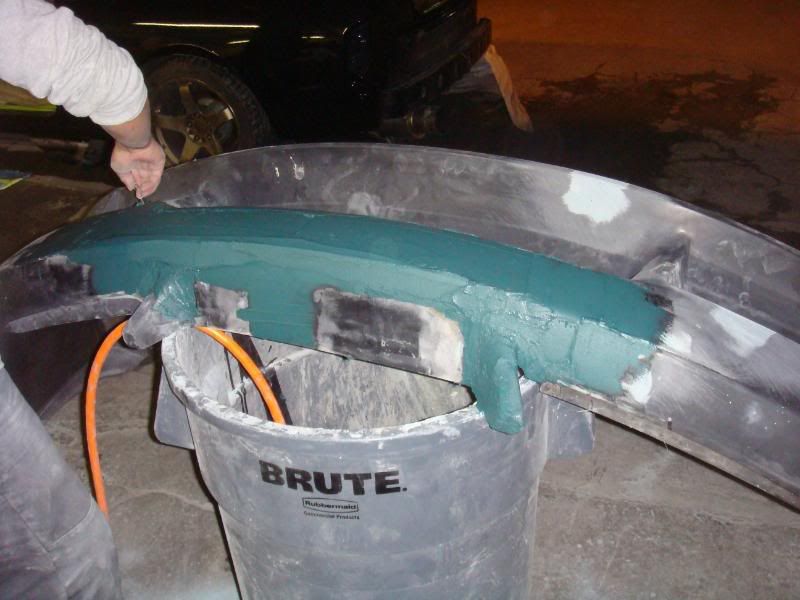 Next shape the filler down to the bumpers original shape. I used a DA for this step, but if you don't have access to one hand sanding useing a 6" block and a 18" block will do, again 40 grit or less sand paper. 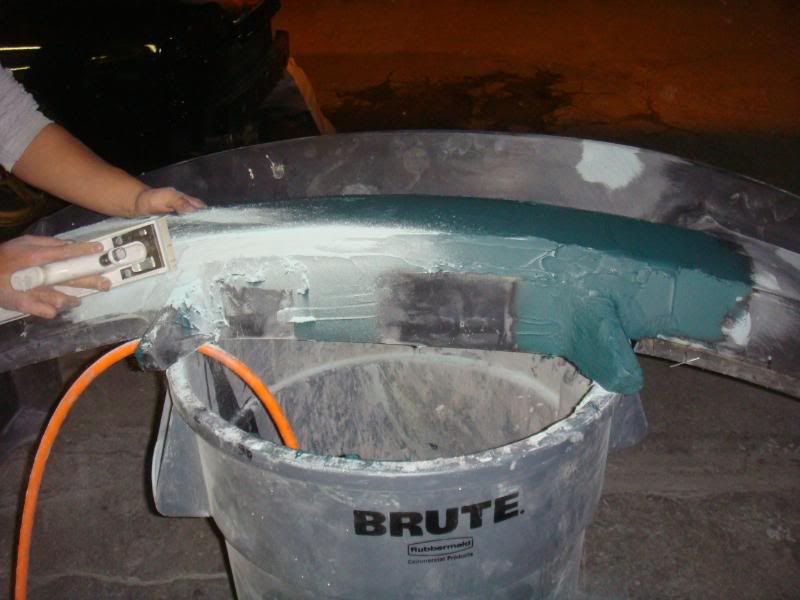 Finish with the initial sanding  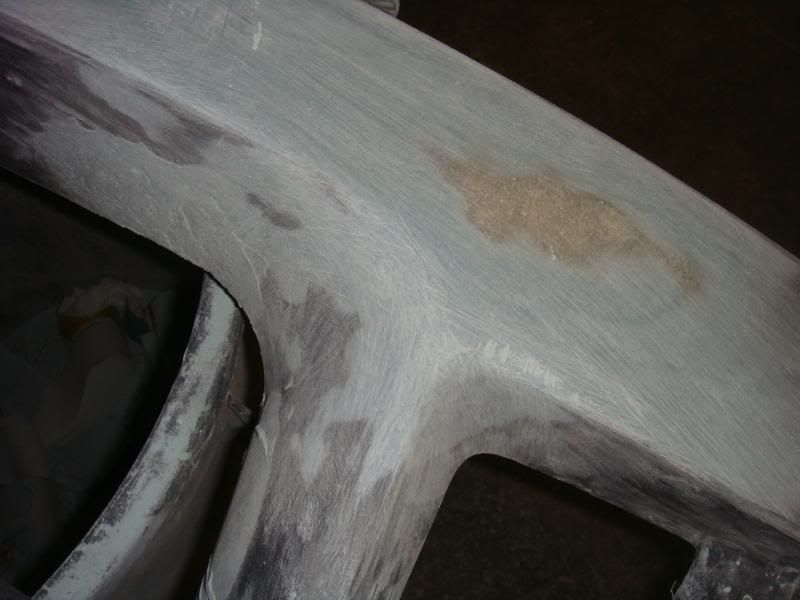 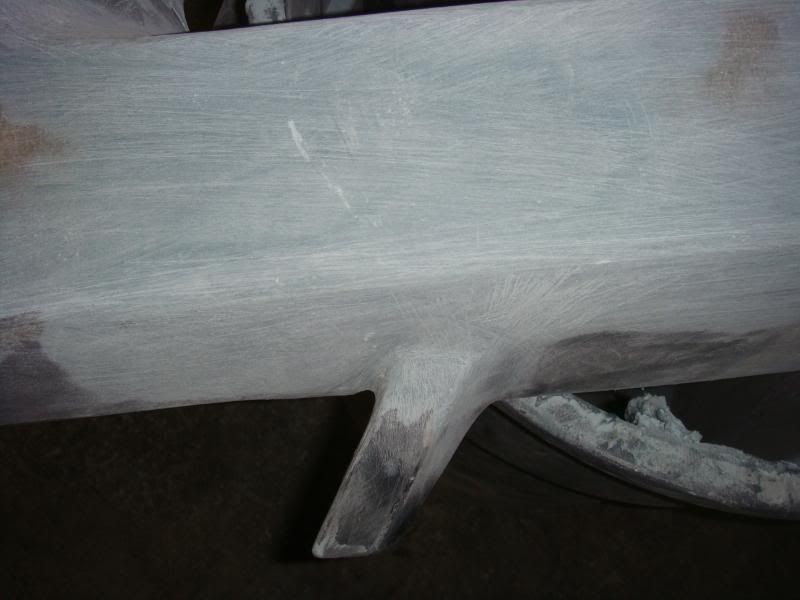 for the final coat of filler I used a high grade plastic filler Put enough filler on to fill in all the low spots that got missed the first time and sand to shape. 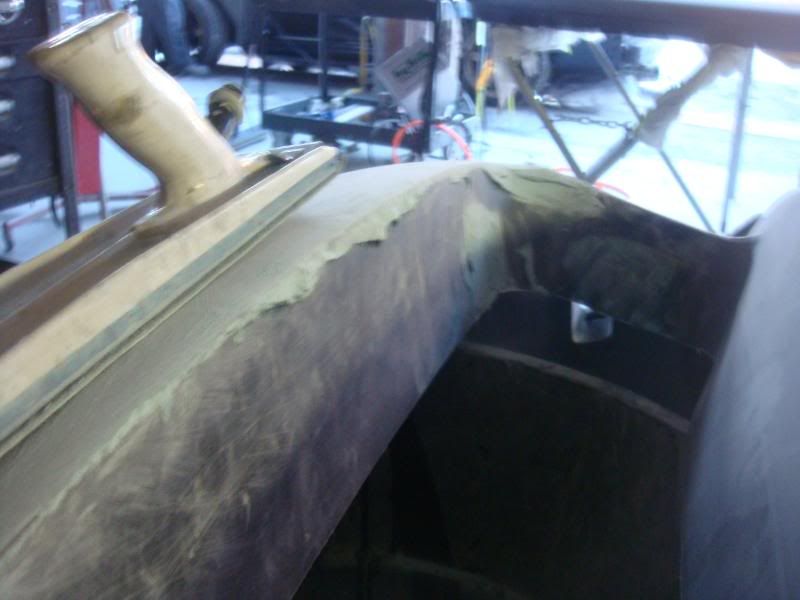  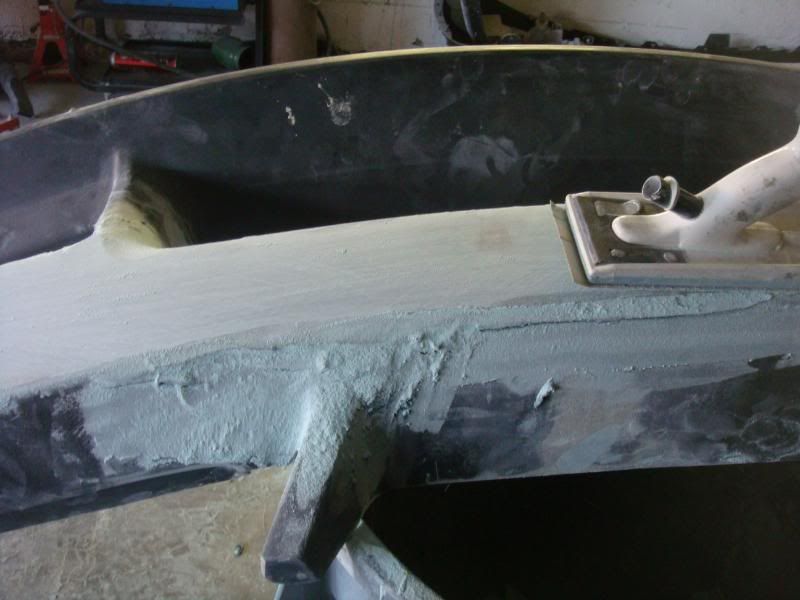 start with a 40 grits then work your self up 80 then finish with 150. After the final sanding clean the bumper off with some air and post sanding cleaner. Primer with your choice of primer, I used PCL polyprimer Have fun.
__________________
We do "Awesome" |

|

|
| Sponsored Links |
|
01-31-2009, 08:54 AM
|
#2 |
|
Guest
Posts: n/a
|
wow great write up for someone that doesn't know a thing about fiberglass!:woot:
|
|
|
|
01-31-2009, 09:12 AM
|
#3 |
|
Zilvia FREAK!
 
Join Date: Nov 2007
Location: South Korea
Age: 39
Posts: 1,320
Trader Rating: (13)
Feedback Score: 13 reviews
|
I just got done repairing my rear bumper. It was a trial and error ordeal. Actually turned out not half bad. I followed pretty much the exact same steps that you posted except I used the interlaced matting instead of the fiberglass strands.
|
|
|
|
|
01-31-2009, 12:06 PM
|
#5 | |
|
Zilvia FREAK!

|
this write up is AWESOME!
makes me want to try... and i am gonna try soon... i sent you a pm regarding something
__________________
Quote:
|
|
|
|
|
|
02-01-2009, 08:38 AM
|
#6 | |
|
The Architect.
 
Join Date: May 2006
Location: Los Angeles, CA
Posts: 11,533
Trader Rating: (392)
 Feedback Score: 392 reviews
|
Makes me want to buy a messed up bumper just to give it a shot.
Haha.
__________________
 -Jspec- Instagram/CrimsonRockett Quote:
|
|
|
|
|
|
02-01-2009, 08:45 AM
|
#7 |
|
Leaky Injector
 Join Date: Aug 2003
Location: @ Petty Enterprise
Age: 43
Posts: 138
Trader Rating: (0)
Feedback Score: 0 reviews
|
a little tip dealing with fiberglass, wash up with shaving cream it helps get rid of the itching lather up first no water then rinse with cool water
__________________

|
|
|
|
|
02-01-2009, 02:55 PM
|
#9 | |
|
Post Whore!

Join Date: Sep 2006
Location: Pomona, CA
Age: 42
Posts: 5,591
Trader Rating: (313)
Feedback Score: 313 reviews
 |
Great write up.
I've been doing it that way on all the parts I have fixed. I'm glad I've been doing it the right way lol Quote:
I just got this bumper for $15   Should cost me like $30 in supplies to fix. |
|
|
|
|
|
| Bookmarks |
| Thread Tools | |
| Display Modes | |
|
|


 Linear Mode

