
 |
|
|||||||
| Home | Rules & Guidelines | Register | Member Rides | FAQ | Members List | Social Groups | Calendar | Mark Forums Read |
| Builds (and builds only) Got a build thread? It goes here, build threads anywhere else on the forum will be locked and never moved. |
 |
|
|
Thread Tools | Display Modes |
|
|
#31 |
|
Leaky Injector
Join Date: Dec 2012
Location: Bristol, UK
Age: 30
Posts: 92
Trader Rating: (0)
 Feedback Score: 0 reviews
|
Had a pretty relaxed weekend on the car this weekend!
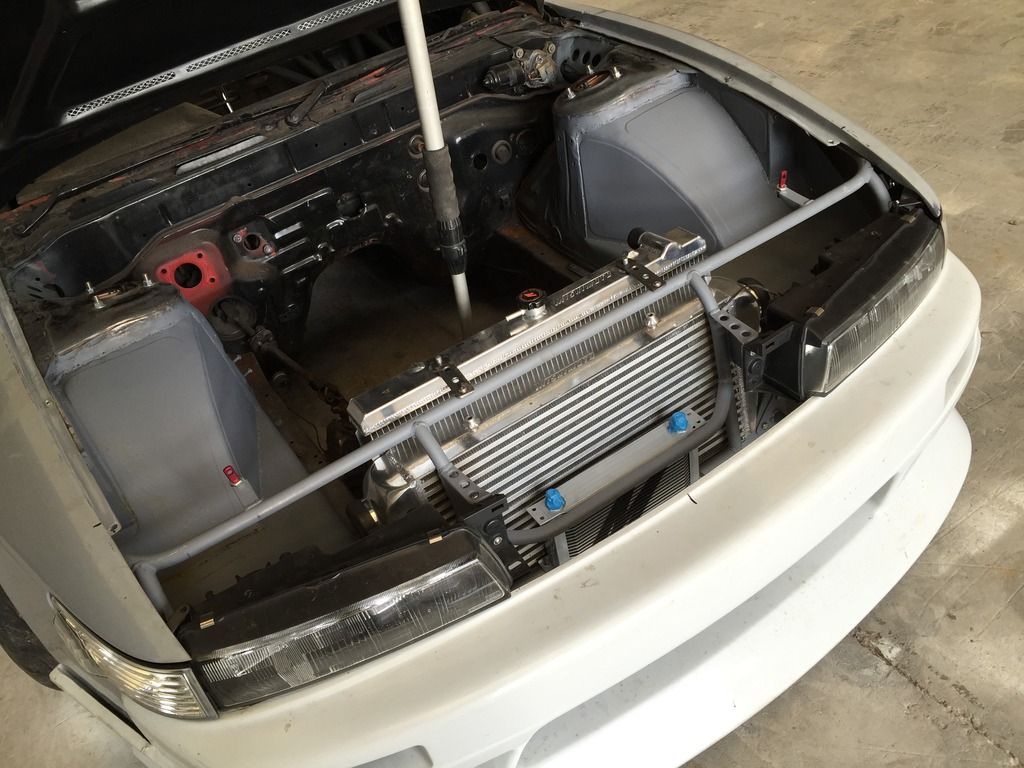
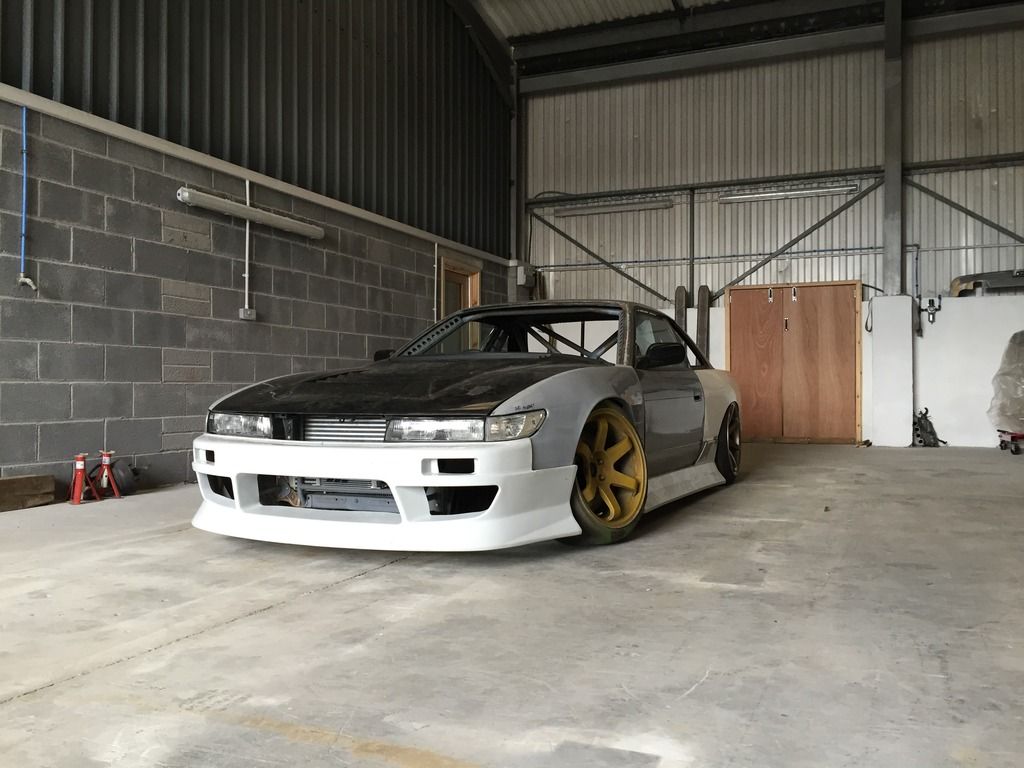
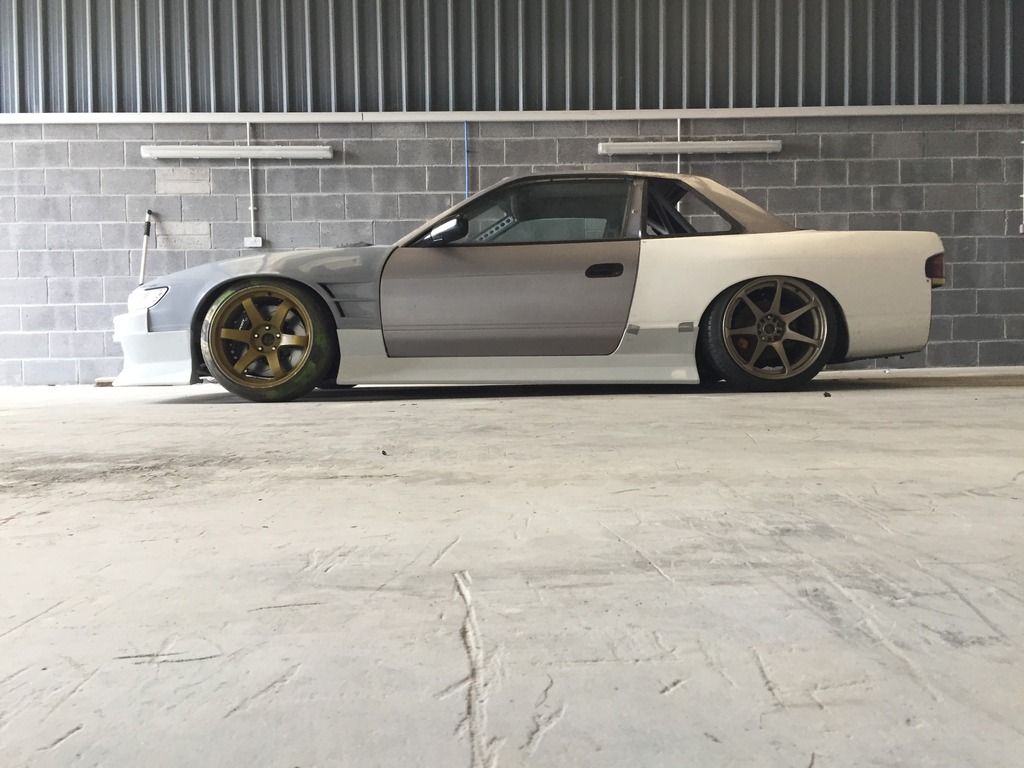
Mishimoto delivered the new 180sx 3-Row/X-Line radiator and 19-Row Oil Cooler pretty fast which I was amazed about. What amazed me more was the quality of the packaging and the goods that they produced. 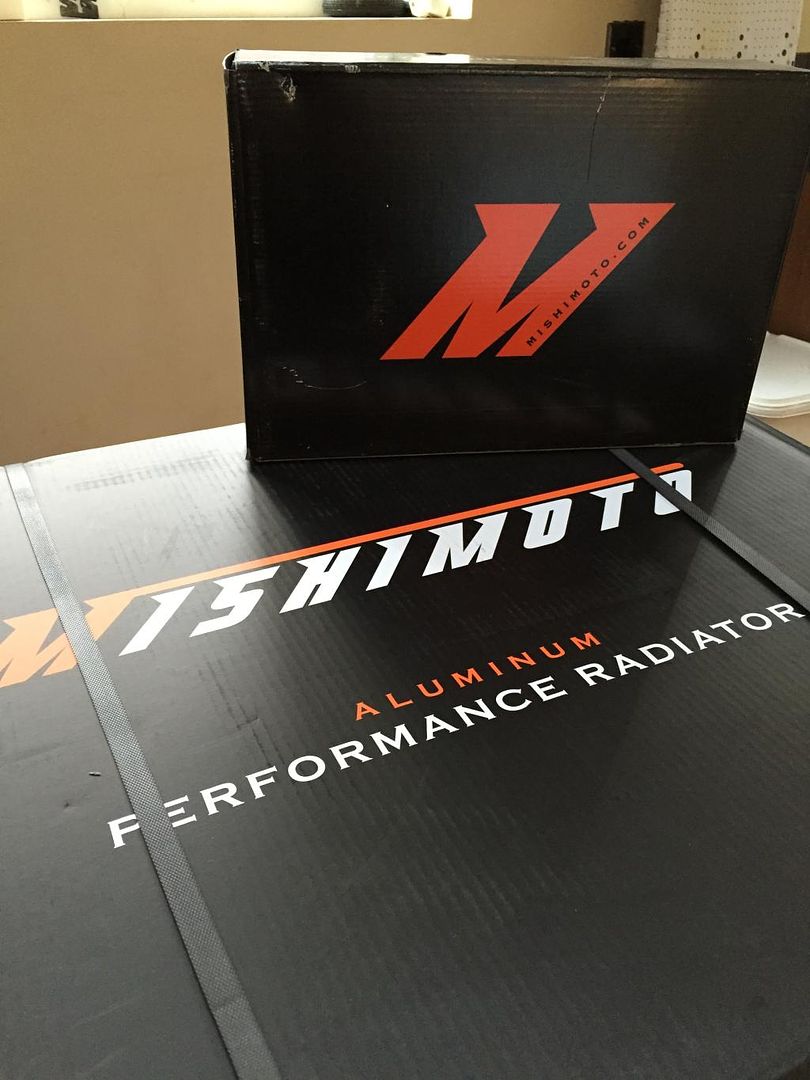 Unfortunately my new intercooler core didn’t turn up at the same time, but as long as it arrives before Saturday when the car is scheduled to head off to Huxley again then all is good  Spoke to a few people about what size oil cooler to run, to which everyone said the 19-Row will be far to big for my needs. But I carried on, did some measurements and its perfect for what I want! 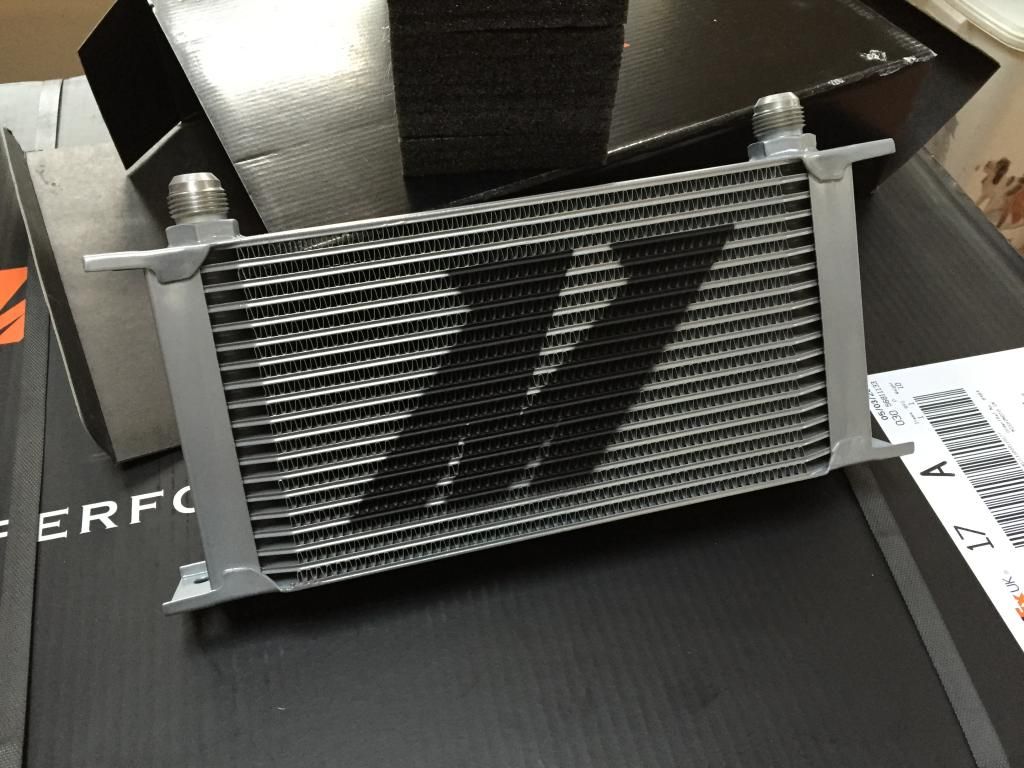 The quality is pretty decent, hands down one of the best cores I’ve held which gives me confidence with the setup it’ll be tasked to cool down. It came with AN10 fittings too, which just so happens to be the exact size of the Tomei Oil Block and Grex relocation plate  Even the radiator was really well packaged! Good to see some companies pride themselves in the packaging of a product. 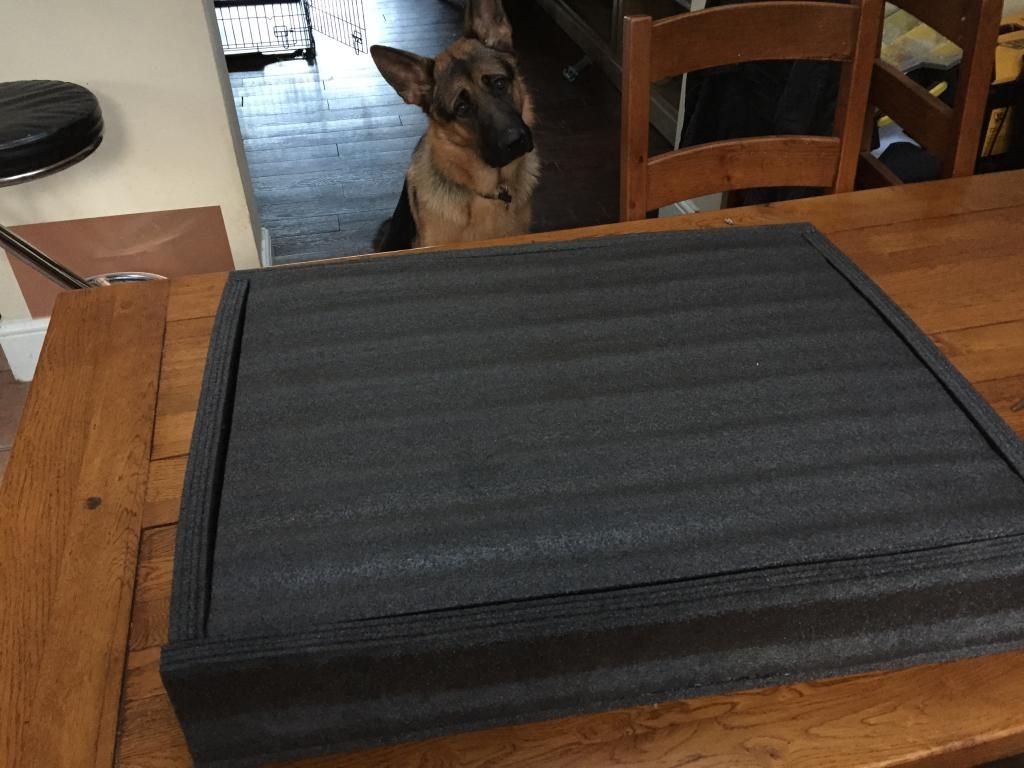 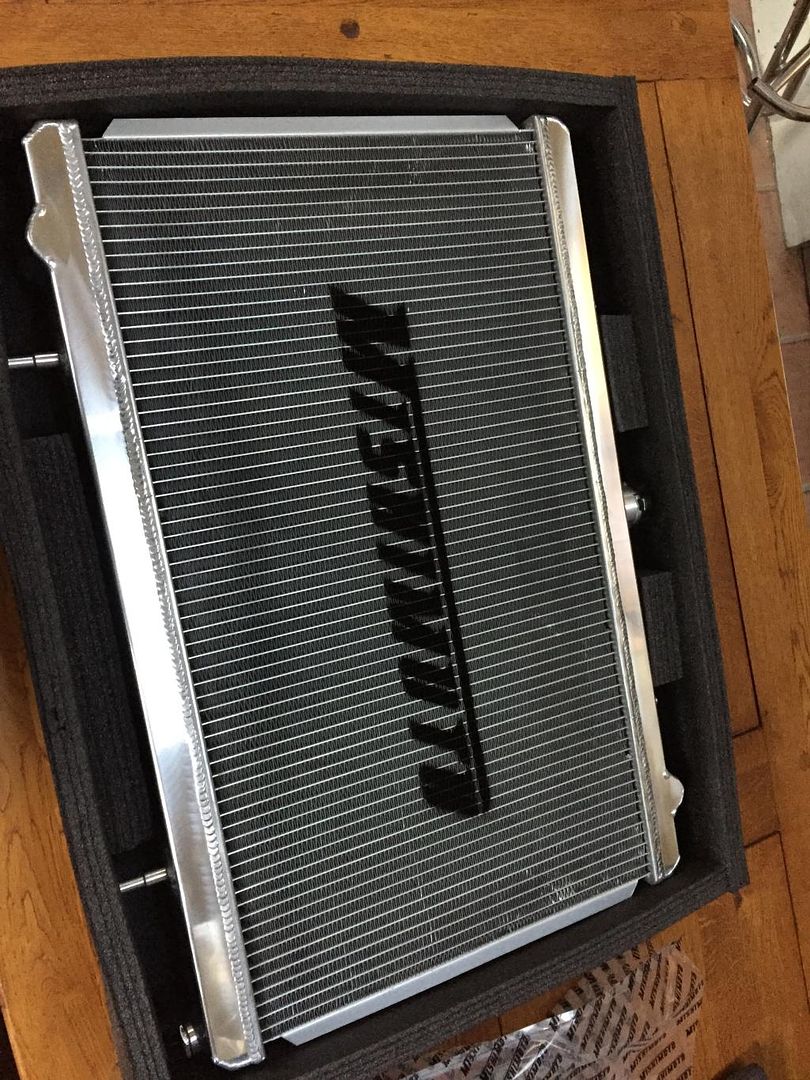 Again, the quality of the radiator is second to none. This will be more than enough to keep the SR cool, my ebay/japspeed radiator managed thanks to the GKtech Fan & Shroud setup. So with 3-Row core im sure coolant problems will never bug me  (That’s the plan anyhow!) (That’s the plan anyhow!)Yesterday I was luckily enough to roll the car into the new unit! Weather was good, music was on, positives vibes everywhere which was a nice change. I handed my university dissertation in during the week, which was a massive relief, and now means I can spare some time here and there to work on the car  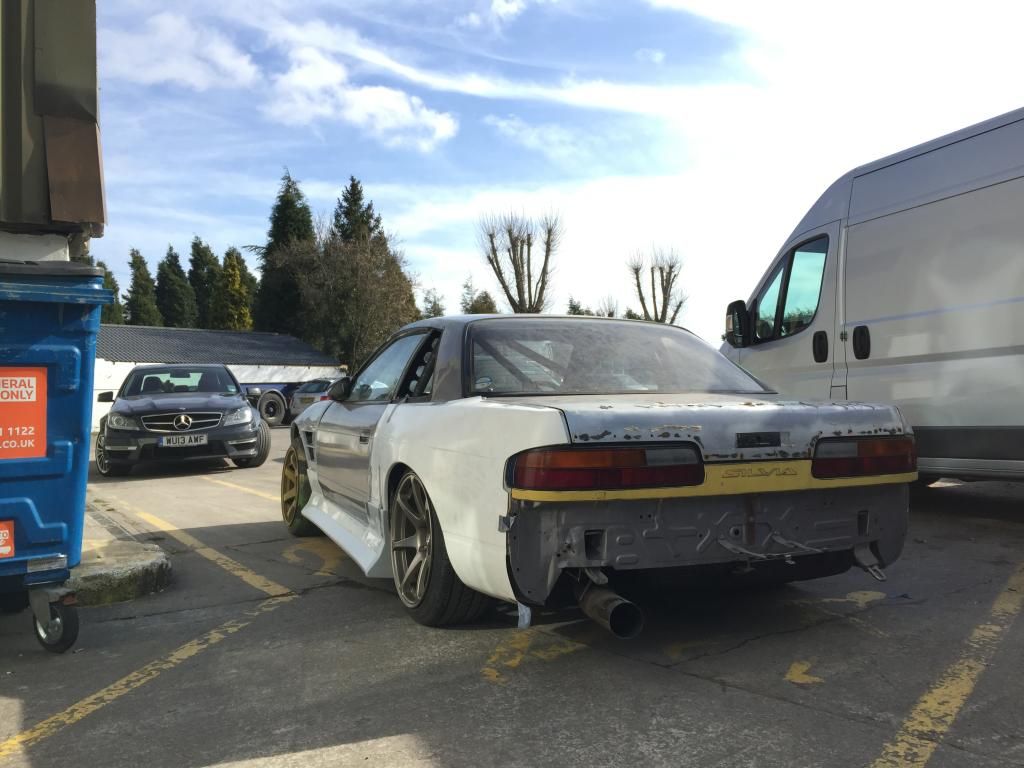 The whole no rear bumper look may be something I have to get used to, considering fibreglass and D-Max Type 3 usually end up in this fashion! 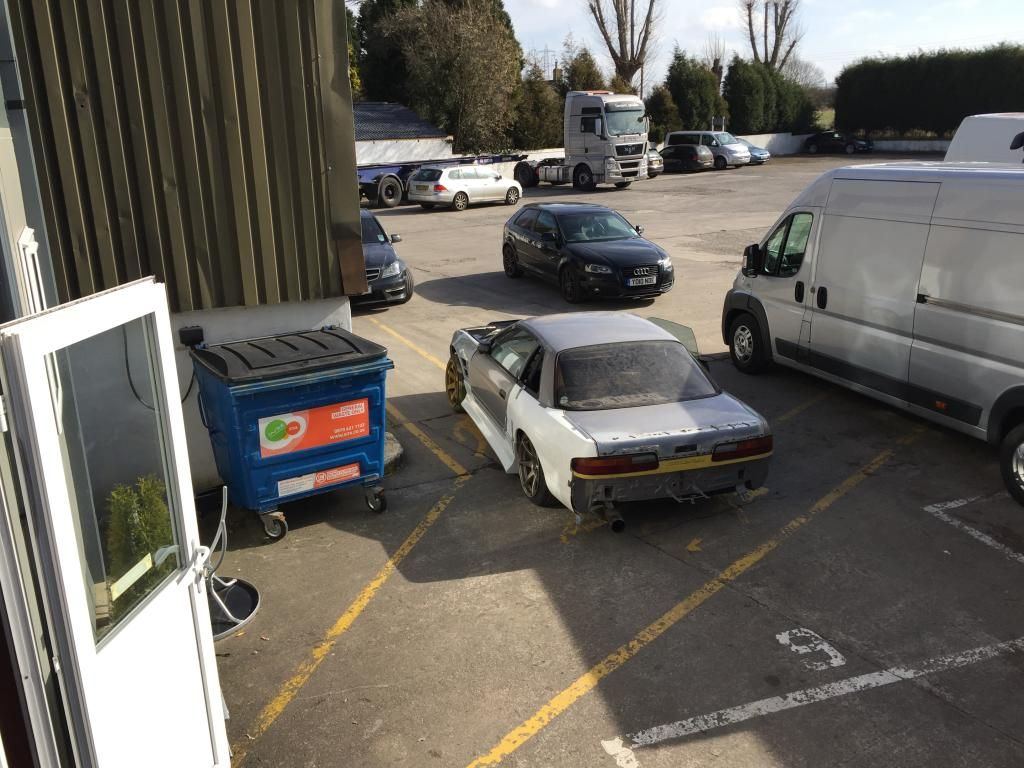 So much room for activities! (PS: The worlds best engine crane is in the picture!) 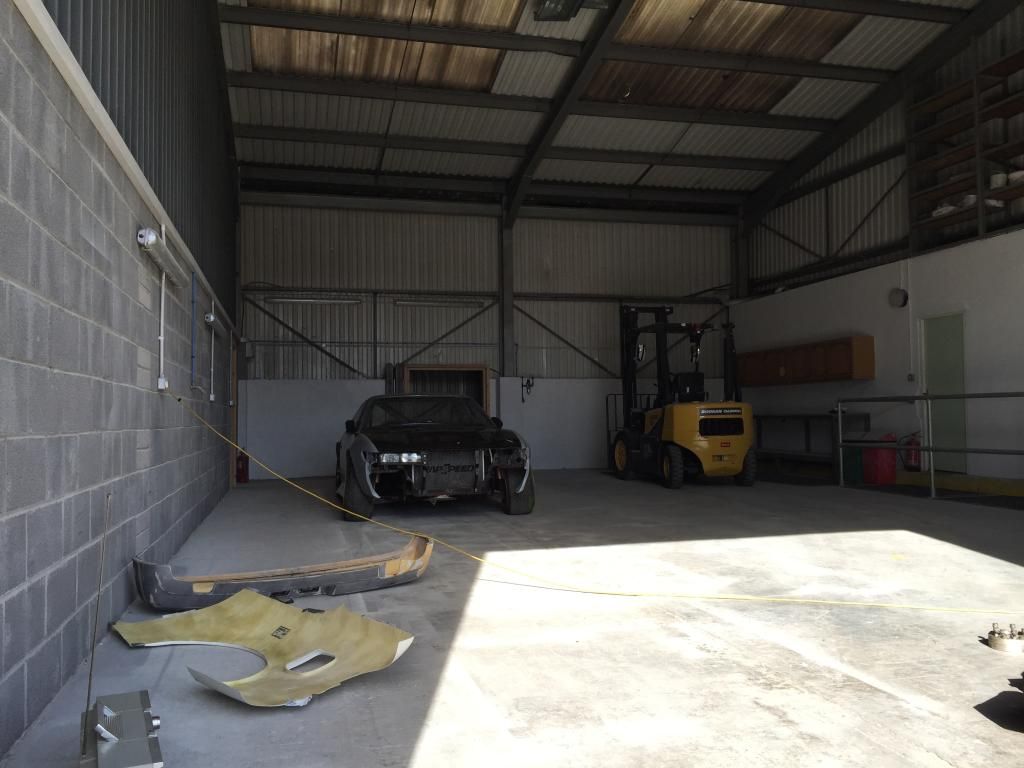 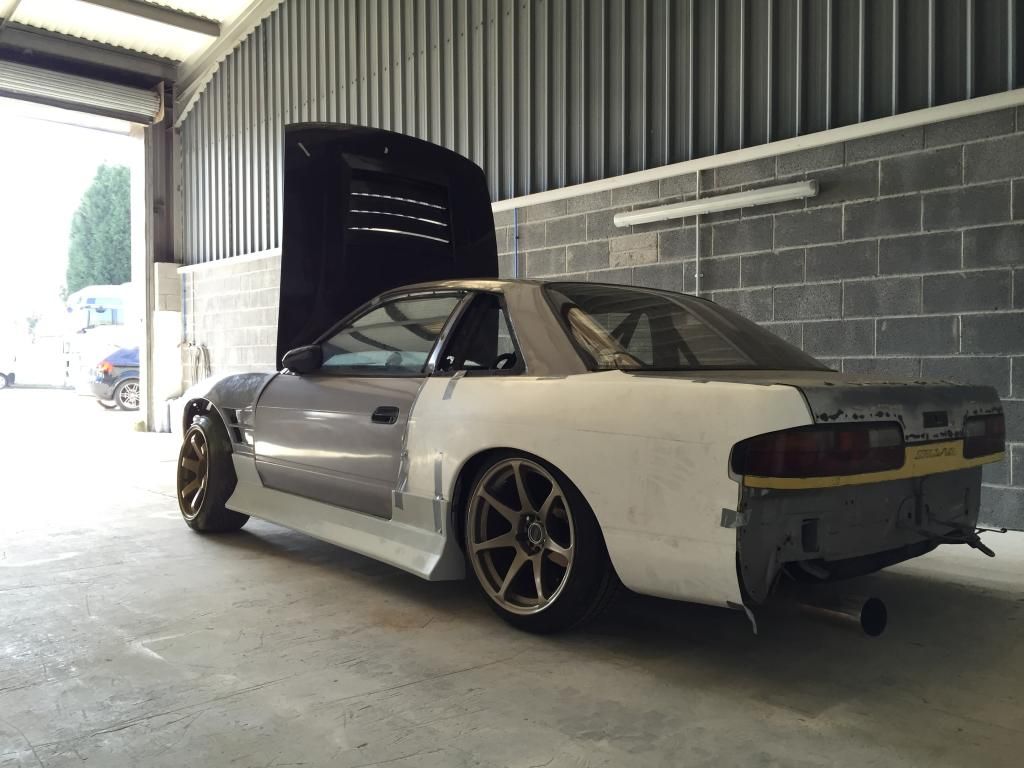 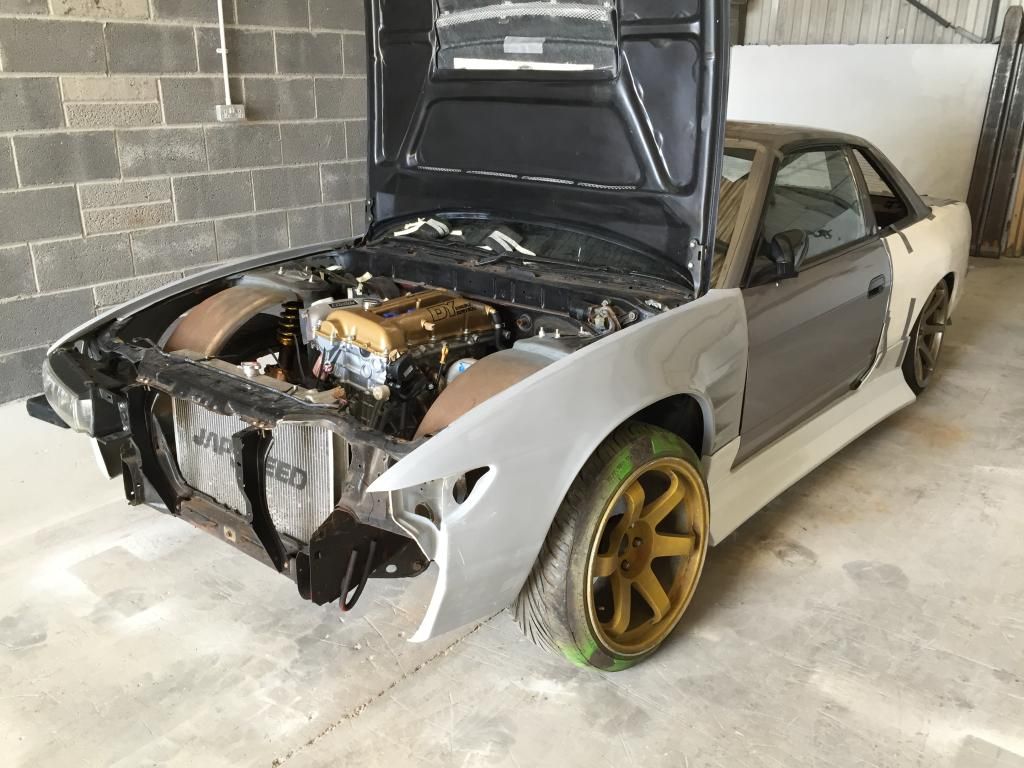 I still cant stop staring at the engine, so much work and thought has been put into it. 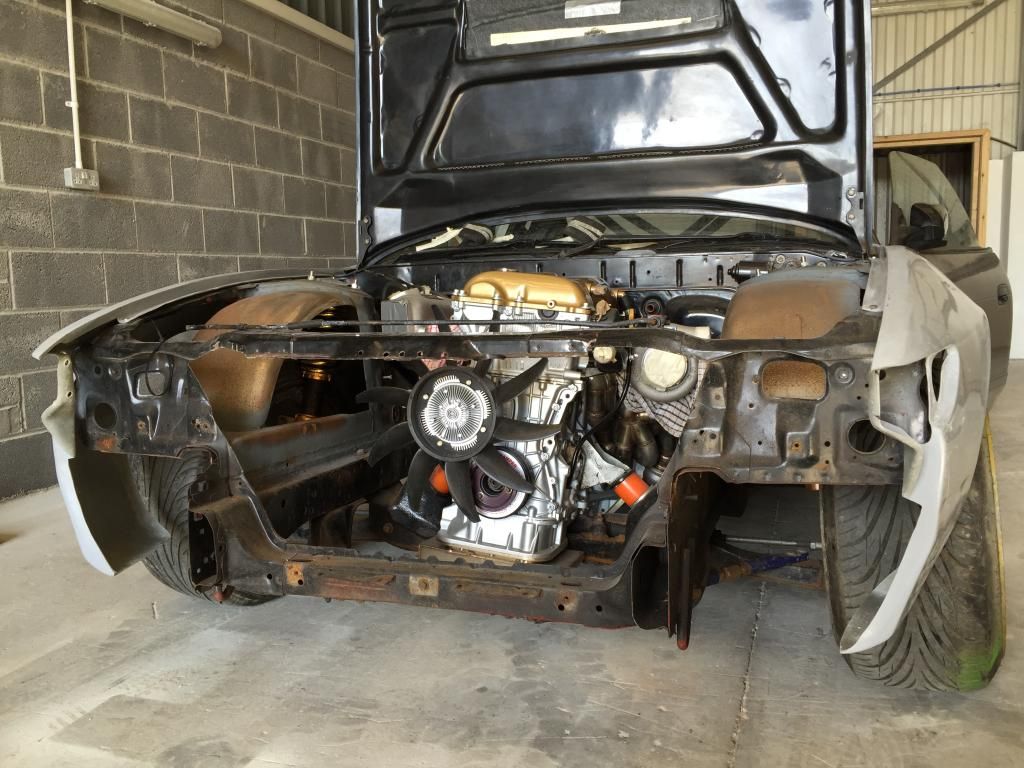 Japspeed special engine mounts are next on the list to go, options are currently Vibratechnics (££) or Apex Race mounts. I don’t have to decide for a while yet, so plenty of times to consider alternatives. Although, I do love the look of the C’s Garage & Garage Zeal mounts from New Zealand! |
|
|

|
| Sponsored Links |
|
|
#32 |
|
Leaky Injector
Join Date: Dec 2012
Location: Bristol, UK
Age: 30
Posts: 92
Trader Rating: (0)
 Feedback Score: 0 reviews
|
When the car returns to Huxley, the engine needs to be removed, plus I need to start building the ancillaries on and tidying everything up. This gave me a chance to finally see the artwork Huxley did on the downpipe.
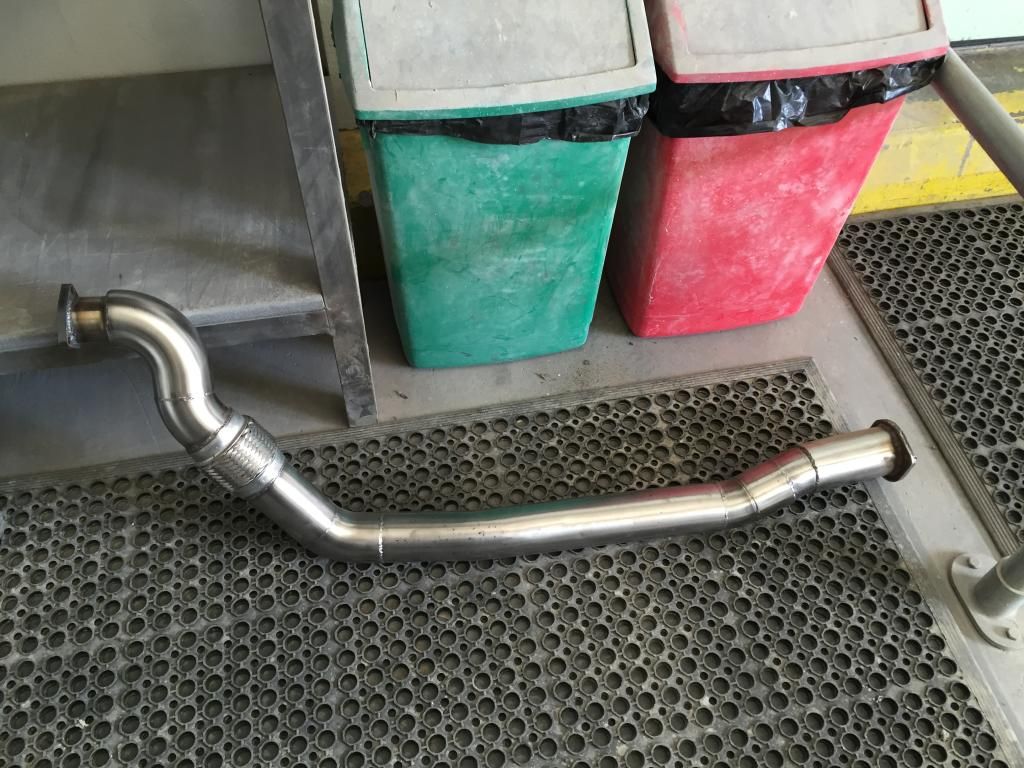 Somebody told me that the TD06 needs an immediate 3” downpipe to make big power, although after speaking to a couple of people, they think the 2.5” ex. housing is plenty for the turbo, so with a couple of inches running at 2.5” and then to a true 3” downpipe, I’m sure this setup will be spot on for the power and boost I’m hoping to run through this setup. Even the screamer pipe that Huxley made is gorgeous! Points to the floor, and I love how the exit is ever so slightly curved. This should be making some very ear pleasing sounds! 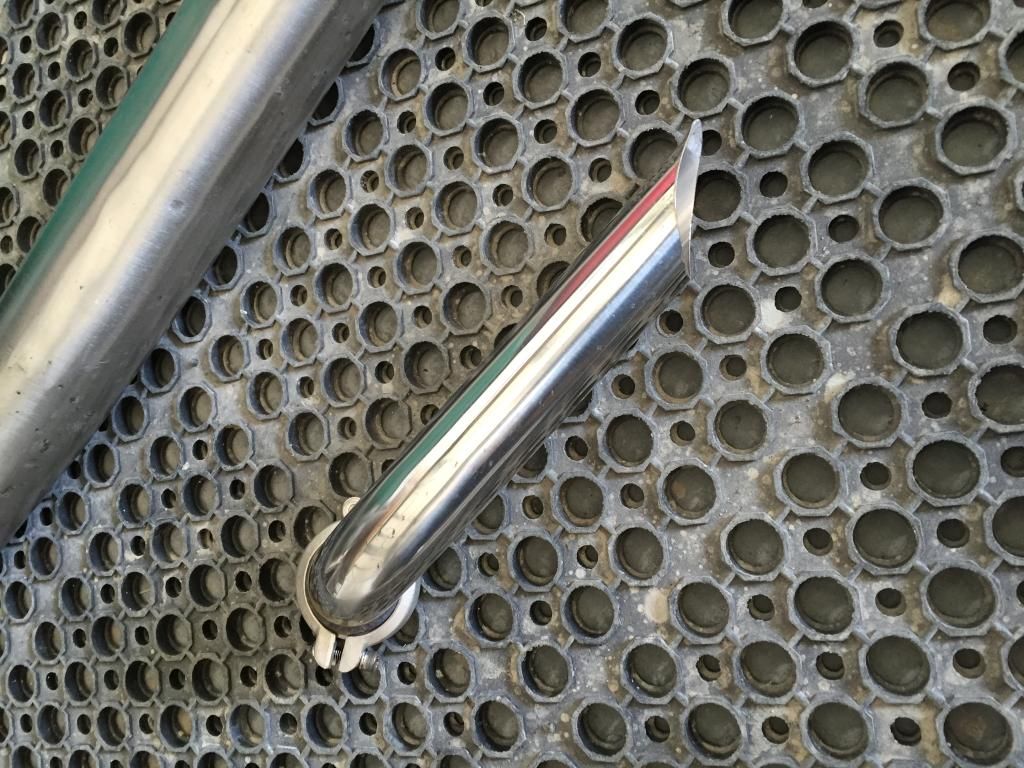 So I whipped the engine out using the forklift with my dad and placed the engine on a stand. I bought a power steering pump relocation plate thanks to Taarks where the idea is to relocate the pump to where the A/C pump sits, moving it out of the way of the turbo, and well, I’m not one to hide my turbo behind the power steering! The kit had everything I needed, and the quality was flawless. Everything fitted, no modifications needed. 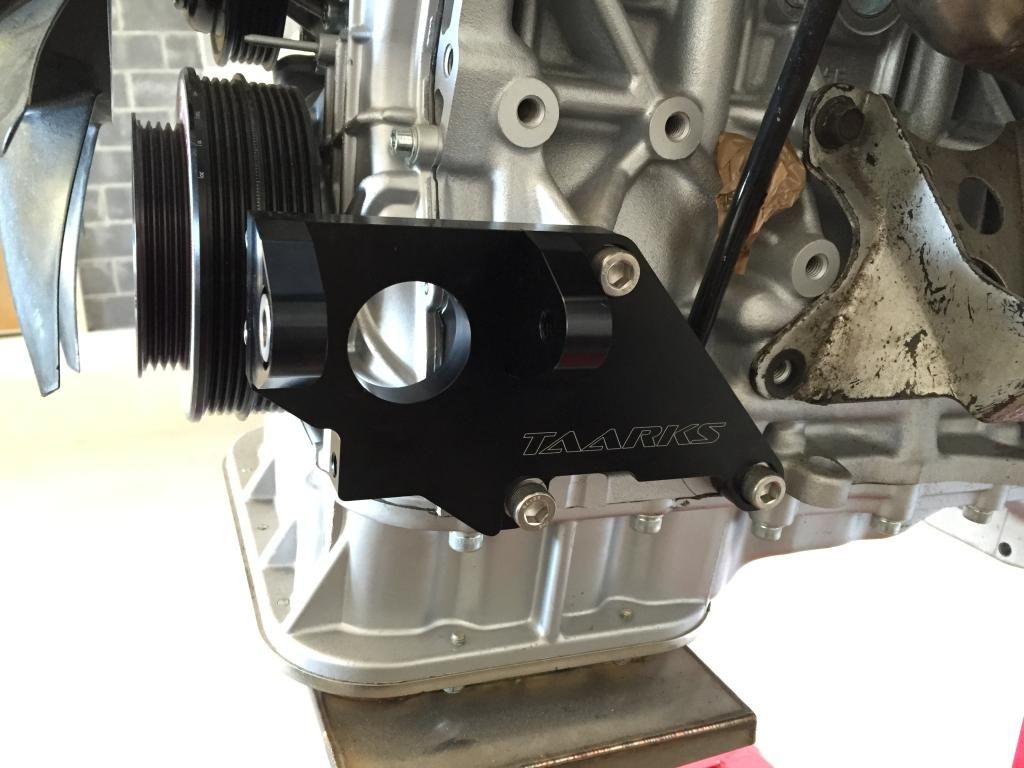 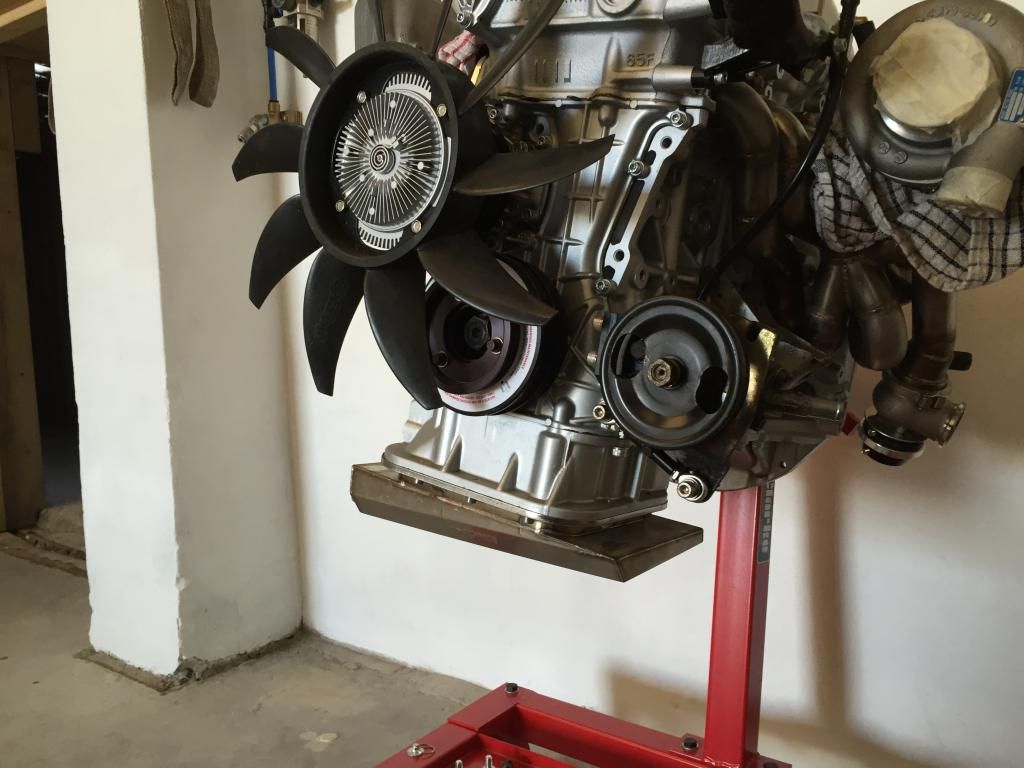 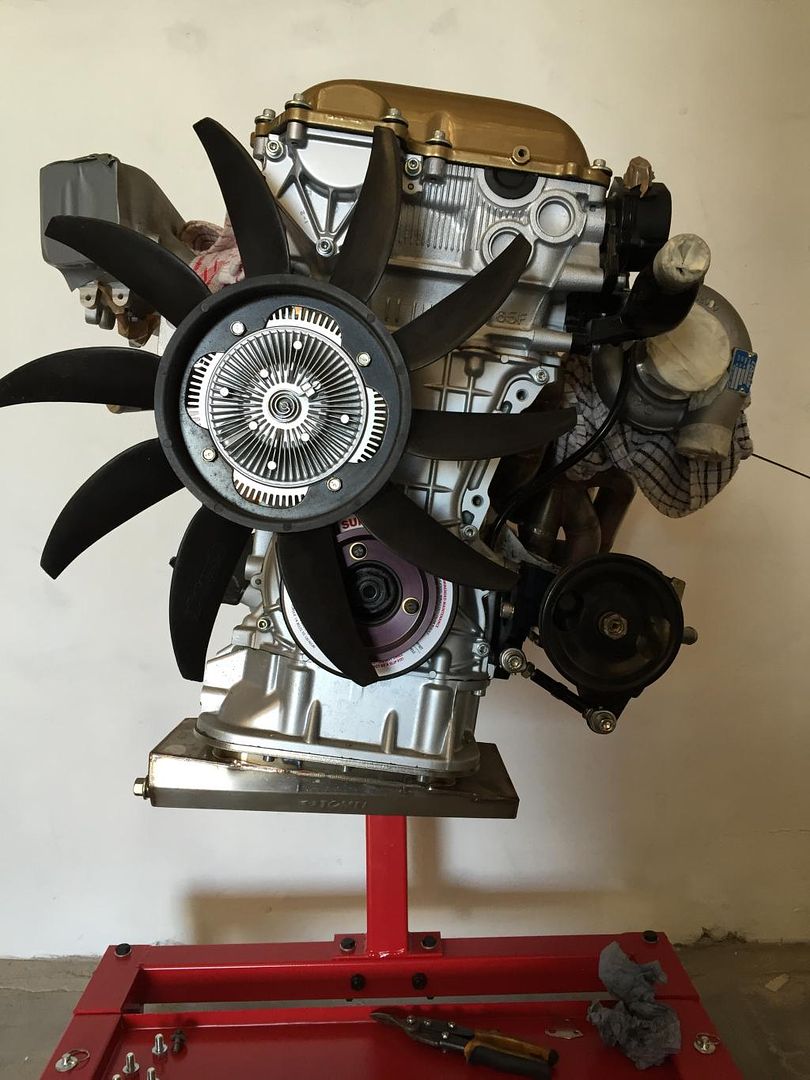 I also got round to clocking the compressor housing to roughly what it’ll end up as. Thankfully, the TD06 just uses a large circlip so should I need to alter the positioning, it can be easily done in situ if needs be  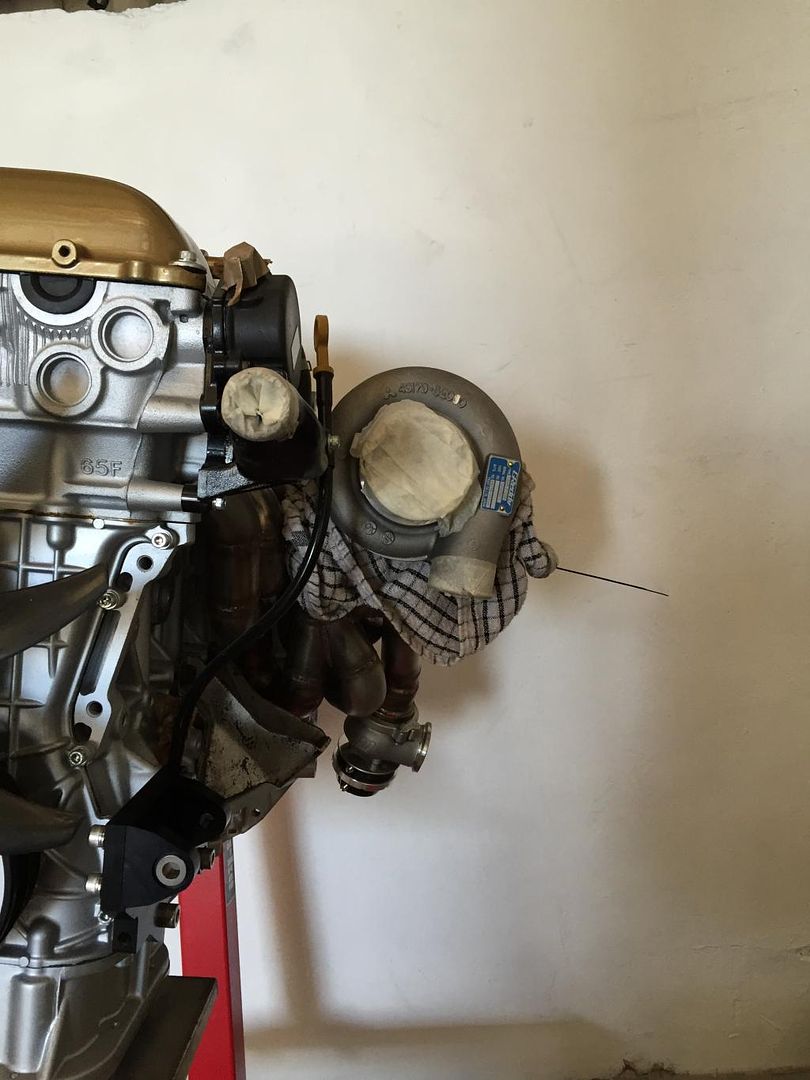 Started to offer the front end back up together, as I need everything to roughly fit or know it’ll fit so Huxley can do his magic and make everything whole again. 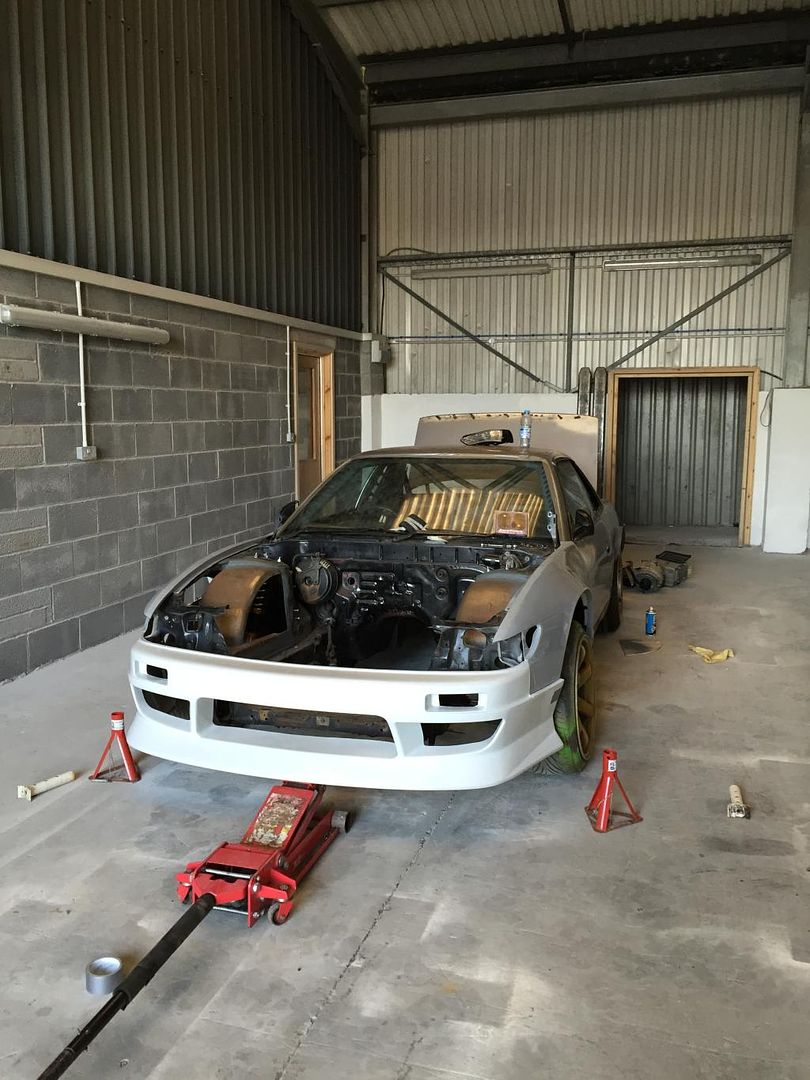 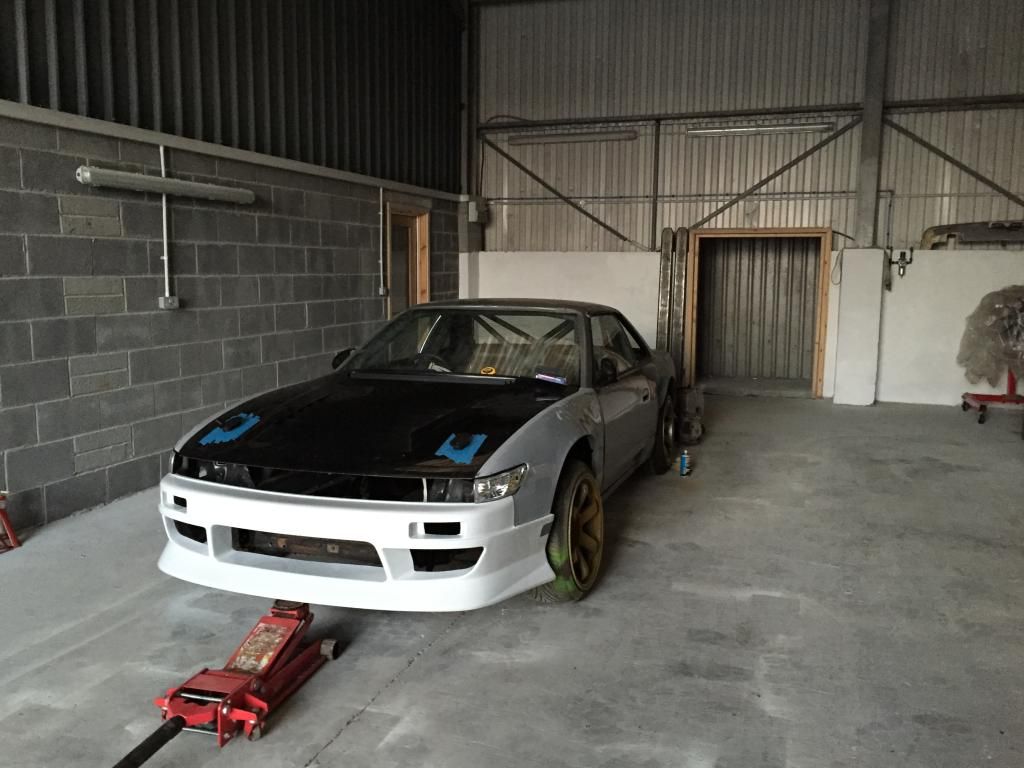 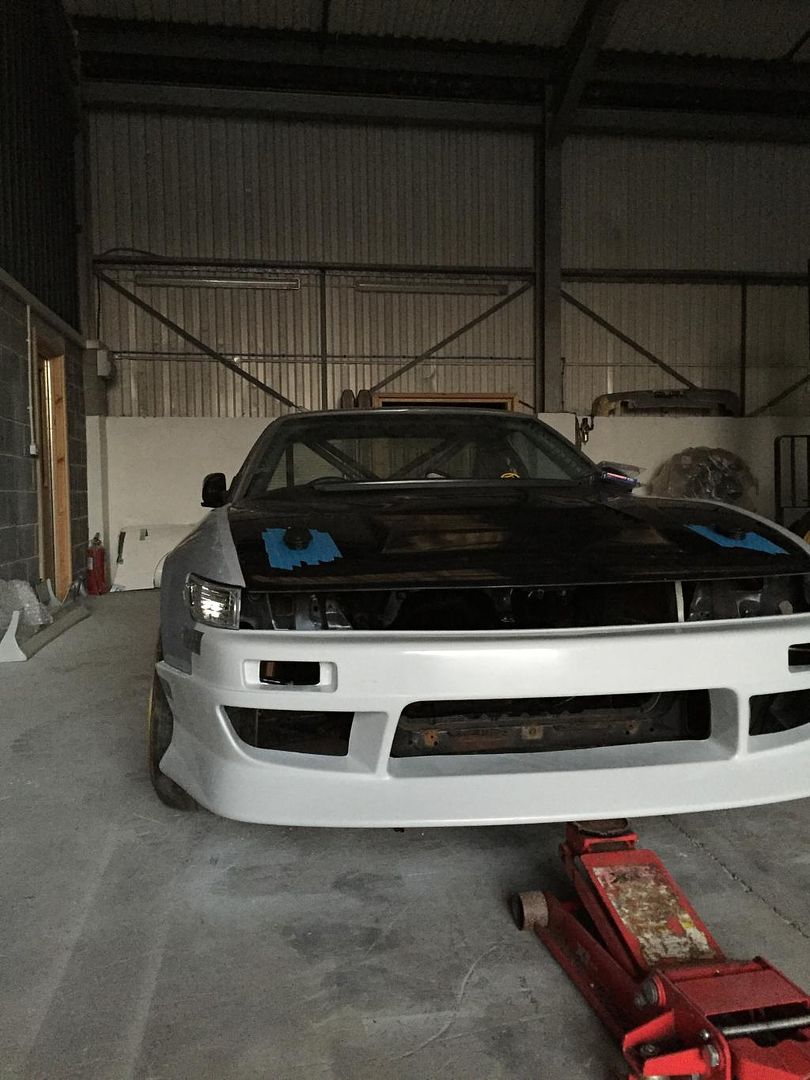 It seems the Origin wings may need a bit of work here and there, but only little thinks like the moulding around the passenger sidelight isn’t straight. But I’m hoping everything can line up roughly with Huxley and I can fine tune things once the car is back. I spent the day today removing the remaining rear glass today. This is so that when I come to spray the interior it’ll actually be doable, rather than trying to bend around the jungle gym that’s inside. The rear screen came out nicely, the remaining side window however made a break for freedom and decided to shatter into a million pieces! Fear not, my plan was always going to include the use of Lexan side & rear windows. The glass in the Silvia was quite simply s***! Whoever has owned this car previously obviously took no considering to maintaining the glass or covering it up when welding that lethal cage in, resulting in scratched, burned and just damn right terrible glass. So with fresh Lexan rear windows, everything will be looking fresh again! And this is how I left the car tonight. Seriously cant wait to wind those coilovers down the correct ride height after the next trip to Huxley. 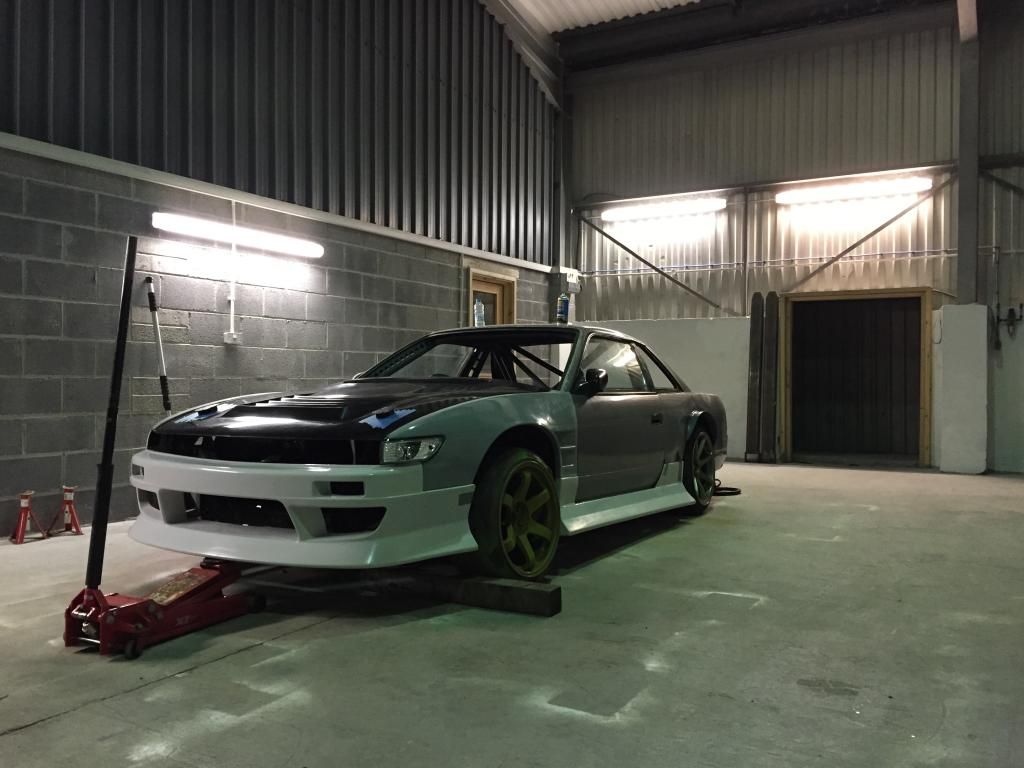 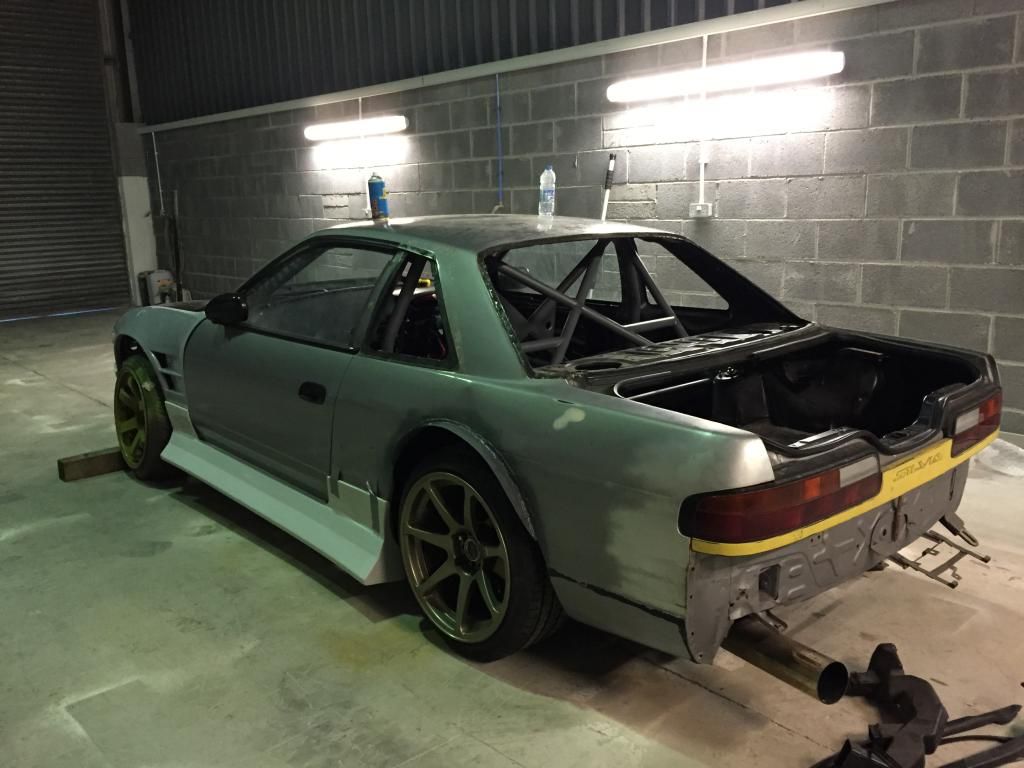 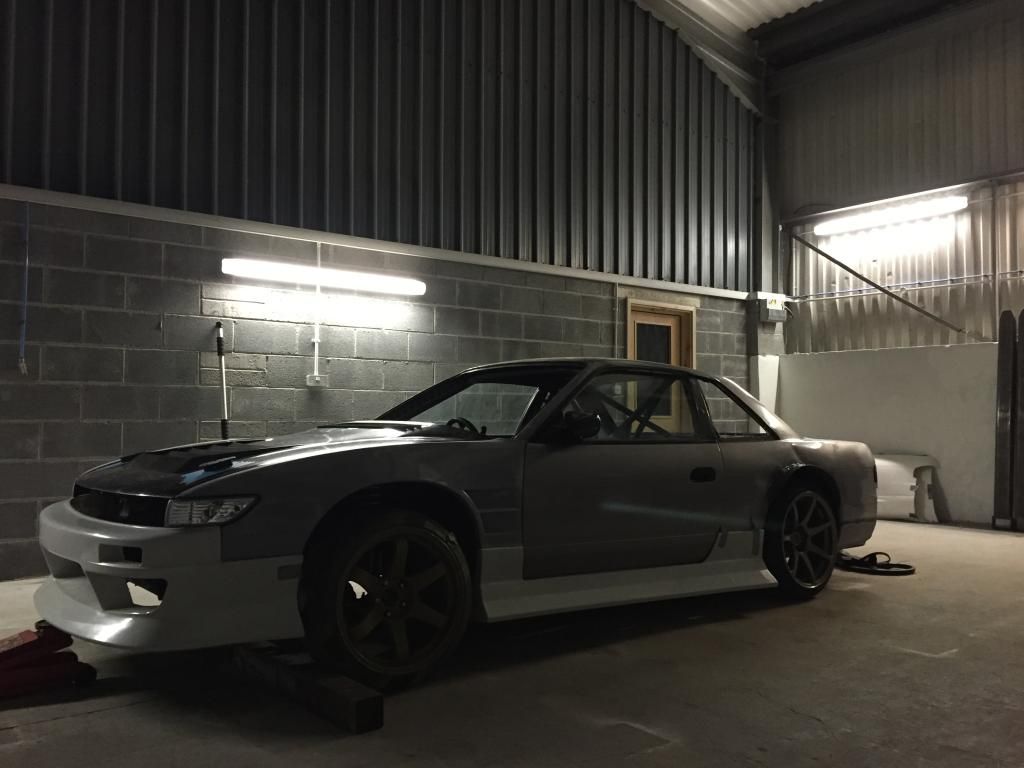 Next on my list is a roll cab toolbox. Its time I finally sort my stuff into one place now I have somewhere to work on my car! |
|
|

|
|
|
#33 |
|
Leaky Injector
Join Date: Dec 2012
Location: Bristol, UK
Age: 30
Posts: 92
Trader Rating: (0)
 Feedback Score: 0 reviews
|
Once I had a few spare hours, I set about fitting the rear over fenders - beginning by trimming the lips off each fender.
After a few rivets here, and a few rivets there - it all was done; 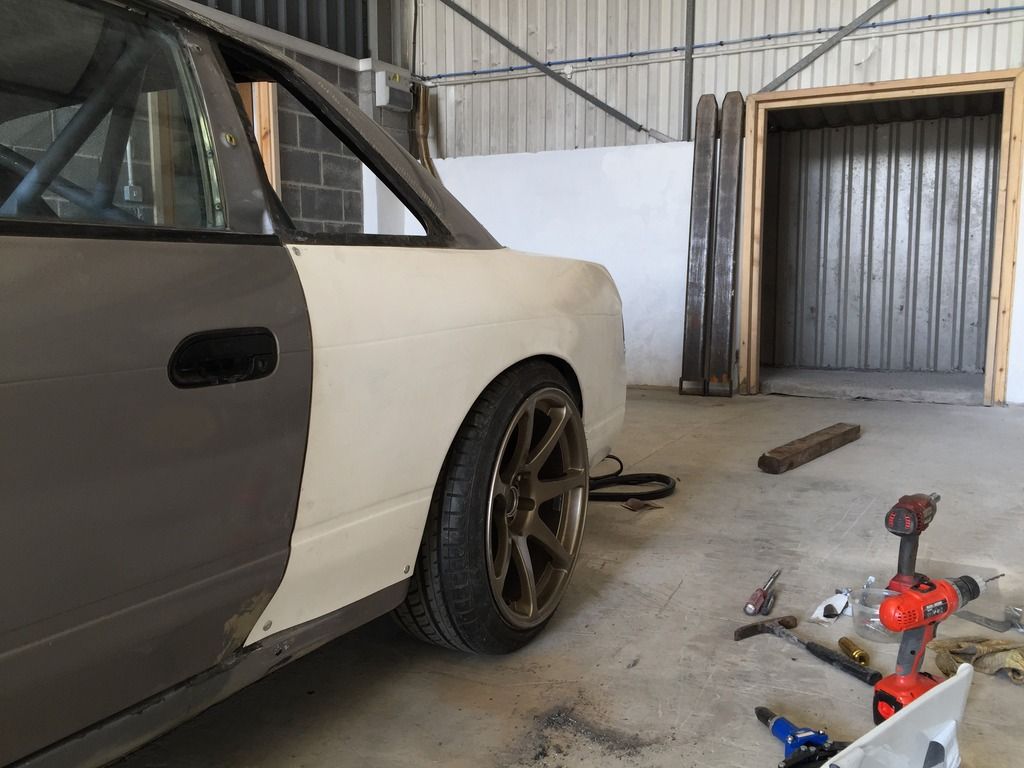 Dialled out some camber, aiming for near 0* so just went by eye, threw the rear disc and 25mm spacer on to see how my old 18x9.5 +15's sat, and to be honest they sit near damn perfect! 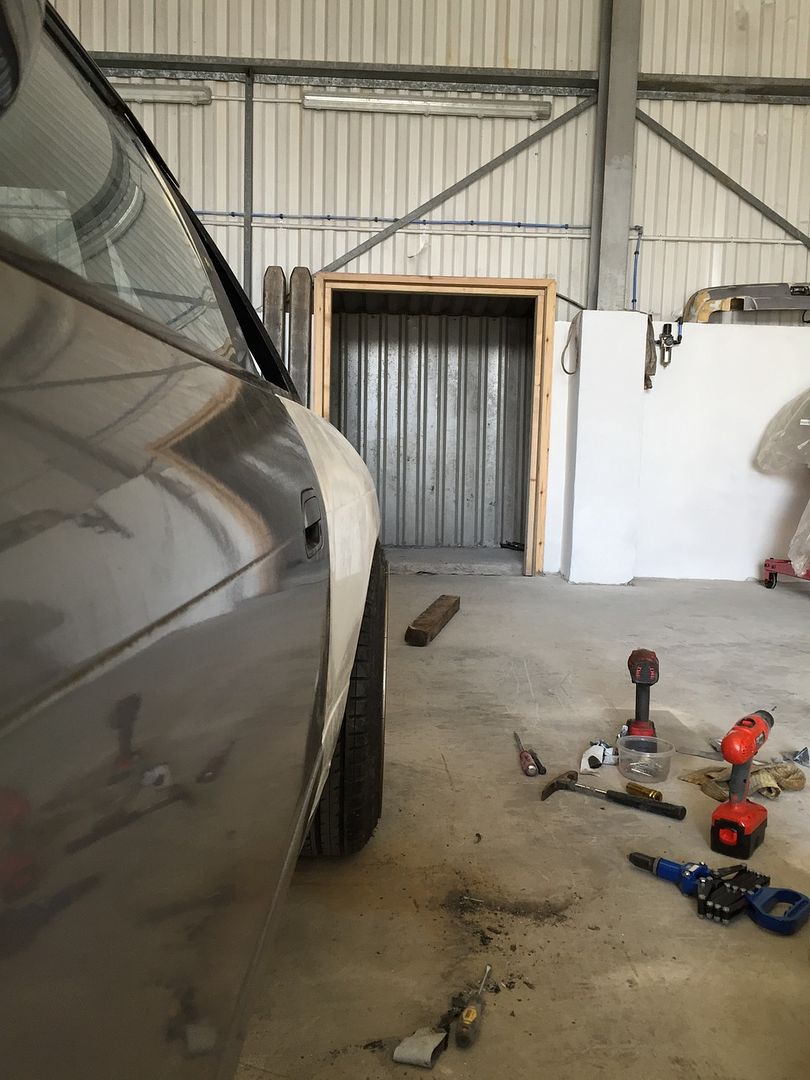 Once lower, the arch should cover the tyre and if it the fitment is perfect, the fender should just cover the lip of the rim  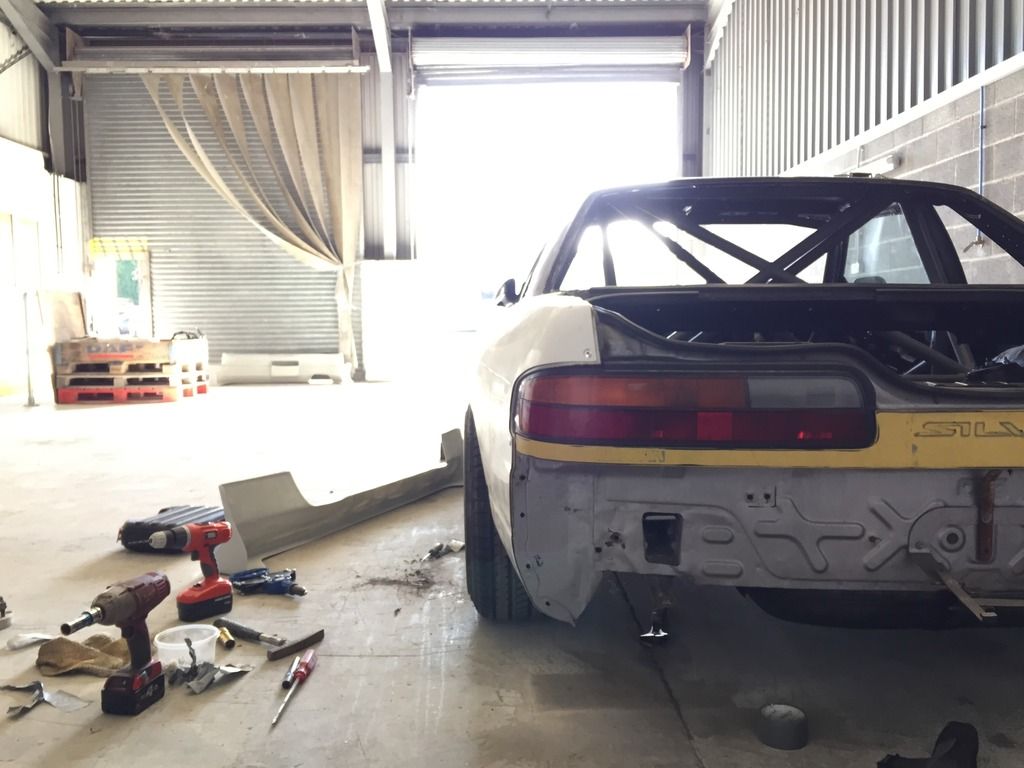 Whilst doing this, a nice little package turned up today from Mishimoto, the intercooler core! 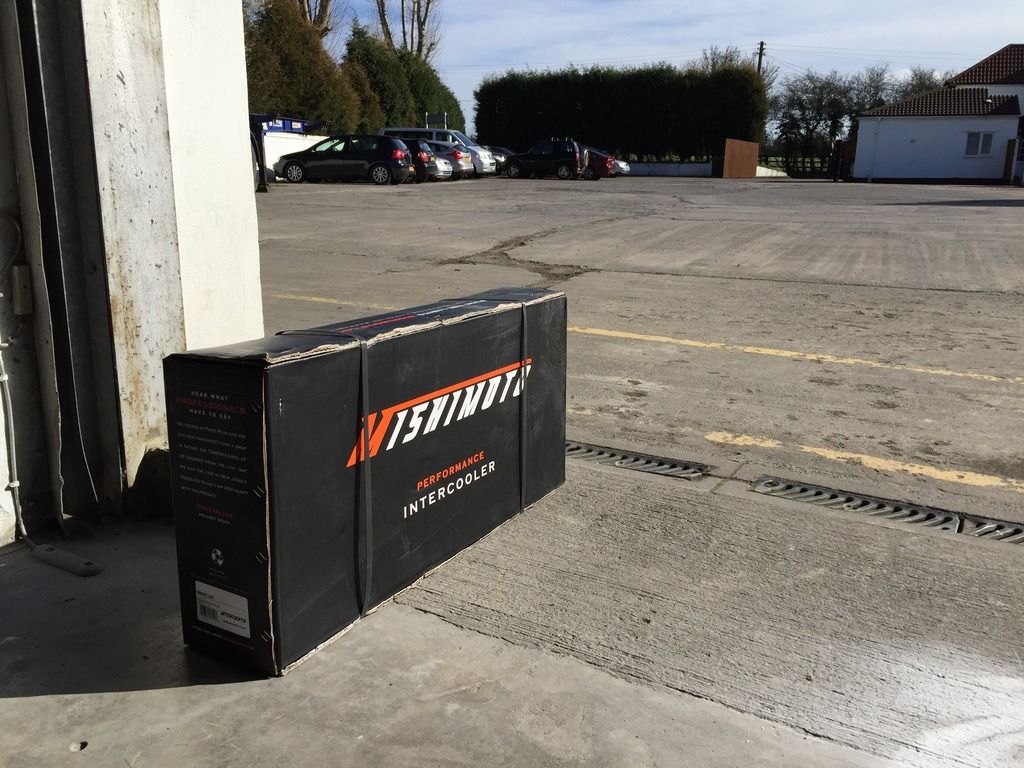 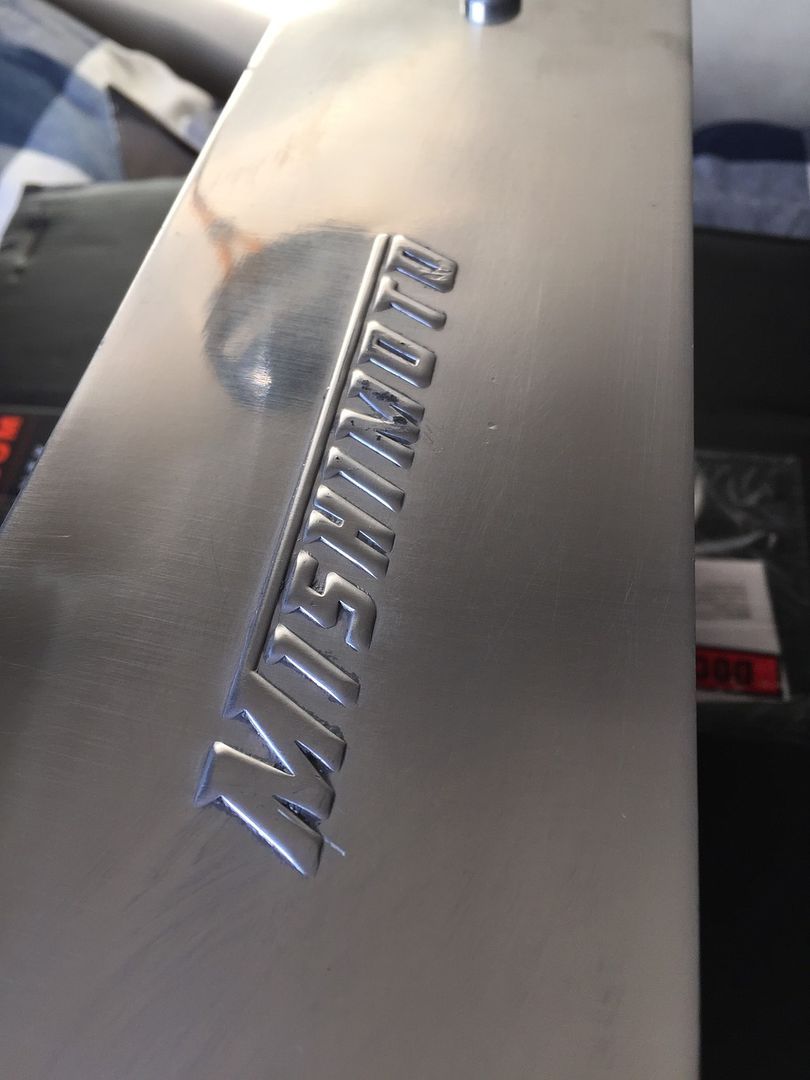 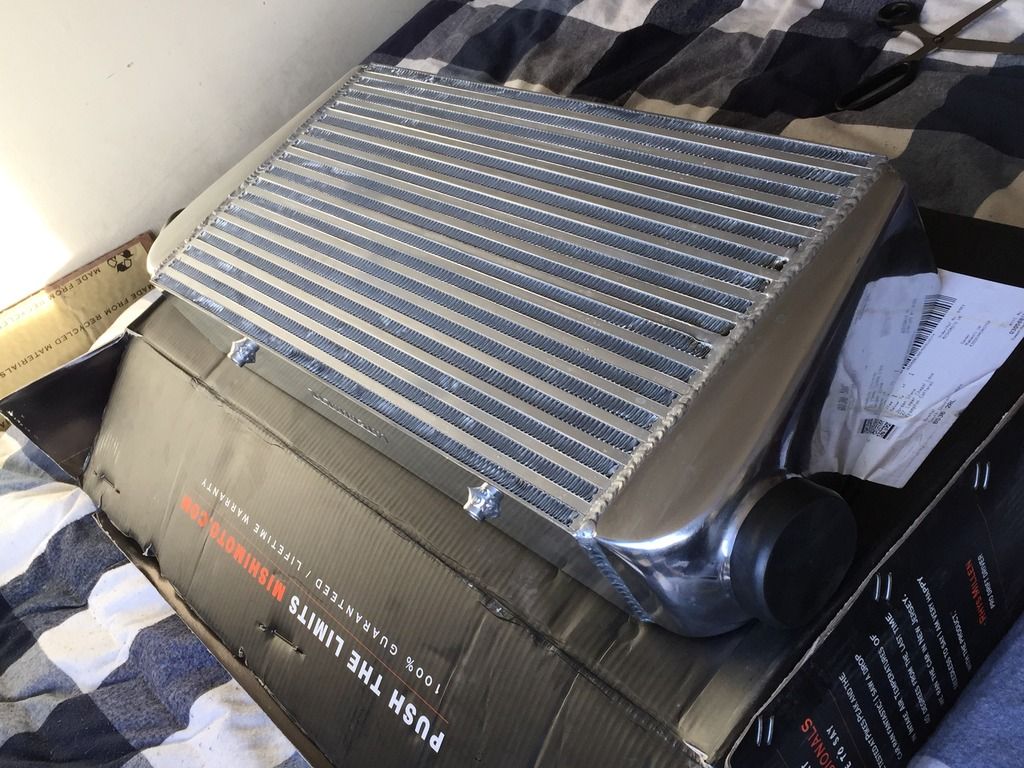 But the quality like the rest of the gear is fantastic! Cant thank them enough for getting the parts sent out asap. So thats my cooling elements chosen and bought, can't wait to see how they look on the car, although I'm not looking forward to buying x4 AN10 lines for the oil cooler setup. It's nice to have some positive vibes on the car, meaning I can slowly envision the final product, and I seriously can't wait to back on track! Nothing special, but a few pictures showing how the car is standing at the moment; 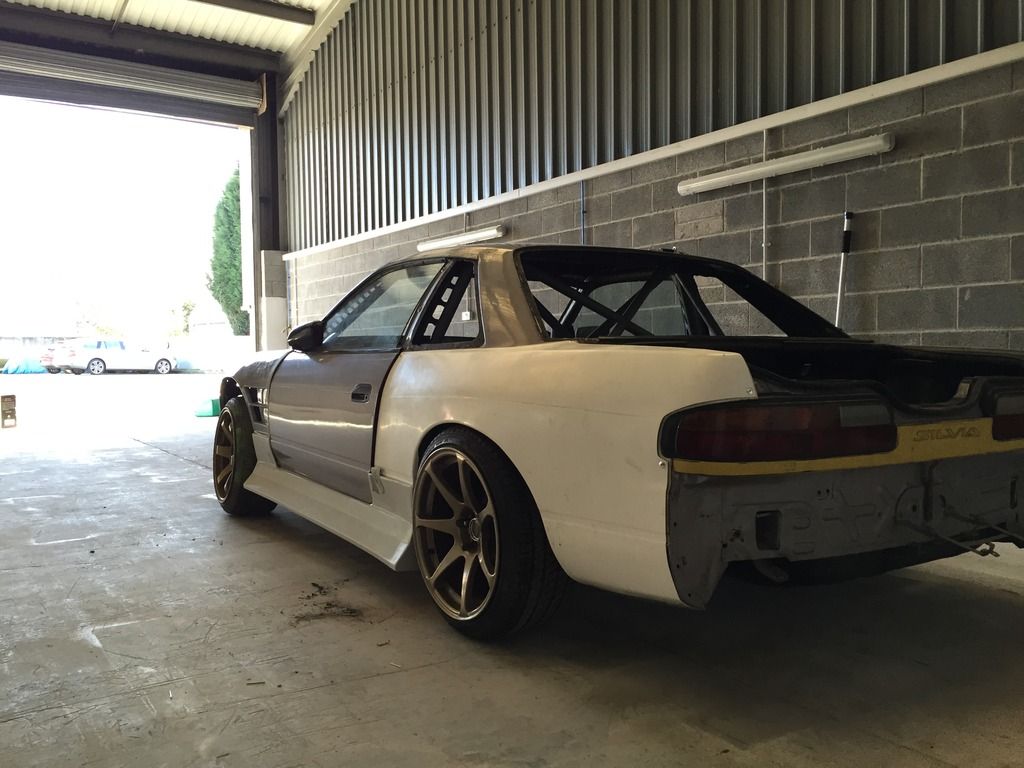 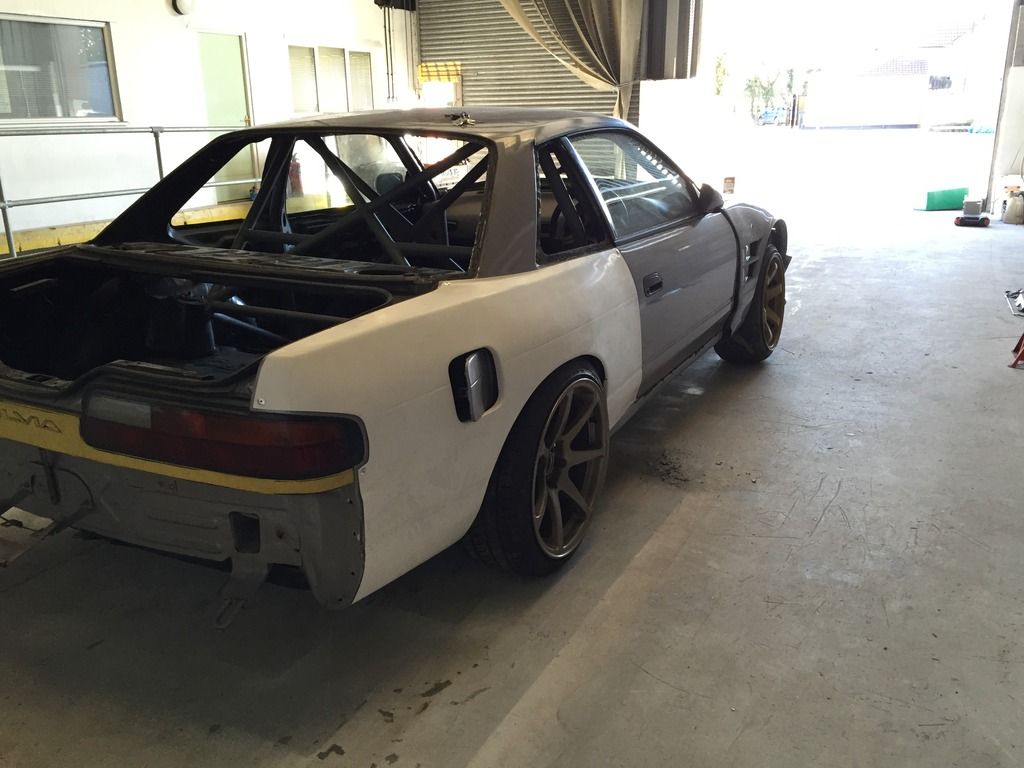 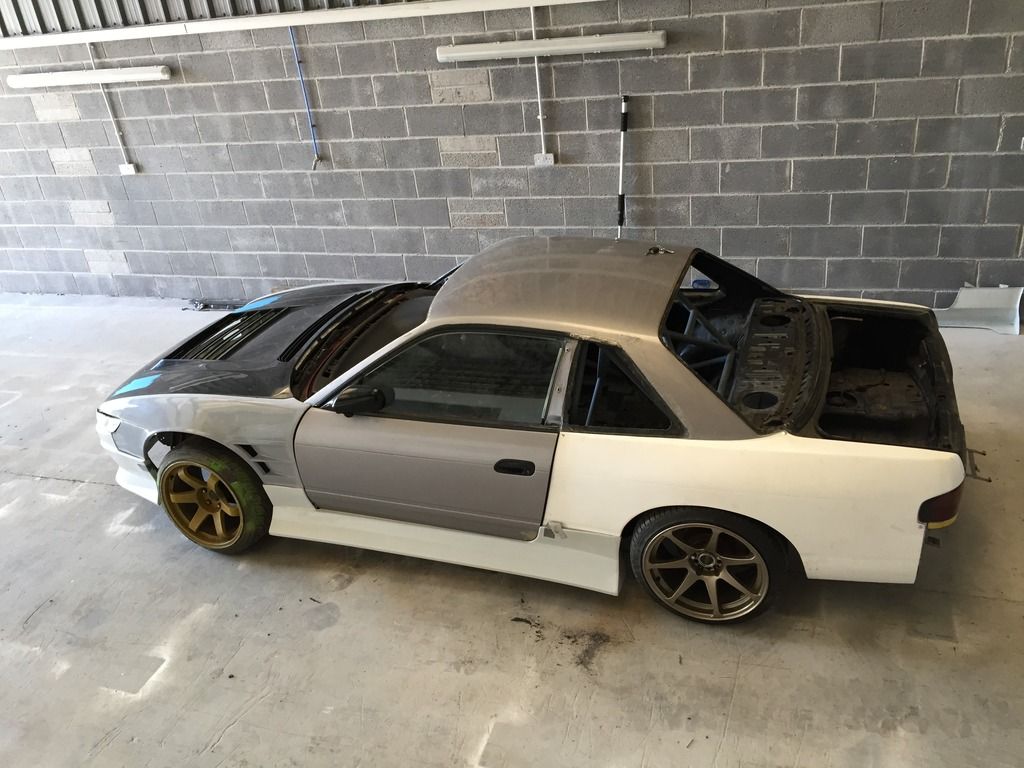 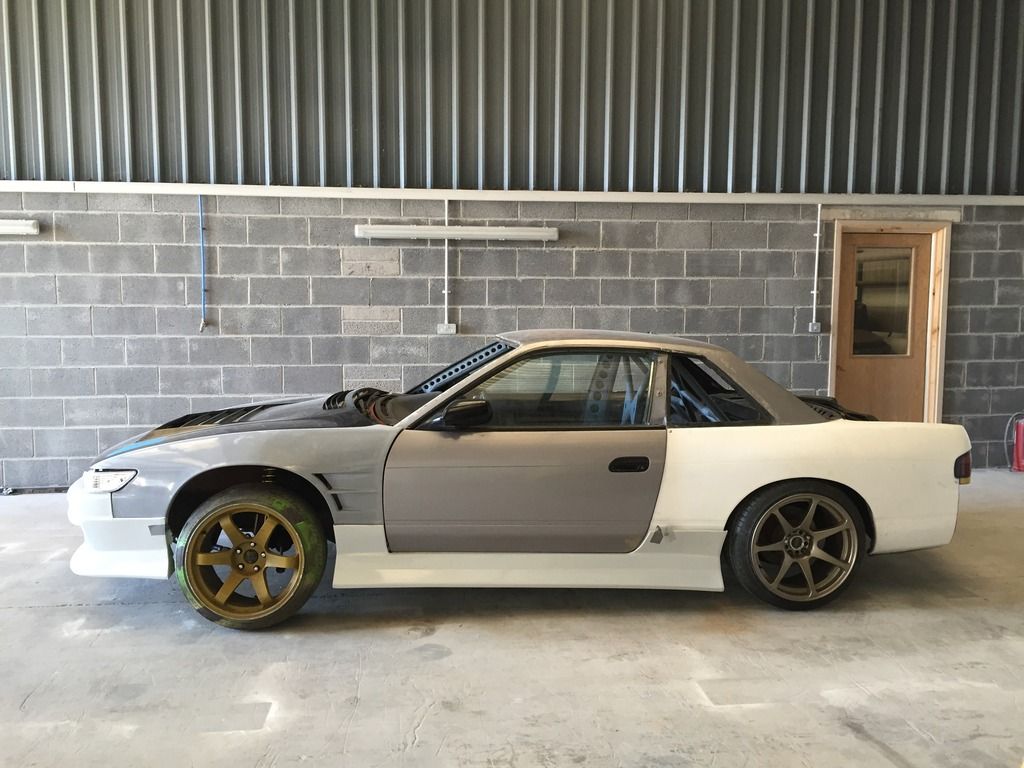 Ordered a couple of bits up today, mainly parts for the oil feed and drain for the TD06 with help from a friend, so can't wait to get all that done. Im hoping this week at some point to go and grab a roll cab/tool chest to try and organise myself and begin gathering quality tools rather than making do with what I've got, something I'm kind of excited about in a weird and wonderful way. |
|
|

|
|
|
#34 |
|
Leaky Injector
Join Date: Dec 2012
Location: Bristol, UK
Age: 30
Posts: 92
Trader Rating: (0)
 Feedback Score: 0 reviews
|
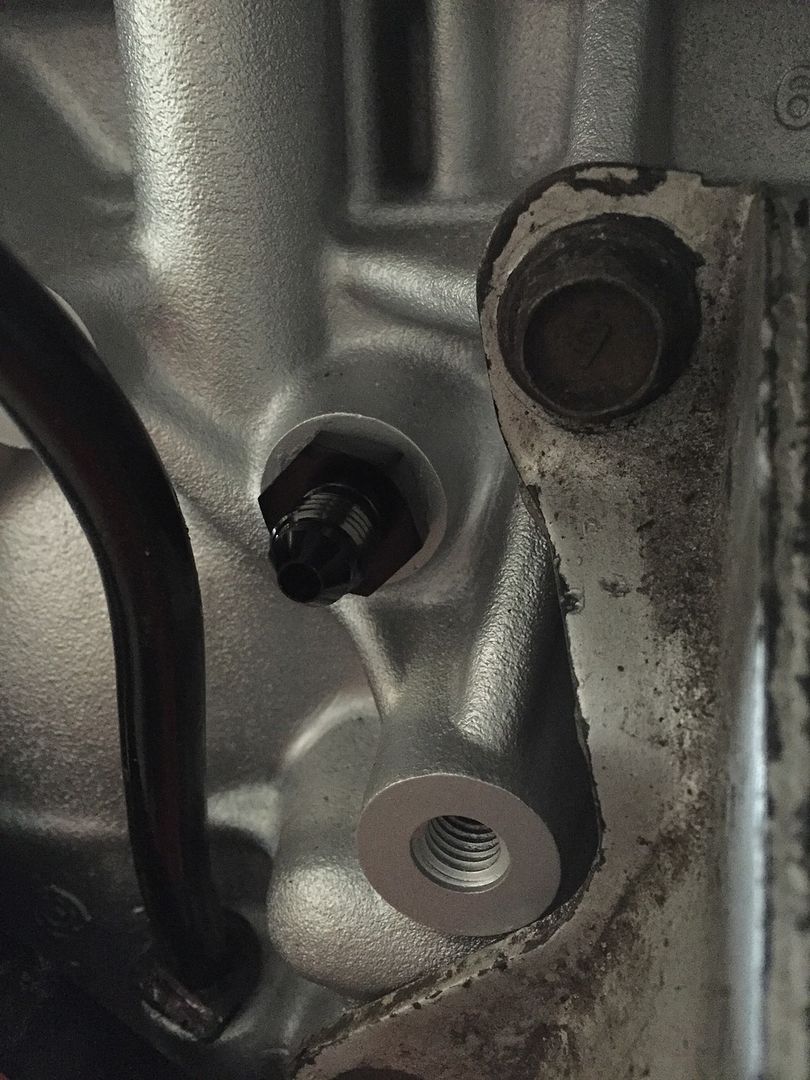
y fittings turned up this morning from Torques so began by offering them up to see what the score was. First up was the M12x1.25 > AN4 for the block side;
 Then the M10x1.25 for the TD06; 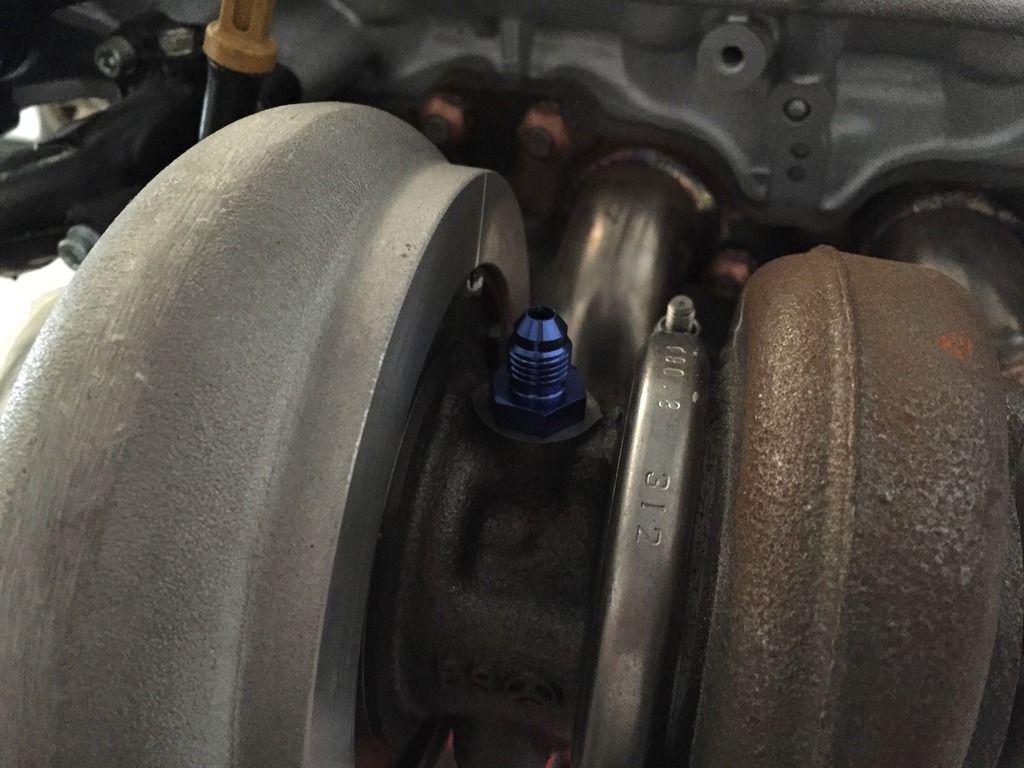 Next up was the AN10 Push Fit/Socketless fitting for the drain. The drain was always going to be tight due to the design of the runners, but after speaking a friend with his setup, I followed in his footpath, and its tight, but it clears the bottom runner without any kinks in the line  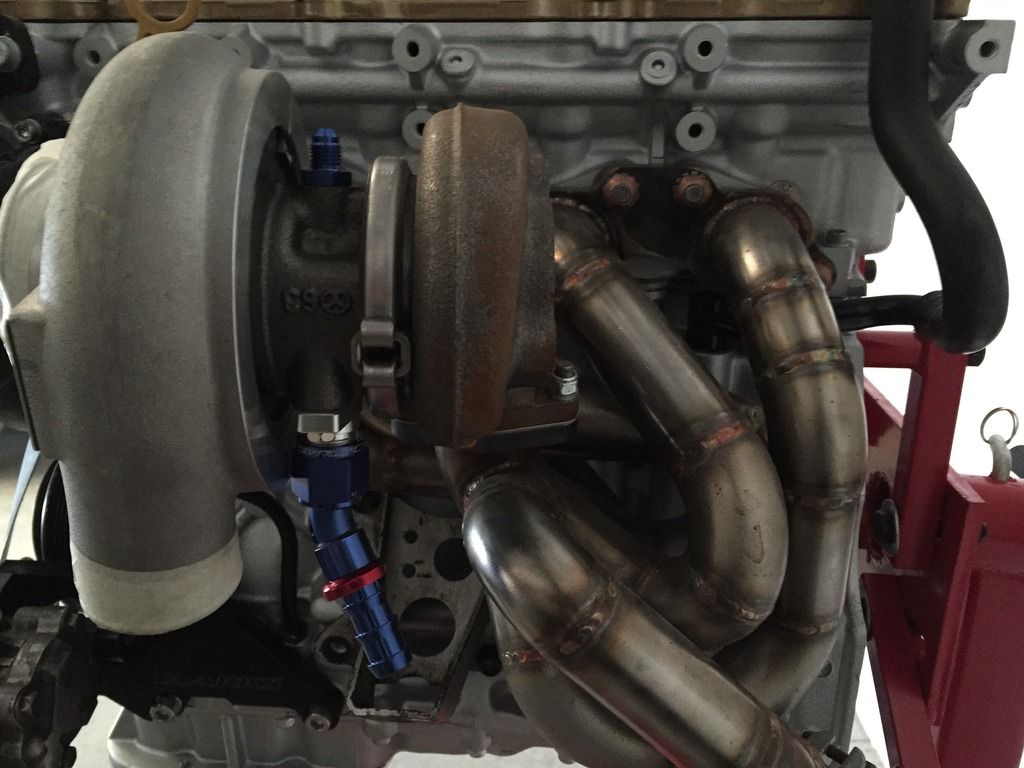 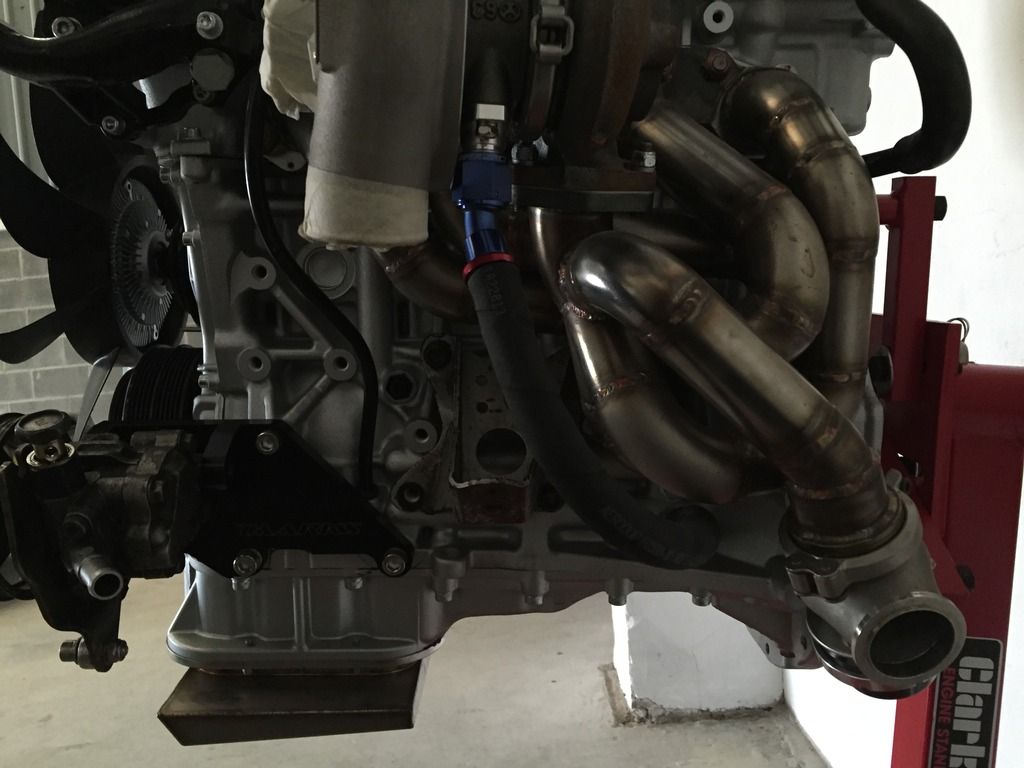 Threw some protective sleeving on that I had left over from a while back, and thankfully it was the correct length. Only offered everything up and I still need to grab some quality hose clips before finalising anything. Pretty chuffed with the result too! 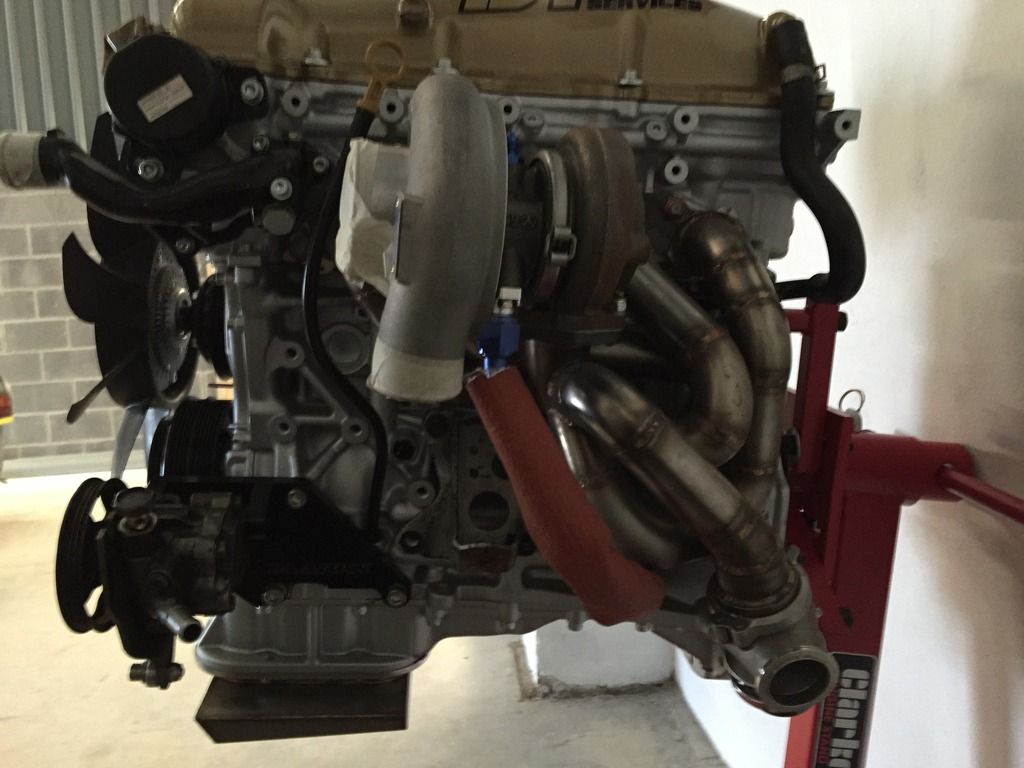 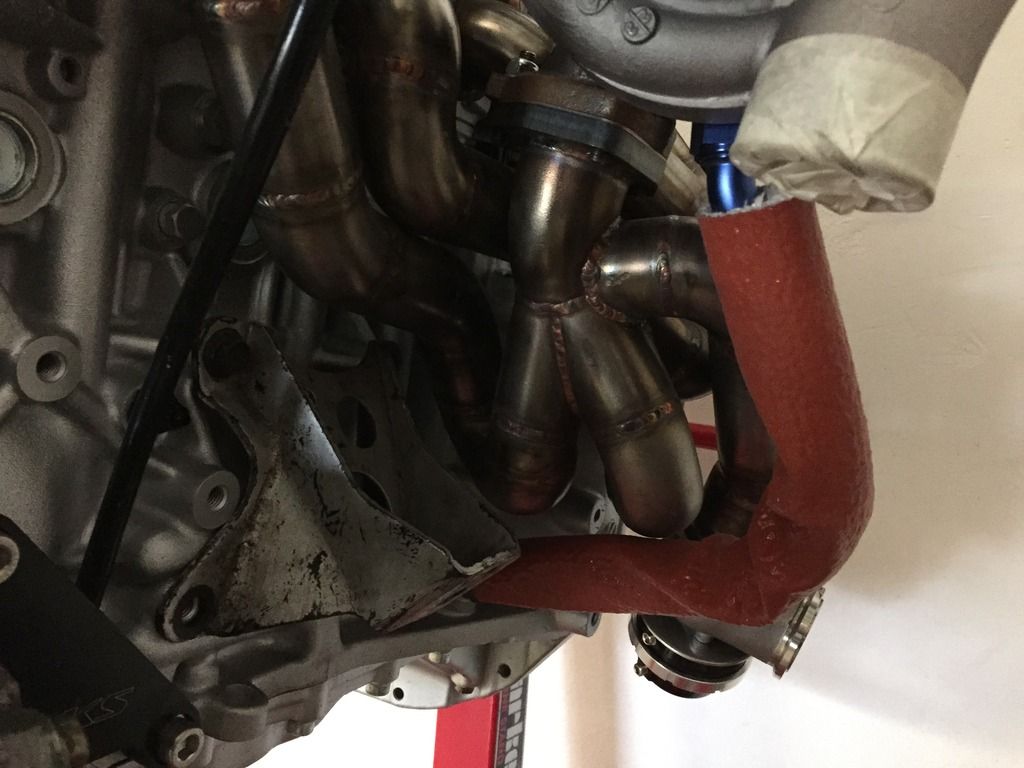 Over the weekend I spent some time doing a job that I didnt want to do  I had to cut up the shiny new D-Max bonnet.. I had to cut up the shiny new D-Max bonnet..I took my time with this, measuring the templates to make sure they are exactly where I want them, plus I want them exactly equal seeing as I only have one shot at this. 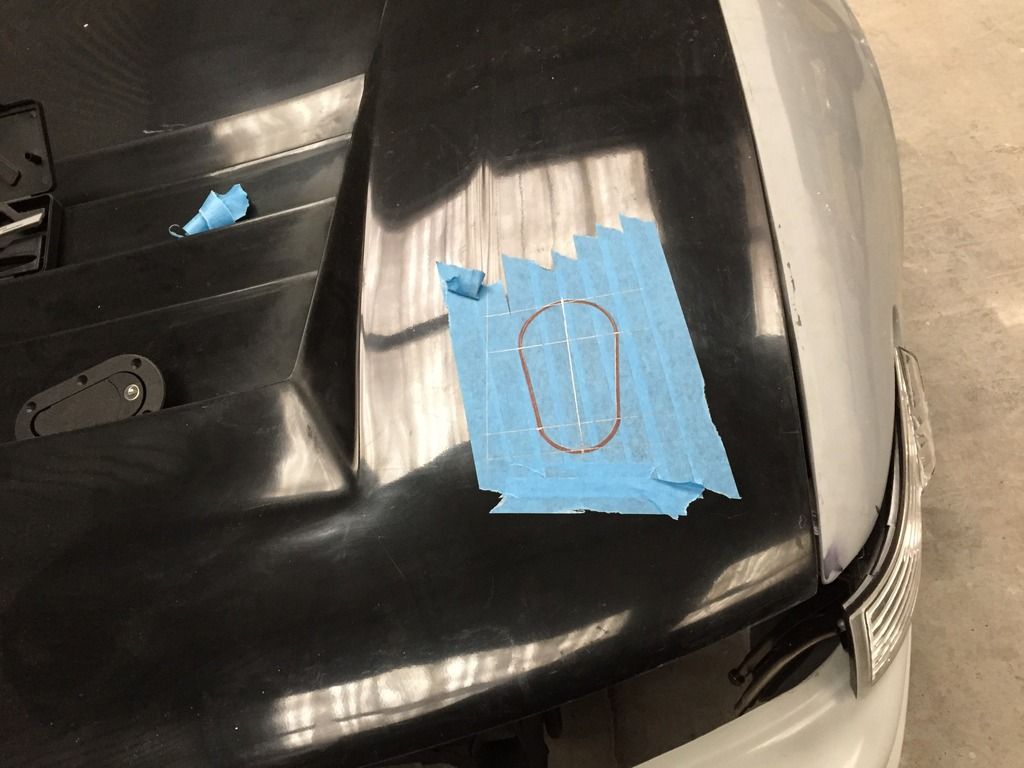 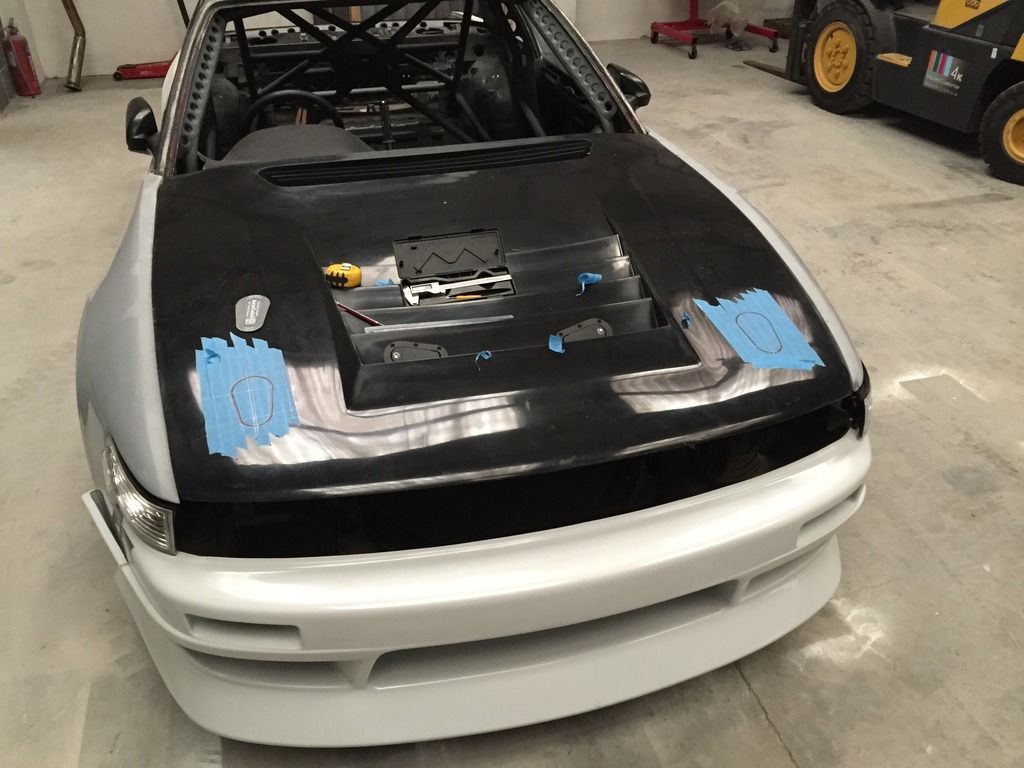 After a couple of hours they were done! Without making a mess of the bonnet too  Hopefully this makes Huxley's job easier when he places the pins type parts. Hopefully this makes Huxley's job easier when he places the pins type parts.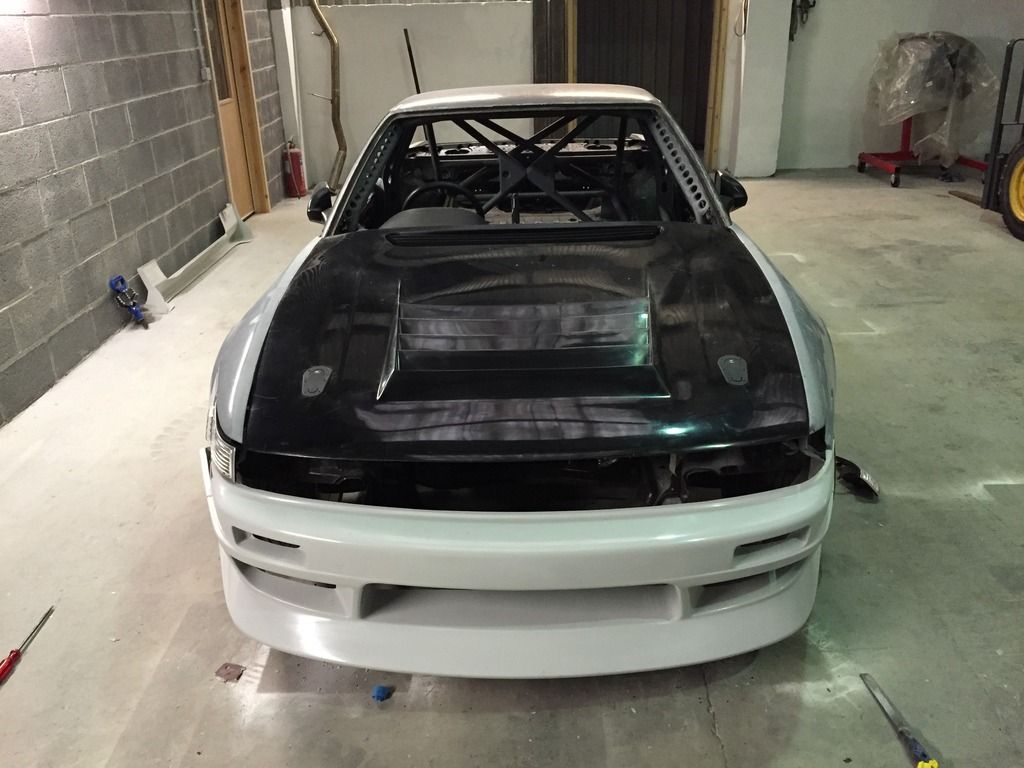 Began fettling with the front wings again, and remembered how much I hate fibreglass mouldings. Managed to make my corner lights sit nicer, but there are quite a few moulding imperfections so they'll require some loving to make them all equal once they are back. 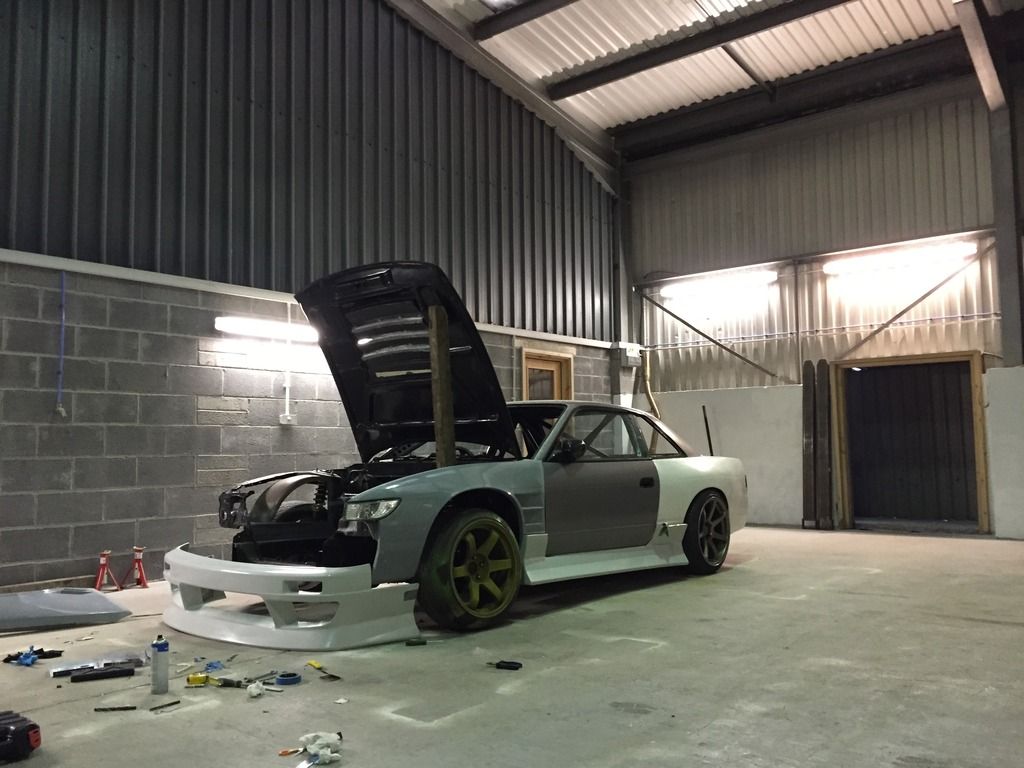 Quickly threw my seat back in to double check the hydro position and its perfect :smokin: Couldn't resit a quick snap of the seat though... 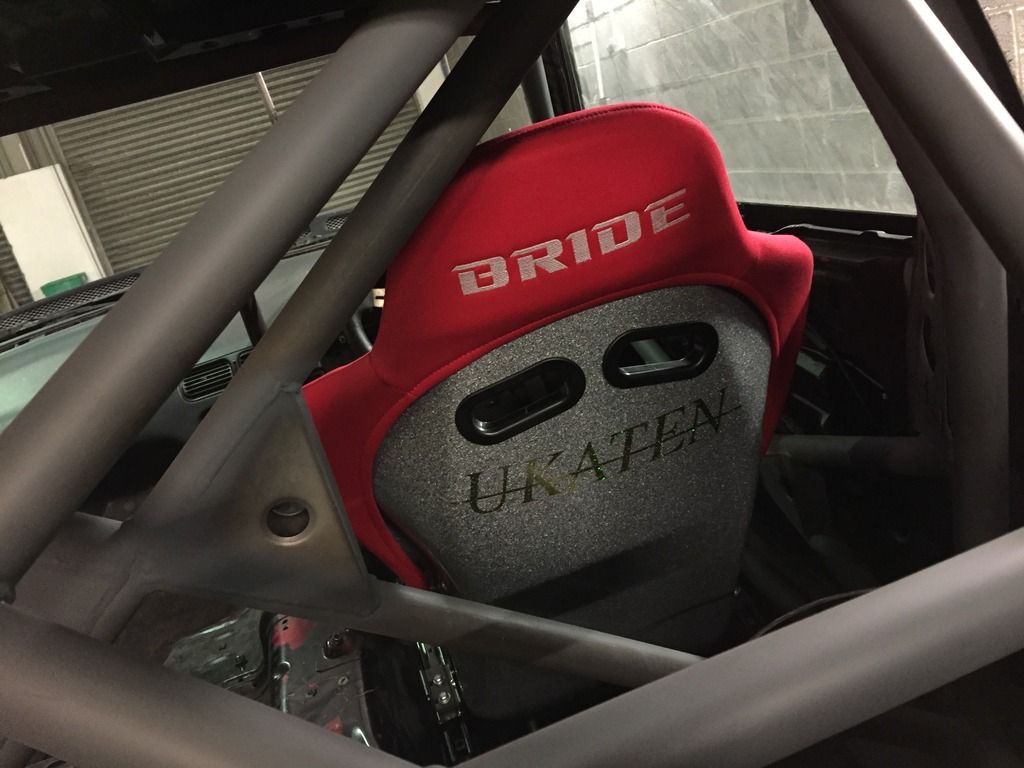 Next up - Back to Huxley Motorsport! Not long after the last update, and friend had the lovely job of trailering the car back up to Huxley. By the end of the first day, this was the kind of progress Hux had made. 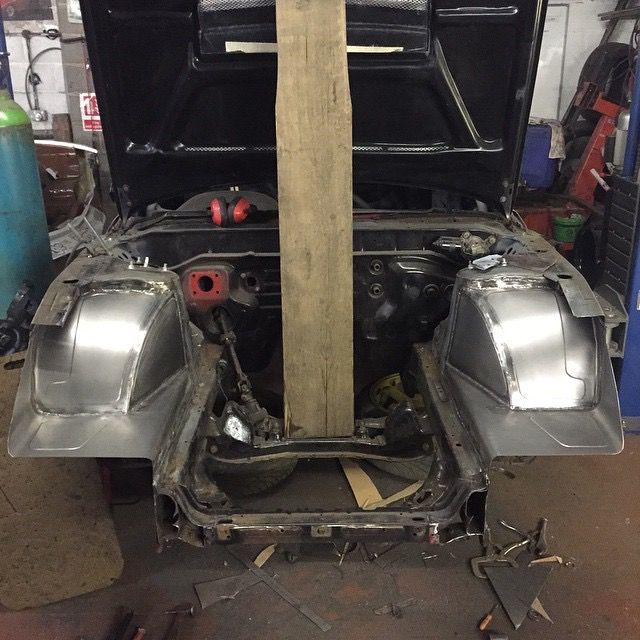 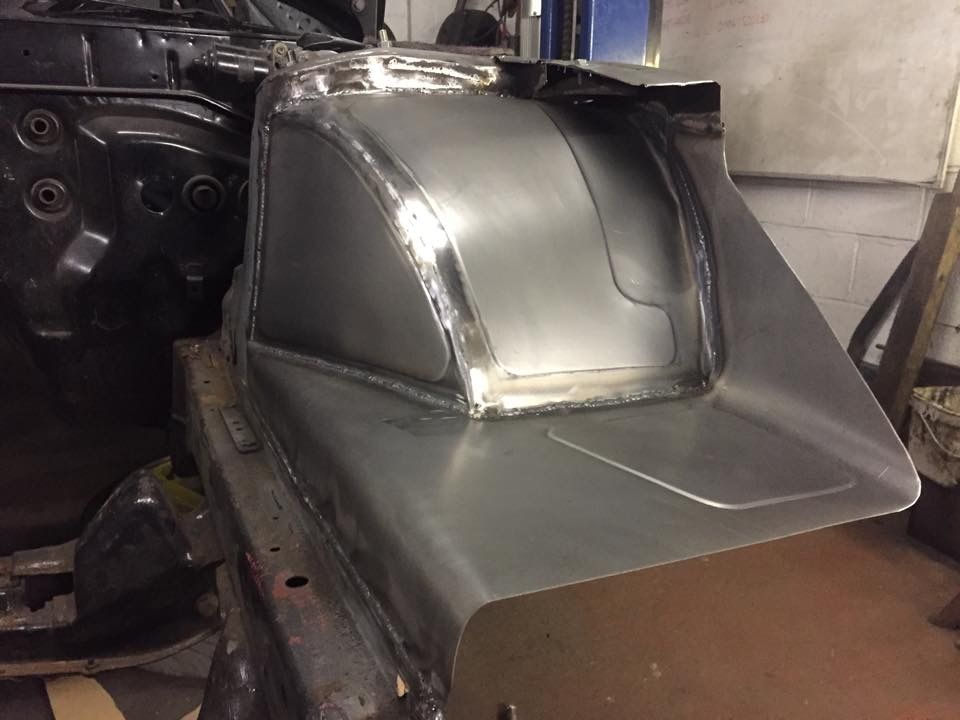 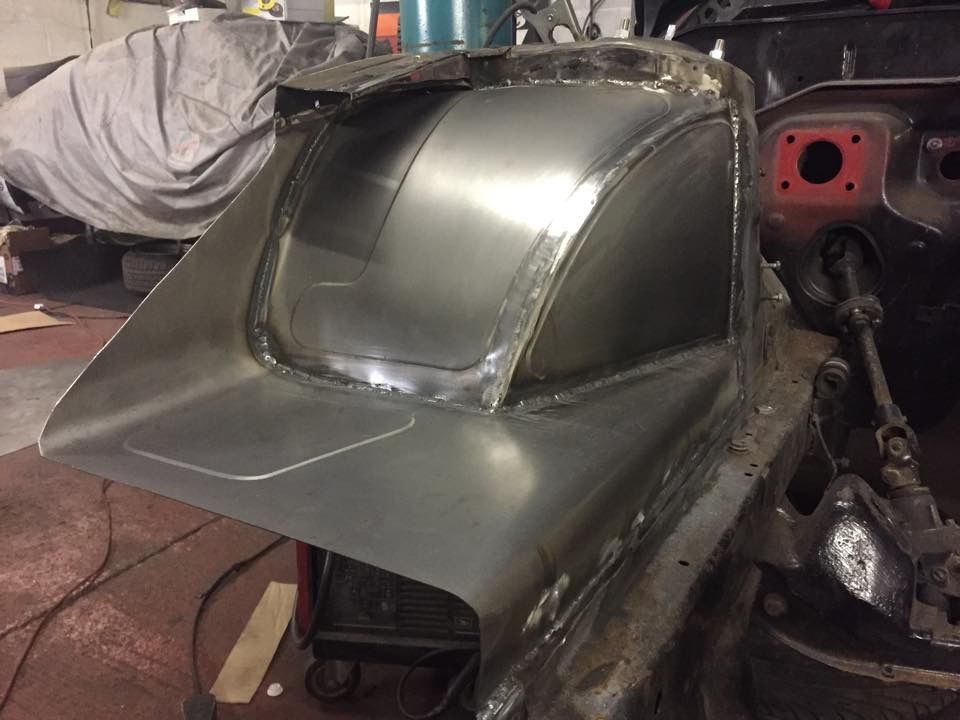 Pretty impressive if you ask me  Then came the task of the tubular front end, which I think Hux has nailed; 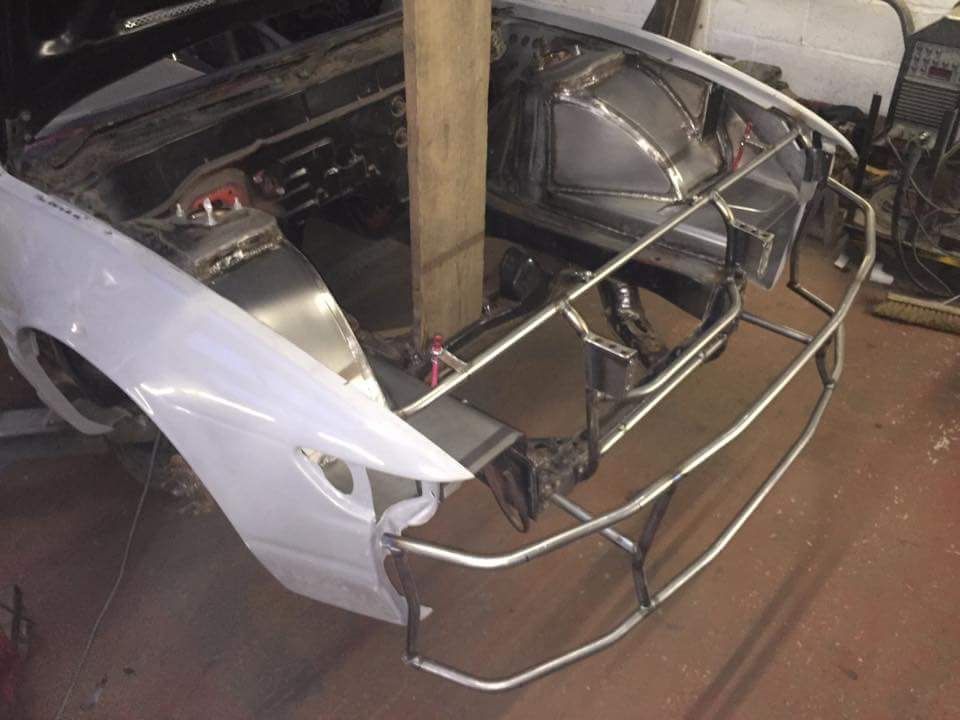 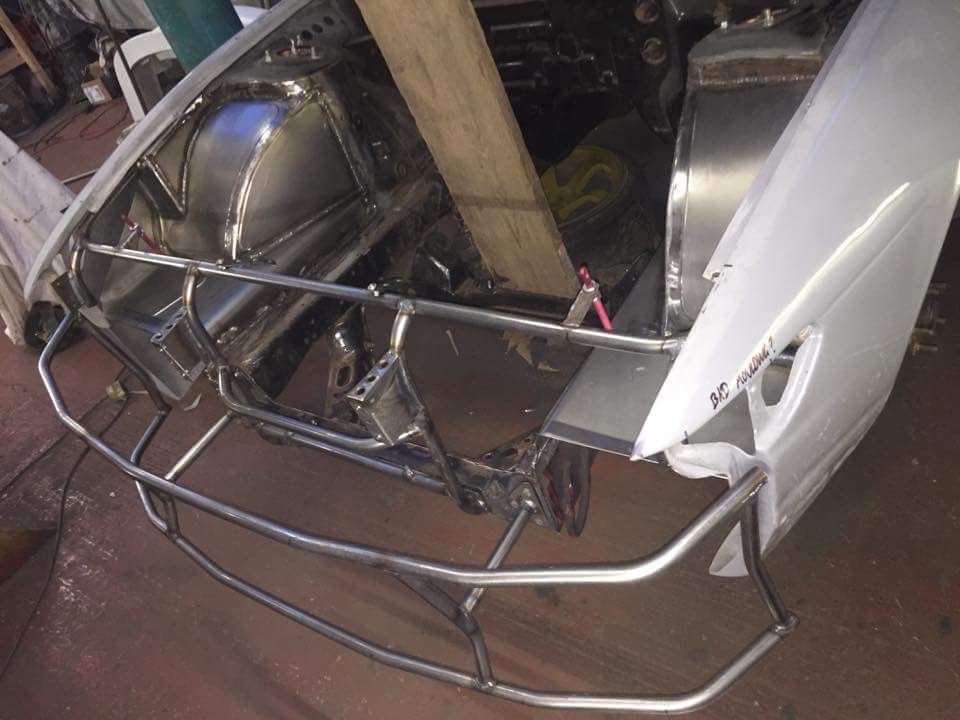 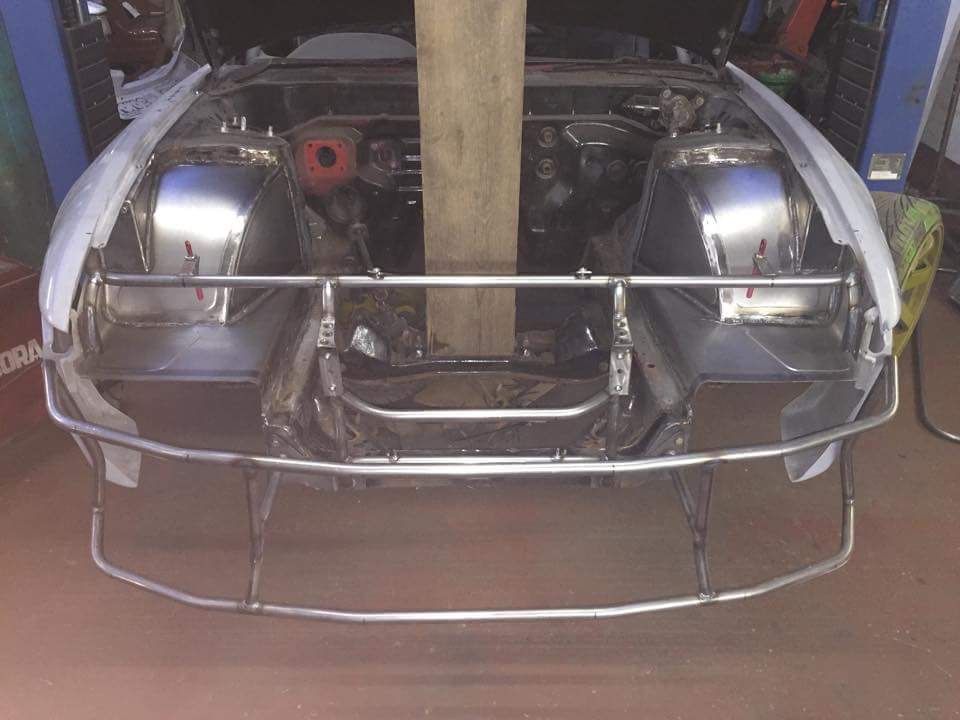 And then, it finally resembled a car for once! I can't described how stoked I was when he sent me this picture. After all the time of looking a car that doesn't even look like a car  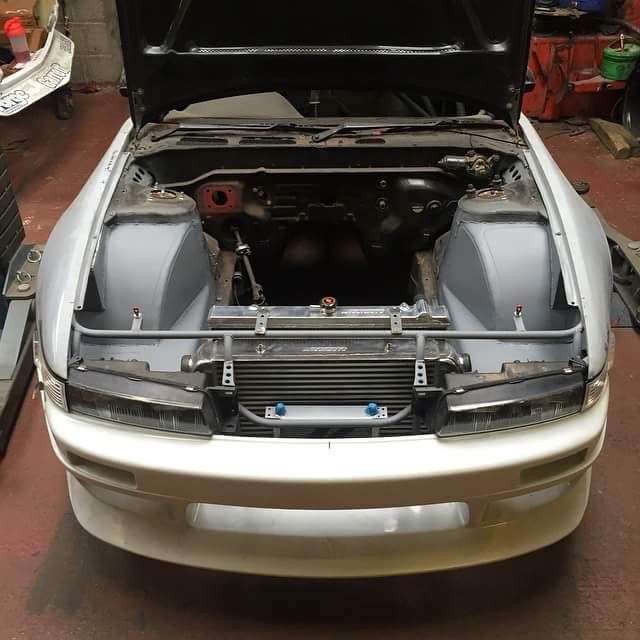 We did encounter a problem though, where the intercooler I had ordered is 4" thick, instead of the regular 3" cores people tend to use. The problem here was that for the core to sit where Huxley usually places them, it would clash with the headlights. So we had 2 options; a) Move the rad back b) Fit the core more forwards and in front of the front crossmember So after looking at some pictures, some discussion we opted for (a) and moved the rad back as little as we could. After looking at my pictures, theres tonnes of spaces between the viscous and the rad, just the cowling may need to be "modified" which shouldn't be a big deal, hopefully! Thanks to my friend we went and grabbed the car off Huxley last night, and to say I'm thrilled with the work he's put into this car is a massive understatement. I can't thank him enough for turning a shell with a dodgy cage and front tubs, into a car that has a full blown jungle gym of a cage and a real fancy front end! :smokin: 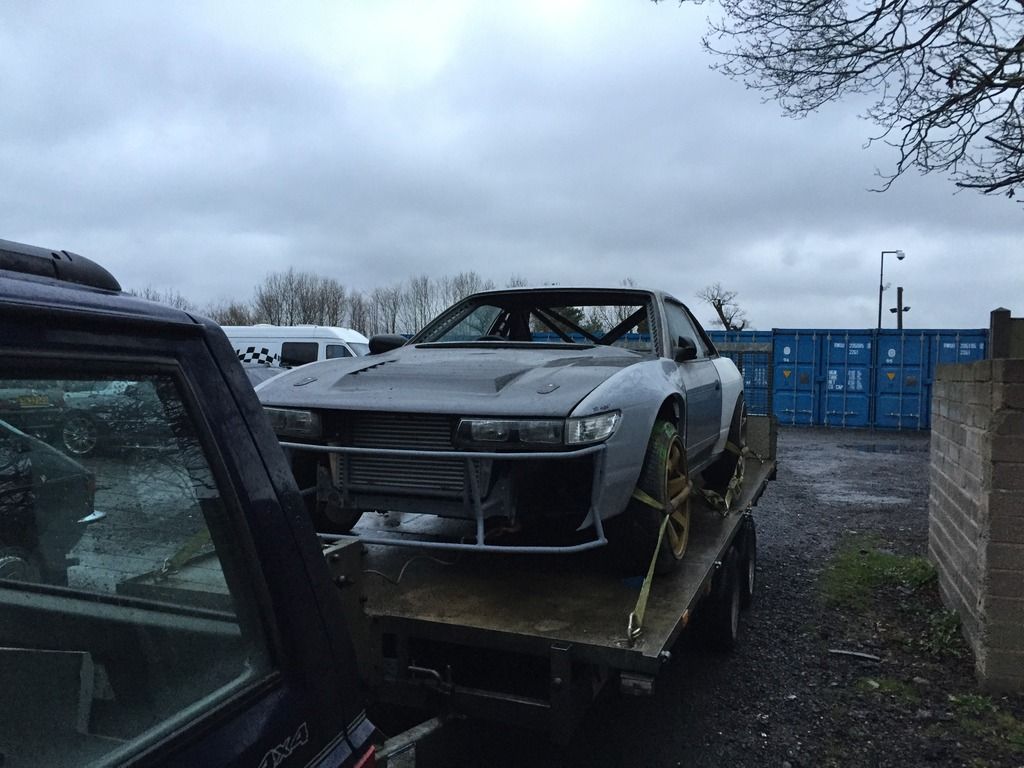 The crash bar is awesome too, the bumper hugs it so tightly its unreal, in a good way! Bumper does not sag, and its much stronger than the original "crash bar" than Nissan think is sufficient. Few pictures once I got the car back into the unit last night; 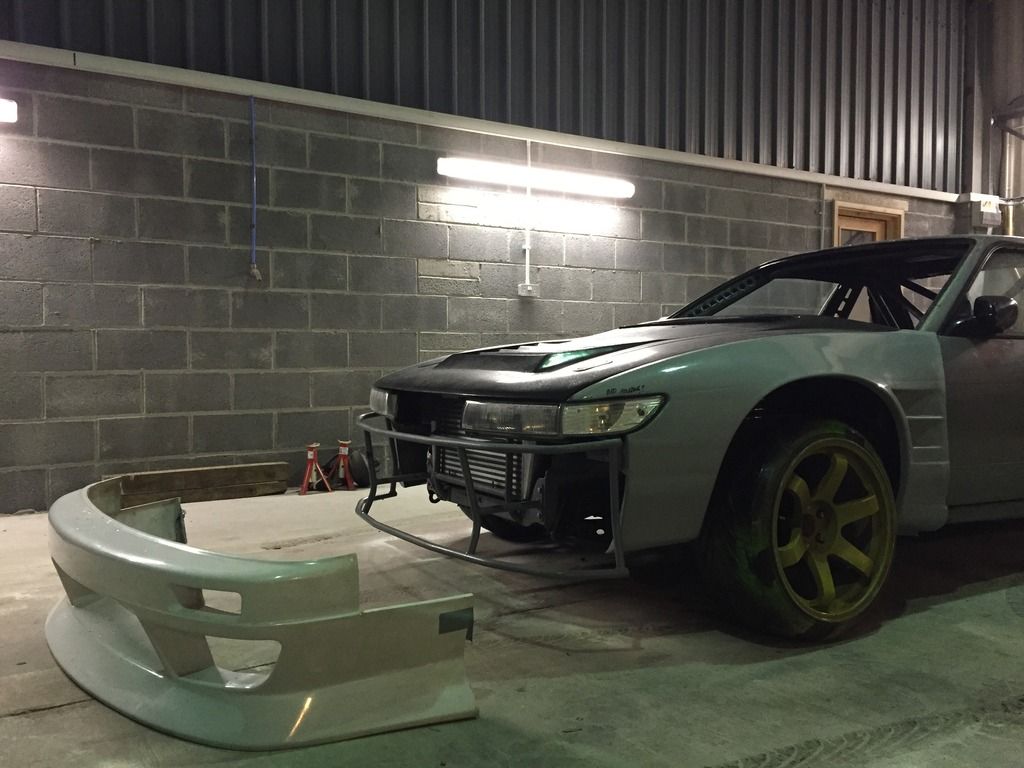 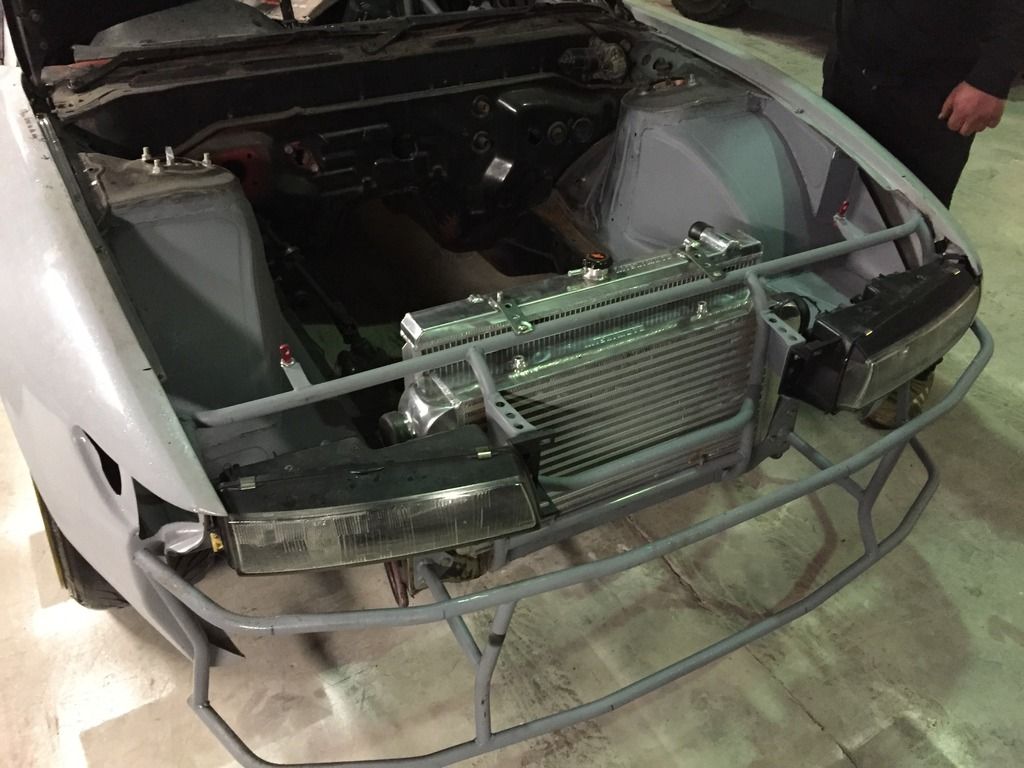 And was greeted to this today! Shouldve been revising today, but the car took priority. Need a break from so many textbooks anyway  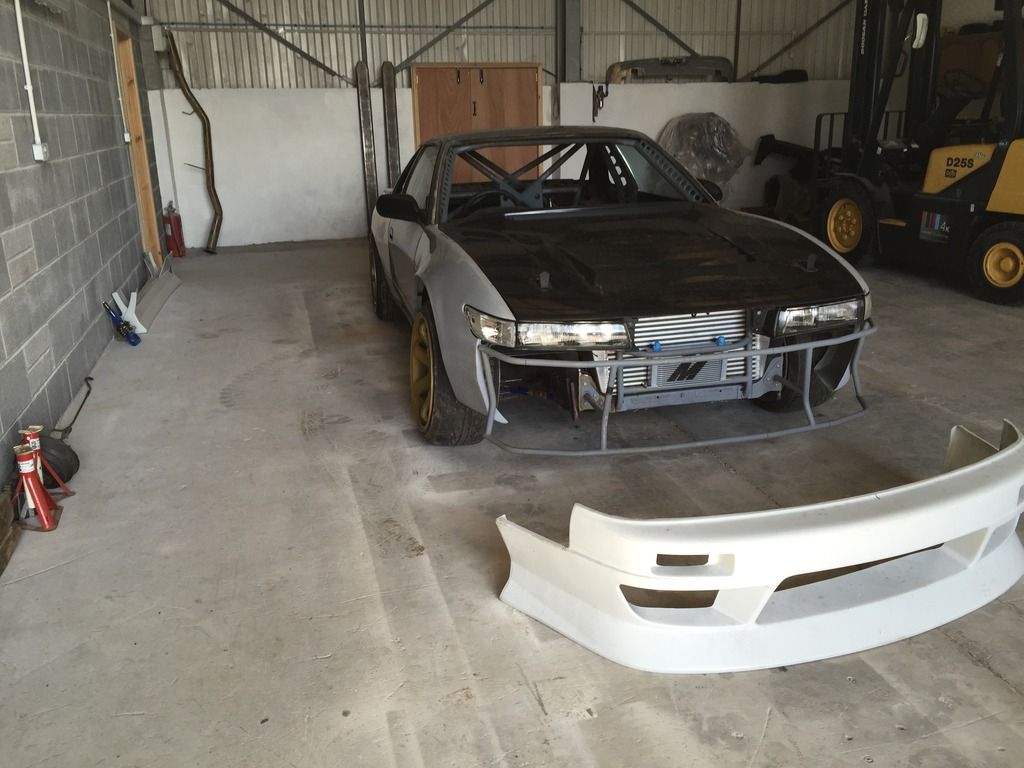 FINALLY! The front end was lowered, although this was the maximum the coilovers would allow. After all, they are optimised for performance, and they havent been bedded in yet (although they are hard spring rates!) 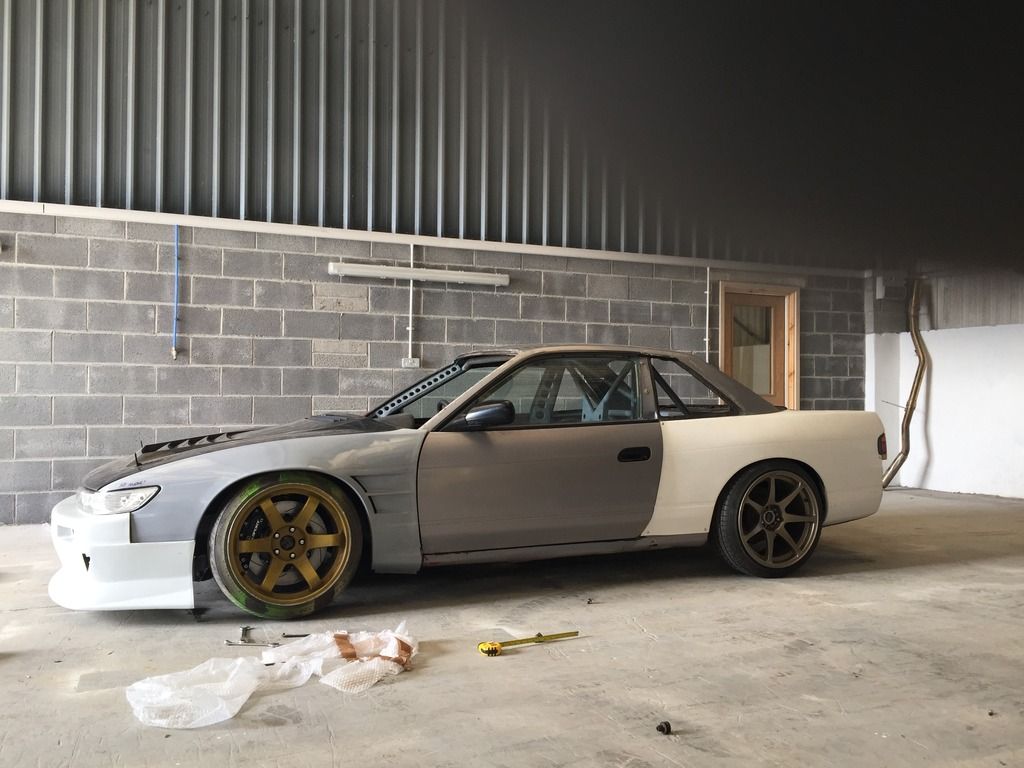 Then I began to lower the rear, again, this is maxed out but to be honest, its exactly the height I wanted so I'm not phased. I could go lower through adding droop but I think this will do, and ill let the fancy springs do what they have to do and give me better grip  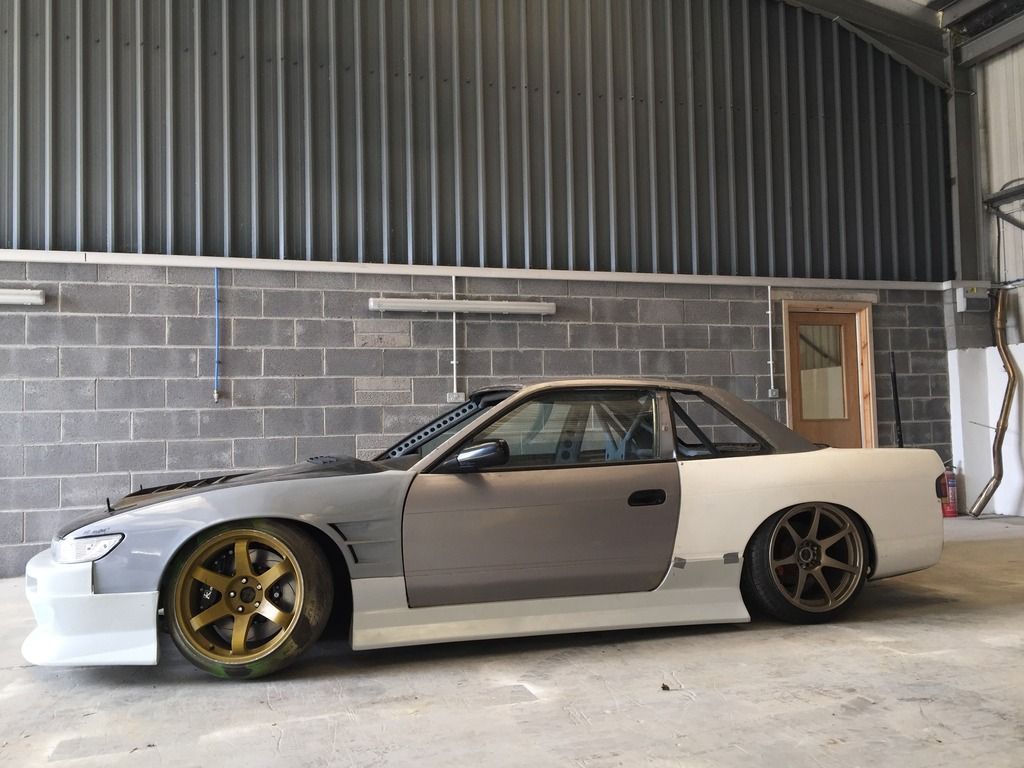 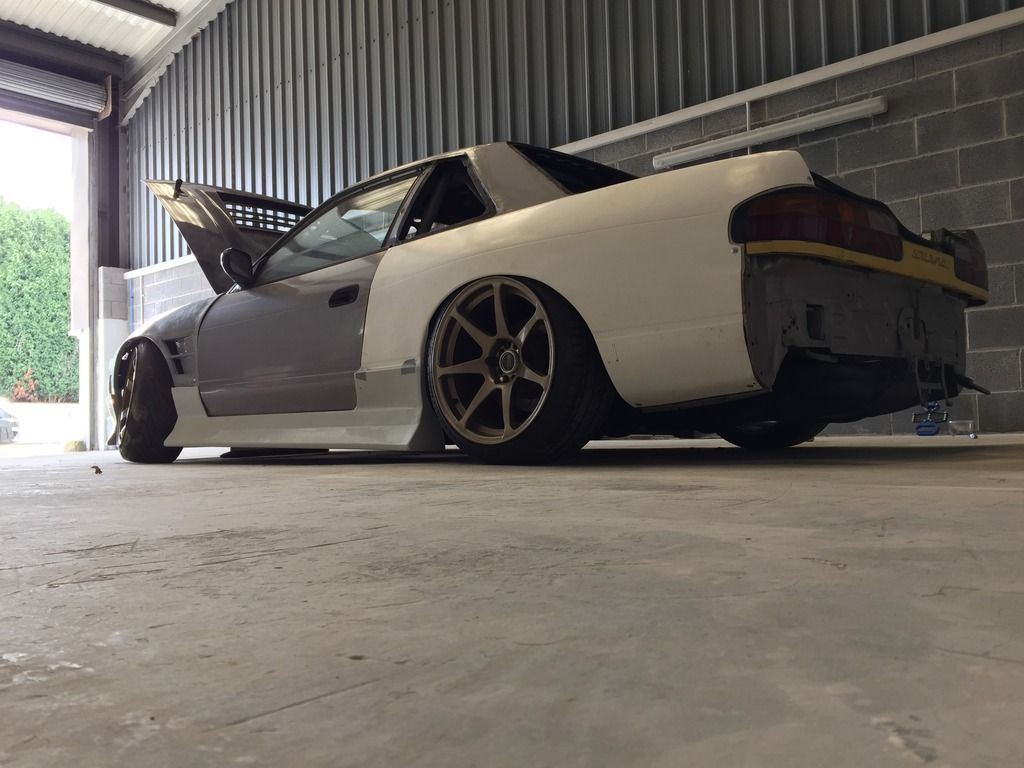 May have noticed the front brakes; 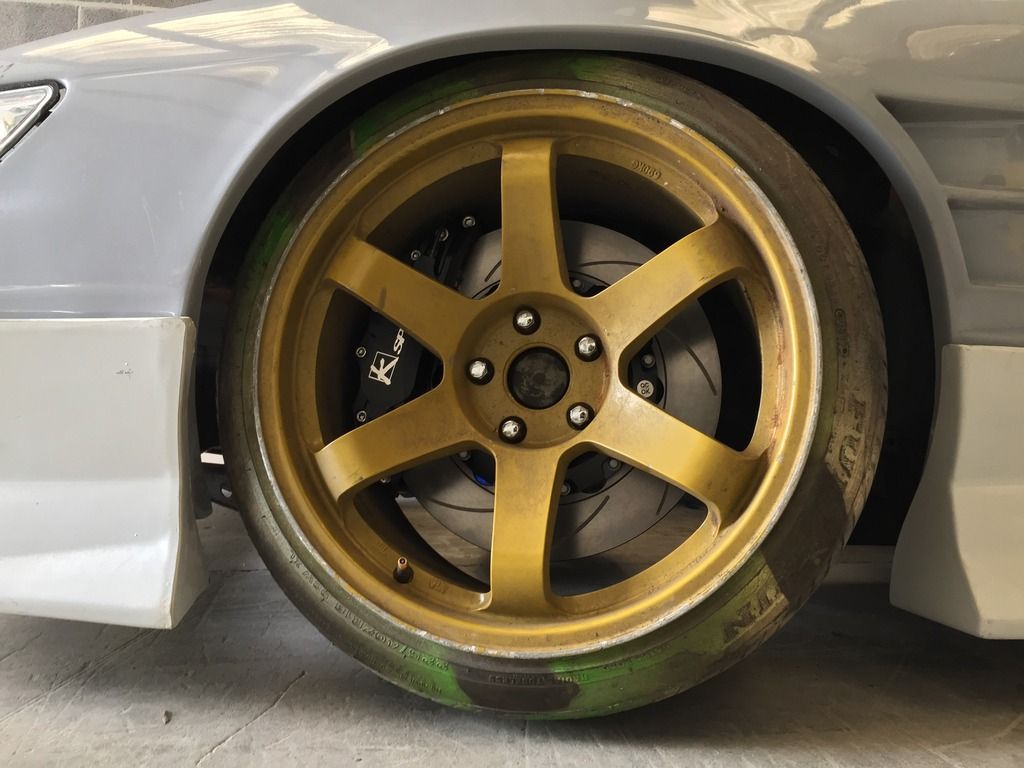 They are huge! Cant wait to see how they feel out on track though  I also threw on the rear Z32's to see how the dual caliper looks. Unfortunately I didnt grab any pictures, but it looks pretty cool and again, I can't wait to try them out and see how good the hydro is. I also threw on the rear Z32's to see how the dual caliper looks. Unfortunately I didnt grab any pictures, but it looks pretty cool and again, I can't wait to try them out and see how good the hydro is. |
|
|

|
|
|
#35 |
|
Leaky Injector
Join Date: Dec 2012
Location: Bristol, UK
Age: 30
Posts: 92
Trader Rating: (0)
 Feedback Score: 0 reviews
|
m planning on selling the Superclarkey hubs in favour of some front geomasters after hearing how they respond with huge flicks and angle :smokin: Plus, I could kinda do with the drop and the freshness of some new hubs and bearings
 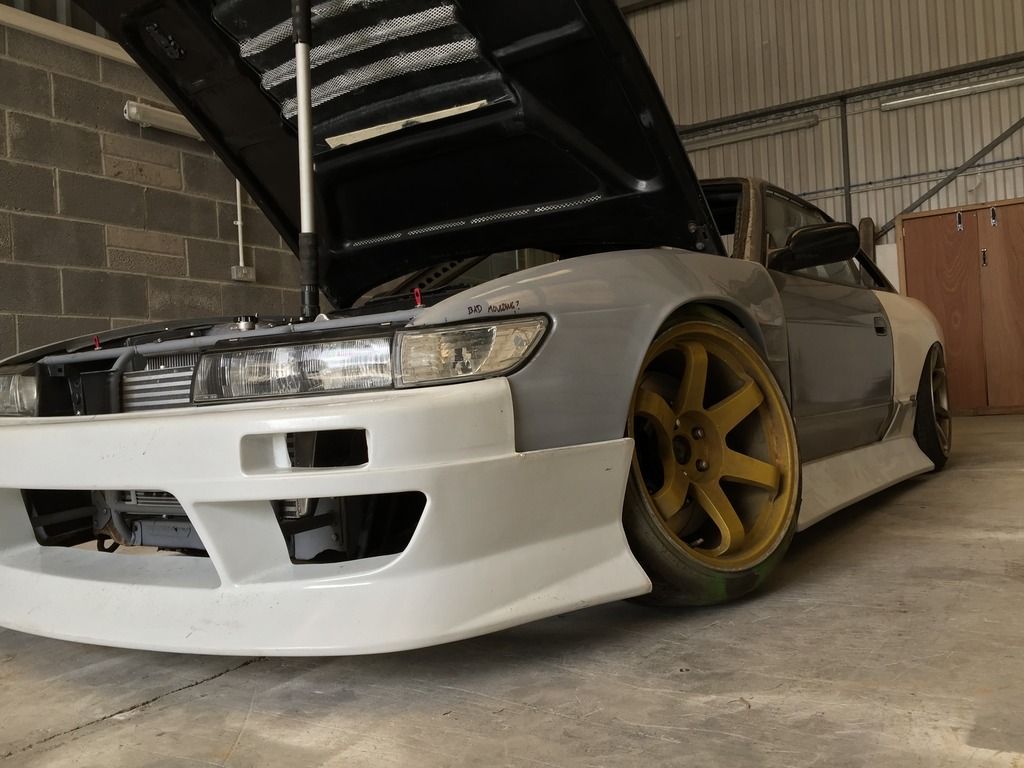 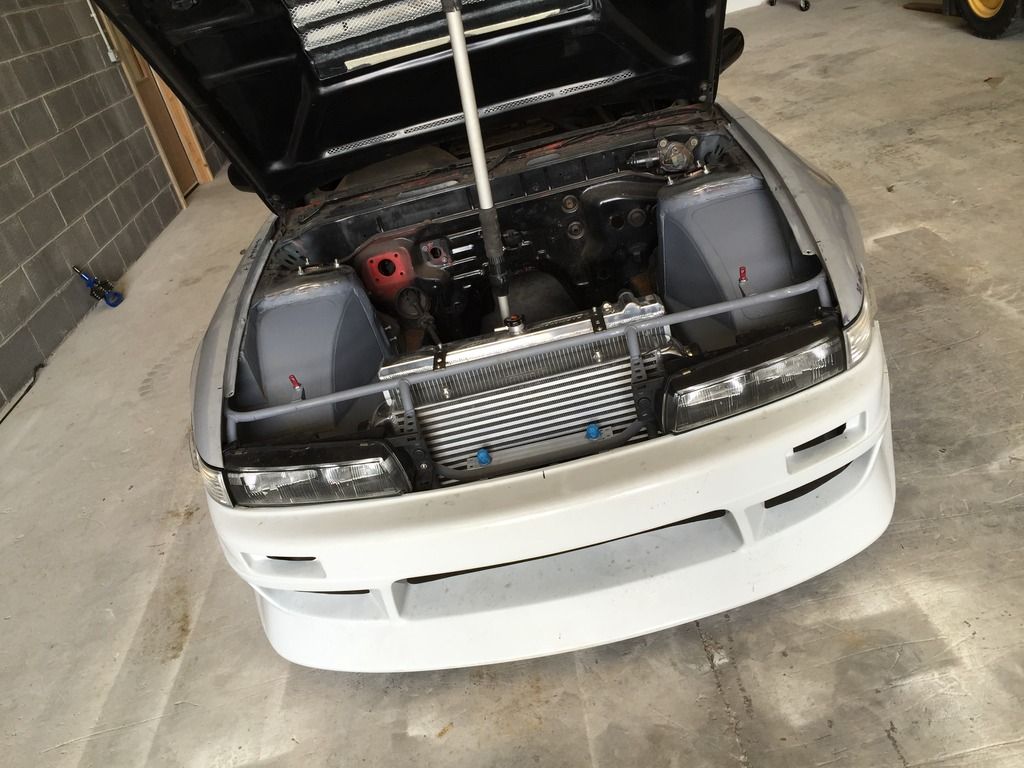    Whilst the car was away, I started thinking about the interior. I grabbed my old dashboard out of the S13 along with the centre console. I'll set about making a much neater dash and make the centre console fit along side. Even though this will be quite an extreme car, I can't help but have that little bit of "luxury" (If i can even call it that?) and make the car feel a bit more back to its roots. Threw the centre console to see how it'd fit around the hydro; 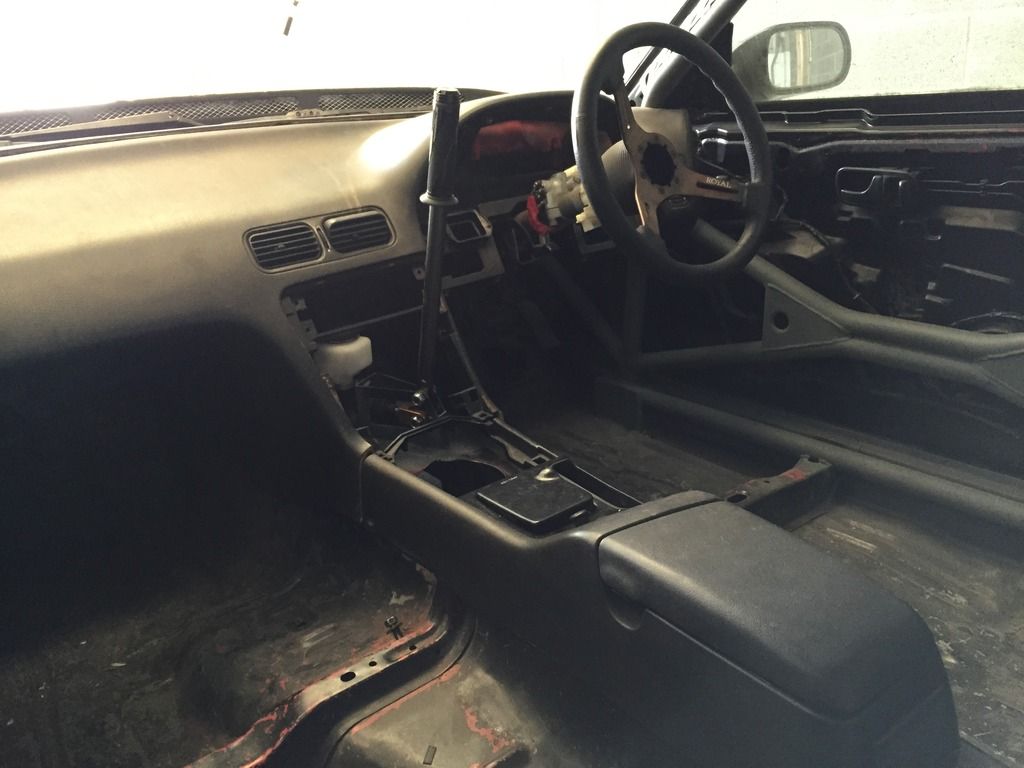 The next task was to begin fitting my old dash, with the hope of a much neater install. I wont bore you too much as it isn't the most fascinating of tasks but I've managed to try and retain the sides, and began to trim the centre console so that I can get the required throw on the hydro. 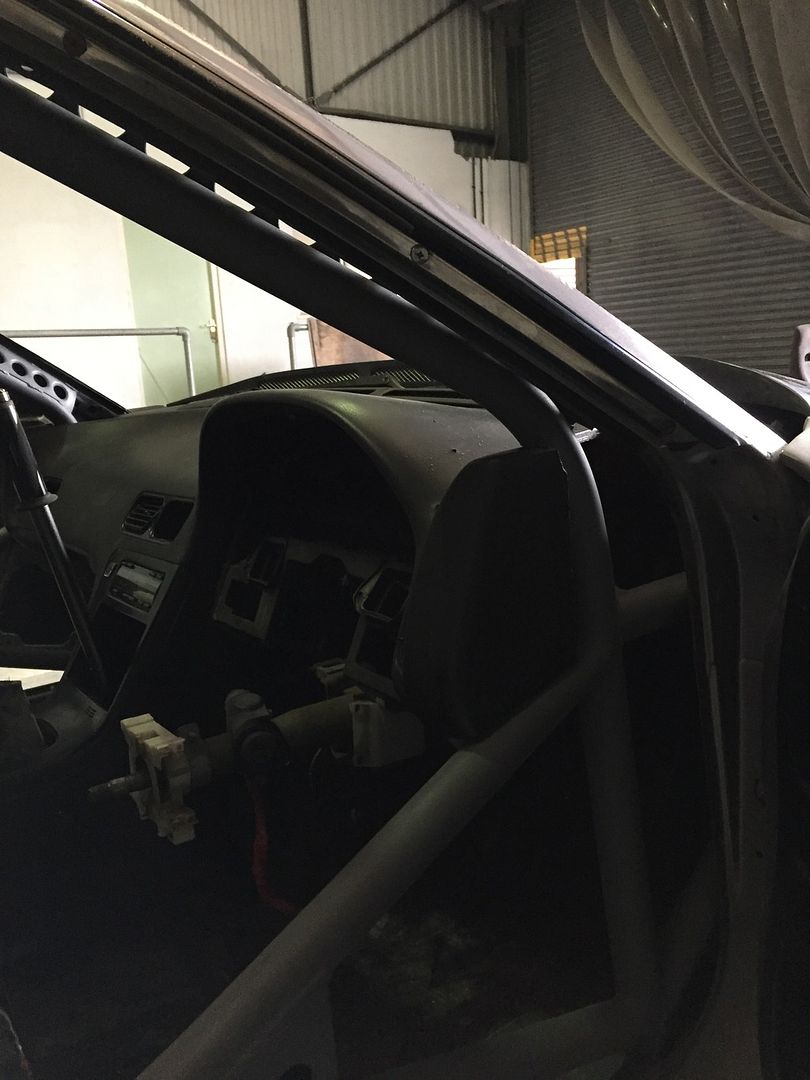 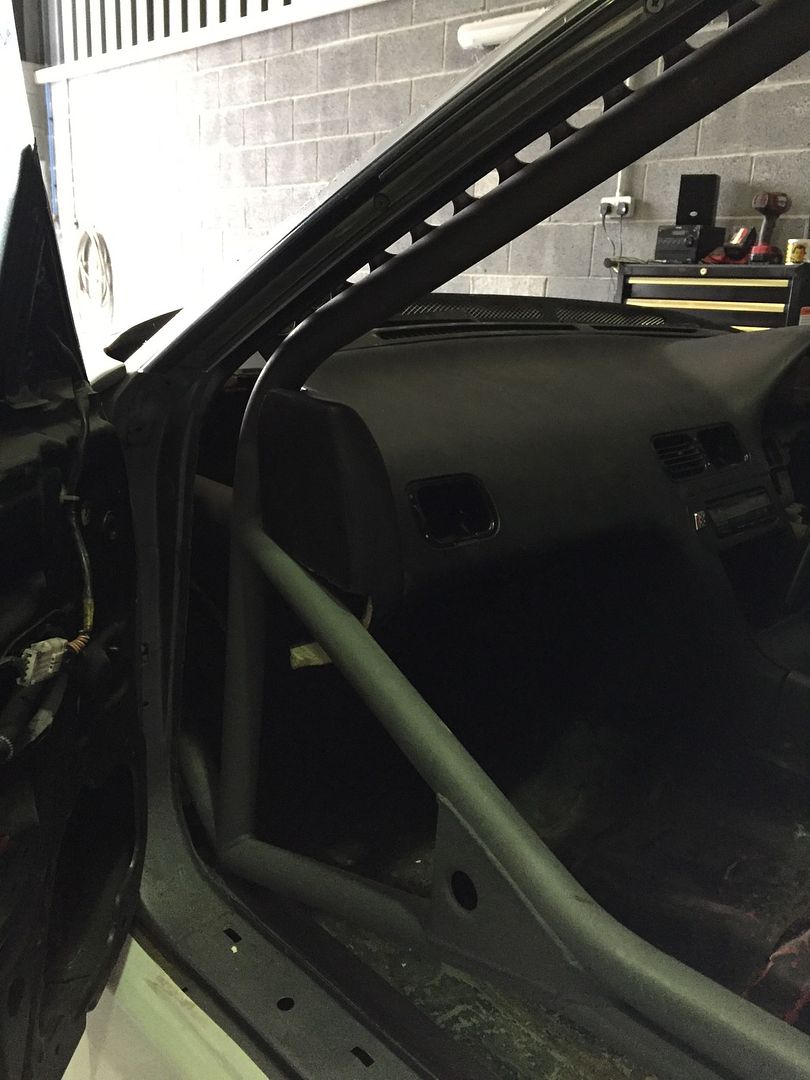 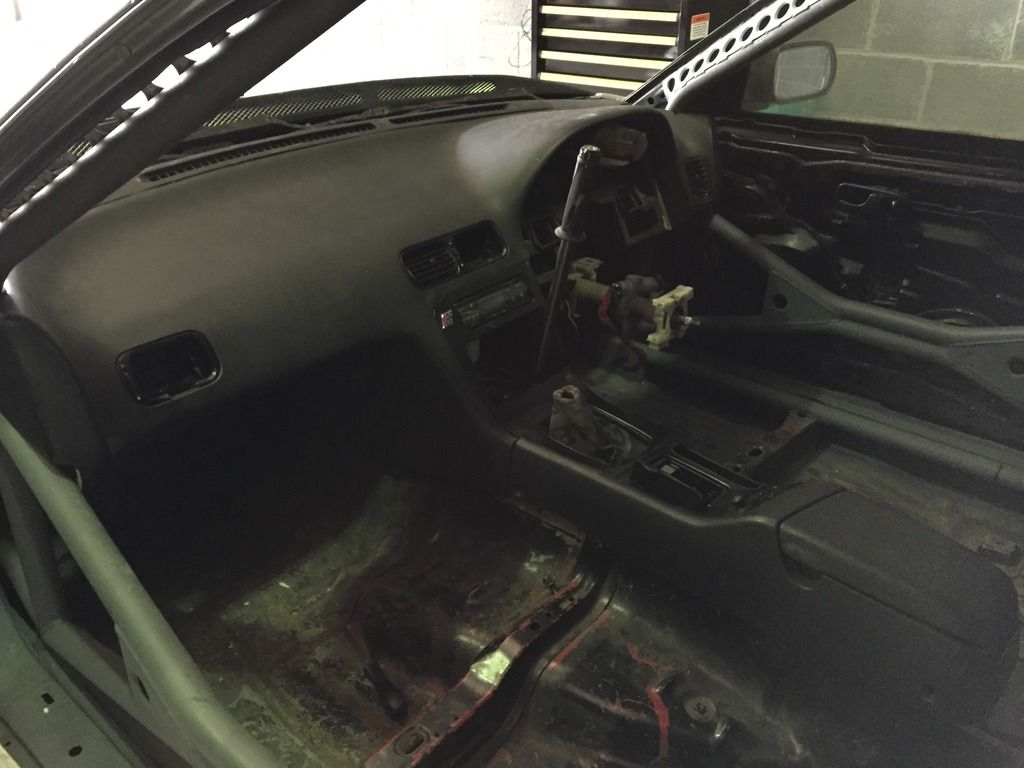 At this point, I started to kind of procrastinate which is not good! |
|
|

|
|
|
#36 |
|
Leaky Injector
Join Date: Dec 2012
Location: Bristol, UK
Age: 30
Posts: 92
Trader Rating: (0)
 Feedback Score: 0 reviews
|
o spent a little bit of time on the car today, so started off by getting the rear bumper to fit. When I mocked this up ages ago, the left hand side was a mile out! So after speaking to a friend the solution was to grab a heat gun, apply a bit of pressure and slowly put it into shape. And after about 10 minutes it was all but done, so I've left it in situ for the fibreglass to cool down and hopefully retain some sot of shape that its supposed to be
 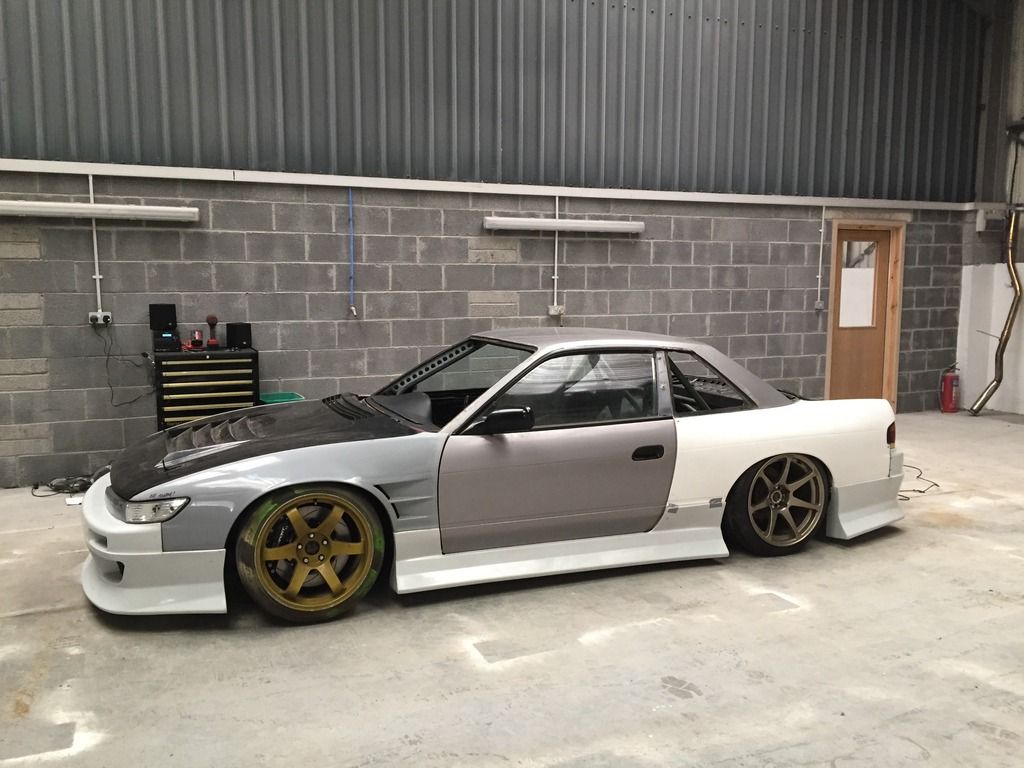 Rear ride height is spot on, can't wait to drop the front another 1/2" or so! You can catch a glimpse of the dual caliper setup, I should probably begin thinking about rebuilding them, that way the whole brake system is fresh  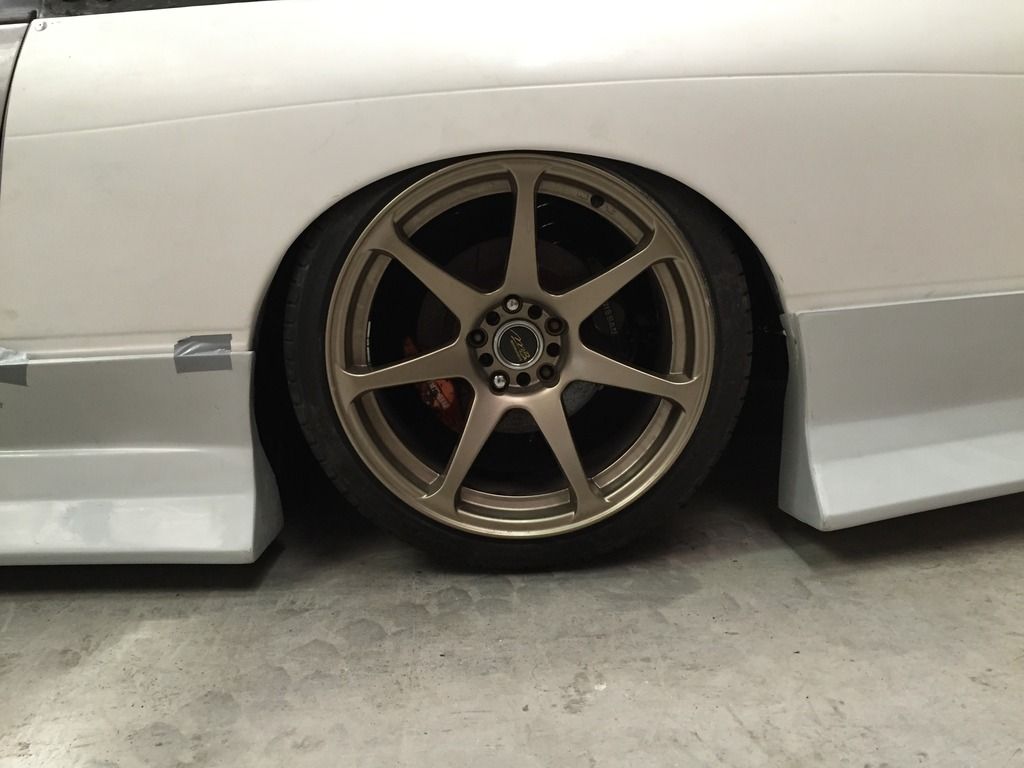 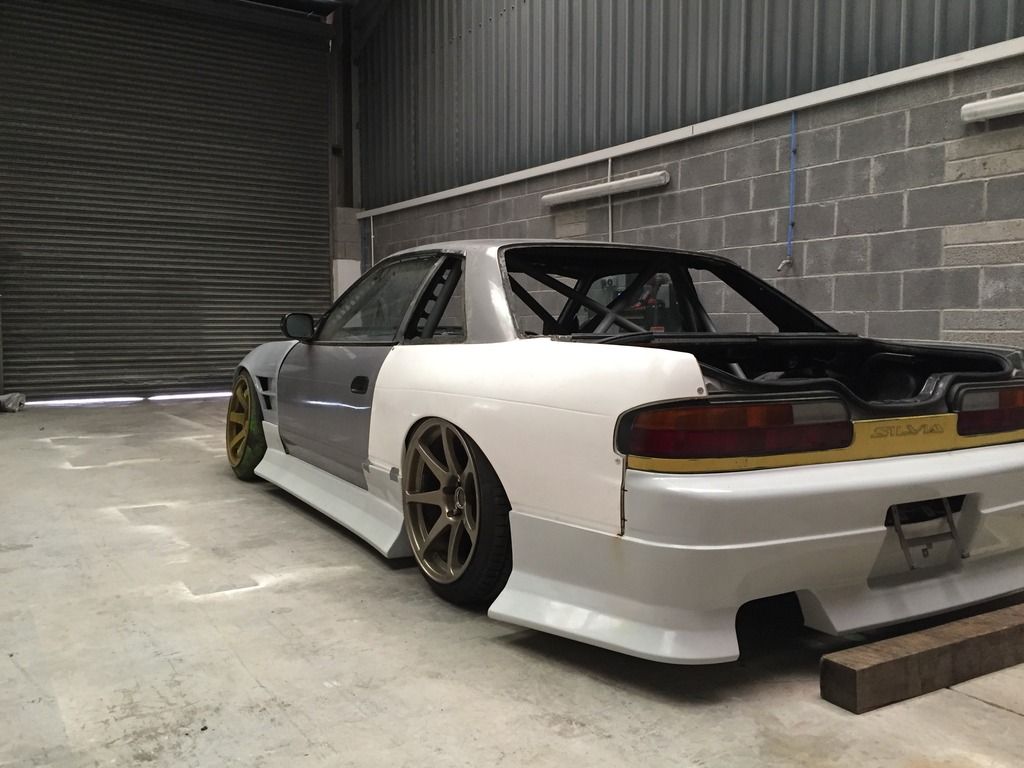 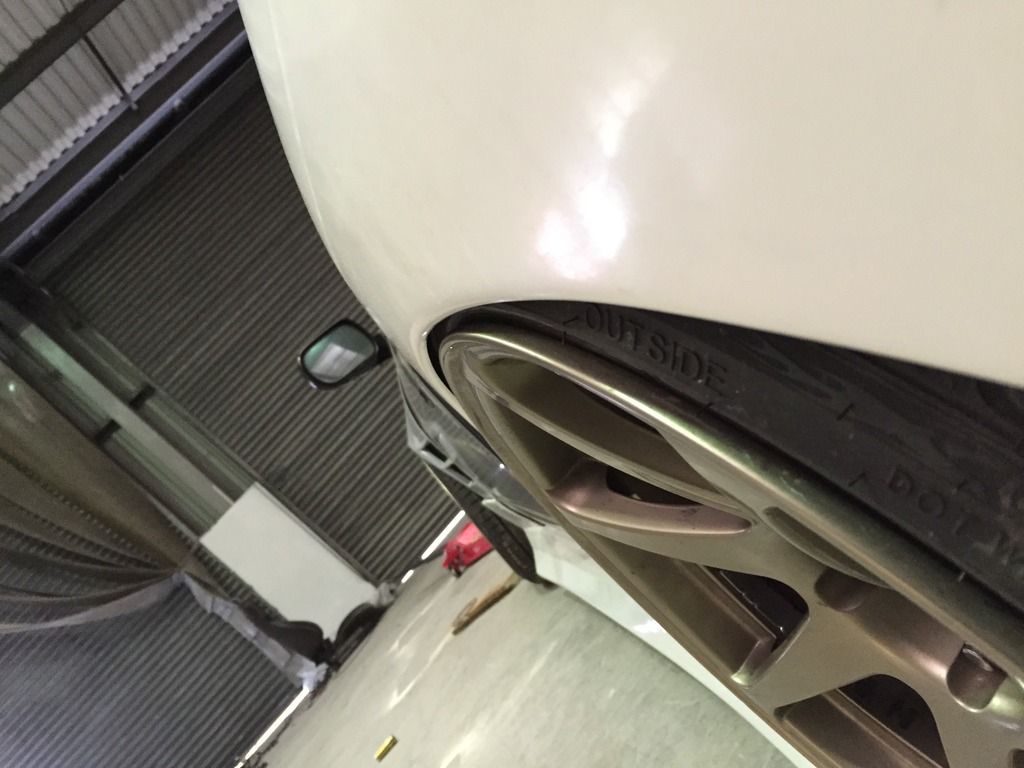 And then, I got a little bit bored so decided to put one of the 18x9.5 +15 Battles up front, along with a 25mm spacer to see how it sits; 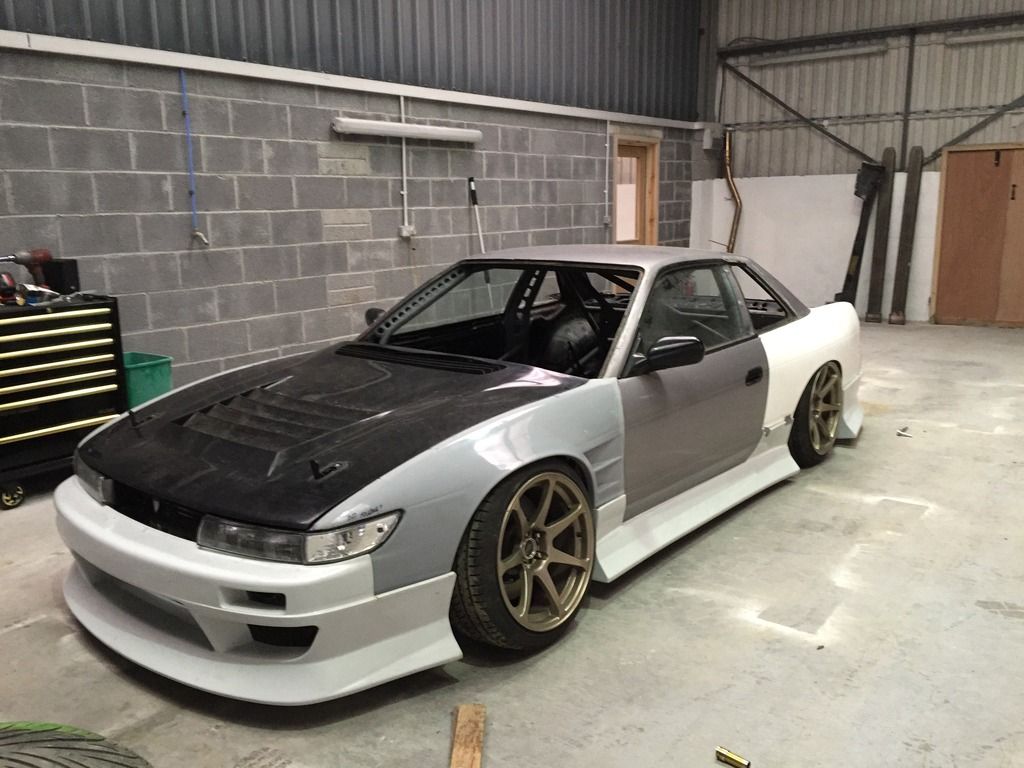 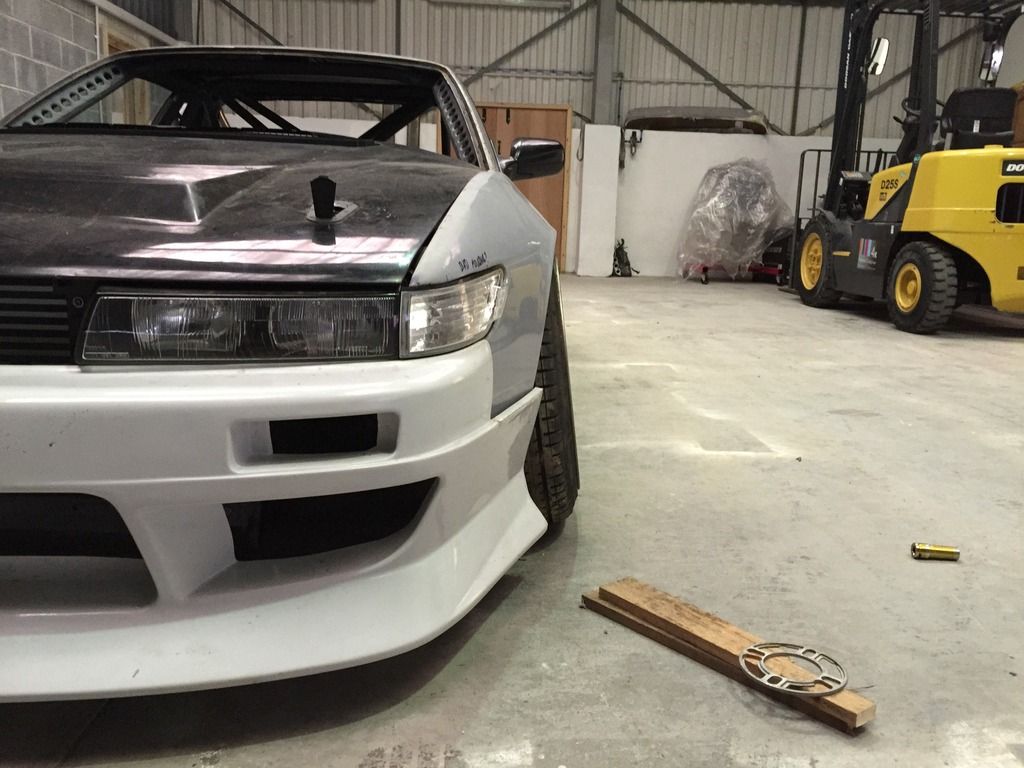 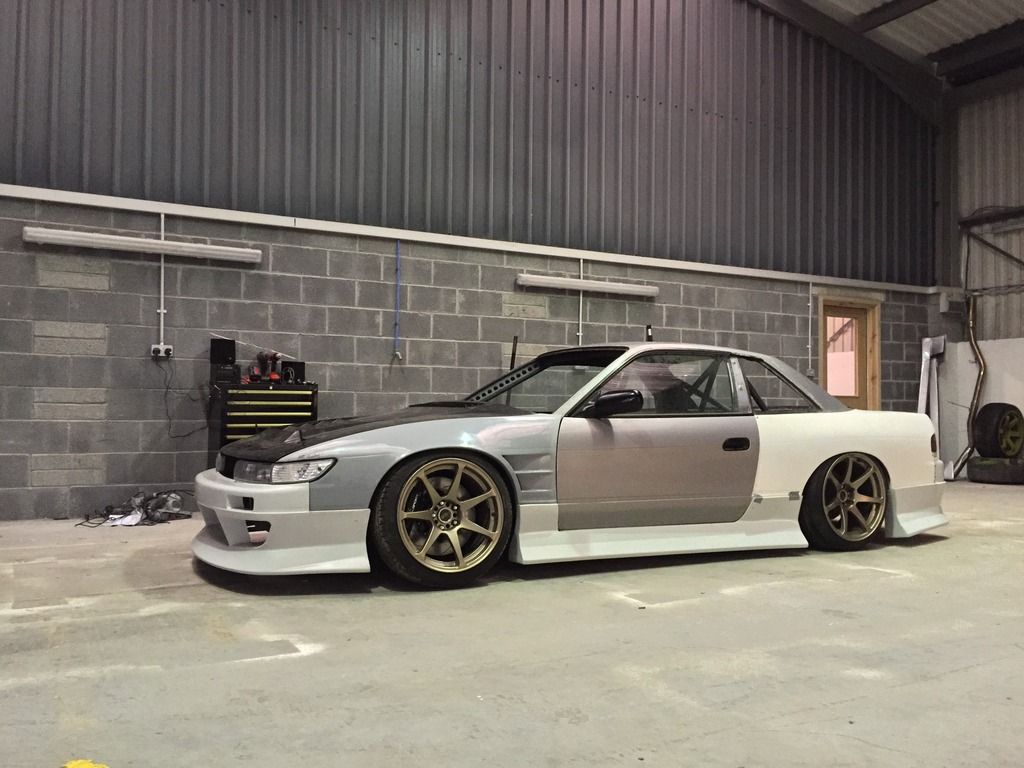 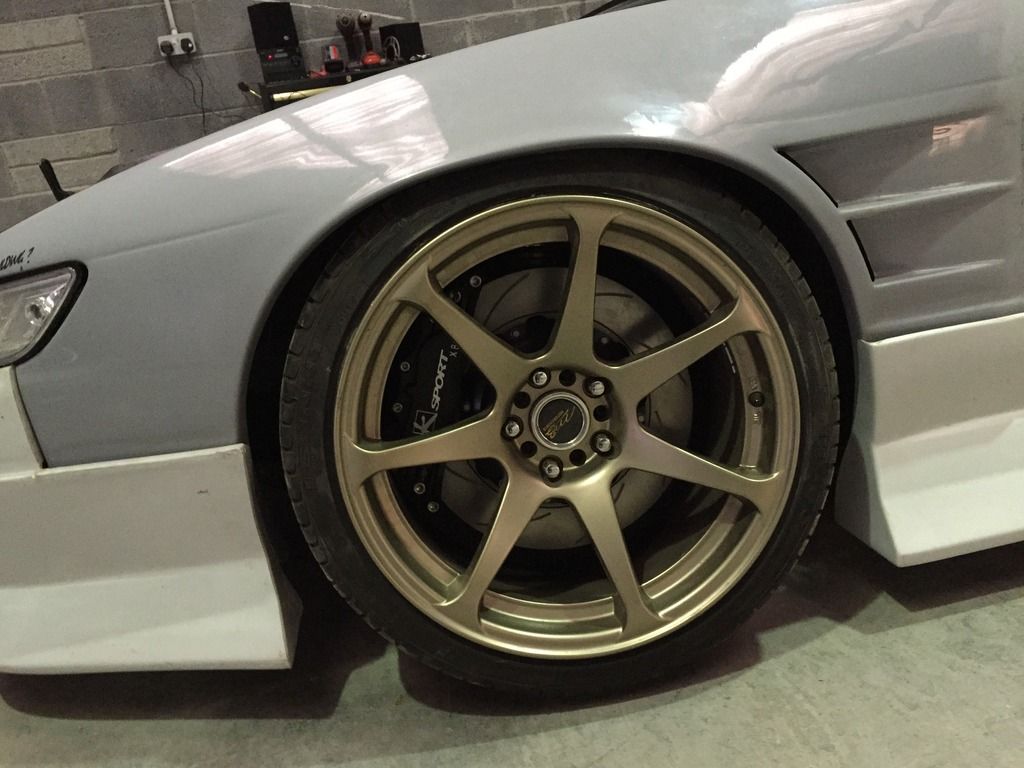 Kind of loving this look. Ive spent so many hours considering new wheels choices but can help thinking my old wheels will pull off the look I'm thinking of, typical! I think another 5mm upfront and removing a shade of camber may help dial the front fitment out a tad. Cant help but think the style of front fenders cry for a wheel to be "under flush"/not poking? Either way, i'll drop the ride height and a lil more spacing and see how it looks  Me and my dad took his car down to the unit, and whilst we were there it'd be rude not to grab a quick photo! The difference in generations and the car that originally got me hooked into the mechanical side of things  Now I just have to convince him to ditch that Rover (Buick) V8 in favour of something with a bit more grunt :wack: Now I just have to convince him to ditch that Rover (Buick) V8 in favour of something with a bit more grunt :wack: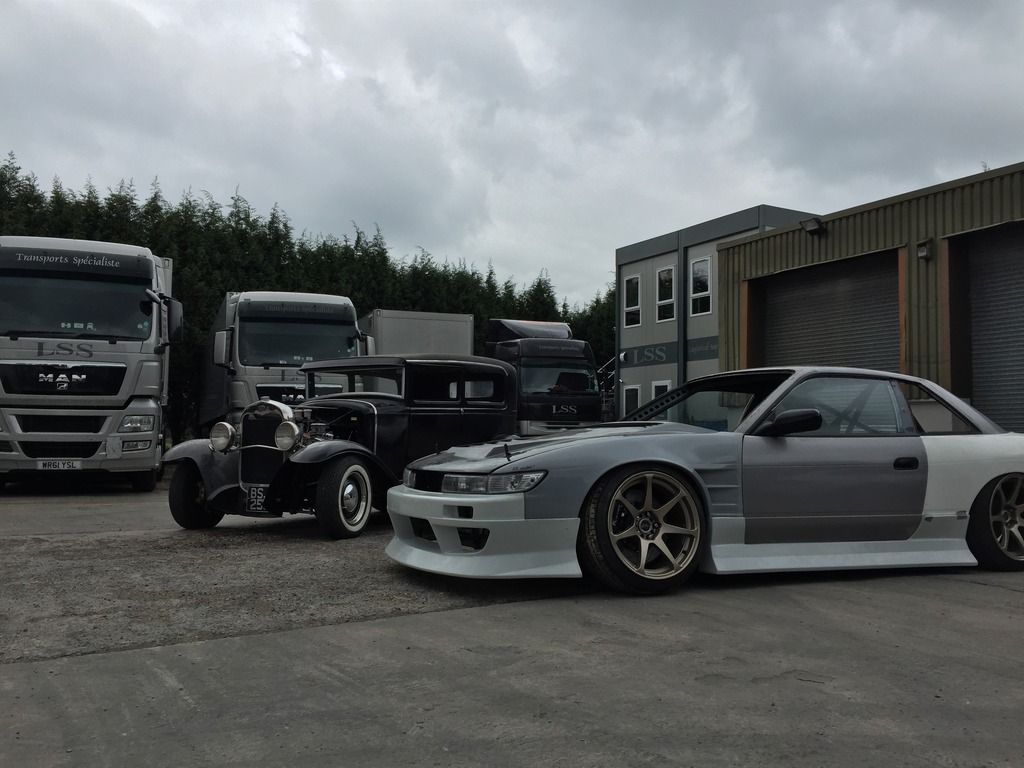 I then spent the following weekend making the car look like total crap! But its all in the name of the greater good  It wasn't long until it was up and off the ground, with the whole front subframe/LCA's/Coilovers etc off. The plan here is so that I can clean the subframe again as its gotten filthy, as well refreshing the LCA's with some fresh balljoints and bushes ready for when I get a pair of Geo's to go on :thumbs: 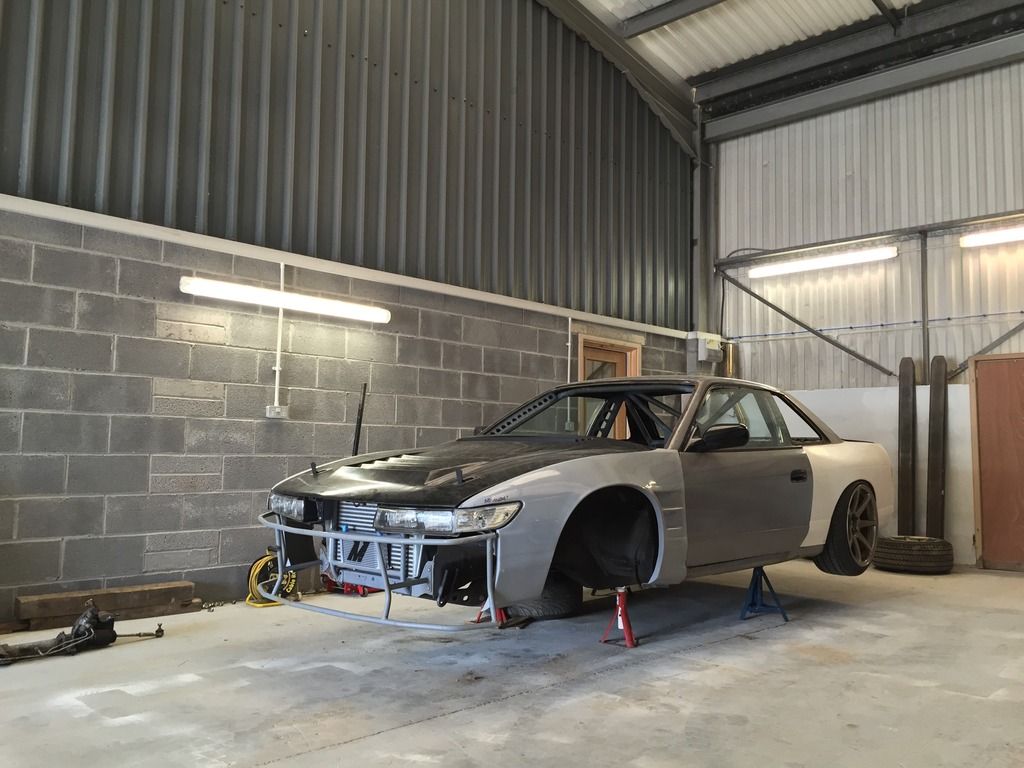 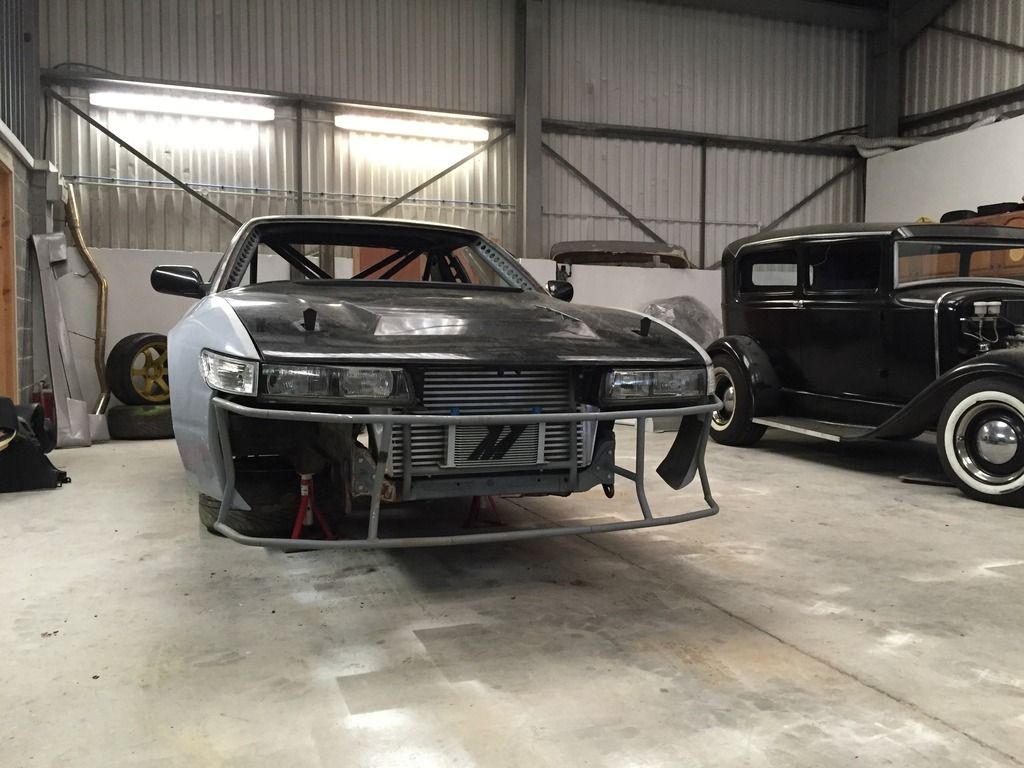 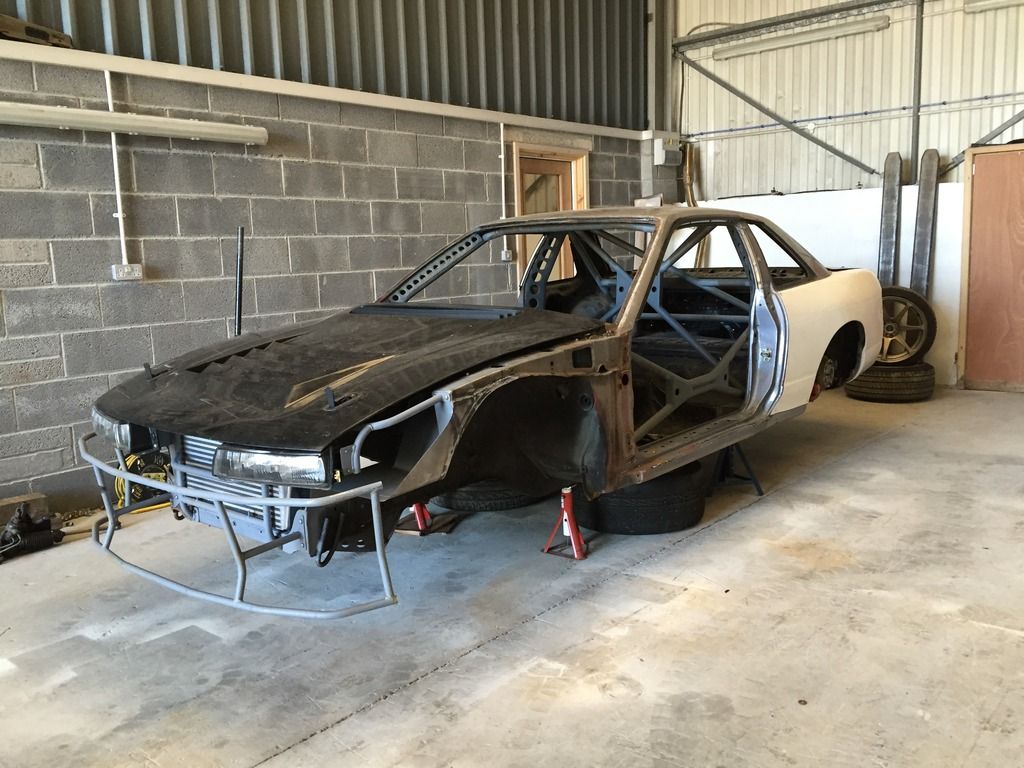 Interior it totally empty now  I made a small cardboard template of a rear firewall kinda thing. Seeing as i'll be running a swirl pot, I think it'll be better to play it safe and have something between me and that should something come loose in the event of an accident. I made a small cardboard template of a rear firewall kinda thing. Seeing as i'll be running a swirl pot, I think it'll be better to play it safe and have something between me and that should something come loose in the event of an accident. 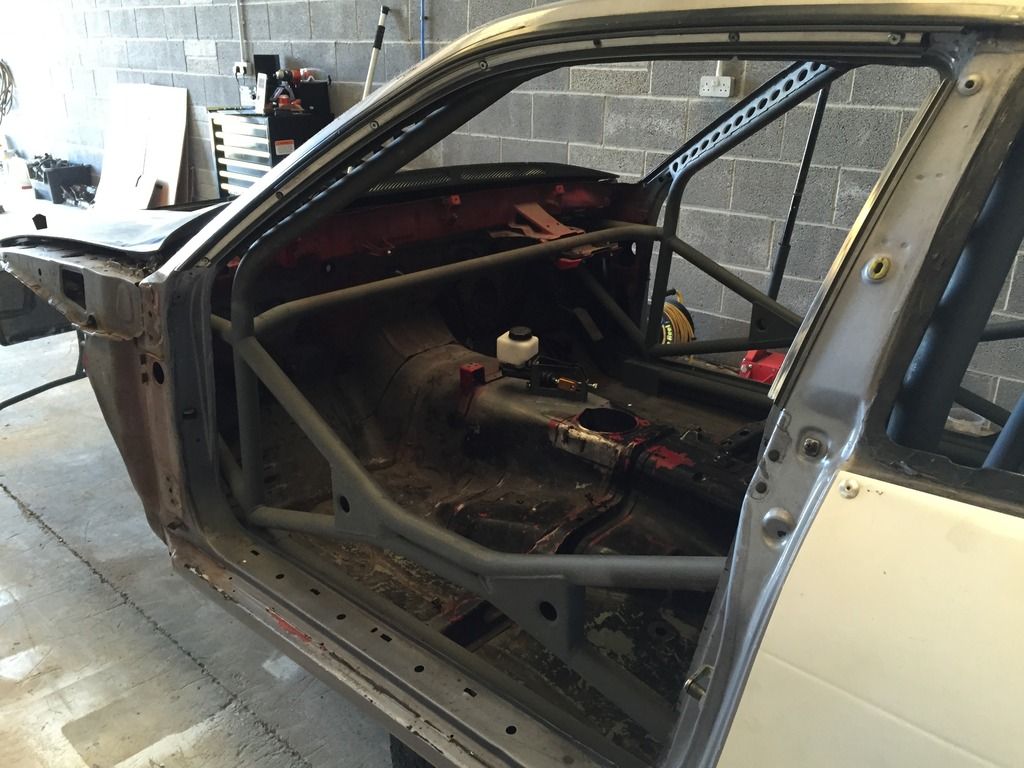 Here's a clearer picture of how the dual caliper will sit using the PBM rear knuckles  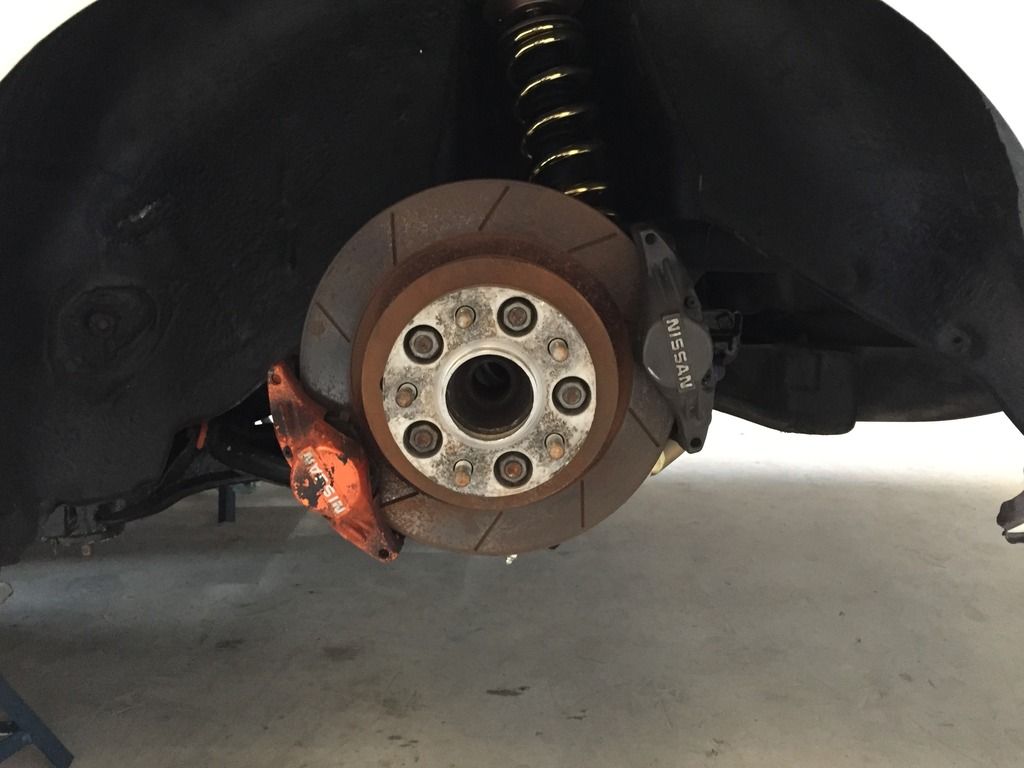 Removed a few bits and pieces from the rear end whilst I was there; 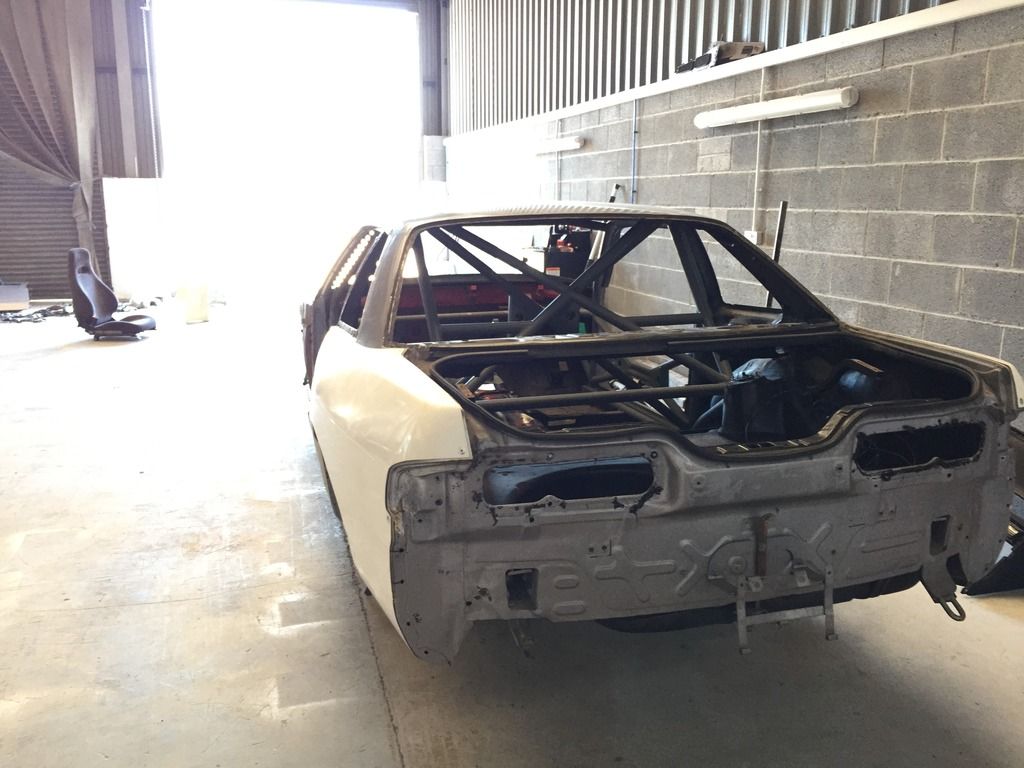 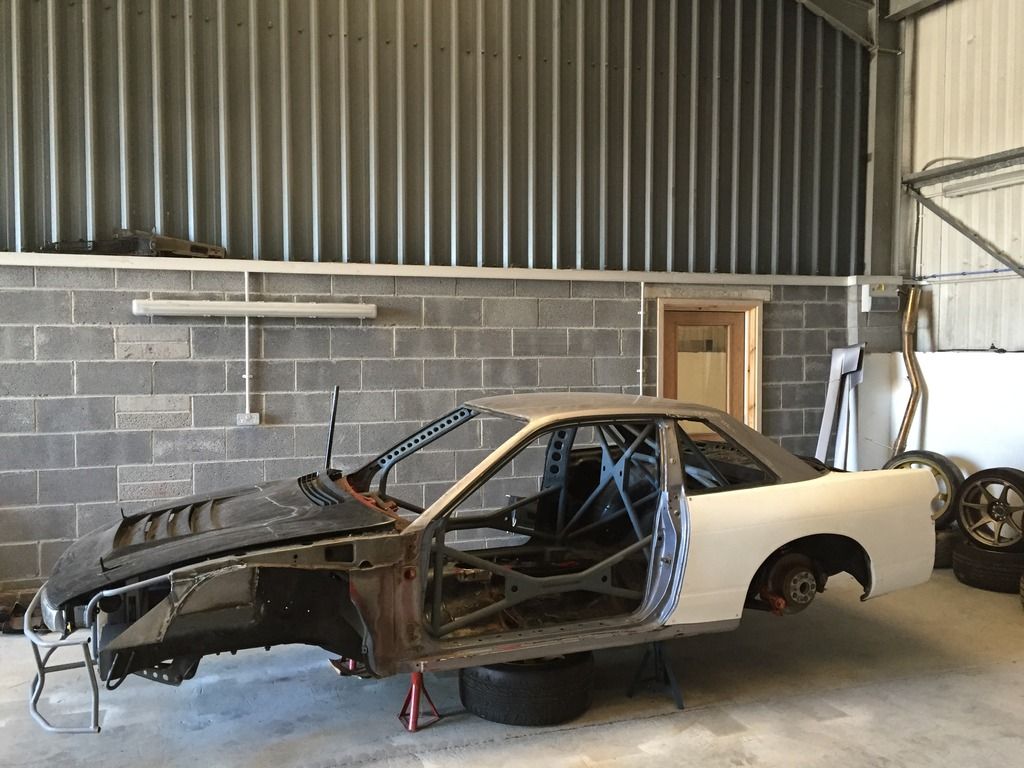 Looks like I've made a massive step backward, but now I can start prepping the car for paint and final fittings! Exterior colour is set, just a case of finding the rights shade for the engine bay and interior  |
|
|

|
|
|
#37 |
|
Leaky Injector
Join Date: Dec 2012
Location: Bristol, UK
Age: 30
Posts: 92
Trader Rating: (0)
 Feedback Score: 0 reviews
|
I’m all done with university now so that means I can get a few solid weeks on the car and try and make some progress here and there, and who knows maybe it’ll finally be in one colour!
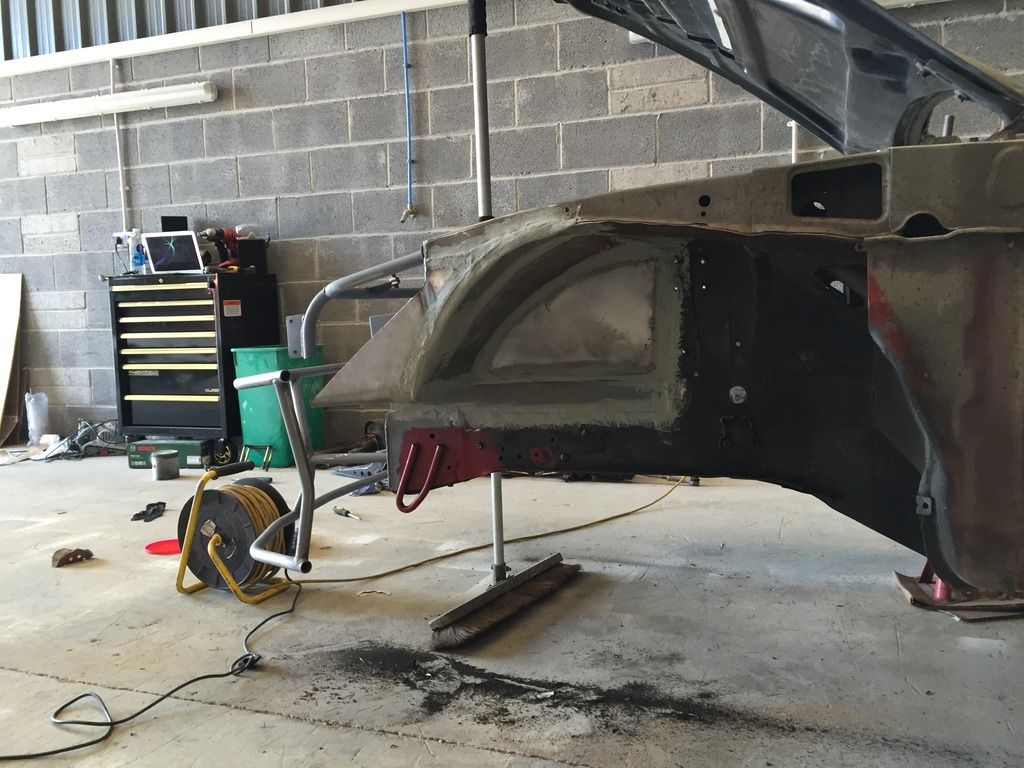 First things first was to seal those gorgeous tubs Huxley did for me, where I will try and re-underseal the front at some point to give them an extra bit of protection against all the grime that they’ll inevitably pick up on track. I went to remove the front bumper bar and all went smoothly until the happened  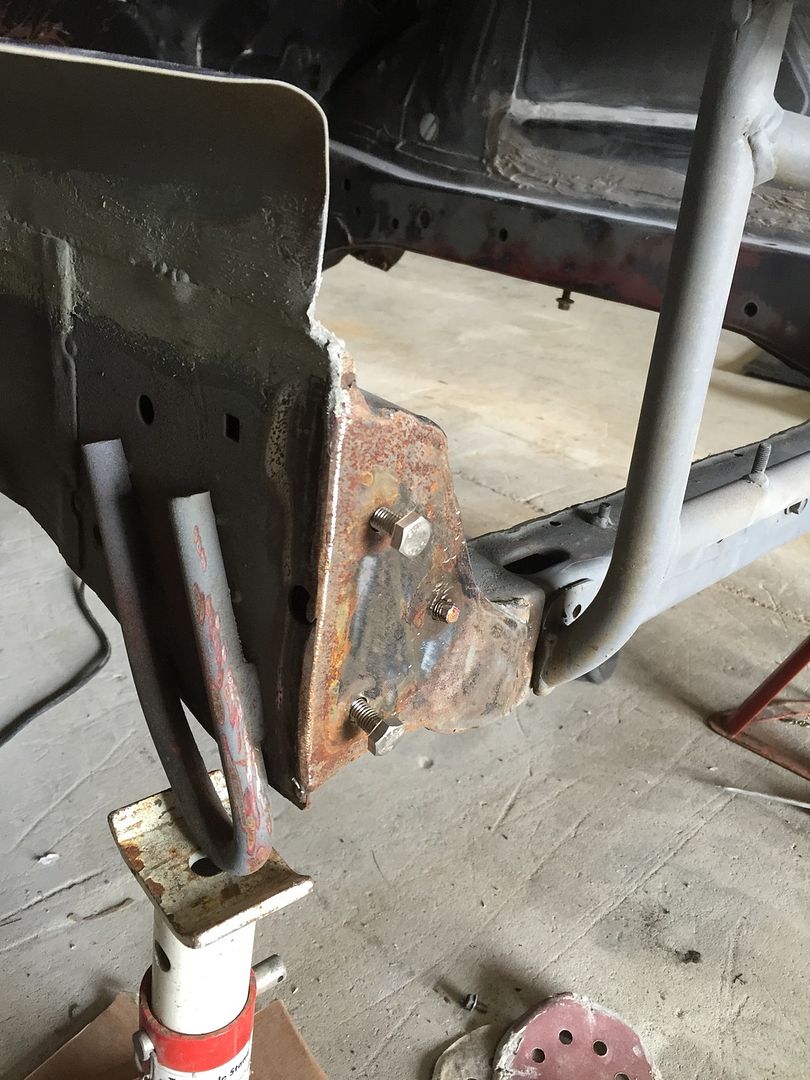 Bit of an odd occurrence as Hux used fresh hardware but nevermind, these things happen and I’ve always needed a Tap and Die set. I tried some heat and some pressure to loosen it off but it was having none of it, so outcame the grinder and removed the exposed threads, drilled a 6.8mm(?) hole and ran a tap through and all seems well. Probably not the strongest of threads but it only needs to hold the bash bar in place and support the bumper. 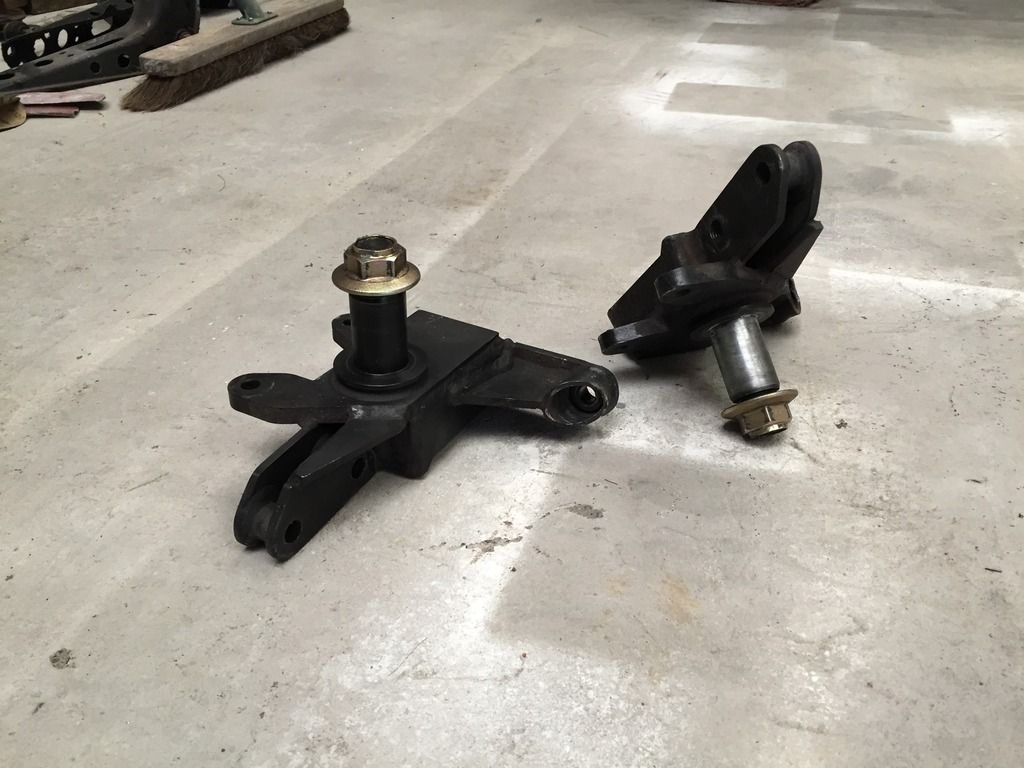 One thing that become apparent was the really fancy PBM Pro coilovers didn’t go low enough on the front for me. As far as im aware, this is because the Pro’s have a longer shock amongst other features. Ive always wanted to run a “fresher” setup up front as I never took the time to get the cut knuckles powder coated so always looked a tad messy. I almost bought a pair of Geomaster’s new, until a set popped up for sale on here, and luckily the guy was passing near me so it was a no brainer! Whilst everything is apart, I wouldn’t mind changing the front balljoints for piece of mind and I have a pair of brand new OEM wheels bearings to go on  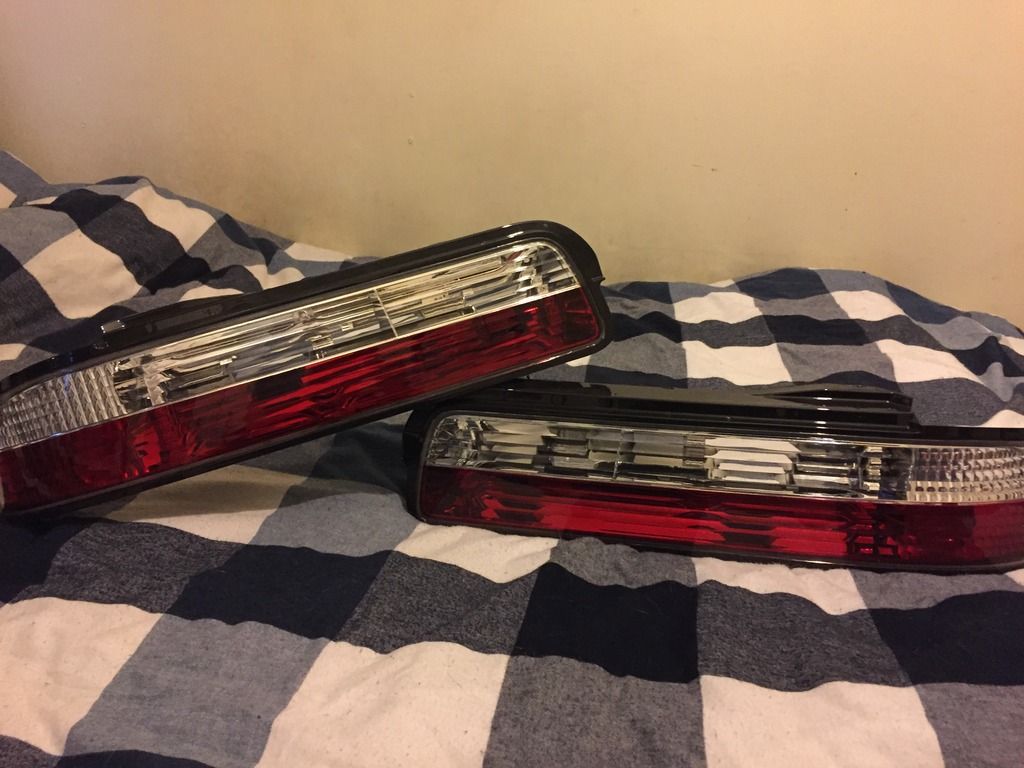 With the style I’m aiming for, the standard rear lights were never going to cut it. Thankfully Mitch put these up for sale, which were as good as new. The plan is to tint these all red, but I’ll save that job until the car is painted so I can double check exactly how each style will look. Worst care is the tint can always be removed  The SR/Z33 conversion is a bit of a mystery setup for those running fancy clutches like myself. My Twin Plate requires a special release bearing under a regular SR20 box setup, so this was the mystery to my as the standard procedure is to use the Z33 fork and pivot setup along with an SR20 sleeve and release bearing. 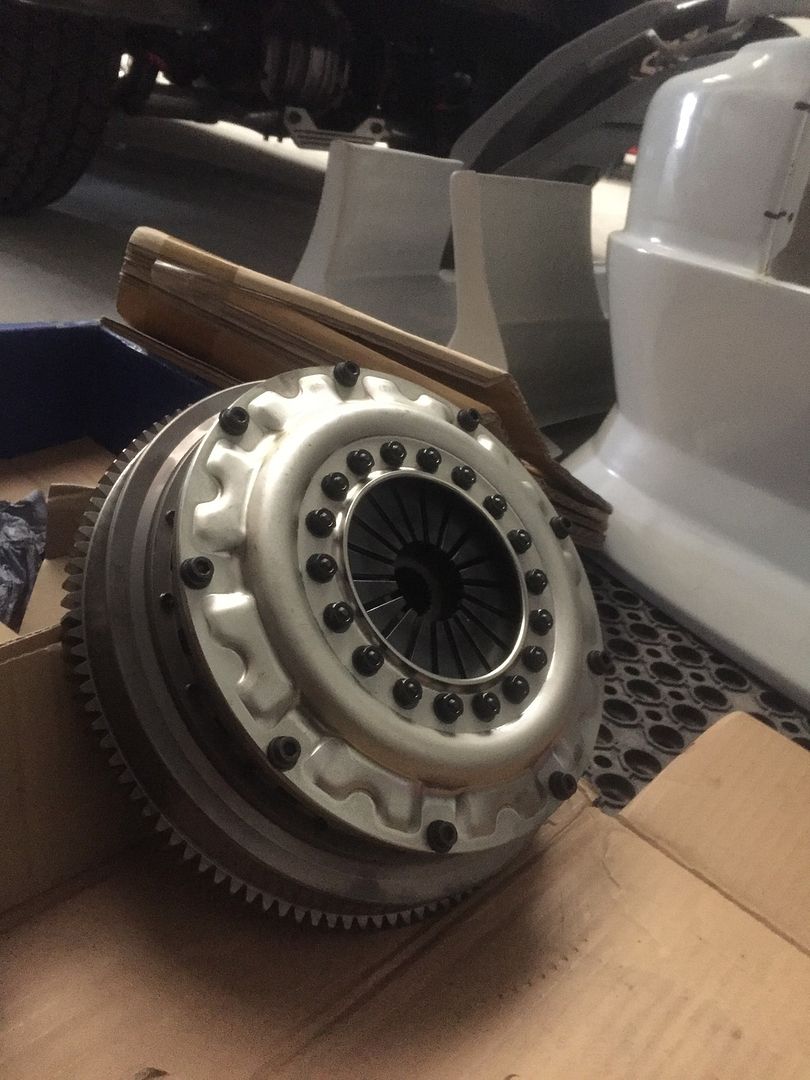 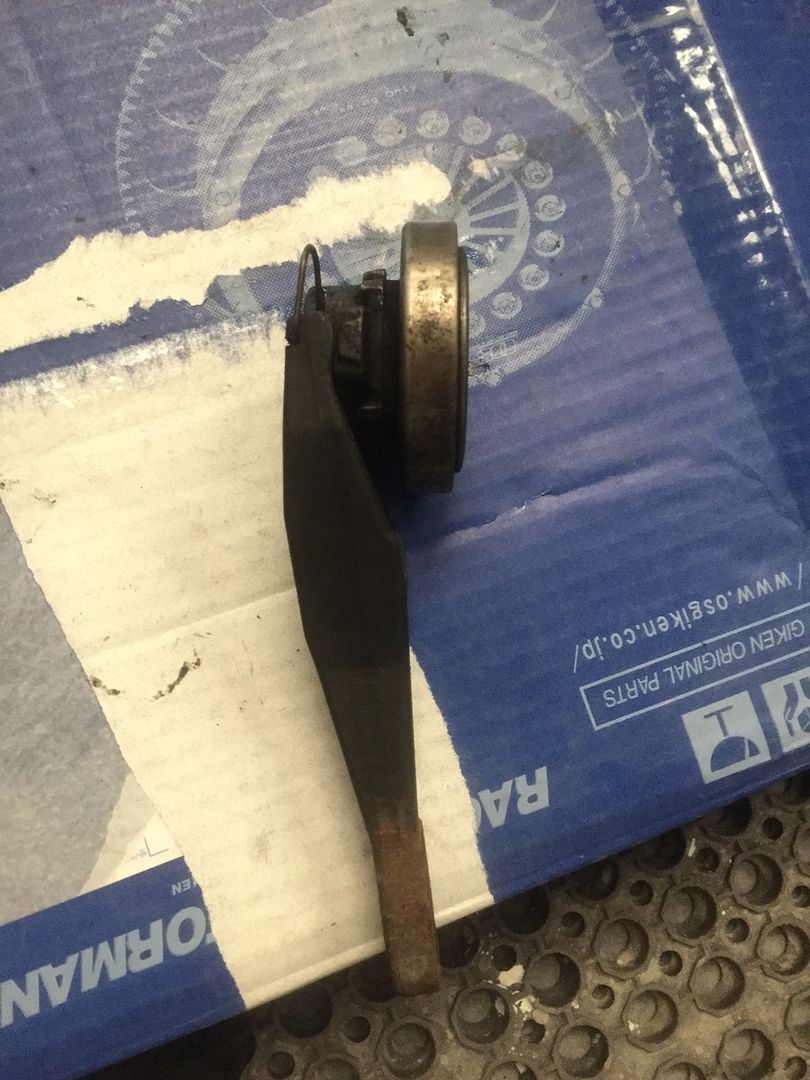 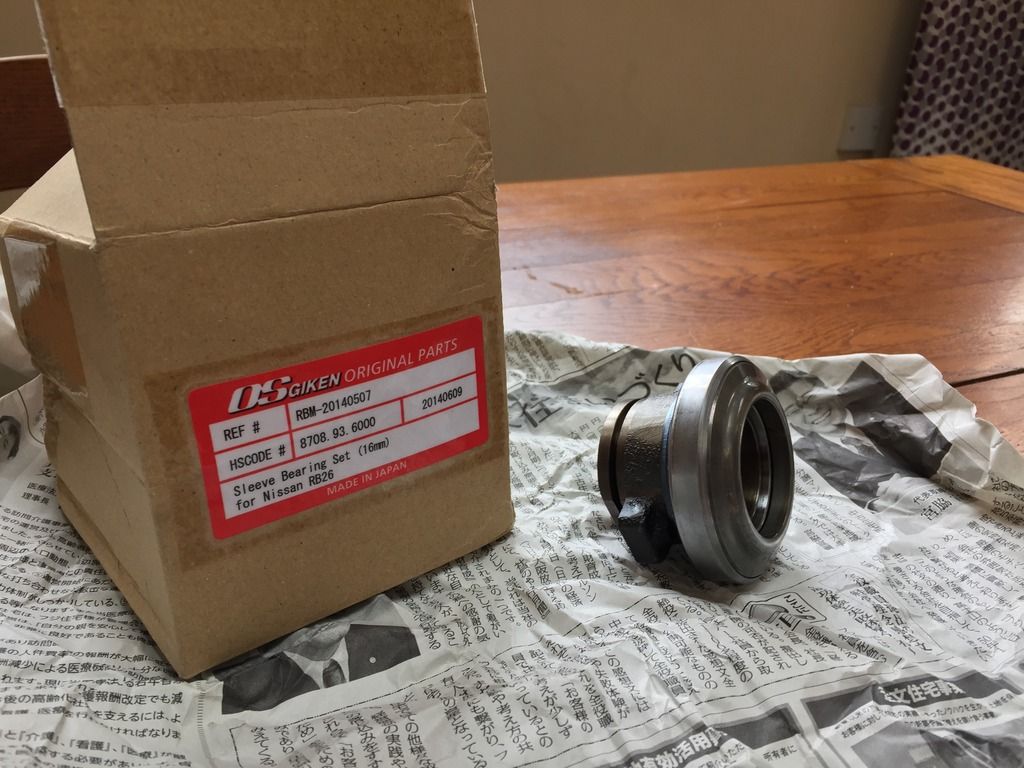 After scouring the OS Giken manual’s a number of times and searching the internet I decided to give the guys R B Motorsport an email as they are the UK OS Giken dealers. Luckily he had a 16mm release bearing and sleeve combo in stock, which is what OS Giken recommend for my clutch, so fingers crossed this works first time. For those with a keen eye, you’ll notice the bearing has a slightly different design to a regular release bearing, which supposedly should make the twin plate have a slightly easier pedal feel. 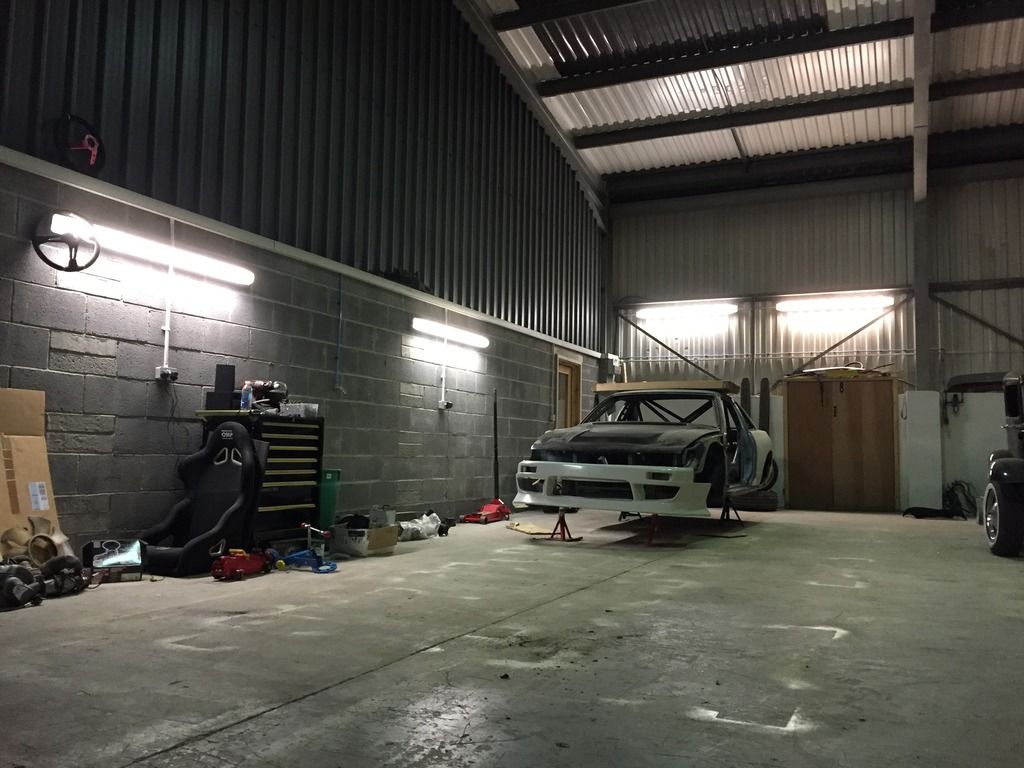 Cant walk away without having another look, the car has so much potential its unreal. 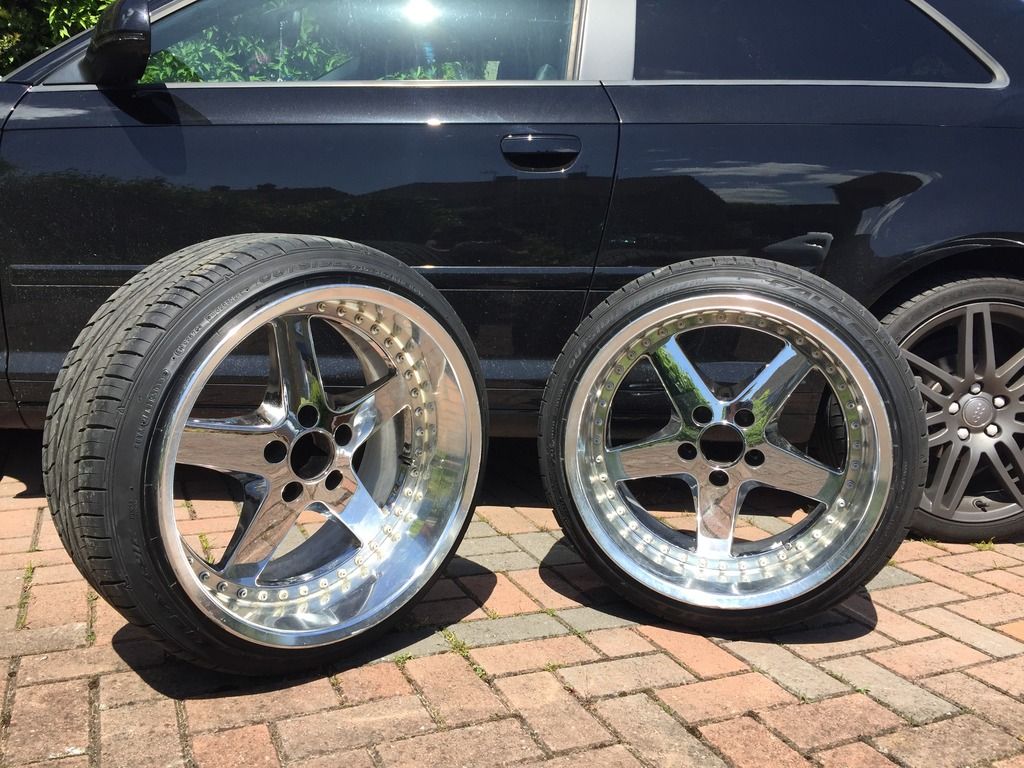 After weeks of studying everyday, I needed something to motivate me a bit more so had to make a lil’ purchase, and what better way than a pair of Work Equips?! These popped up on here, and were advertised as 18x10.5 -5, although I have a suspicion they may have an offset of around 0 after a quick measurement but I’ll double check that in the future. The guy I bought these off had an immaculate PS13 too, which was a spitting image of how I would run the car styling wise if I had chosen BN Sports originally. 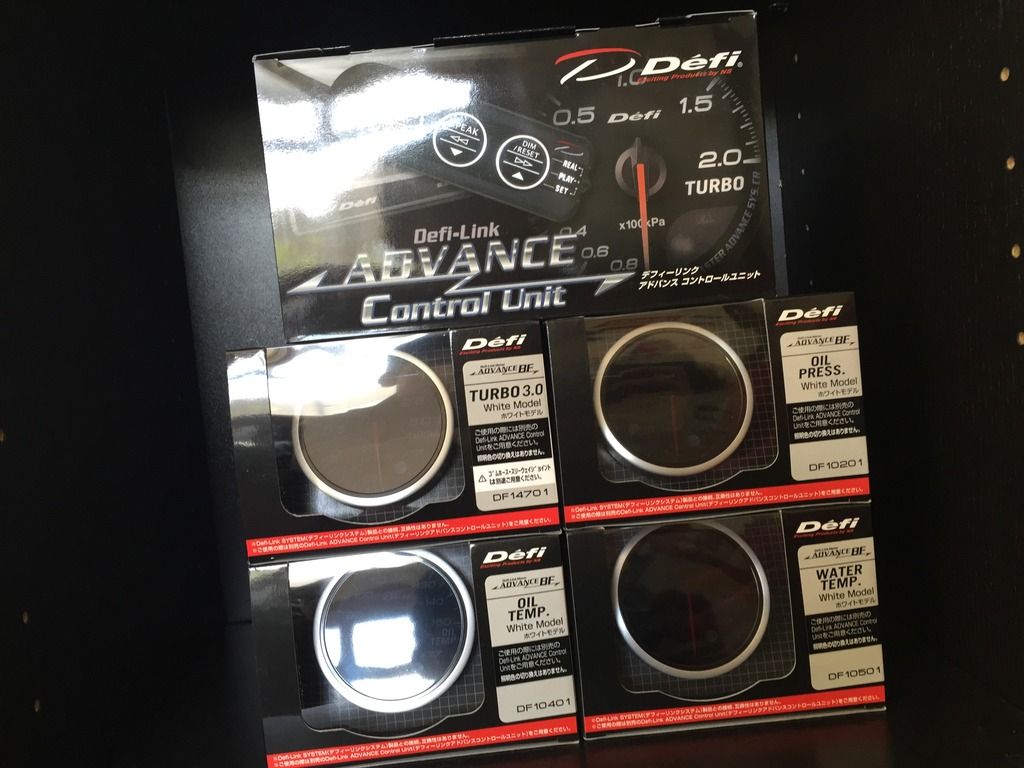 I ordered these a while back from Jesse Streeter, but Defi had stock issues surrounding the boost guage. Its not as if I’m time constrained, but the wait was worth it. The boost guage reads up to 3bar rather than my preferred choice of 2bar, but it’ll work just as good. It’ll just look like I’m not running an manly boost  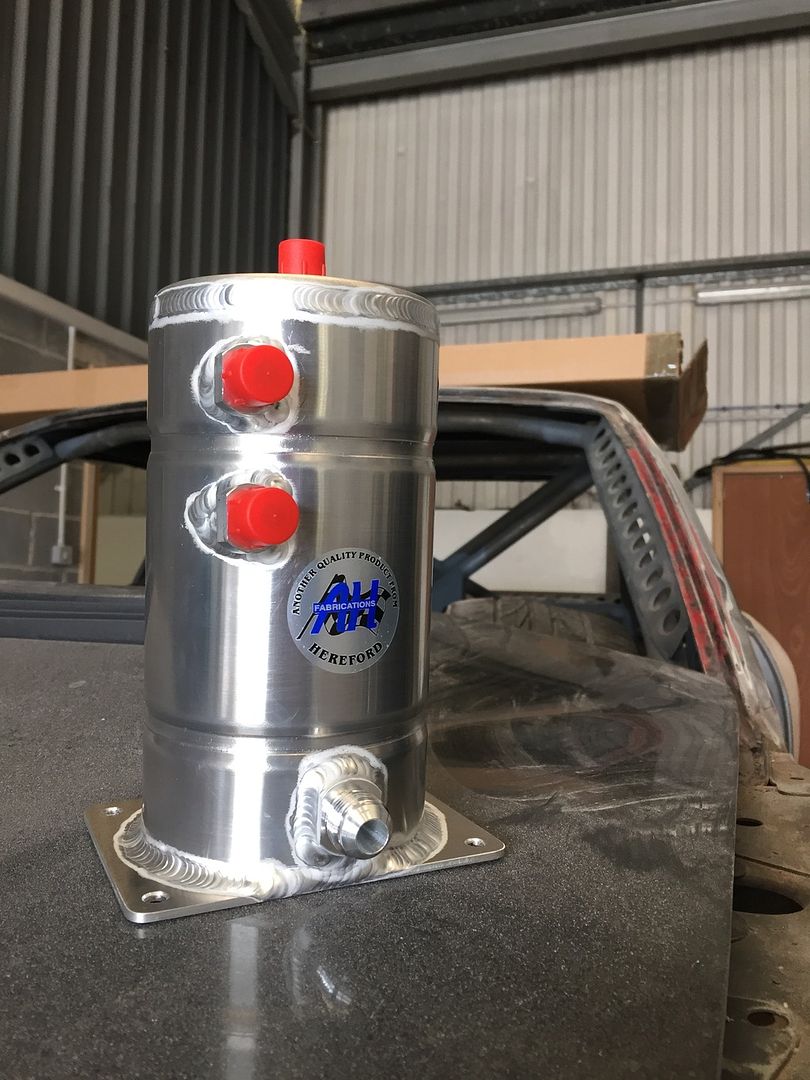 I’ve been planning to run a swirl pot setup for the fuelling side of the build, but there are so many options and with something as important as the fuelling, I wanted to shy away from the generic eBay swirl pots and have something that’s quite sturdy. I’m planning on making some sort of firewall, should something come loose, at least there is some element of protection between me and the swirl pot. 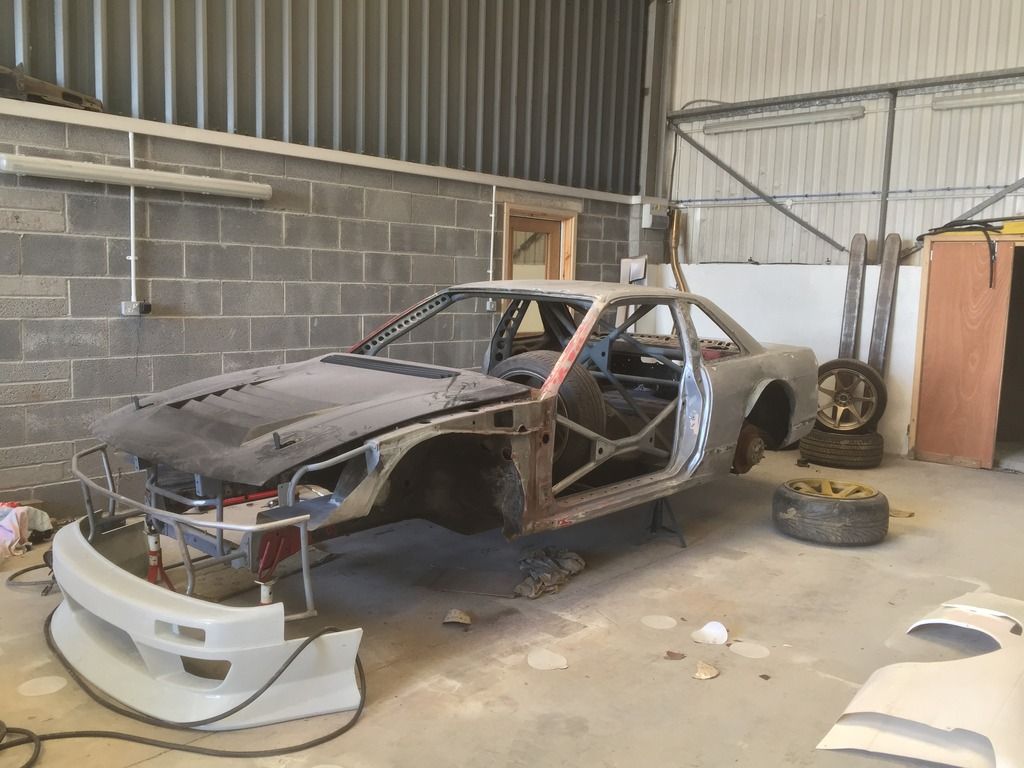 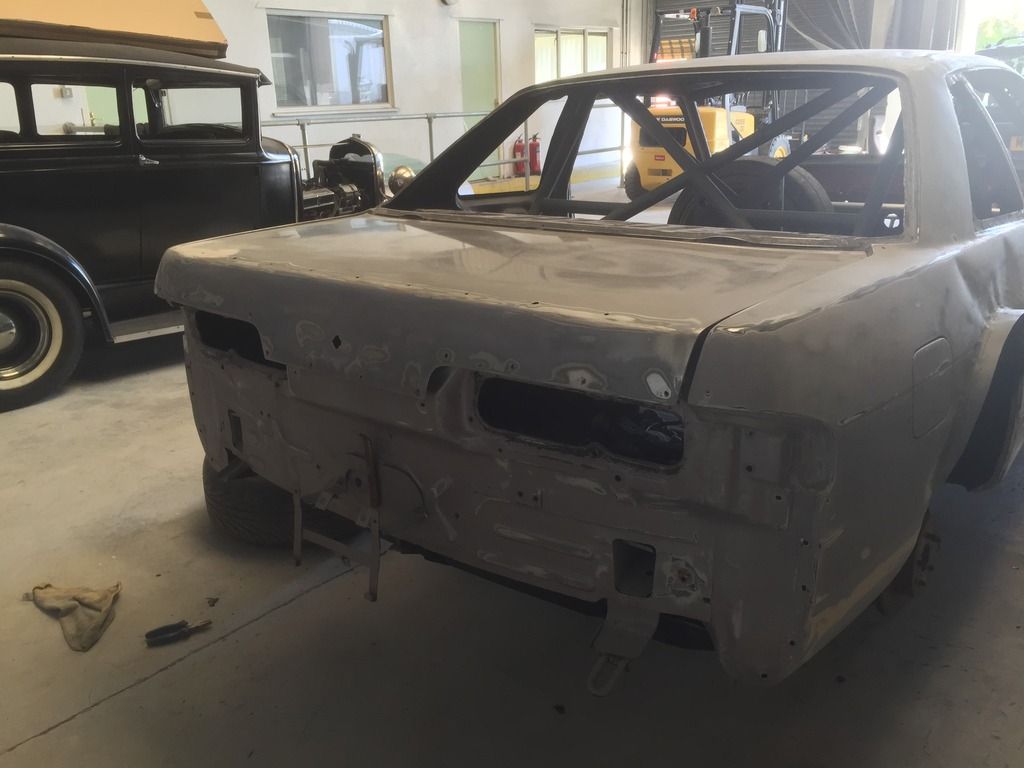 Over the past few days I have been concentrated on the bodywork, as I’m desperate to get the car in its colours so the final build can commence. I’m itching to drive so badly, and I want to hear my godly SR  Jesse Streeter once again came to the rescue and sourced me a pair of D-Max rear wings. I loved the rear wing on my old S13, so had to carry on that aspect of styling onto the new build. 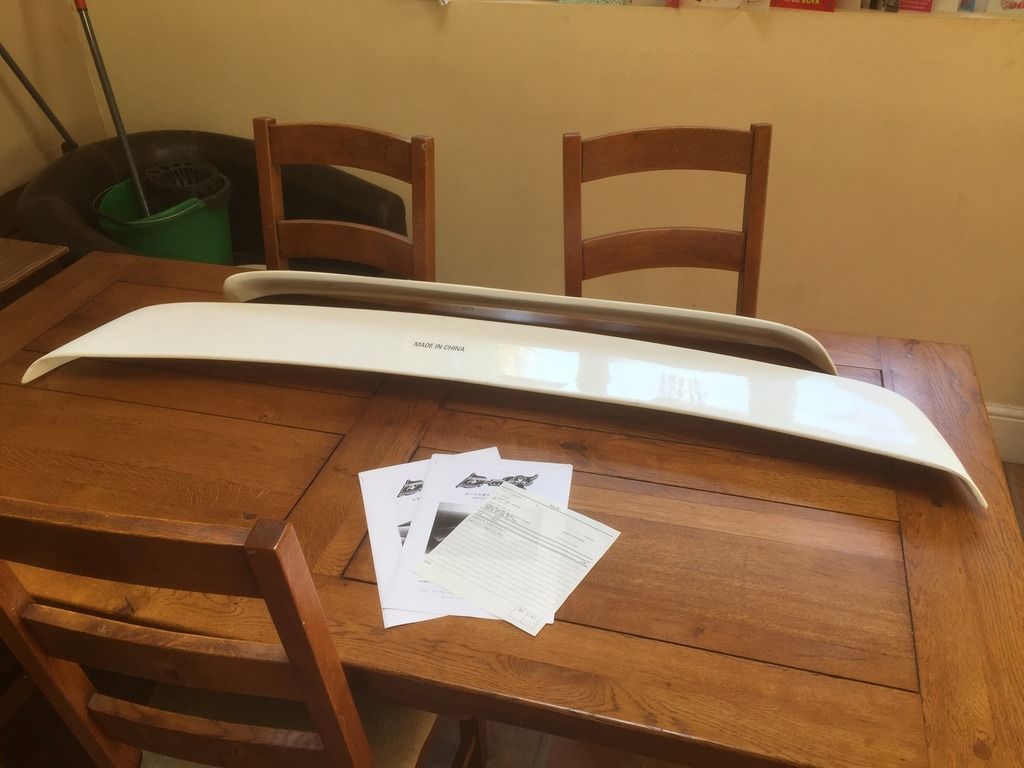 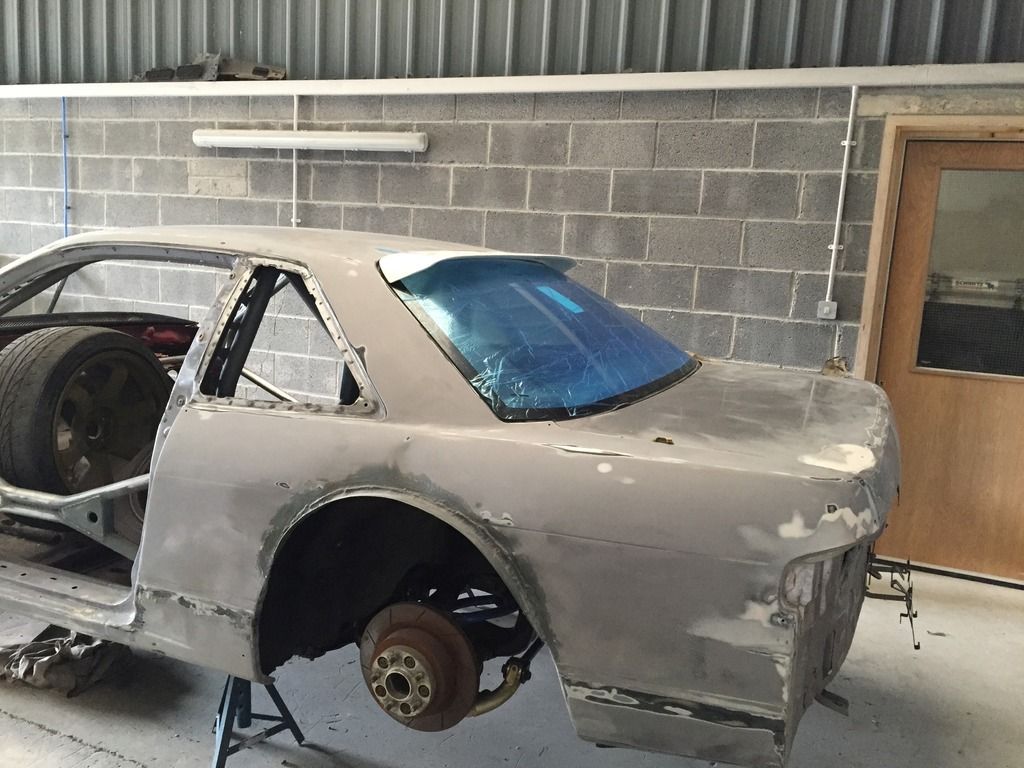 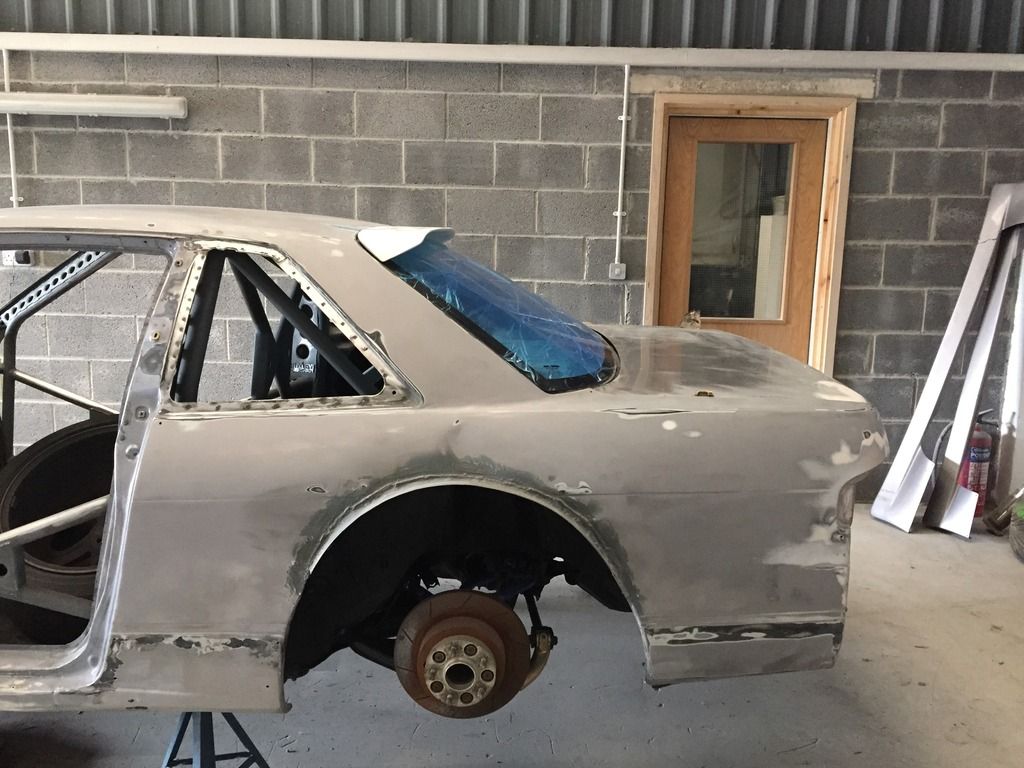 Plastics4Performance sorted out plastic rear windows for me, where the quarter & rear windows will now be Lexan. The original glass is in dire condition in regards to small marks, poorly tinted etc and one important aspect of styling is decent looking glass! The front windows however will remain as glass. I did think about replacing the door windows but cant stand looking at windows that deform under high speeds, plus I wouldn’t mind retaining electric windows. 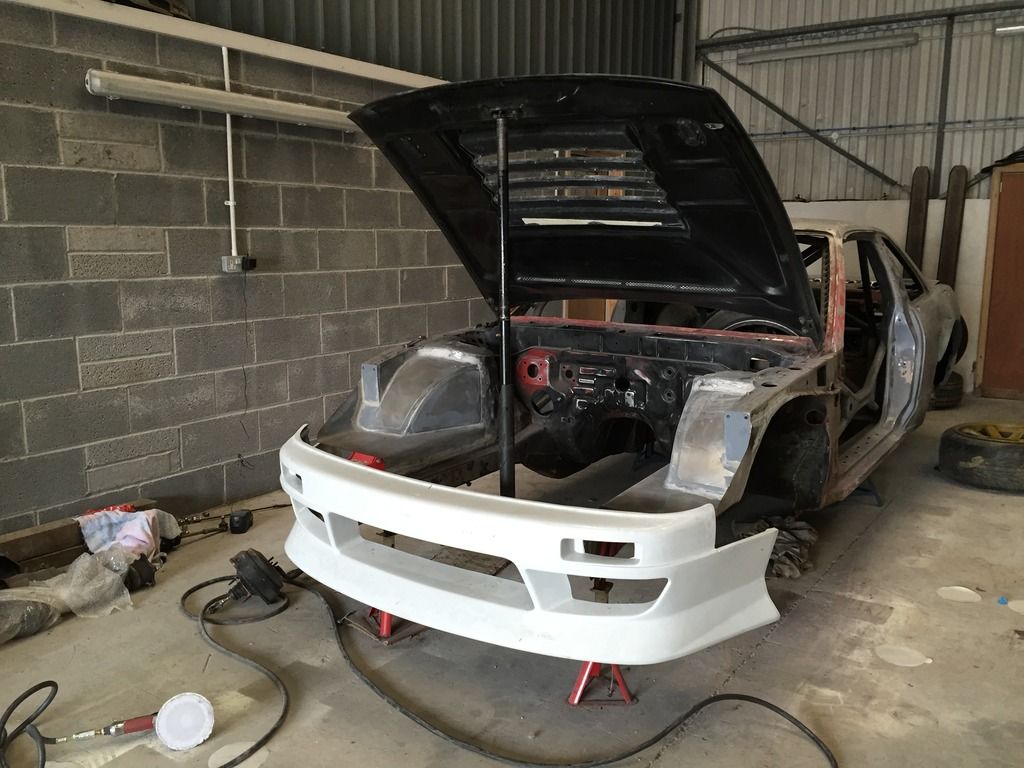 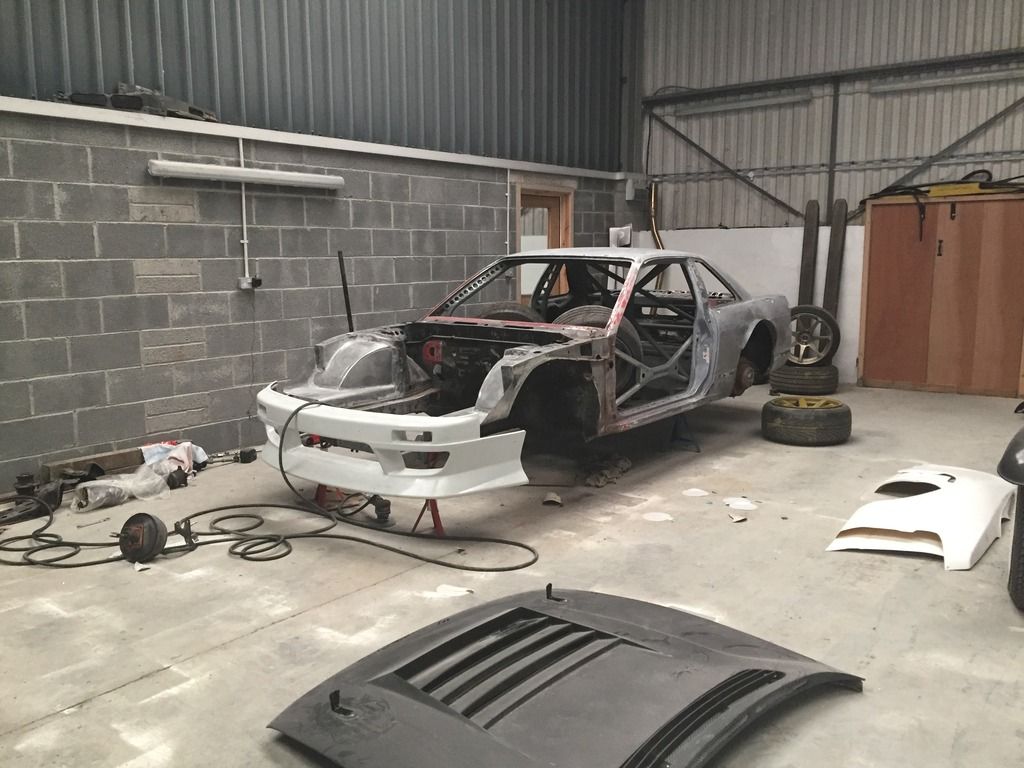 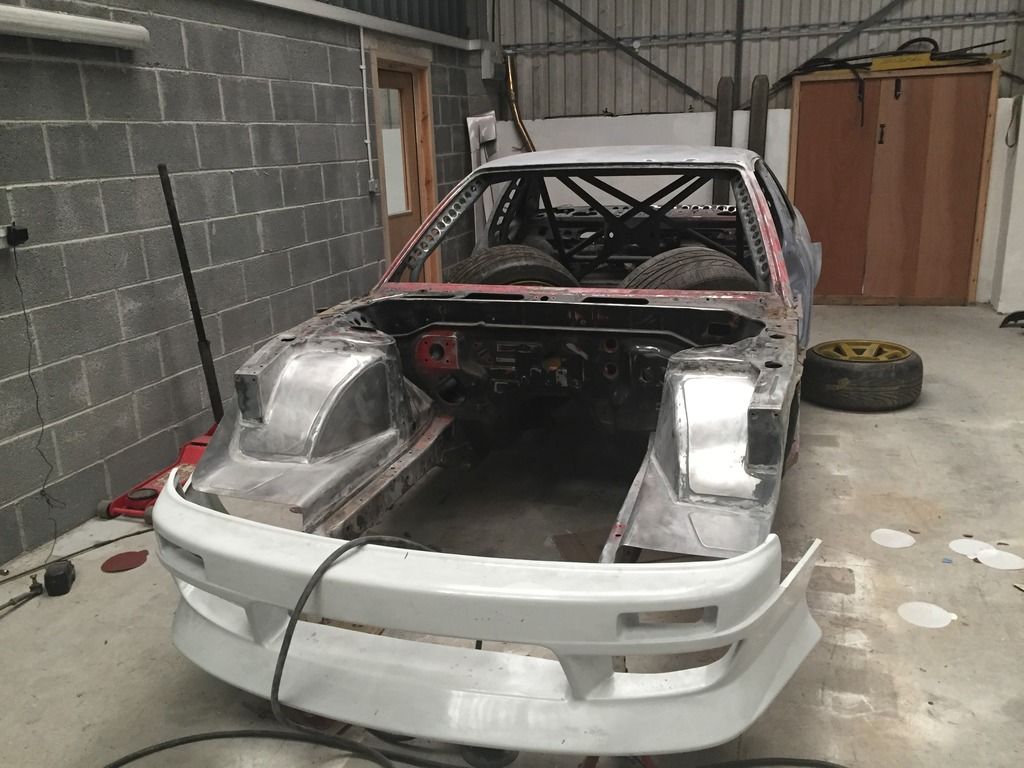 And that’s how the car was looking when I left it yesterday. Still needs a fair few more hours on body and interior prep, but I should probably start thinking about the engine bay/interior colour as the exterior colour will be easy to source. What impressed me was how the front bumper sat just resting on the bumper bar, a true testament to Hux’s workmanship. I’ll try and grab a photo of how the bar sits inside the bumper. Atleast I wont suffer from that horrible bumper sag. |
|
|

|
|
|
#38 |
|
Leaky Injector
Join Date: Dec 2012
Location: Bristol, UK
Age: 30
Posts: 92
Trader Rating: (0)
 Feedback Score: 0 reviews
|
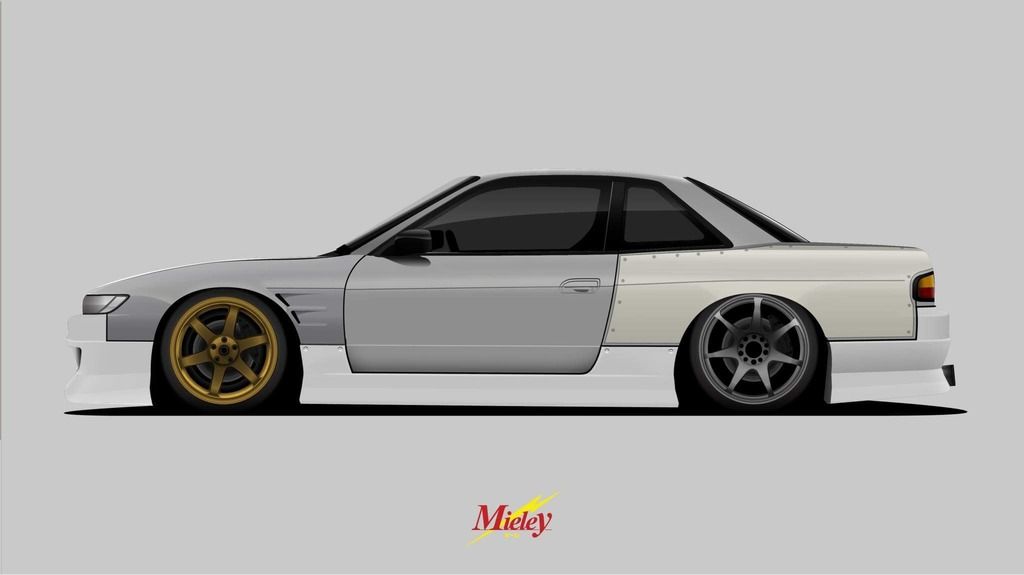
Not alot of progress has happened as it is just constant prep work. Vincent from T Works Automotive knocked up a cool little illustration of how the car looked all mis-matched:
 Finally got round to mounting the bumper properly with good old cable ties. Thankfully these are mainly just to hold it where it and pull the wings out a tad as the bumper bar takes all of the weight  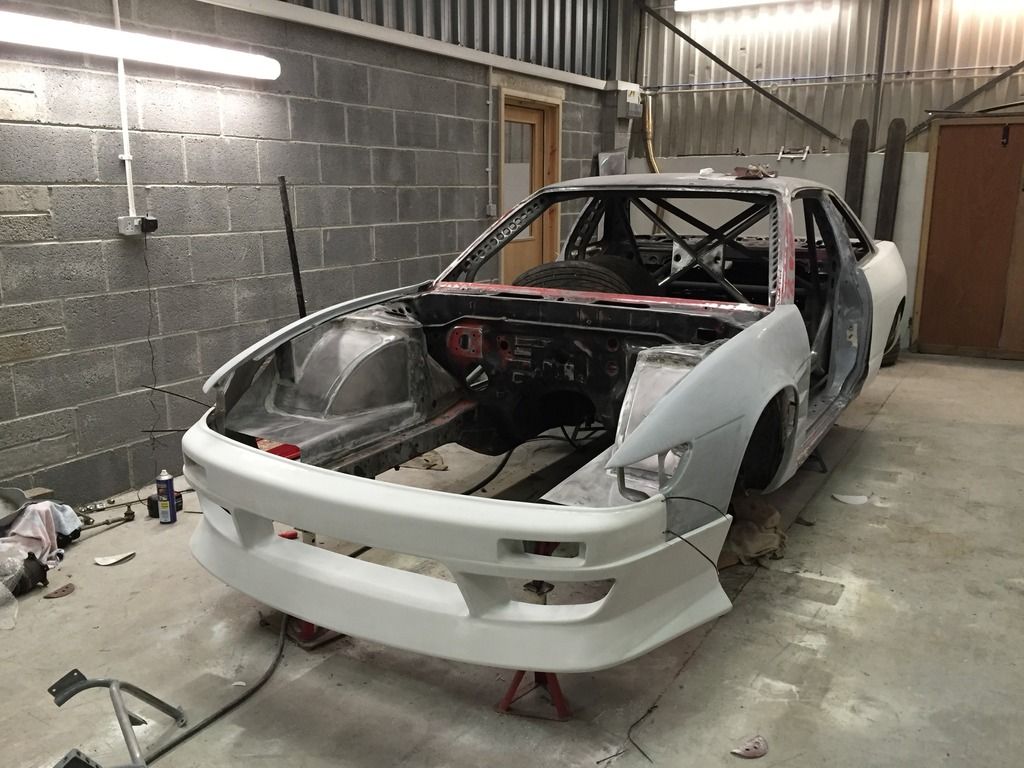 Amongst constant sanding, I mounted the D-Max rear wing earlier with Tiger Seal so I'm hoping it doesn't come flying off anytime soon as it certainly did the trick on my old S13 hatch. 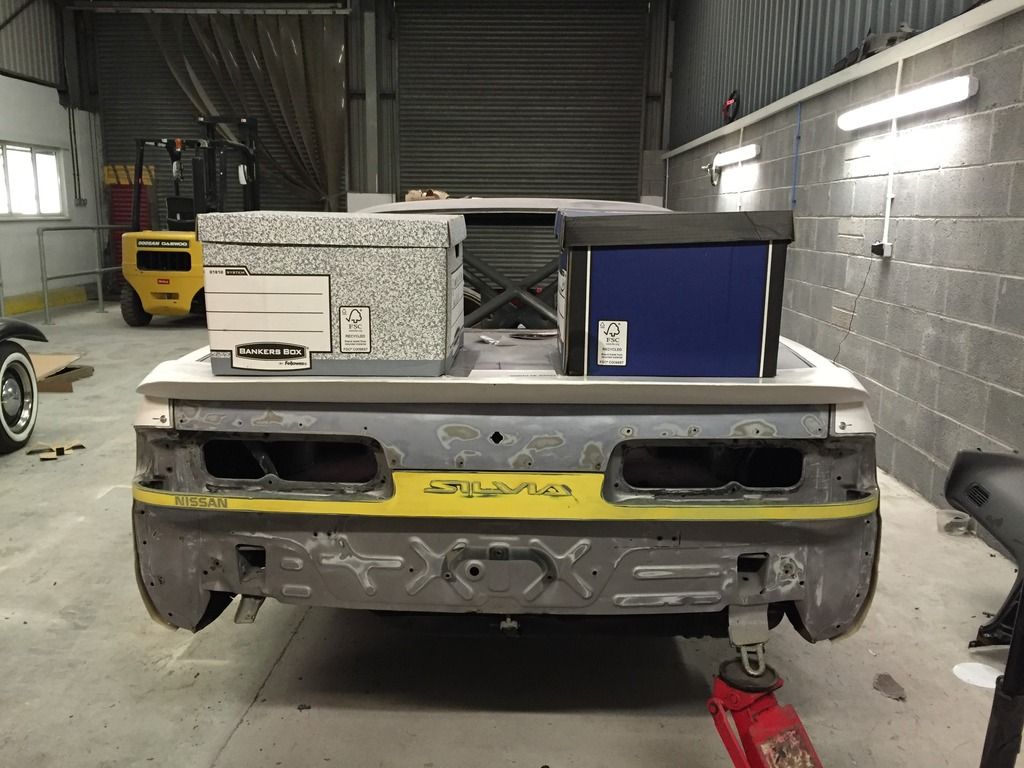 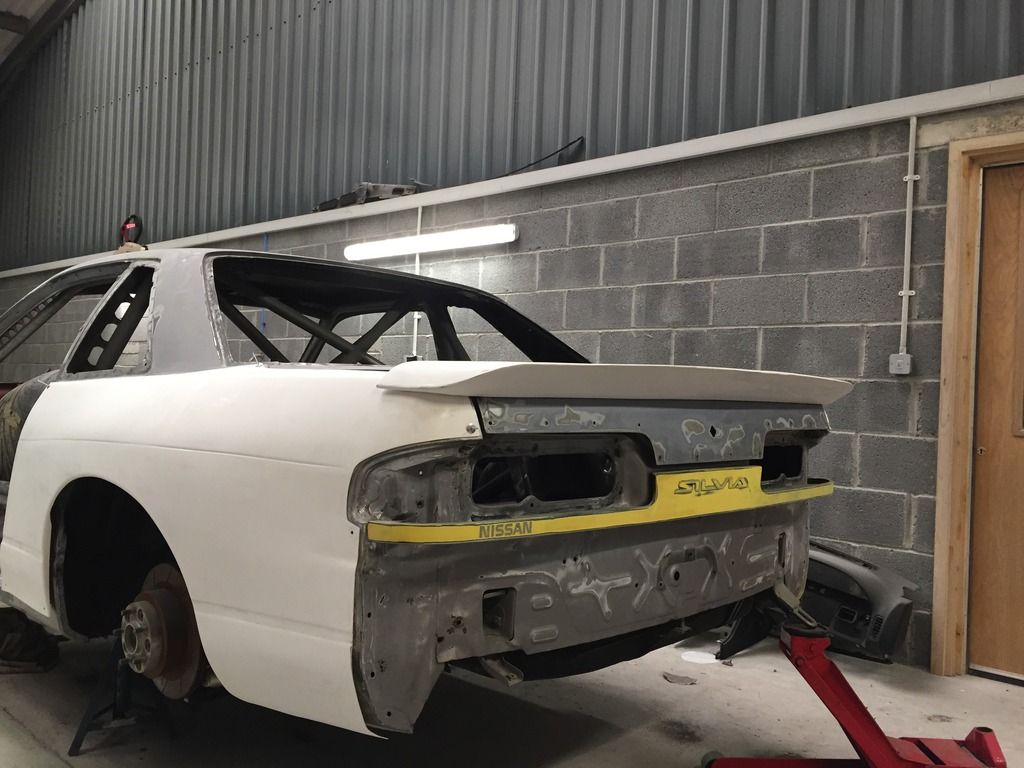 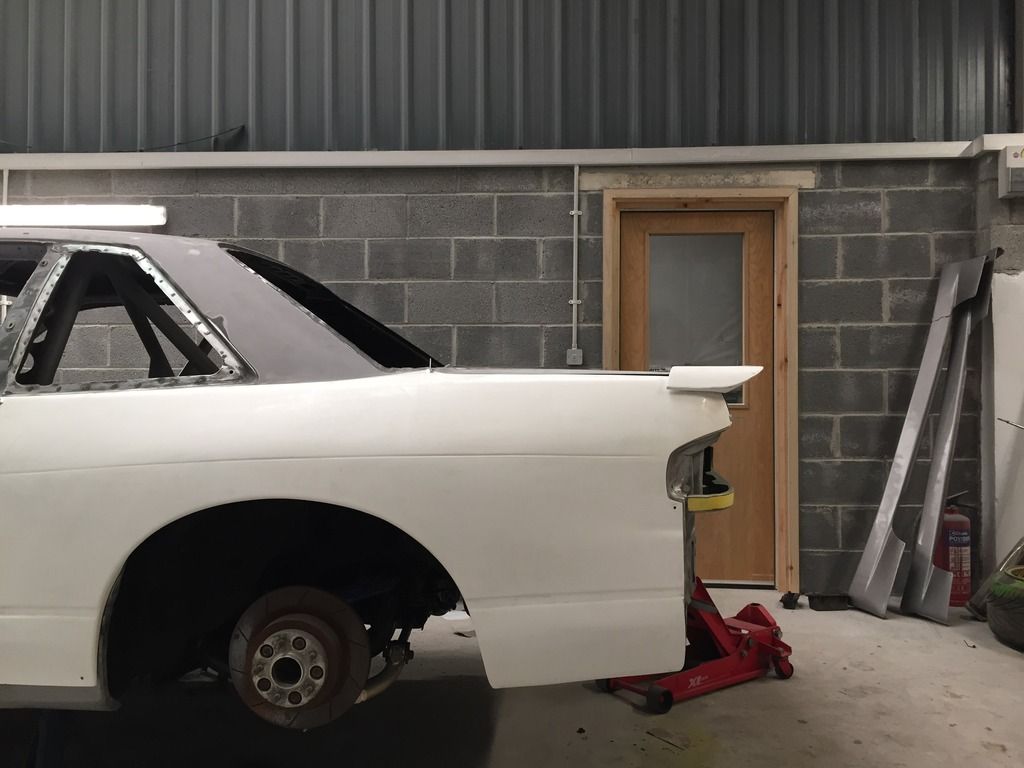 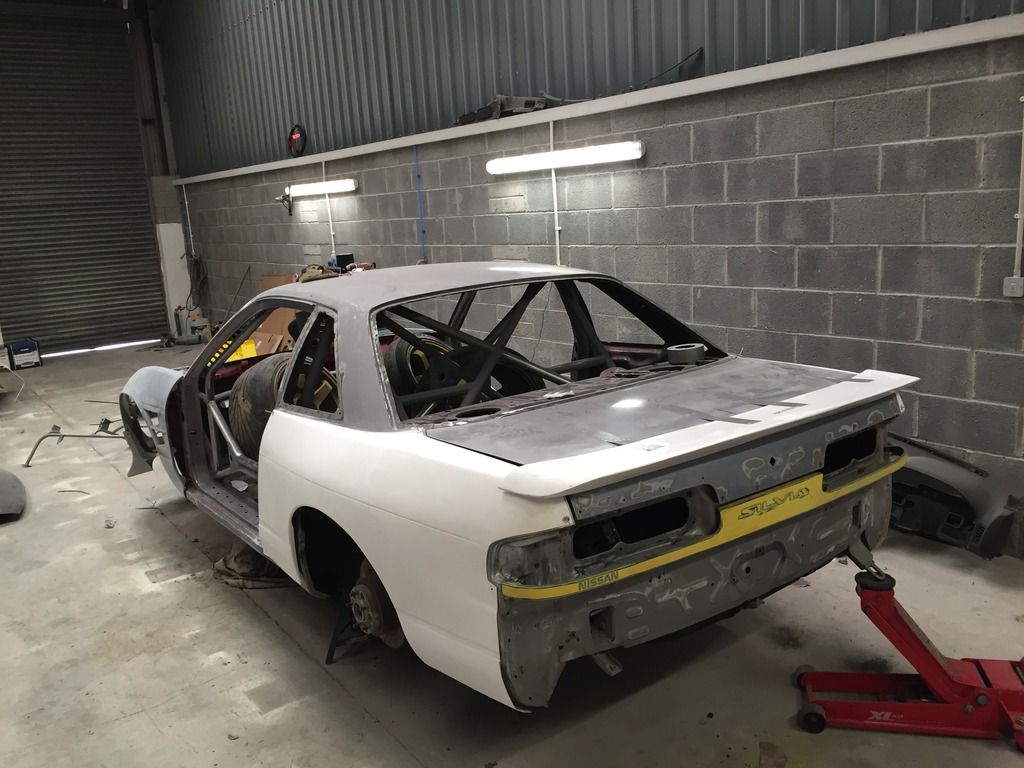 The fitment is okay, but I've allowed the end to bow a little bit in order to give clearance to the over fenders, which fingers crossed will save those annoying patches of rubbed paintwork. And here is how the interior is currently looking, with a few more hours required until I'm satisfied that its ready for primer and paint. Which brings me onto the point I'm not sure what colour the interior will be, I'm hoping to find a nice shade of a metallic Gun Metal Grey which will also be used for the engine bay too. 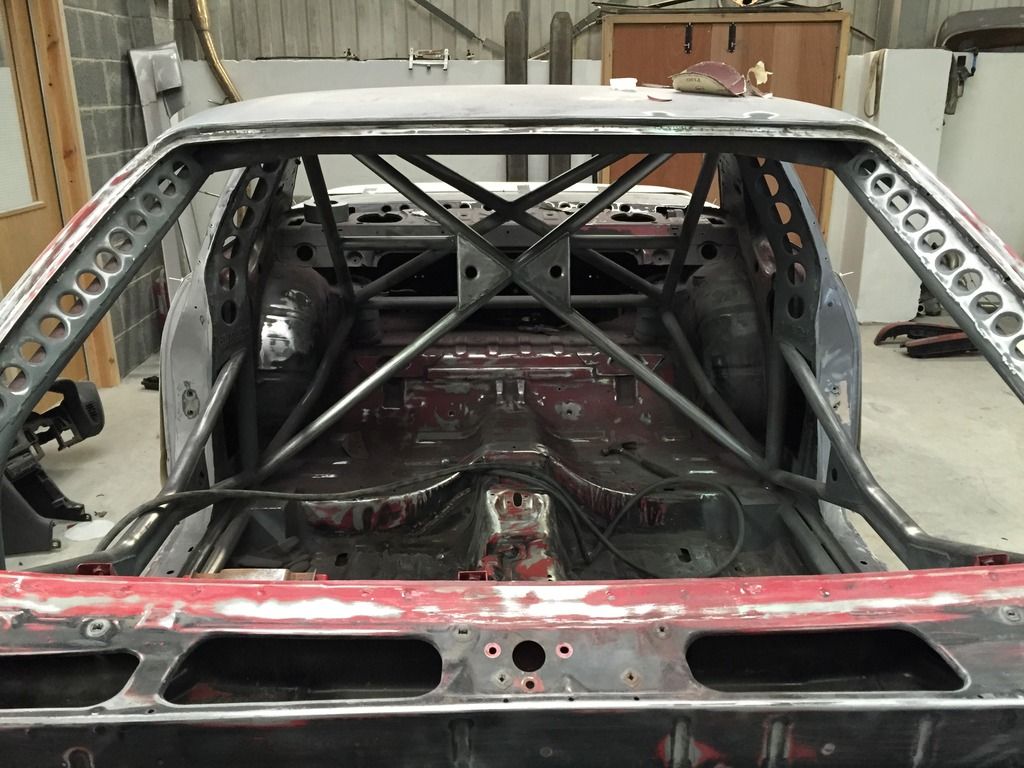 Amongst prep work I saw this and thought it was cool, if only I would sand the tags back to raw form once painted, but that does seem like alot of effort  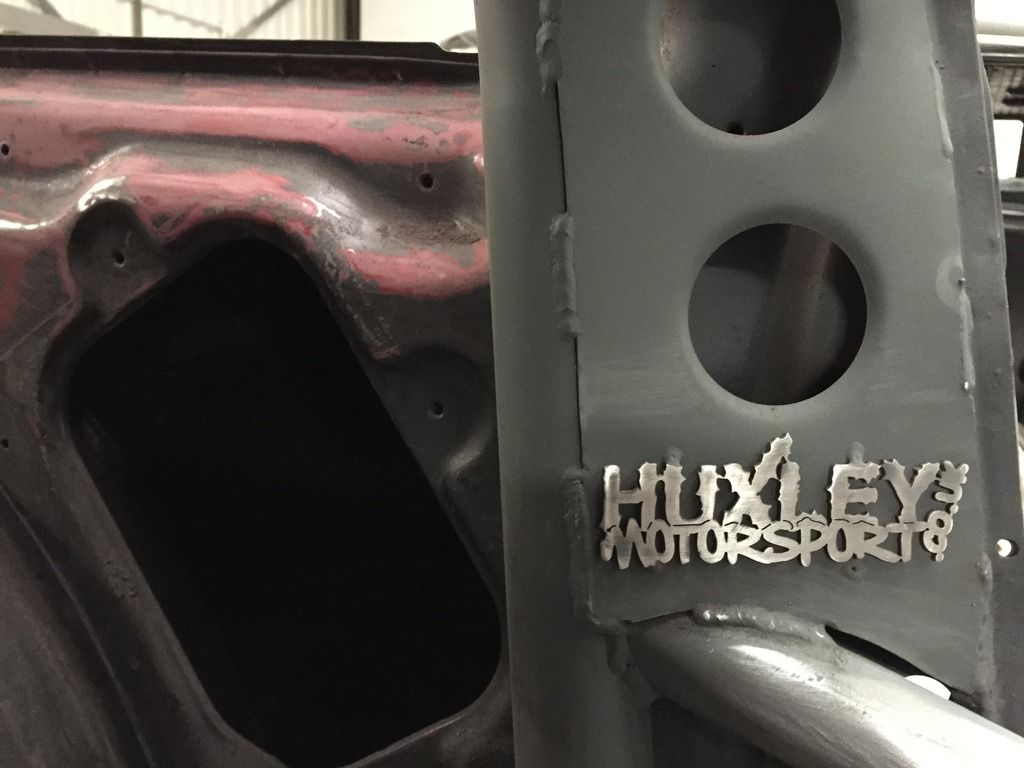 Finally decided on some engine mounts too, as it was about time to ditch the god awful Japspeed mounts for something better on the fresh engine, which fingers crossed should be turning up asap. Alas - my Vibratechnics engine mounts turned up  The quality of them feels unreal and unlike any other engine mounts I've seen, but time will tell whether they are any good or not. I opted to go for the "Drift Max Pro" or the Competition version as the price difference was negligible, and a friend used to run them and appeared to praise them. The quality of them feels unreal and unlike any other engine mounts I've seen, but time will tell whether they are any good or not. I opted to go for the "Drift Max Pro" or the Competition version as the price difference was negligible, and a friend used to run them and appeared to praise them.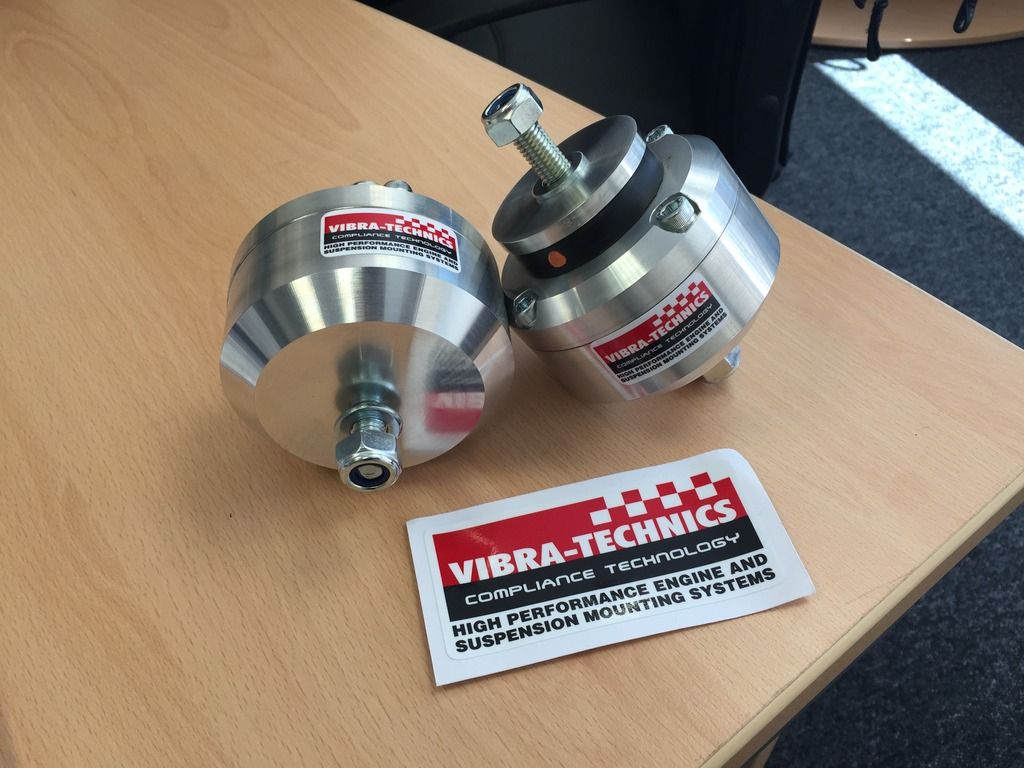 The engine mount brackets on the SR were looking rather tired and quite frankly, ugly. So a quick freshen up was required; with an initial cost of Zinc primer after being rubbed down and degreased. 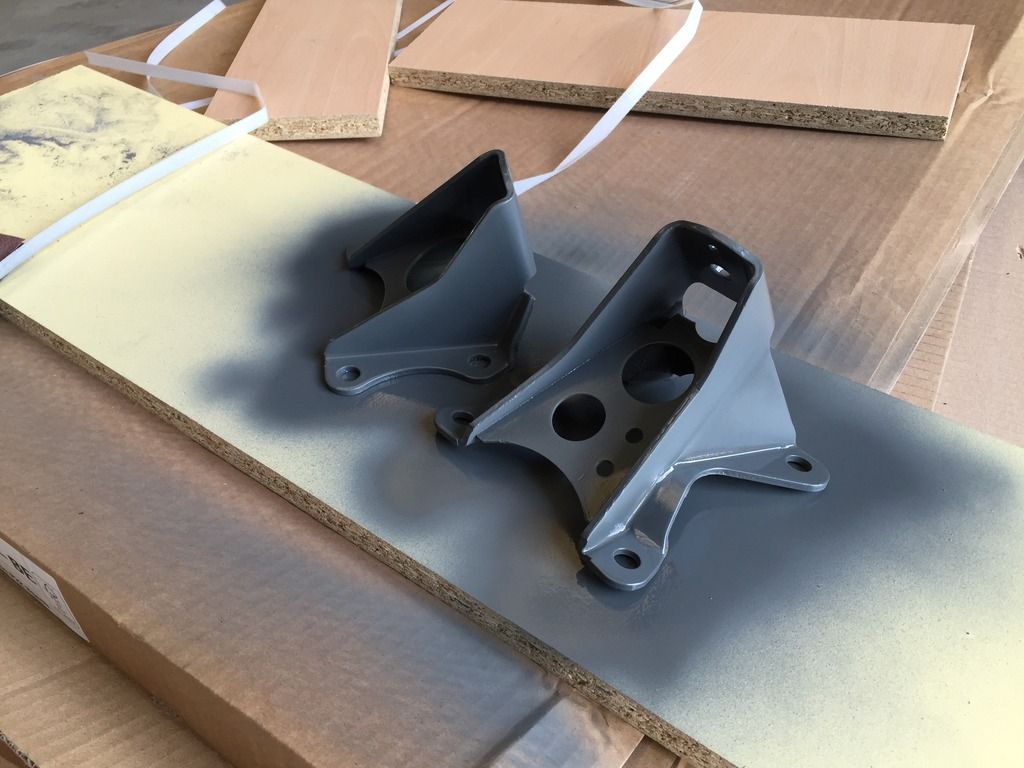 I settled for a quick coat of Satin Black as opposed to a metallic silver I had lying around, more so for that OEM look and aesthetically breaks the engine up a bit. 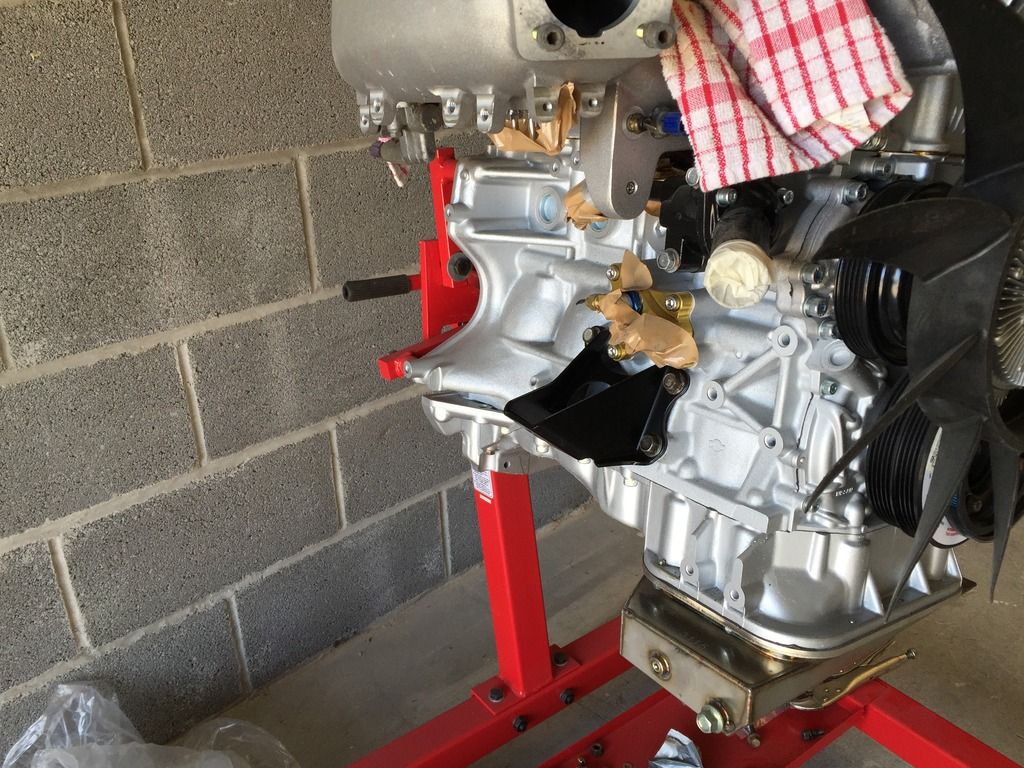 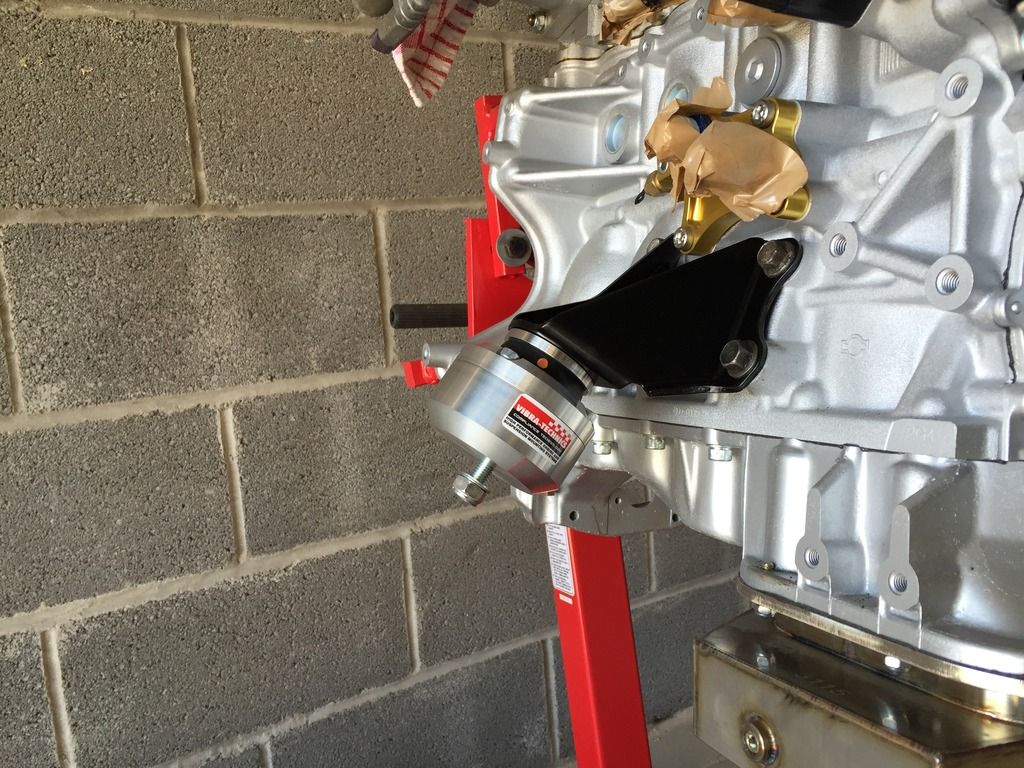 Whilst I was fitting the engine mounts, it was a lovely day so opted to grab a quick photo of the SR, it seems I can't quite get enough of it! 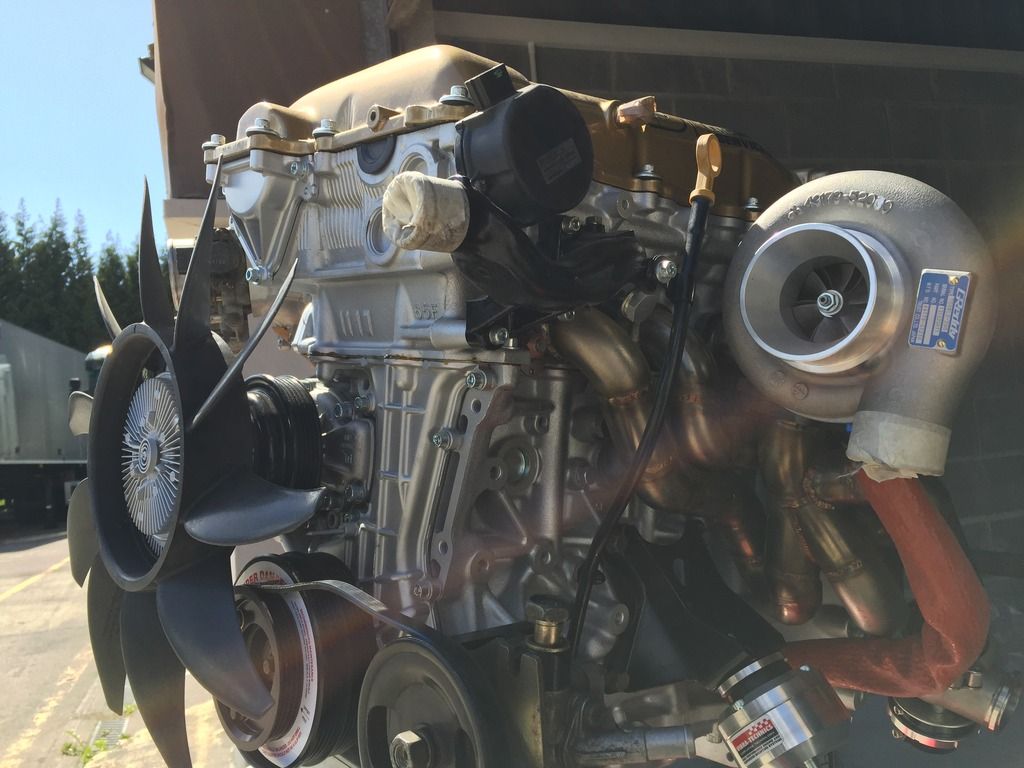 Before the car gets painted, I wouldn't mind getting the position of the fuel pump and swirl pot finalised, so any cutting can be done prior to painting. This will be my main task for tomorrow amongst further prep work, but from the initial looks an S13 fuel tank location and direction of the inlet/outlets makes it a bit trickier to ensure the lines are free from any kinks. So I finally bought the fuel pump, where I have opted to run a tried and tested setup, in regards to a Bosch 044 as an external pump, where I'll run a fresh Walbro 255 or similar as a lift pump. As with most things, the difficulty with the Bosch's is the shear number of fakes floating around, and with something as important as the fuelling, this was something I really wanted to ensure a genuine part was used. Luckily, Torques UK came to the rescue being a Bosch dealer, so it was an brainer for me, considering their knowledge of AN type fittings, I'm sure I'll be place another (yet expensive!) order in the future for a number of fittings. Anyhow, this promptly arrived; 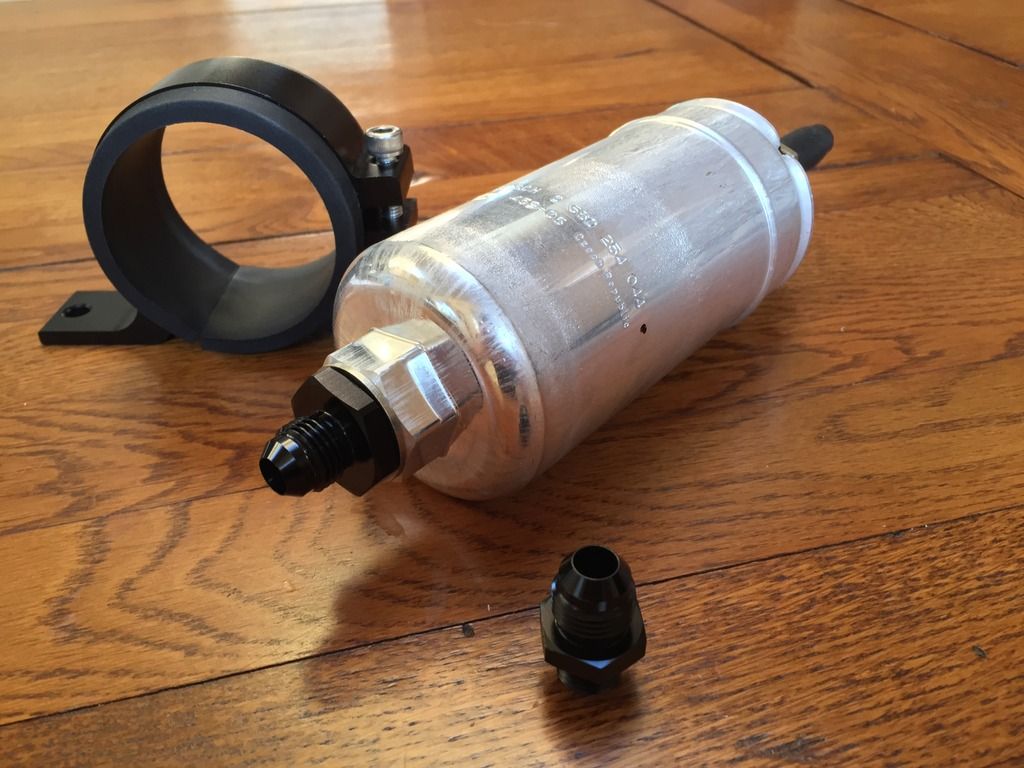 Bosch 044 with an AN -8 inlet to match the swirl pot, with an AN -6 outlet to match the SR's fuel lines, perfect! Oh, and got a cool cradle to hold the fuel pump  Since the last post, I’ve officially graduated from university with a First Class degree which im stoked with considering the amount of work I put into the final exams. Anyhow, this kinda gave me some motivation to crack on with the car. One thing I wanted to sort out before paint was the positioning of the fuel lines as they come out of the tank and enter the swirl pot. Basically, those who are familiar with the S13 setup, they sit below the opening, meaning they can’t just go upwards without creating a large kink. So, after some thinking the best thing to do was to trim the car to suit them! 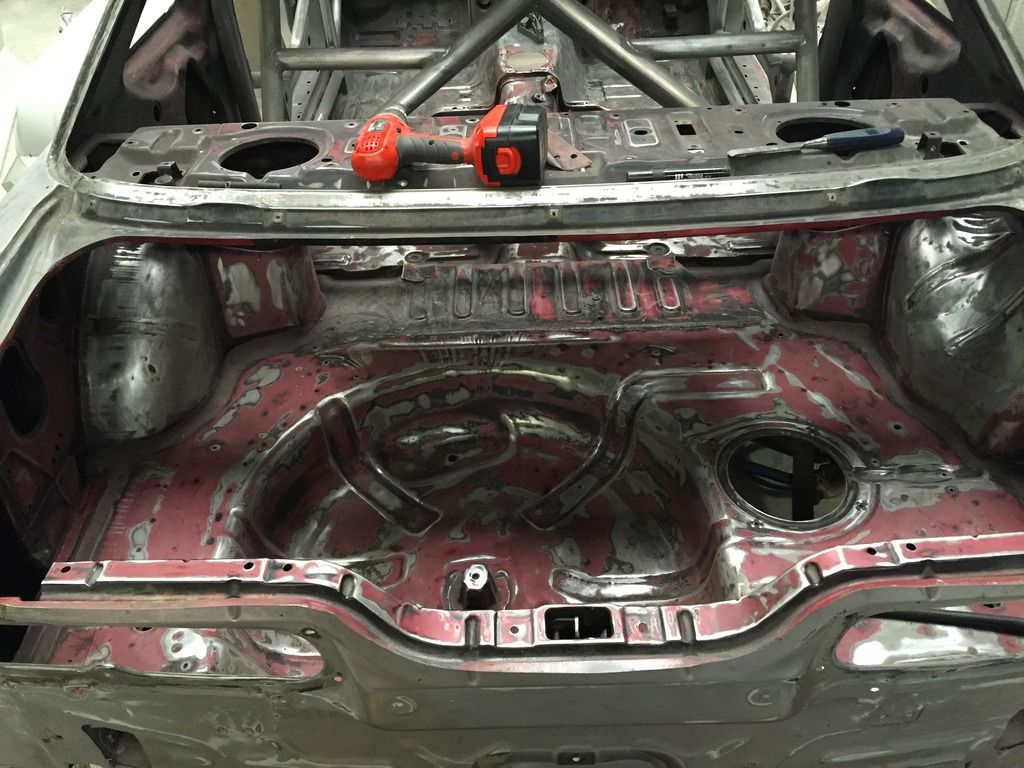 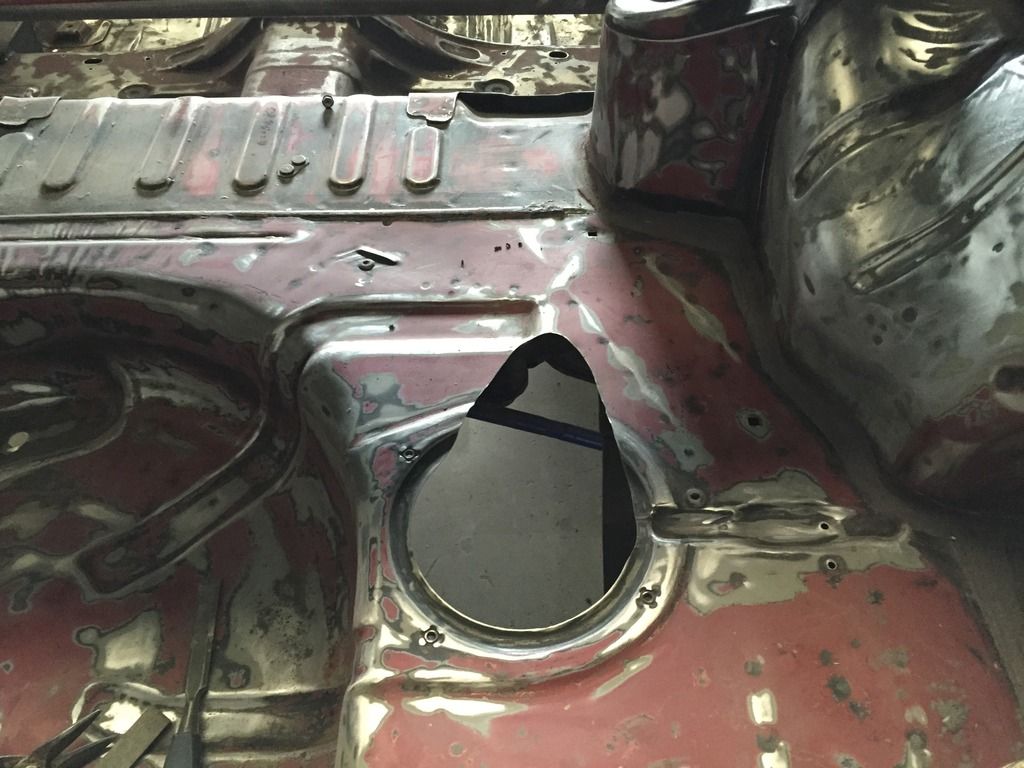 After this, it was just a case of more prep work whilst I sort out the spray gun setup and purchase all of the paint. 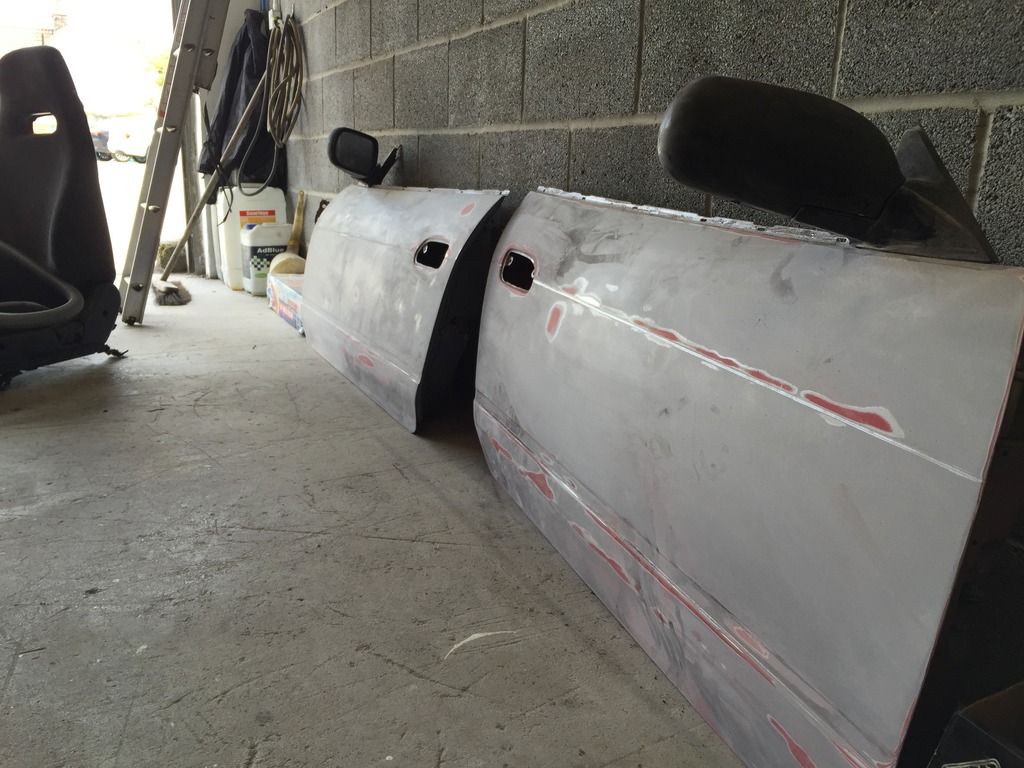 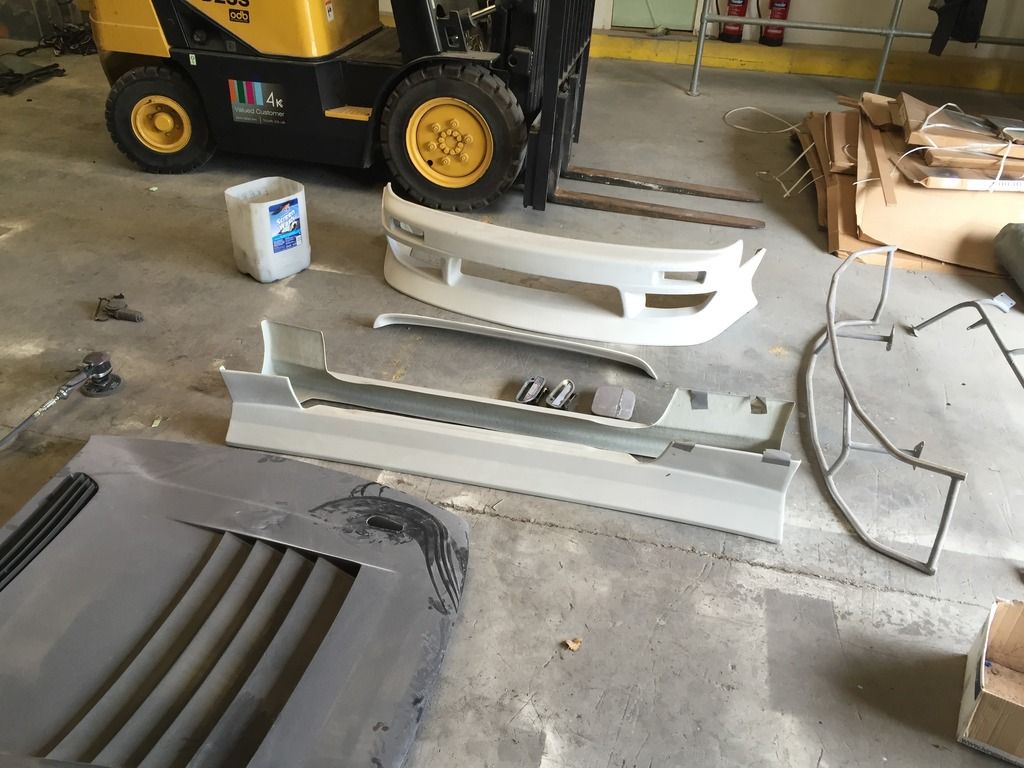  Found a little bit of Stonechip lying around so threw it on the front arches to see how durable it is, and turns out it is quite durable so hopefully I’ll buy a couple of cans after paint as I need to reseal below the trans tunnel as the previous owner though it was a good idea to use a black aerosol!? Quickly mixed up some etch primer for the area where bare metal is shown but for some reason it would spray nicely. Not sure whether it was due to a lack of experience or just the nature of the paint. So I preserved as much as I could before switching over to the 2K High Build Primer, where I aimed to give the whole care around 2 coats, which should allow me to wet sand with 1200 grit before the final top coat. After a while of playing with the gun settings, I was able to lay down a “wet coat” which I was stoked with. Its amazing how addictive and challenging painting can be! 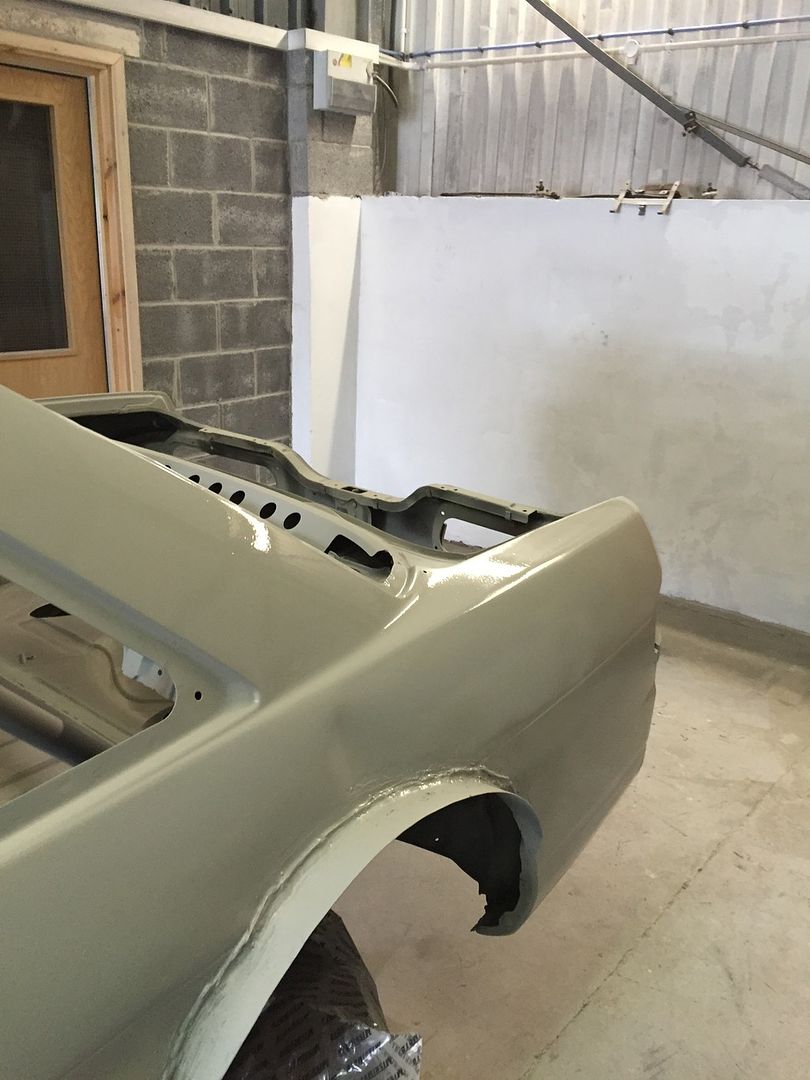 Whilst this was happening, Jesse Streeter once again become my knight in shining armour and found me an S14 N/A Throttlebody which are as rare as hens teeth! Can’t thank him enough for doing this. 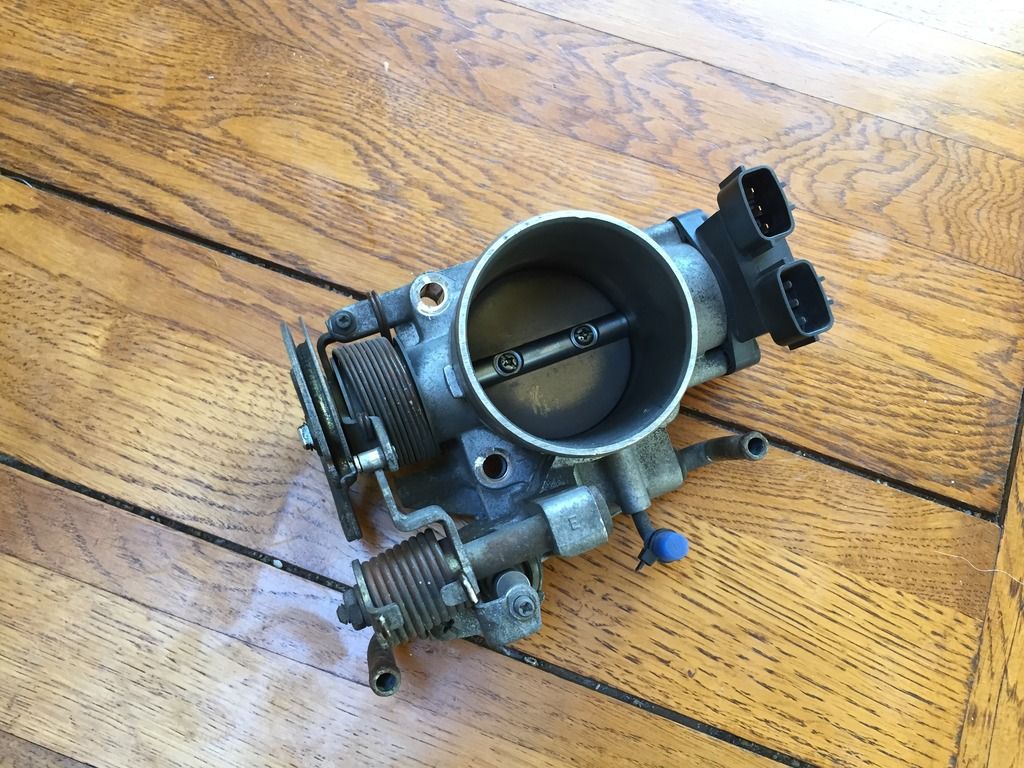 S14 SR20DET Throttlebody; 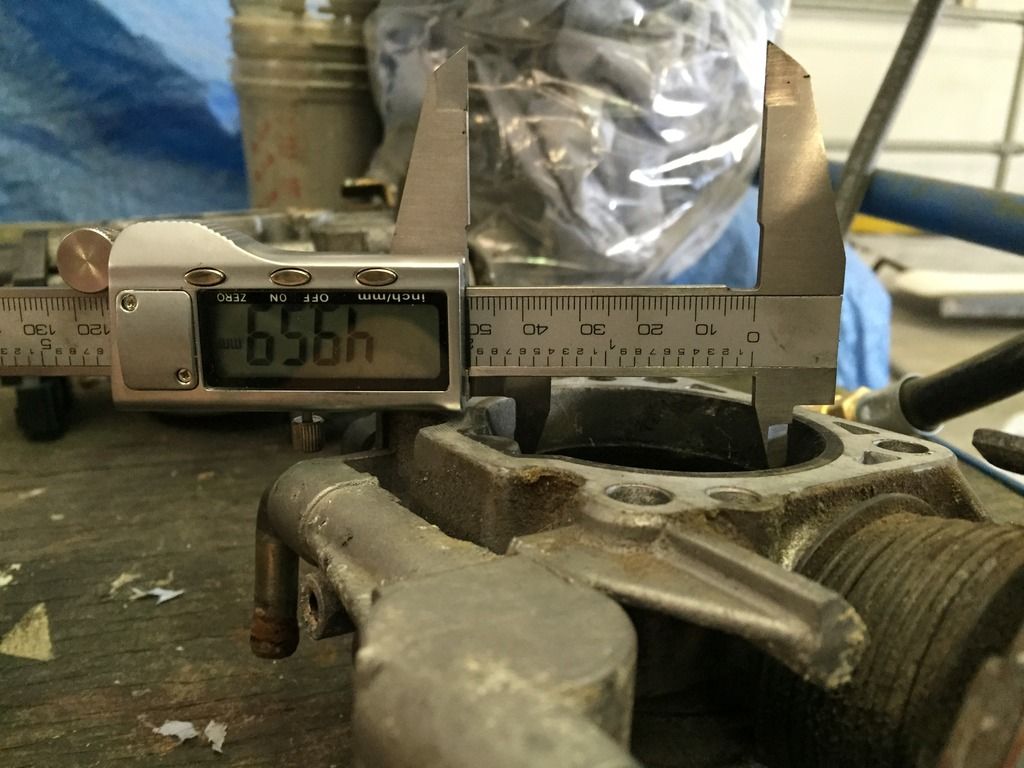 S14 SR20DE Throttlebody; 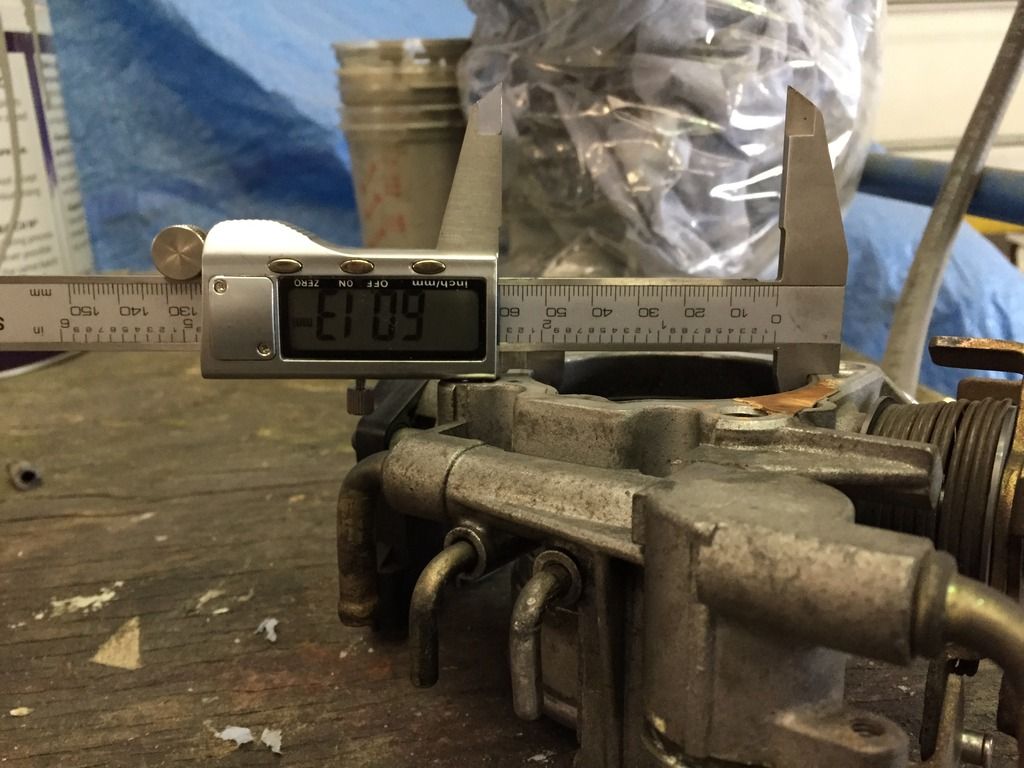 DET on the left, DE on the right; 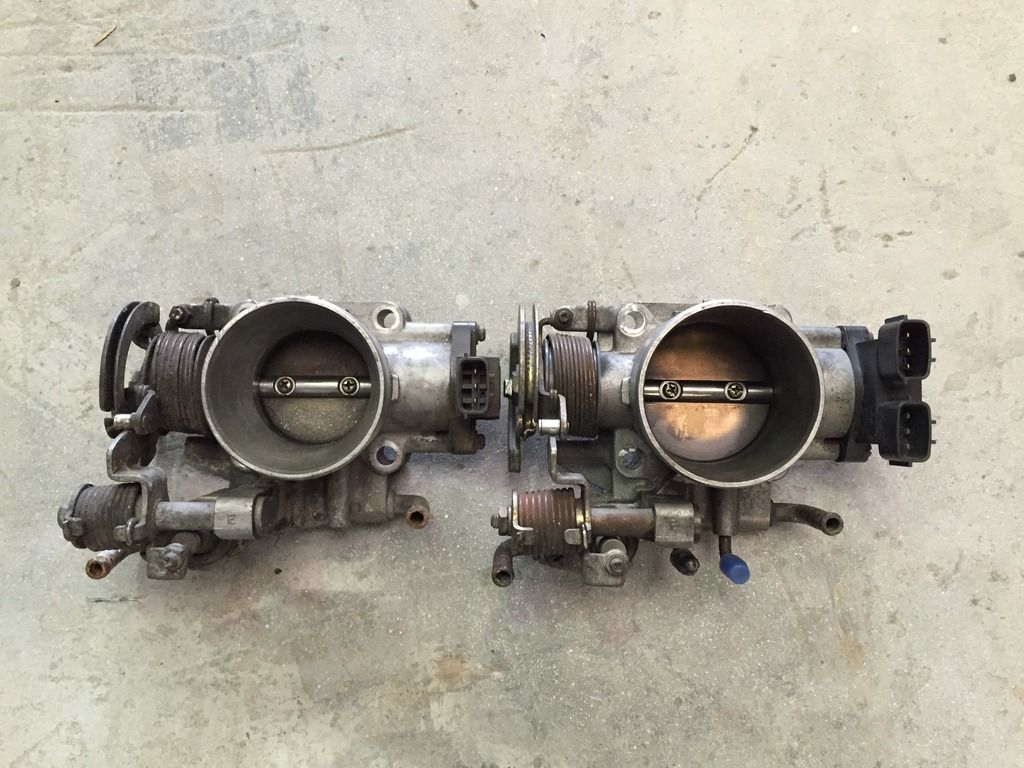 You can visually see how tapered the DET throttlebody is in comparison. Hopefully when coupled with my 60mm Greddy Inlet, this should help things breathe a bit easier  (For those wondering about the TPS of the DE throttlebody. My understanding is that it came from an Auto car, hence the two plugs. But if I have gotten my facts correctly, I simply plug the loom into the top plug and hey presto, it should work!) |
|
|

|
|
|
#39 |
|
Leaky Injector
Join Date: Dec 2012
Location: Bristol, UK
Age: 30
Posts: 92
Trader Rating: (0)
 Feedback Score: 0 reviews
|
Started getting into a rhythm with the primer and made some progress, but with temperatures being solid mid-20*C it meant the paint was drying fast!
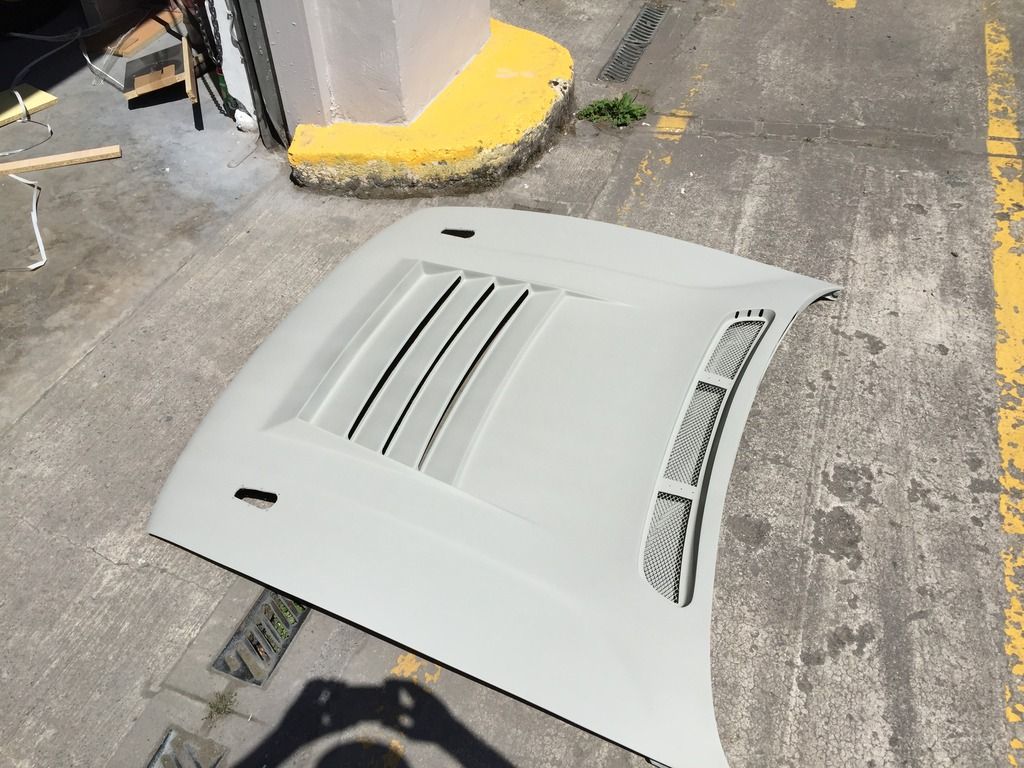 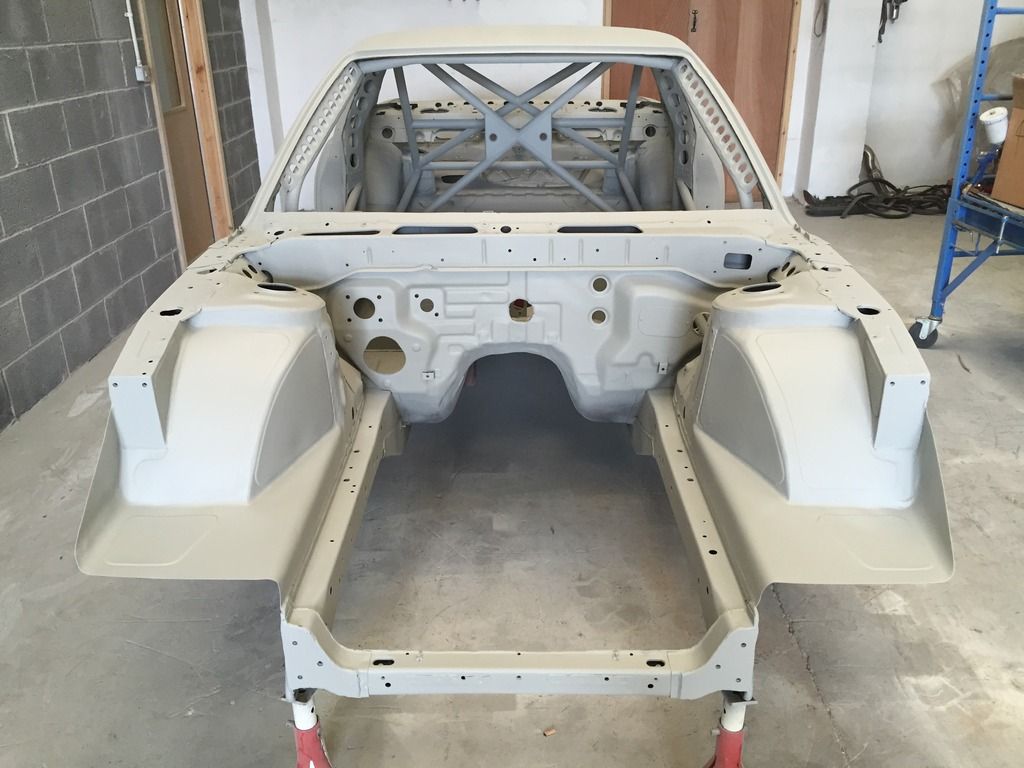 I’m overwhelmed with how the engine bay came out! Can’t wait to throw some colour down on it, but kind of nervous at the same time   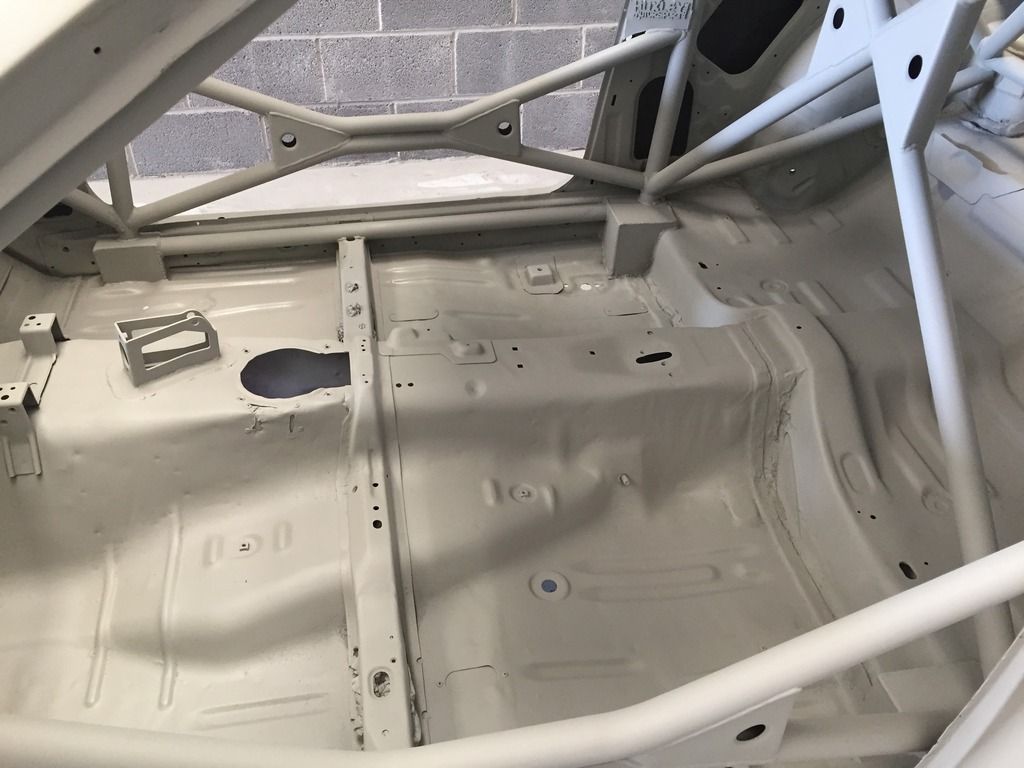 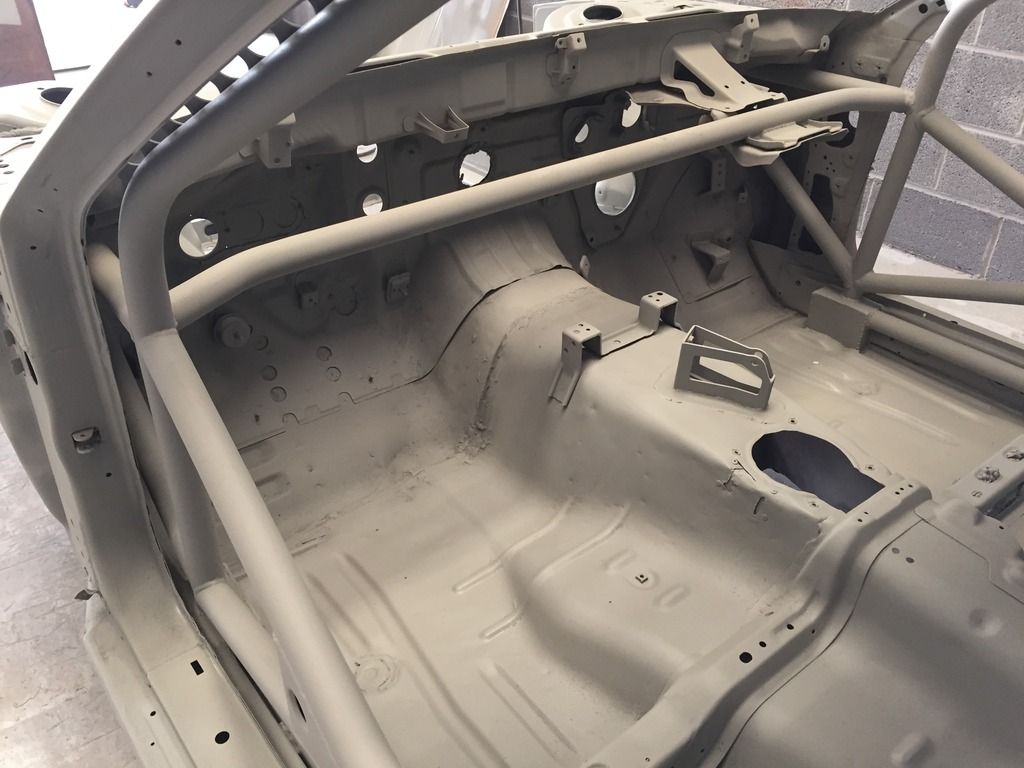 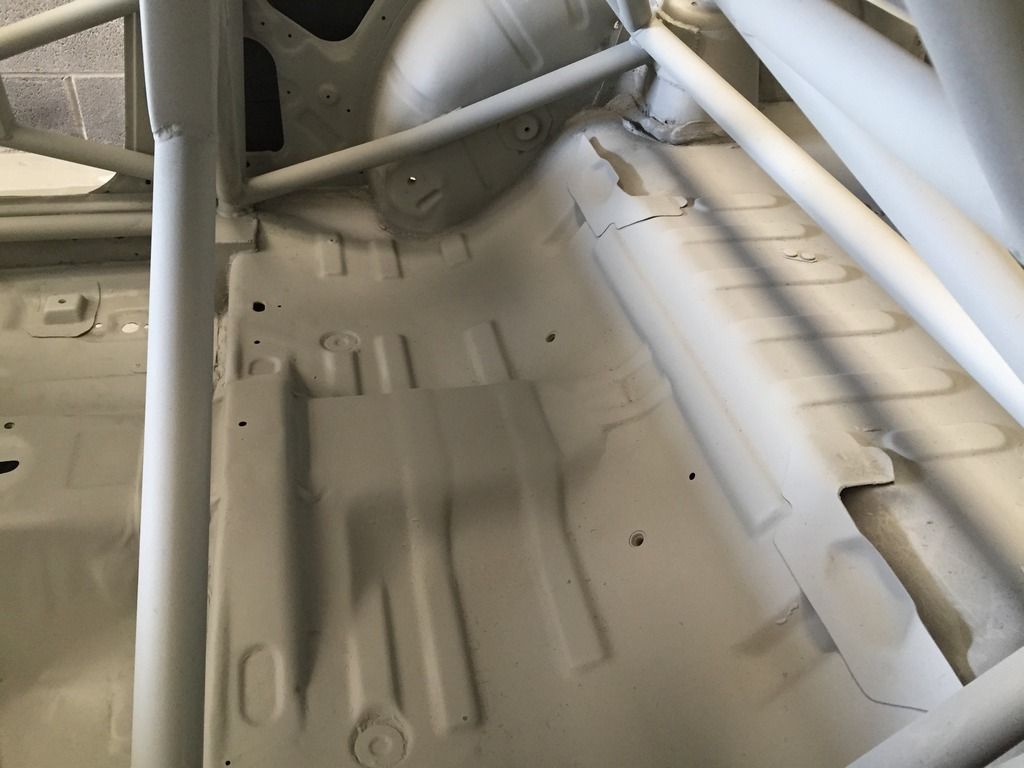 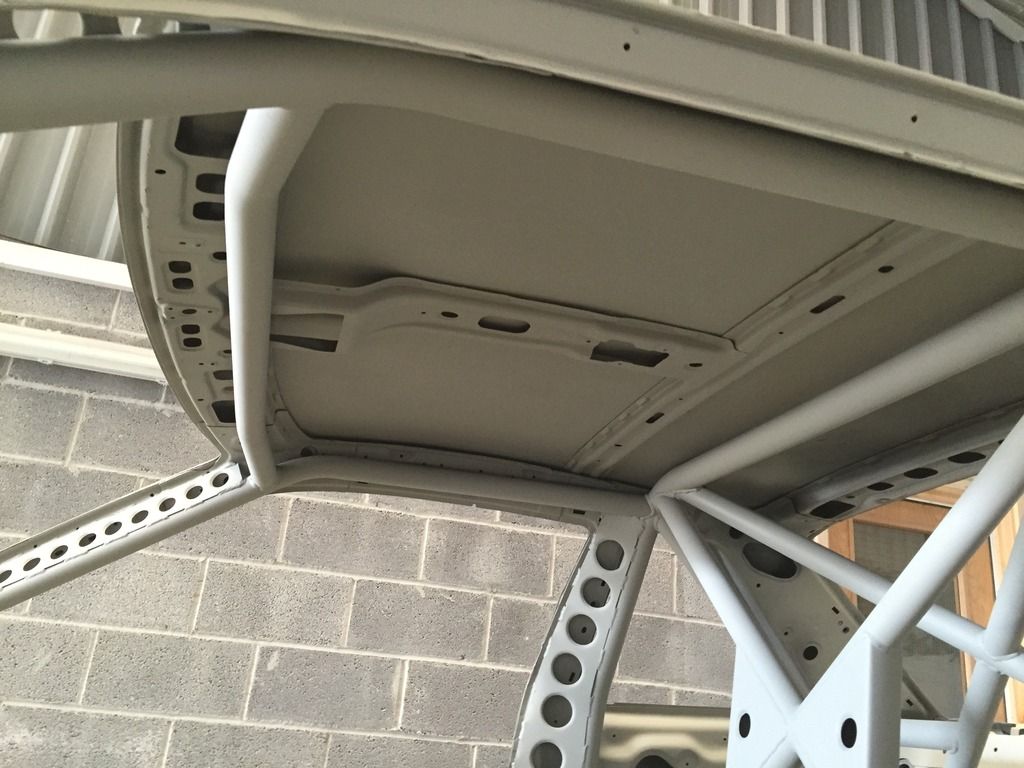 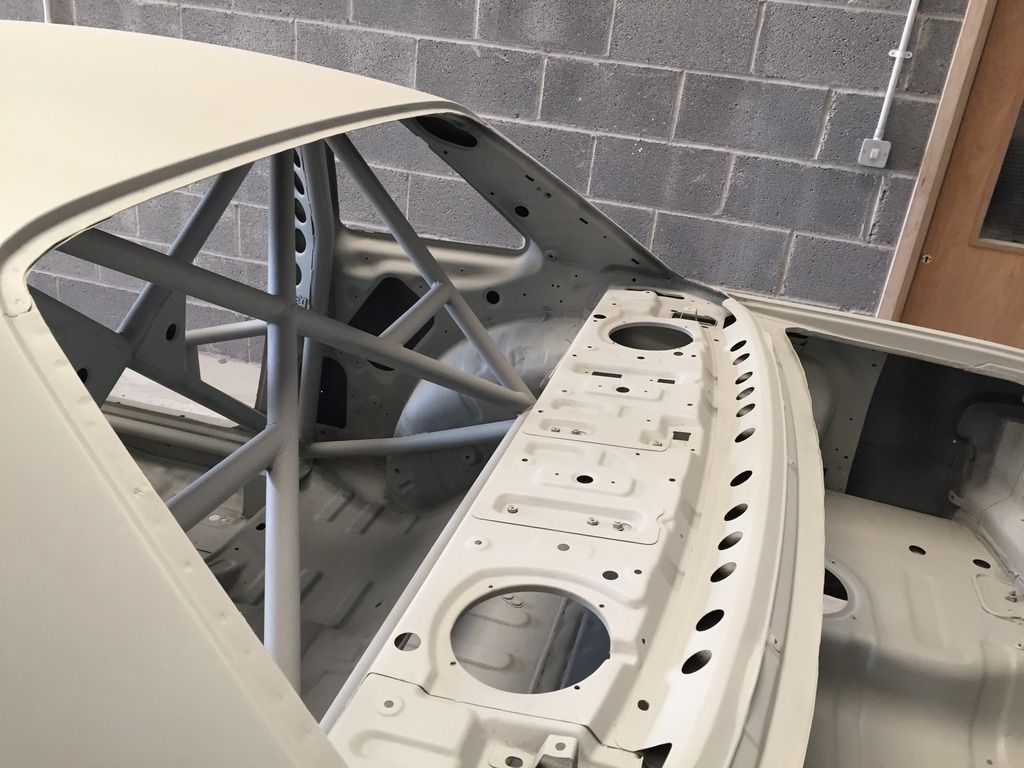 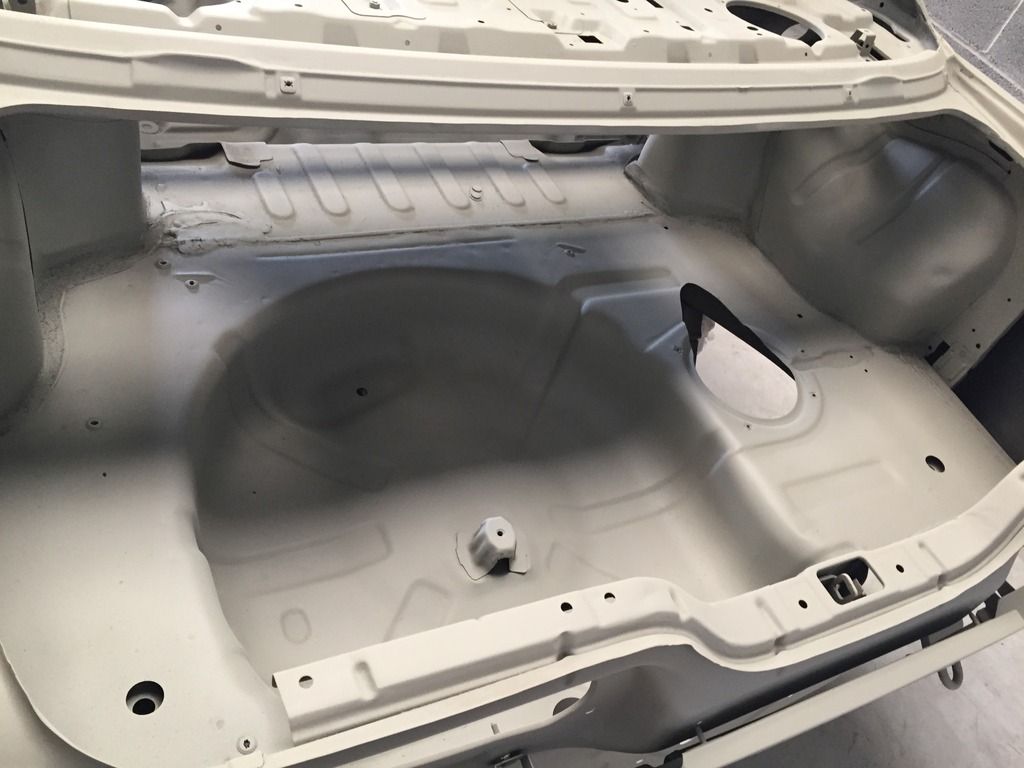 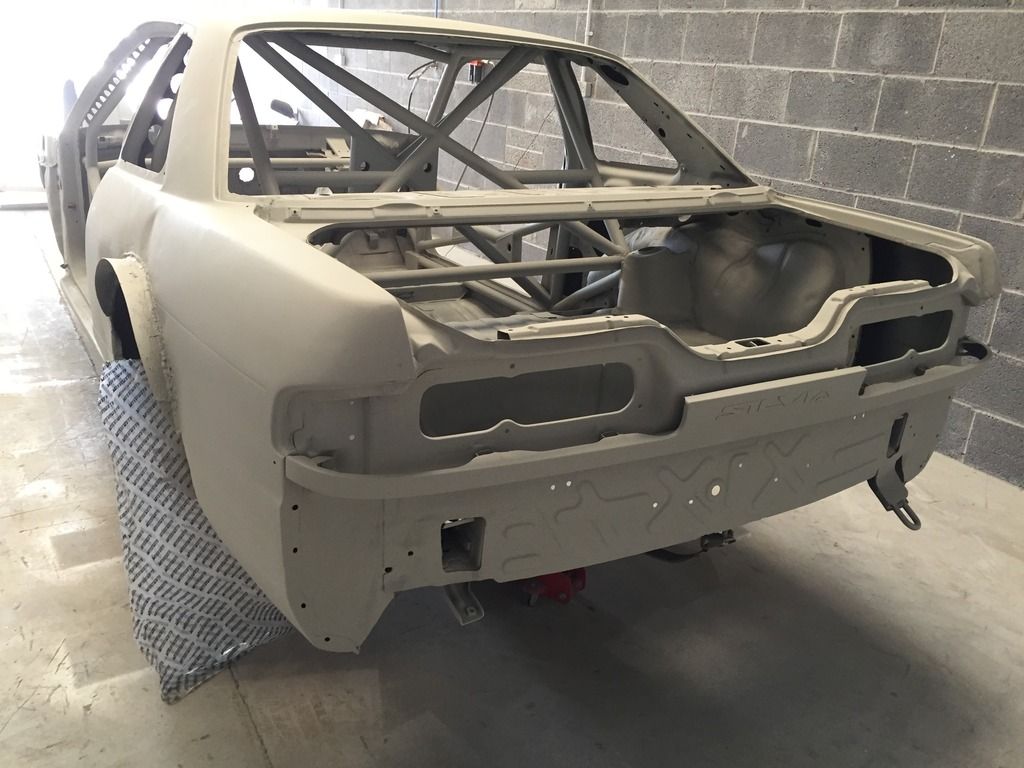 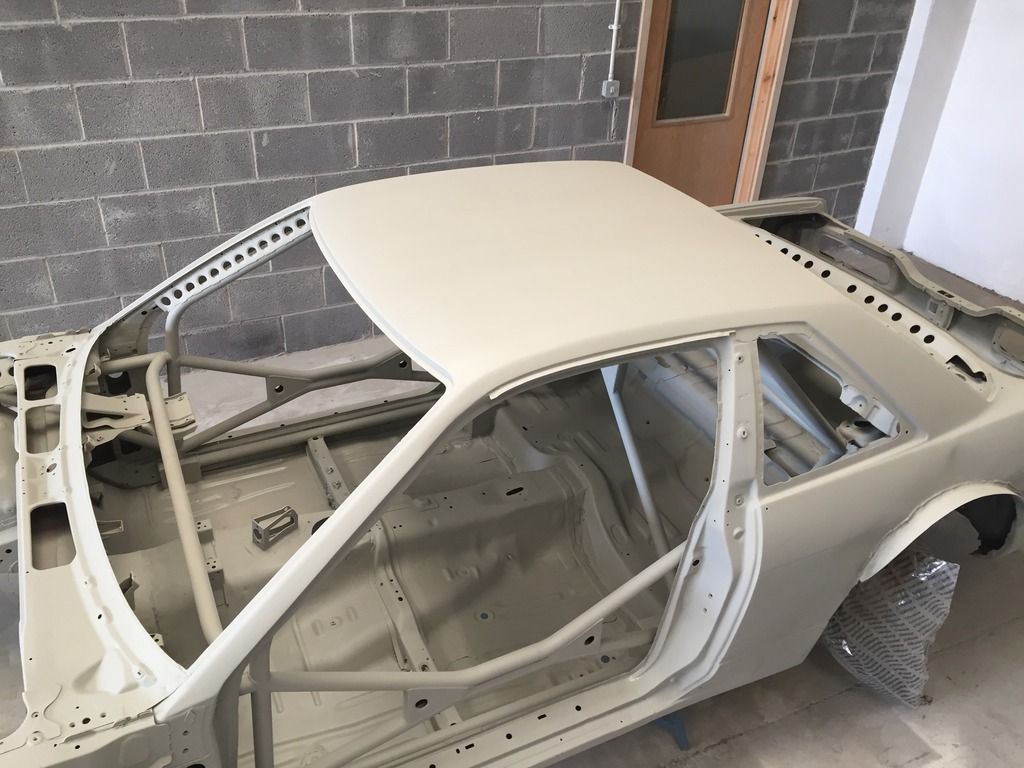 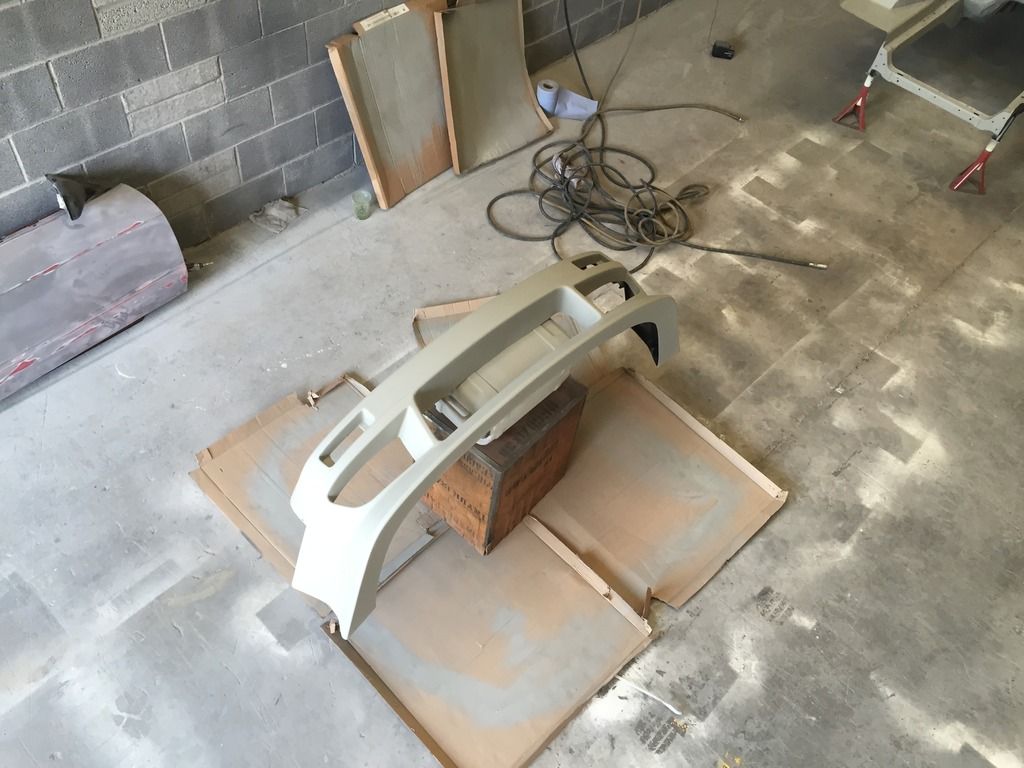 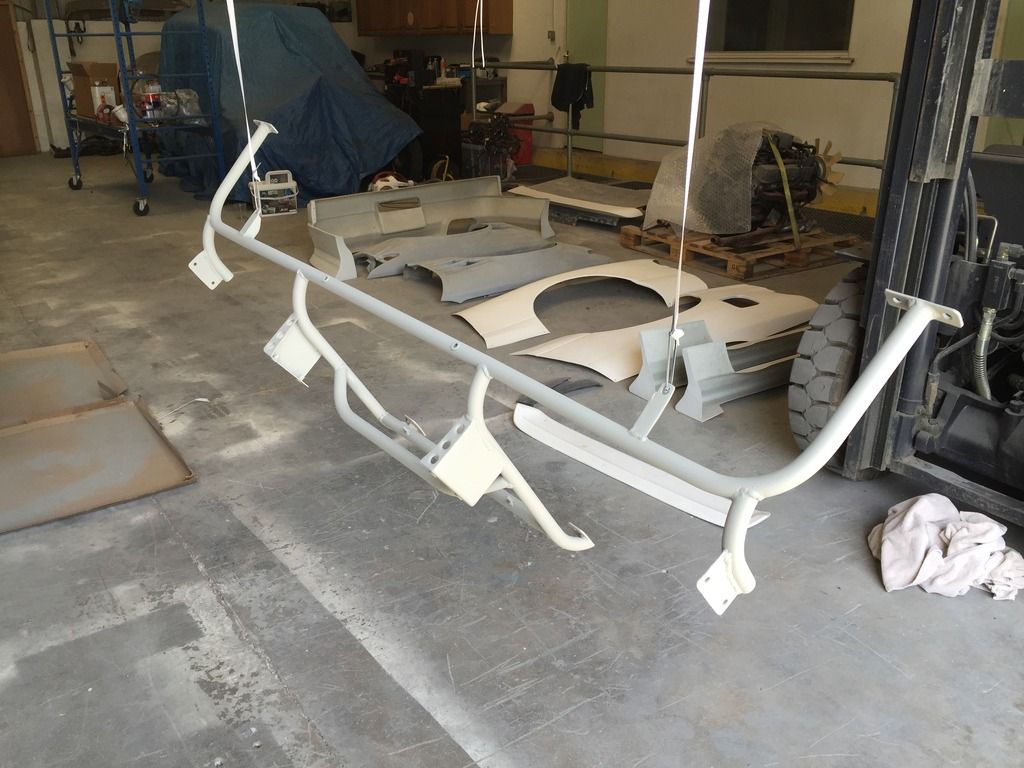 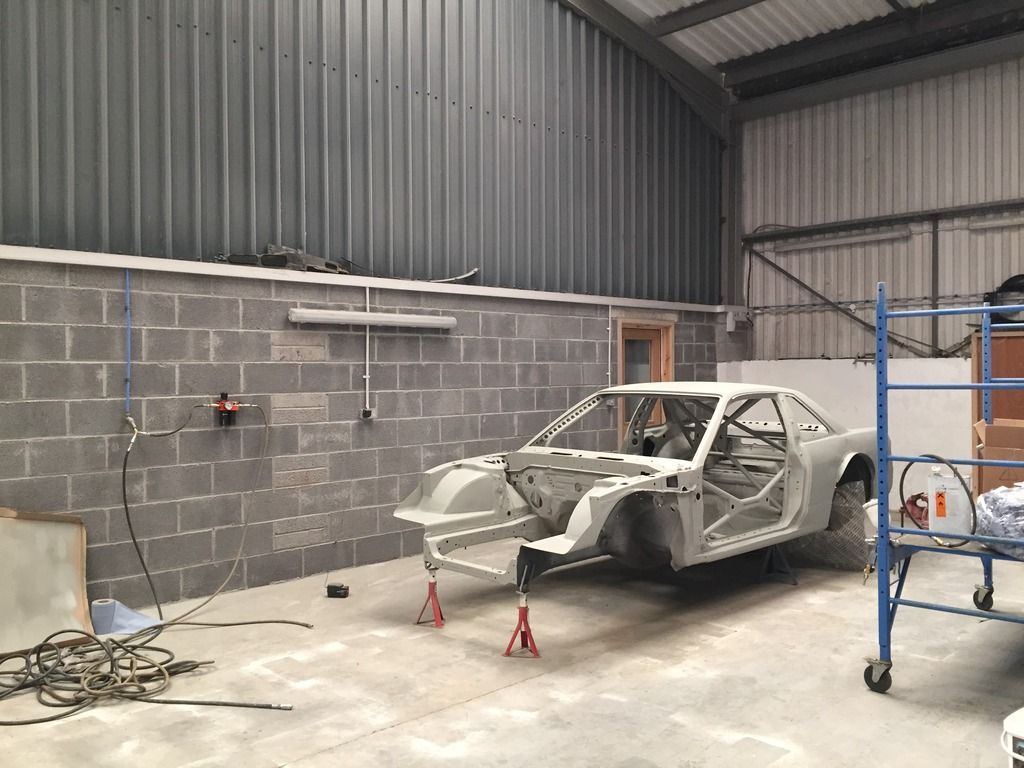 And this is how I left today, everything that should be in primer, is in primer and luckily enough as all of the primer is now gone! 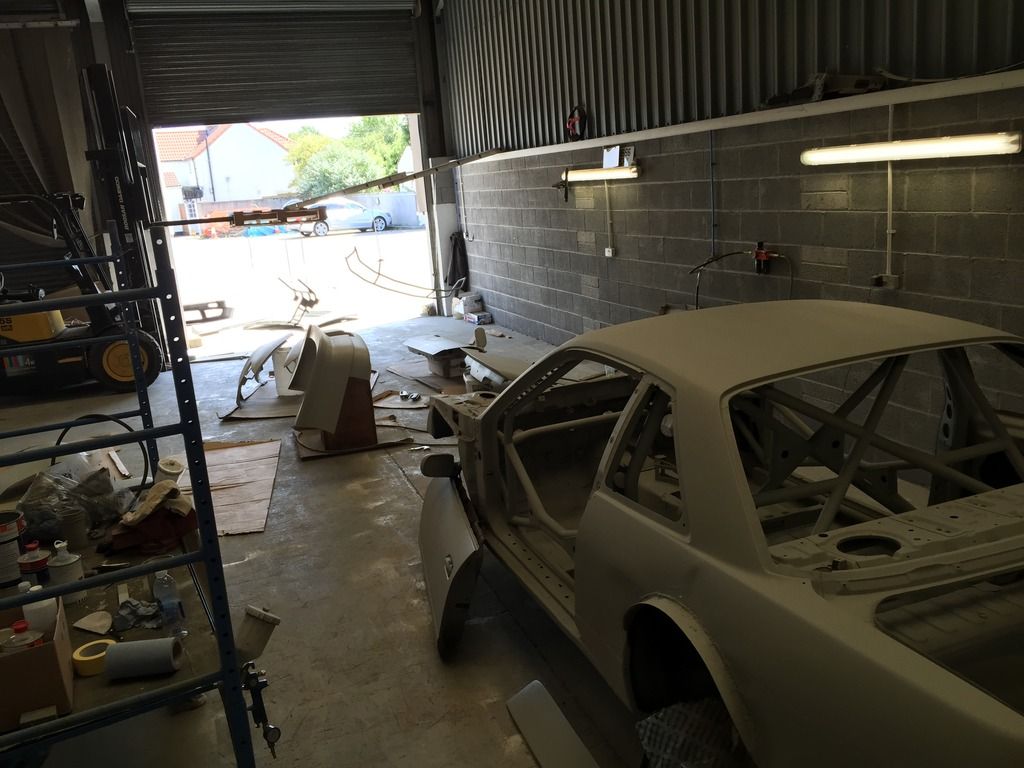 My plan is to get the rear 1/4’s black tomorrow, so the rear overfender’s can be riveted on before the whole shell gets painting. This should mean even if I blow a rear fender, it’ll still be black behind it to try and make it more discreet if you can ever make that discreet haha. My buddy sent me my new lenses which I super excited to get on, pretty much a “must have” on the Brick headlights in my opinion, as the glass is a bit dated. I cant describe how anxious I was doing this job and these headlights are NOT cheap and were pretty mint too! :’( Went slowly with the heat gun and slowly tried to pry the glass of once the glue had softened up. 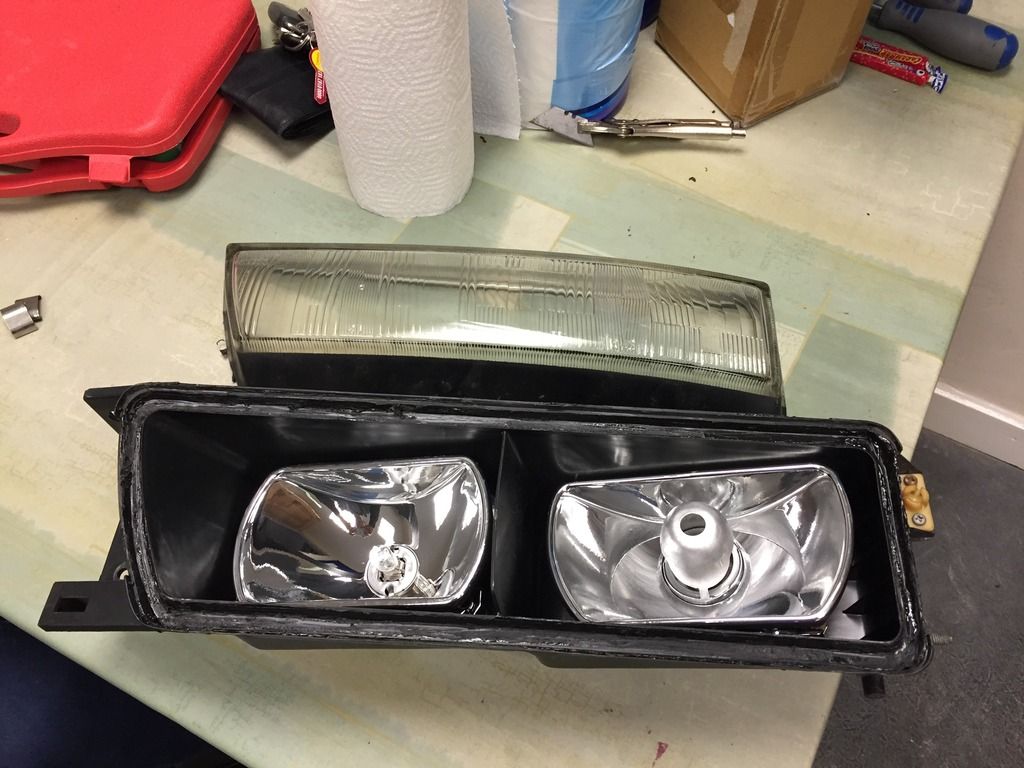 Cleaned the remaining glue out of the casing ready for some fresh Tigerseal! After a while the job was done! 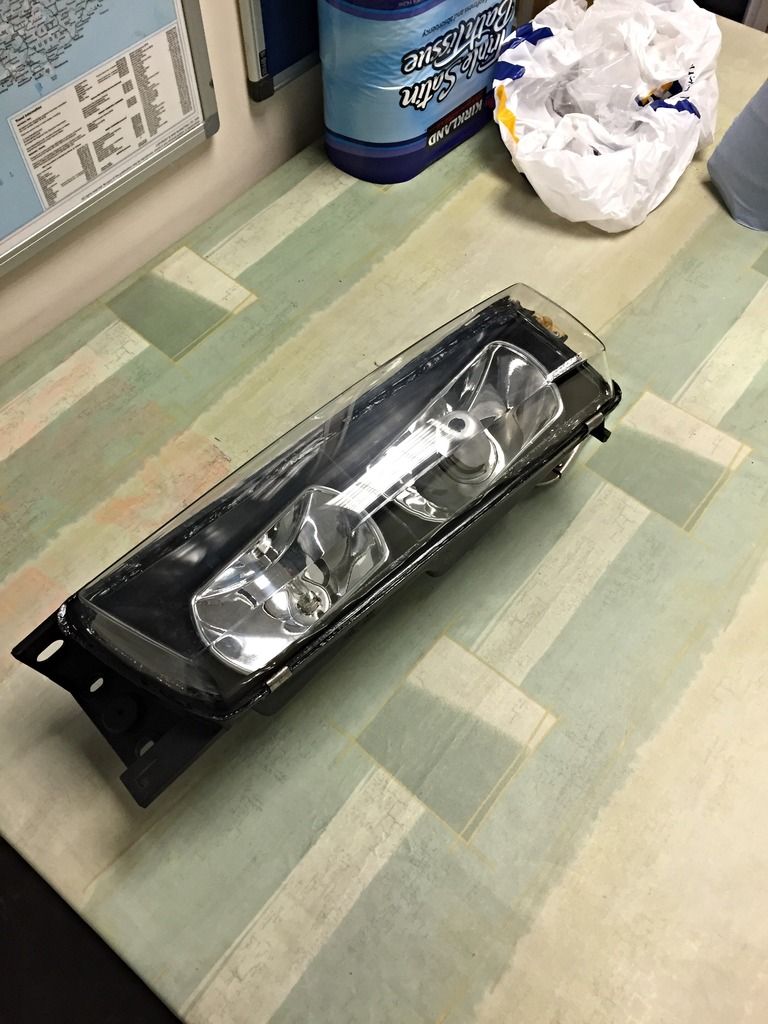 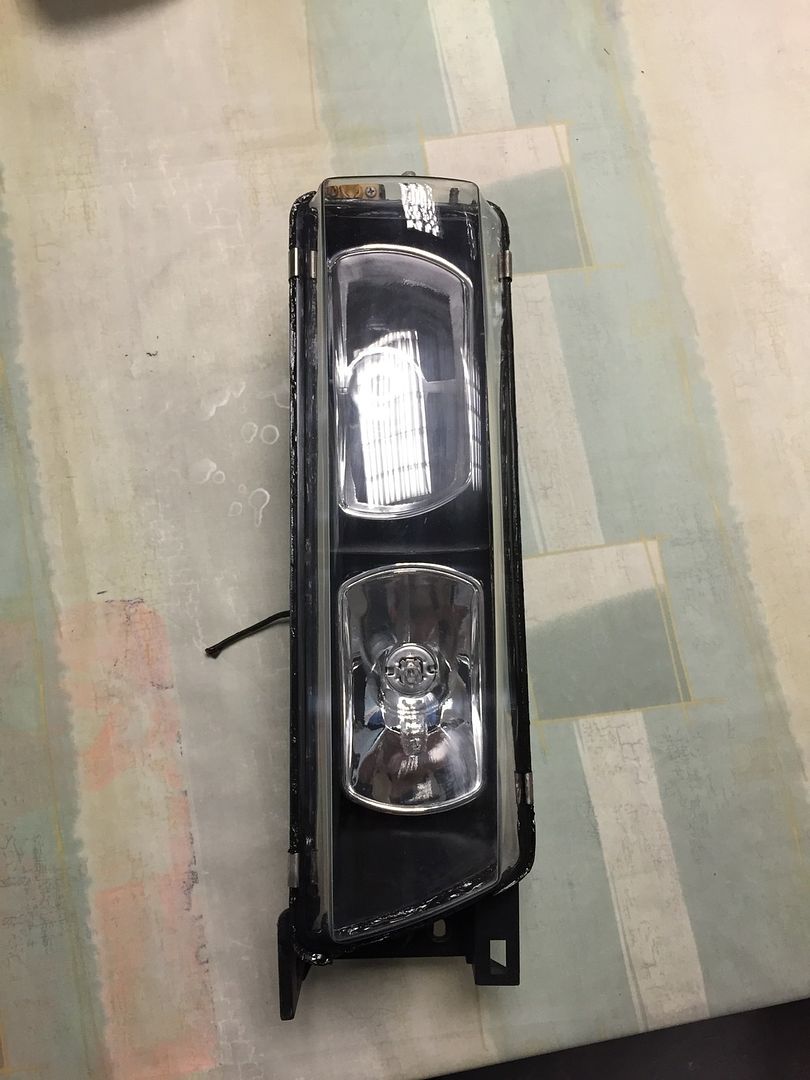 Pleased with the outcome, just have the other one to do but I’ll do that next weekend or something. Im not sure whether I was just a bit heavy handed with the tigerseal or it is the nature of the lenses, but it looks a bit messy if you look closely. I’ve got some black vinyl lying around, so I’ll maybe replicate a border type ordeal similar to the OEM glass, and something Daze did with his (Albeit on S14 headlights). This should make them much neater up close, but as they are, they look so so good! So things can only get better!  Ordered up some fresh S14 LCA balljoints earlier (MOOG K9820) , and my fresh OEM front wheel bearings should be here anyday. I just want this car built with fresh parts, ready to go attack any track that takes my fancy! Fast forward a few days - I had a little package turn up  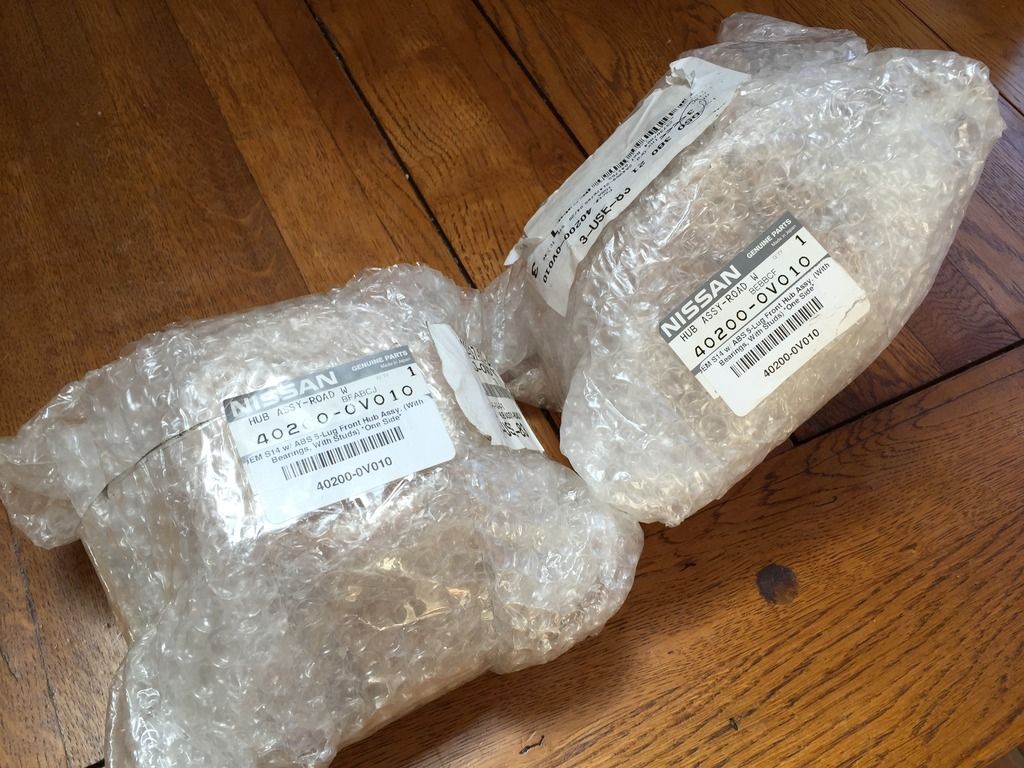 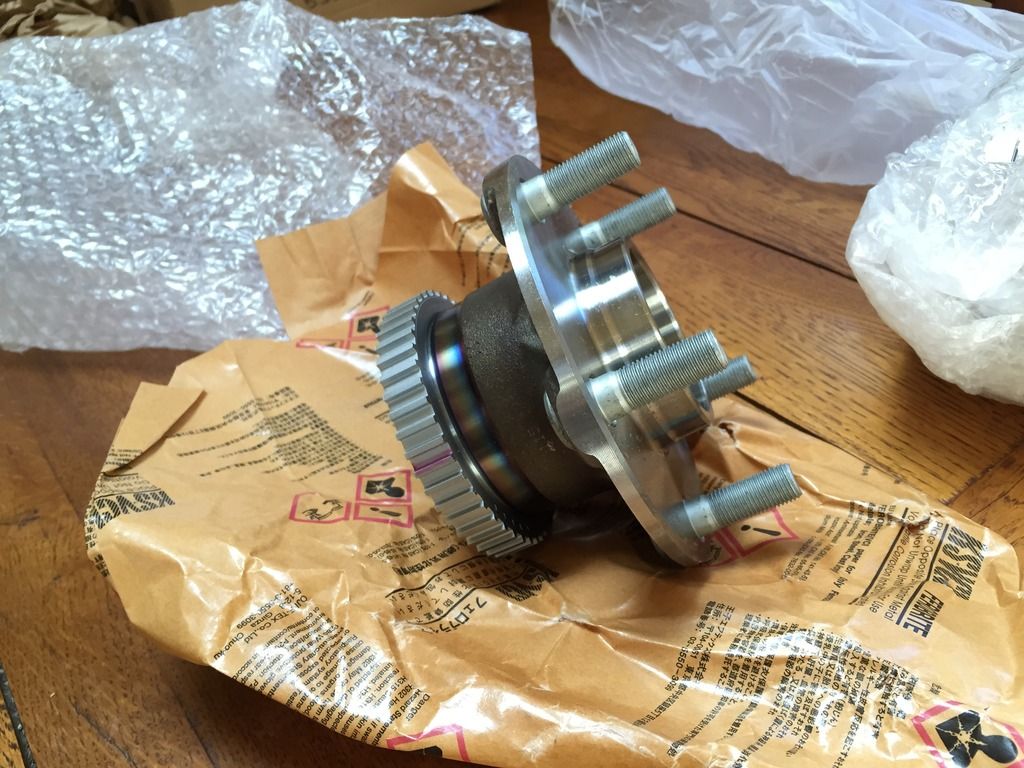 A pair of brand new OEM Nissan S14 front wheel bearings. A friend mentioned these retail around £450+ each from Nissan which is crazy! Thankfully, a buddy of mine helped me get these in at a stupidly good price. These were cheaper than the OE copies/versions I've seen for sale here in the UK. Started playing with the black paint today, and took me a while to try and adjust on how to spray it, as it seems to run alot easier. Luckily the runny rear 1/4 will be hidden anyway, but the drivers side came out quite nicely after adjusting. It appears to have some orange peel, which suggests I may need to add some thinners to the mix, or play with the pressure but that'll be my job for Thursday i'd imagine as I need to wet sand the car before I can proceed. 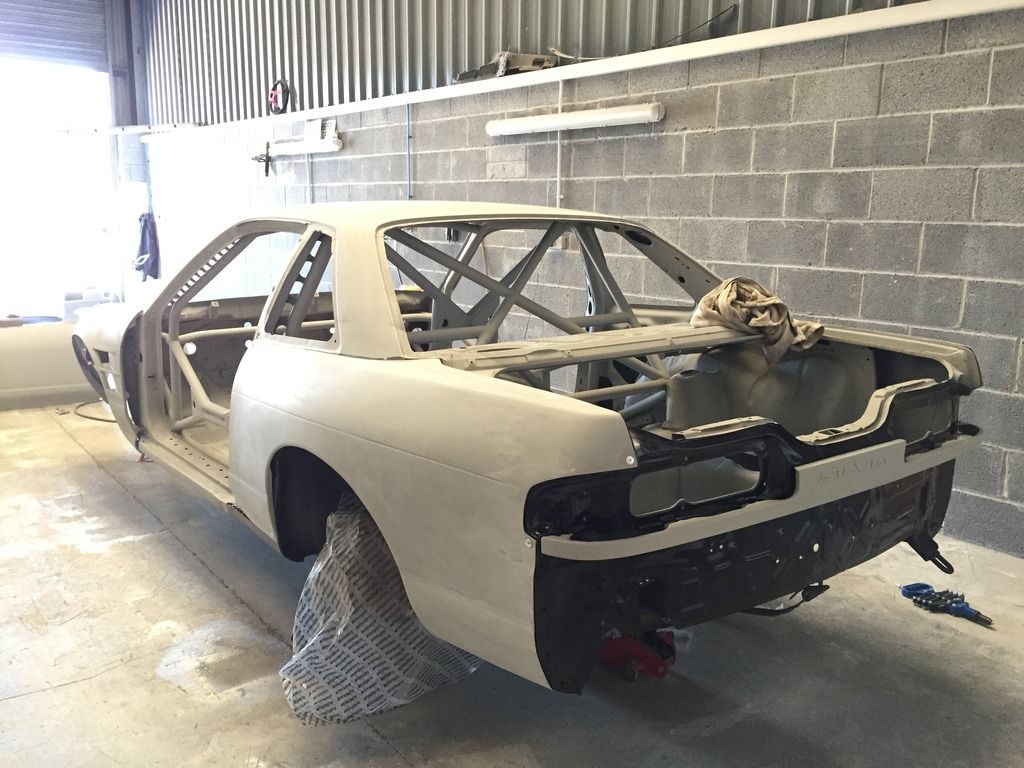 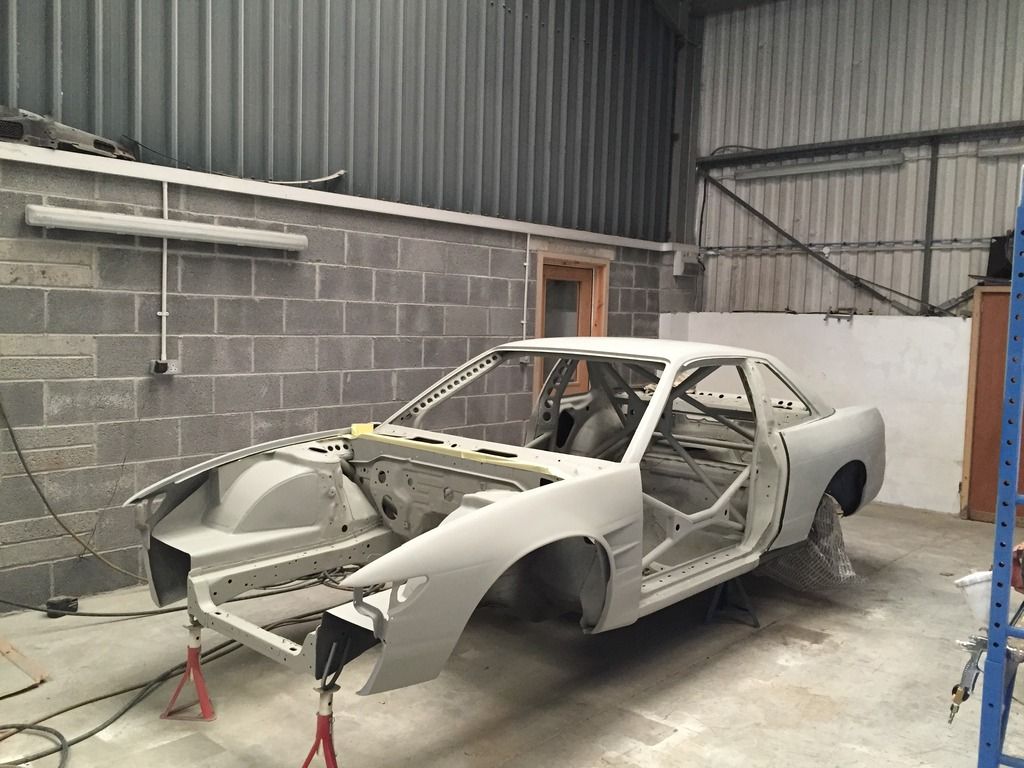 I've riveted the rear fenders on for good now, whilst the fronts are merely placed there to help make sanding them a little bit easier. Who knows, maybe this time next week it may be all black?! |
|
|

|
|
|
#40 |
|
Leaky Injector
Join Date: Dec 2012
Location: Bristol, UK
Age: 30
Posts: 92
Trader Rating: (0)
 Feedback Score: 0 reviews
|
Well, I spent some time over the weekend painting so there’s no surprise there eh?! But the crucial factor is that the interior and the exterior of the shell is now one colour
 So during the week I set about splitting the other headlight in order to fit the new lense, wont bore you with many pictures but it was the same process, just that this one was a tad harder to split for some unknown reason, but I’m stoked on the outcome! 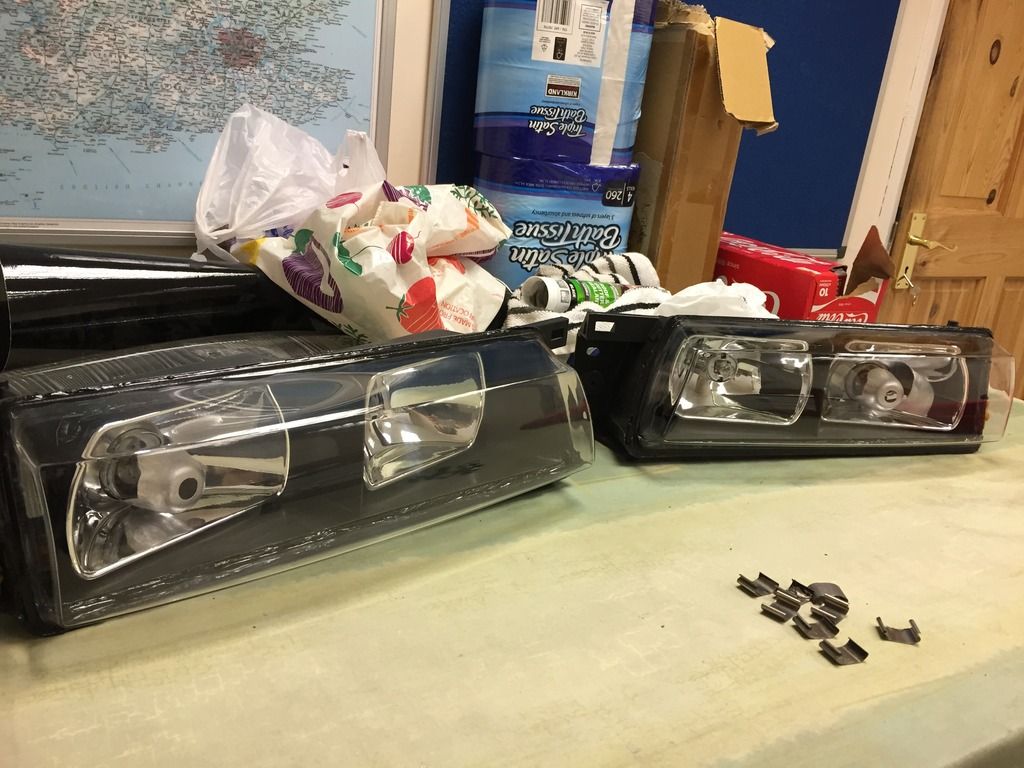 I grabbed the paint gun and had a quick mess about to get used to the paint again, and started on the interior. Note to anyone, painting the interior of a cage with a serious cage is not fun, its so hard to try and cover every little spot with a gravity fed gun. Looking back, I could have done with a smaller touch-up type gun to get everywhere but I soldiered on the best I could. After a few hours, and 2 solid coats, this was the outcome; 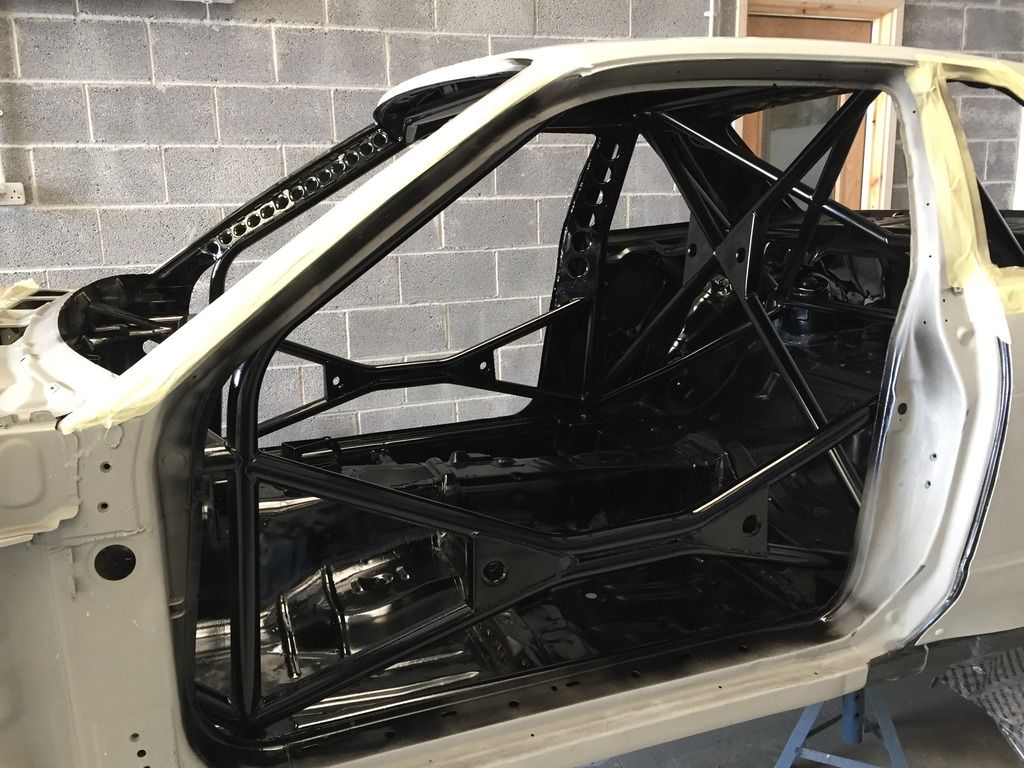 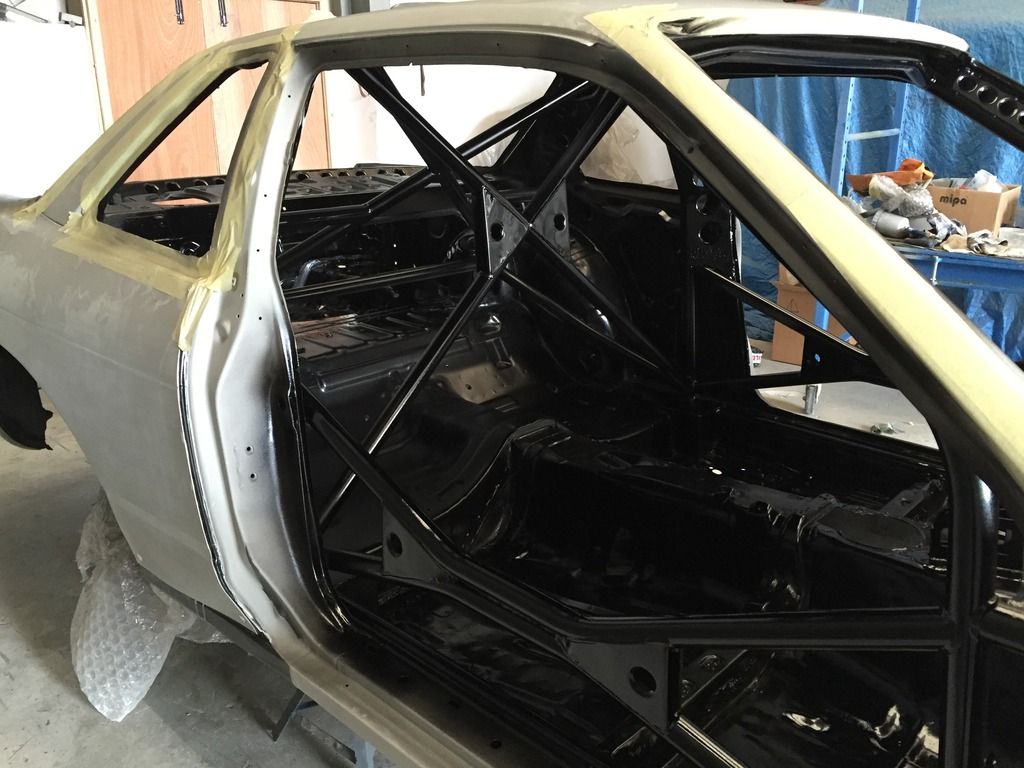 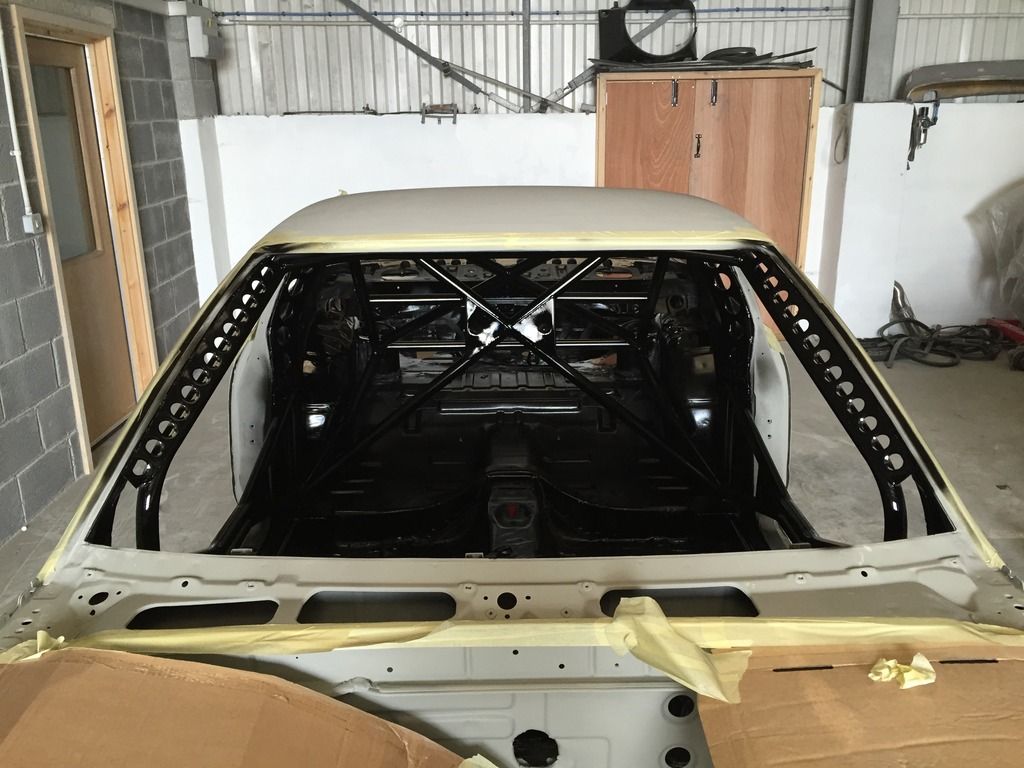 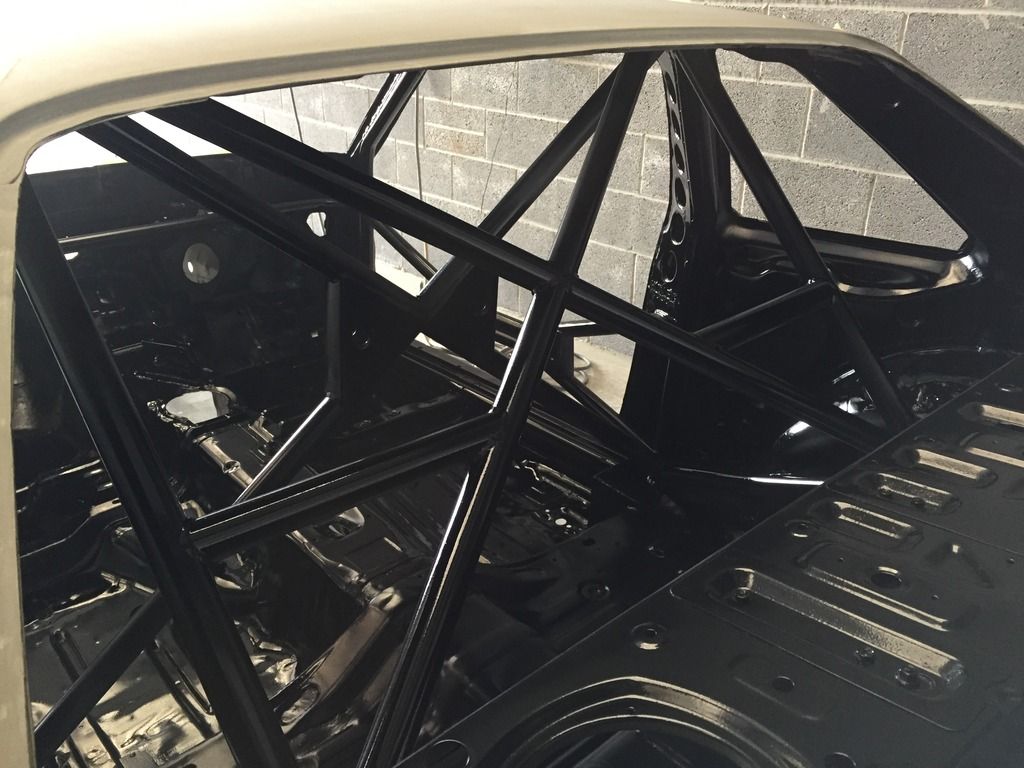 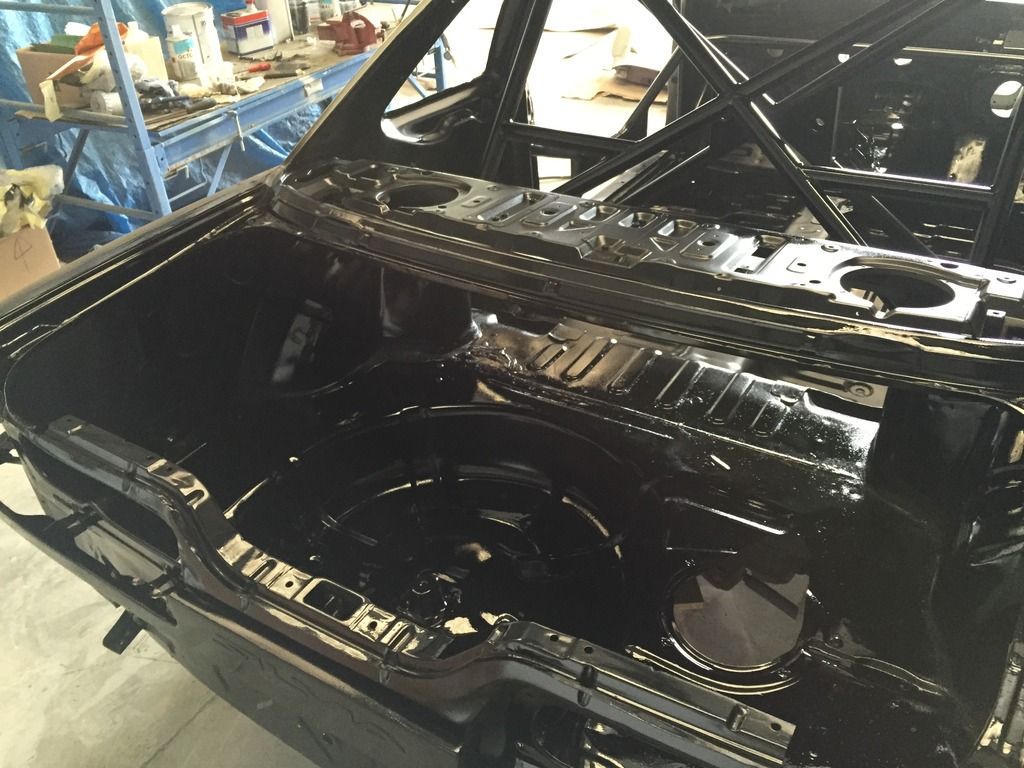 There are a few tiny places where I couldn’t manage to paint due to the awkwardness, but hey. I’m happy with the outcome! So the next job was to move onto the exterior, which I found much nicer & easier to spray. I’m just relived the car is almost one colour. 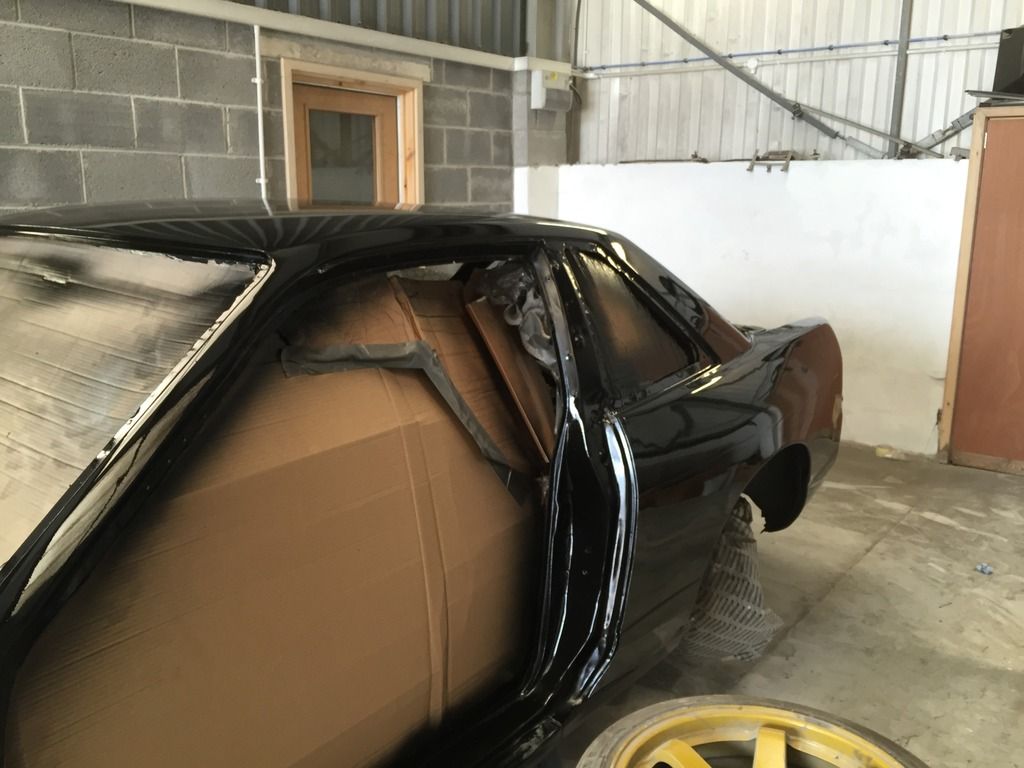 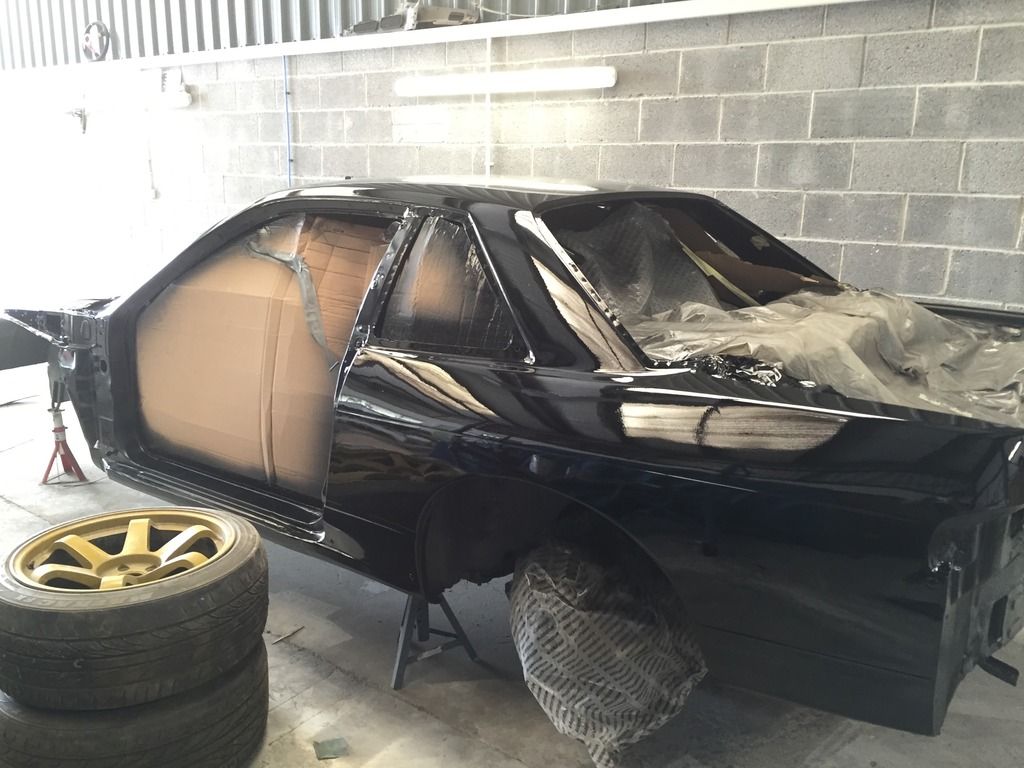 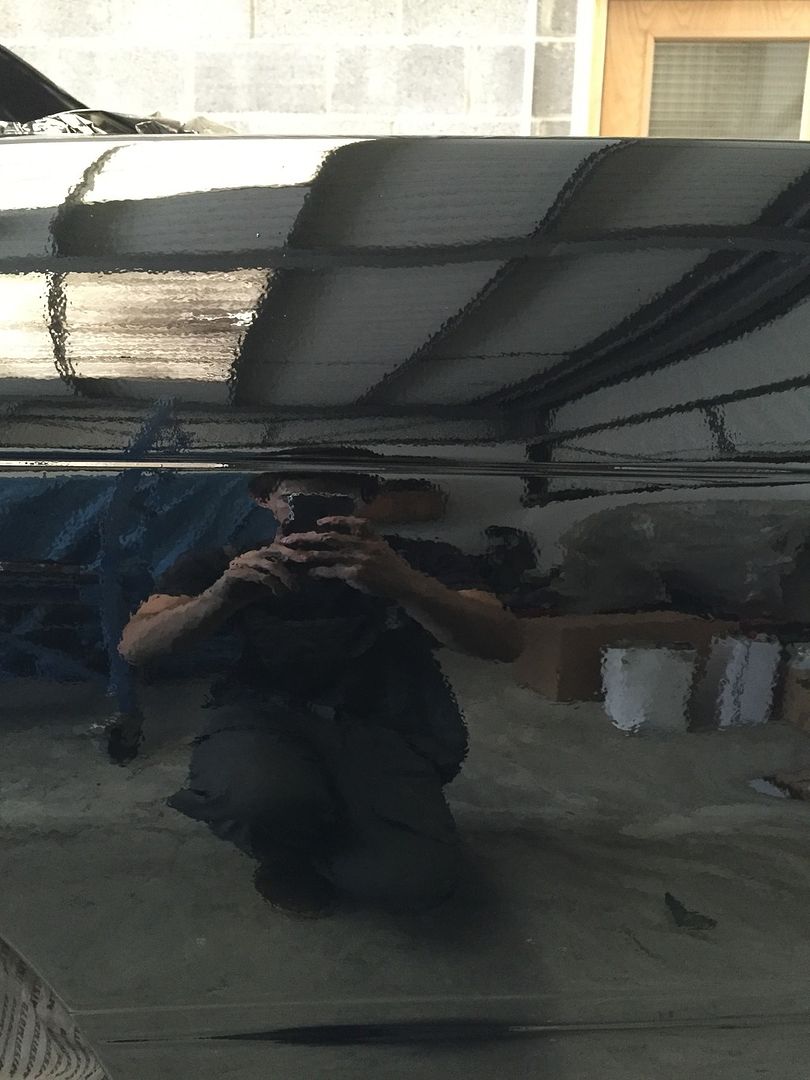 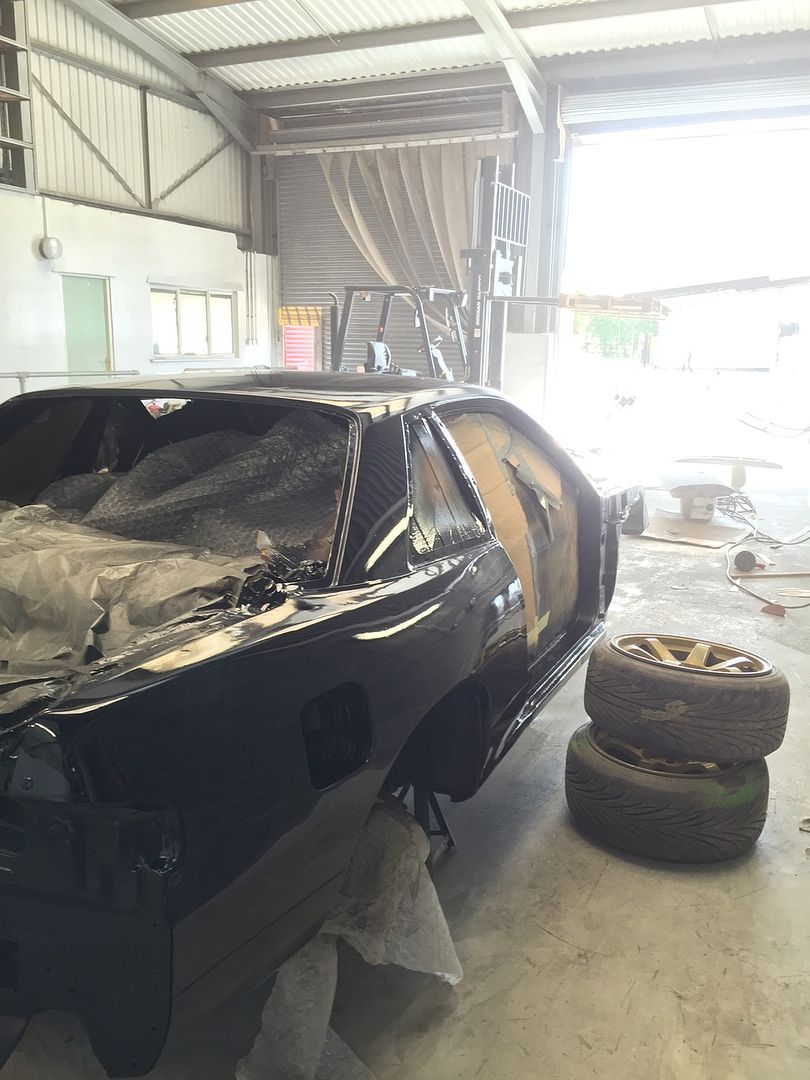 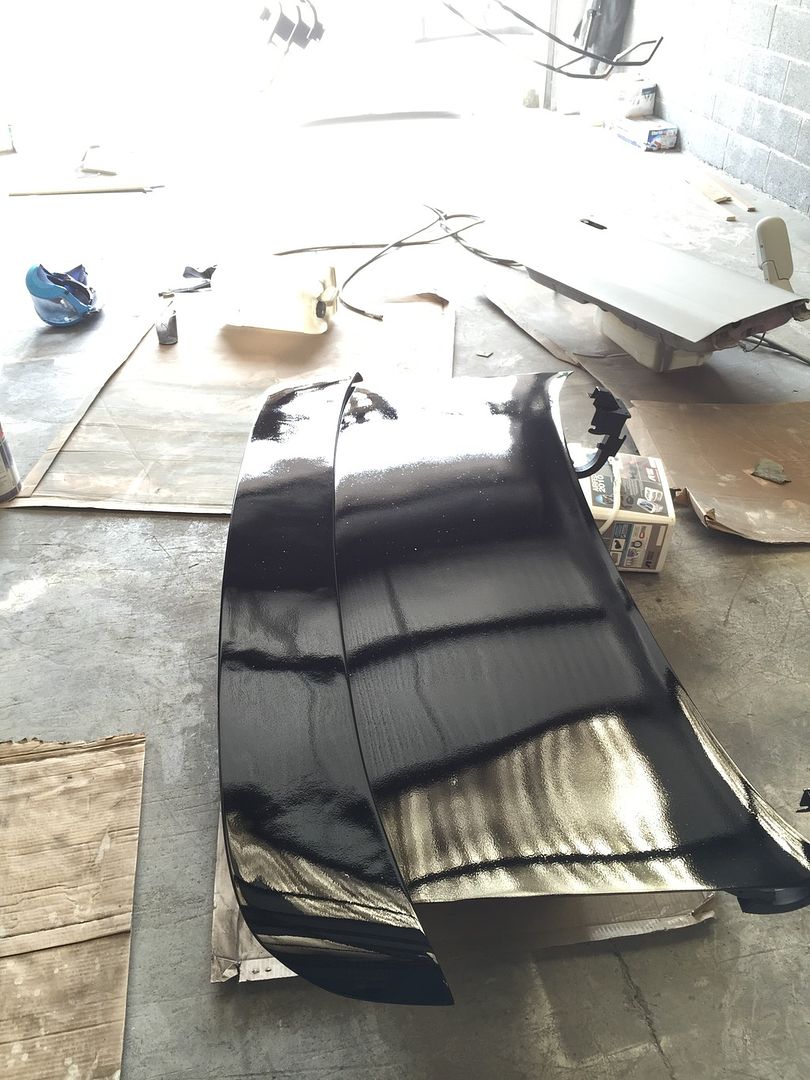 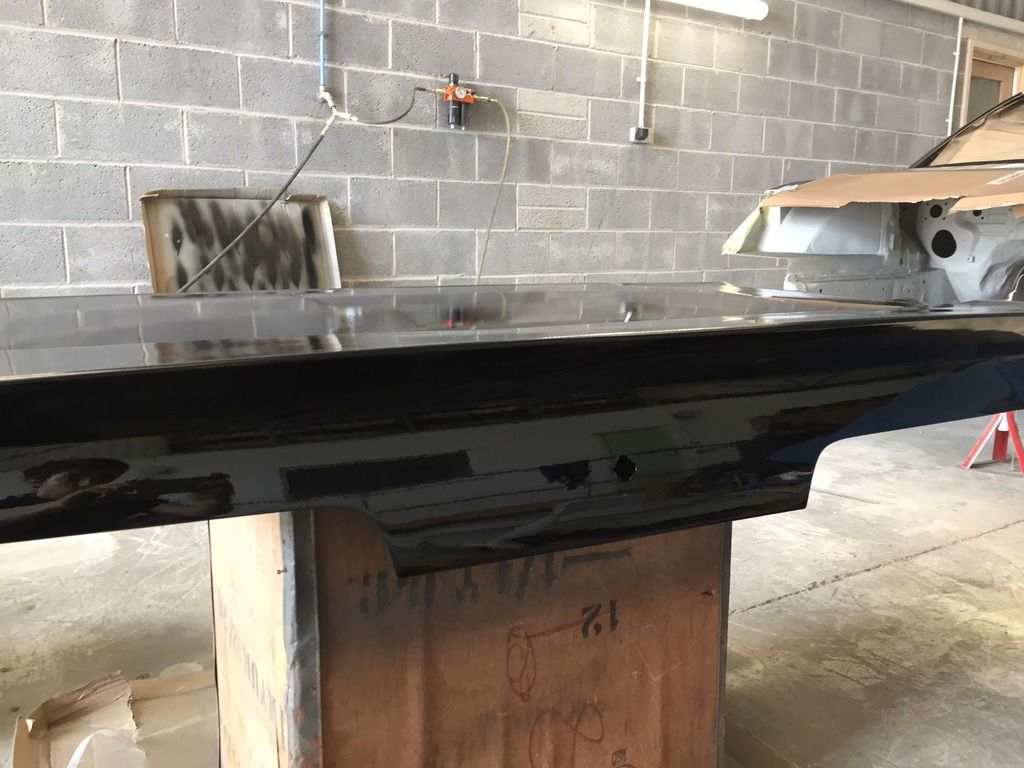 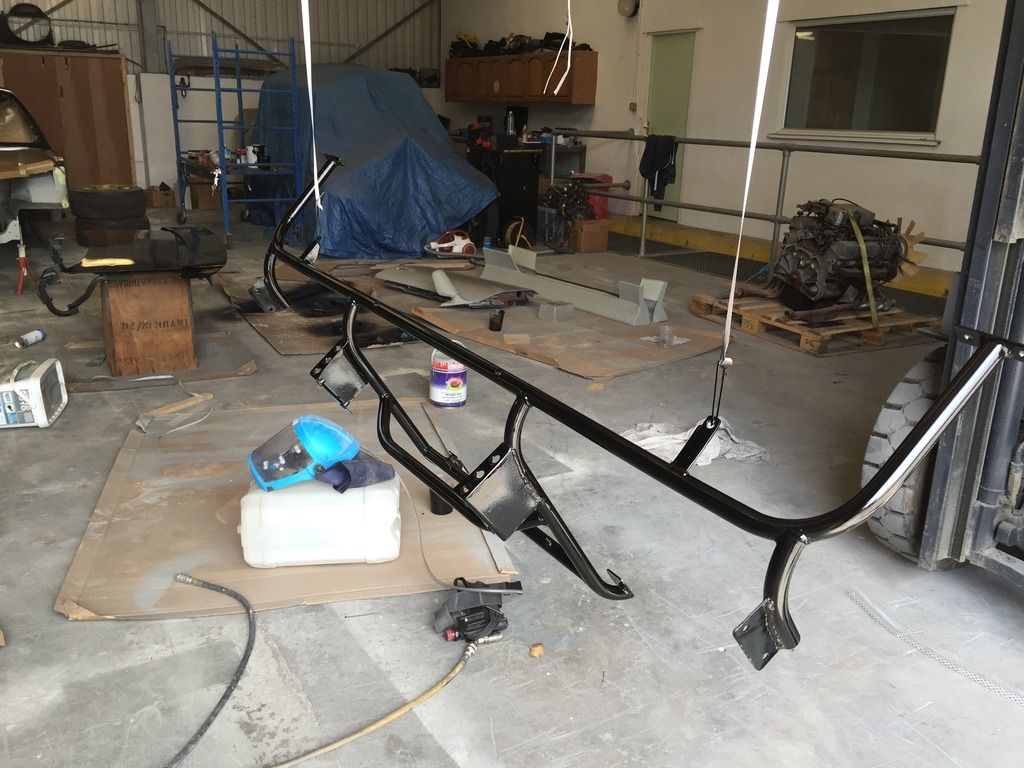 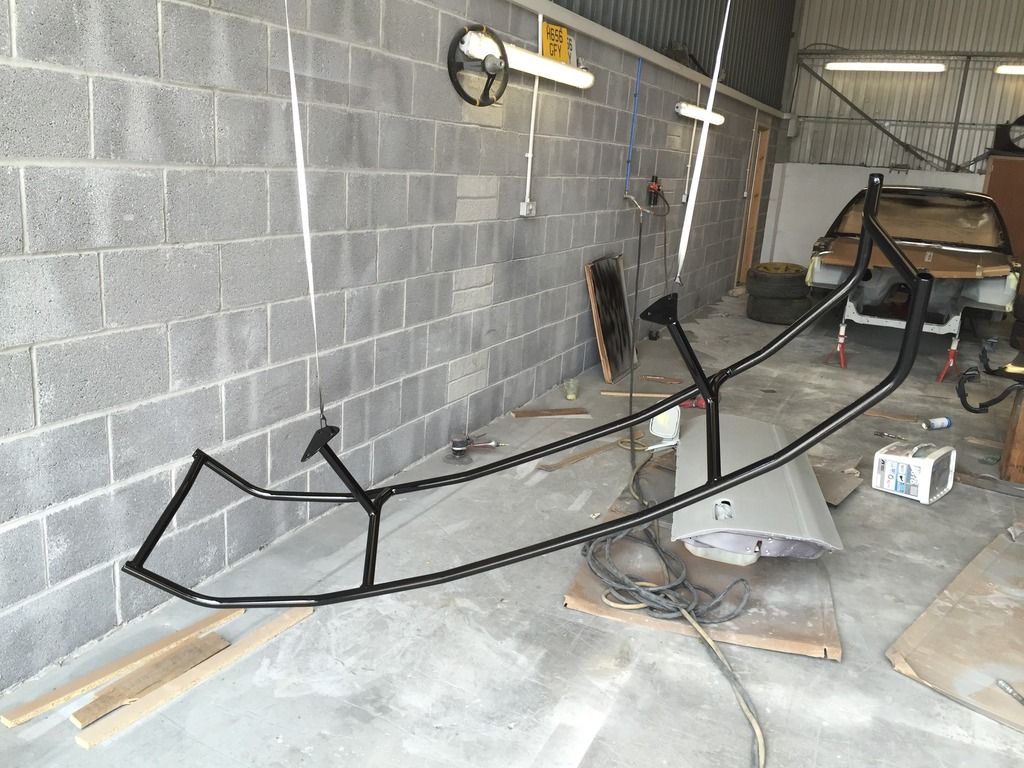 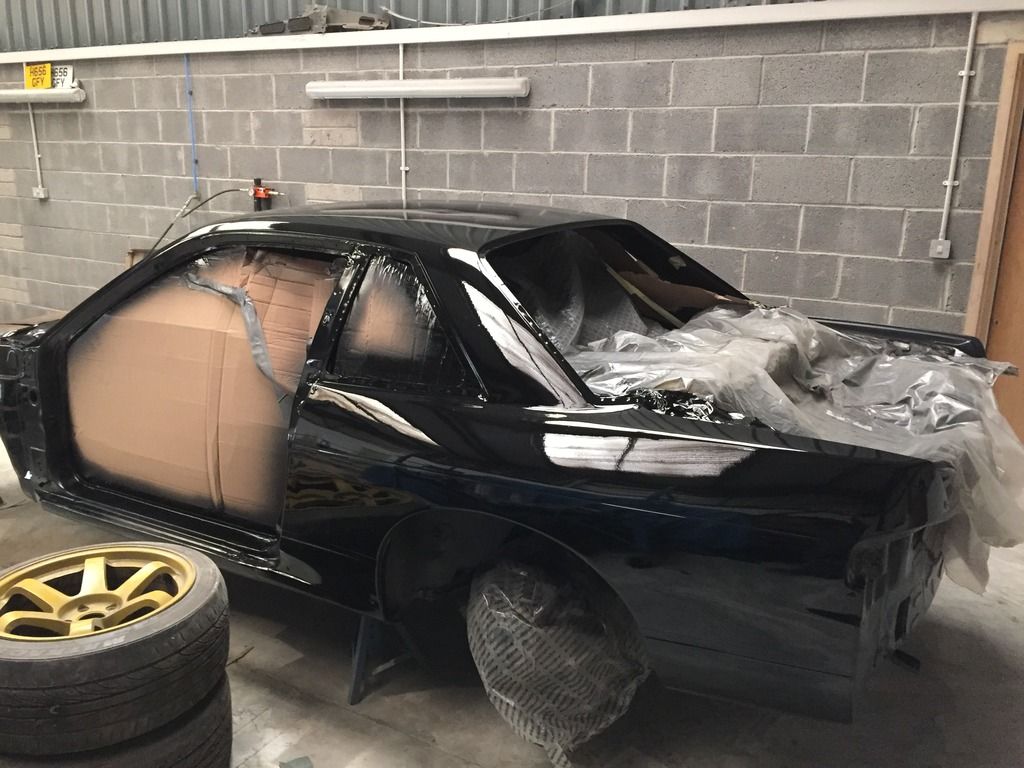 I cant express how happy I am with the outcome once looking back. Does it have a professional finish? Nope. Is there a tiny tiny run on the rear ¼? Yup. Is there some orange peel? Of course. Is it black, sort of shiny and presentable for a track car that will have bumpers flying off? Absolutely YES! There are a few things I’d change if I were to paint it again but as a first proper go (my old car really was a half arsed job so doesn’t count :wack: ) I’m pleased with the outcome. I still have to do the door, bonnet and aero but I have around a litre of paint left. So I’m thinking of grabbing another 1 – 2 litres so that I can start and get everything covered. I went down to the car to see how things have dried, there’s a few specks of dust in the paint but like I mentioned above, I wasn’t expecting a shown and shine finish for my first attempt, but hey, I gave it a good go  Quickly mounted the lights up and the boot, the rear garnish under the lights could do with another coat which I may do, but as a whole, I’m pleased to say its getting there. Quickly threw in the hydro too, just to give me a warm, fuzzy feeling haha. (Although take note kids, hydro’s can be bad your driving style!  ) )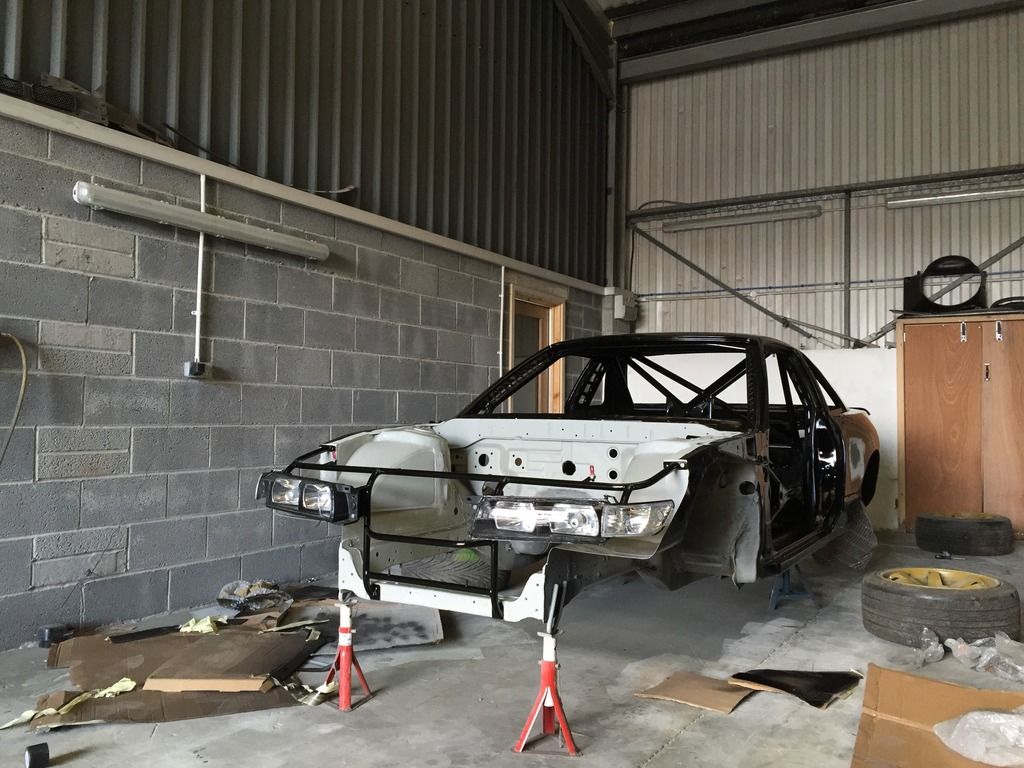 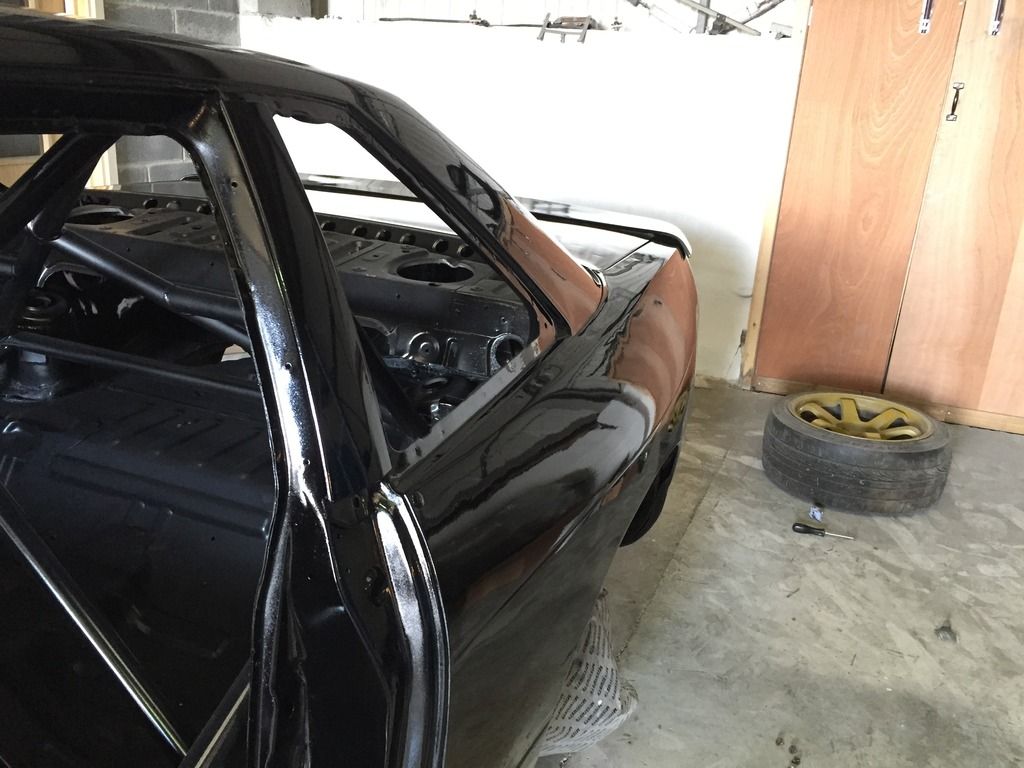 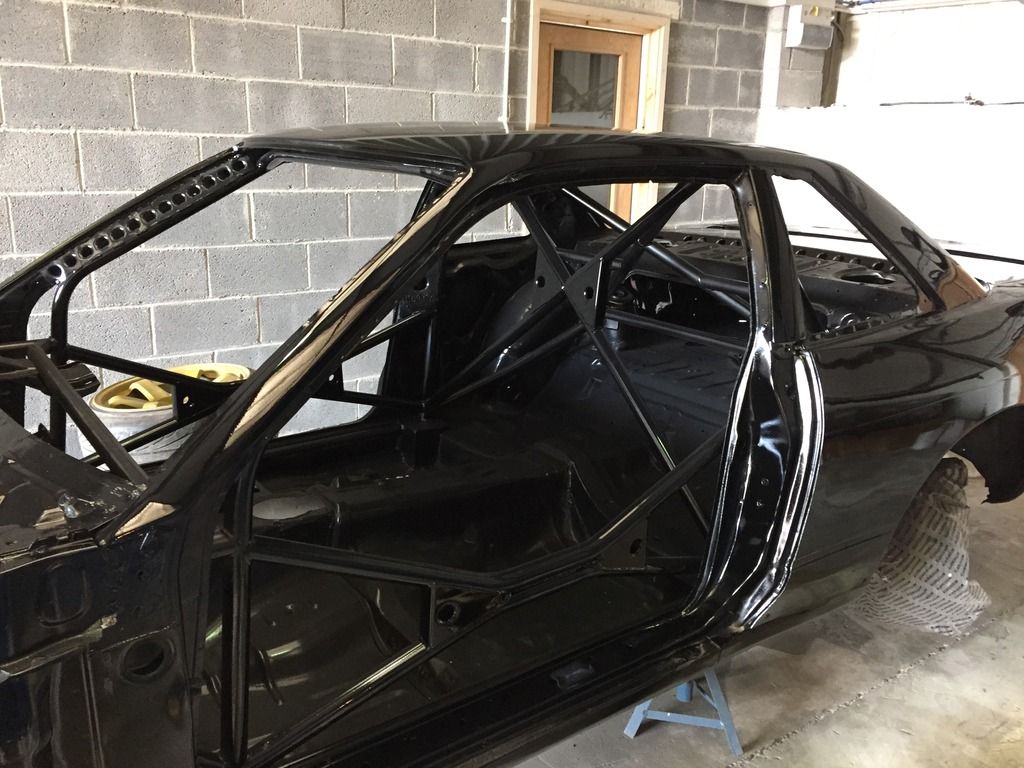 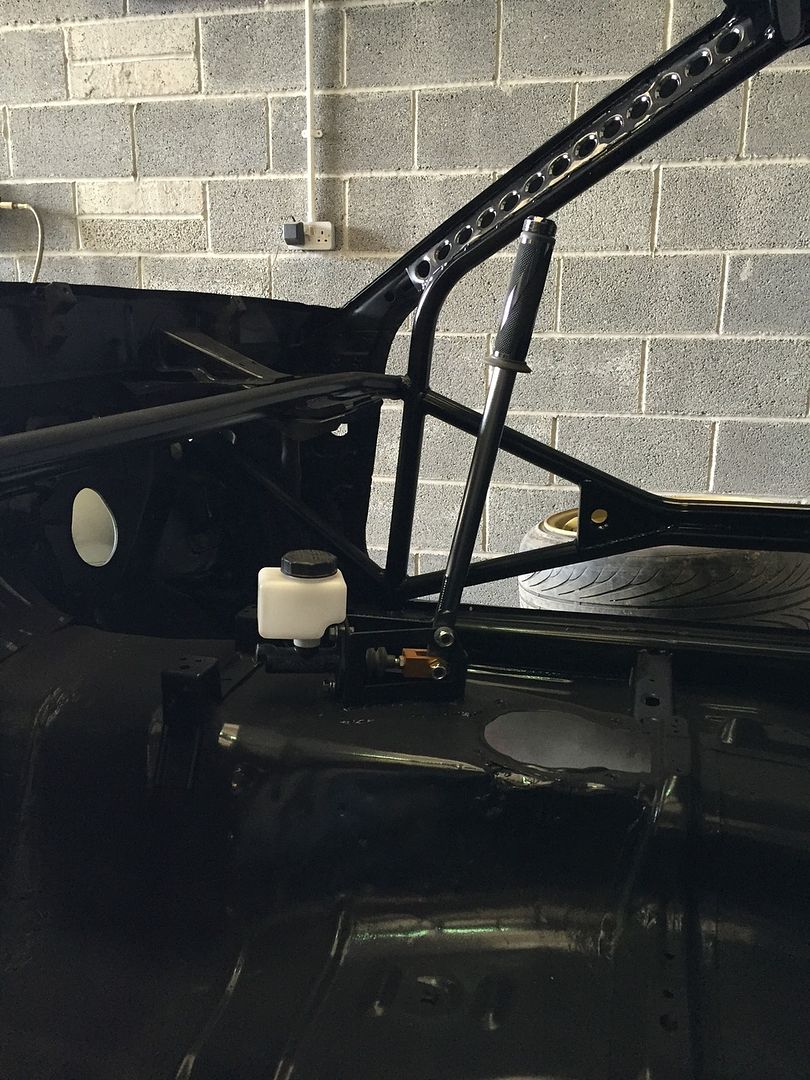 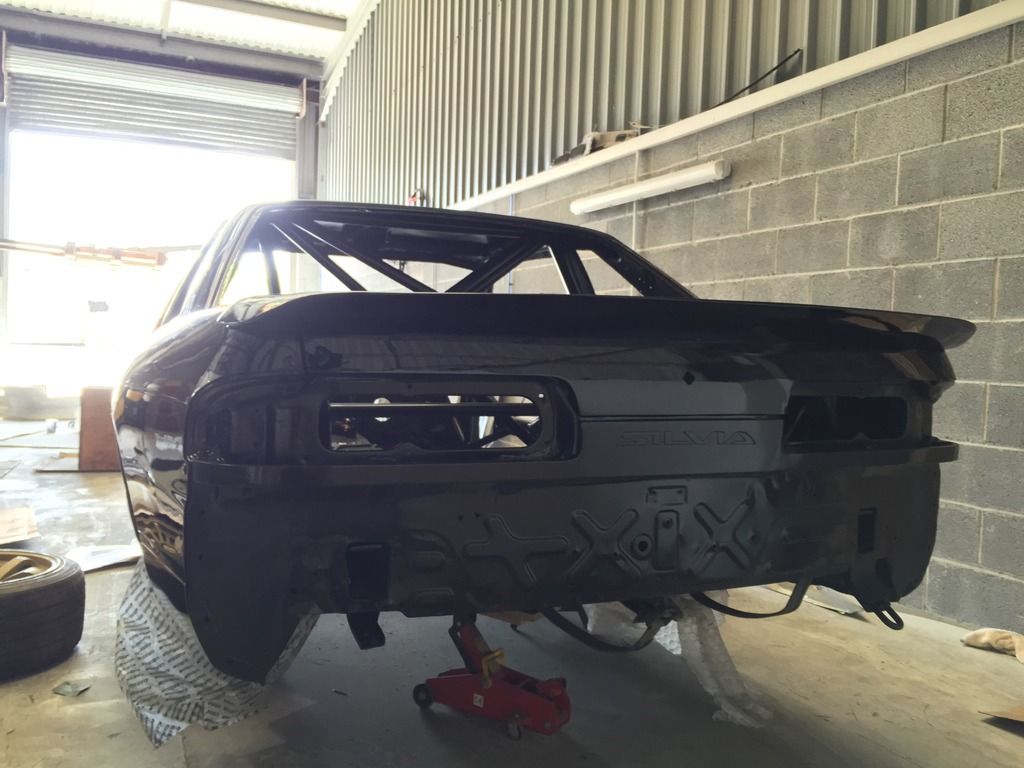 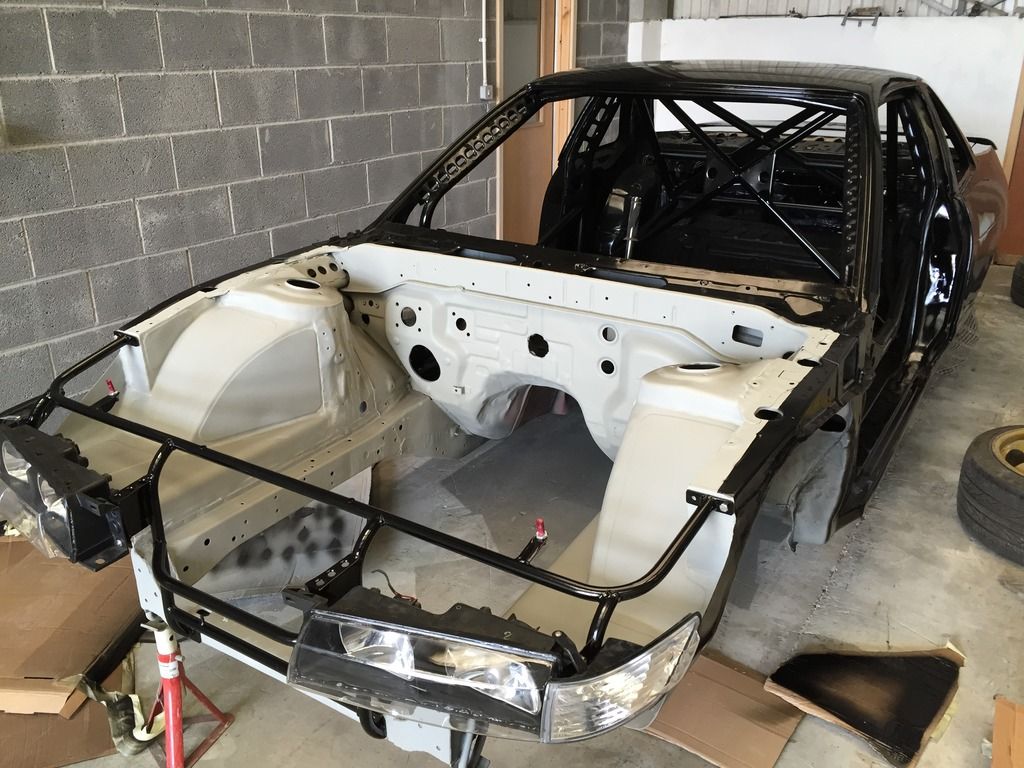 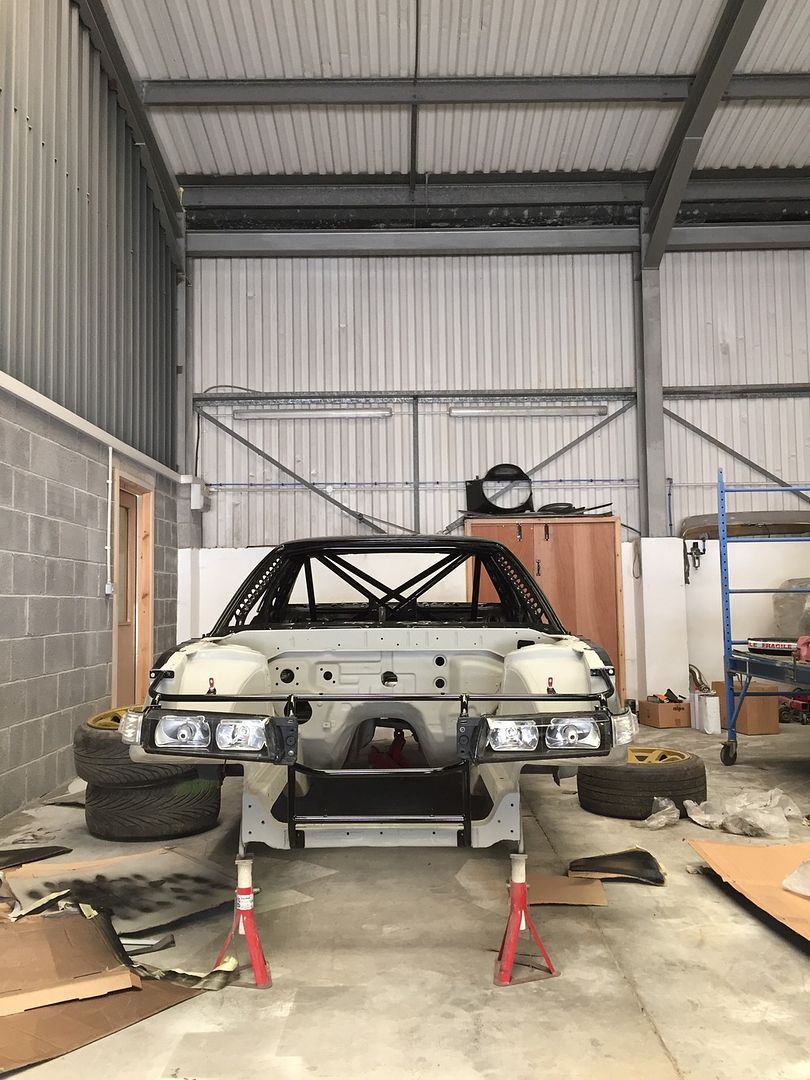 So now I just have to paint the other little bits, and the engine bay  I’m hoping to start work on getting the bellhousing machined on the Z33 gearbox soon, in order to be able to complete final fittings on the engine and get everything in place for good. I’m hoping to start work on getting the bellhousing machined on the Z33 gearbox soon, in order to be able to complete final fittings on the engine and get everything in place for good. |
|
|

|
|
|
#41 |
|
Leaky Injector
Join Date: Dec 2012
Location: Bristol, UK
Age: 30
Posts: 92
Trader Rating: (0)
 Feedback Score: 0 reviews
|
Here's a few pictures of today's progress. I wet sanded the door and skirts back and gave them another go!
Outcome is much better, still a tad orange peel' and some dust (after drenching the surrounding floor!) but after a polish I'm sure they'll come up a bit better. Mirrors came out quite nicely though  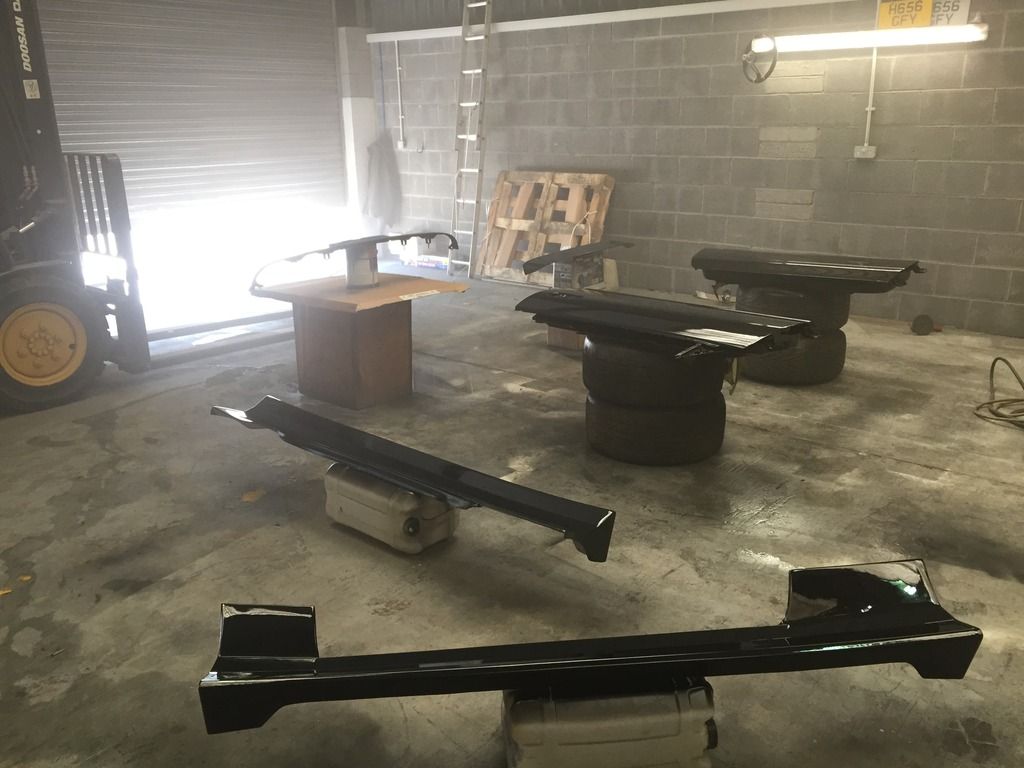 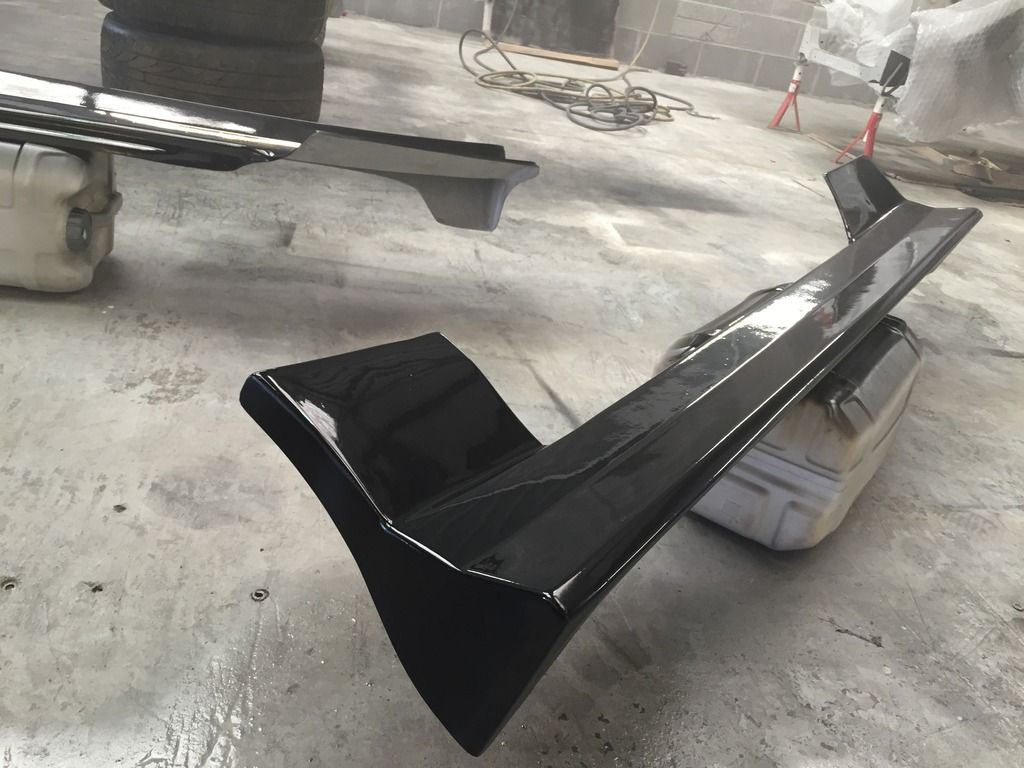 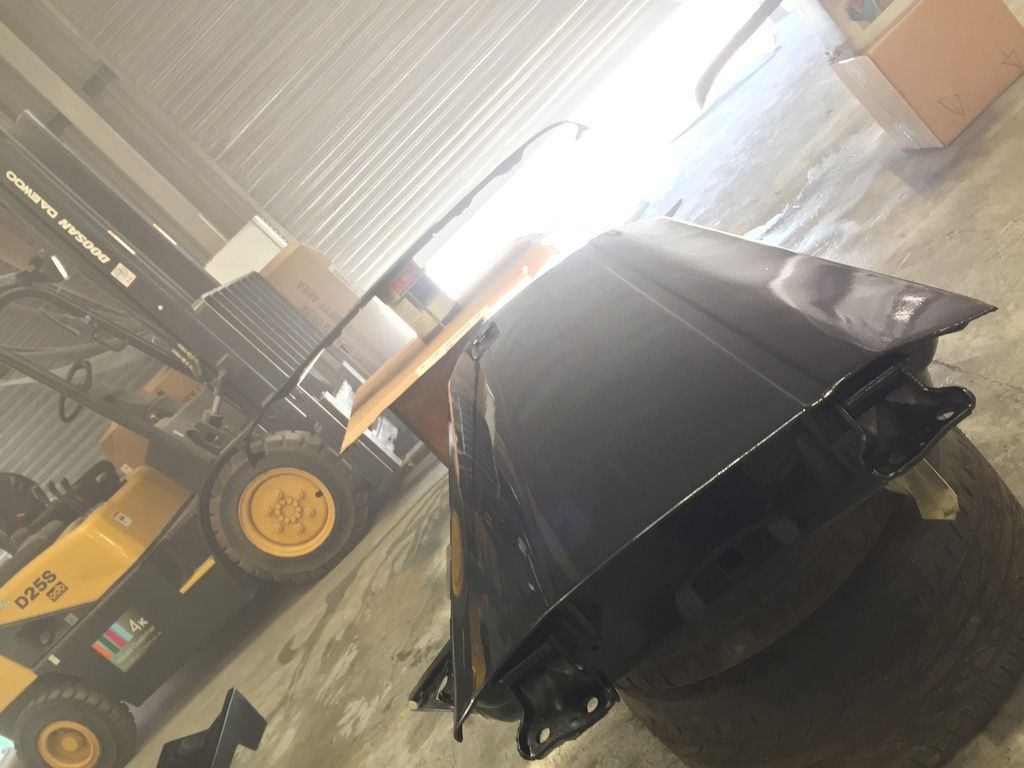 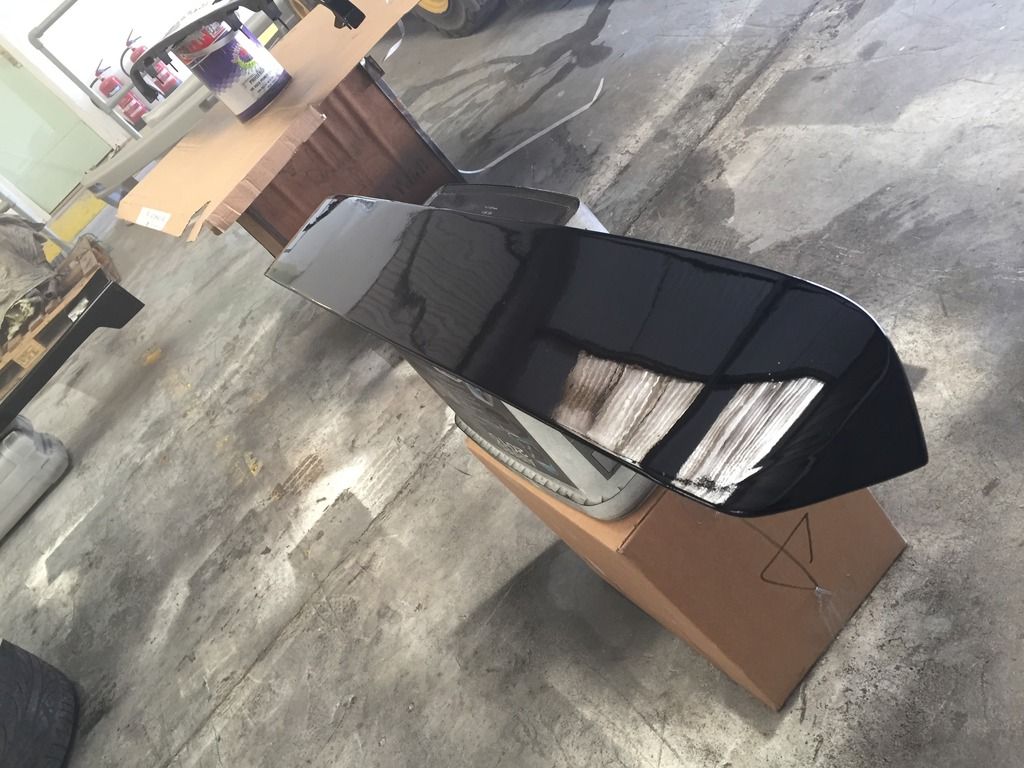 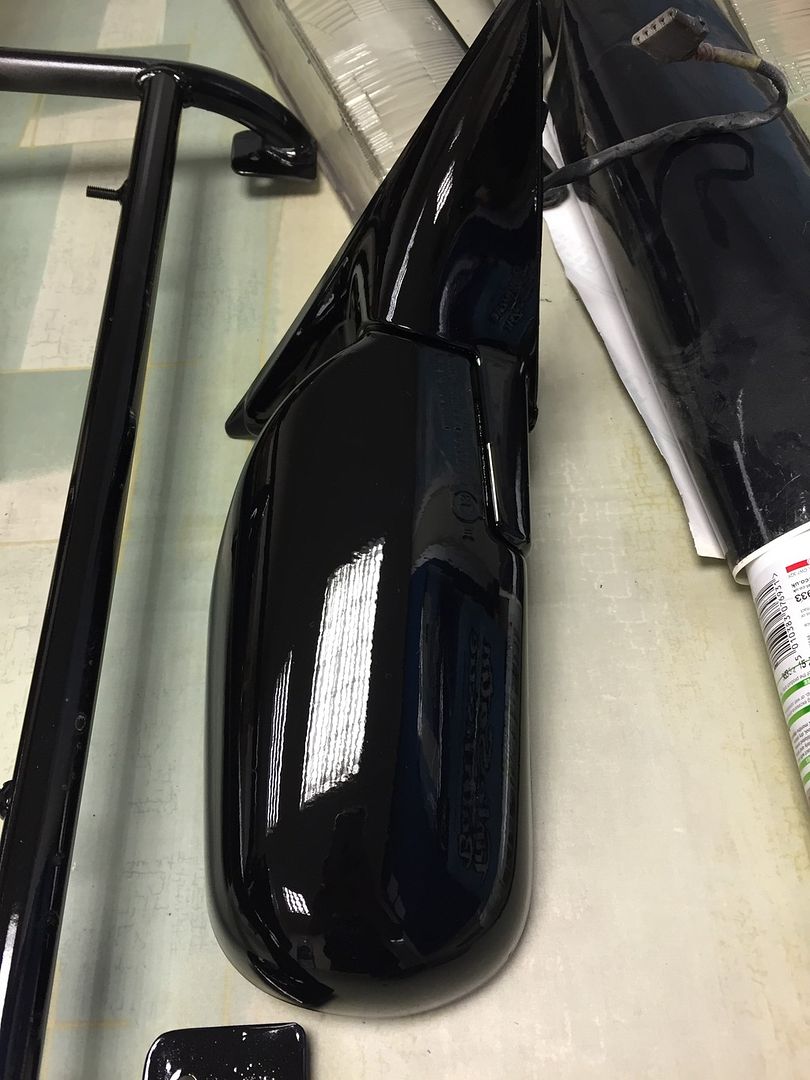 Hoping to spray the front wings, bonnet and both bumpers tomorrow. Then towards the end of the week, circa Friday, the engine bay may finally be in a colour! Started assembling the rear end and the doors yesterday and was stoked on the results! 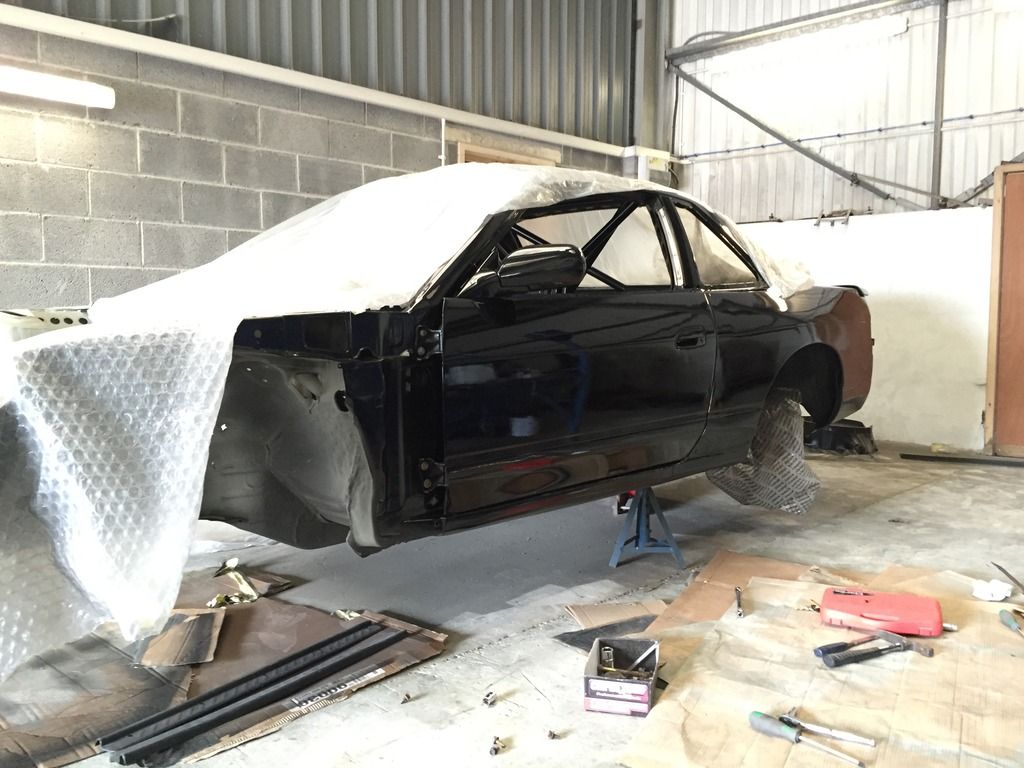 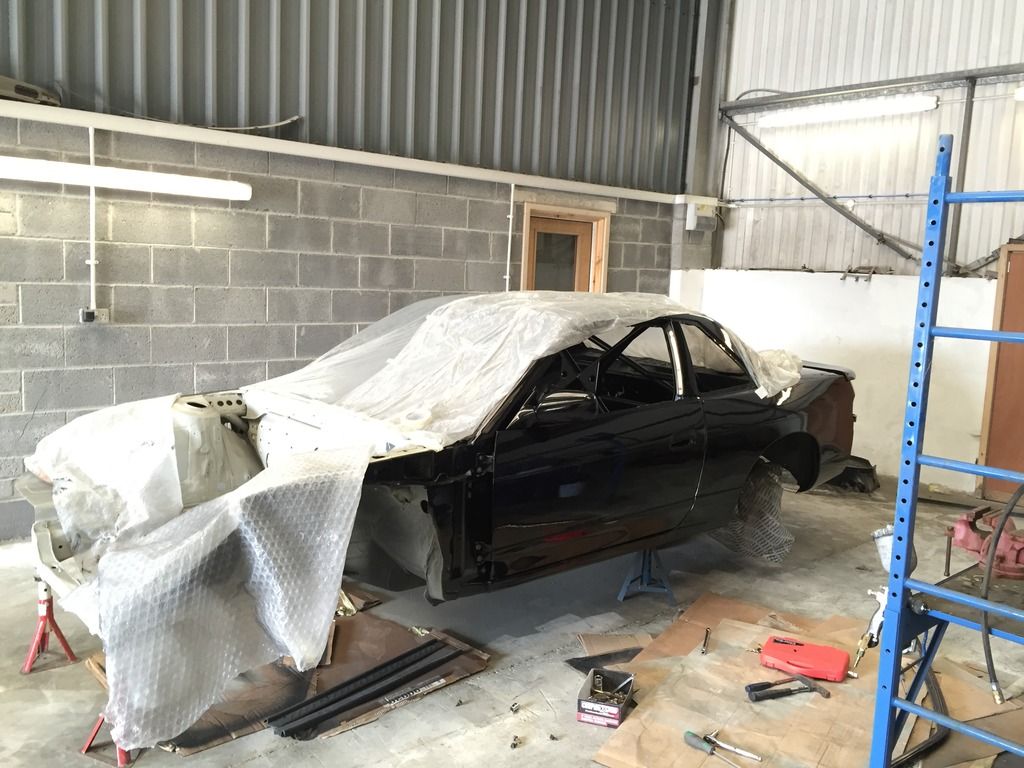 Really can't wait to sit in here properly, but that won't be for a while yet unfortunately. 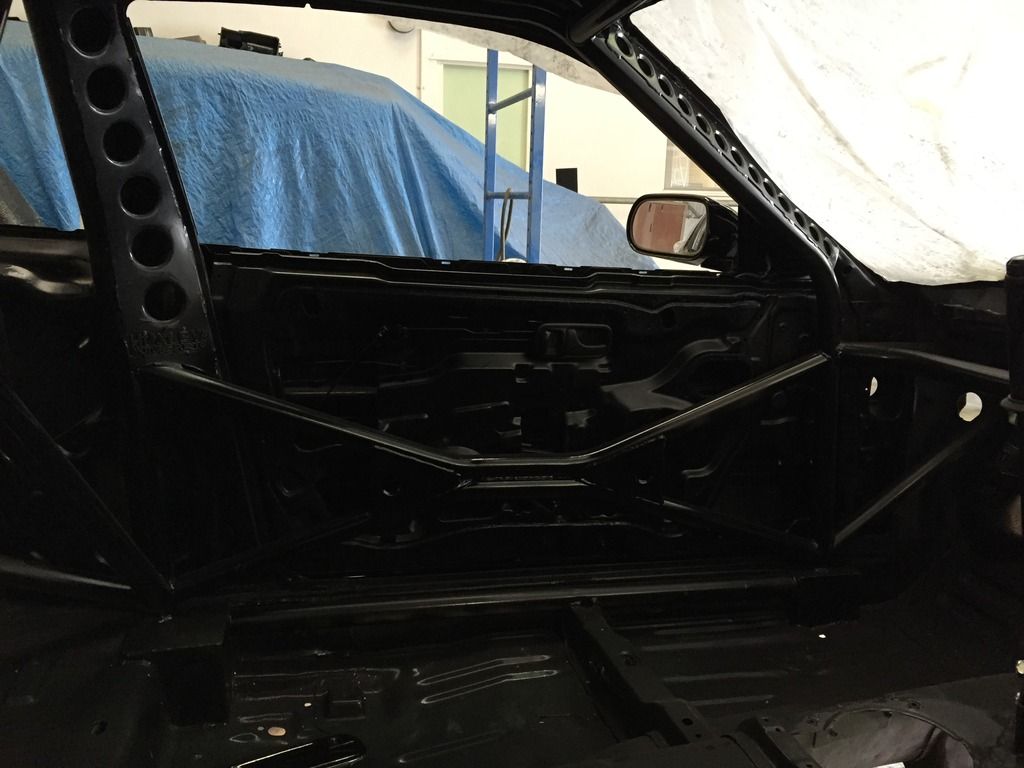 I threw on the Silvia light garnish after giving it another coat. I'm quite glad I did to be honest, it has a much deeper shine than before which is awesome. Cleaned up the rear lights as they had a load of sealant from the previous owner. 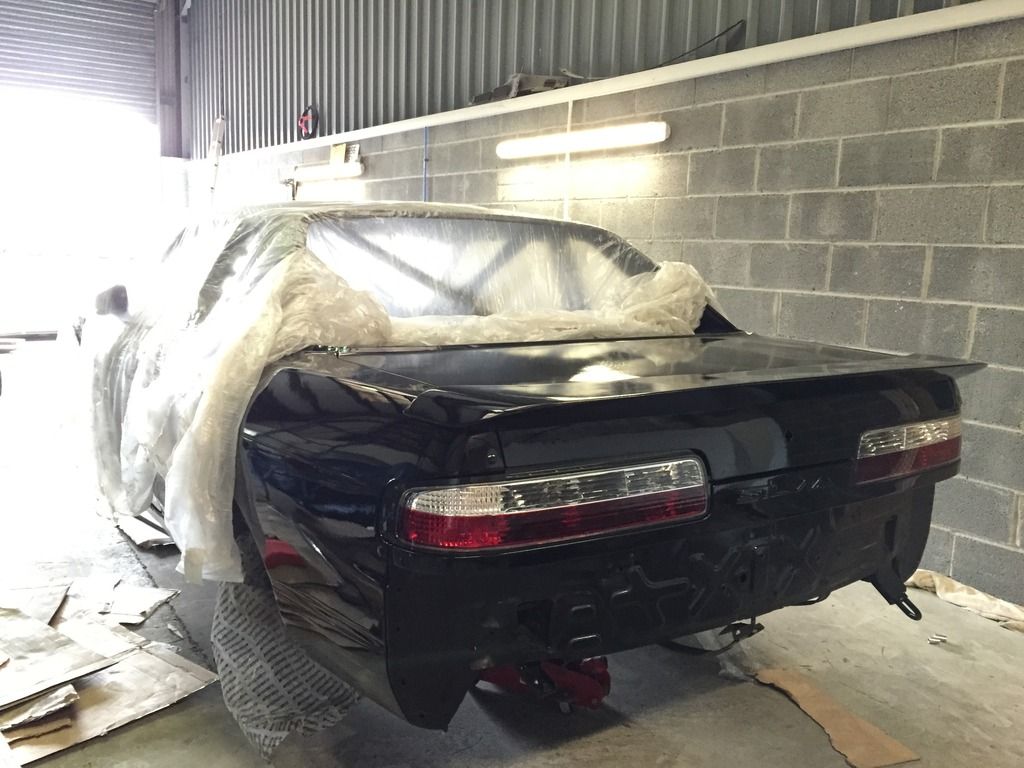 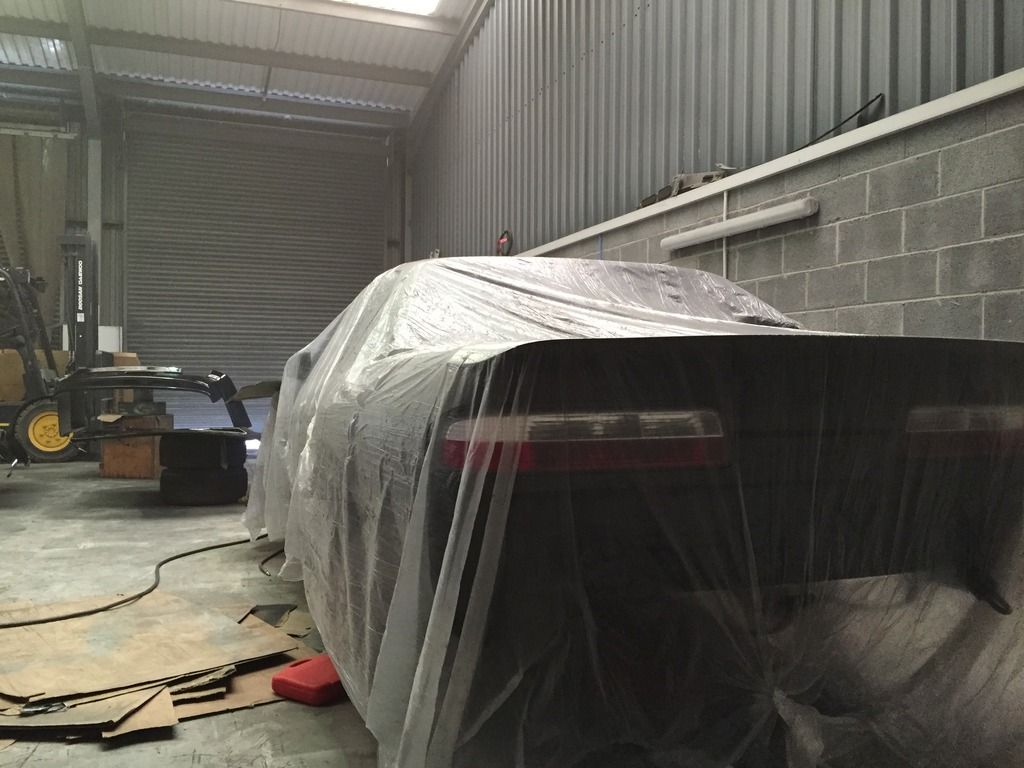 The original plan was to tint the rear lights all red, but after seeing them on yesterday I fell in love with the 50/50 look. Jeez, I'm so indecisive at times! Yesterday afternoon I set about painting the remaining bodywork; the bonnet, wings and both bumpers. Progress seemed okay, until the front bumper fell off my makeshift stand and hit a wing! I wasn't sure whether to laugh or cry, but thankfully it was the first option! I haven't seen how they have dried yet, so hopefully I'll find out in and hour's time or so. If all has gone well, I'll be starting the engine bay this afternoon or tomorrow. The colour I have chosen will not be easy to paint, but I'm set for the challenge  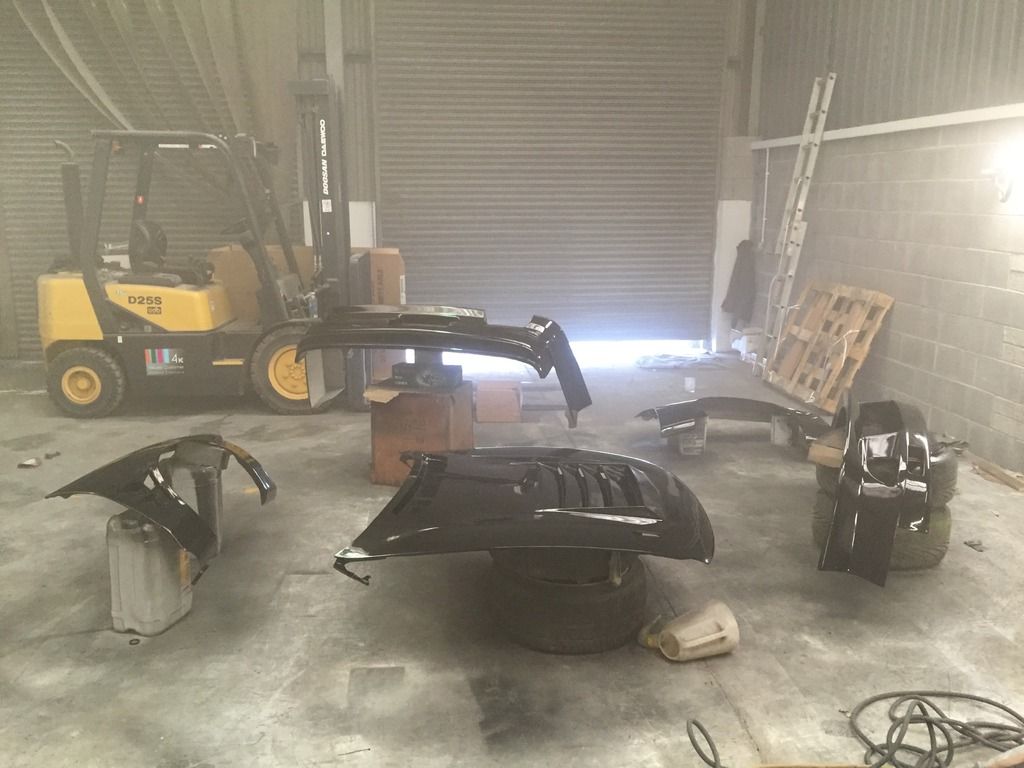 |
|
|

|
|
|
#42 |
|
Leaky Injector
Join Date: Dec 2012
Location: Bristol, UK
Age: 30
Posts: 92
Trader Rating: (0)
 Feedback Score: 0 reviews
|
After I finished painting the wings, bonnet and bumpers, I threw the wings on during the following day to see how the finish looked in comparison to the doors and body.
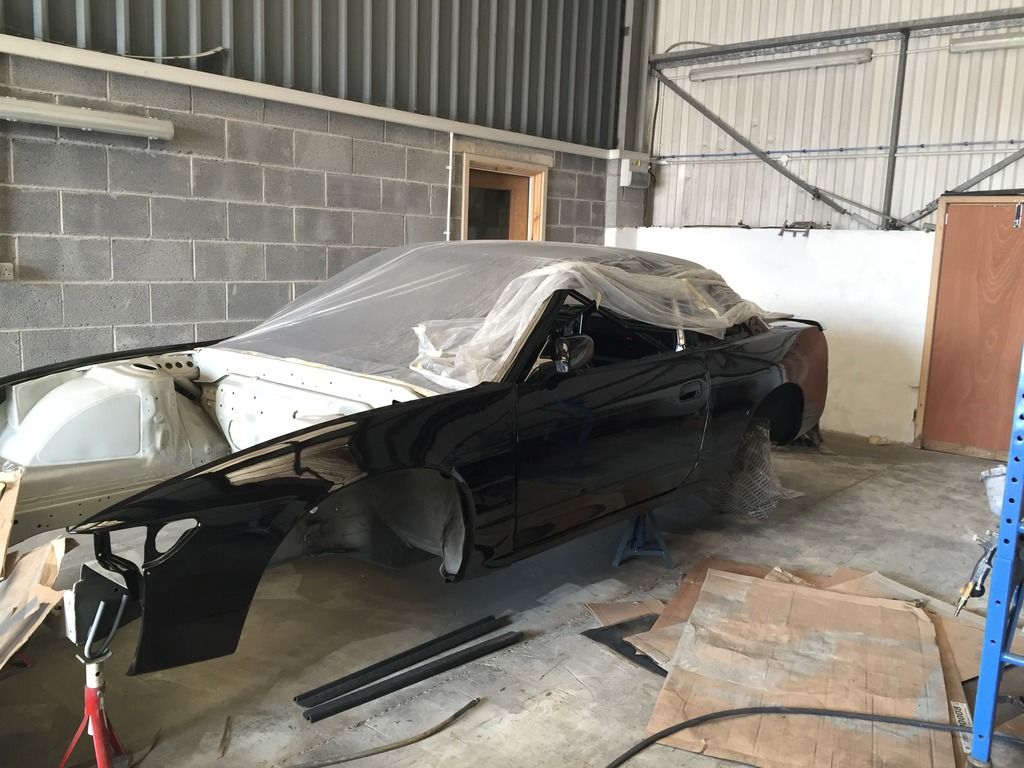 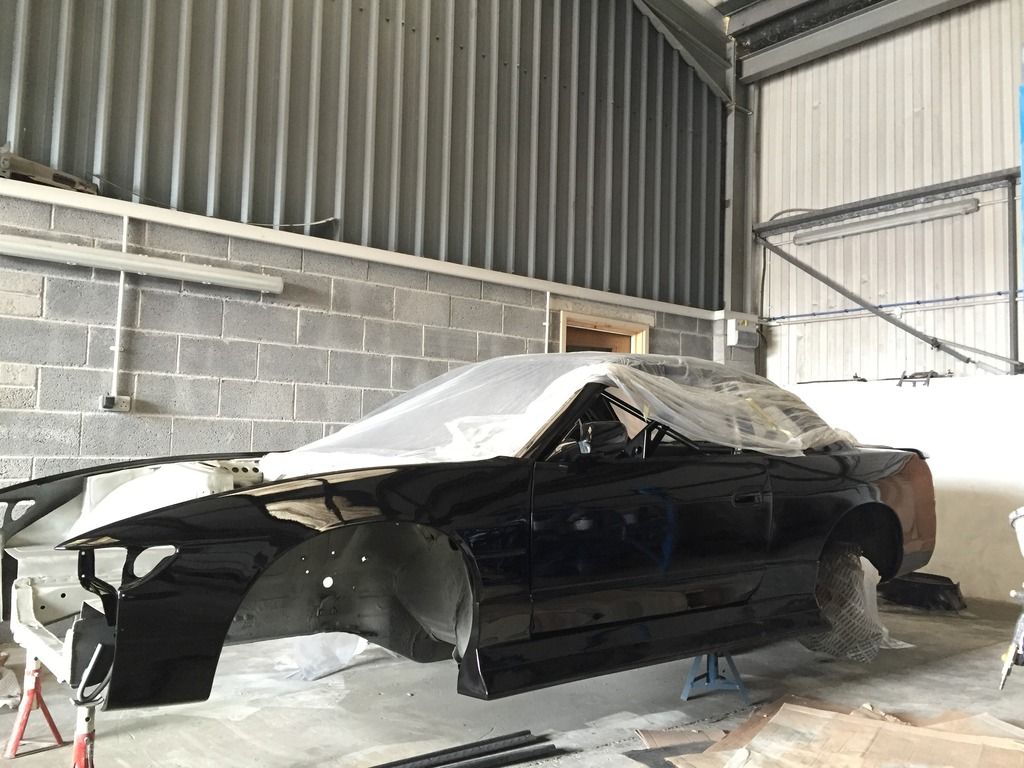 Believe it or not, that is the front wing the front bumper fell into during paint. Thankfully you can't notice too much, and being fibreglass I'm sure they'll become a disposable item anyway  Once that was done, I got around to reinstalling the slats into the top vent of the bonnet and reassembling the Aerocatches; 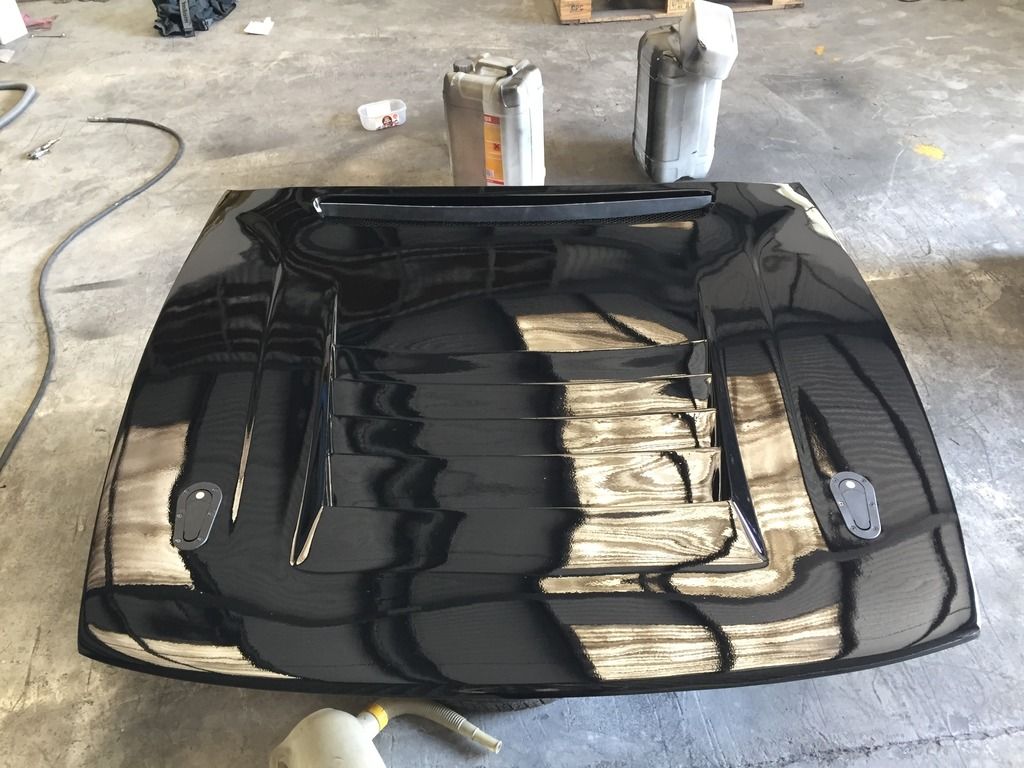 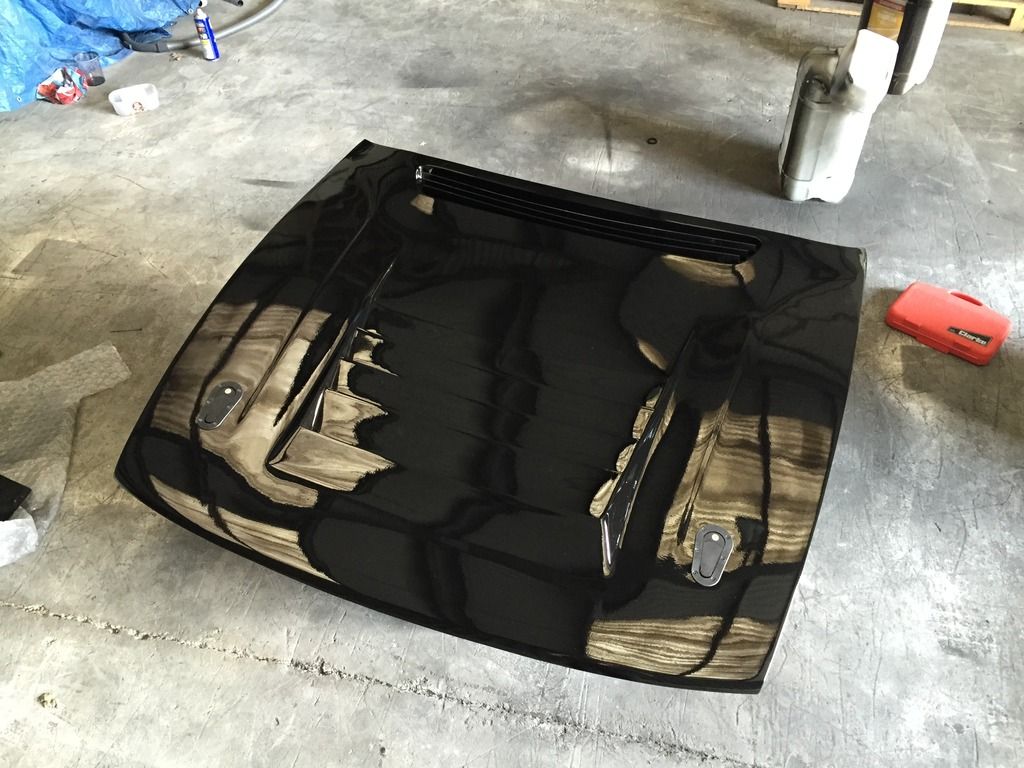 On to the fun part which Leno suggests, the engine bay is finally in colour. So I took a picture for comparison purposes to show the stages  Ive chosen to run a Candy paint for the engine bay to make a feature of the engine bay, and a colour which I feel will tie into the car very, very well. (Hopefully!) Candy's are notoriously one of the hardiest paints to spray, which at this point I wasn't sure what I had gotten myself into was for the better or worse! A candy is a type of translucent paint which is kinda cool! But they require a base, where I chose Silver to give myself a bright, vibrant finish over a darker coloured base i.e. Gold. Here's the base; 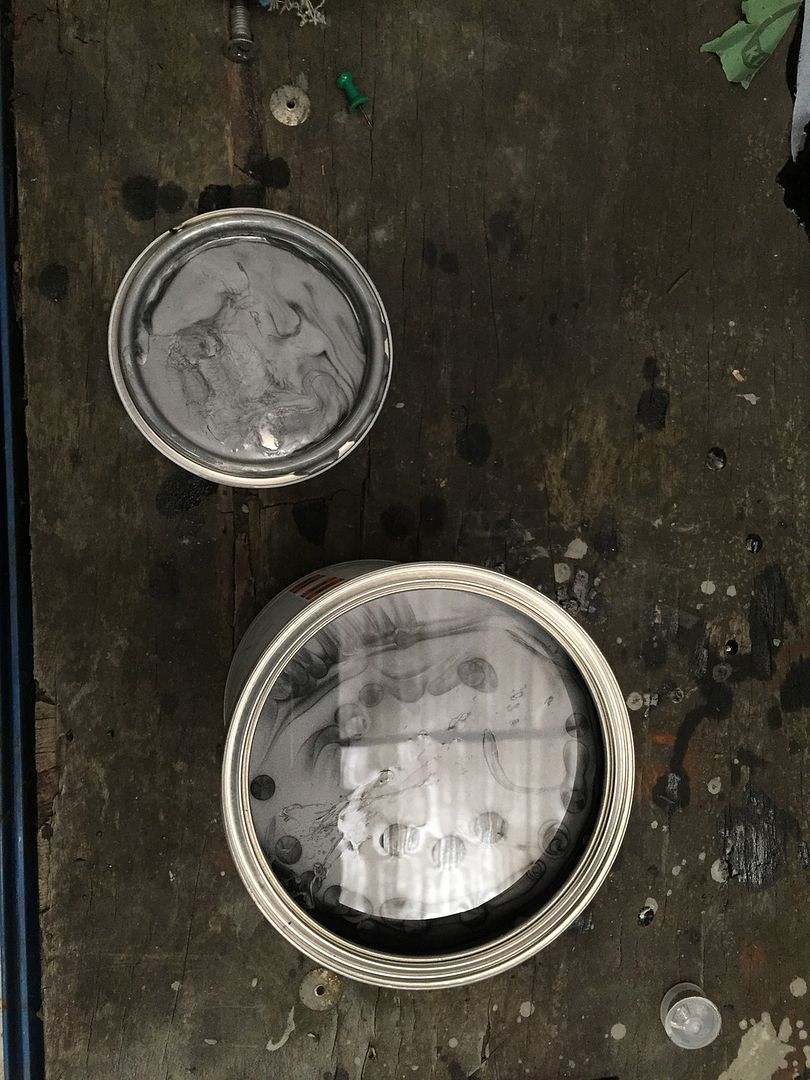 There is not specified amount of coats, but I ended up spraying 2 coats of base as the primer was already quite light to begin with; 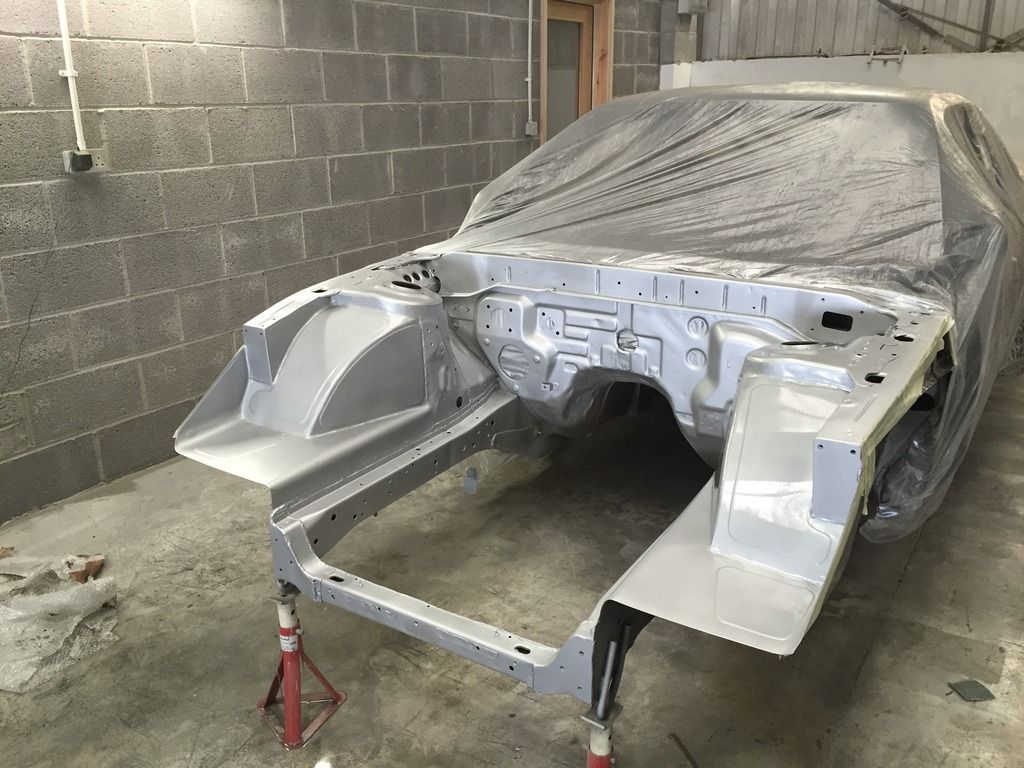 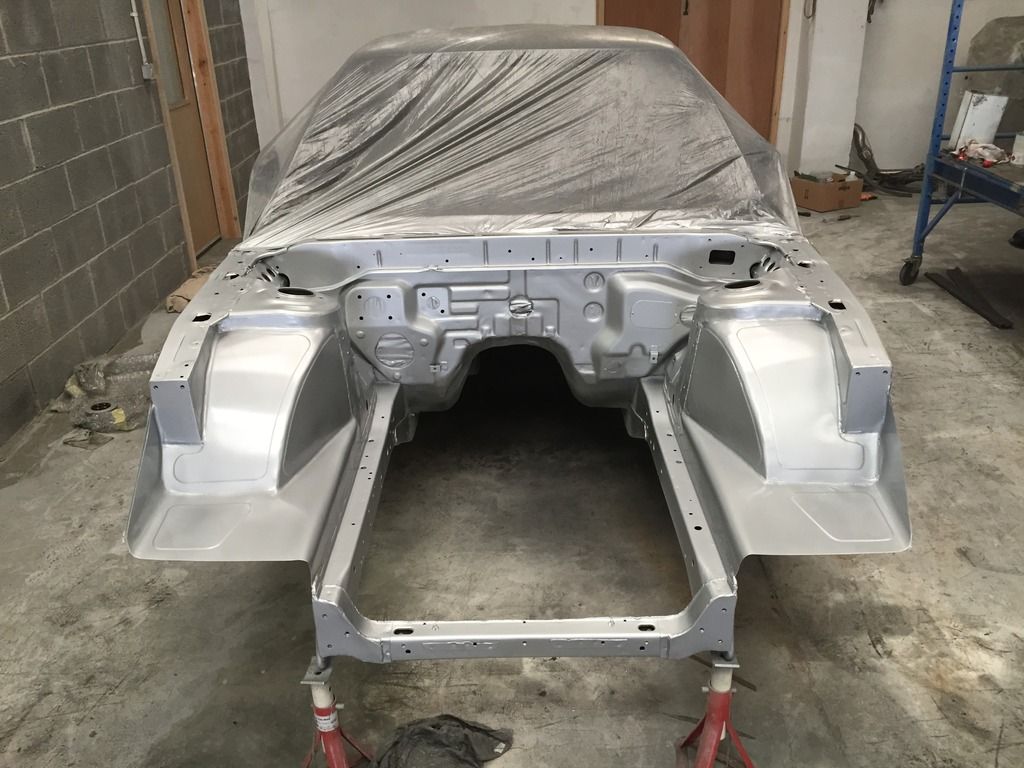 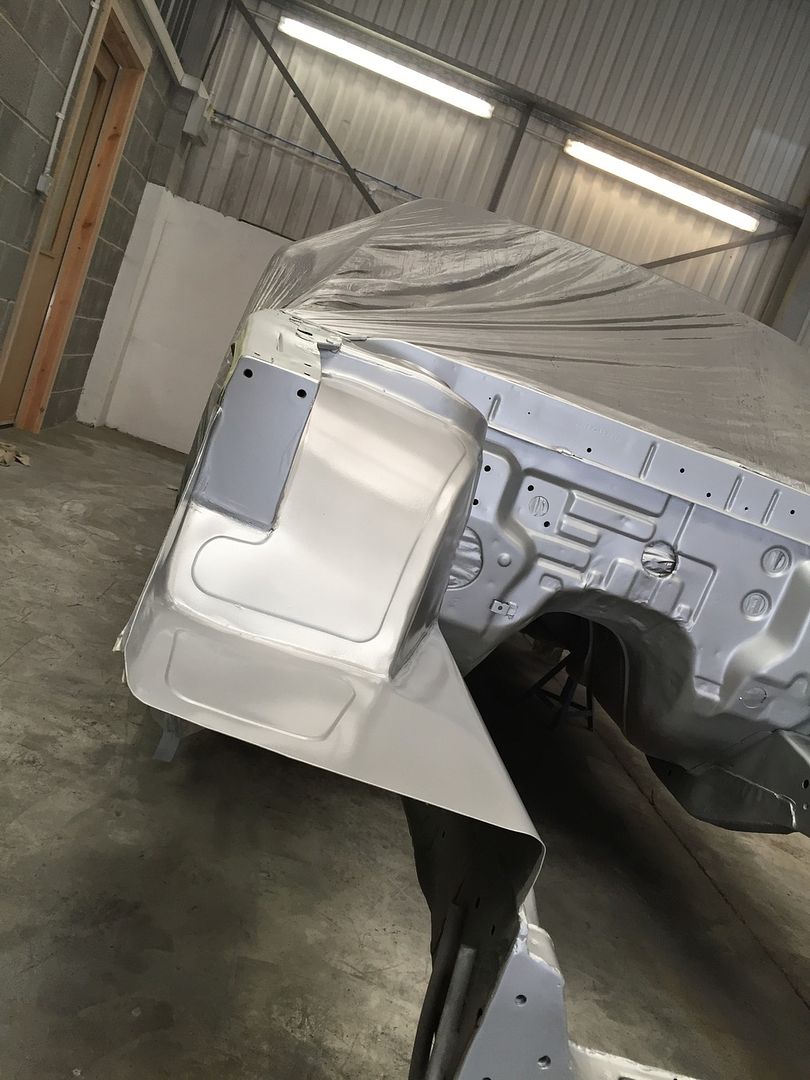 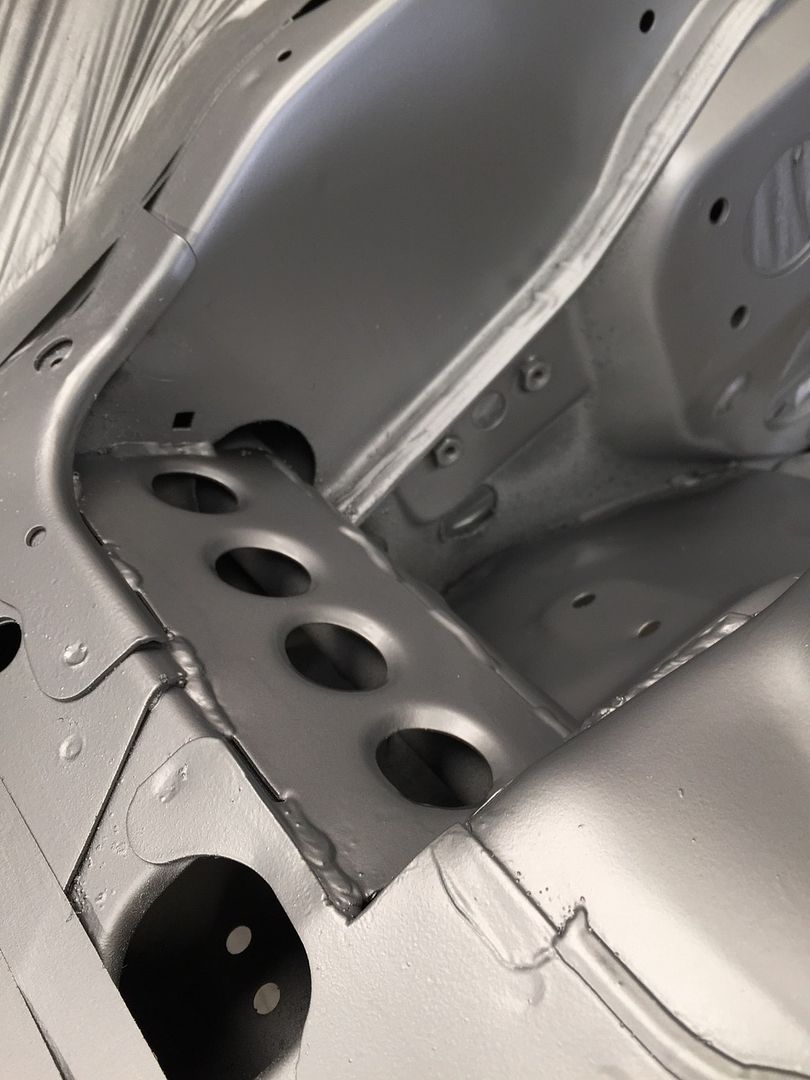 It looks quite cool in this colour, but isn't what I quite had in mind :wack: The candy I had chosen was Candy Apple Red! I had gotten this idea of my father, and the hot rod scene as they love spraying Candy paint. What better way to mix the generations and bring a bit of spice to the old Silvia! So after the first coat of candy, the engine bay was looking like this; 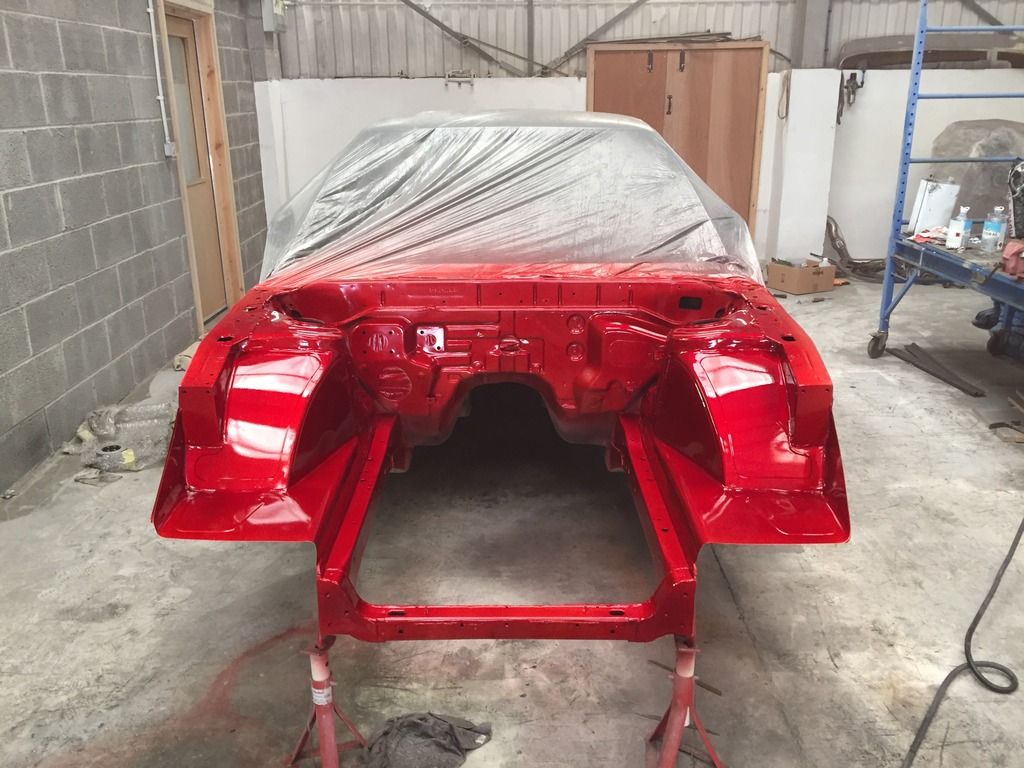 It was very bright, and also still very see through given it was the first coat. I bought 1 litre, which was exactly enough for 4 satisfactory coats which seemed like an ideal number between a very light candy, and a very dark one. After the 4 coats; 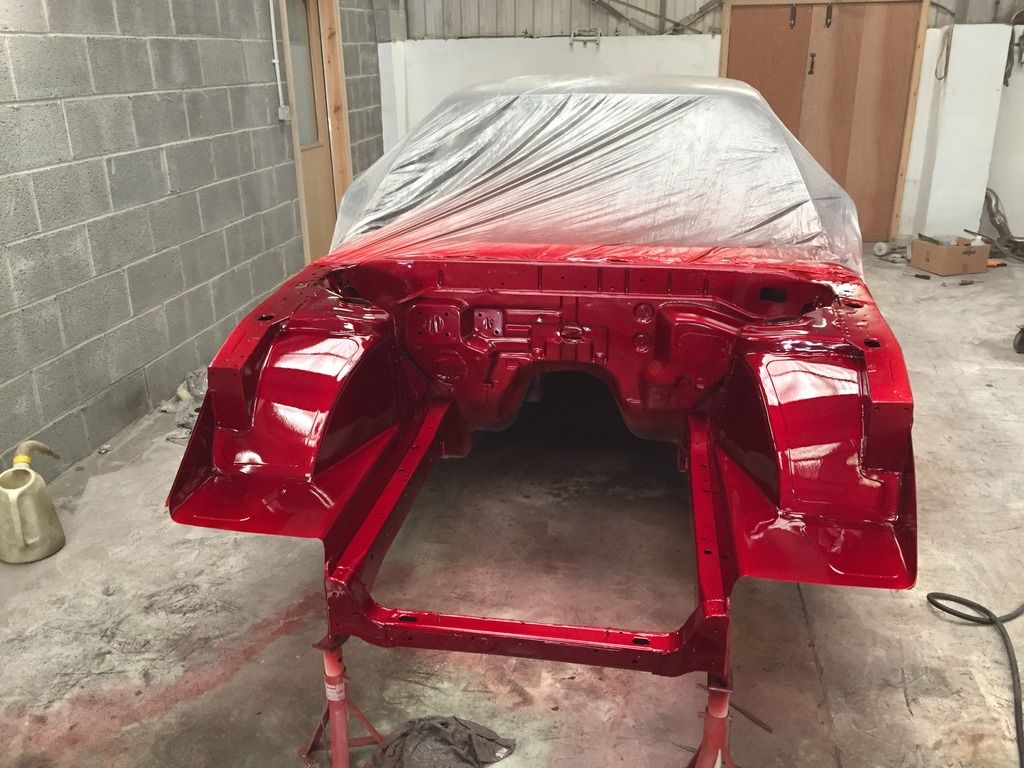 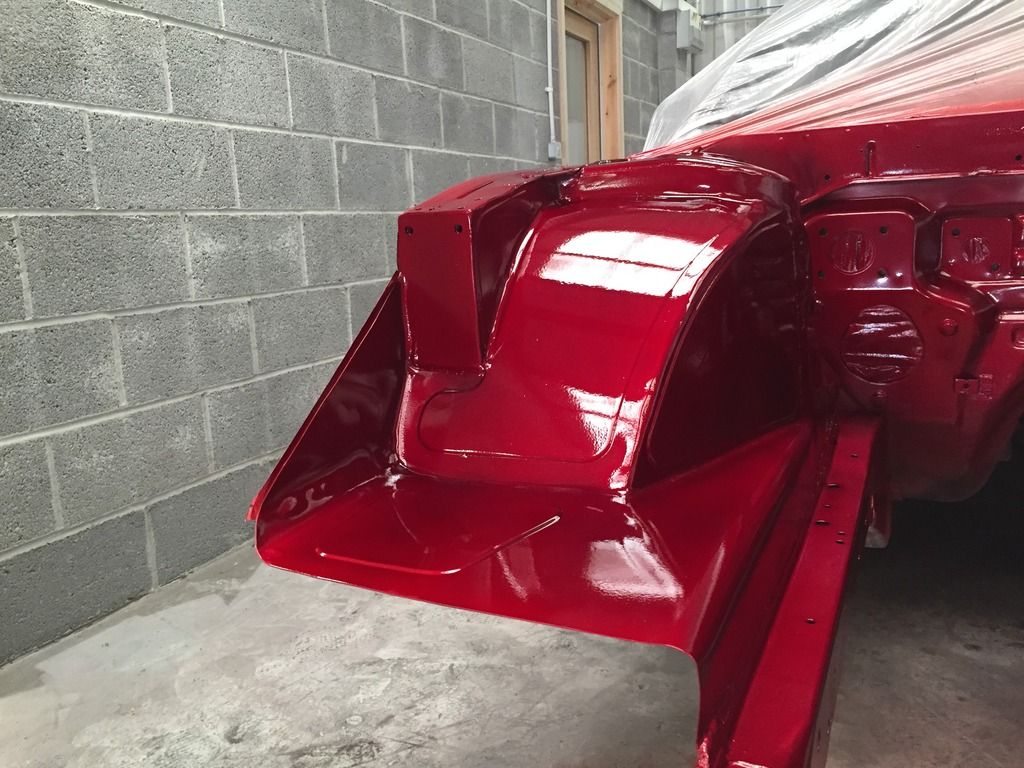 You can see how its gotten visually darker with a gradual build up of coats. The next stage was to apply 2K lacquer in order to seal the base and candy, and to give it the all important shine. I had never sprayed lacquer before and found it was well too easy to get the odd run here and there, but nothing large and not instantly noticeable. After the first coat; 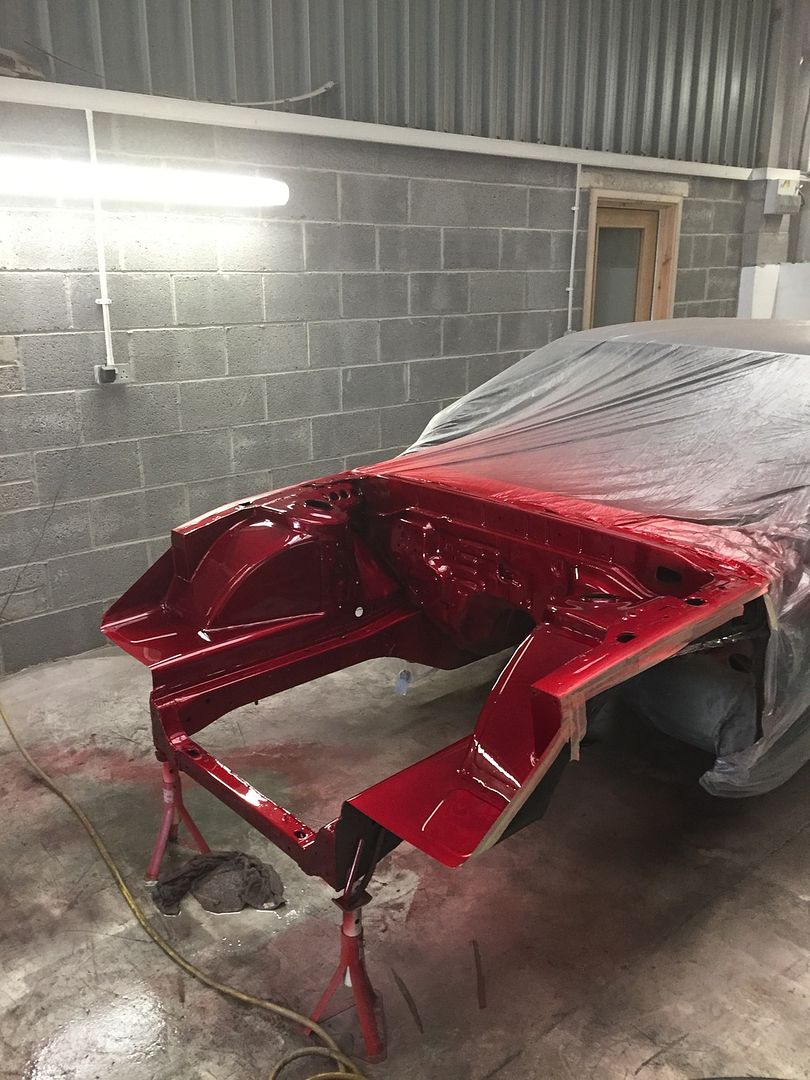 After 4 coats, which I deemed enough to protect the paint, give a reasonable paint and well, thats all that 1 litre of 2K lacquer and hardener would allow me to cover :wack: 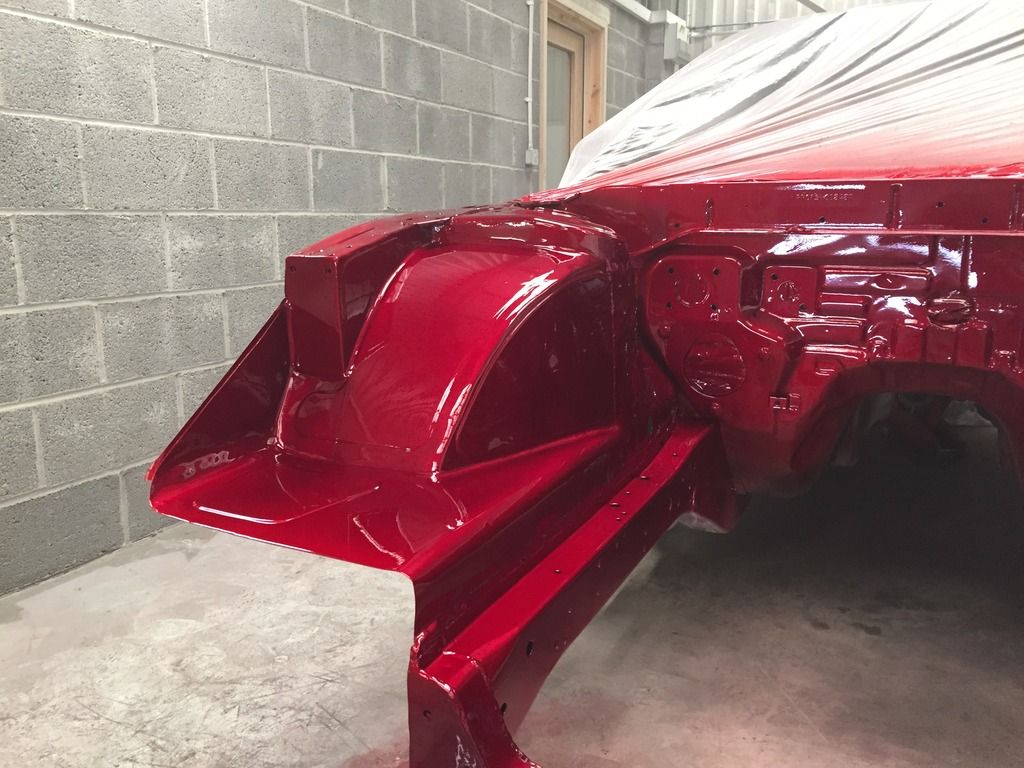 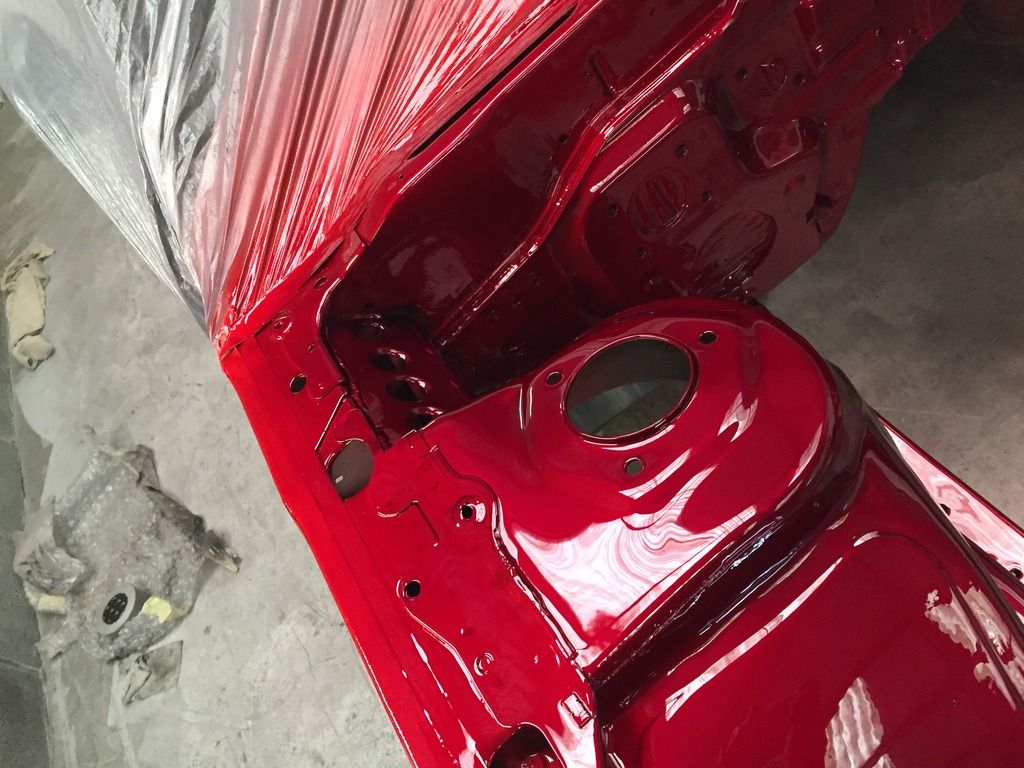 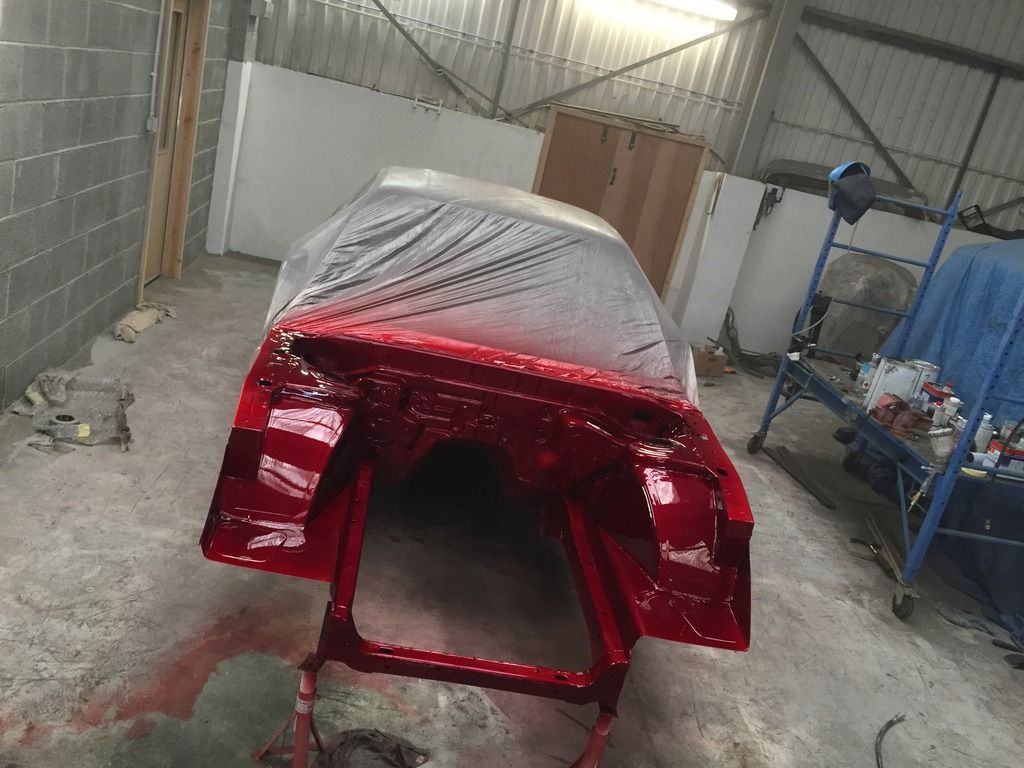 Lacquer was still wet here, but you get the picture;  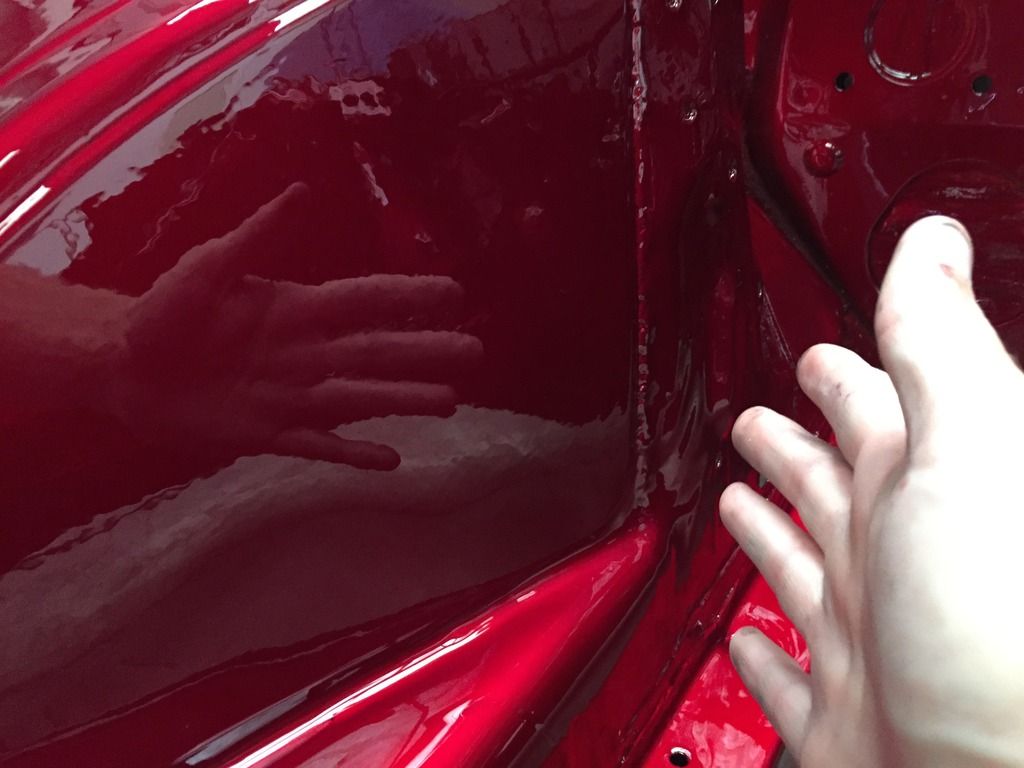 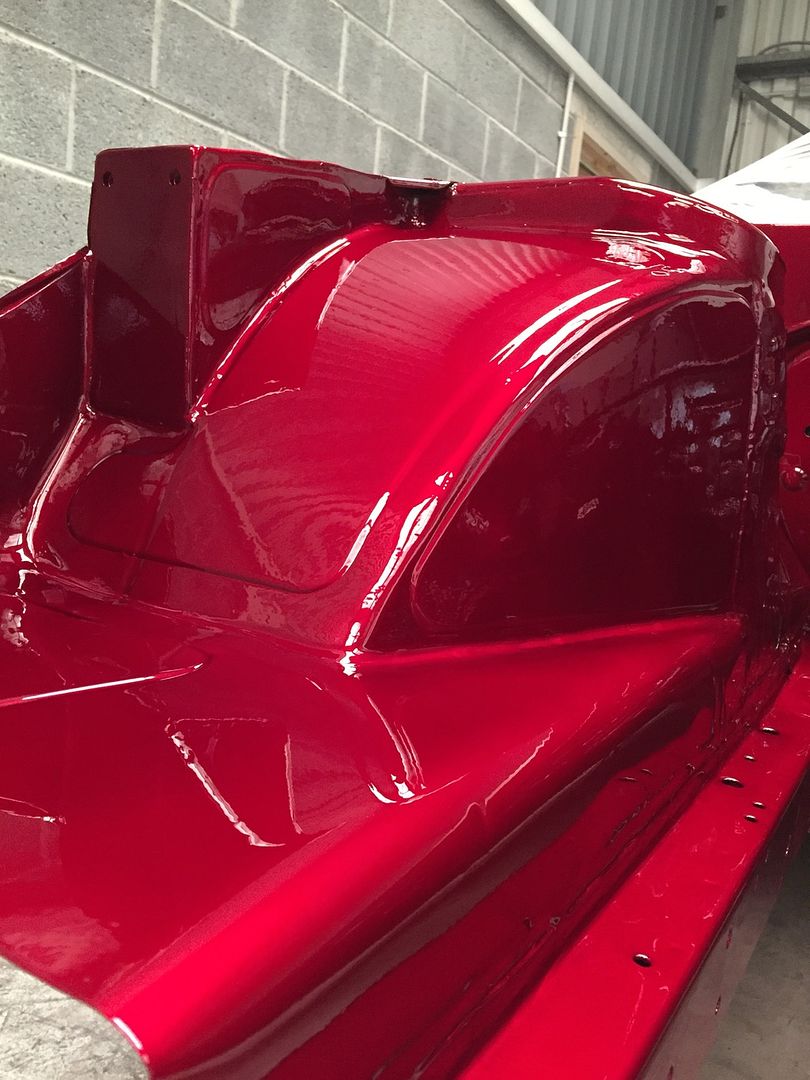 Went down the following morning to check the progress and everything seems well, I'm going to leave the lacquer longer to make sure it is fully cured before bolting the front end on. Plus I'm in no rush this weekend to get this bolted on. Trial fitted the rear windows again to gauge how to fit them. Initially I was thinking of small black rivets, but may go down the standard bonding route for a much cleaner look. The other factor in this decision was attaching the roof spoiler, where rivets could potentially mean the spoiler wont sit entirely level but I'm not too sure on that so may play it safe and just bond them in. 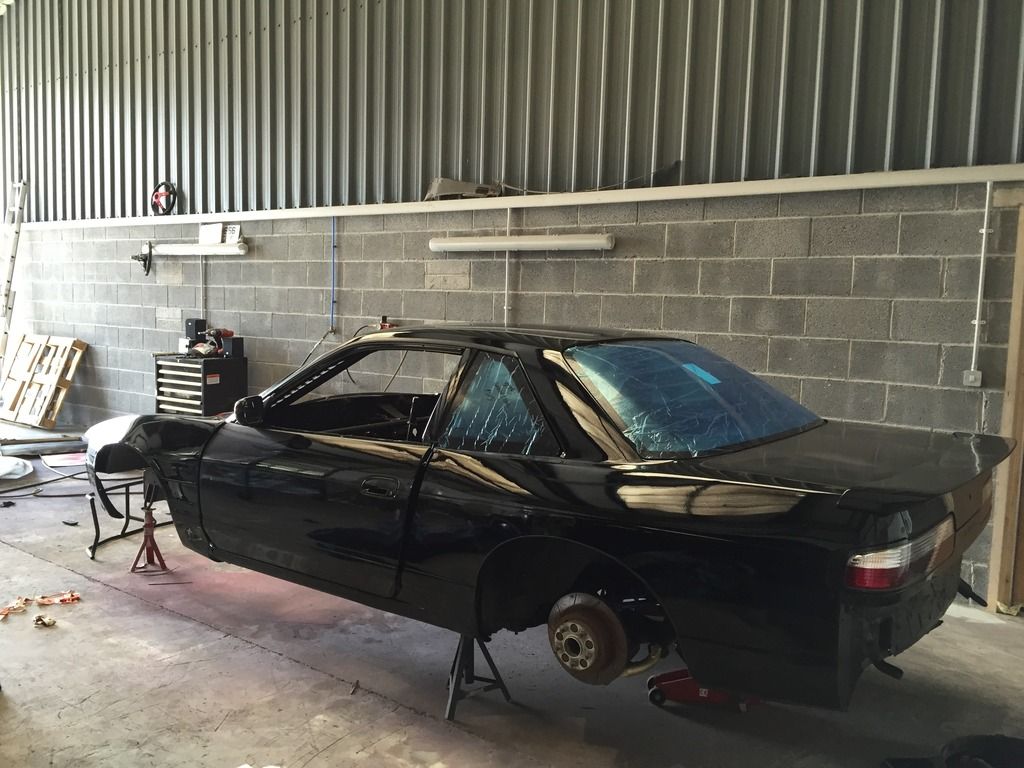 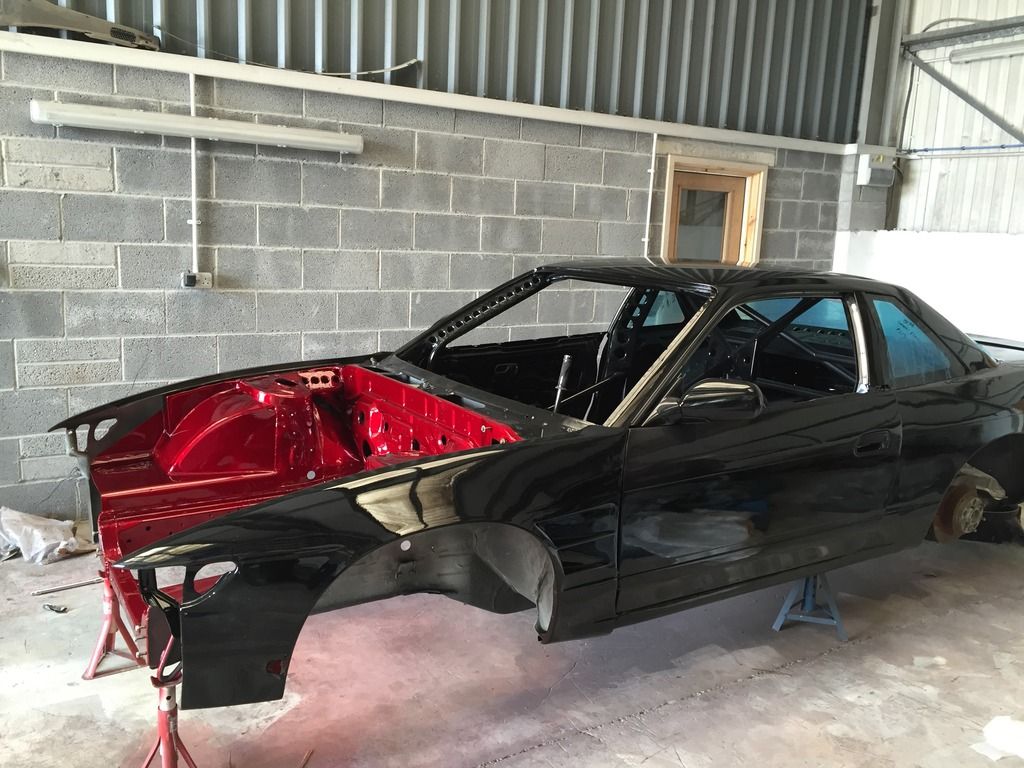 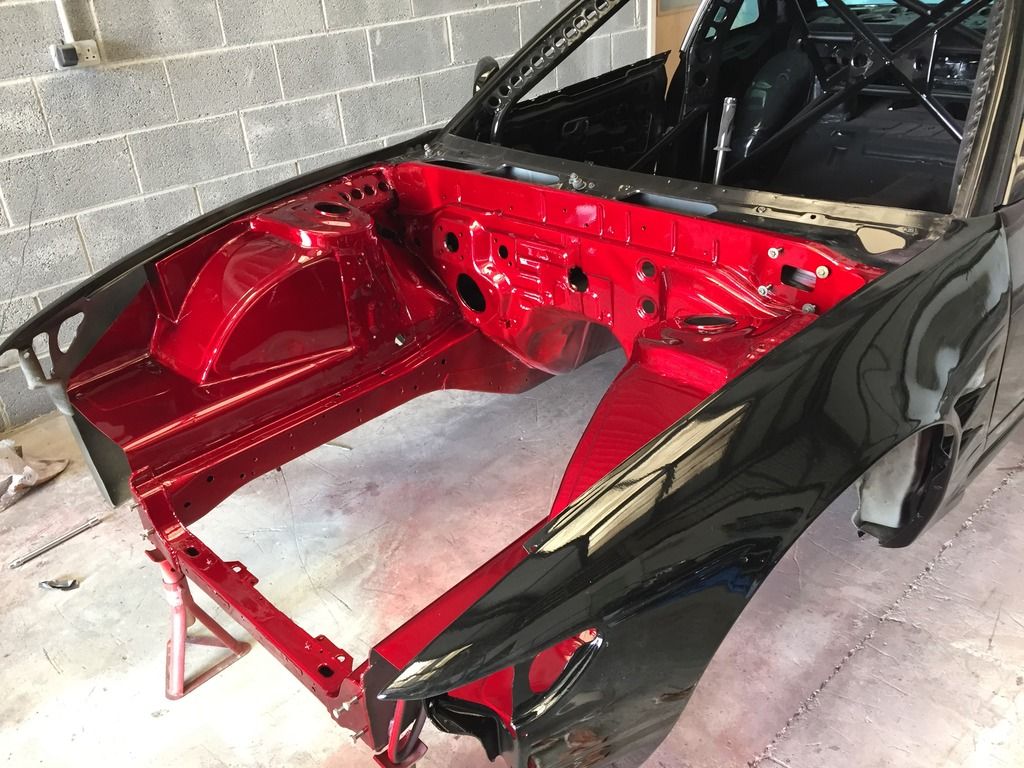 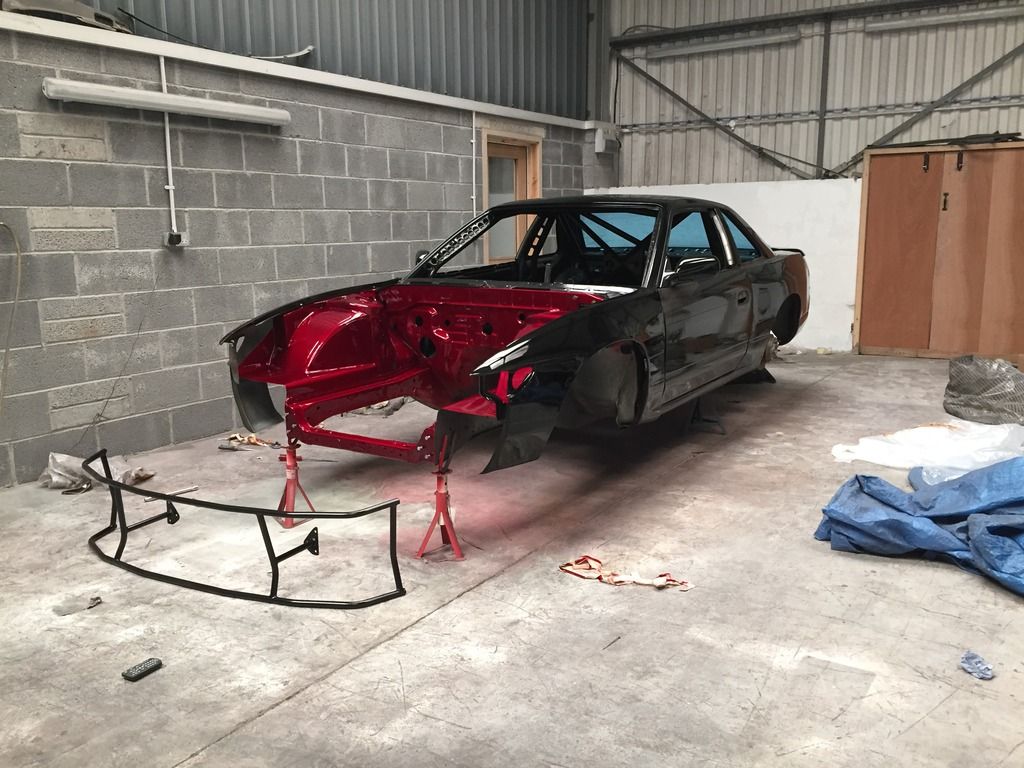 And that's how I left the car today around lunchtime. I can't express how chuffed I am with how this car is turning out. There's plenty of imperfections in the bodywork and the engine bay, but as I've said before I'm not bothered as its been a huge(!) learning experience and turns out its quite addictive haha! Time to start ordering the small bits and bobs to start making things come together. Im hoping a friend will swap the front LCA balljoints out this week, so that means it may be back on the floor rolling soon which I can't wait for. I need to start thinking about splitting the gearbox and getting the bell housing machined in order for the conversion plate. Once that's done, I can begin to think about dropping the engine in, which is a day I seriously can't wait for. Just think of that gold valve cover against that candy red, oh my!! |
|
|

|
|
|
#43 |
|
Leaky Injector
Join Date: Dec 2012
Location: Bristol, UK
Age: 30
Posts: 92
Trader Rating: (0)
 Feedback Score: 0 reviews
|
tarted assembling the front end today, although the front bash bars will come off in the future for when the engine goes in, but its a case of 12 bolts to remove both of them. (Offered up the Equips just to gauge how awesome it'll look
 ) )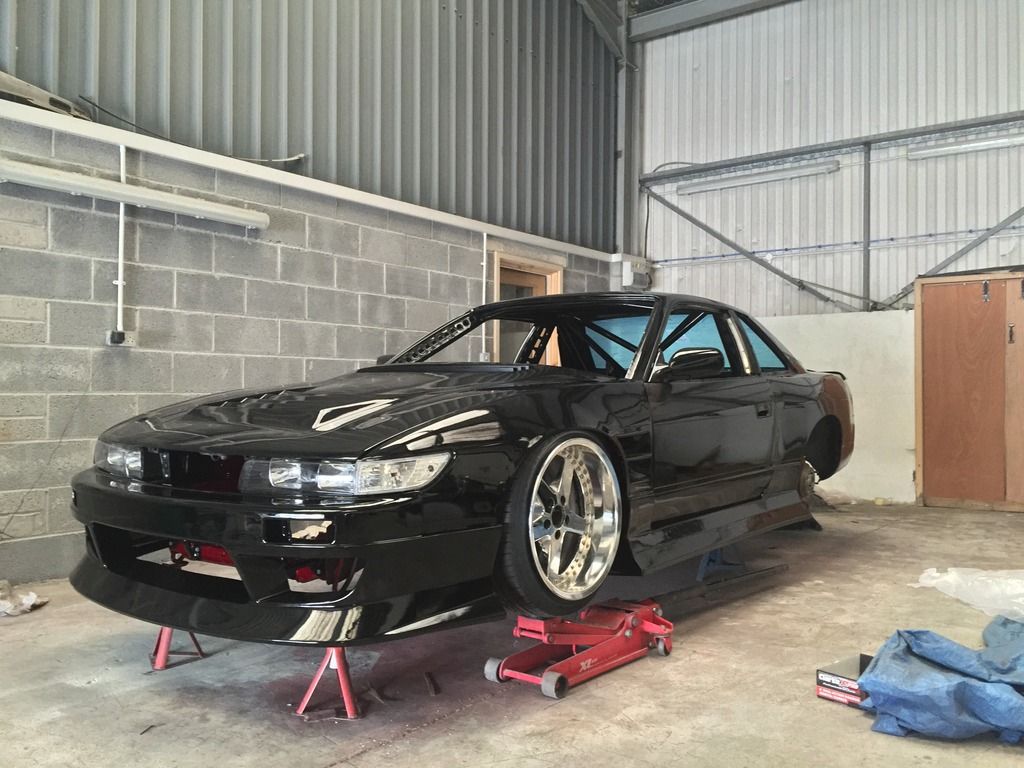 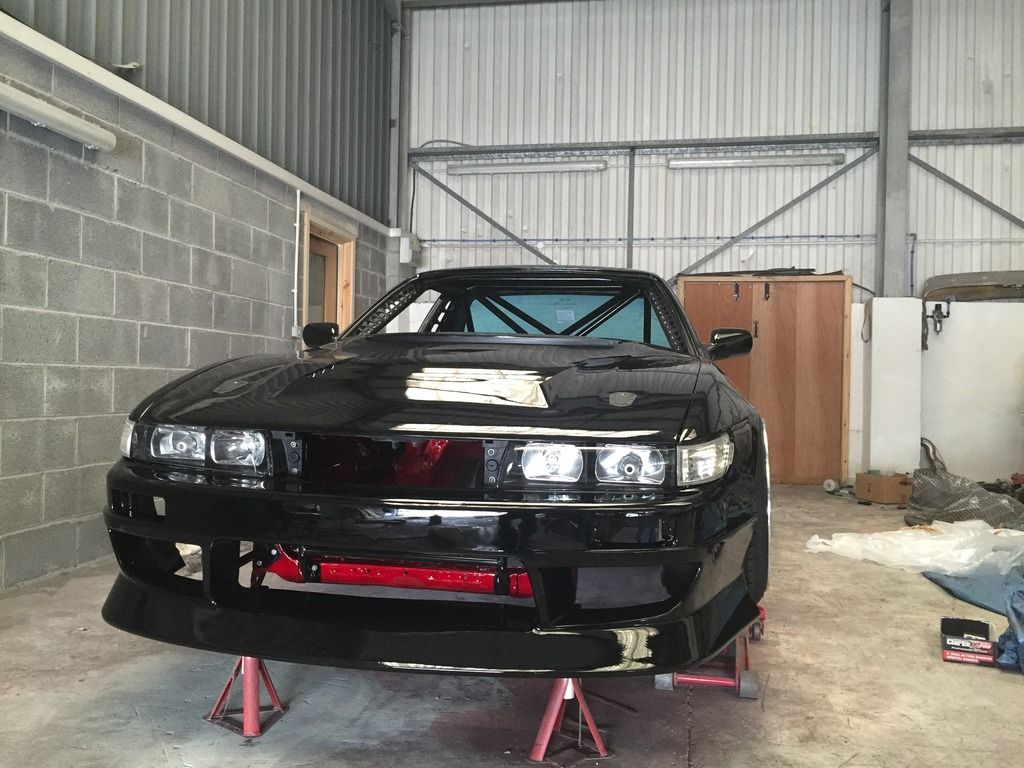 I just love how the Candy comes through on that bottom crossmember! 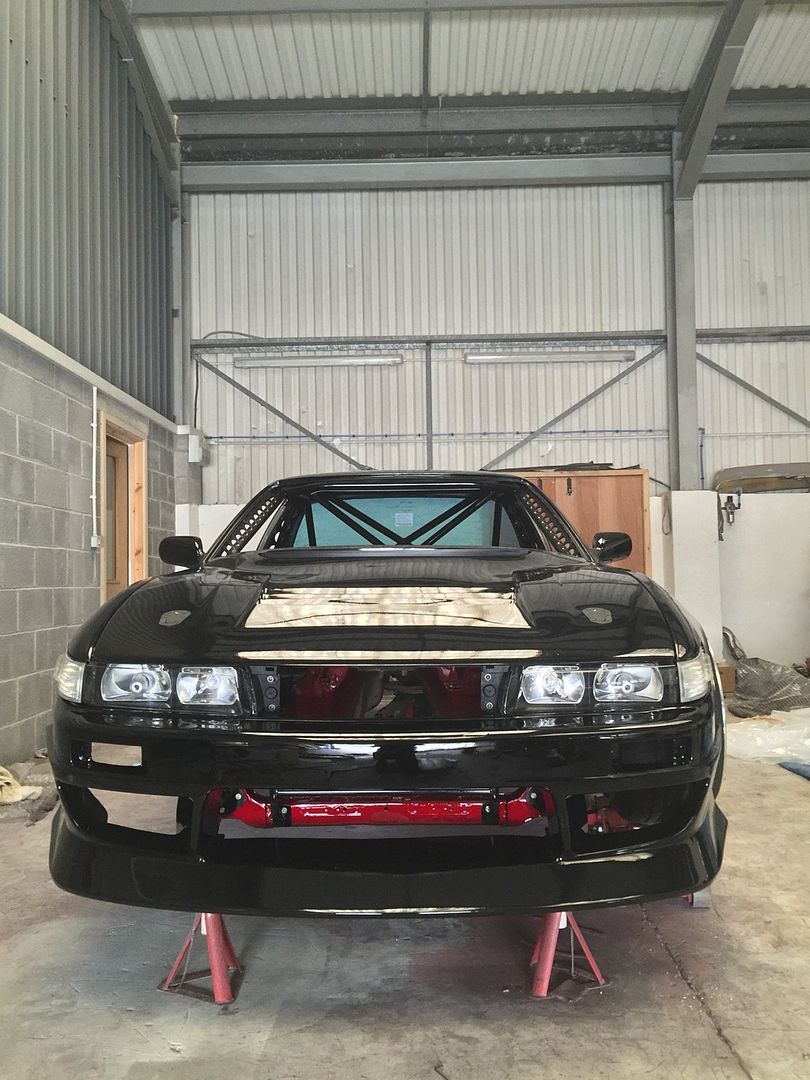 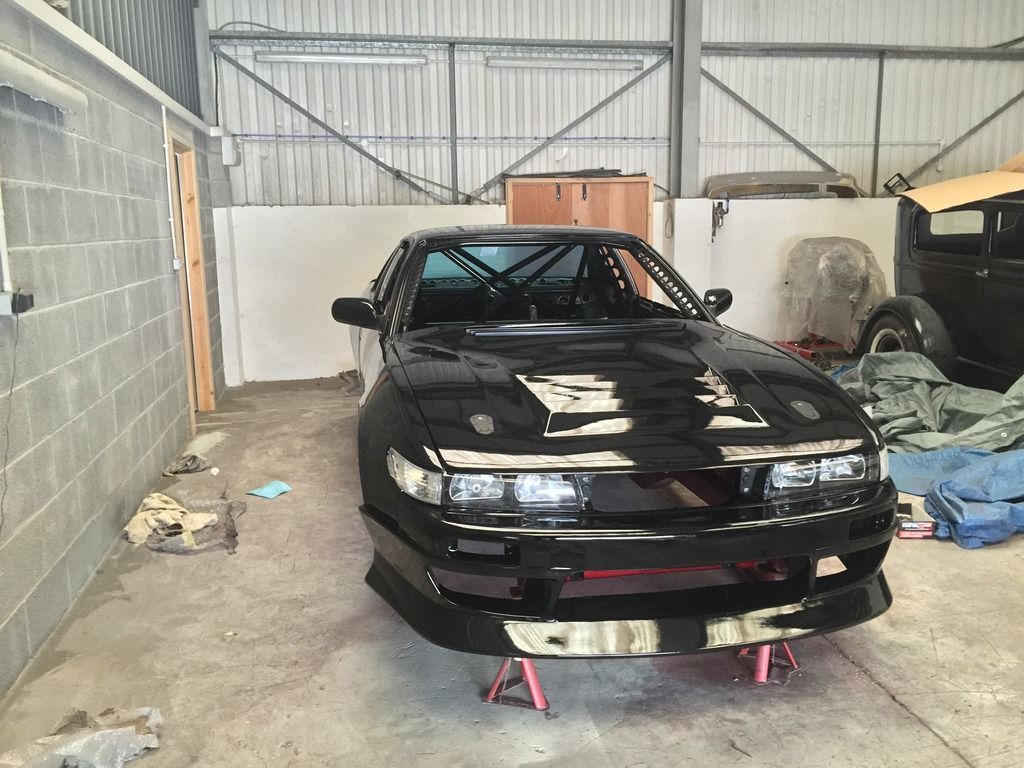 This week's tasks hopefully mean it'll be on the floor, on all 4 wheels which I can't wait for. Hopefully a friend (diamondsink) can machine the bell housing for me, just have to make sure it fits within his machine, as the Z33 bellhousing is rather large! If it does, I may strip the box down tomorrow and hopefully make sure all the gears have teeth on them. So after the last update, a few of us were speaking about the rear traction rod length, where common practice leads to people replacing them, but keeping them at stock length. A friend explained how the length determines the dynamic movement of the alignment throughout the compression stages of the rear hub (I think I have that right haha). I was supposed to sit down and have a look for myself, but I kinda got lazy and my friend told me the length he extends his to, and considering he’s driven a fair bit, I trust him! The interesting thing that caught my attention was how the rear wheels suddenly sat; 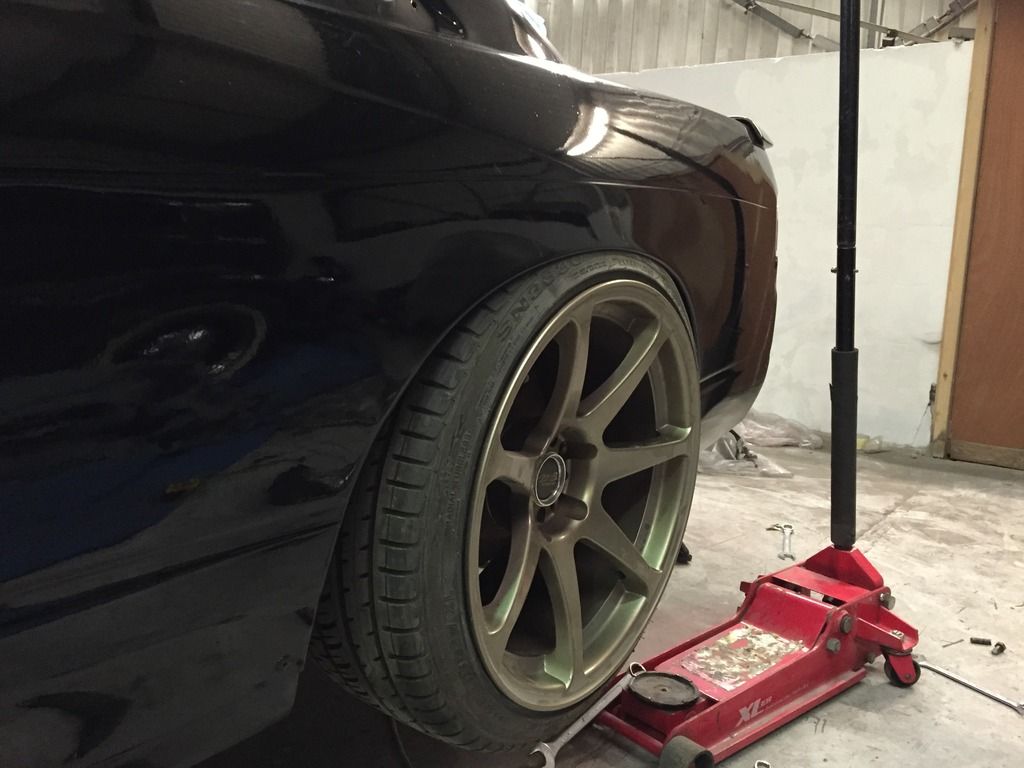 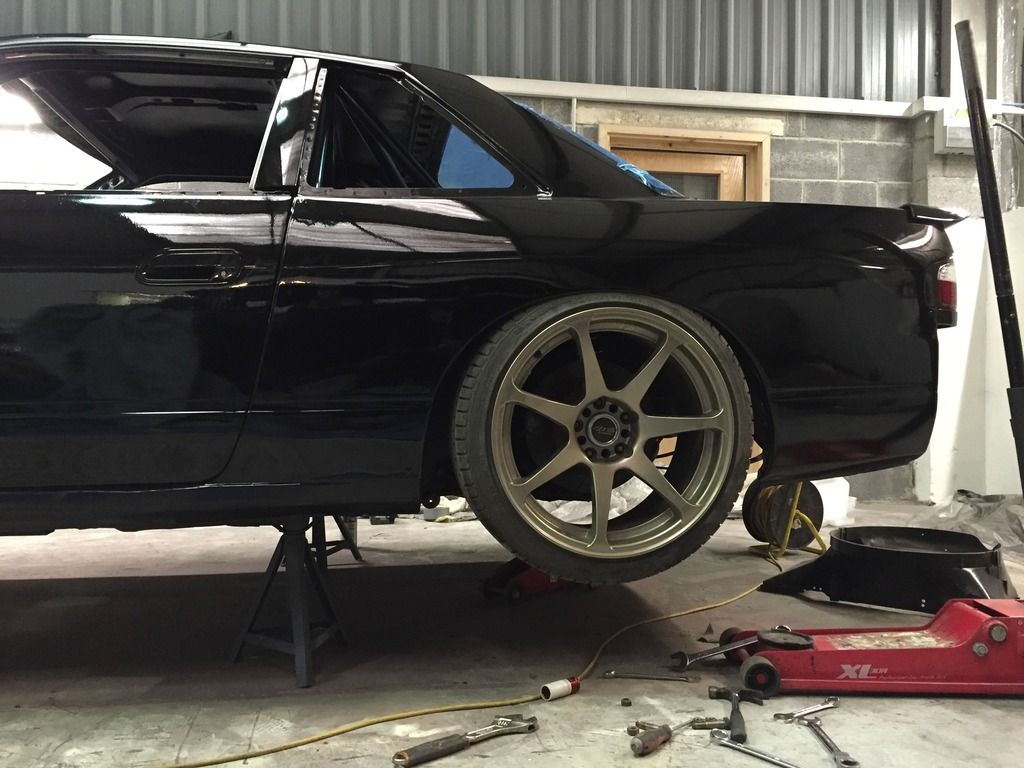 Time will tell what difference this will make to improving the rear end, but considering the extensive changes between my old 13 and this car, I may not be able to give a direct comparison as so much has changed, it’s literally a whole different car!  As im running a swirl pot and fuel pump in the boot, something I always want to make up was a firewall of somekind, so after quickly knocking up a few idea’s, I just went and made a dead simple one. 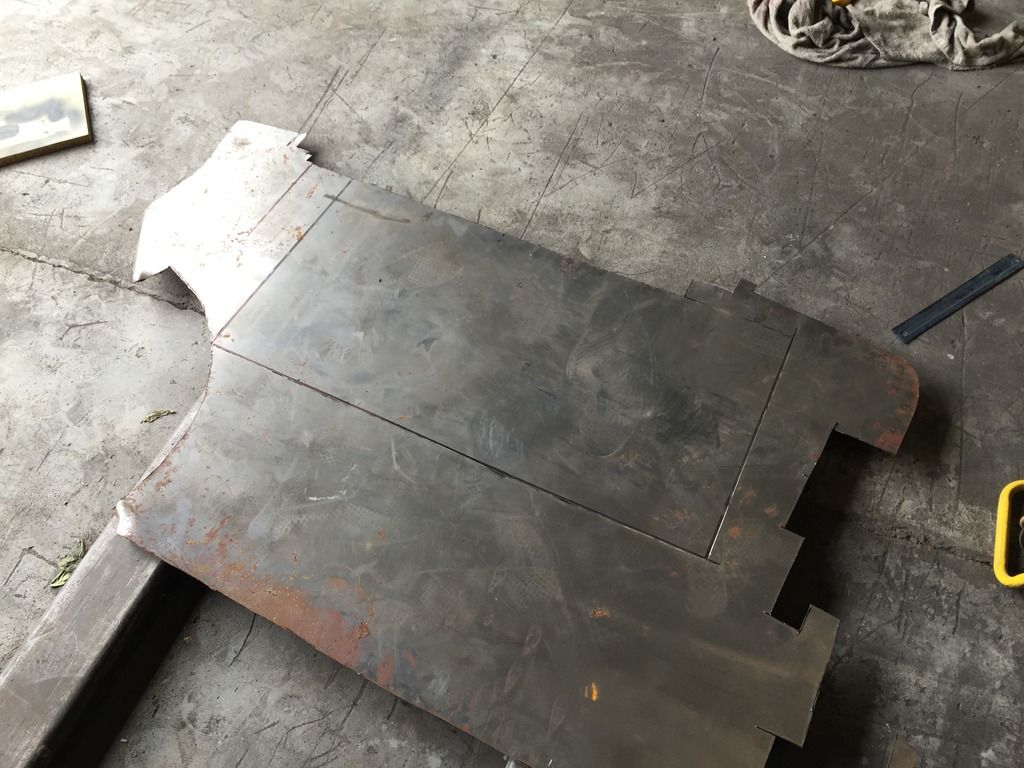 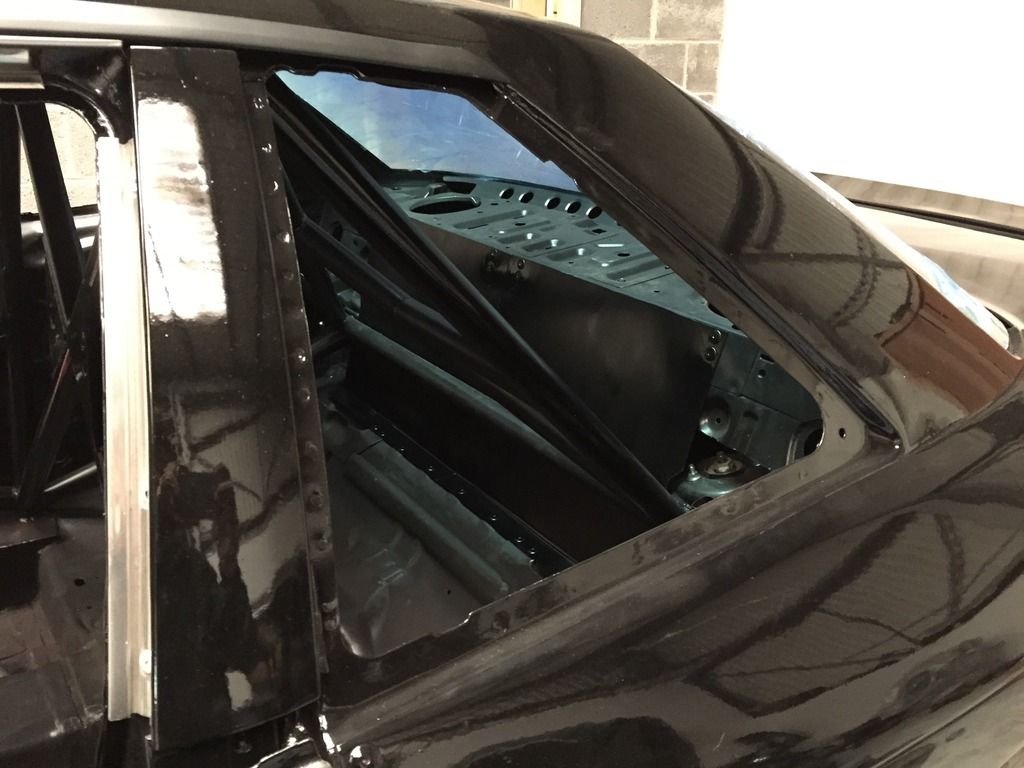 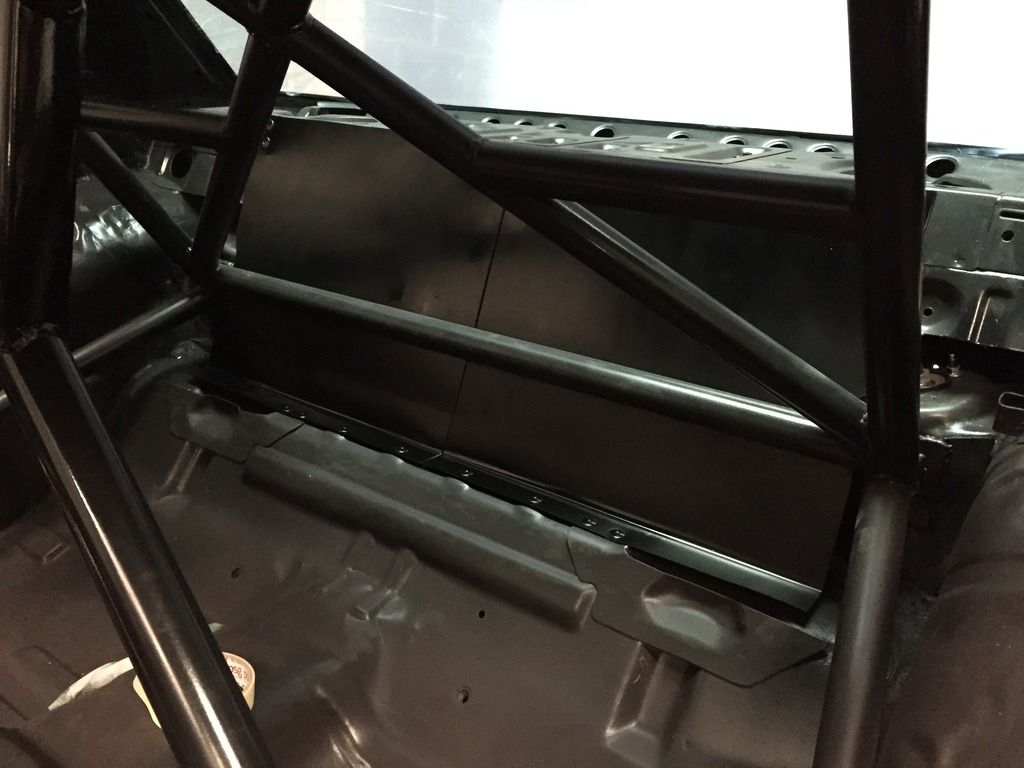 It wont be up to BDC and other motorsport regs as the rear isn’t completely sealed off, but IF that time ever comes, im sure I could make another firewall that would be compliant. But for now, if something comes loose in the rear, there’s something inbewteen us :thumbs: Plus, it should help dampen the noise the 044 may create too. After following Daze’s car closely and looking at his power steering setup, it made me want to run a power steering cooler to prevent the fluid from boiling over. After looking at his setup, a -6 cooler was needed. So after trying to avoid buying an unnecessarily large core, I managed to find this; 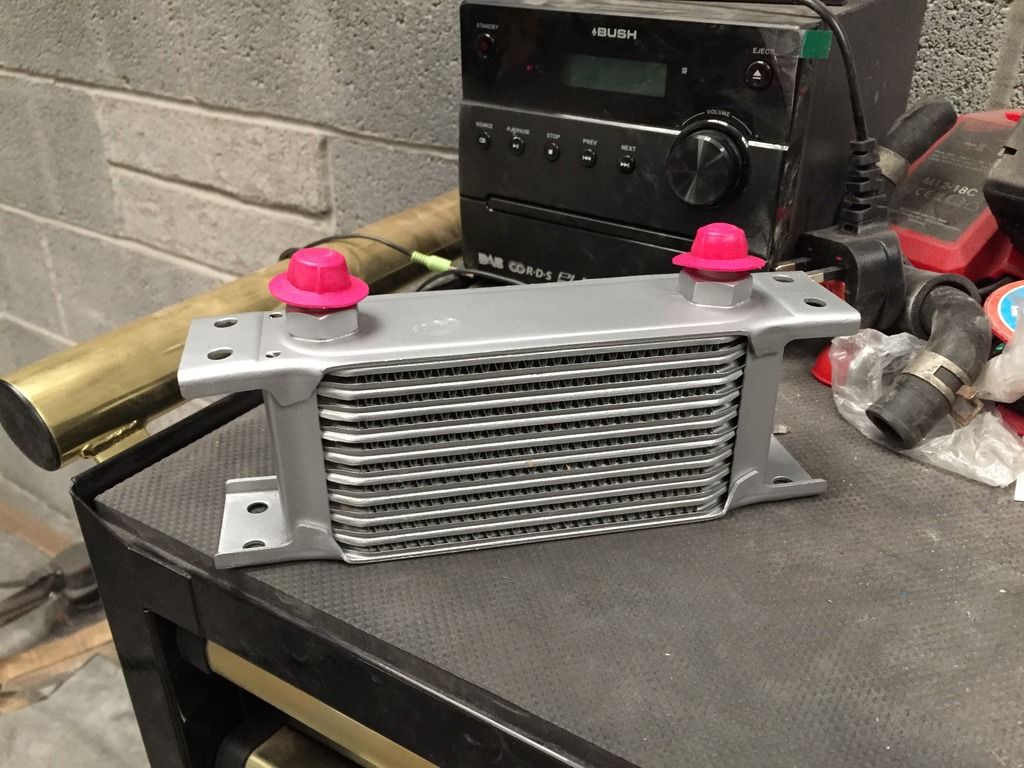 Perfect! |
|
|

|
|
|
#44 |
|
Leaky Injector
Join Date: Dec 2012
Location: Bristol, UK
Age: 30
Posts: 92
Trader Rating: (0)
 Feedback Score: 0 reviews
|
Since the cage went in, everything was painted it was now time to start the assembly phase. So first things first, the heater matrix. Huxley said to me I’d never get the end heater matrix/core in due to the triangulation of the cage to the front struts, challenge accepted!
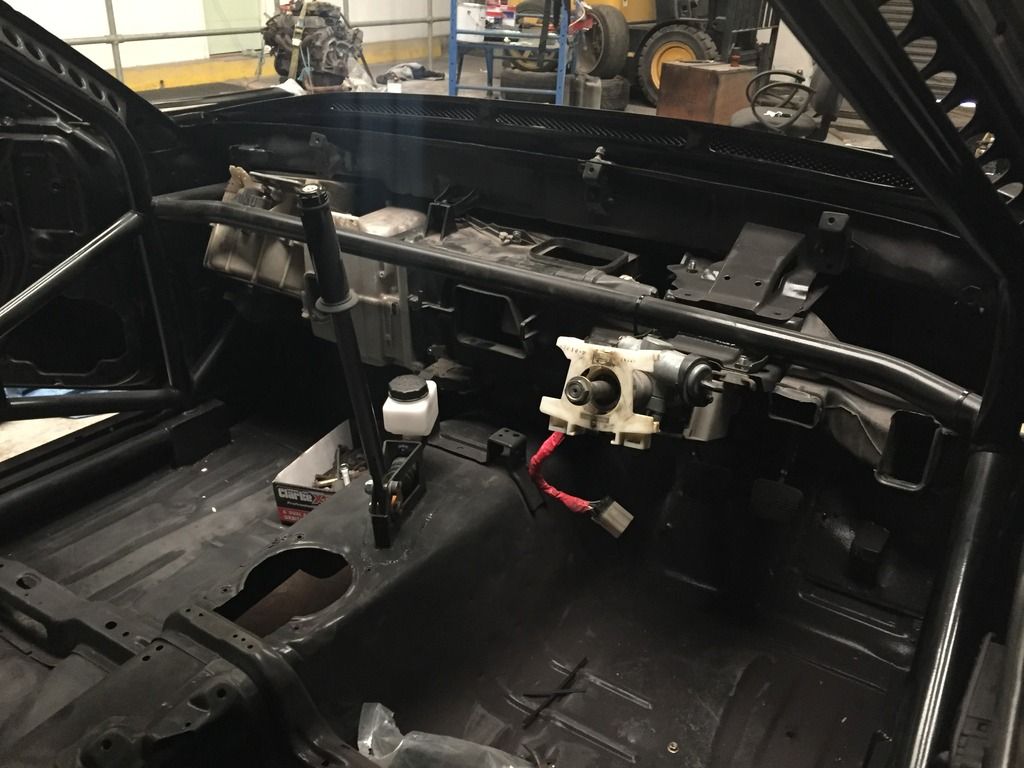 After a few nudges here (with some added cuts), and a kick there it went straight in! So atleast I can retain a fully functional heater setup  I started speaking to Norfy about my wiring, as the car will have the bare essentials as its not likely itll see the road in the near future. So after speaking to him one evening I began cutting down this mess, and had a date night with the car whilst I was there. (Im 21, I should be out drinking, partying or whatever my friends do! Nope, im just sat there with a car that tests my patience constantly  ) )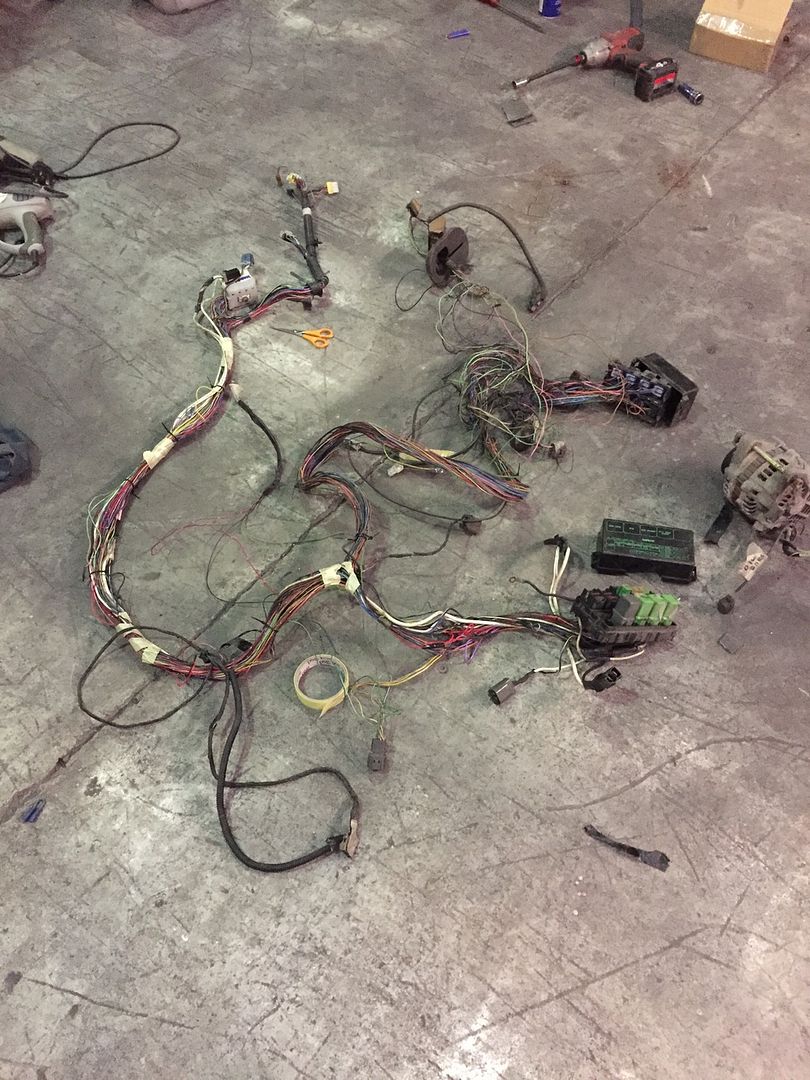 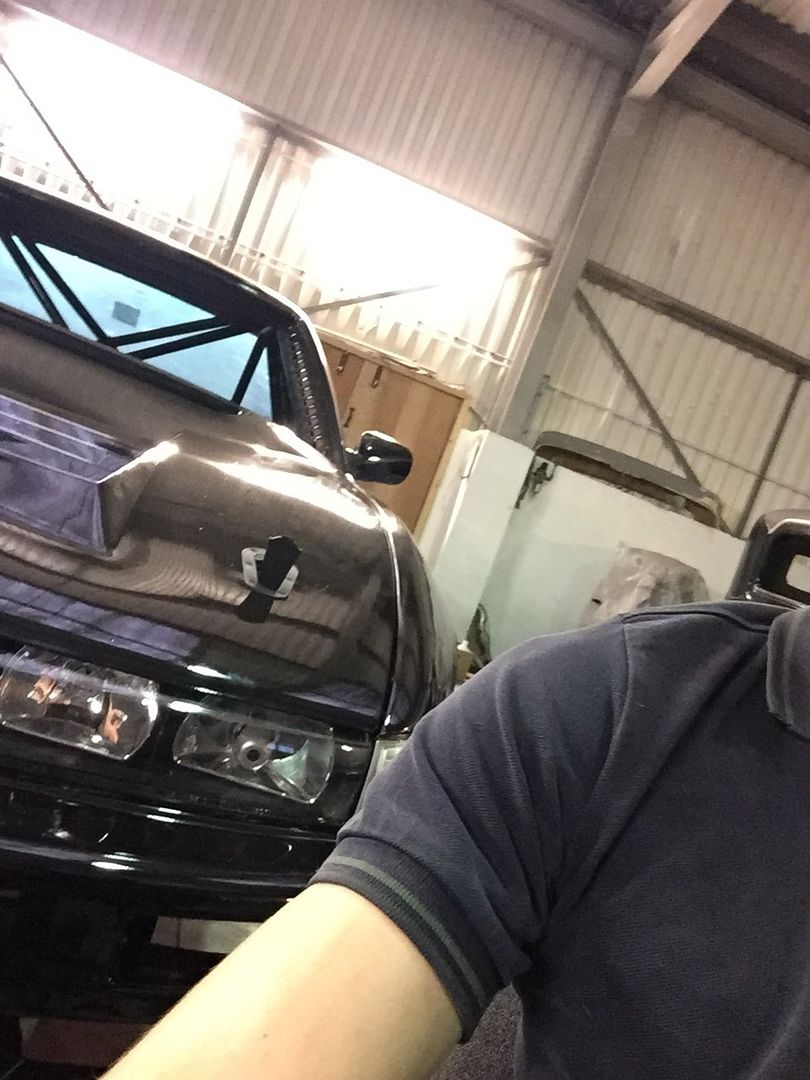 Interior harness in :thumbs: 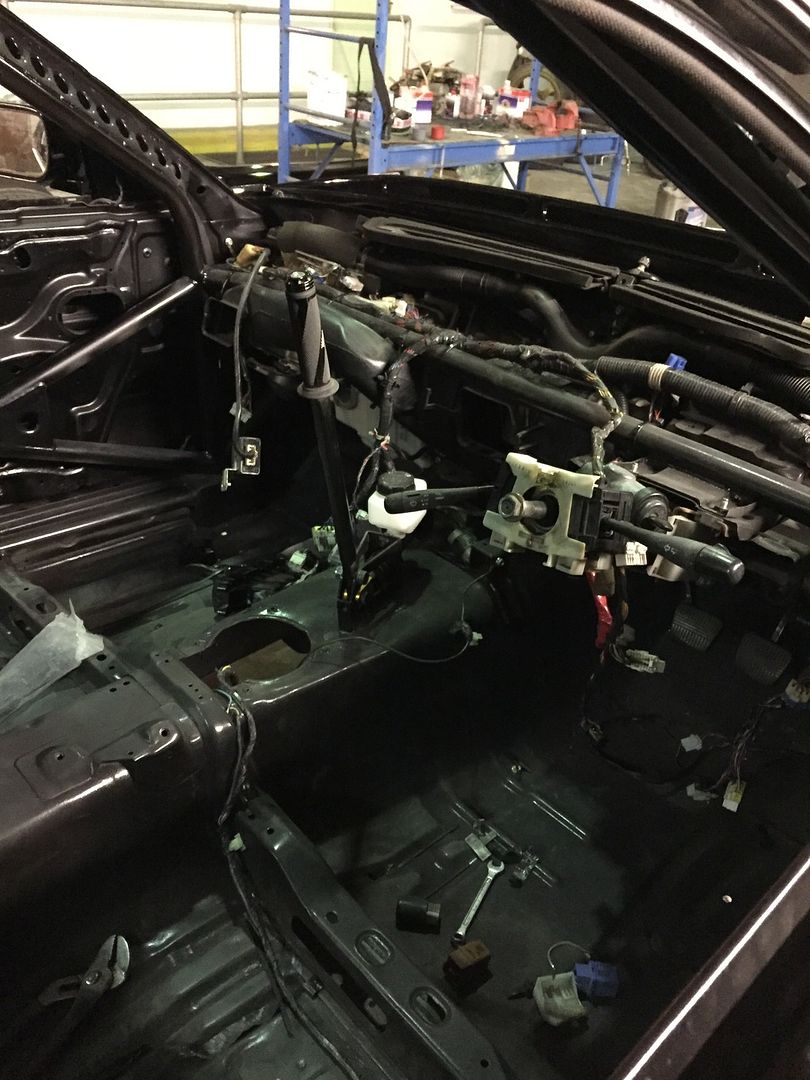 Now for something I wasn’t really looking forward to. For the SR/Z33 gearbox conversion, with the use of an adapter plate you can either chose an S15 clutch and flywheel and leave the bellhousing, or use an S14 clutch setup like I have, and get the bellhousing machined. So here’s what I started with, 1x Z33 CD009 gearbox. 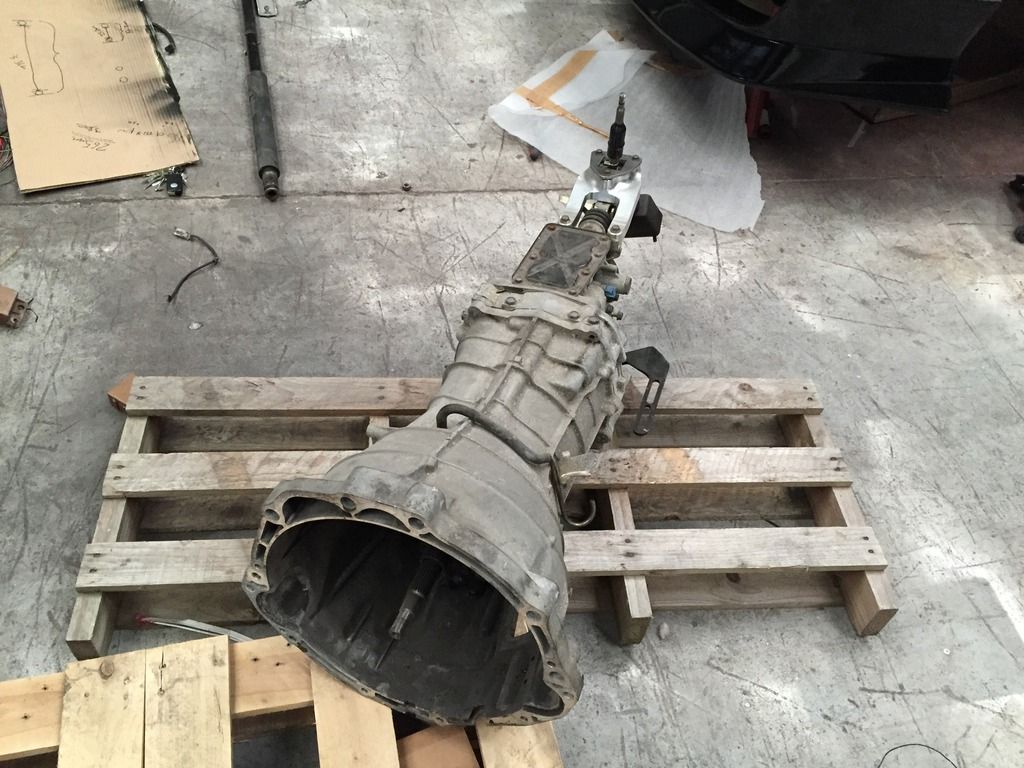 First things first, remove the front cover and 2 circlips; 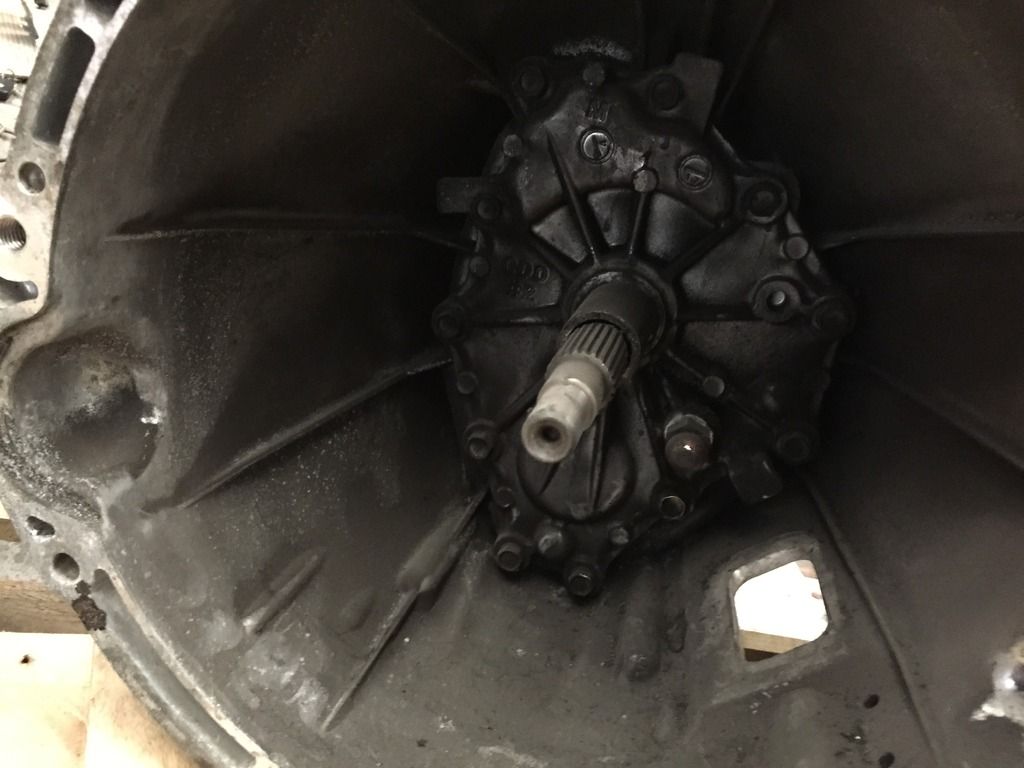 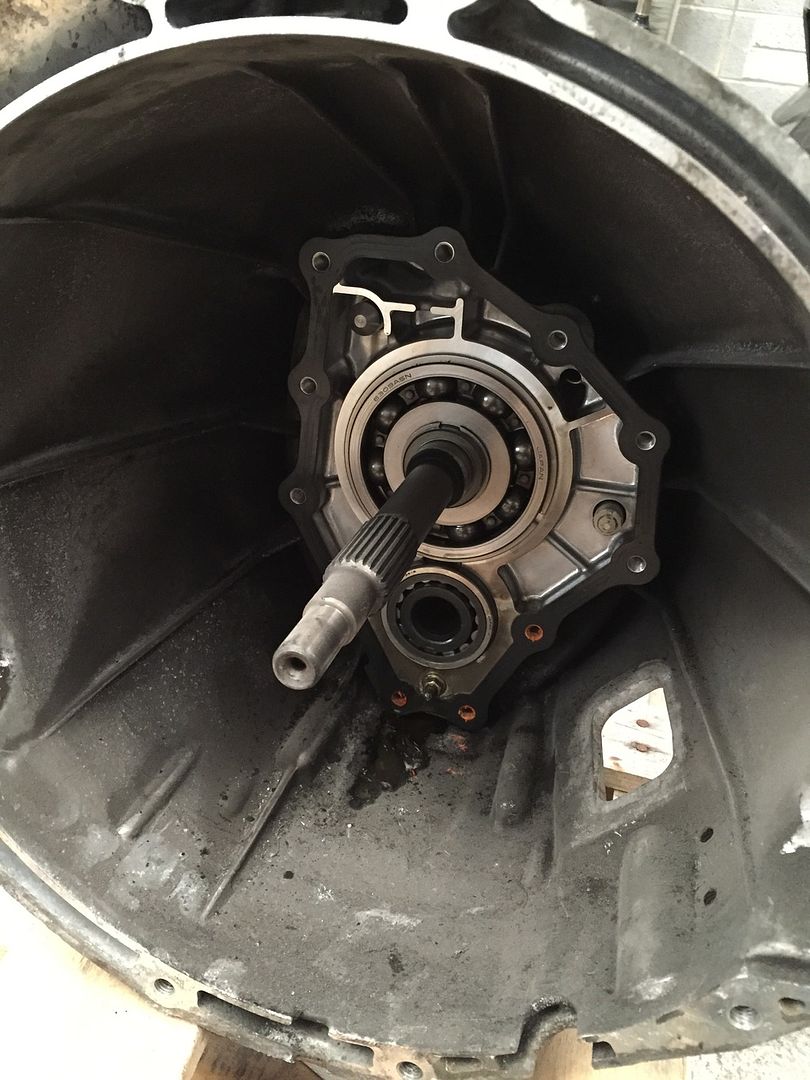 Now its time to remove the obvious bellhousing bolts that essentially sandwich the two halves of the gearbox. Luckily a bit of searching online the day before meant I didnt forget this little one that’s hidden under the plate that covers the shifter mechanism; 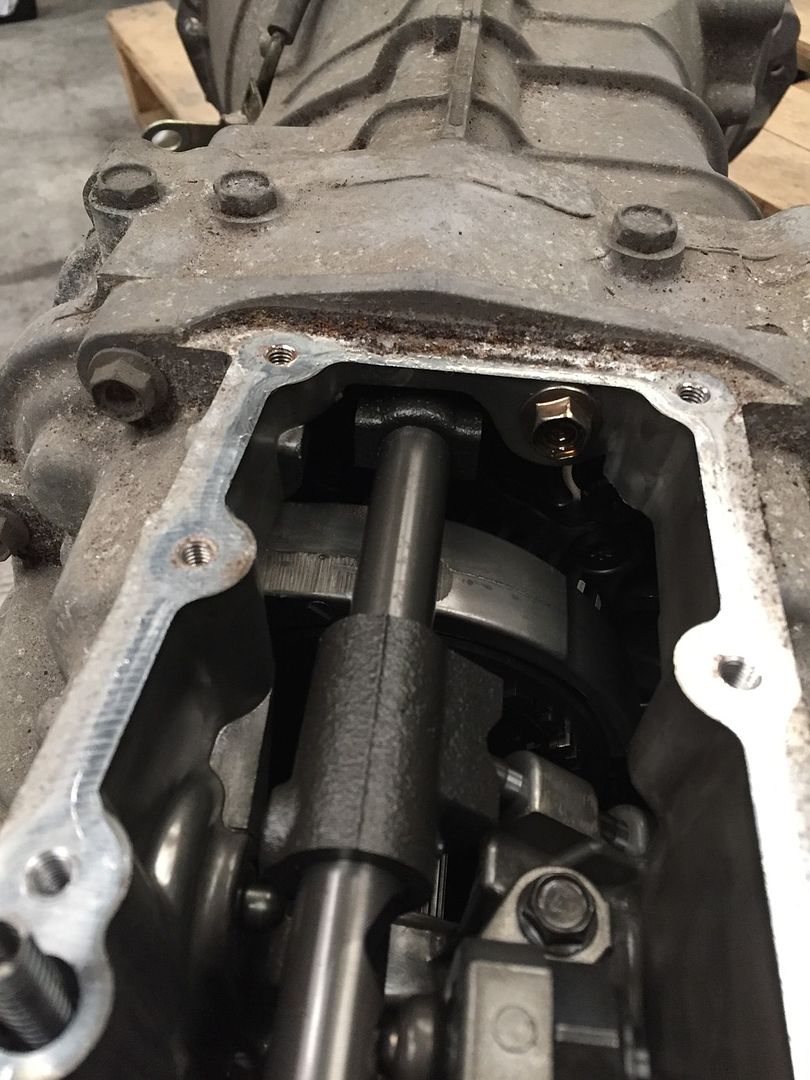 So now it should be ready to simply pull the bellhousing off. After softly prying the bellhousing, it began to move and then stopped. After pulling my hair out a friend told me about a small 10mm nut that holds the windage tray (?) behind where the front cover usually is! 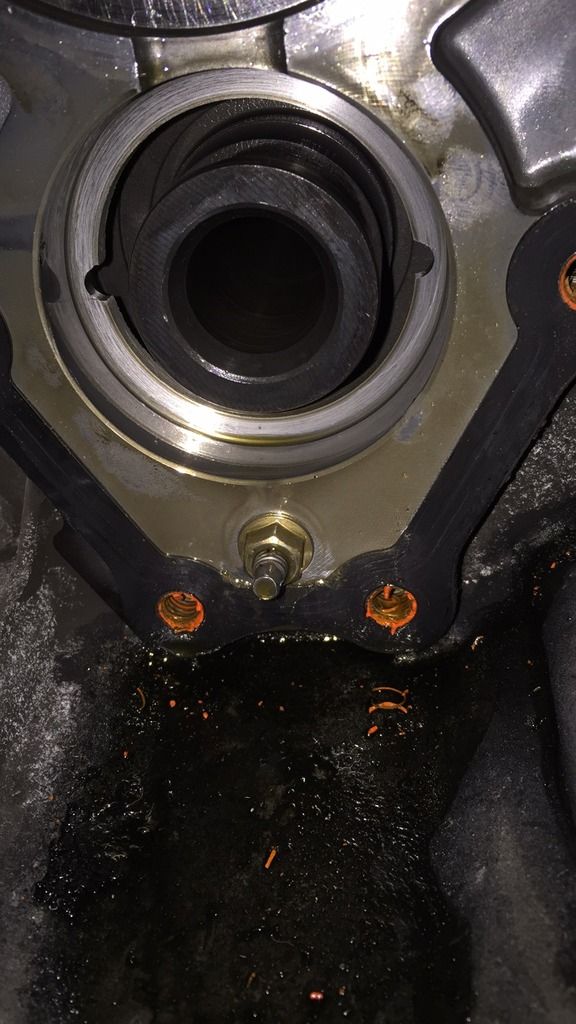 And then, POW! 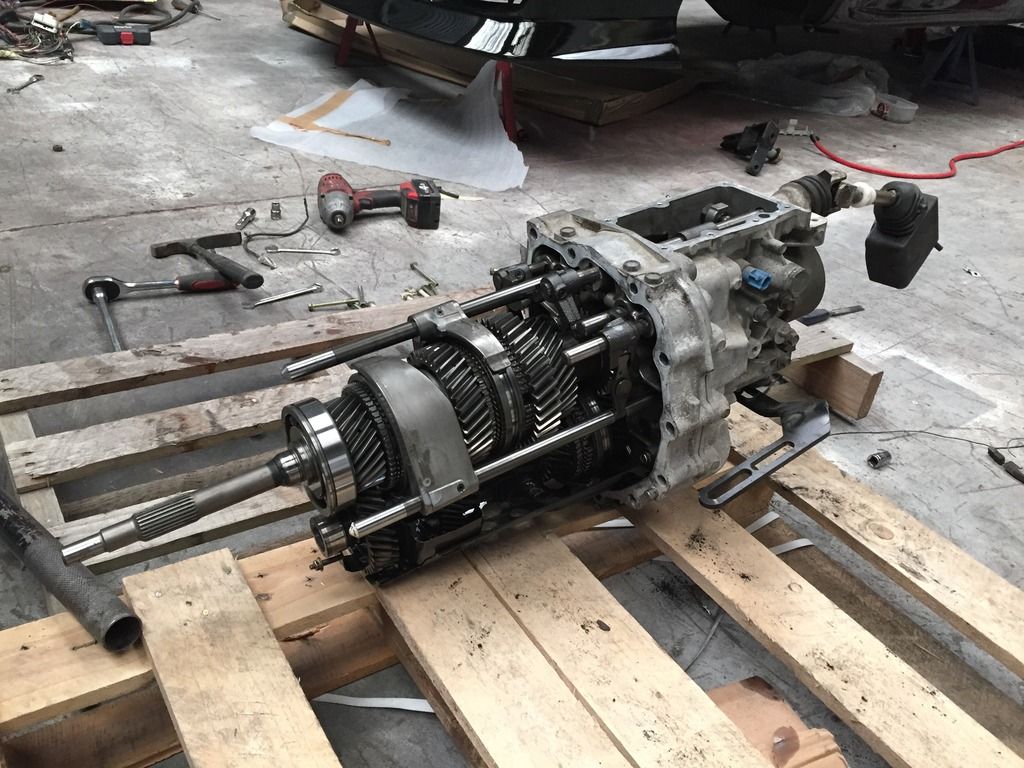 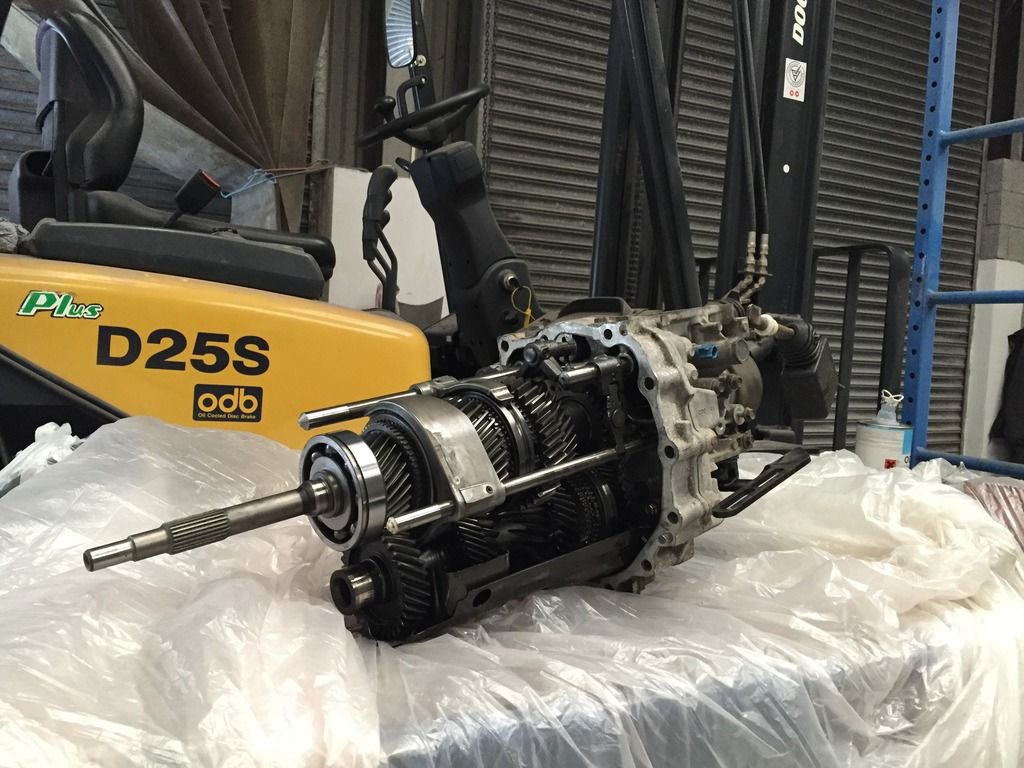 Its hard to get a sense of scale from pictures, but the size of the gears in comparison to a small casing gearbox i.e. SR20/CA18/RB20 is just phenomenal. Oh, and it’s the first time I’ve seen inside the gearbox, so its nice to know all the gears have teeth haha! The bellhousing itself creates a problem due to the sheer size of it, meaning now any old machine shop will be able to mill the bellhousing. Luckily enough my friend and engine builder came to the rescue and he knew a guy that could  Anyway, back to the car. I relocated the battery to the passenger side of the boot. I thought about having it behind the drivers seat like I did in my old car, but I suppose it could become a deadly object should it come loose, so in the boot it went. And luckily enough it seems like the BMW 540 battery cable I used to use still reaches the dashboard area which is where im hoping to run the front chassis/engine bay loom, ideal! 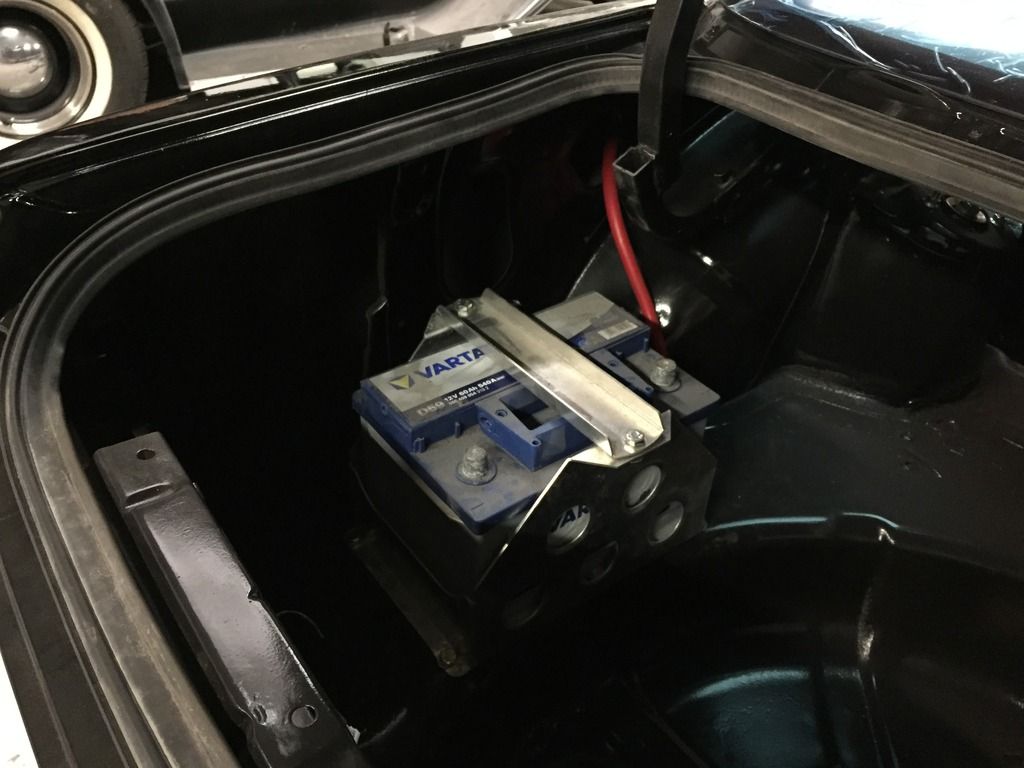 I finally installed the S14 N/A throttlebody too, something that doesn’t look very fancy haha 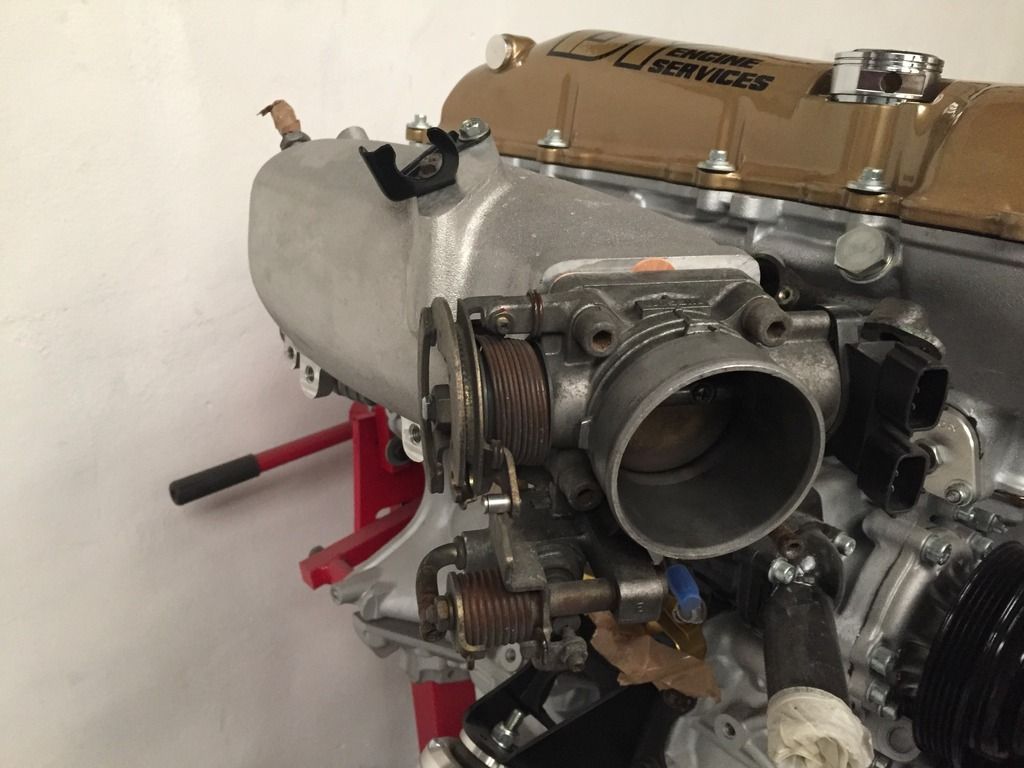 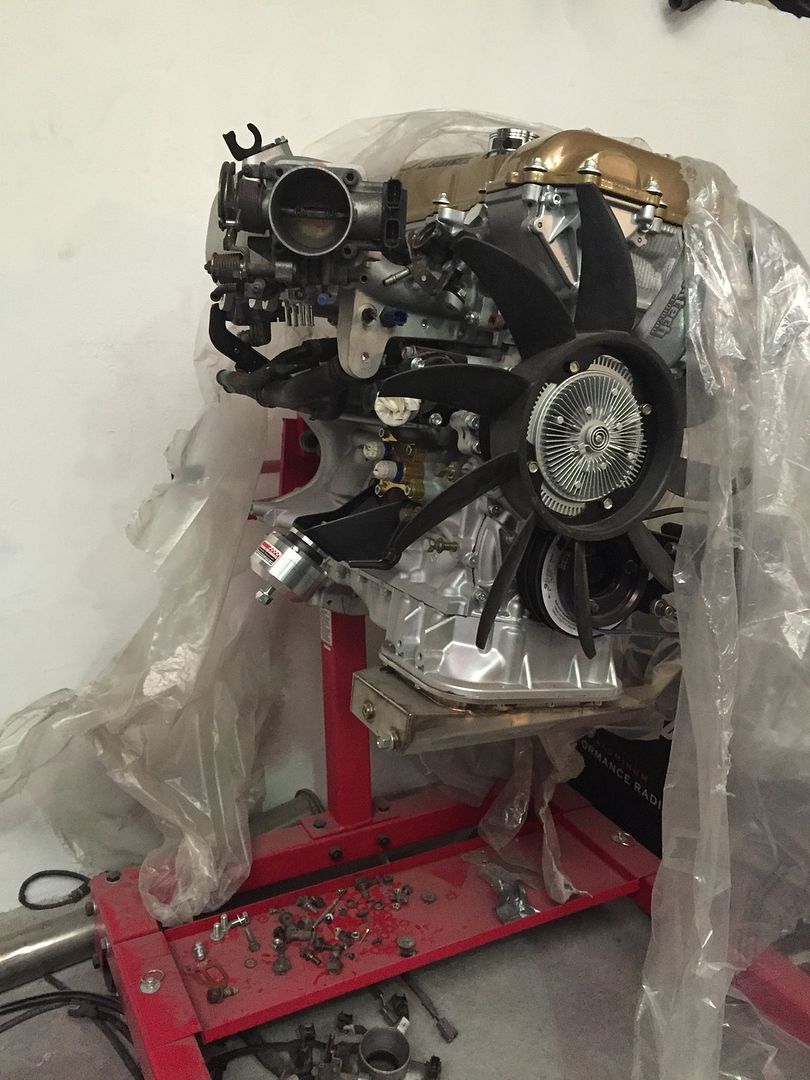 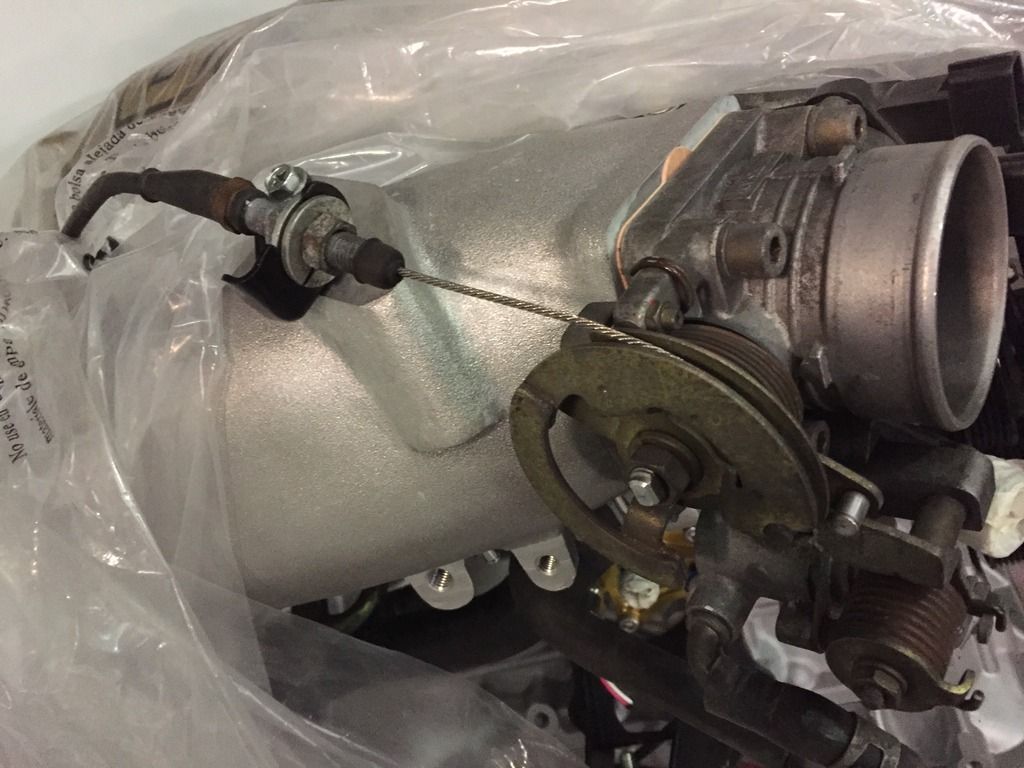 For those that don’t know, when installing the Tomei Oil Block, it ditches the OEM oil/water element, which means the original heater hoses don’t exactly work. After a speaking to a friend whos done the same thing, I went a similar route, which was to simply block off a water way on the block, and the associated connection on the heater side; 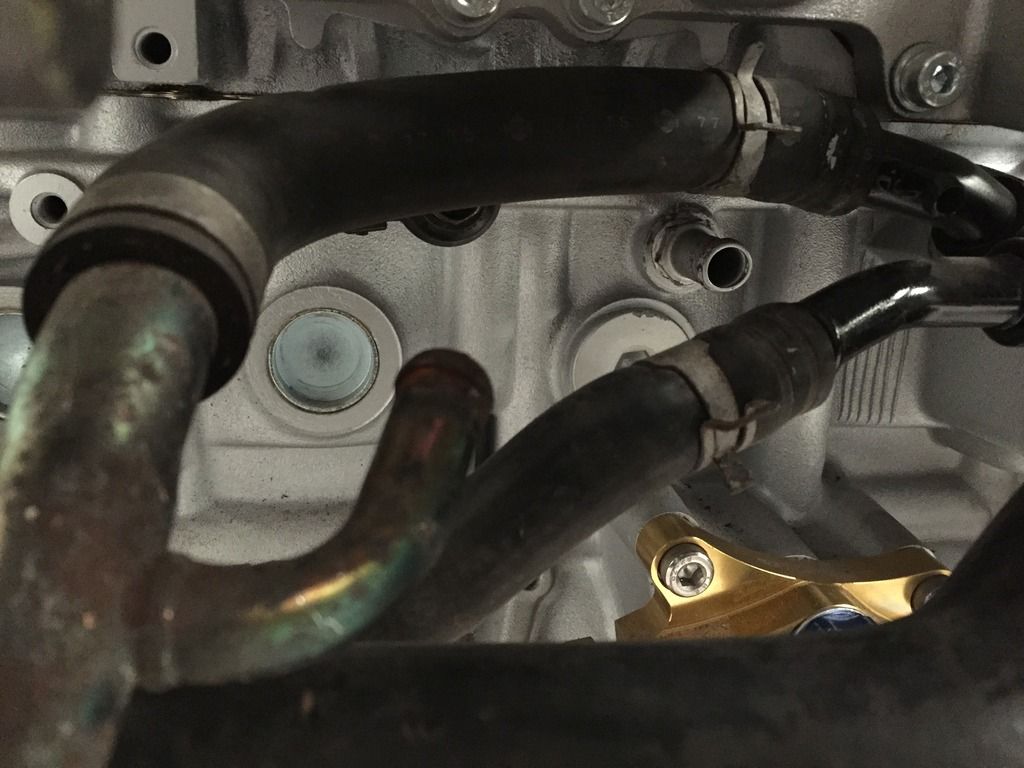 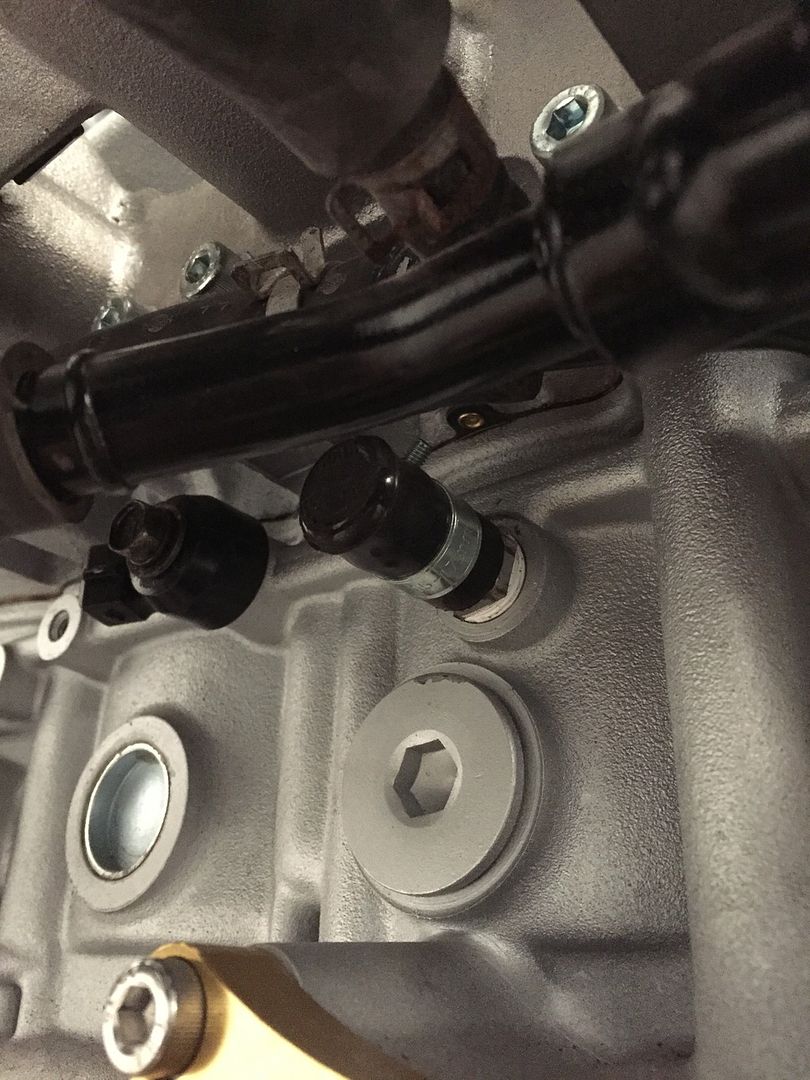 Simple, but avoids having a hose that is massively kinked.  Surprise surpise, I came across another issue, something that shouldn’t have really happened in my eyes. Greddy provided tabs with the inlet to retrofit the standard fuel rail, but for some reason my fuel rail seemed to pull the top of the o-rings as its get bolted down. 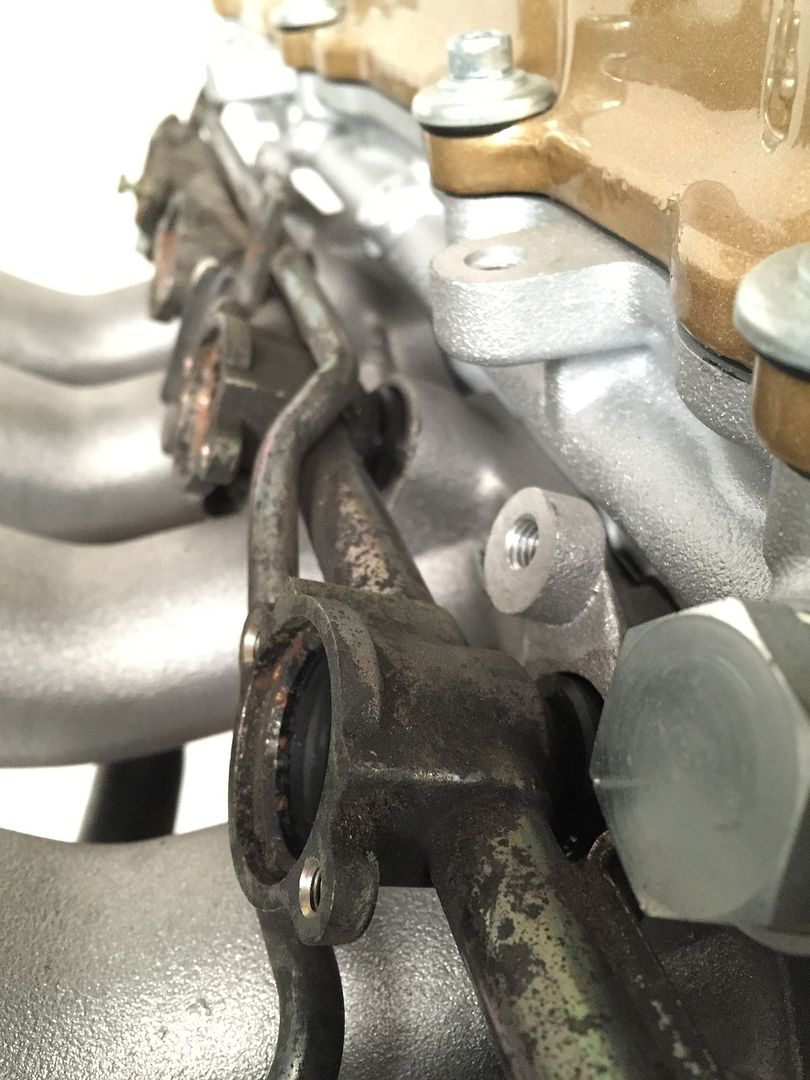 A solution could’ve been to weld some tabs on the rail to other mounting points to pull the top of the o-ring back in. But I cant weld so that option is useless to me. So a friend hooked me up a killer deal on a Mazworx top feed fuel rail and a set of injector Dynamics 1000cc injectors, a bit overkill for the TD06L2, but definitely future proof should I fancy a change to something a bit bigger and begin to push the engine. I know I whore the engine off wayyyyyy to much, but I just cant get over how good it looks in the flesh! Suppose its down to this guy though  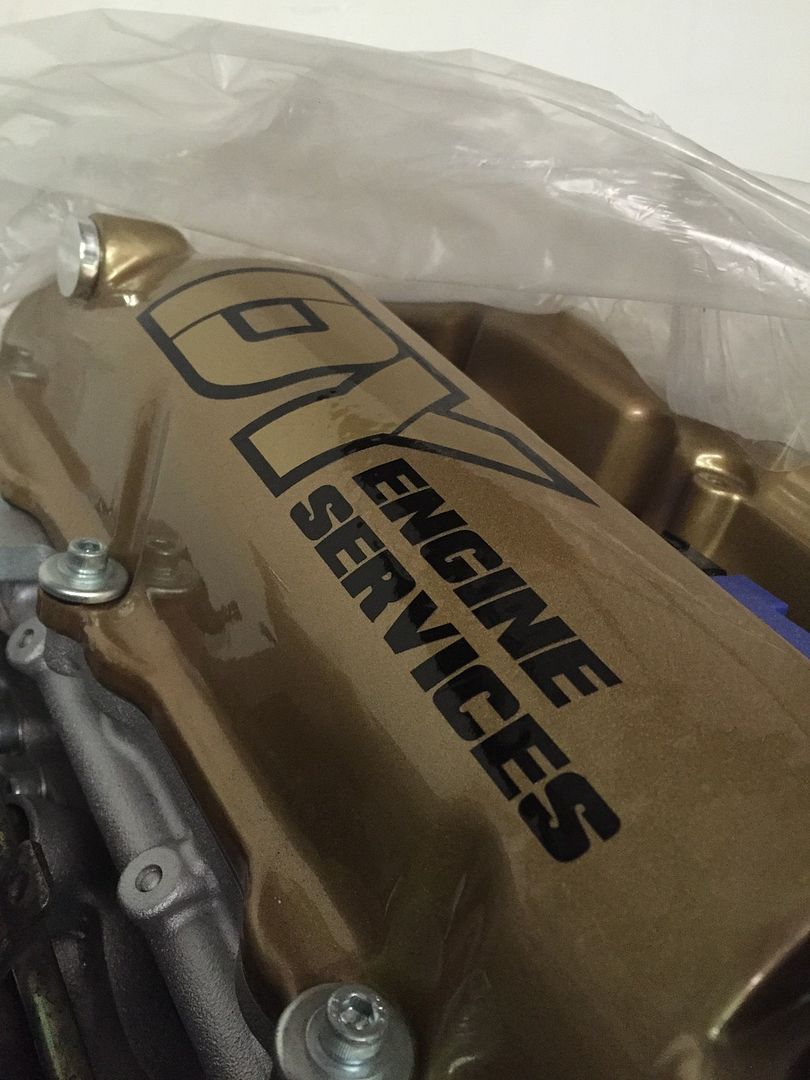 |
|
|

|
|
|
#45 |
|
Leaky Injector
Join Date: Dec 2012
Location: Bristol, UK
Age: 30
Posts: 92
Trader Rating: (0)
 Feedback Score: 0 reviews
|
Next, I began to attack the front end. Quickly mocked the coilovers up and wound them down a bit from where they were to compensate for the Geomaster’s but to allow for a further drop to reduce some of the reverse rake I had.
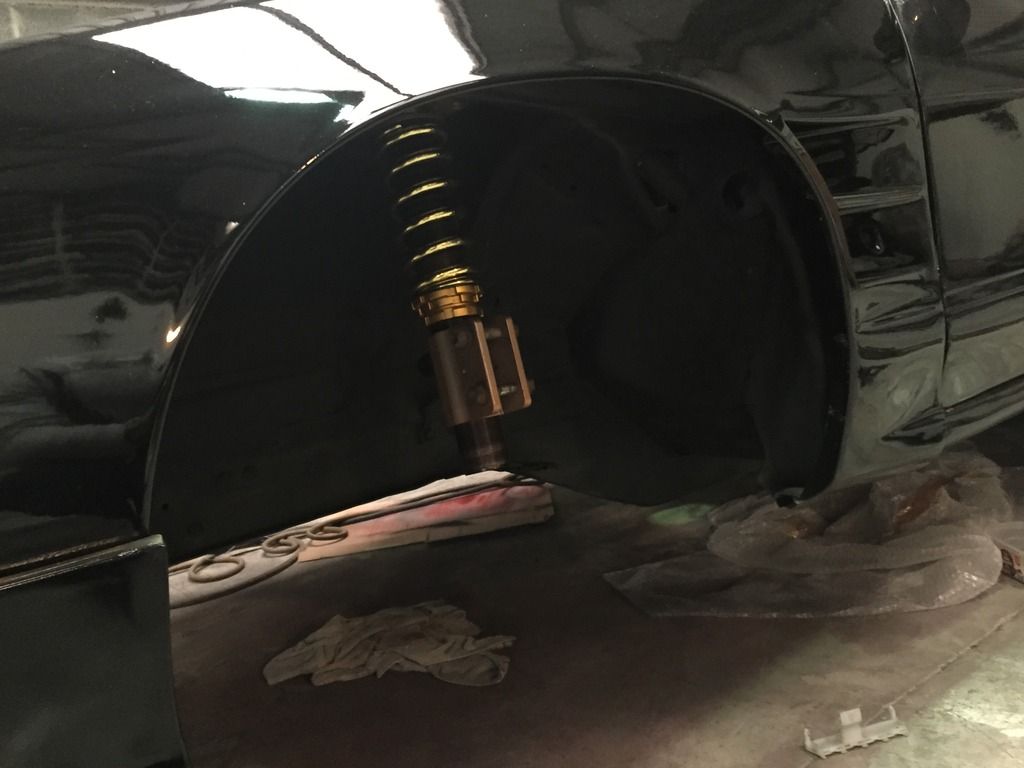 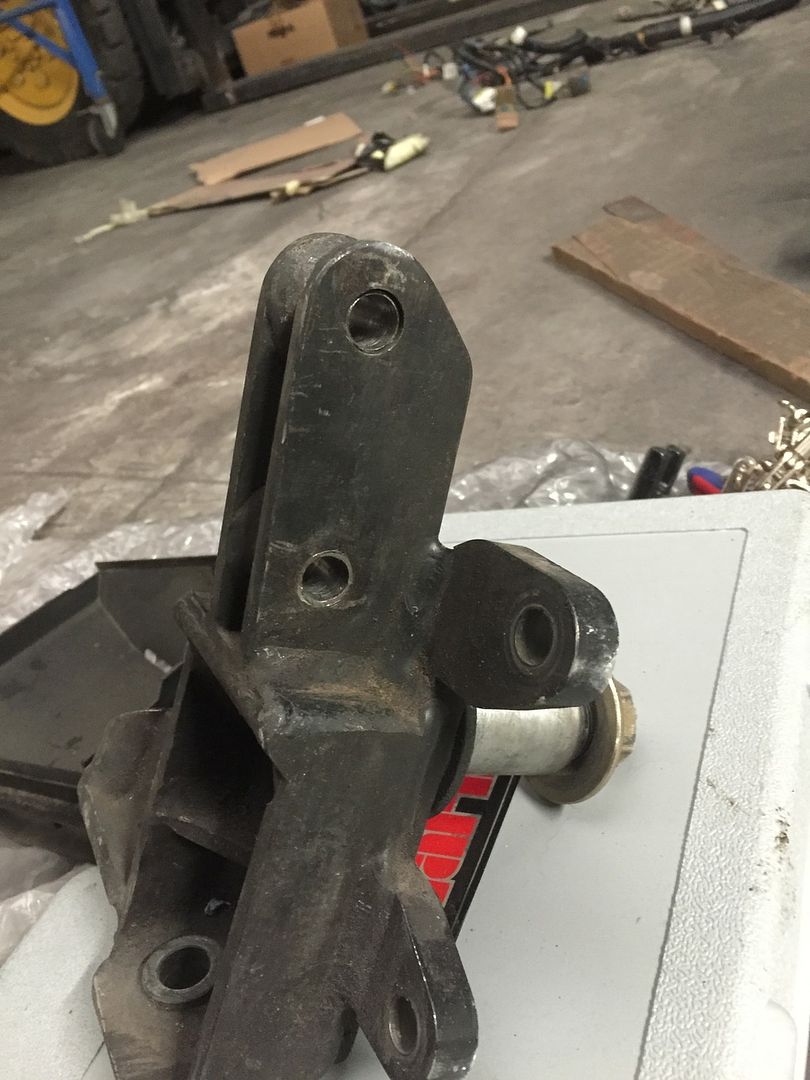 You’d have thought these 2 parts would bolt together nicely, wouldn’t you? Nope. It seems the mounting brackets on the coilover are just chunky enough that the bottoms foul on some welds on the Geo. So I slowly ground/chamfered the bottom edges of the coilover brackets, which luckily enough didn’t take much until both sides just slid on :thumbs: (It was horrible taking a grinder to brand new coilovers!  ) )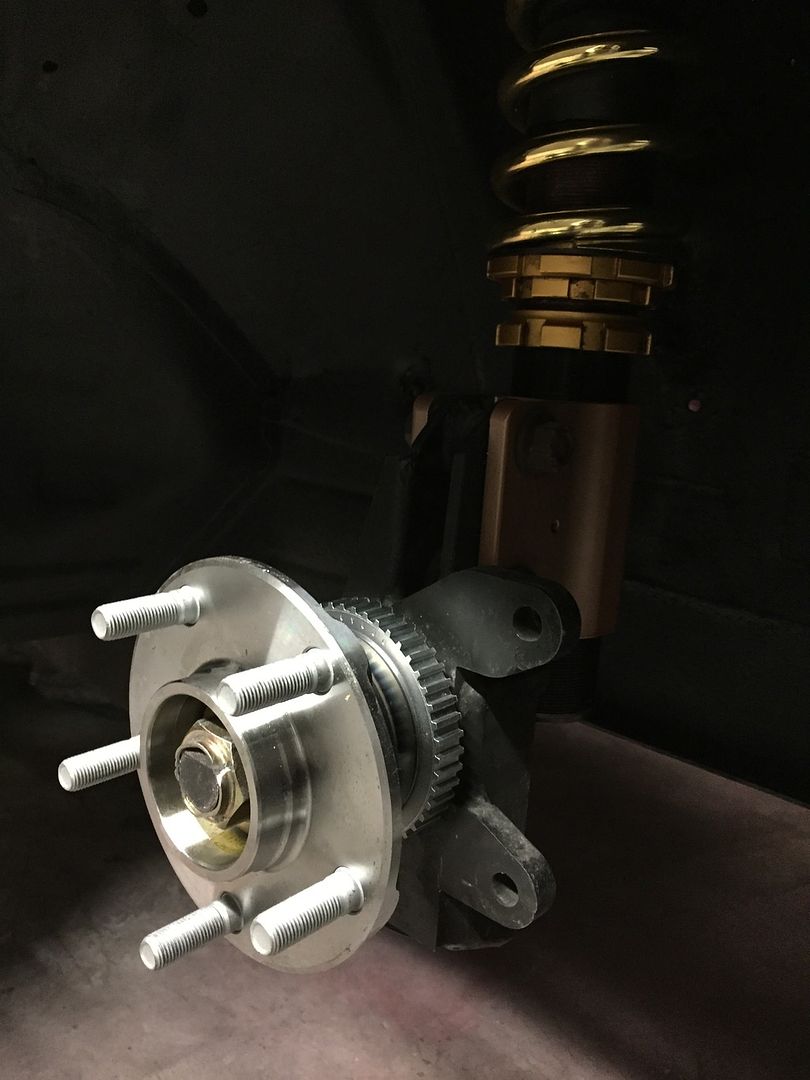 I quickly threw in the Defi water temp sensor whilst I was playing around with the engine, such a neat idea to have the sensor here, rather than cutting into the top radiator hose. 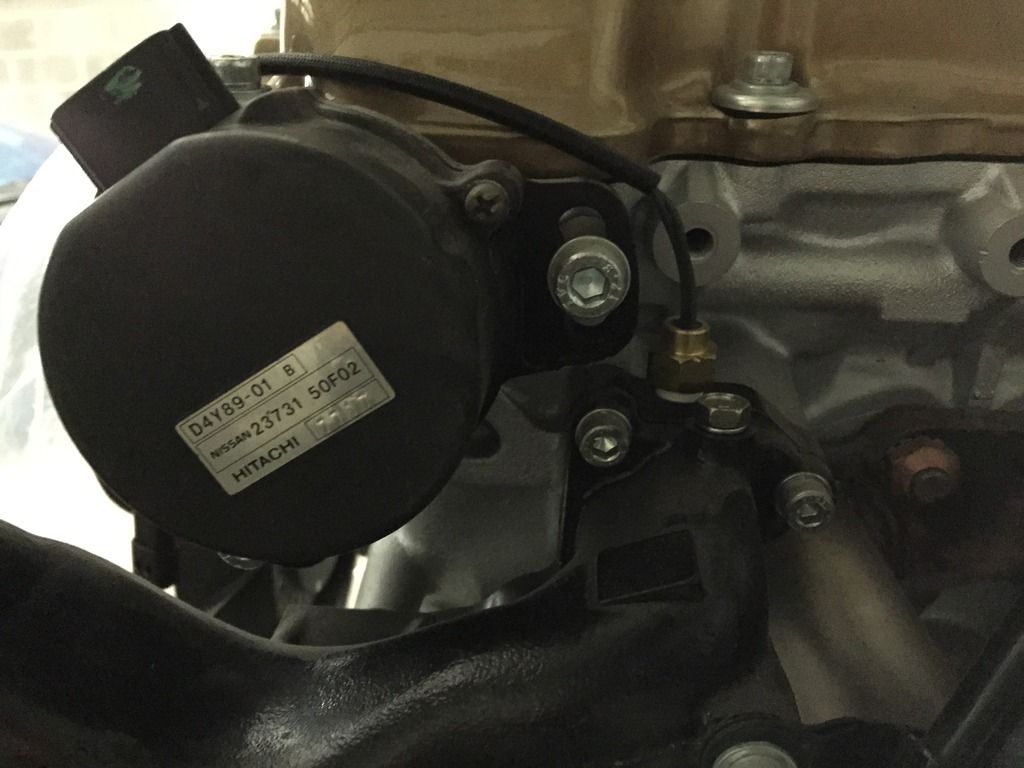 I went to go an tension the power steering pump, but upon its maximum adjustment the belt was still slack, great. Quickly dropped Tarrks an email and it seems it was simply an honest mistake of the wrong belt being shipped to me. Phew, atleast it’s a simple solution. Seeing as they are based in Australia, It didn’t make sense to ship a generic belt across the world, so they’ve given me the part number of the belt I need which doesn’t cost much at all. Thumbs up to Tarrks though, speedy and helpful response :thumbs: Something that I’ve always wanted to do was to ditch the OEM eccentric bolts on the rear alignment arms. This is something a few of us spoke about before, where we talked about getting something made up. But seeing as nothing came of that, I went and bought GKtech’s kit for the S13 setup; 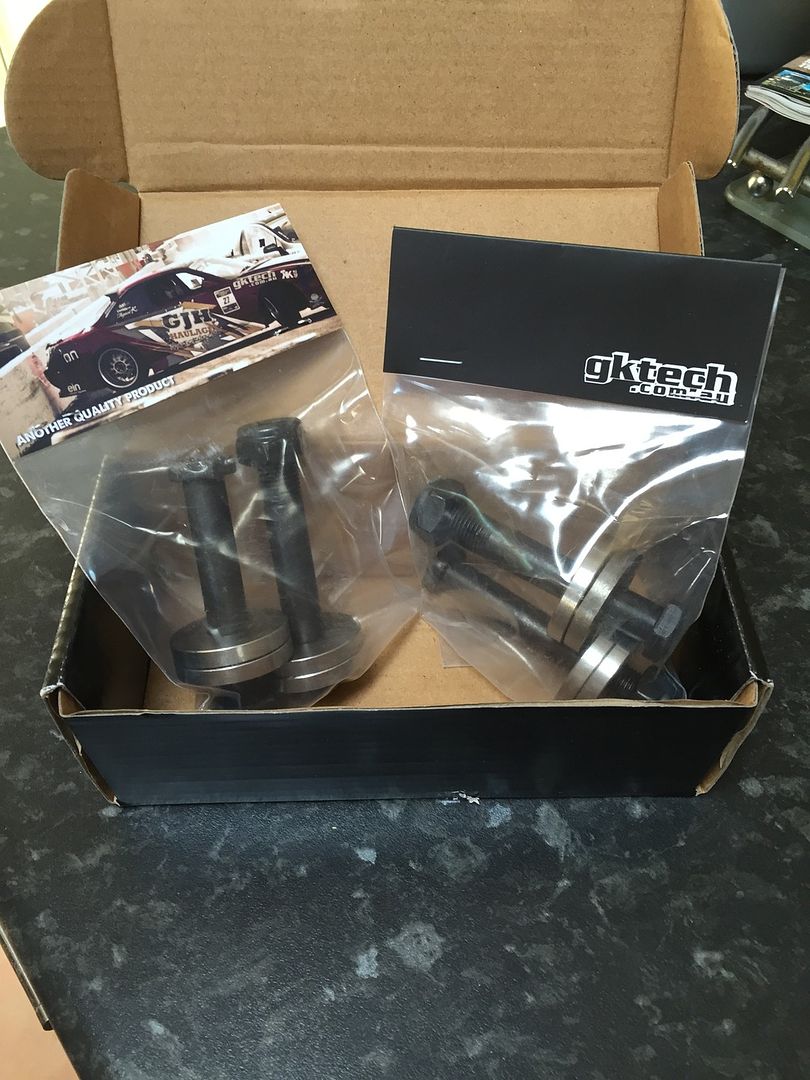 Before; 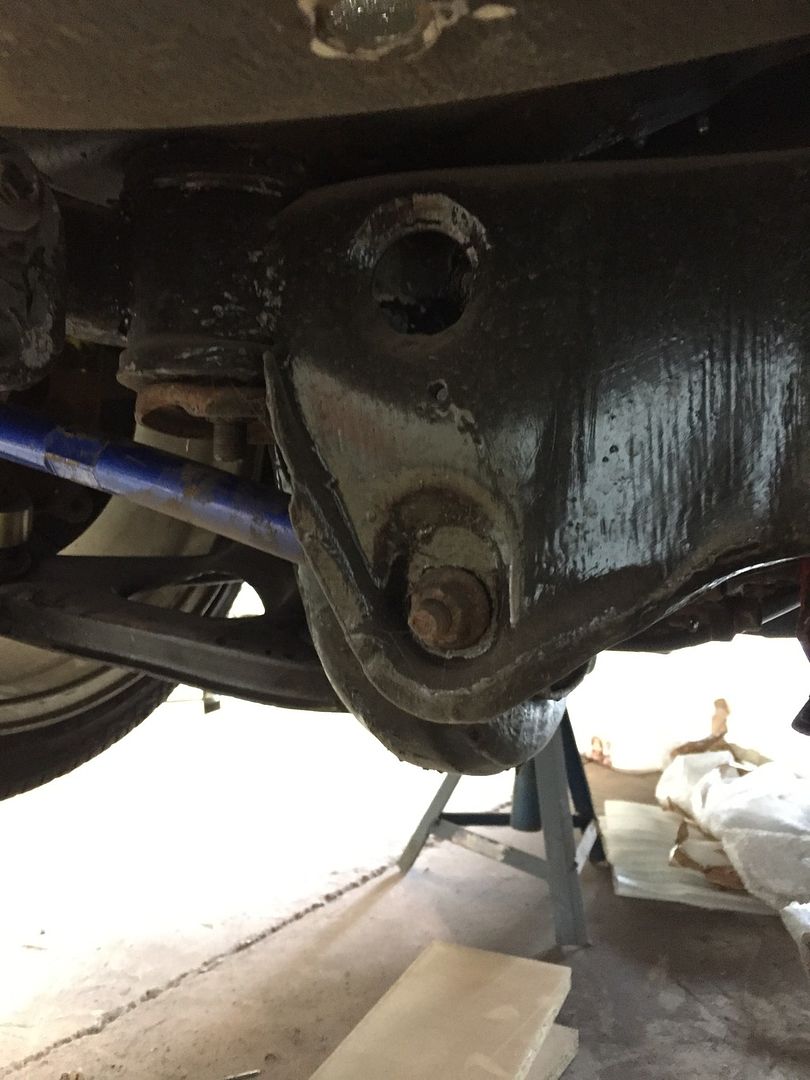 After; 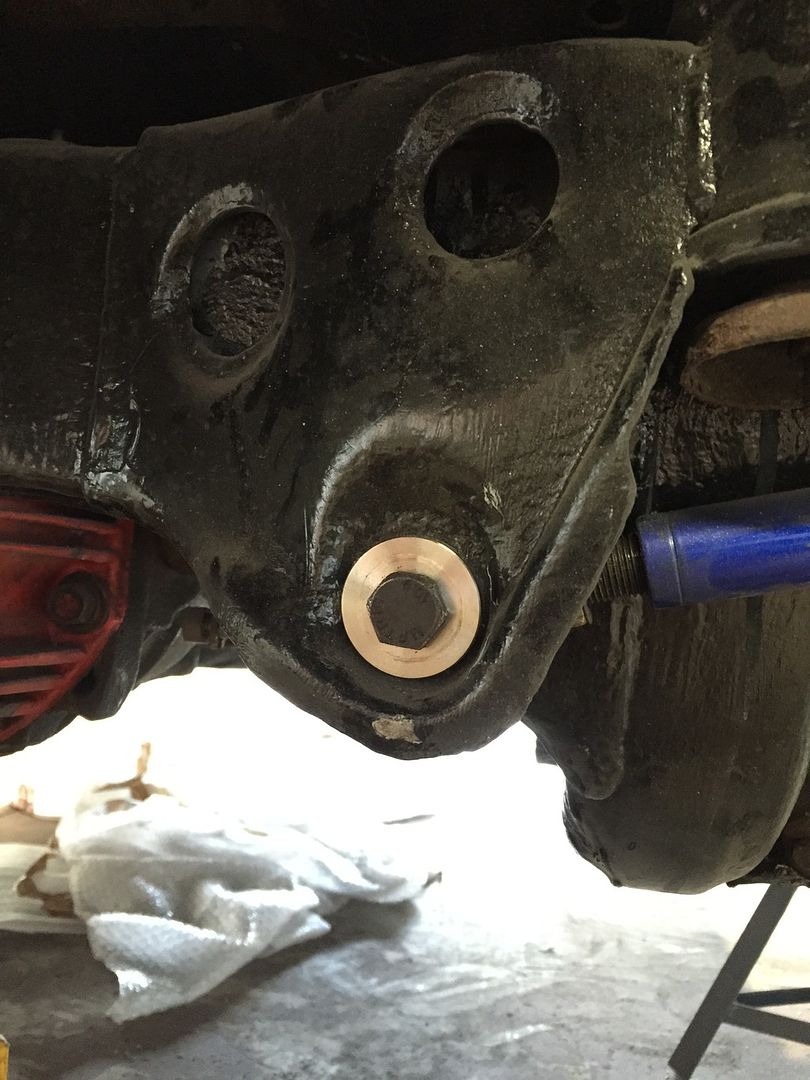 Comparisons between OEM and the GKTech eccentric lockout kit; 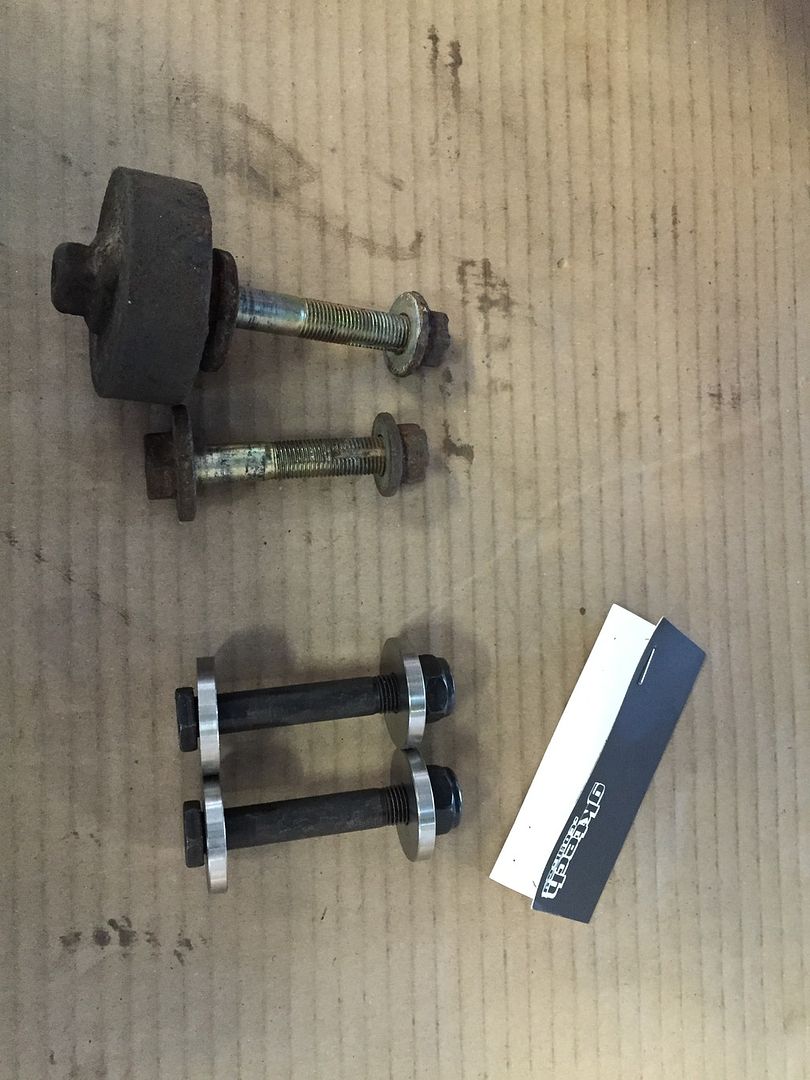 Gave the alternator a quick clean, and quickly slapped some paint on the pulley (I mean quickly slapped haha. I was in a rush, and the paint on the pulley before was dreadful. Luckily enough itll be hidden anyway  ) )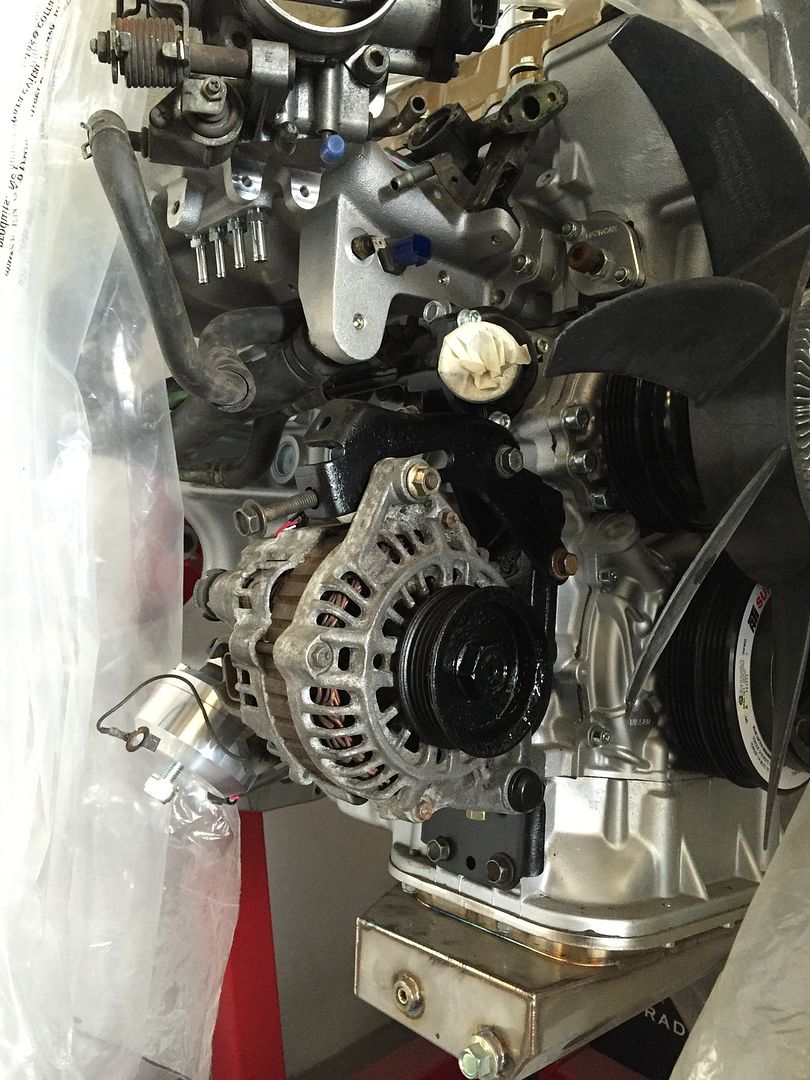 Threw the servo that the PS came with on, which to my understanding is an ABS servo due to the additional thickness? The reason I’m favouring this servo is that my old one was full of a dark liquid, which I can only guess as break fluid, suggesting my old BMC was leaking. No biggie, as I’m planning on switching BMC’s due to the new brakes anyhow. 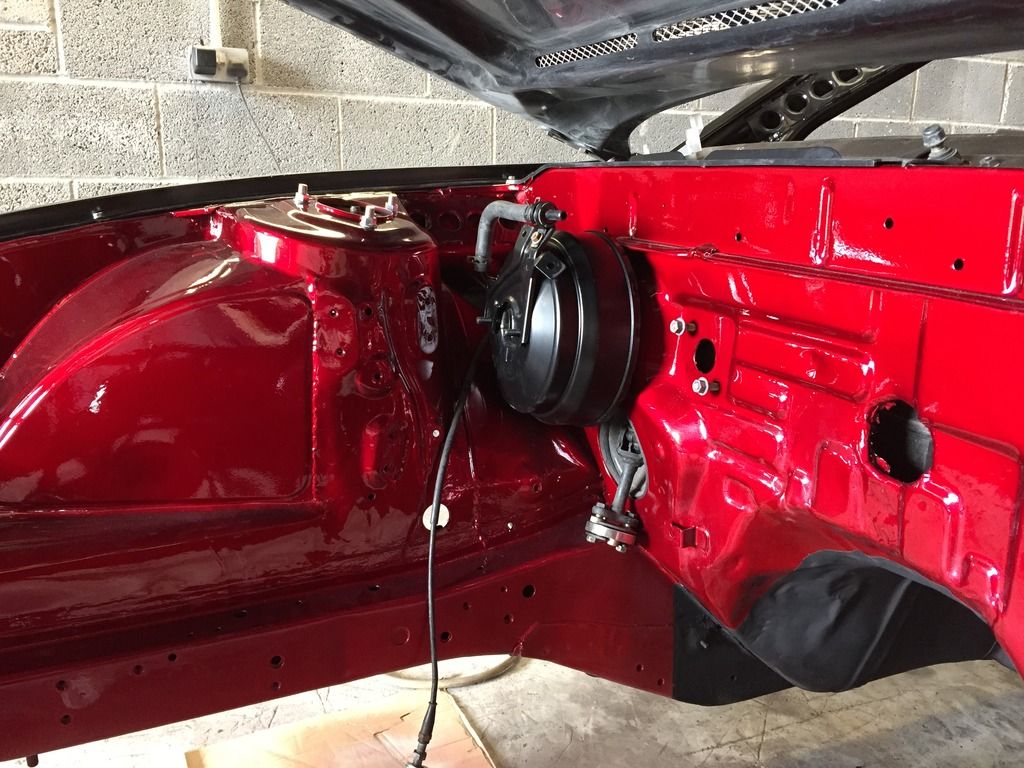 - - - Updated - - - I mounted the Tomei FRP too. I wanted it out of the way, but still easyily enough to read the gauge. So I chose to mount it beside the brake servo; 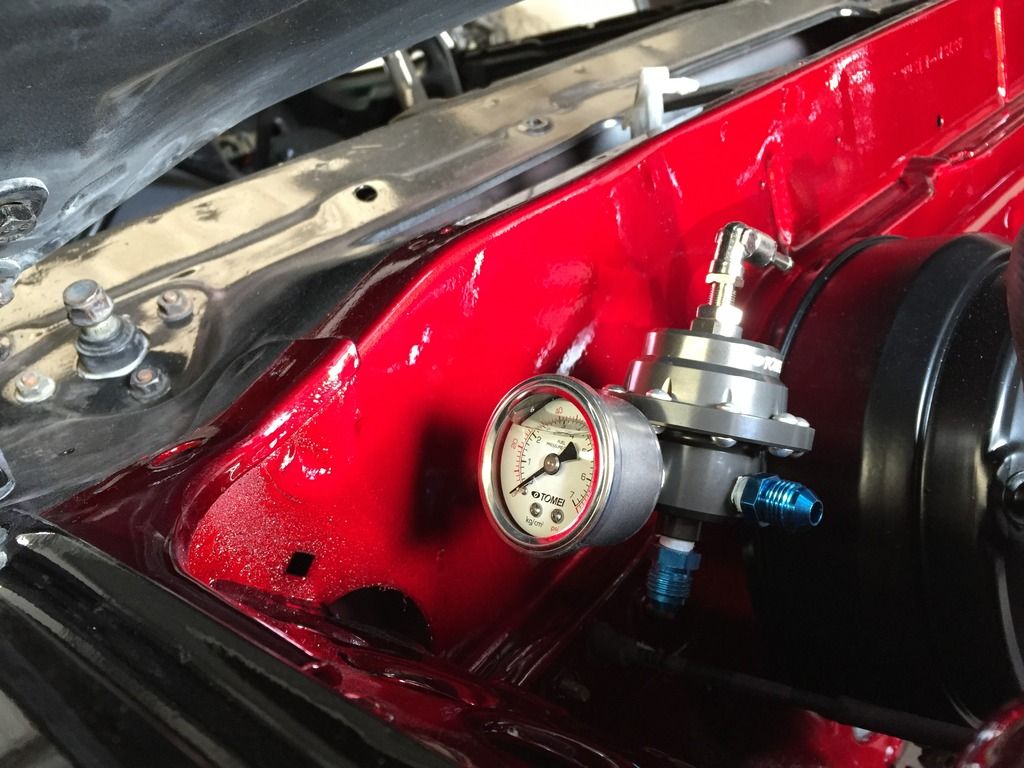 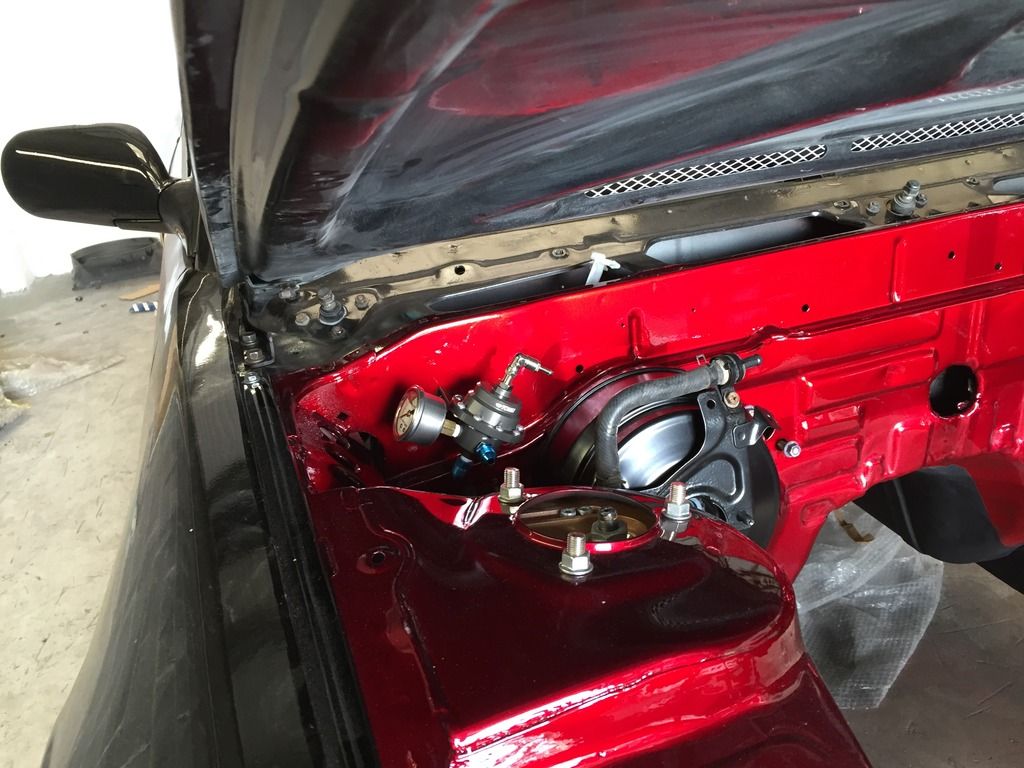 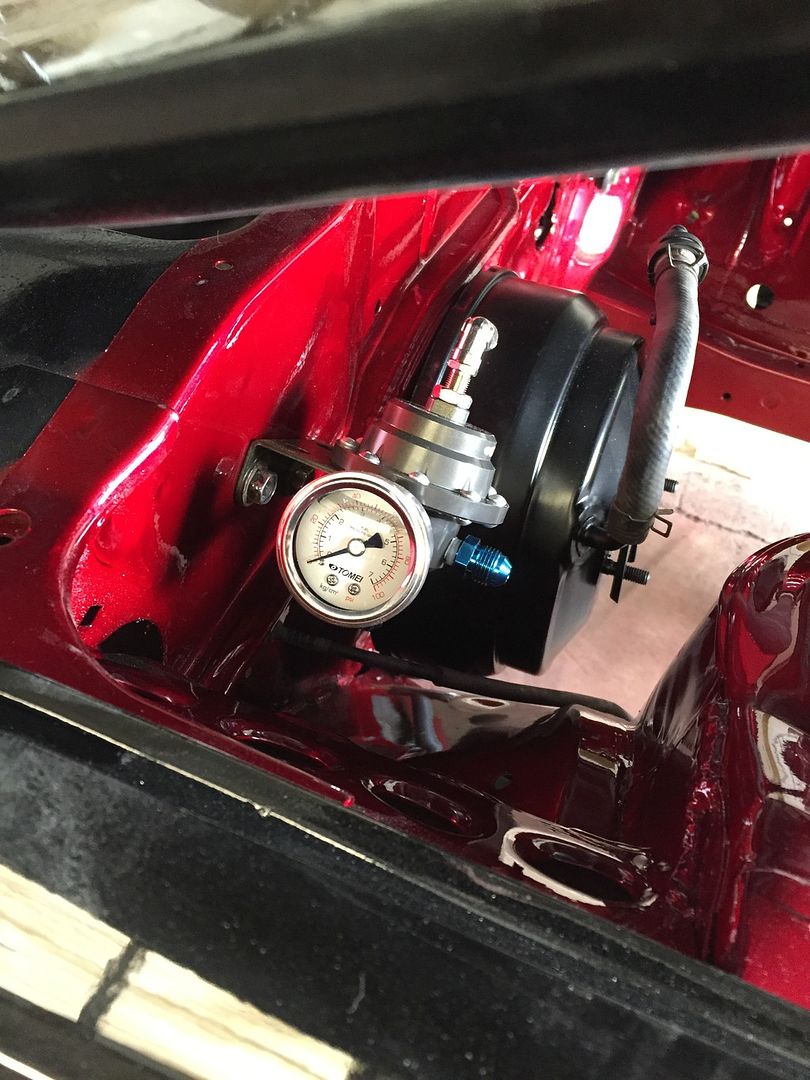 Looks quite smart in my opinion. I did try to follow the angle of the gusset too  Next up was to mount the power steering cooler. My idea was to mount it underneath the passenger side tub/arch like so; 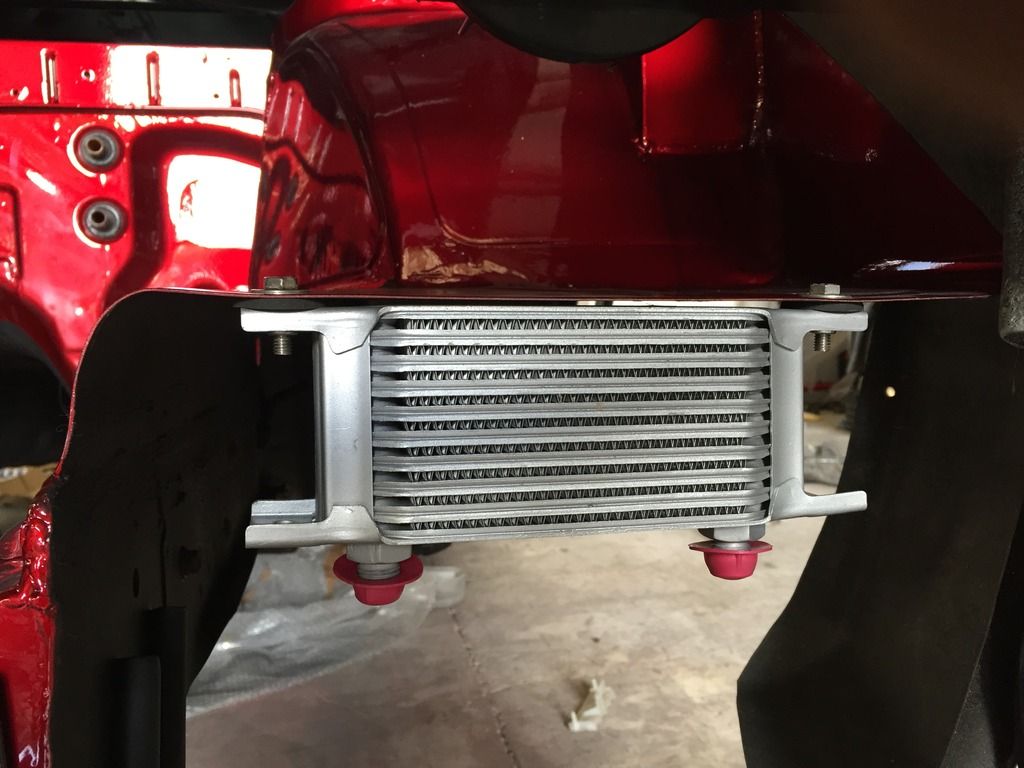 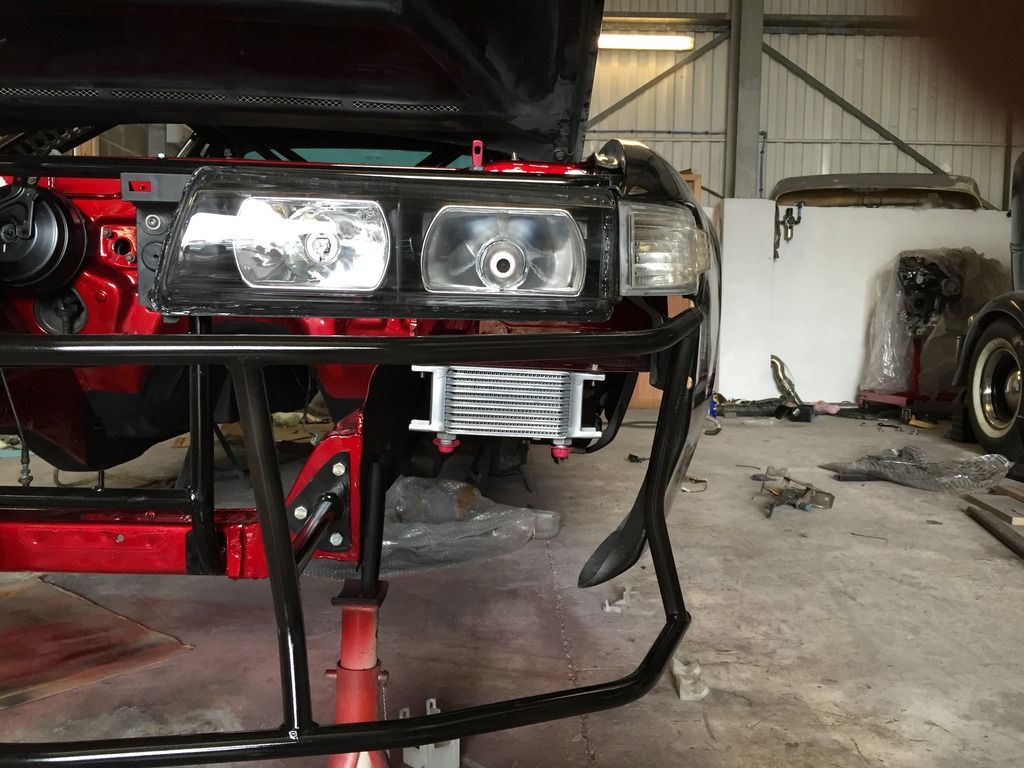 And this is why; 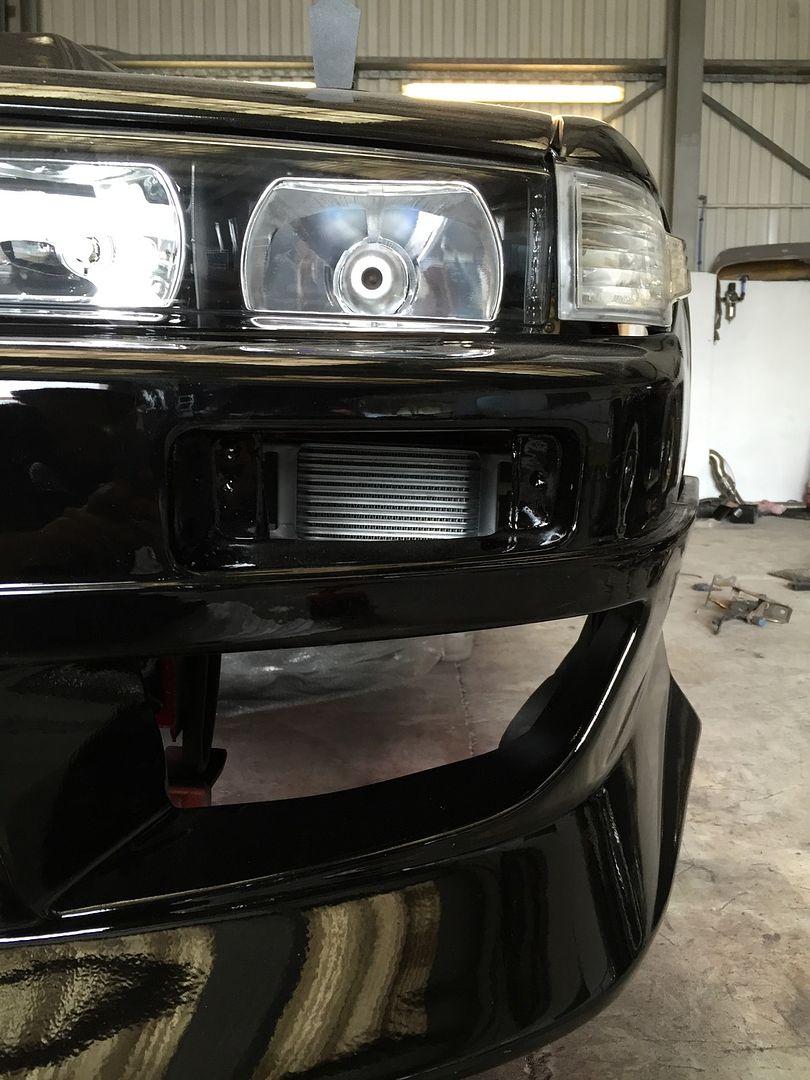 As I wont be running any lights in the bumper, the cut outs give great access to the core, meaning it’ll actually be kinda efficient I guess haha  I finally mount the swirl pot in the boot, using rubber washers and a spacer to keep the pot level; 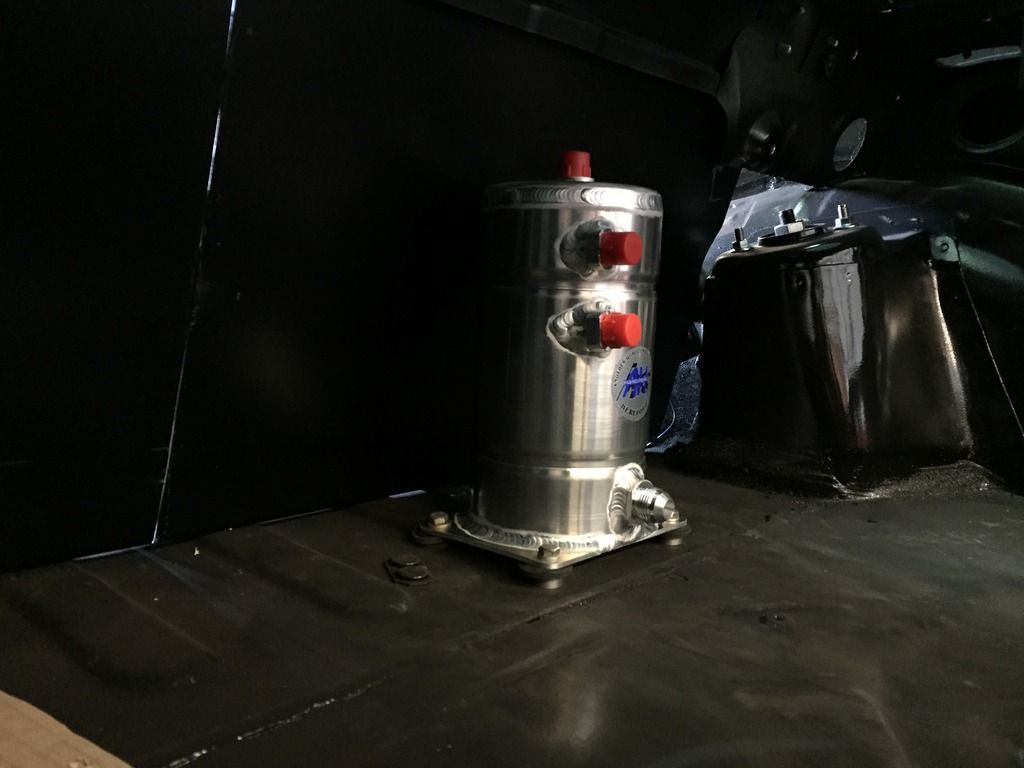 Installing that on my own was not fun, trying to be above and below the car at the same time tightening the nut and bolts was hard work haha. I was originally going to mount the fuel pump directly in front of it as the pump needs to be level or below to get sufficient fuel from the swirl pot. But a friend who runs a swirl pot advised me to run it slightly lower than the swirl pot, as gravity will aid feeding the 044 fuel, and 044’s hate having to “suck” fuel apparently. So I went with his advice and mounted the pump in the wheel well, which lets be honest, wont ever be used for its intended purpose ever again. 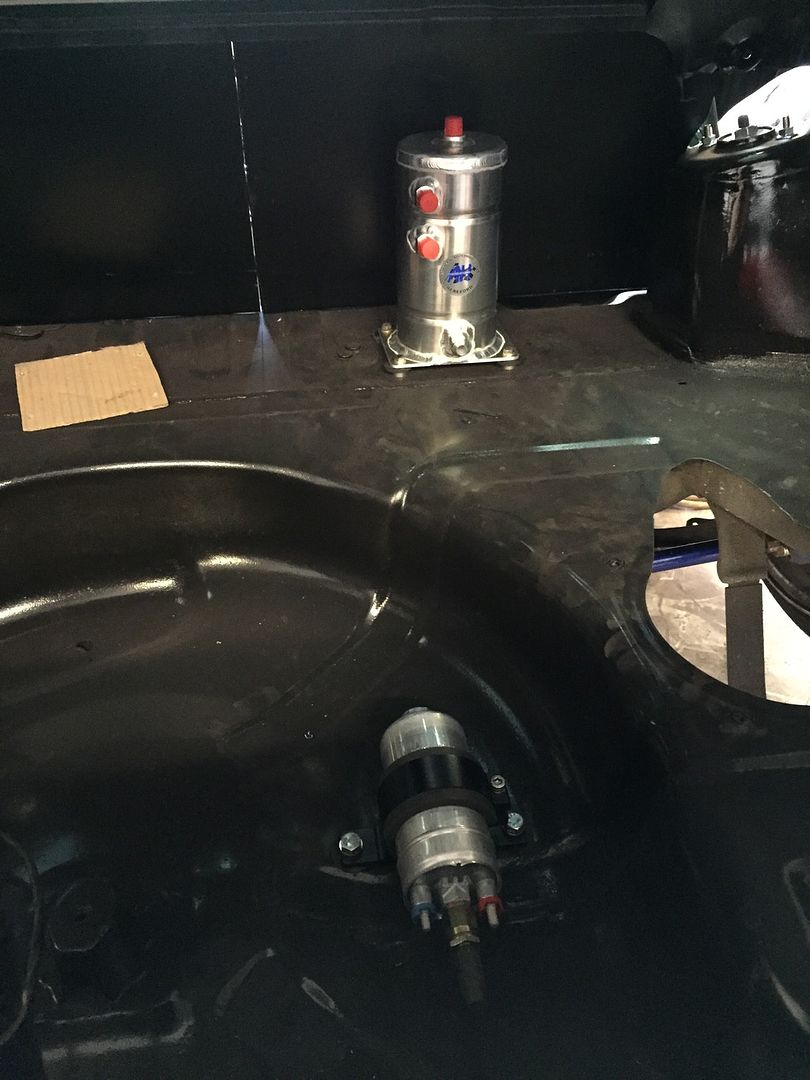 |
|
|

|
|
|
#46 |
|
Leaky Injector
Join Date: Dec 2012
Location: Bristol, UK
Age: 30
Posts: 92
Trader Rating: (0)
 Feedback Score: 0 reviews
|
Now this is the bit I was dreading, ordering up the numerous AN/JIC fittings I need. So I began by creating a rough list of what I need;
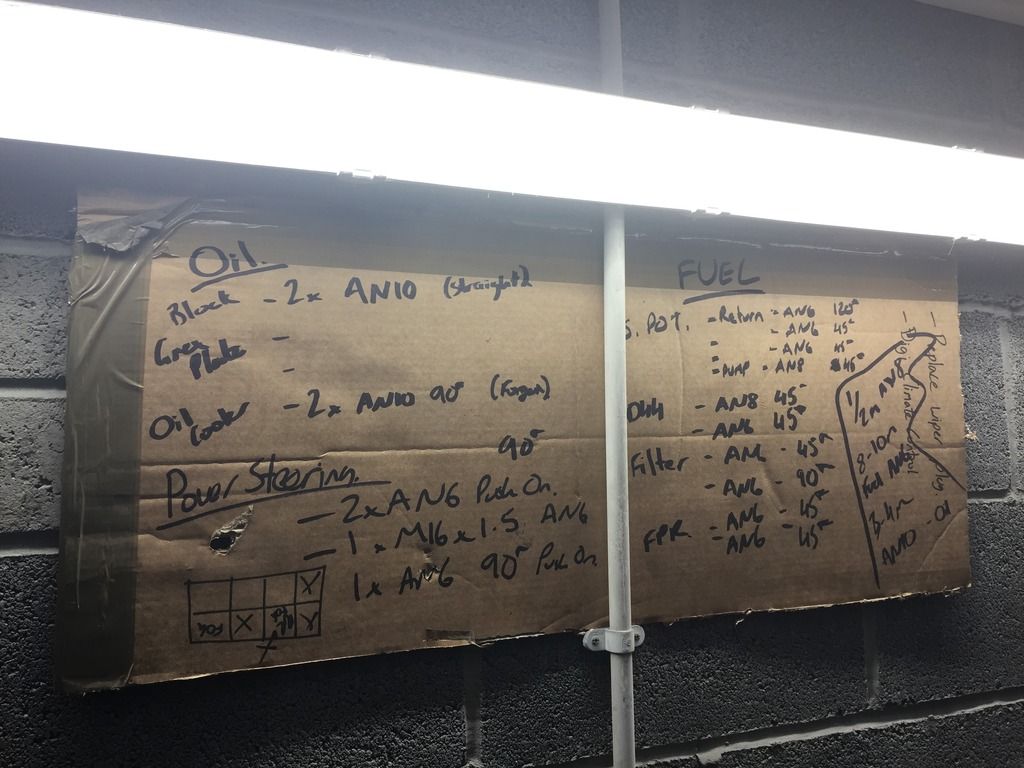 I few friends of mine used Torques UK to get their AN fittings, and they appear to be good quality so dropped them an email. So this lot promptly turned up, and I was somehow £400 lighter (Yup, four-hundred!!!!) But they’re so pretty :wack: 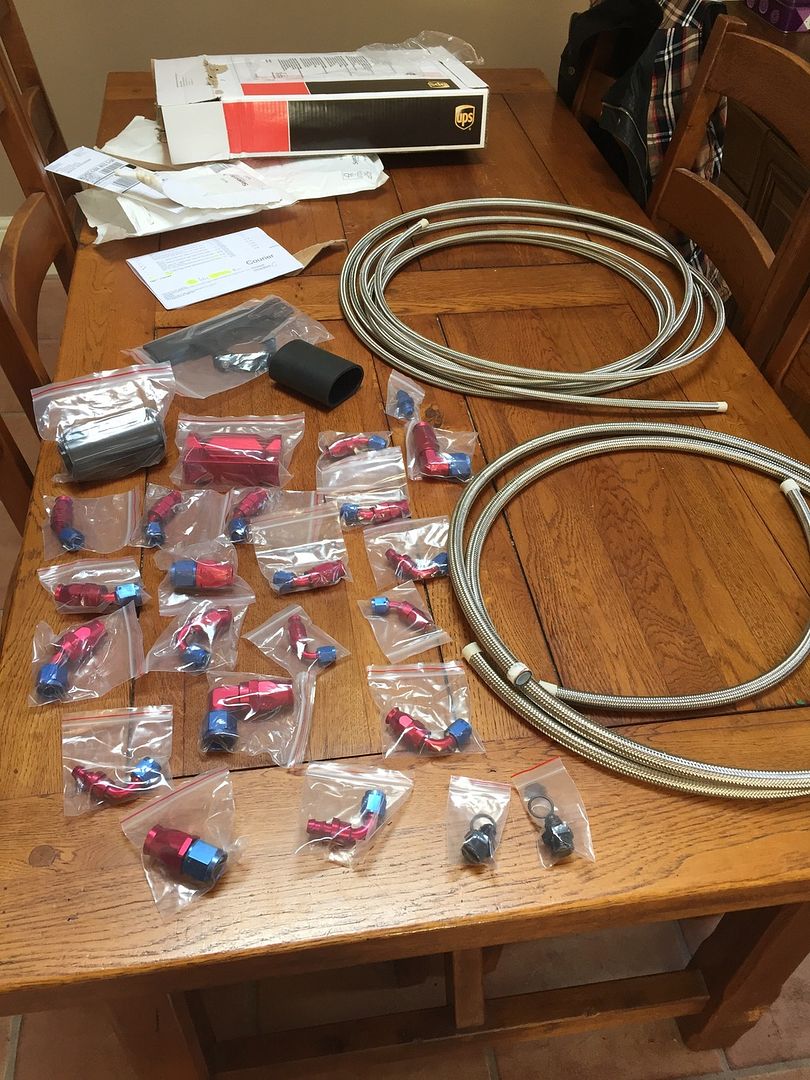 The guy at Torques was super helpful, recommending me which fuel filter to go with as I wont be using the generic Z32 type, as I am now using a billet AN6 high-flow fuel filter after the Bosch 044. 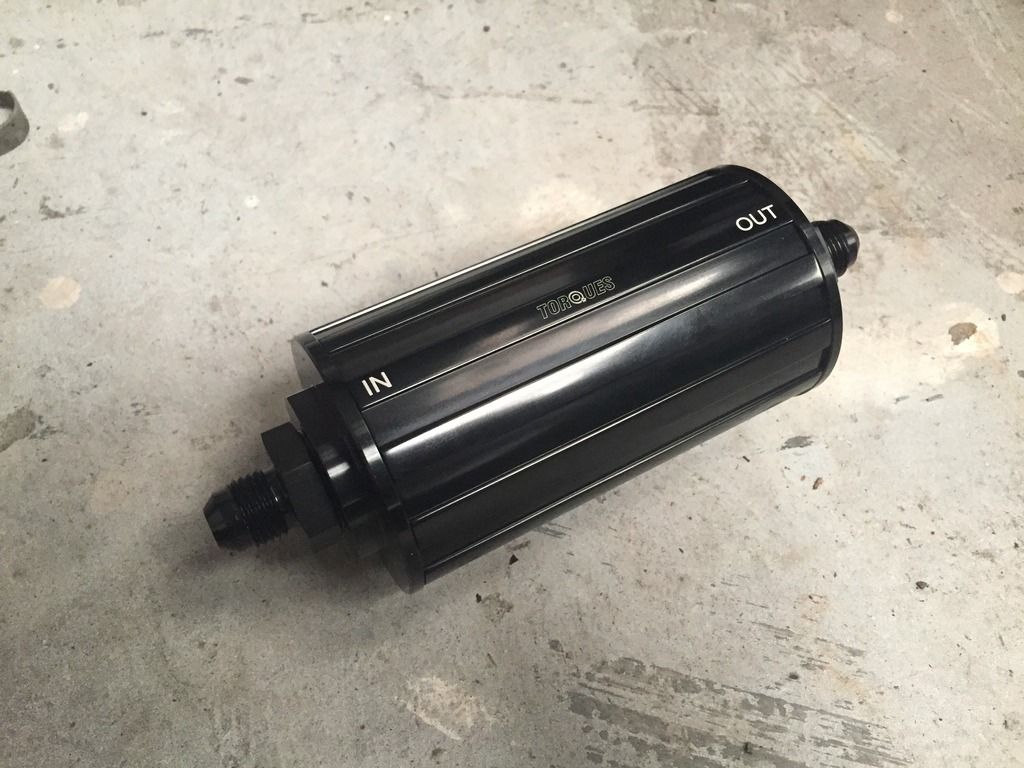 I cant deny how pretty these things are, they kind of make the build step up a notch, plus they all have a pretty important job, so quality is an important factor here. 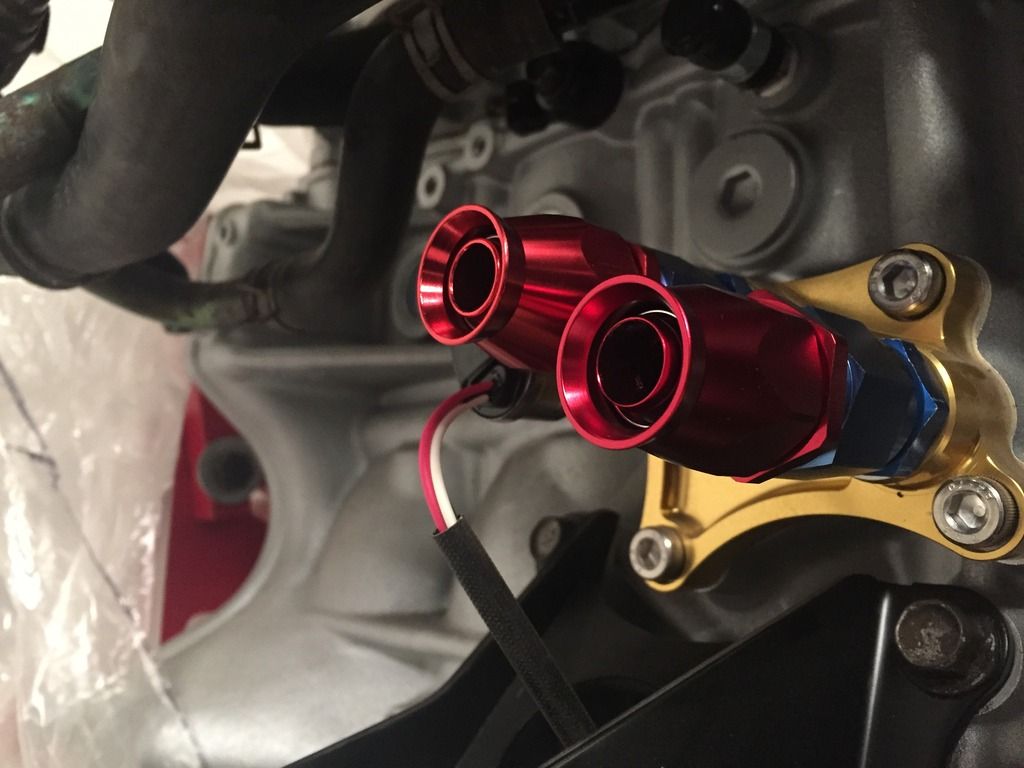 AN4 Turbo feed; 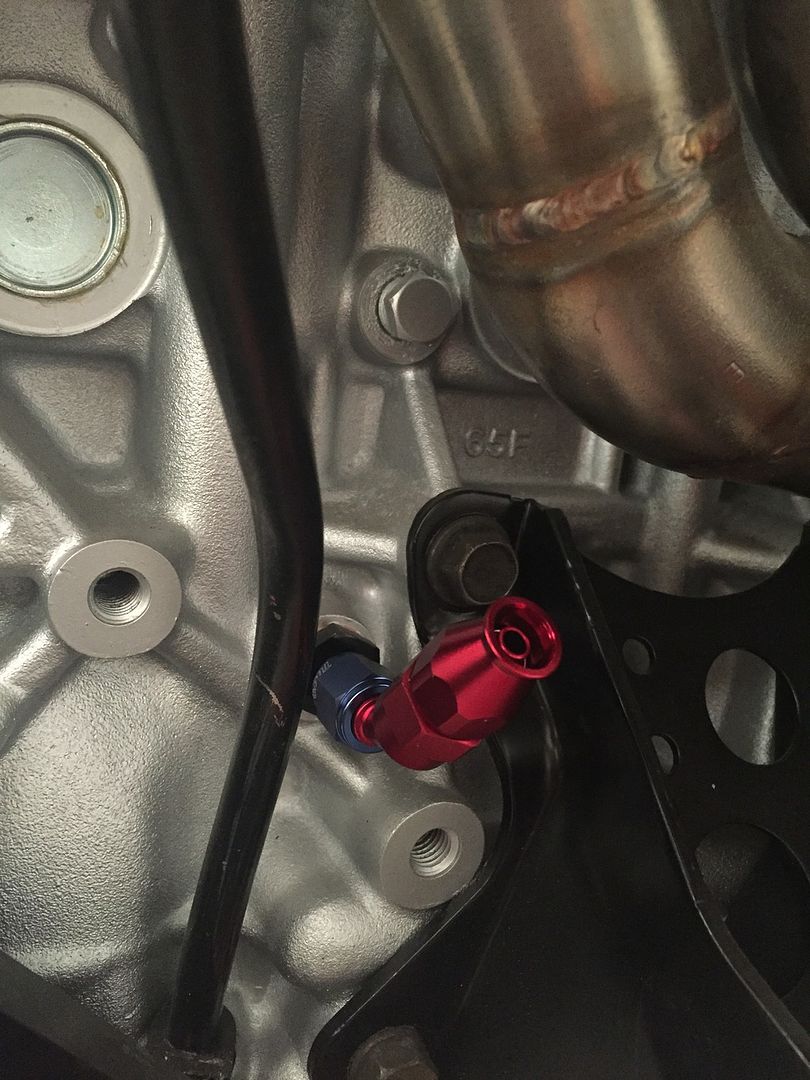 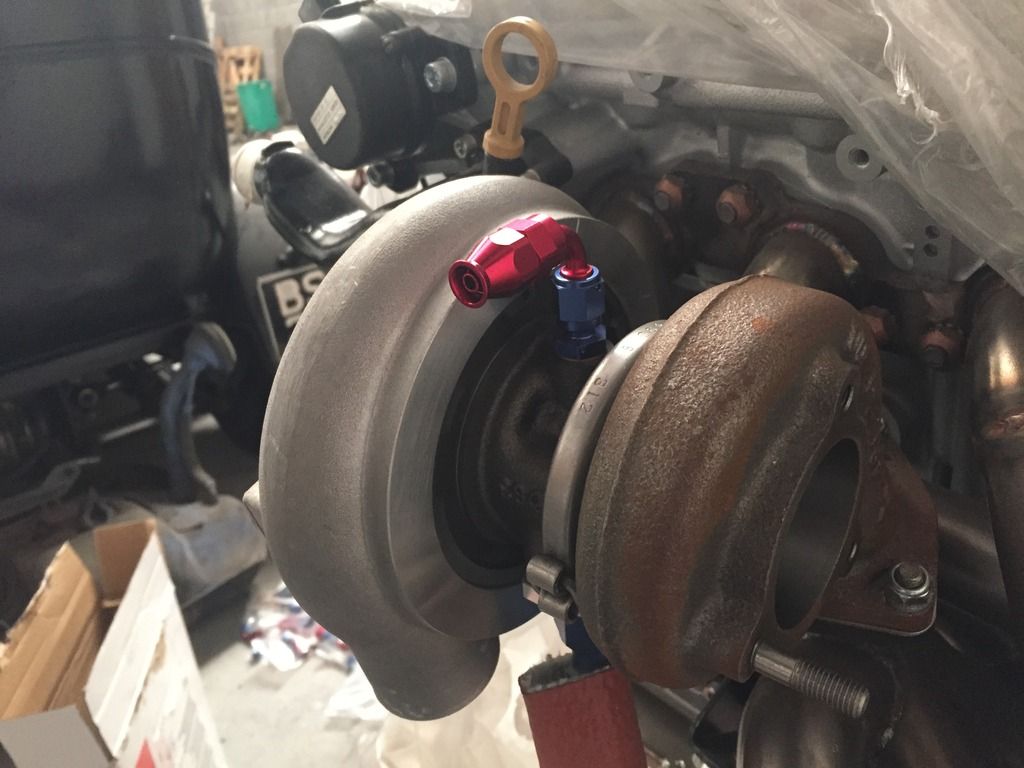 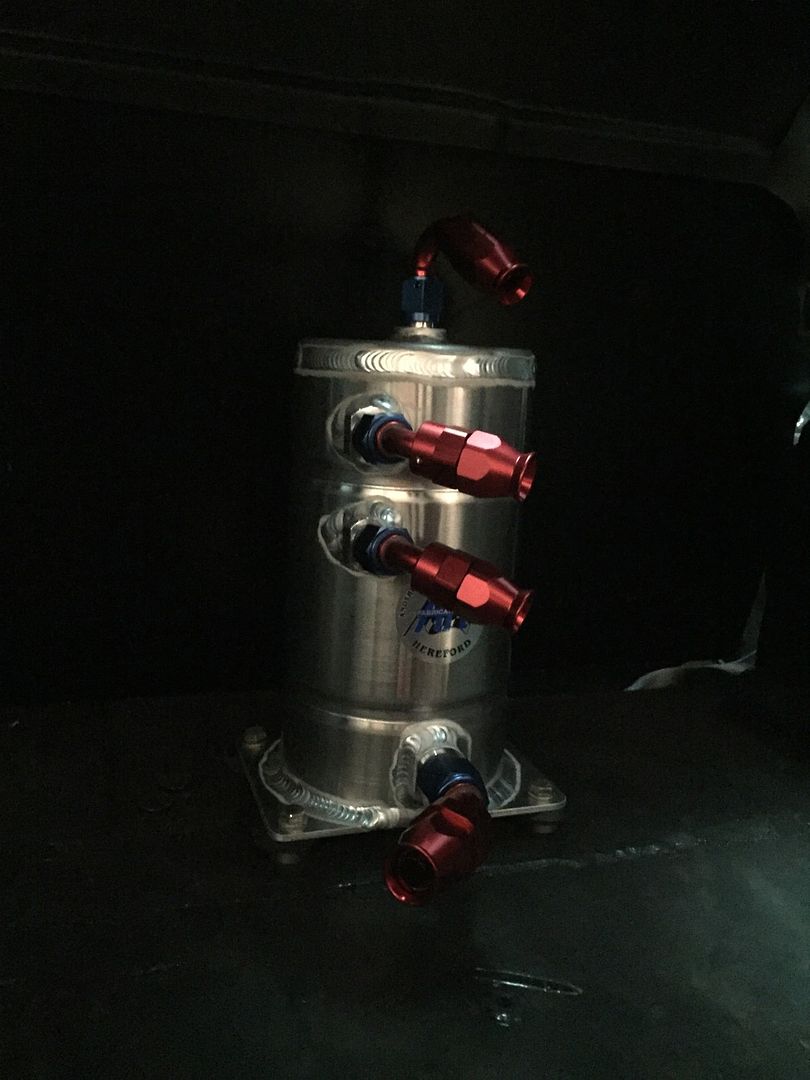 So whilst I was fascinated with these little fittings, I got some fresh LCA bushes from Driftworks, opting for the Powerflex Black Series due to being a harder compound. 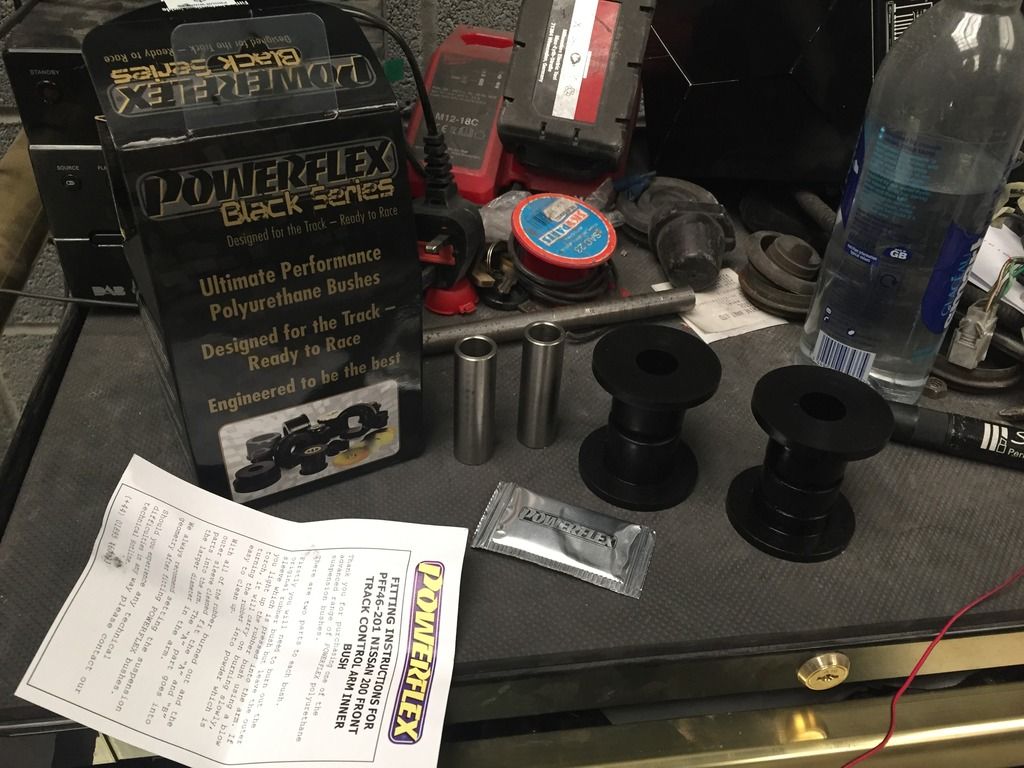 To finish off the front end, I sourced a pair of Voodoo13 front tension rods from the states, something I can honestly say is that the quality of these arms are second to none. 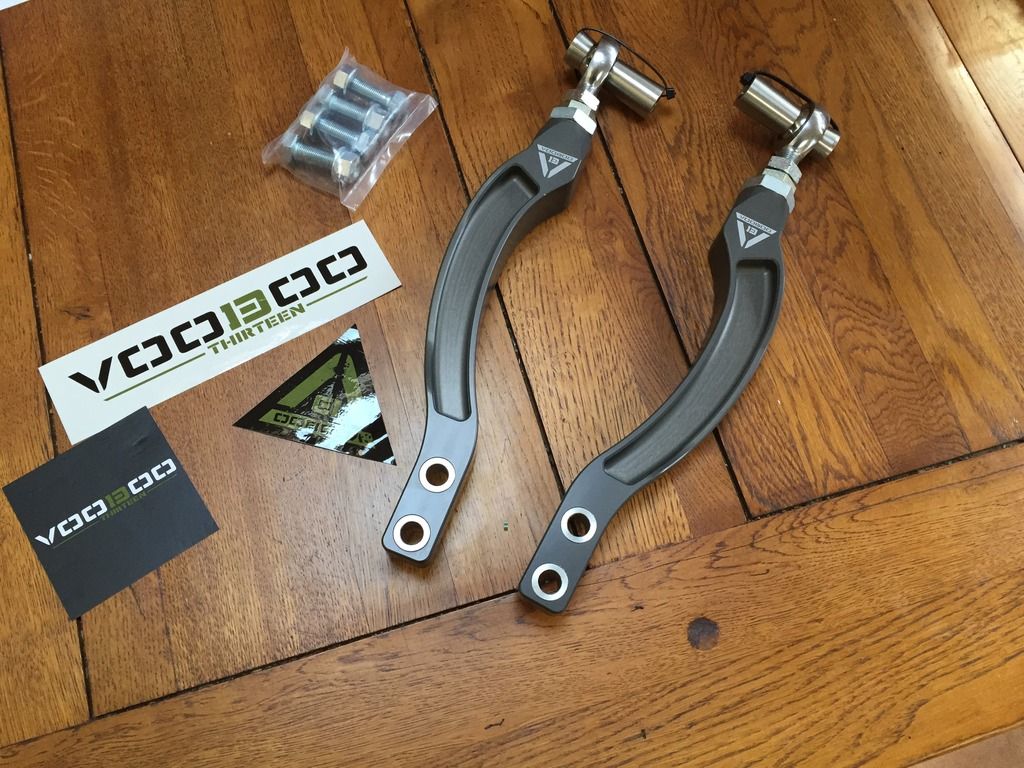 At this point, I had finally dropped my bellhousing was off to be machined which was back the next day. After a quick steam wash to remove the small bits of swarf, it was ready to go back on. 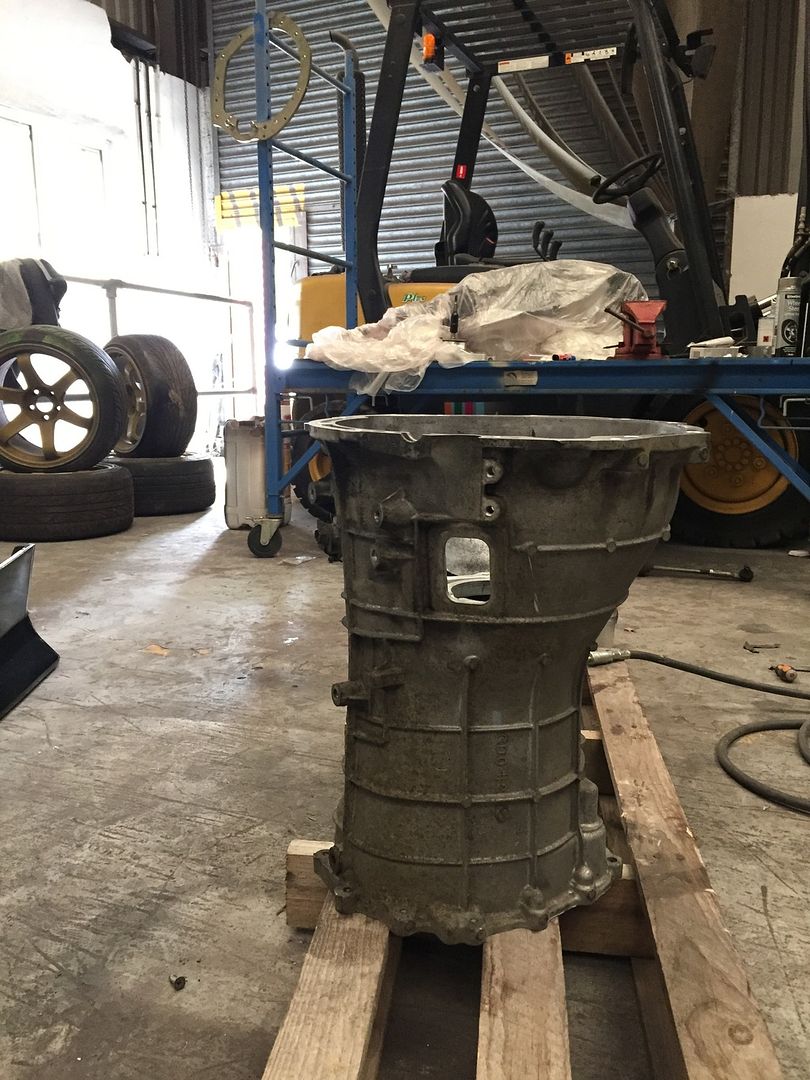 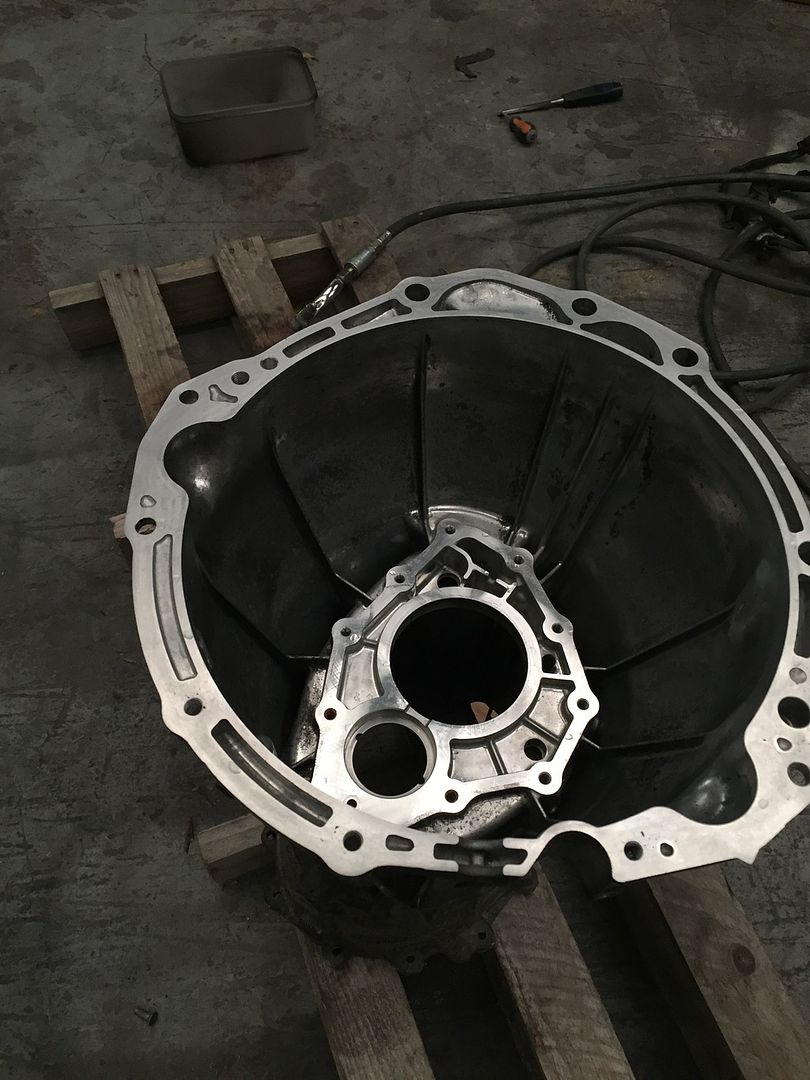 Front cover before; 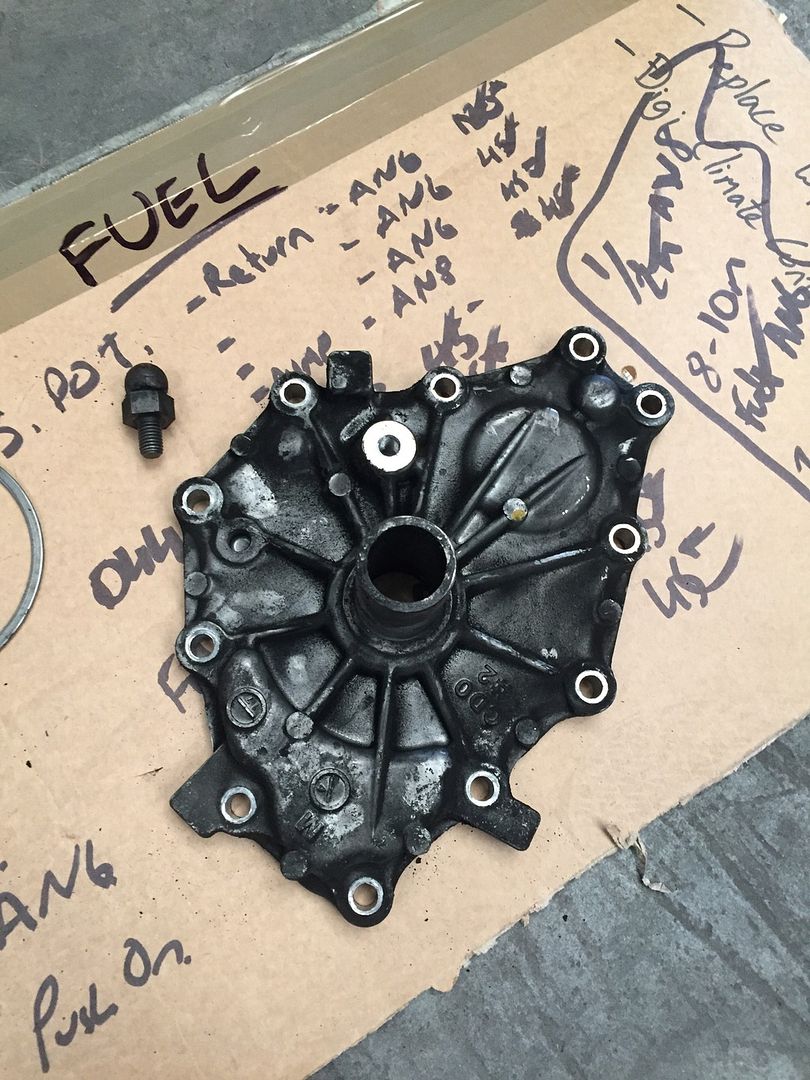 After; 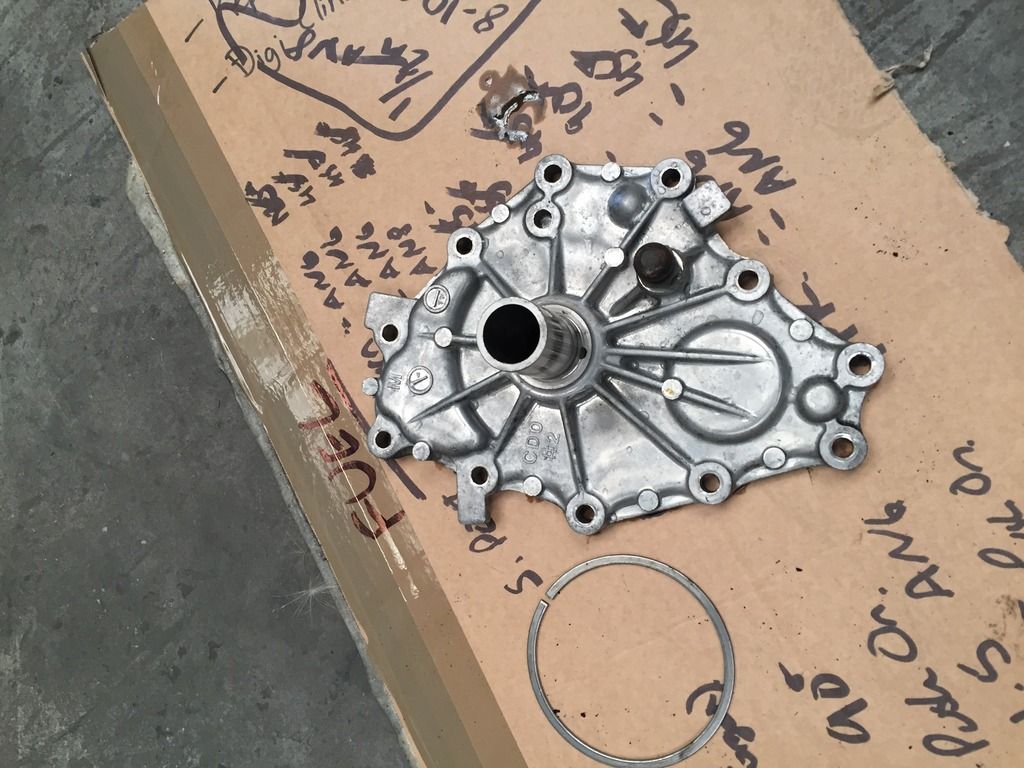 Attempting this myself wasn’t the most fun of tasks, trying to keep the box still whilst ensuring the bellhousing goes on straight! 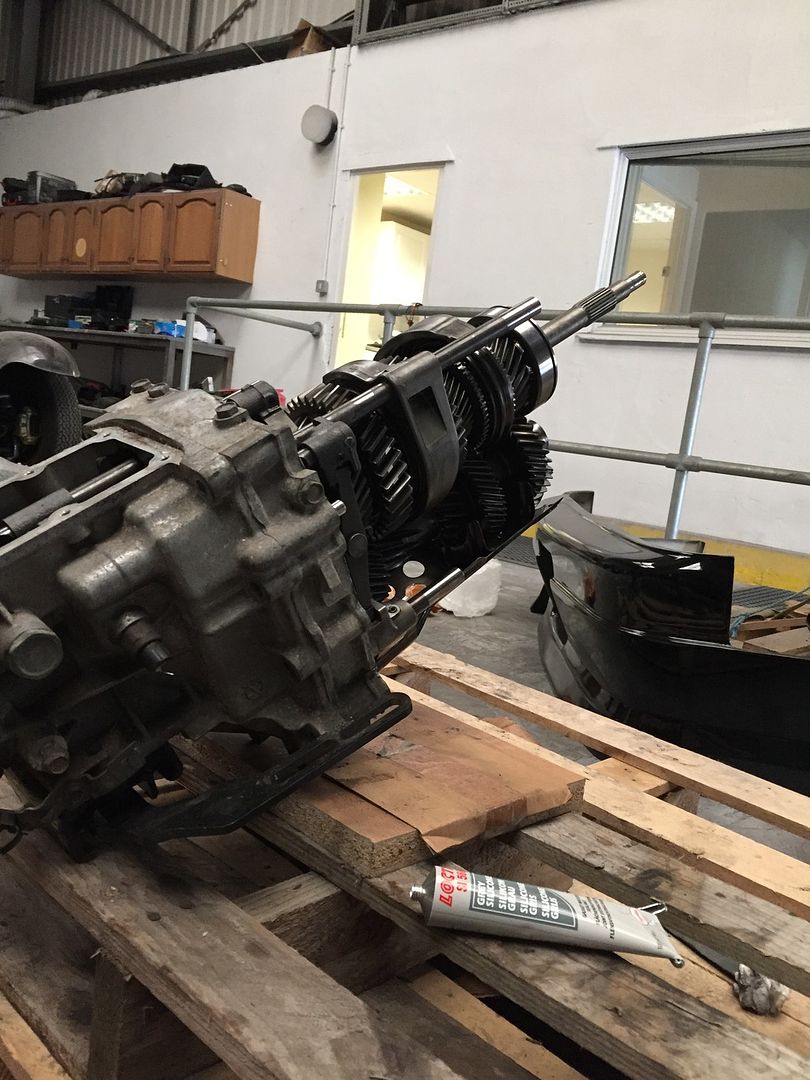 And before long it was all done. Kinda nervous about it leaking as it’ll be an engine out job, but I used a decent sealant, and made sure both mating surfaces were super clean and degreased, so fingers crossed! 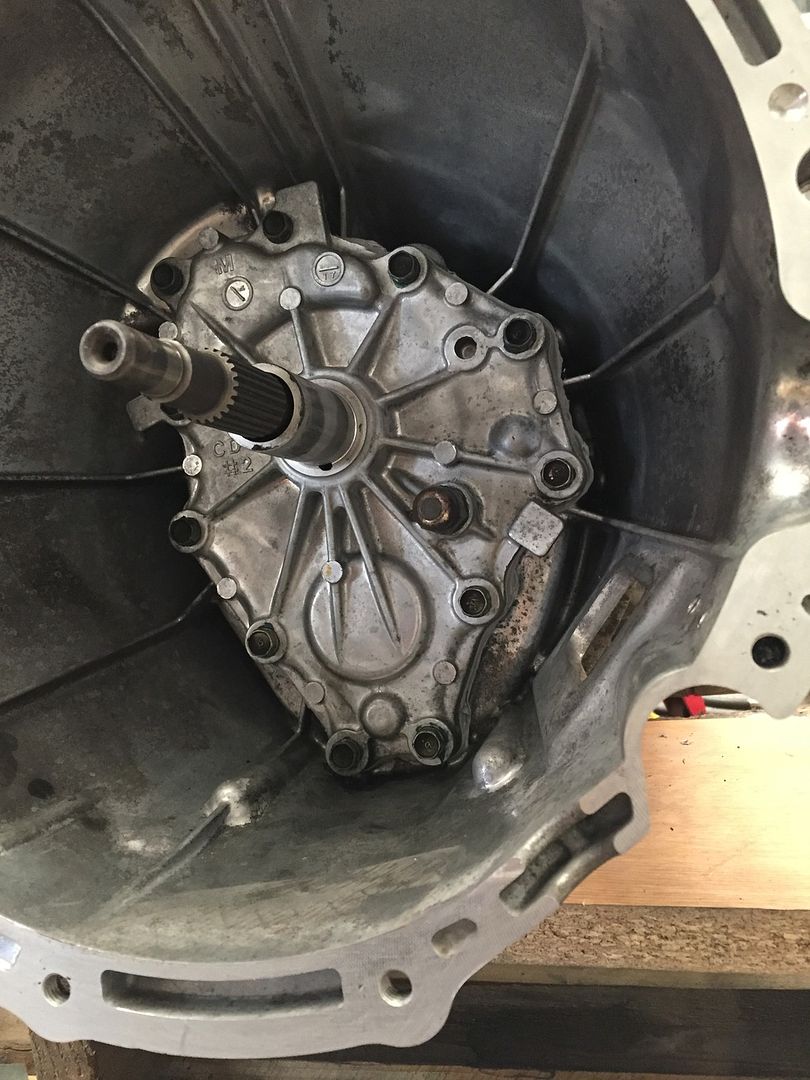 This then means I can tackle the release bearing and sleeve setup. The conversion uses the Z33 fork and retaining clip, combined with an SR release bearing and carrier setup. Z33 setup; 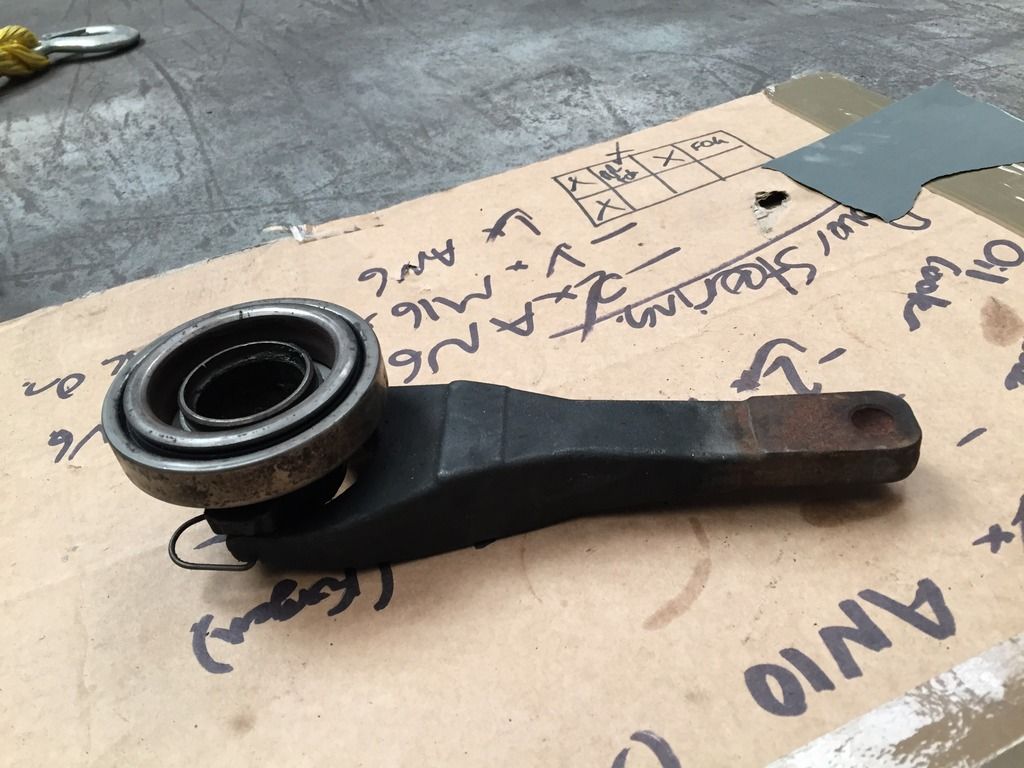 New “Hybrid” combination; 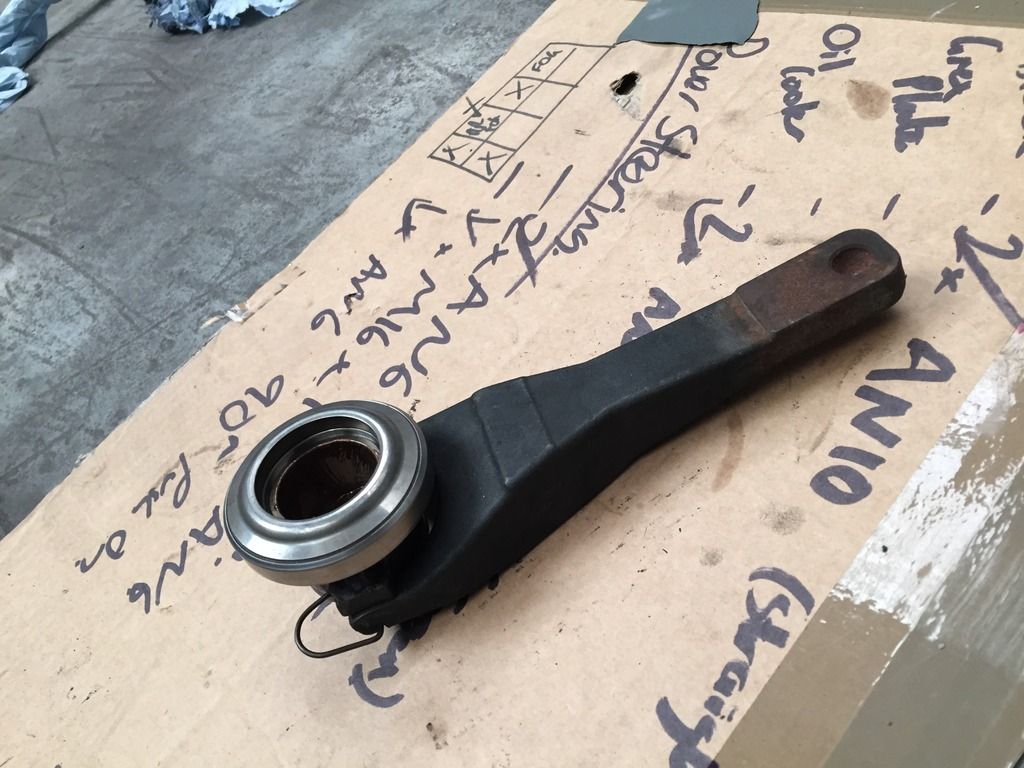 An annoying thing with the gearbox was that the shifter had a slightly damaged thread, meaning my fancy gear knob would screw on. Not to worry, means I can get the good old tap set out and clean it up.  (Is it wrong that I enjoyed cleaning a thread haha?!) (Is it wrong that I enjoyed cleaning a thread haha?!)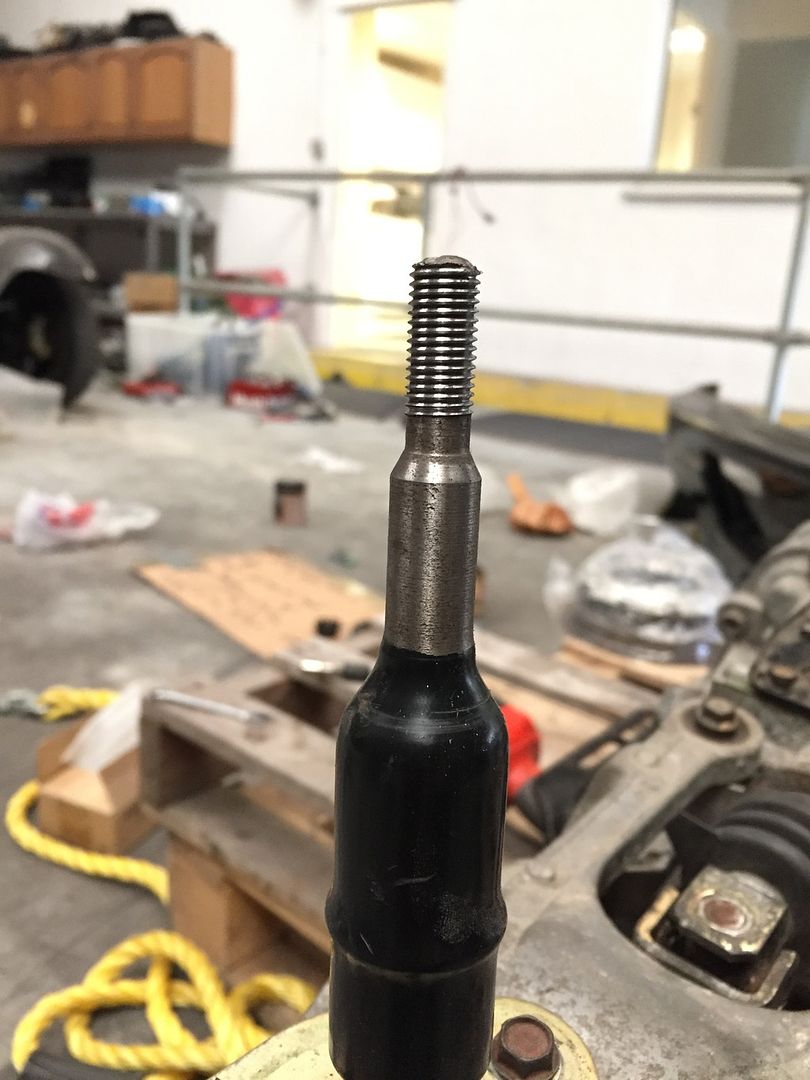 Now I can finally put the Powered by Max shifter on  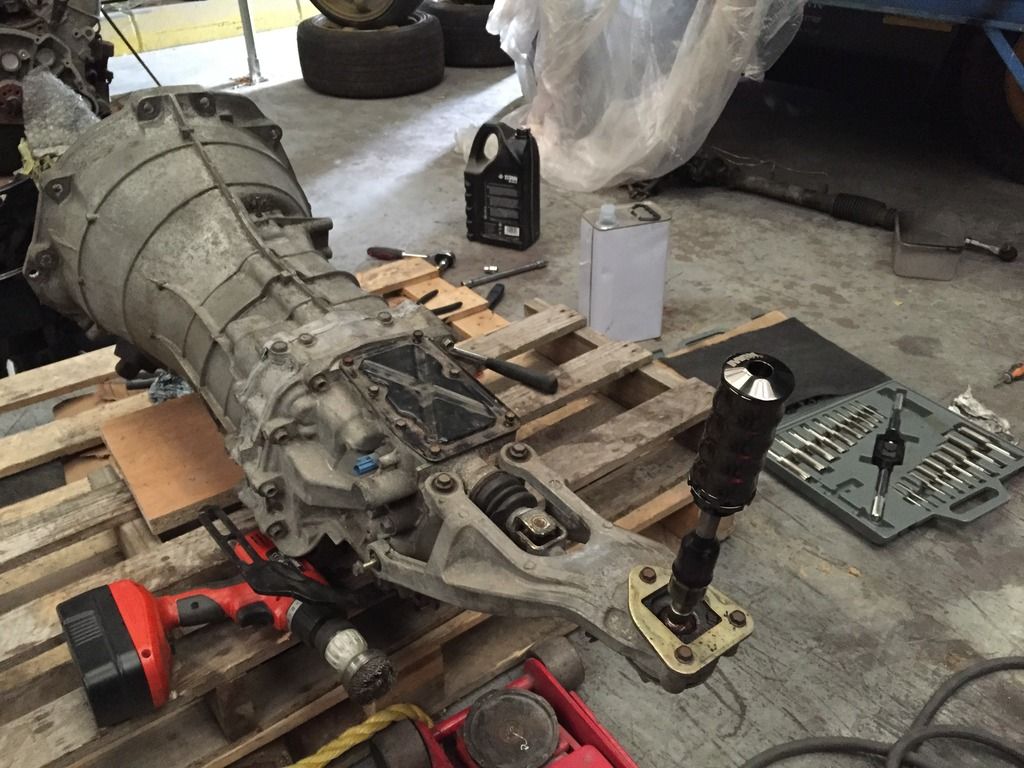 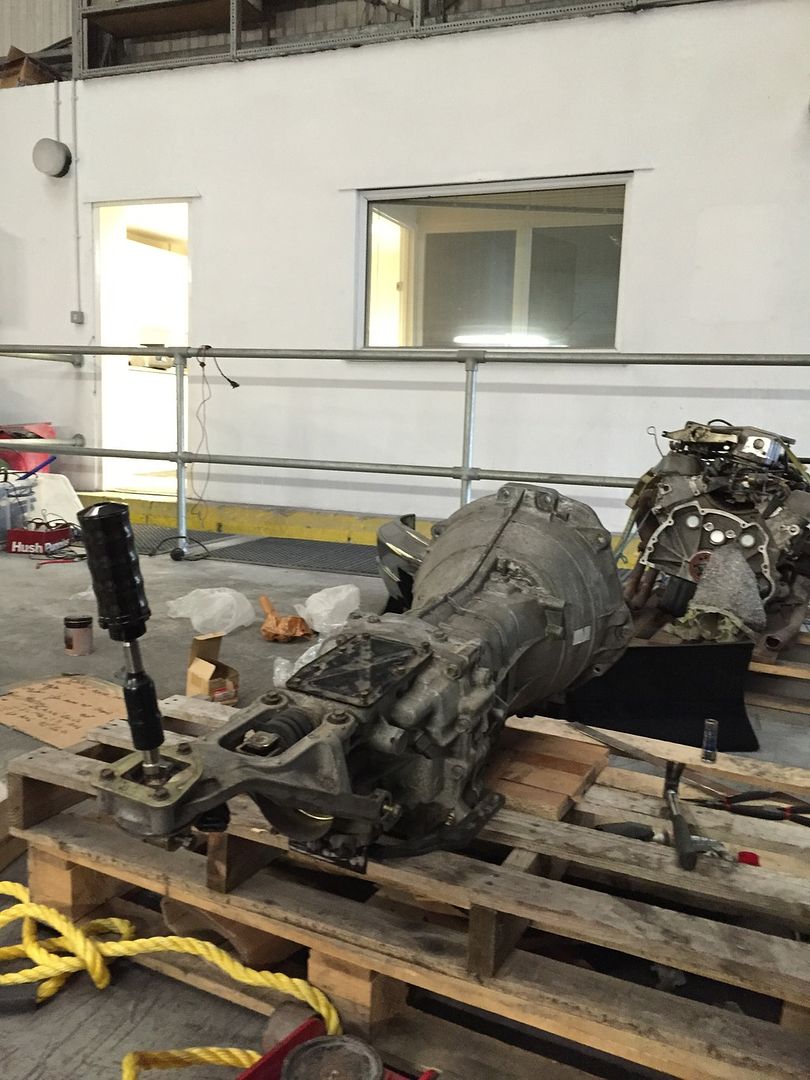 Whilst the engine was out of the car, something I wanted to change was the fact my downpipe setup would’ve used bolts to fix it to the exhaust housing. This didn’t really fill me with confidence (It was my fault as I never put any studs in the exhaust housing), so grabbed some manifold studs and locking nuts from H-Dev, which look 10x better than a generic stainless bolt. Hopefully combined with Nord-Lock washers this should hold everything nice and tight! Whilst I was there, I quickly swapped the nyloc’s used on the manifold-turbo flange in favour of more lock-nuts. Hopefully, this again will reduce my chance of the nuts coming loose in the near future, whenever the car does actually start up and run. 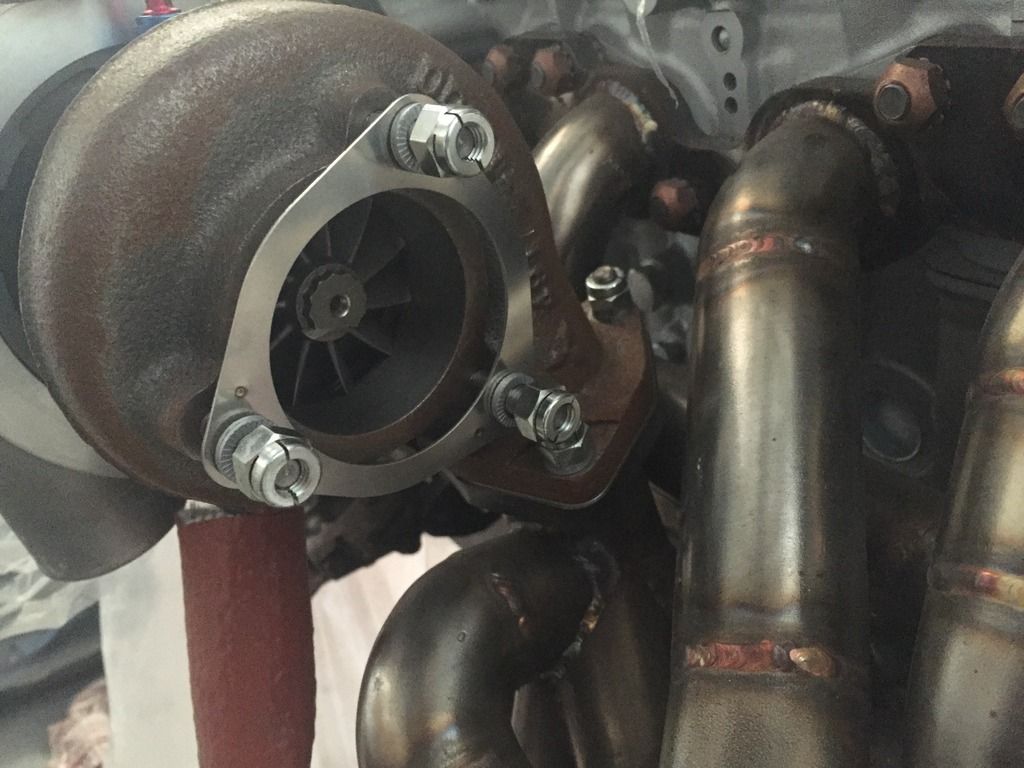 I began to make my first AN line, which was the oil feed line. I read the smaller the fitting, the easier it is, so AN4 sounded perfect. Followed a guide online for the PTFE fittings and I’d like to say everything went well, but time will tell whether they leak or not  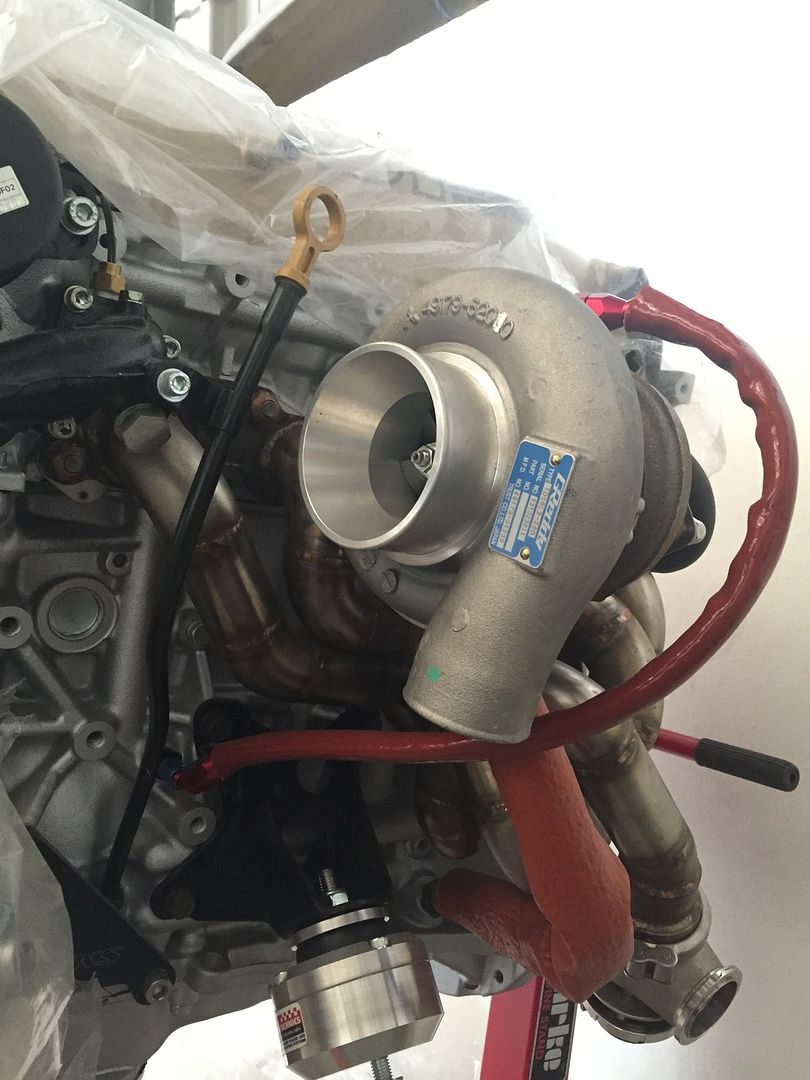 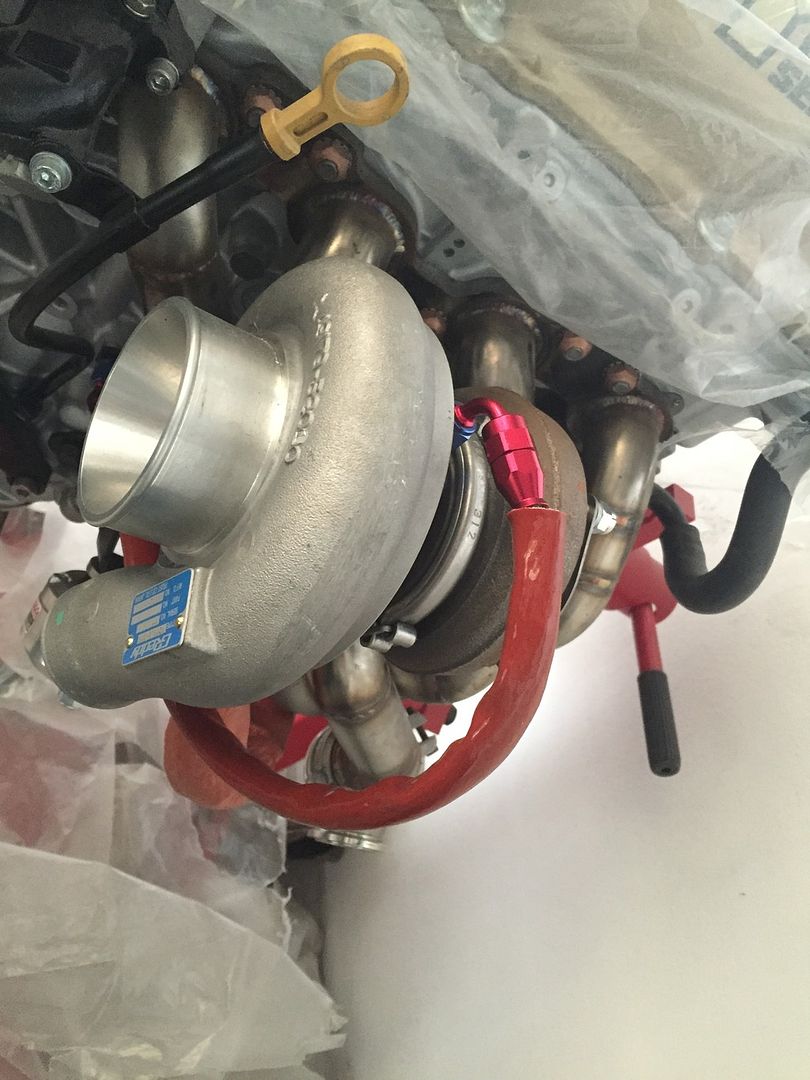 Next up was the AN8 line between the fuel pump and the swirl pot; 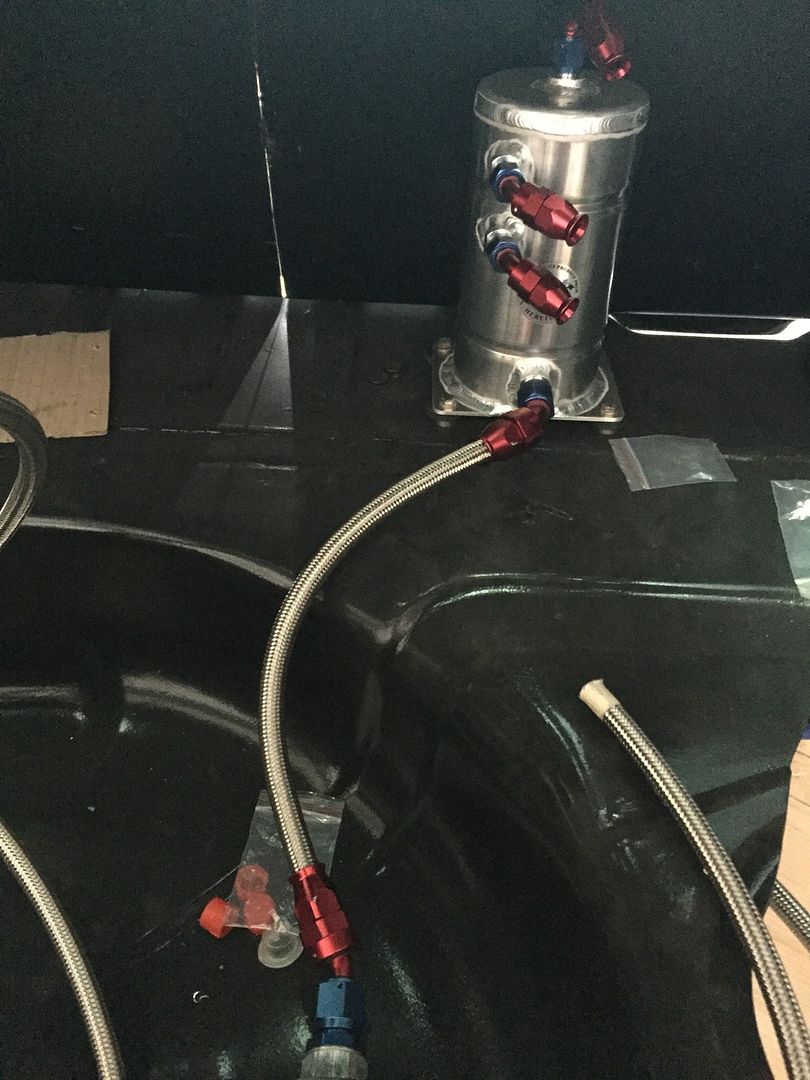 It’d be rude not to throw the Equips on the rear to check the level of fitment, because fitment is the number one priority! :wack: 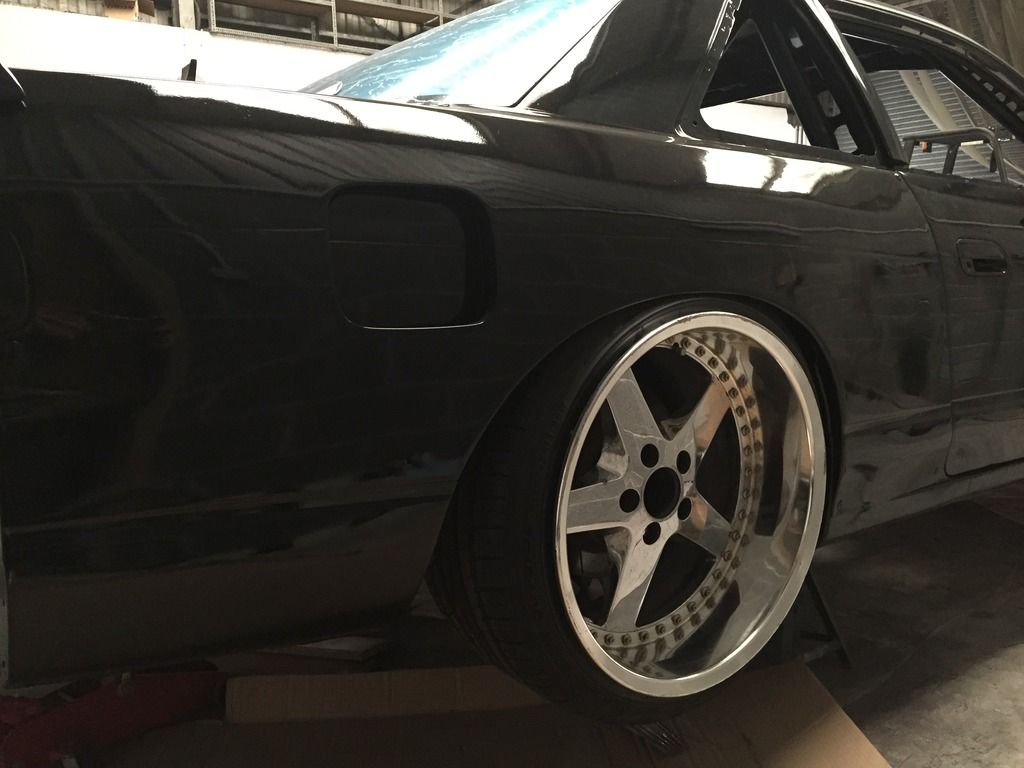 I quickly disassemble the clutch in order to bolt the flywheel and pressure plate on to check the release bearing and carrier is the correct size. The Twin Plate is gorgeous, wish I could just layer each plate in a frame as start at the forever, but that’d mean not driving, so onwards we go. 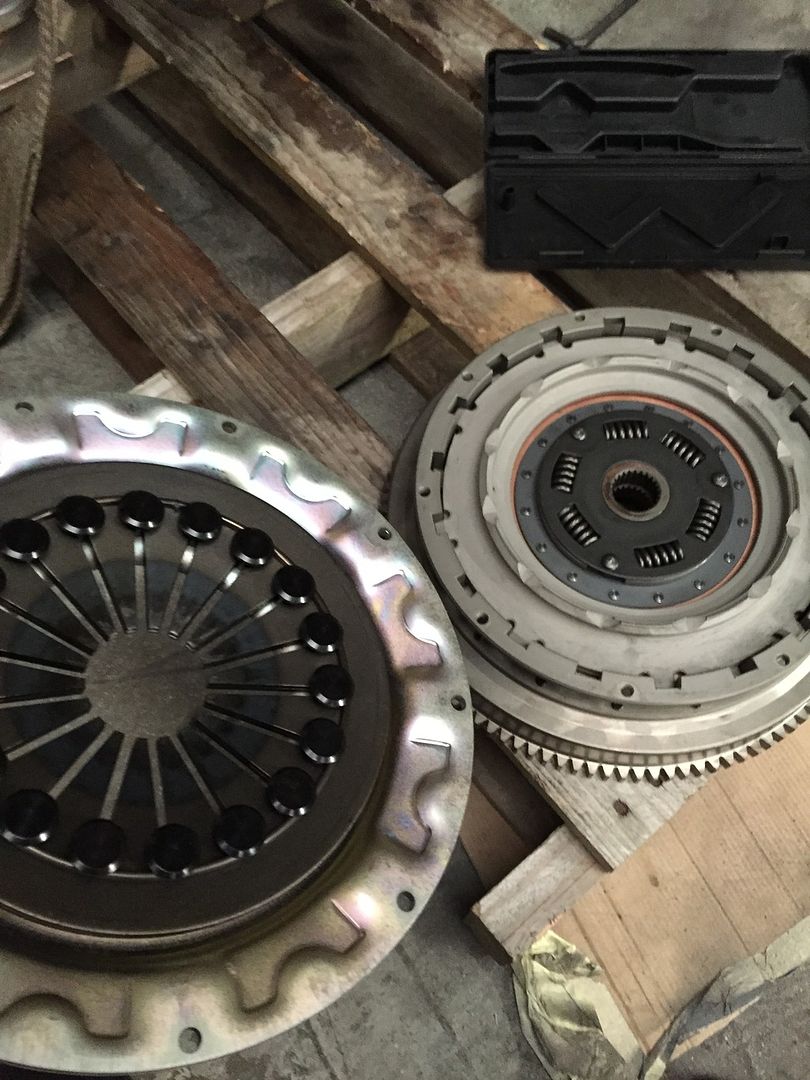 And the fork sat like this with the bearing up against the fingers of the pressure plate; 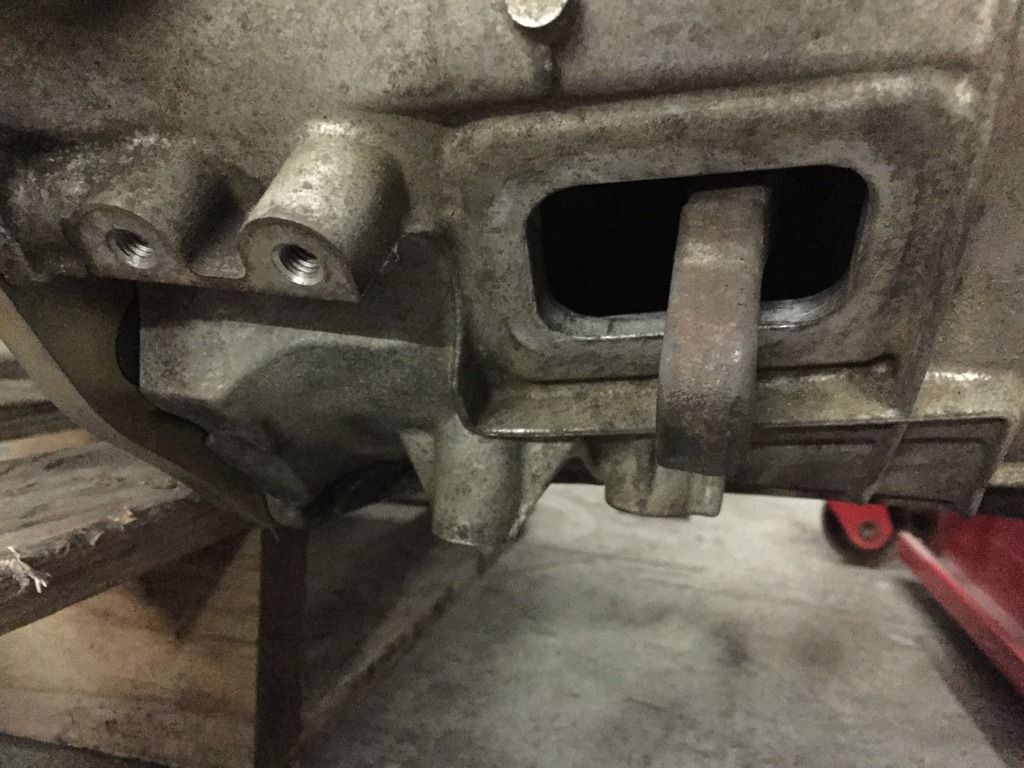 Not good! Its almost bottoms out the hole on the gearbox, let alone the travel of the slave. So time to take a step back and have a think, which is kinda hard when this is sat in front of you  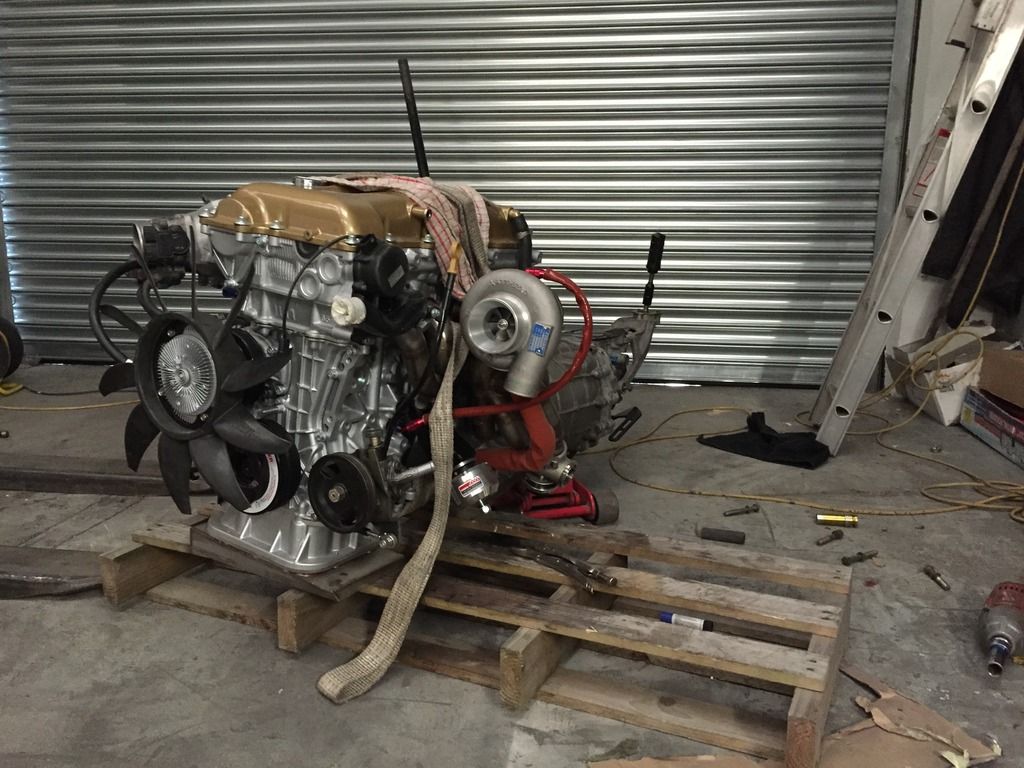 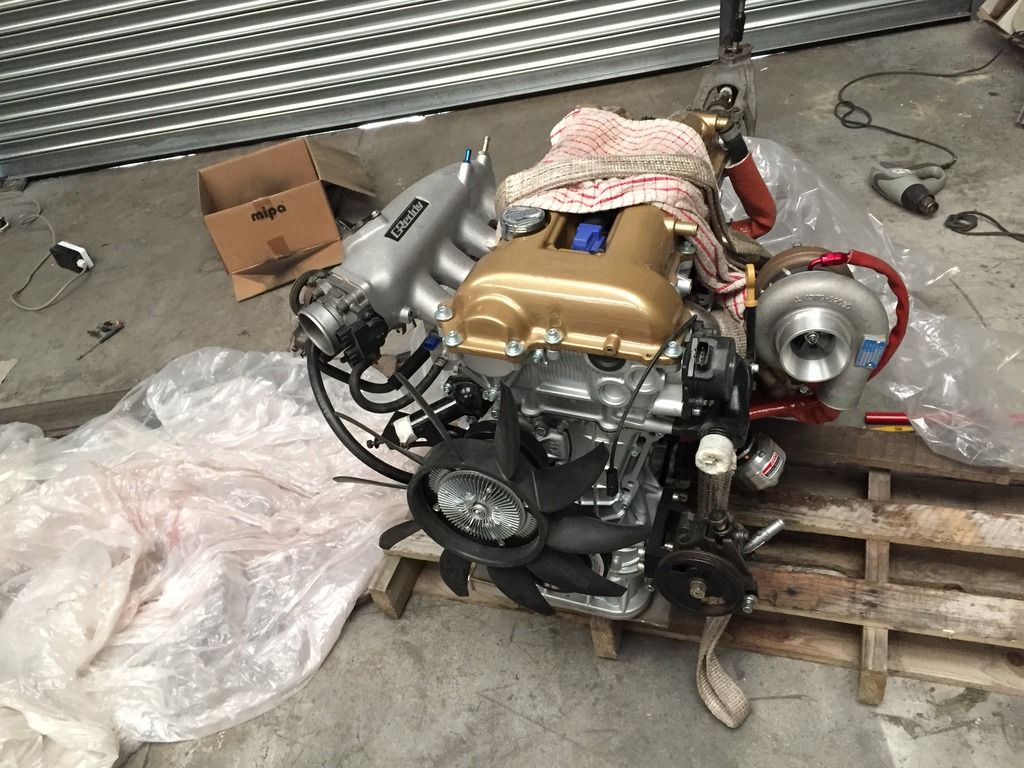 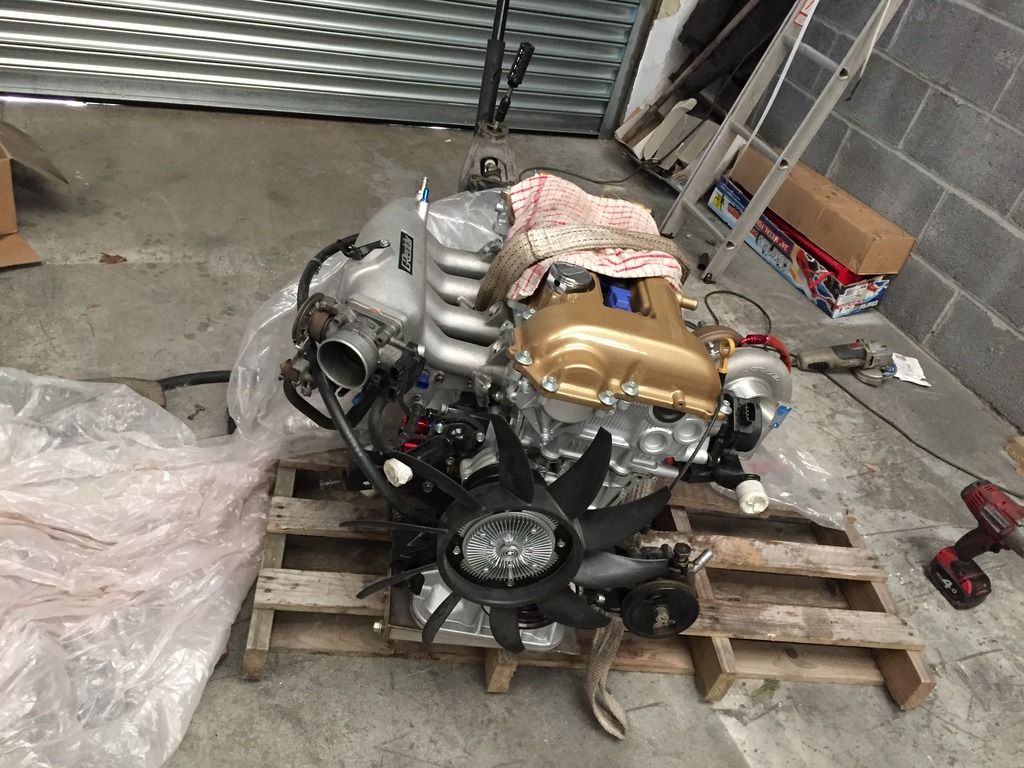 |
|
|

|
|
|
#47 |
|
Leaky Injector
Join Date: Dec 2012
Location: Bristol, UK
Age: 30
Posts: 92
Trader Rating: (0)
 Feedback Score: 0 reviews
|
So, the front windows were pretty beat up so I decided to go down the Polycarbonate route like I have with the rear. After a couple of weeks waiting for them to be made, they finally turned up;
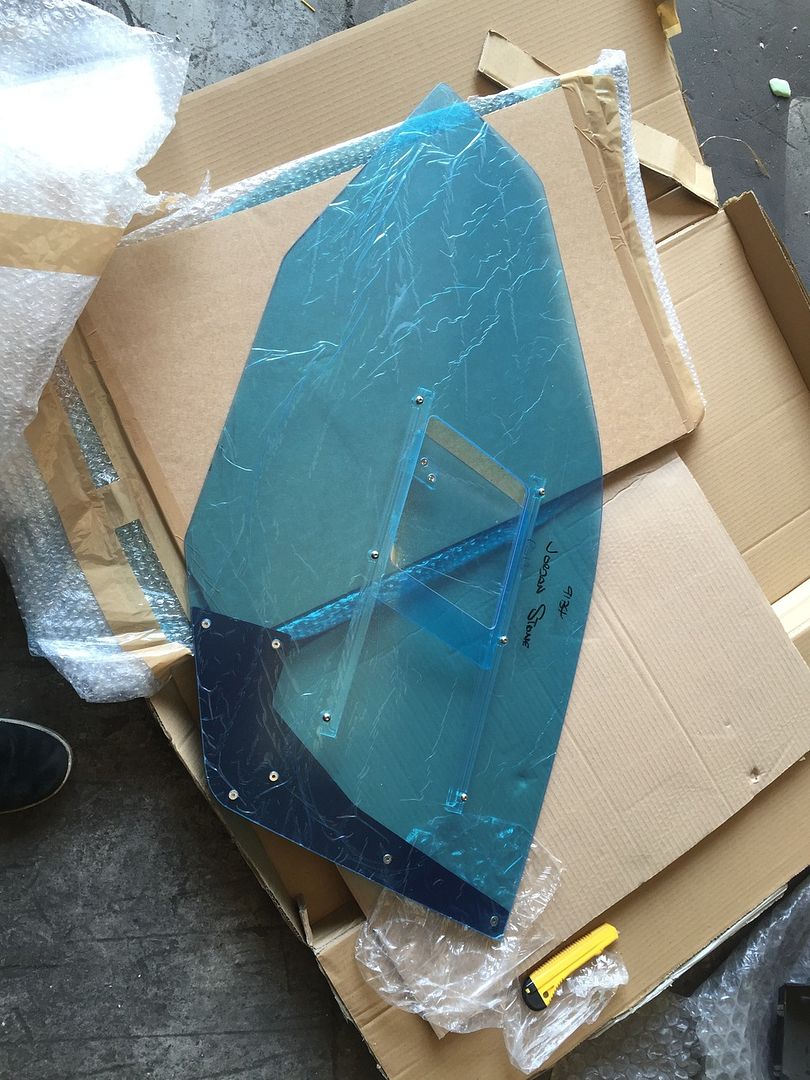 I spoke to a few people regarding how to mount them, with some people just wedging them up against the door, and some utilizing the existing runners. I went for the latter option, so first things first I got the old window in order to pinch the fixing and mark up their positions. 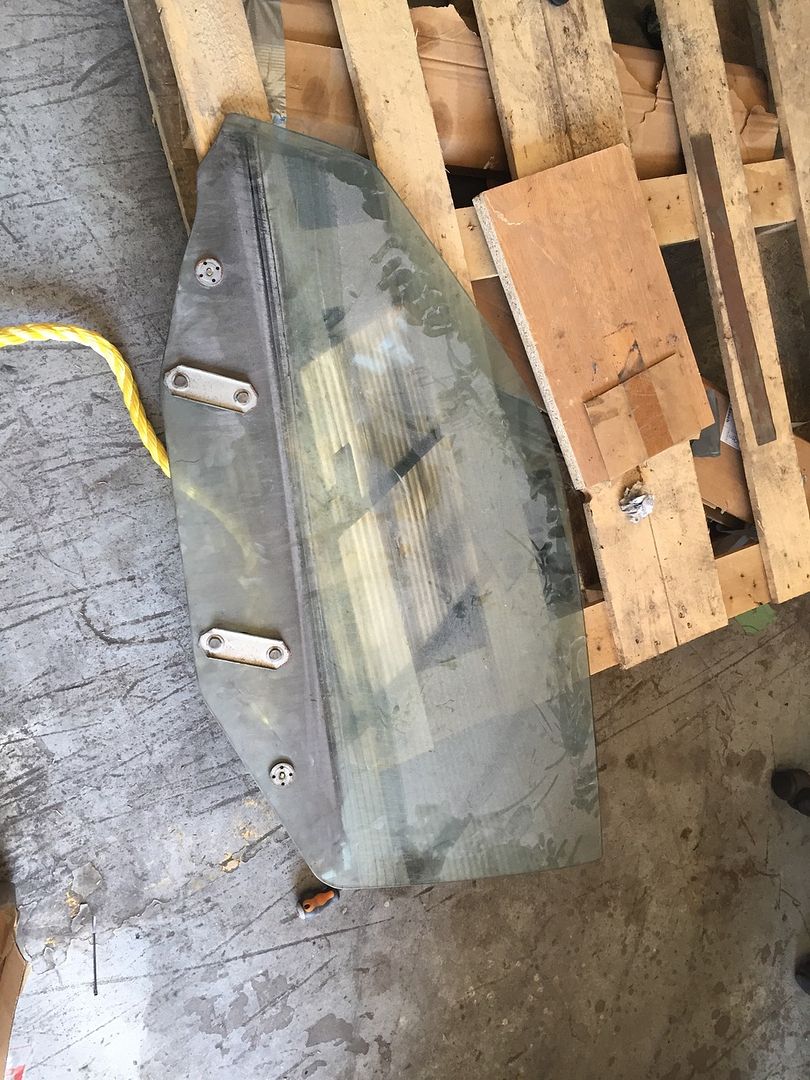 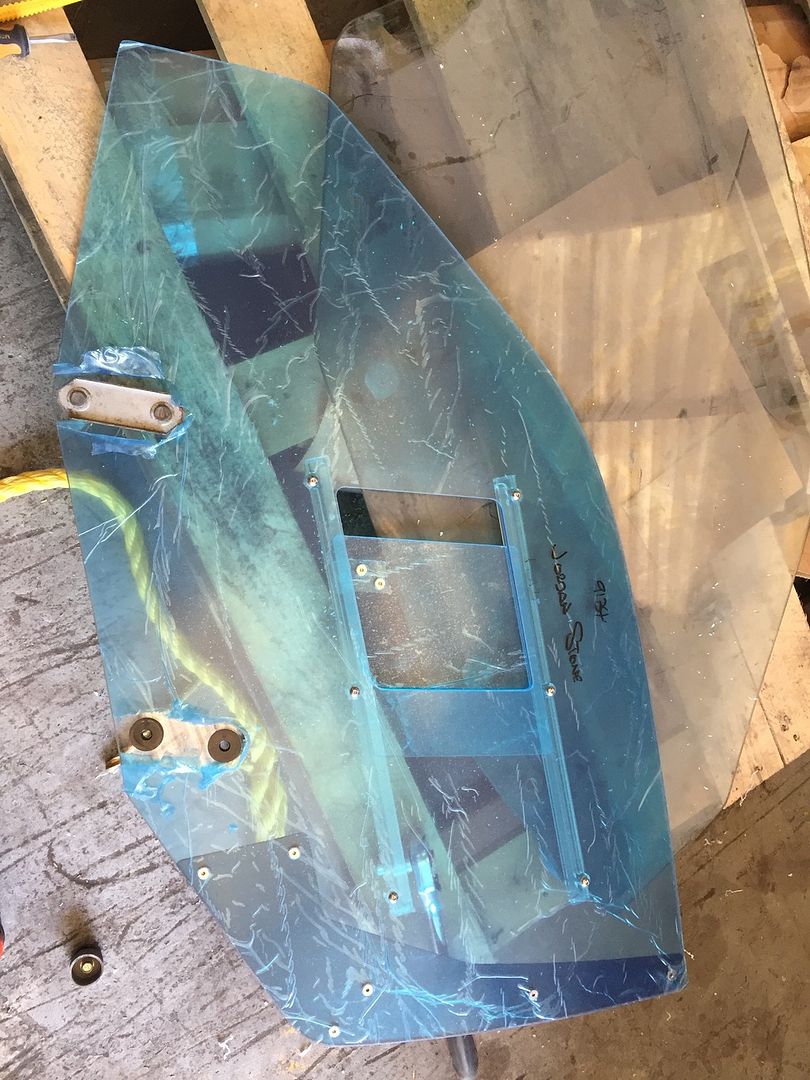 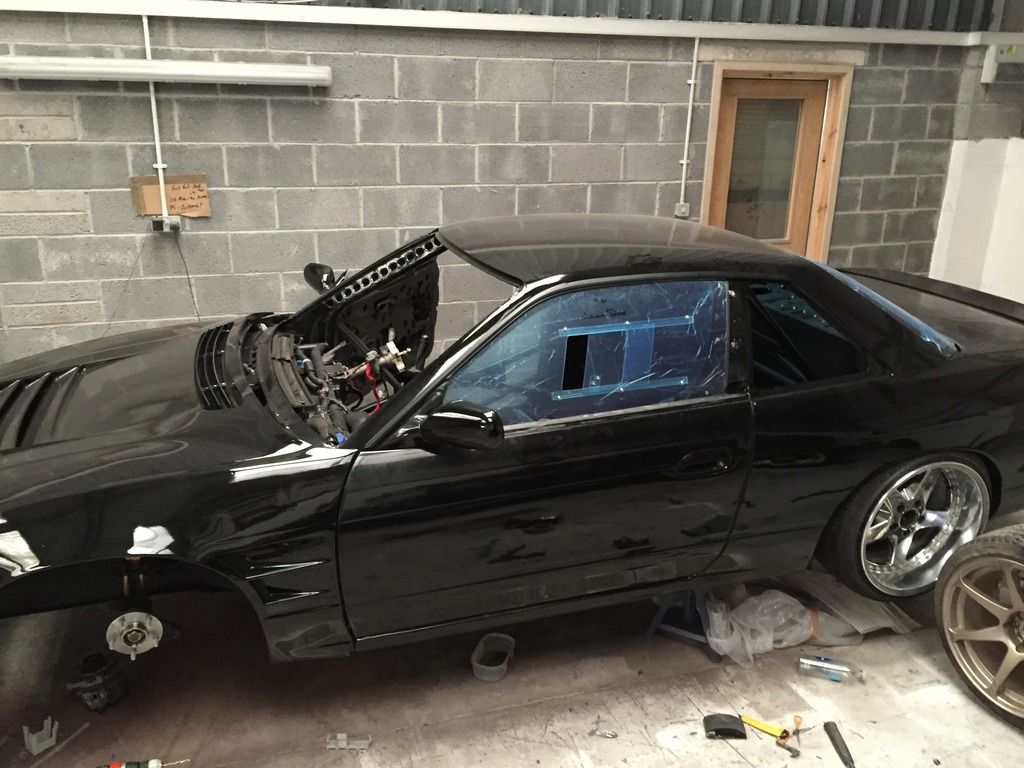 Adjusting them to fit perfectly was a ball ache, as I tried to make them sit under the original trim. 9/10 they sit perfectly with an odd time where they don’t sit flush. Those with a keen eye will see the windows have end plates, something Plastics4Performance offer to help reduce any flex in the windows. When you see cars competing with plastic windows, seeing them distort under movement always looks horrible in my opinion, so anything to avoid this is welcome in my book. It wasn’t before long until the other side was done. I’m stoked with the outcome, and so happy with the slider. In regards to the sliders, I opted for those with a 15* angle, which I feel suit the lines of an S-body so much nicer, and doesn’t make it look like a serious track car, after all, style is everything  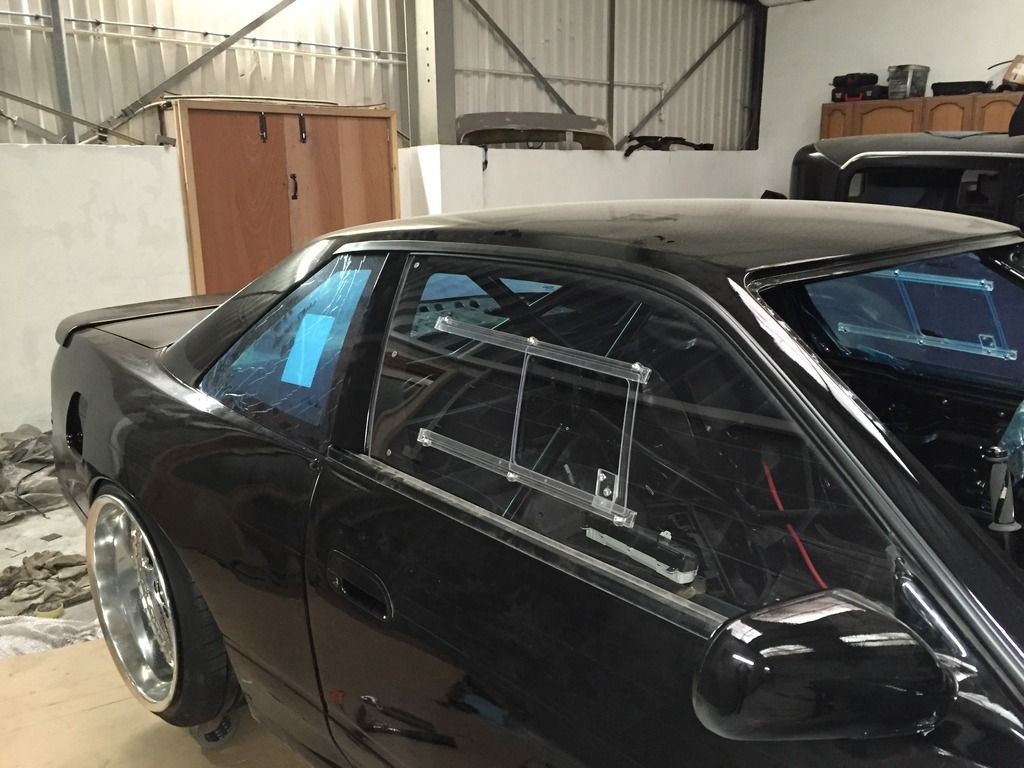 Up next was something I’ve seen a few variations of, which most people will be familiar of the Nismo Powerbrace. Supposedly, bracing the front tension rod brackets will improve the responsiveness and stability of the front end. It just so happens a friend of mine is a welder by trade, who makes things on the side for his and other peoples’ drift cars. Usually the brackets are welded in situ, whereas we opted to take measurements and drop the brackets off to him. However, a simple type in my measurements meant the first go at the brace didn’t exactly fit. It was such a stupid mistake on my behalf I was kicking myself, but Mocock was a true gent and offered to cut apart the brace and get everything square as it should be, what a hero! Early stages; 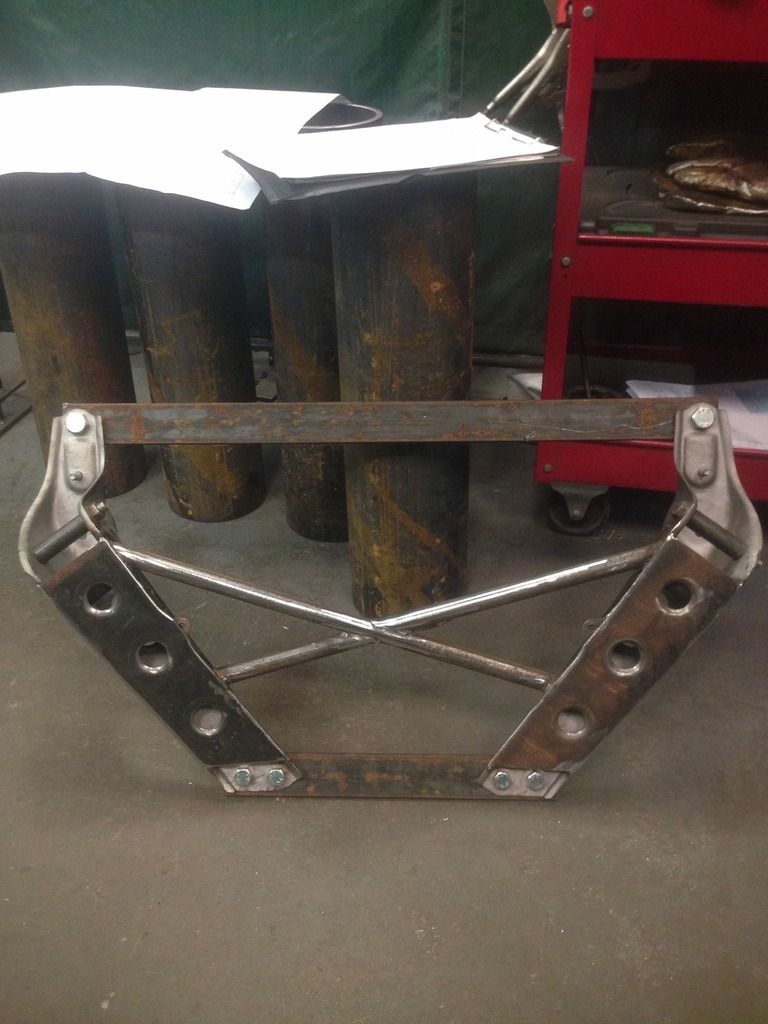 Finished Brace and Zinc Coated; 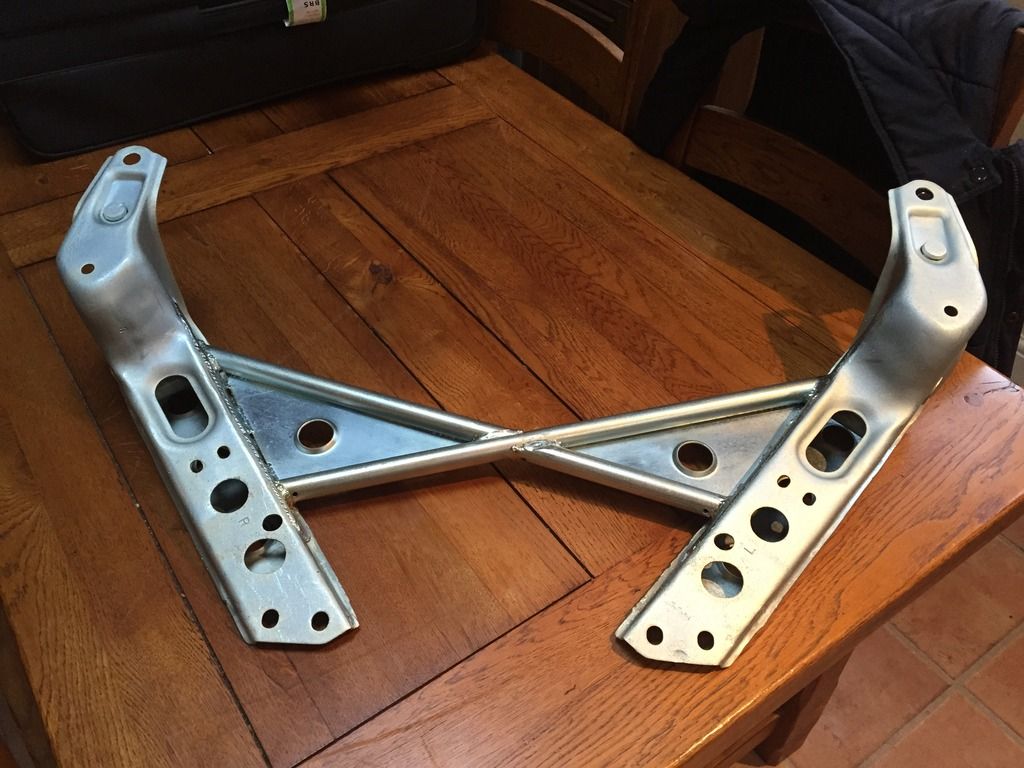 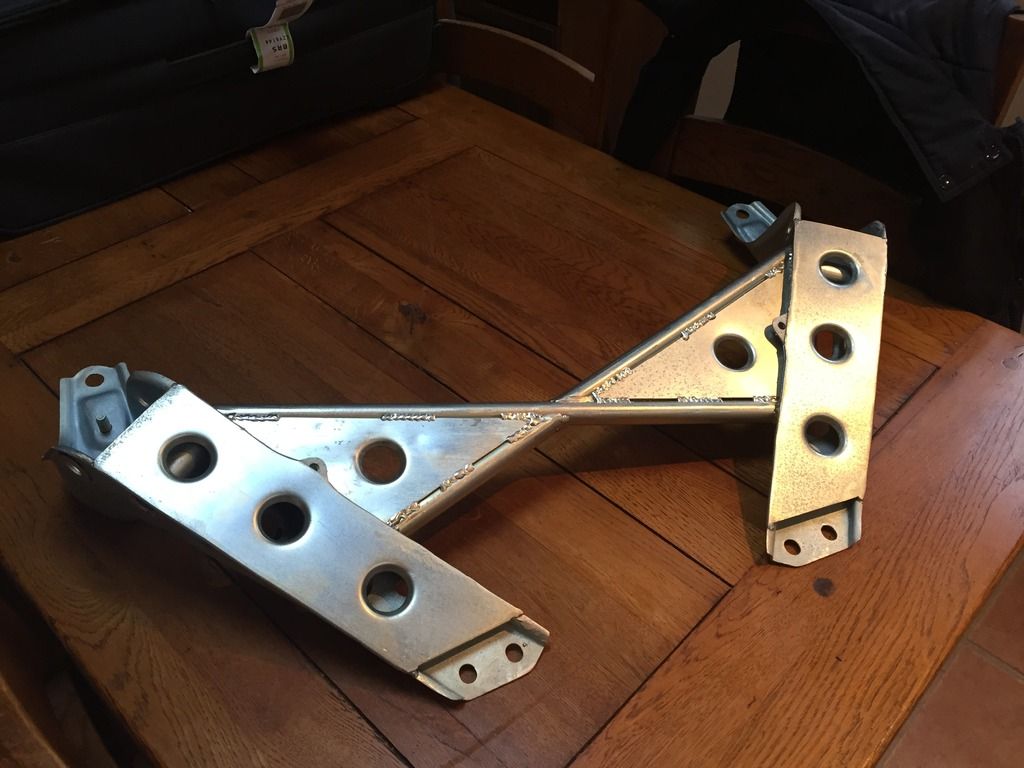 When I found out the measurements I sent were ever so slightly wrong and it didn’t quite fit  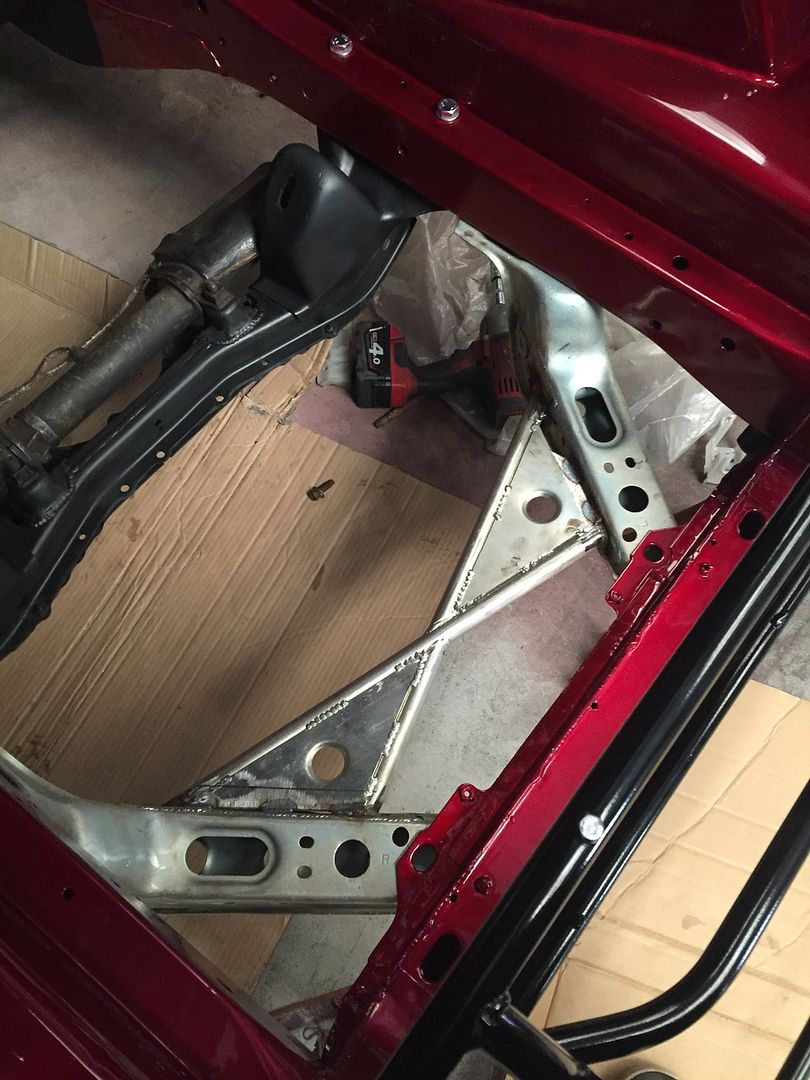 All back from being re-done and quickly sprayed to protect any welds that didn’t have any zinc coating on; 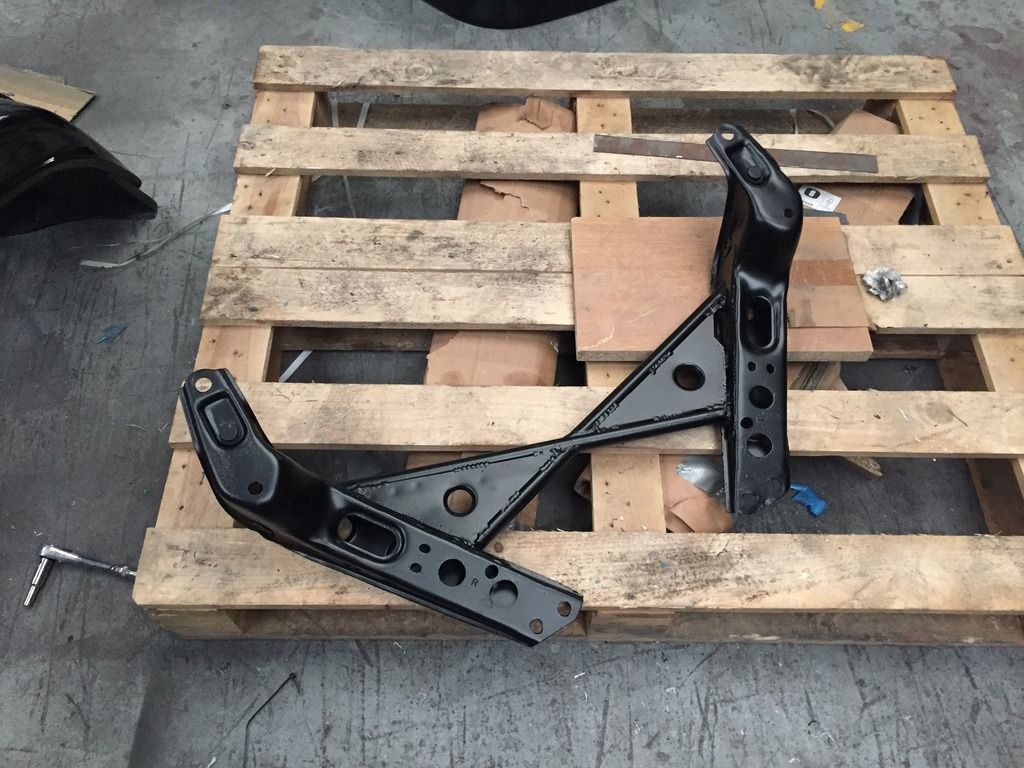 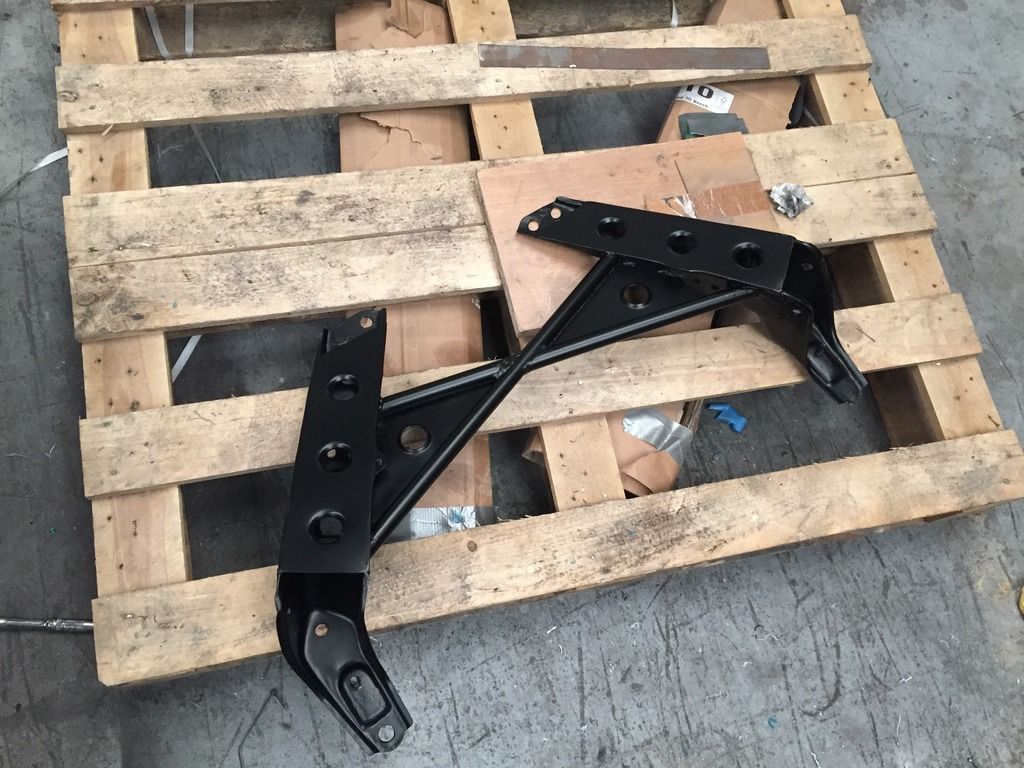 And finally all fitted up as it should  Cant believe how good it looks with the engine bay colour, and cant wait to see what difference it’ll make to the front end. Cant believe how good it looks with the engine bay colour, and cant wait to see what difference it’ll make to the front end.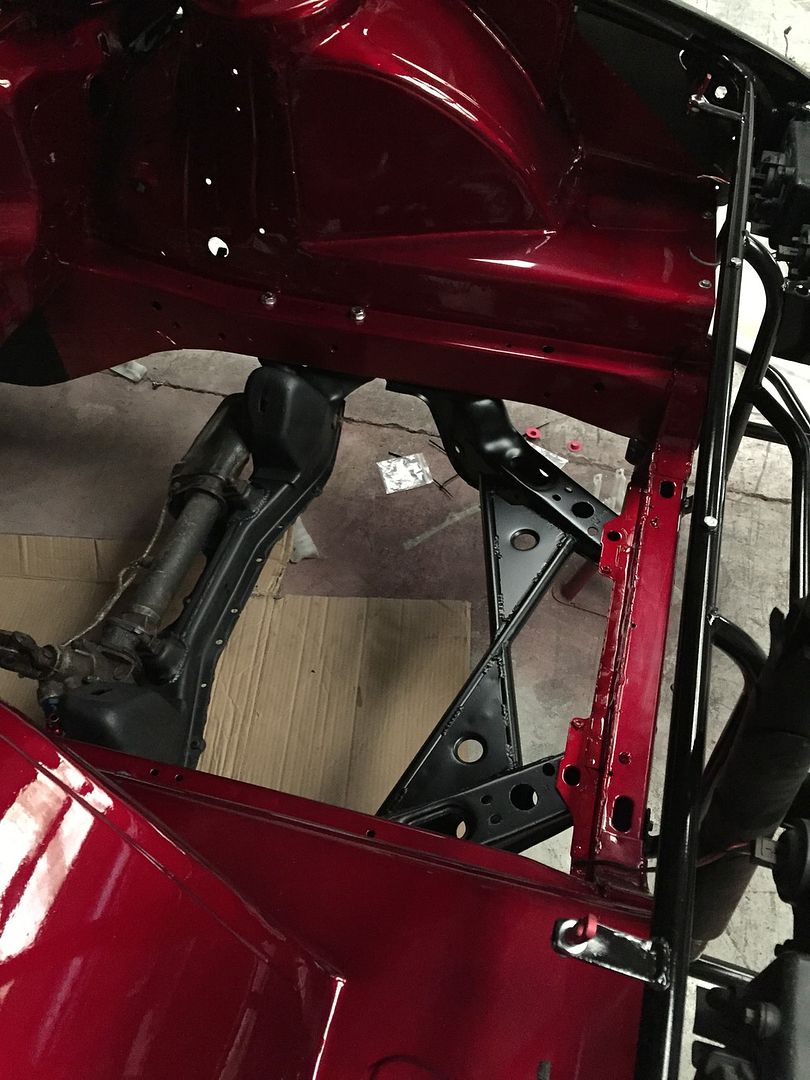 Whilst this was happening, I chose to get the front subframe and lower control arms zinc coated in order to protect them against the elements. 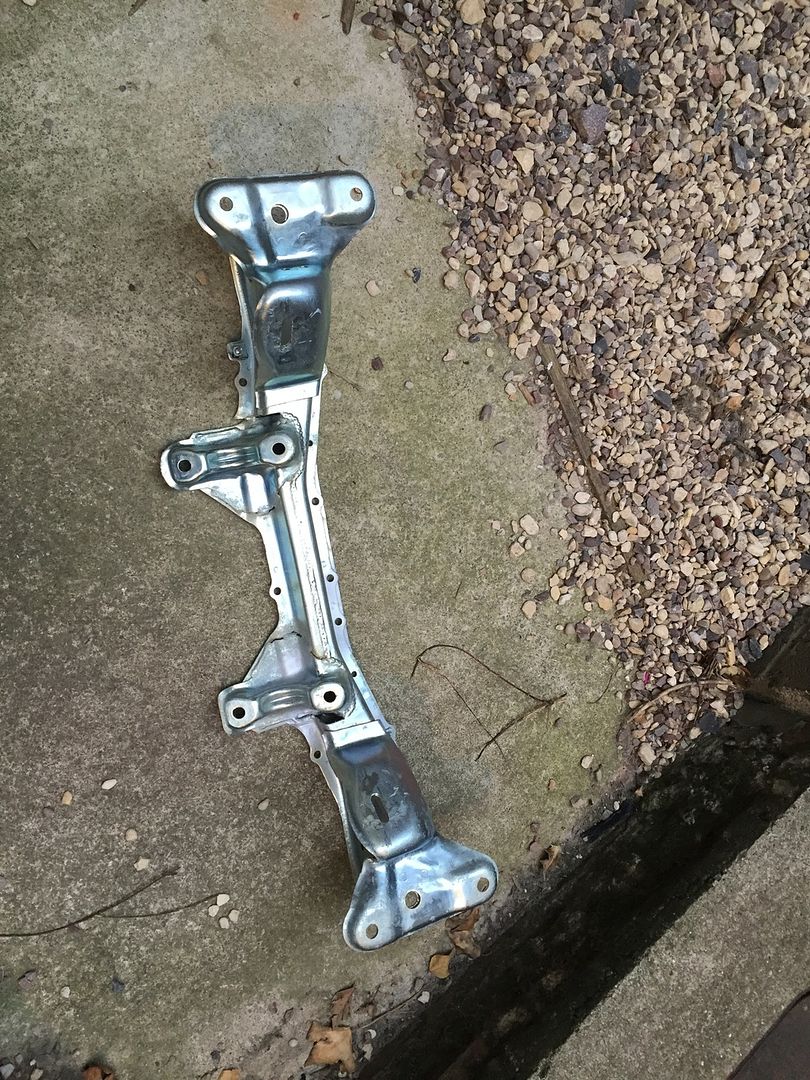 Quickly sprayed the subframe to match the brace, and quickly bolted the steering rack on after a quick clean. 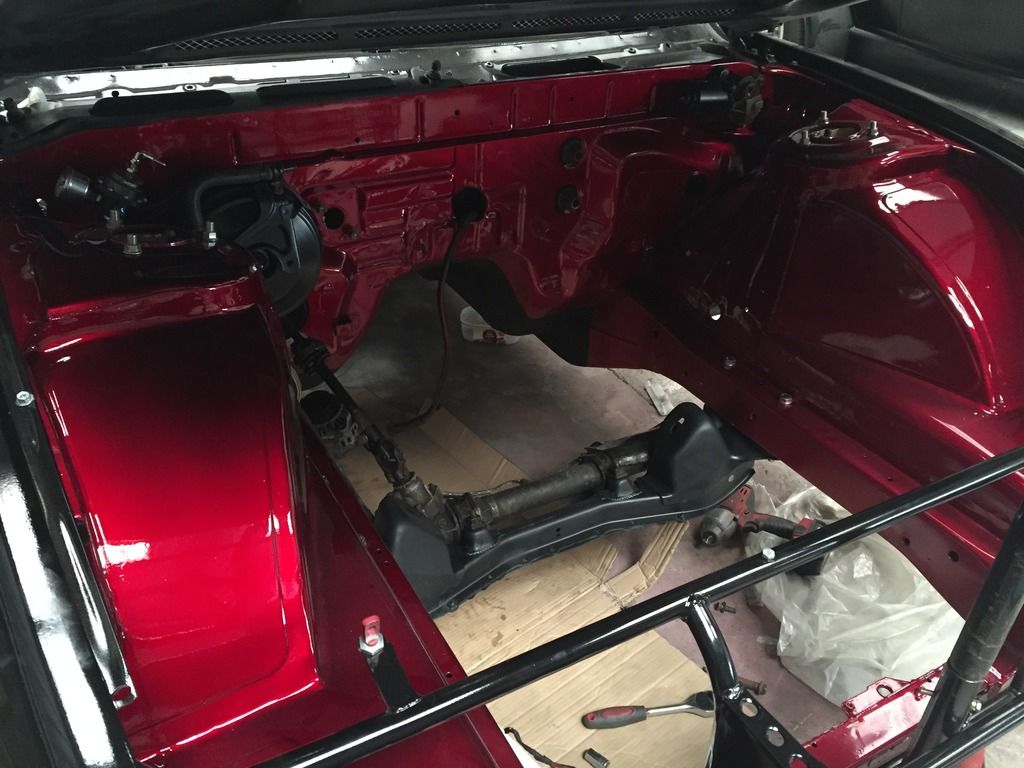 Whilst all this was happening, I bought a brand new OEM Z33 slave cylinder from the states. There are quite a few OE cylinders online, but for the sake of an extra £10 or so, the better quality OEM slave was a no brainer. 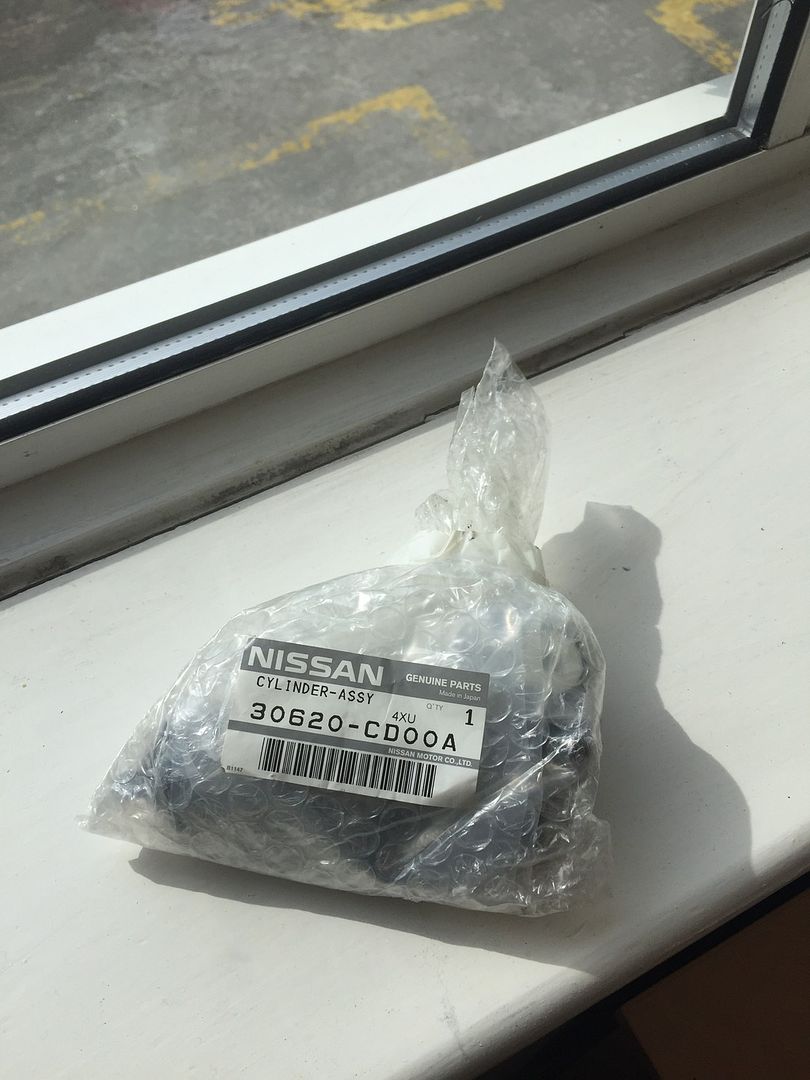 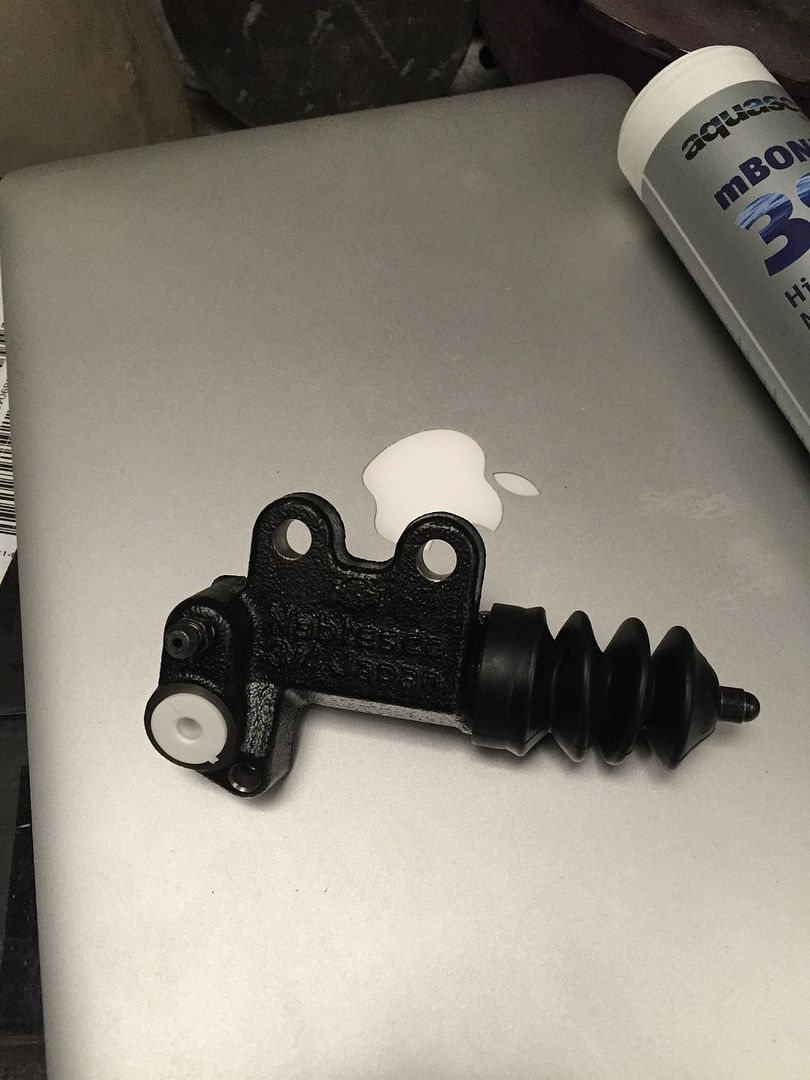 So whilst I was waiting on other things, I ordered up some Aquaseal Mbond 395 bonding adhesive/sealant, something that Plastics4Performace recommend as it is solvent free, which wont attach the polycarbonate. Oh and its formulated for the marine industry to survive harsh vibrations, something thatll suit an SR20 with uprated engine mounts then  :wack: :wack: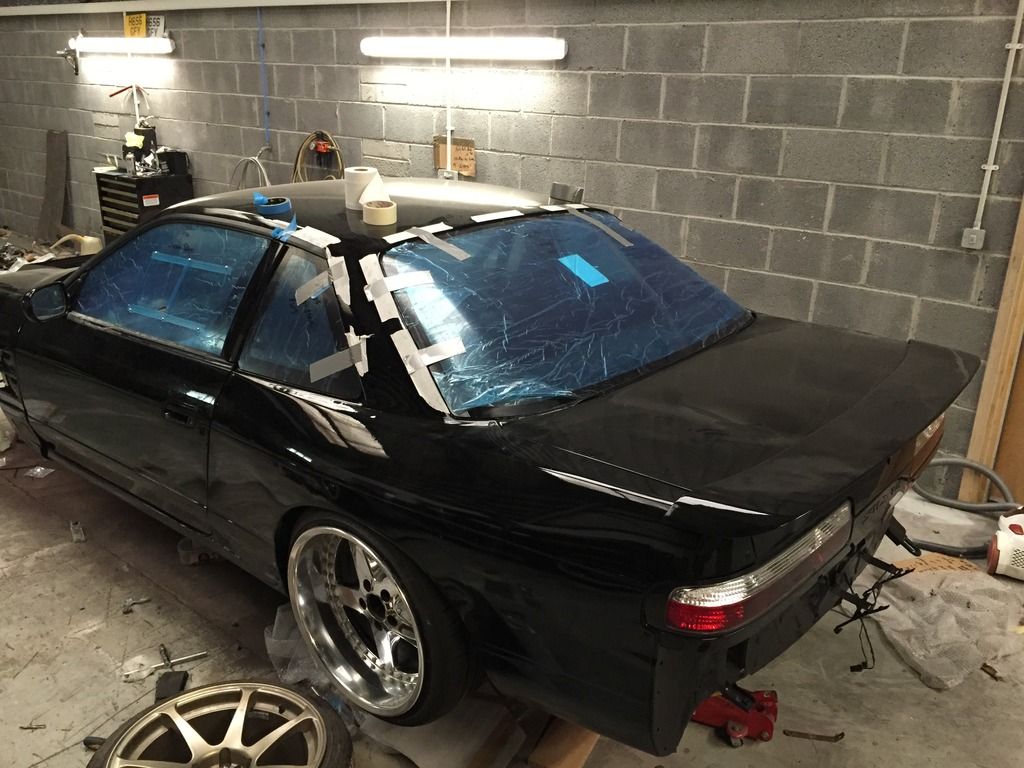 - - - Updated - - - Cue 24hours later; 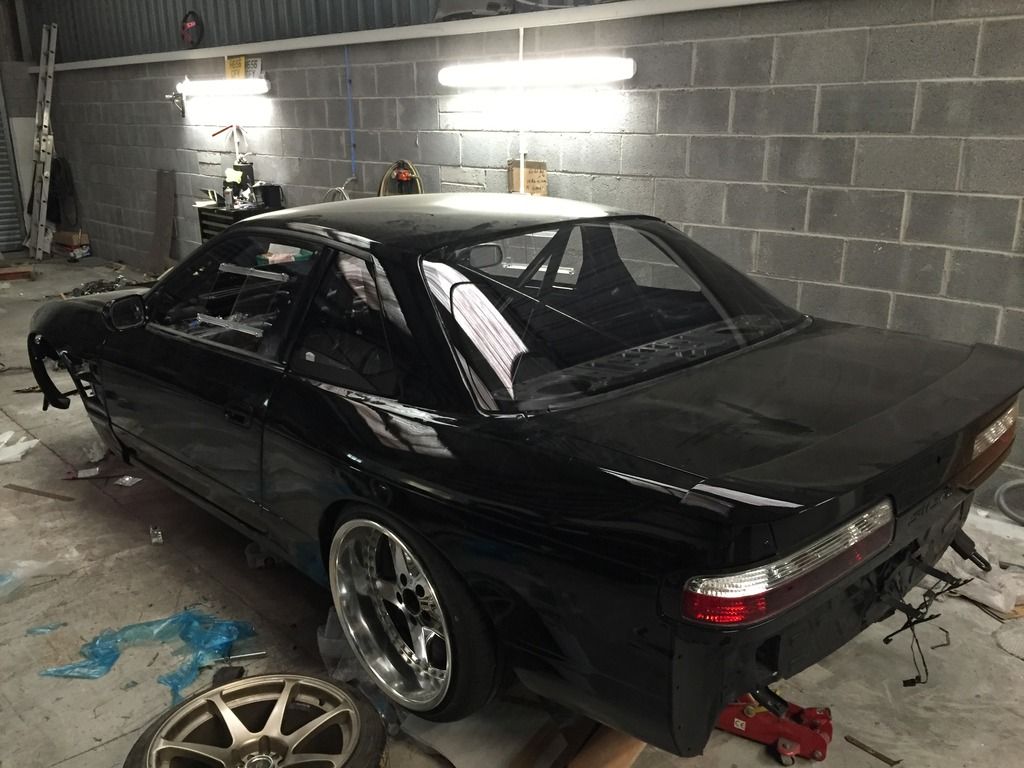 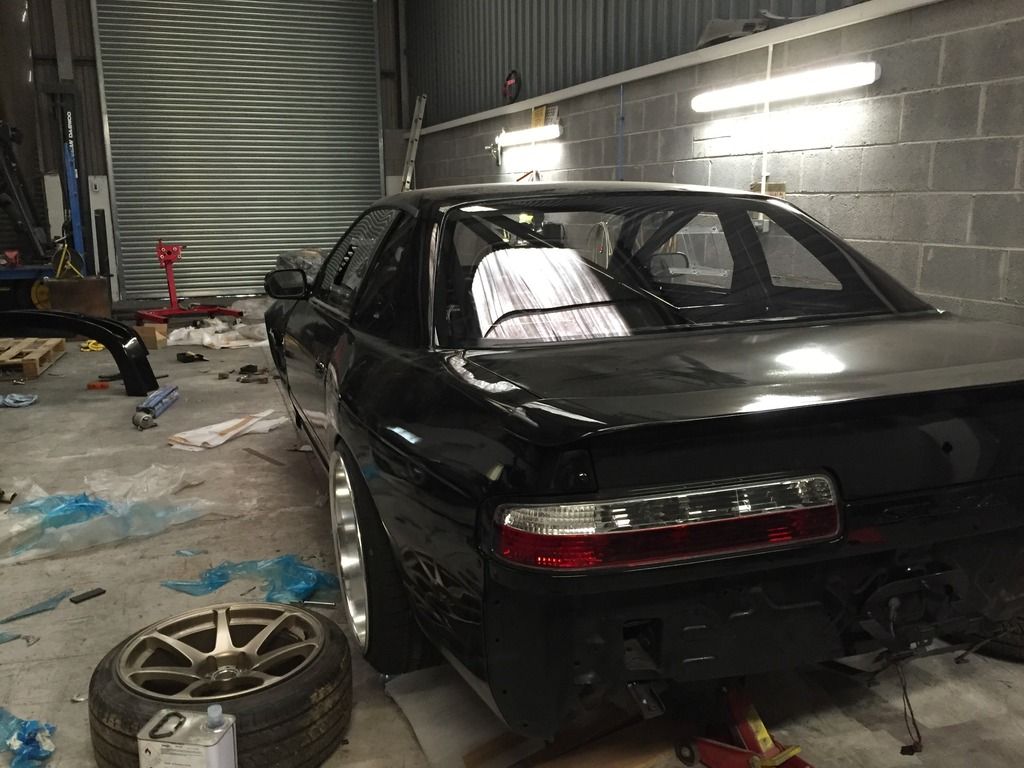 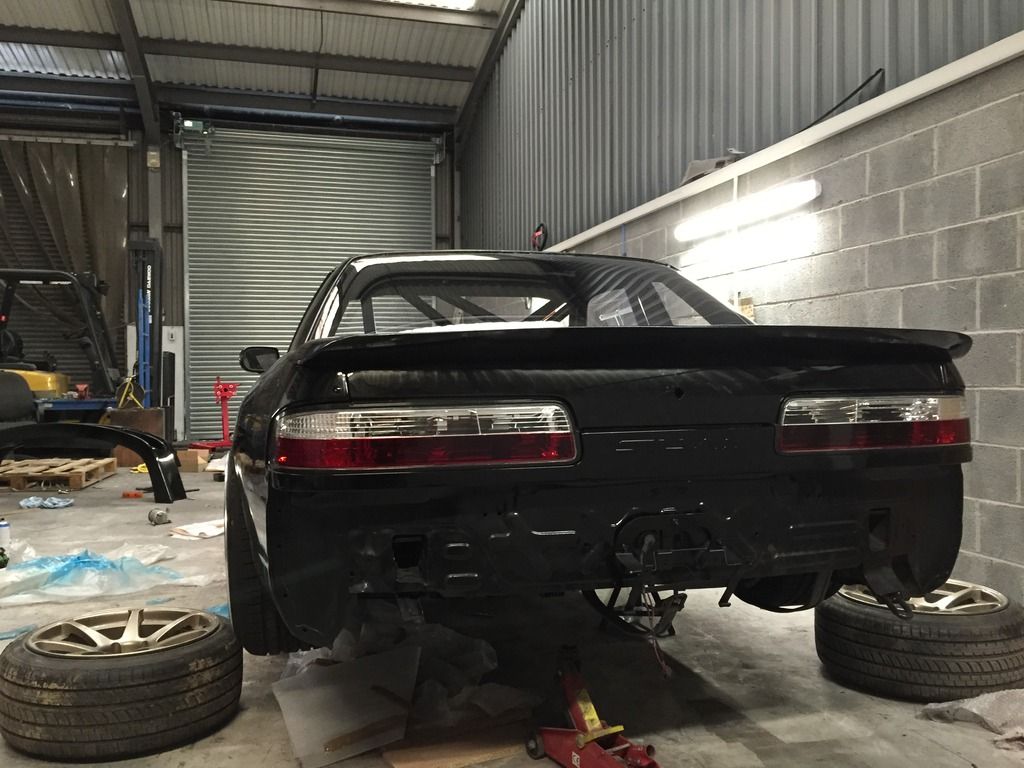 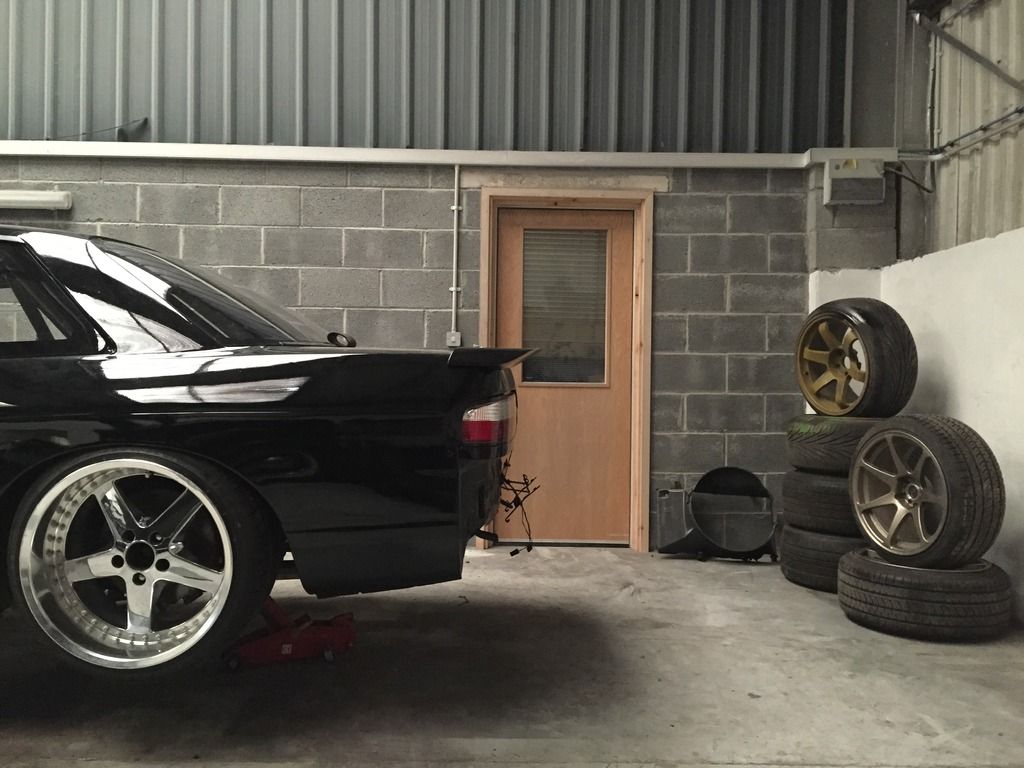 I began to split the 2 pairs of Z32 rear callipers in preparation of their rebuild. Whilst one pair came off my old car which I knew worked fine, and the other pair were supposedly fine, for the sake of a few hours work, a freshen up will do no harm at all. 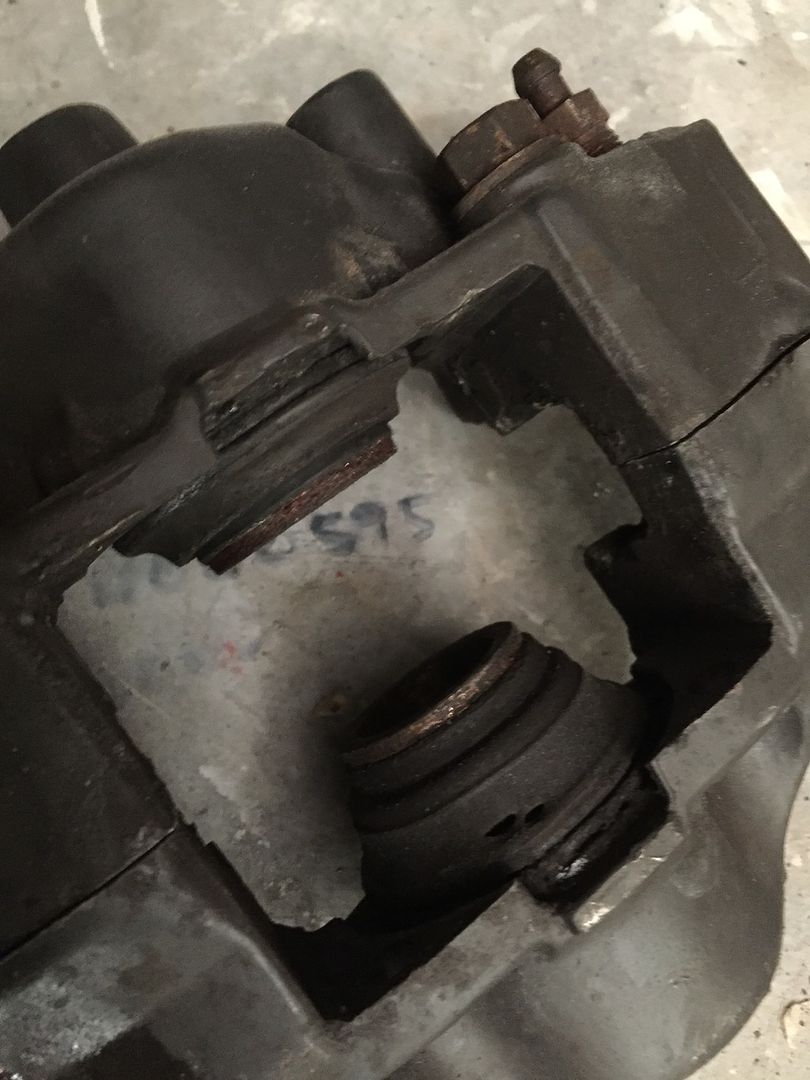 I spotted one of the caliper has a slight tear in the dust seal, so cant imagine it would’ve have been long until water would’ve found its way in and begin to rust the insides. Who said Dual Caliper setups are fun?! 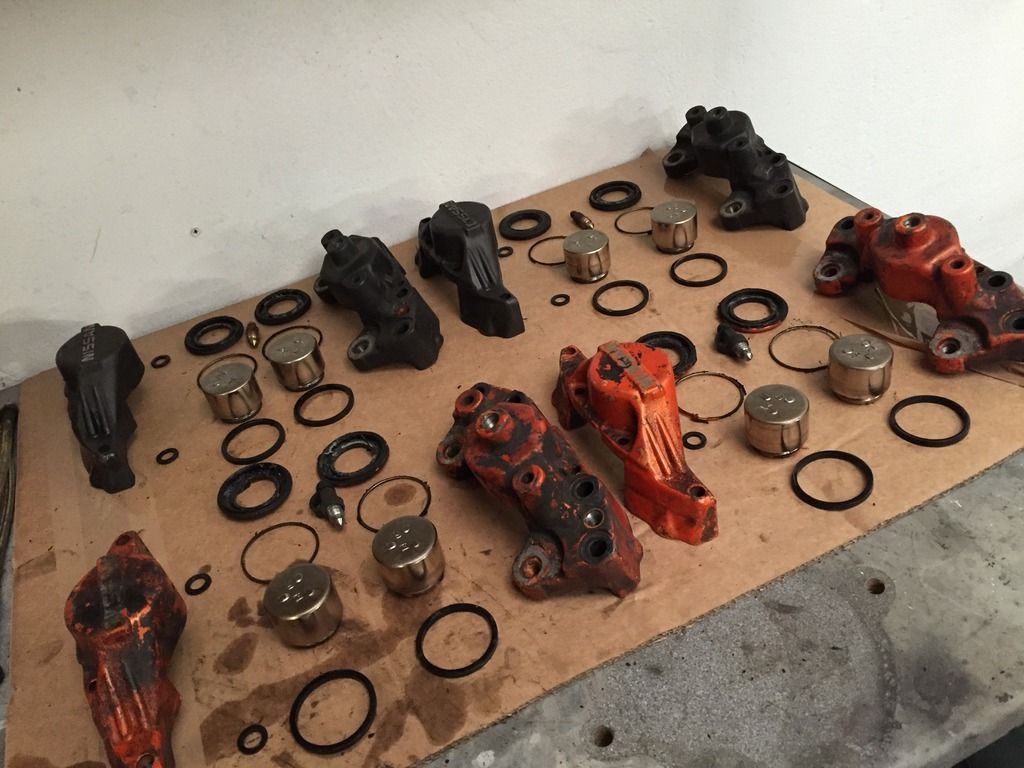 Cleaned up the calipers, and gave them a quick lick of paint (Black to match the front and to keep the dual caliper setup subtle) 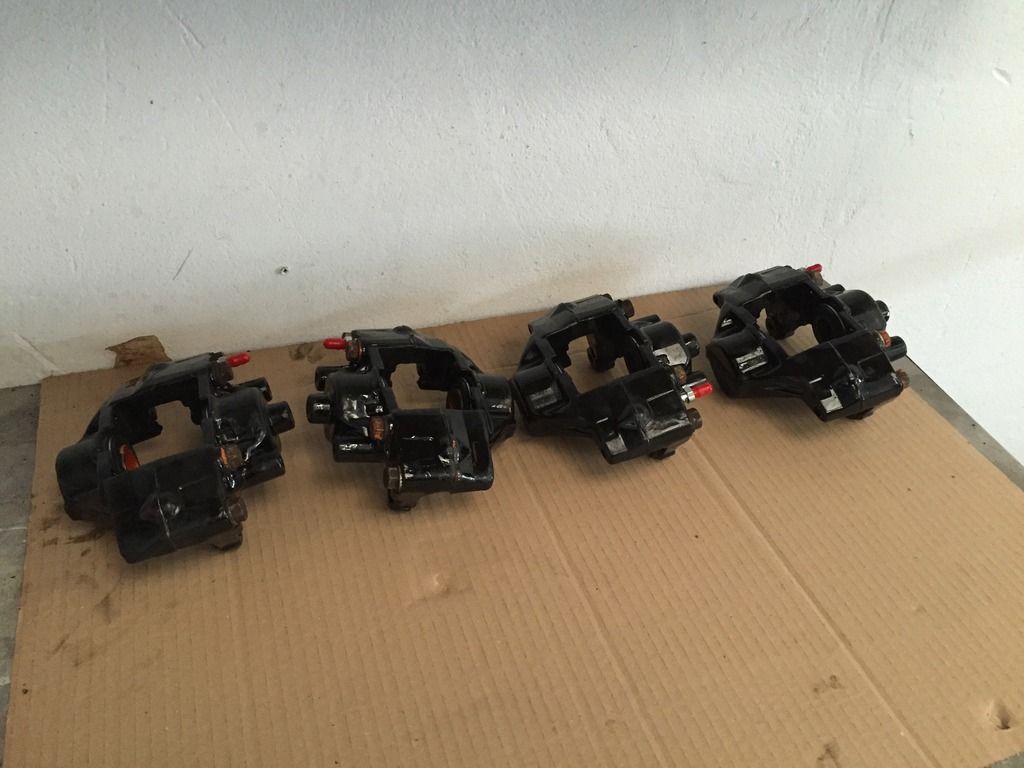 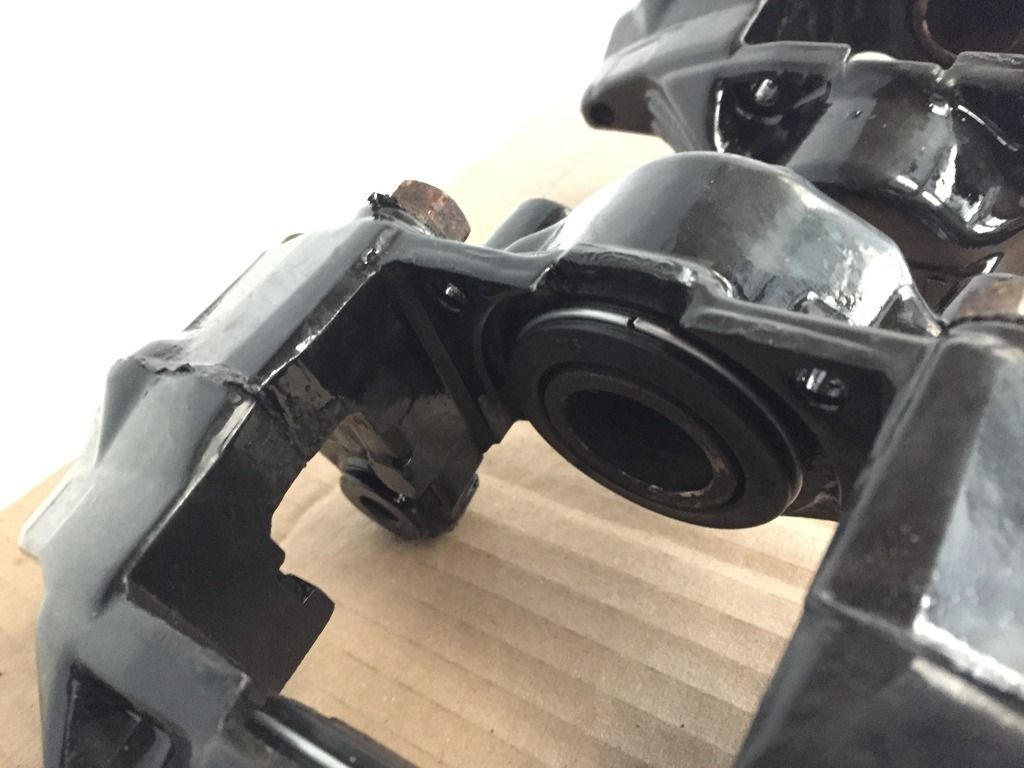 Ive got to say a huge thanks to Bigg Red for providing the seal kits, grease, fresh bleed nipples and top service. The whole kit went back together pretty flawlessly, which hopefully means they will work as they should  So back to the gearbox drama surrounding the fork positioning. I quickly marked up the fork to see how it sat again. And then added the slave for good measure. 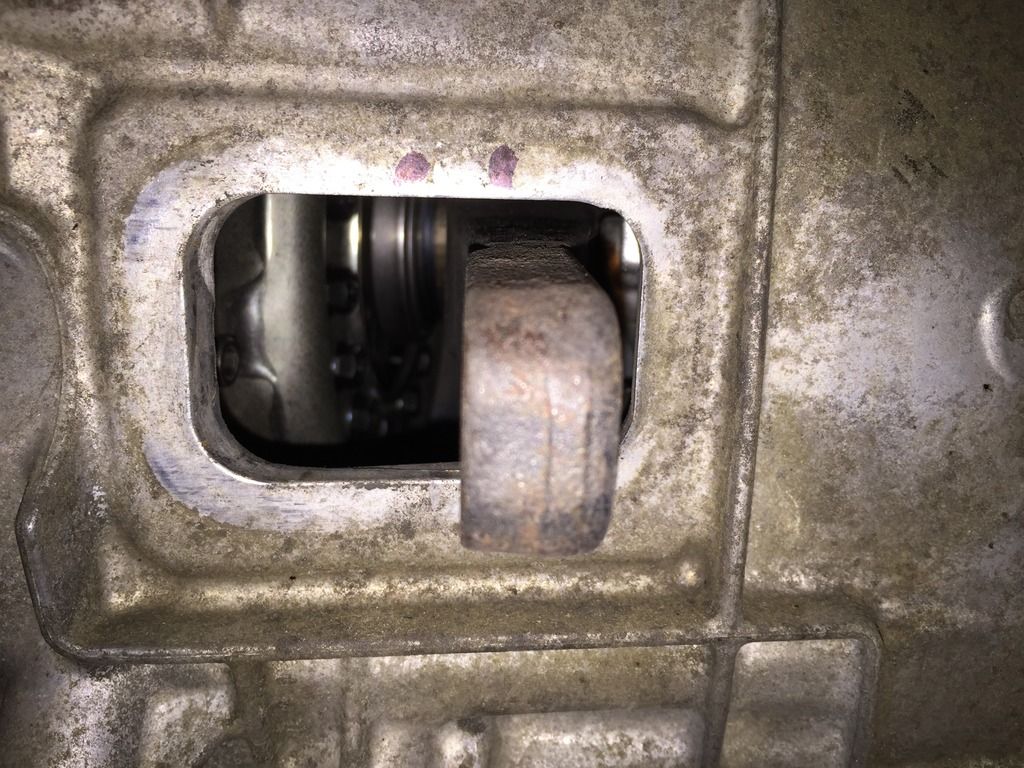 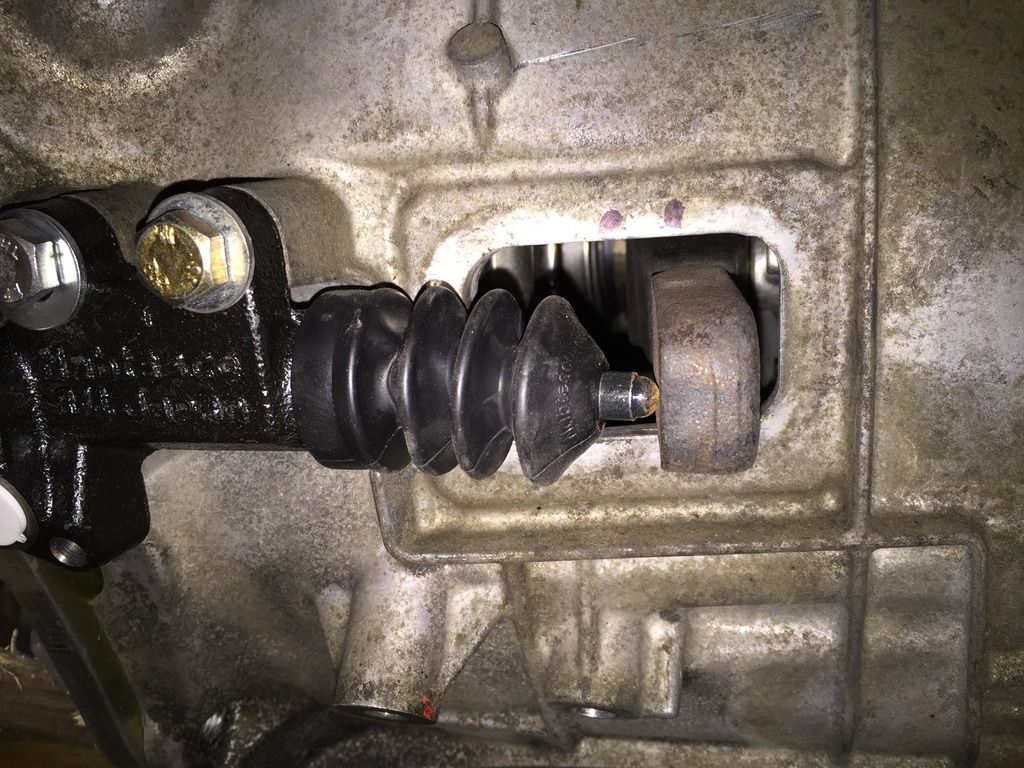 There’s no way in hell that this setup would work, as the fork would physically hit the gearbox bellhousing before fully disengaging the clutch. So back to the drawing board! So to cheer myself up, and went and grabbed myself a torque wrench, something I’ve never owned, and given the flywheel torque setting, its not something I really want to chance. 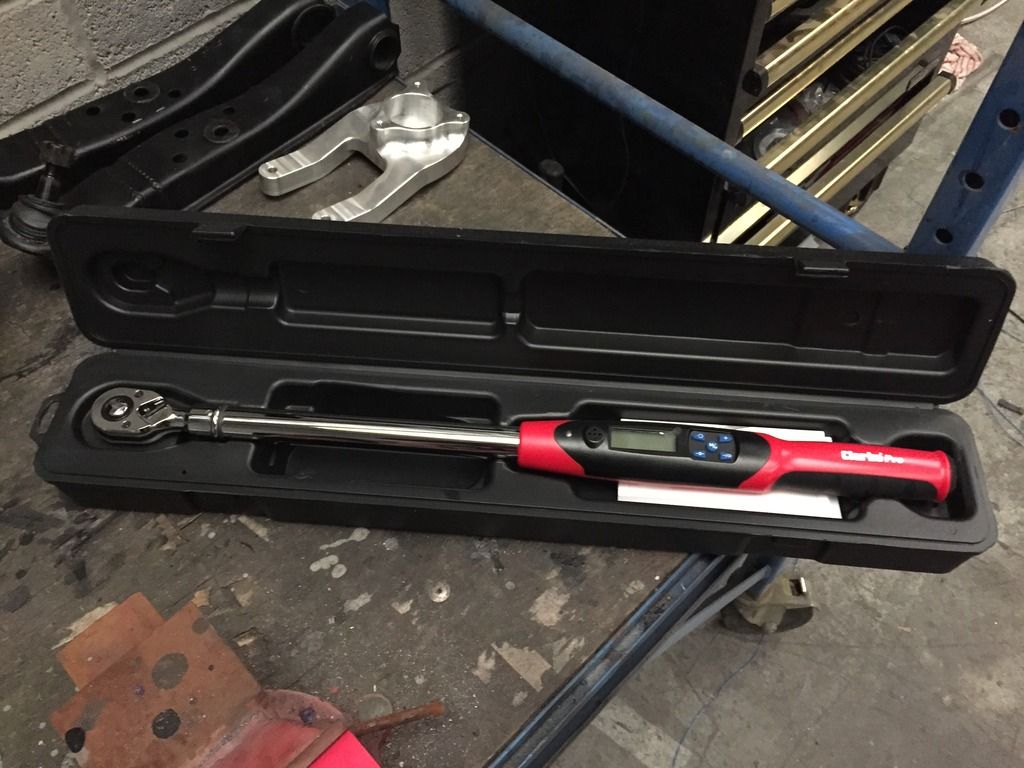 After finally learning how to set the damn thing up, it’s a pretty nifty little tool to be honest. With help from a friend, it wasn’t long until the clutch was on, and all torqued up to OS Giken and ARP’s recommended torque settings. 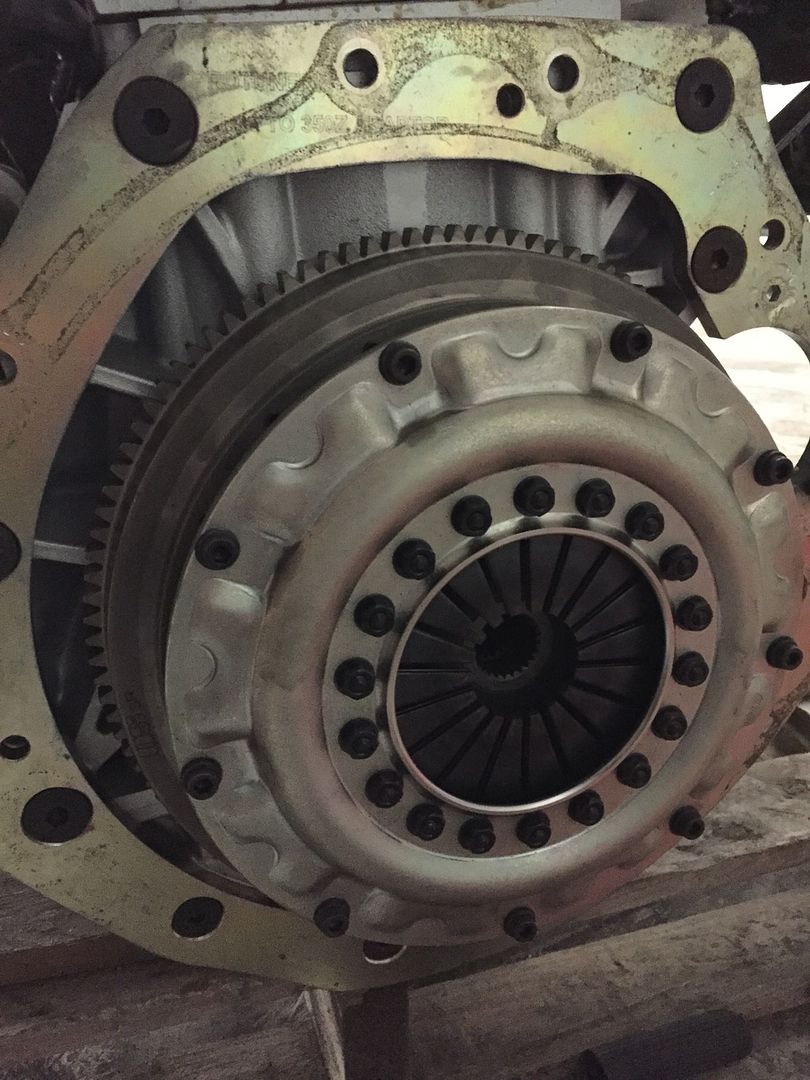 |
|
|

|
|
|
#48 |
|
Leaky Injector
Join Date: Dec 2012
Location: Bristol, UK
Age: 30
Posts: 92
Trader Rating: (0)
 Feedback Score: 0 reviews
|
What with all the problems on my car, I’ve managed to make my dad become interested in his again, which in my opinion is nice to work on another car apart from my own.
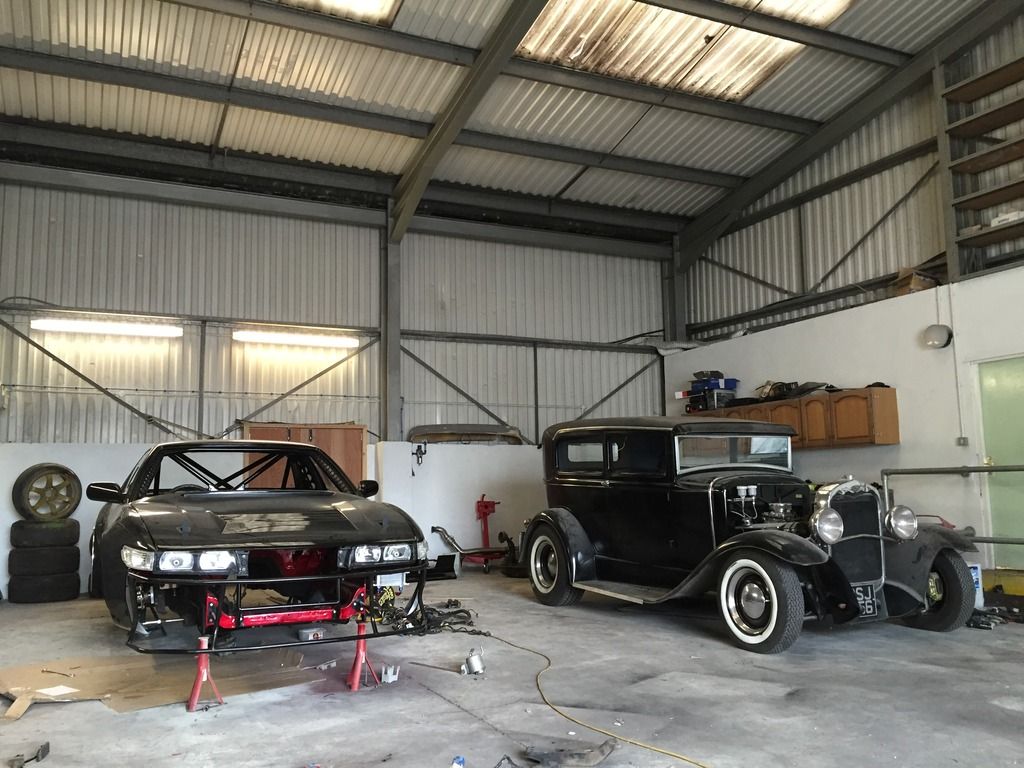 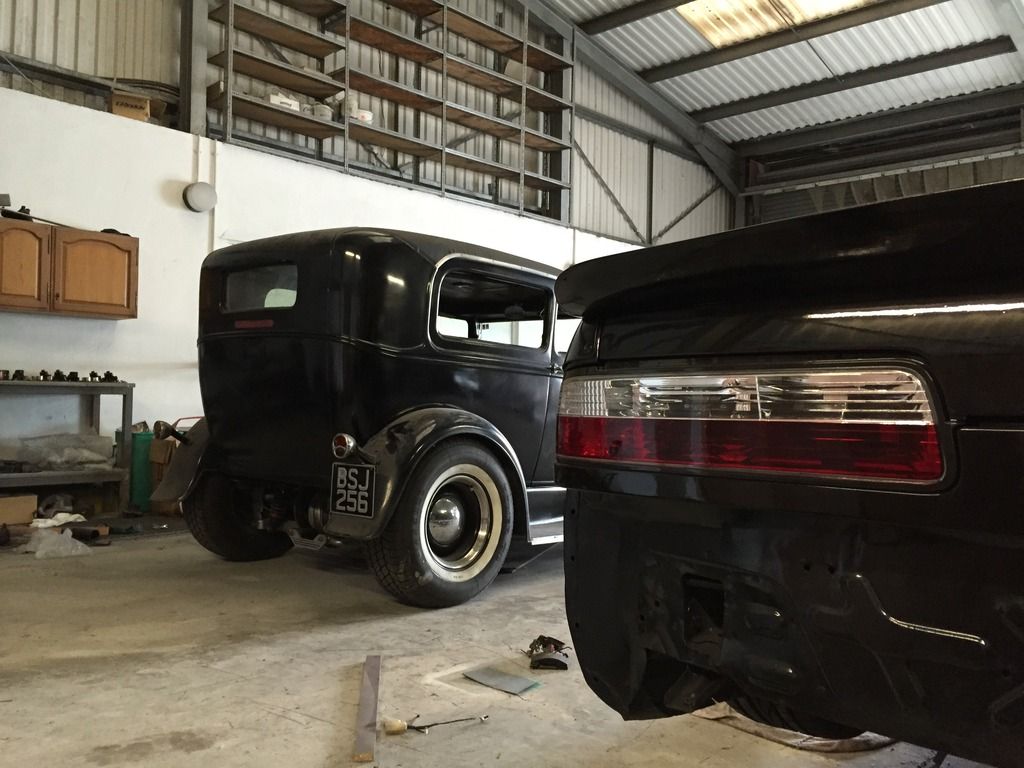 I then got bored, and after an hour or two this kinda happened; 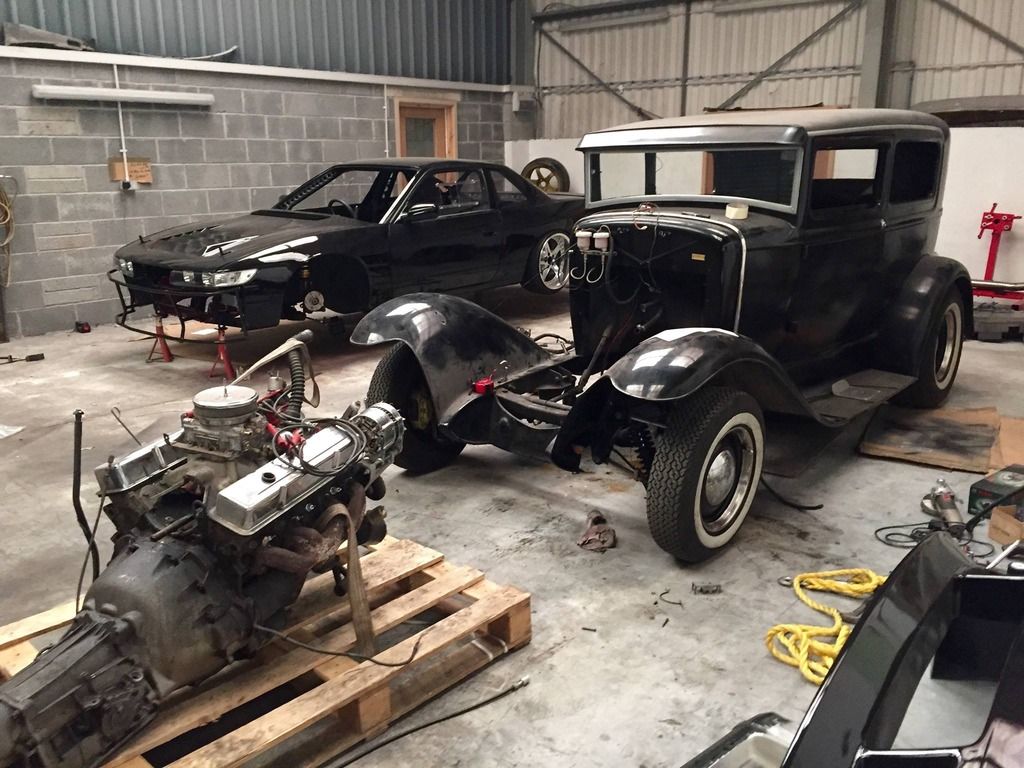 Hopefully the plans are to ditch the Rover V8 that’s in the hot rod now, in favour of something more spicy from the states. I decided to have another go at the release bearing issue, where I gave RB Motorsport a quick call as they’re the UK OS Giken dealers. After doing some measurements it seemed I needed a 32mm sleeve rather than a 16mm sleeve (I opted to follow the recommend sleeve for an SR box, as various people use the standard SR sleeve and bearing combination for their SR/Z33 conversion, albeit with regular 3-puk clutches). OS Giken only provide sleeves up to 28mm, leaving me 4mm short. Luckily enough, the 16mm sleeve I originally bought is actually a 12mm sleeve, with 2x 2mm washers to space the bearing in order to make up the difference, perfect! So the awesome guys at RB Motorsport sent me the sleeve which turned up yesterday. Initially I grabbed a few pictures for comparison purposes; 16mm Sleeve; 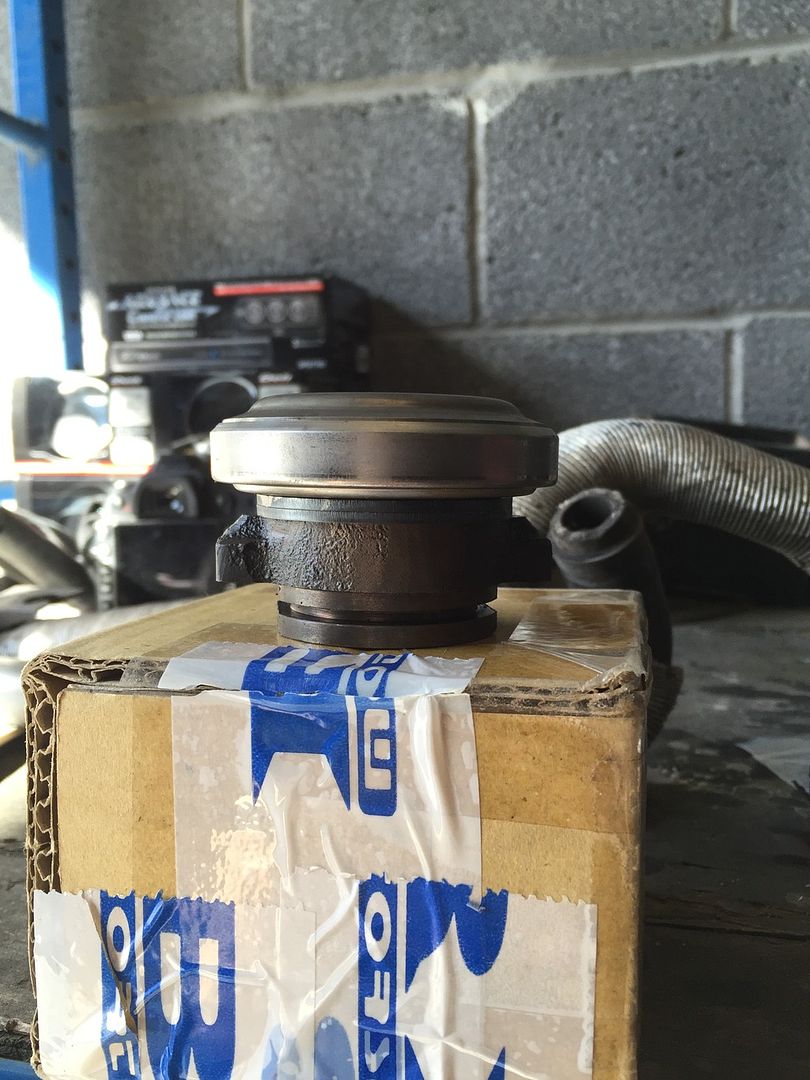 12mm Sleeve vs 28mm Sleeve; 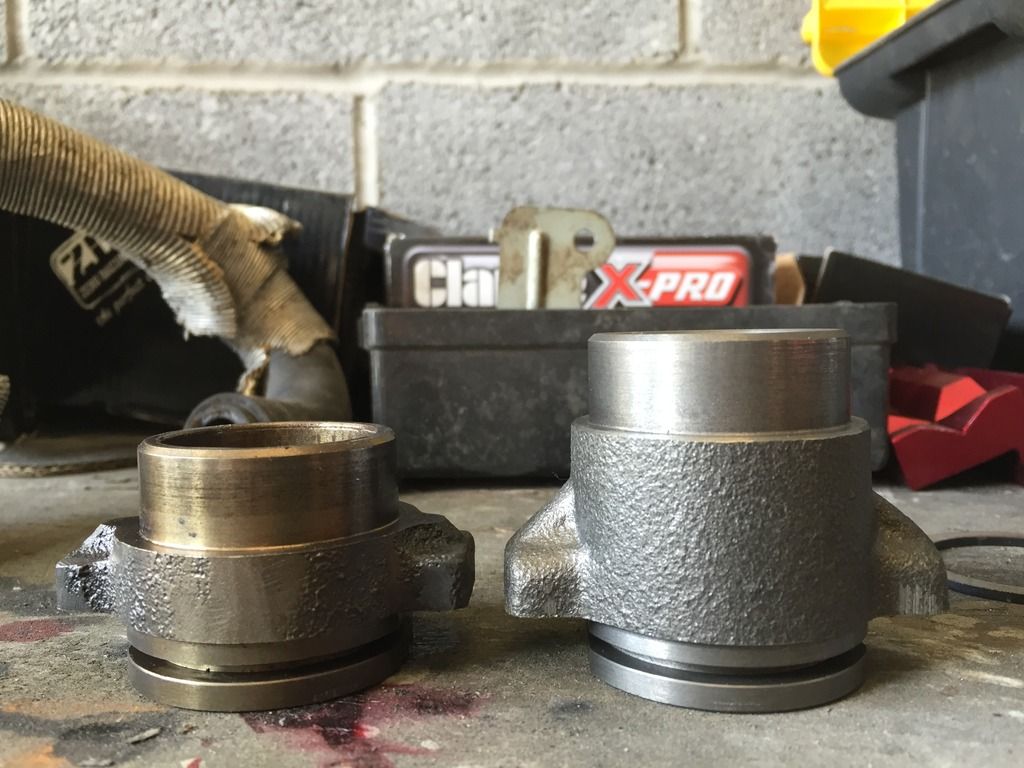 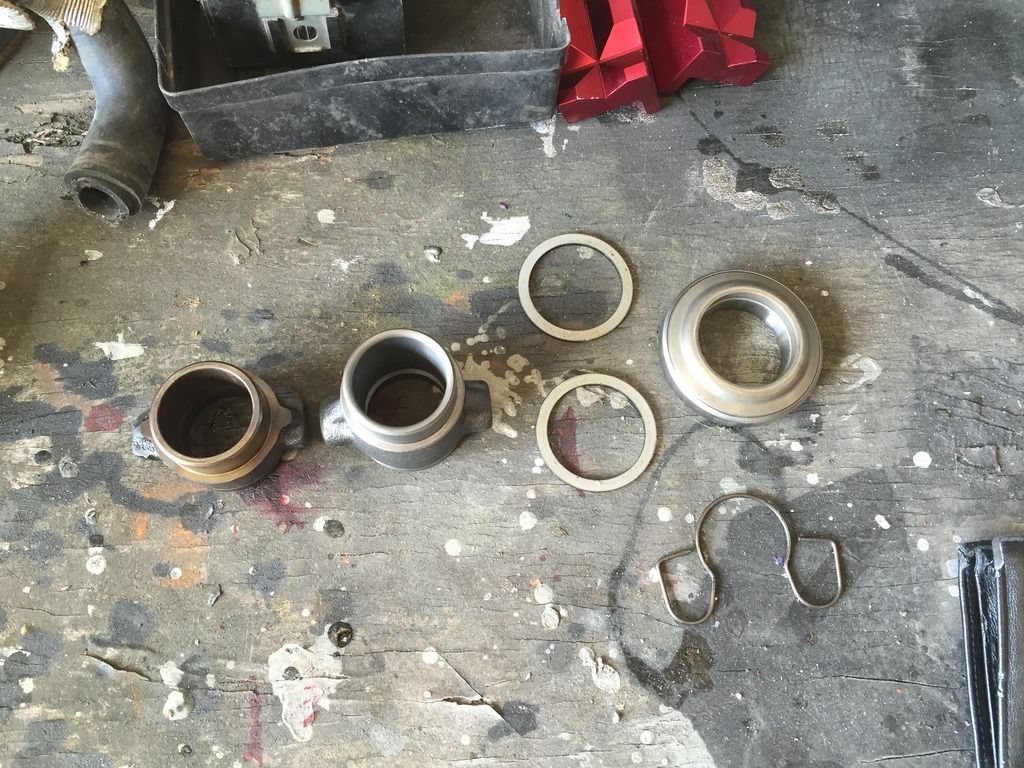 Essentially a 32mm sleeve; 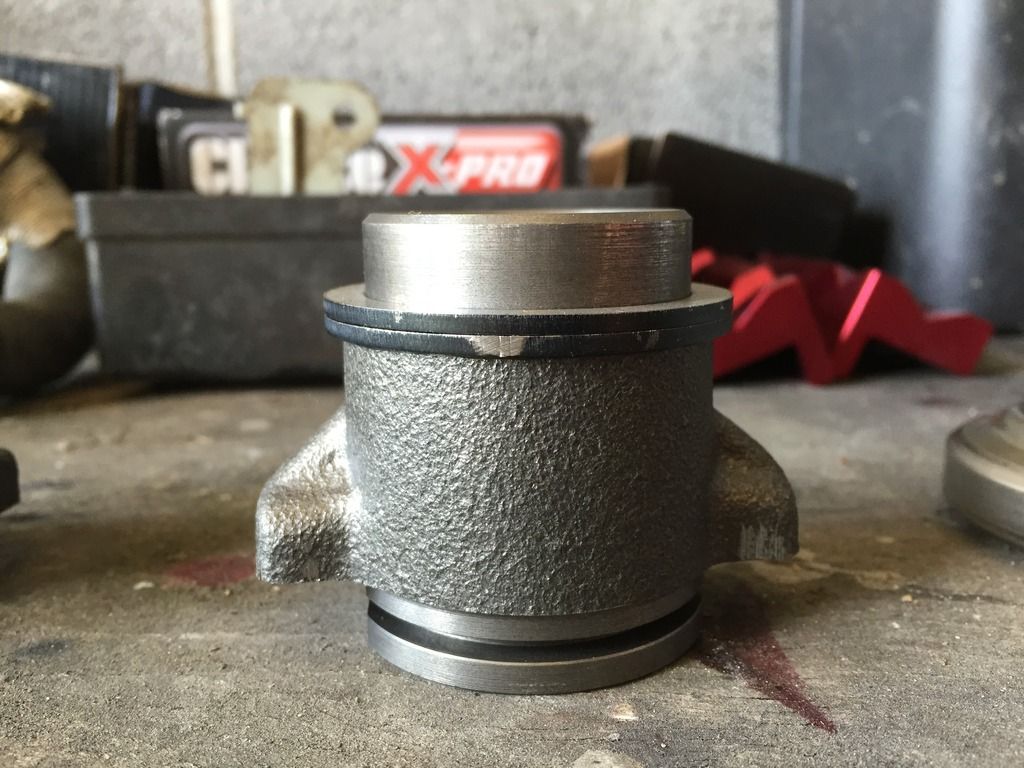 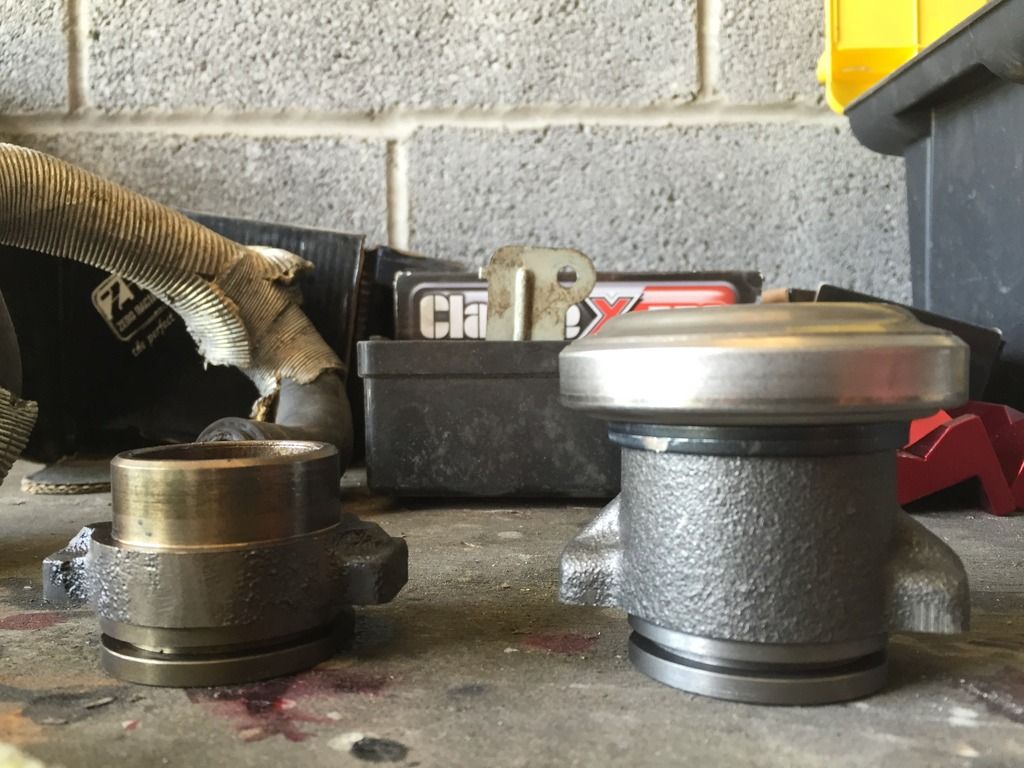 After a few trial and error runs of putting the release bearing sleeve/carrier and bearing together, and reinstalling the gearbox in order to determine whether or not I have OS Giken’s recommended clearance of 6-8mm between the bearing and the fingers of the pressure plate. This is because of the clutch being fresh, where the fingers will essentially expand once the clutch is bedded in. After a few combinations, it turned out the 28mm sleeve gave me around 7.5/8mm travel, which getting the desired travel is an achievement in itself! 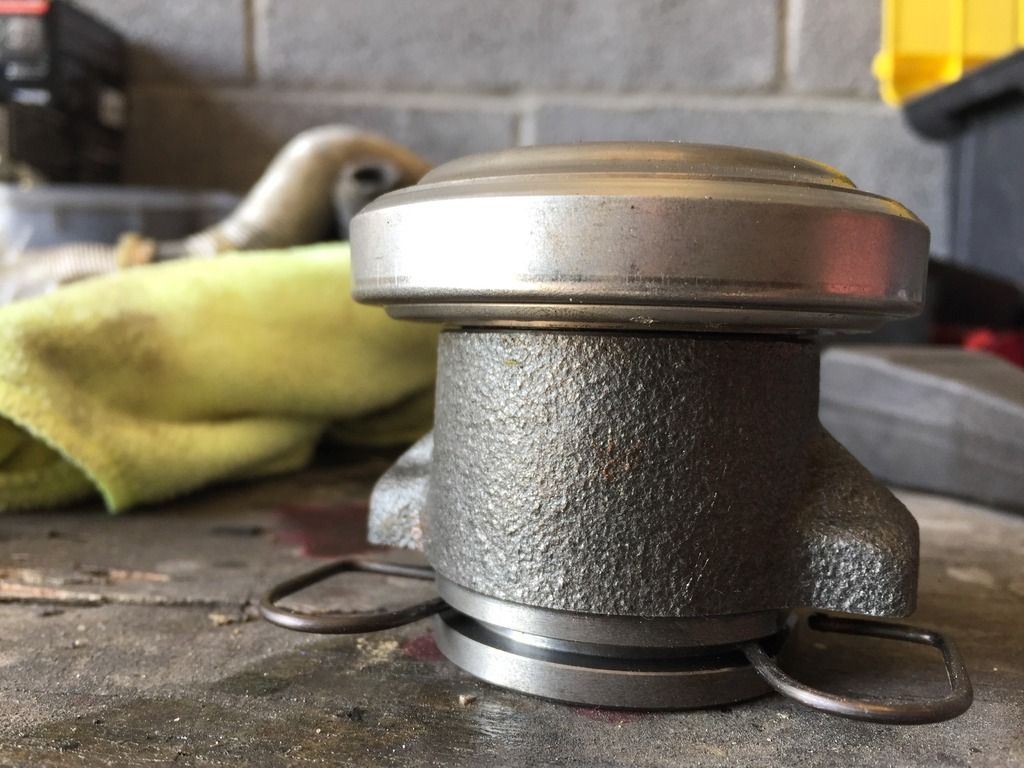 - - - Updated - - - Another concern was that the OS Giken manual state that the front cover of the gearbox needs to be “trimmed” 4mm, which had gotten me a bit worred as I’ve already sealed the front cover to the gearbox. After speaking to a friend who has a lot more knowledge on clutches than me, we came to the conclusion that if there isn’t contact now, then there wont ever be contact when the springs are depressed, phew! This is because the “snout” of the front cover doesn’t enter the fingers of pressure plate, which will essentially contract as the clutch is depressed/ Given the o/d of the snout is less than the i/d of the fingers, and that the fact the snout is a few mm away from entering the fingers, in theory they should never meet or cause any issues. (Saying that, ive probably just jynx’d myself and will have to eat my own words in the future lol!) 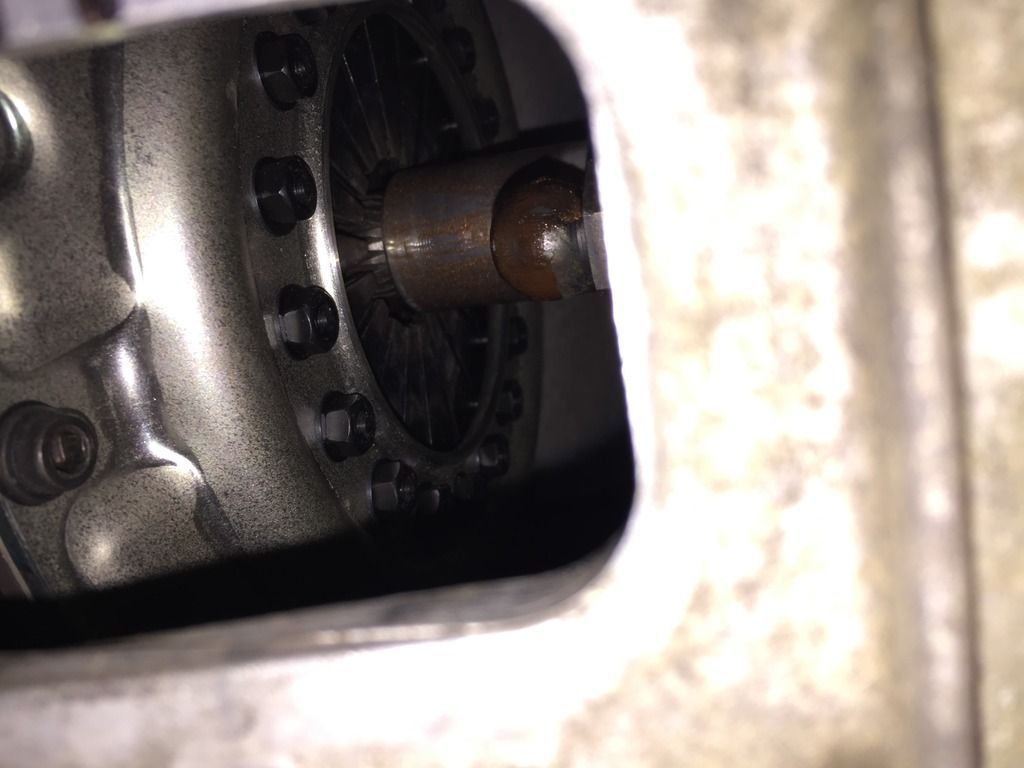 Hopefully this means all that’s needed for the conversion is to shorten the shifter linkage which should be a relatively straight forward job for a friend who can weld. Another meticulous job was trimming the gearbox bolts down, as the bolts I was given with the adapter plate were for an S15 flywheel setup, which doesn’t need the bellhousing machines. Nothing 10 minutes with a grinder couldn’t sort out though… 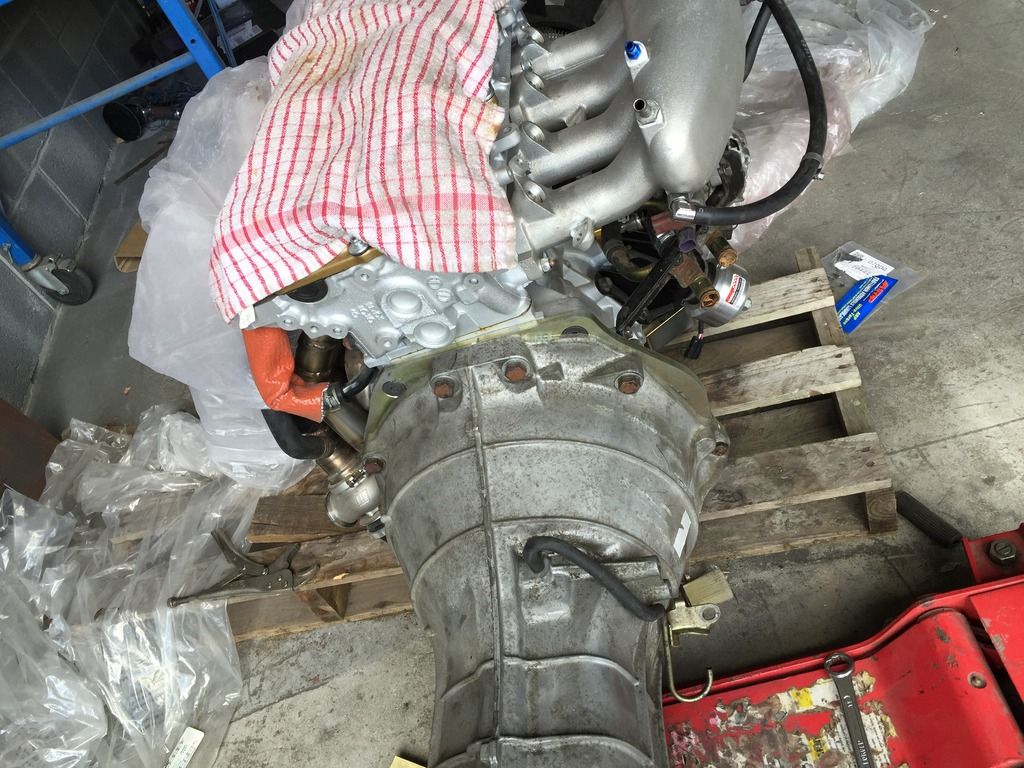 Something else the Protuner adapter plate requires is the thread of the starter motor to be drilled out. For me, this is one of the key points of Protuner’s plate, as the adapter plate has tig welded studs for the starter motor, whereas others on the market require the gearbox off in order to access the bolt heads from behind. So whilst my old starter became scrap due to a snapped solenoid, I thought it’d be best to have a quick go on that before my another fully working starter motor turns up. 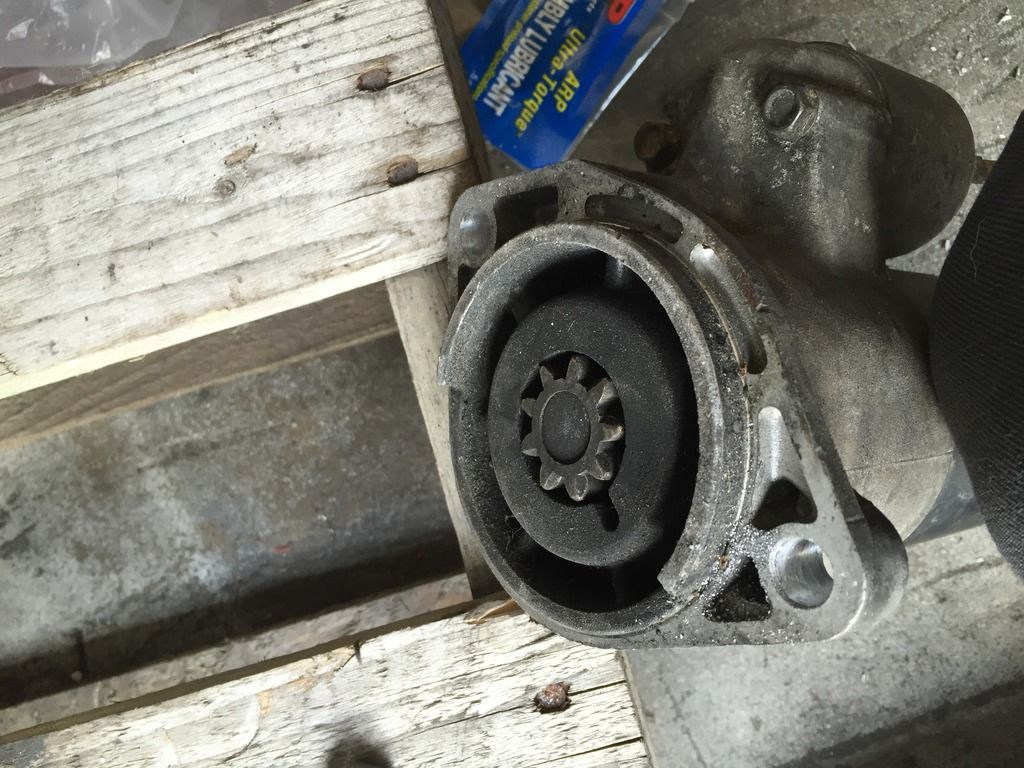 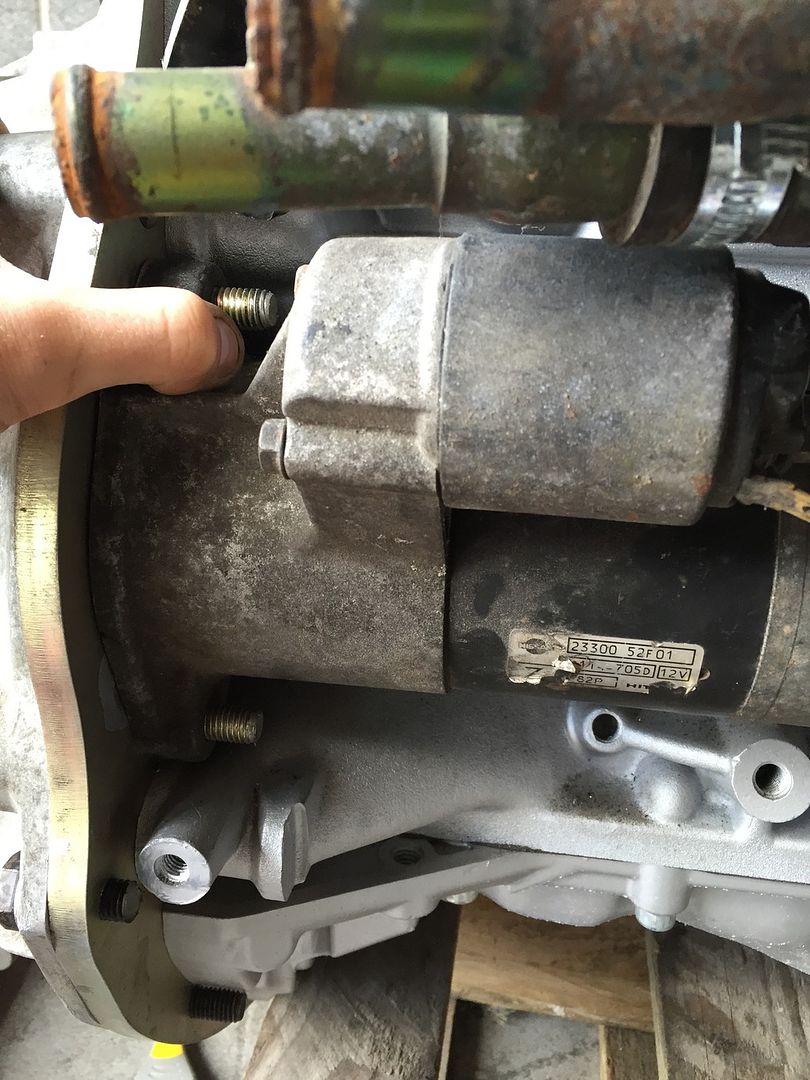 Turns out it’s a pretty simple modification to make  |
|
|

|
|
|
#49 |
|
Leaky Injector
Join Date: Dec 2012
Location: Bristol, UK
Age: 30
Posts: 92
Trader Rating: (0)
 Feedback Score: 0 reviews
|
I forgot to mention earlier than upon installing fresh balljoints into my front LCA’s, it appears the balljoint hole may have stretched slightly somehow, meaning they are essentially scrap as the balljoint could be pushed in and span by hand. After seeing current prices of standard S14 LCA’s, and then the cost of extending them 20mm to mimic my old ones, it just didn’t make sense to me. I’ve decided to sell my new polybushes and tensions rods and go down a different route.
So a friend ordered me a pair of S14 LCA’s from Powered by Max, and by god they are phenomenal! As with all of my other Powered by Max stuff, the level of quality is insane. 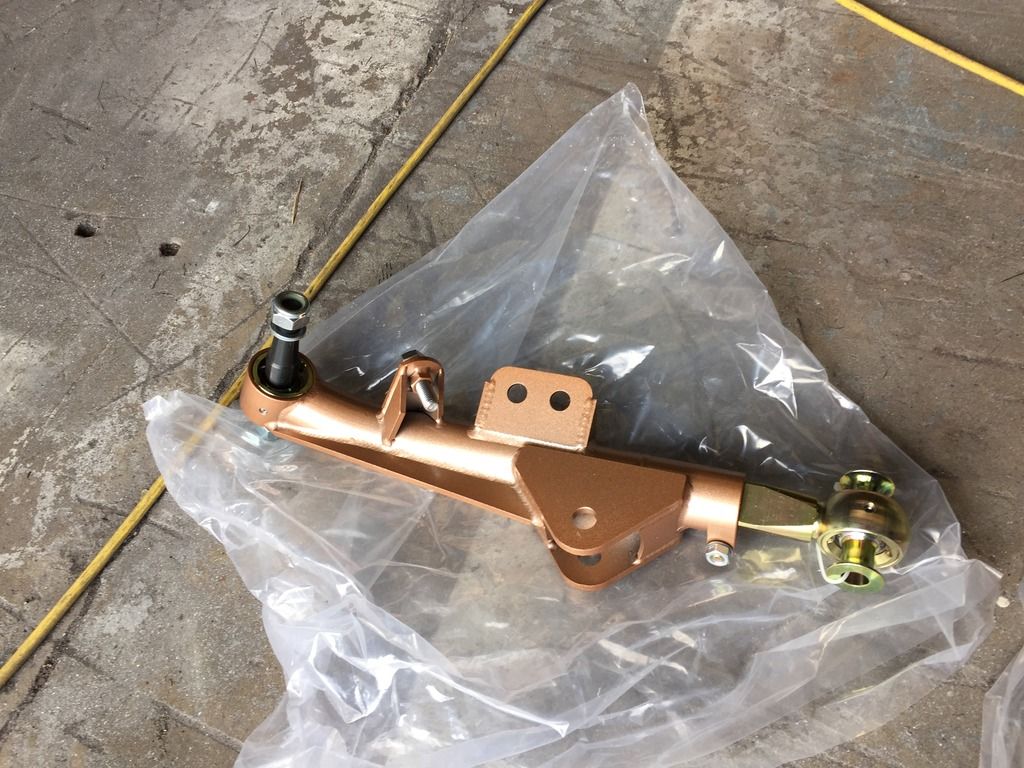 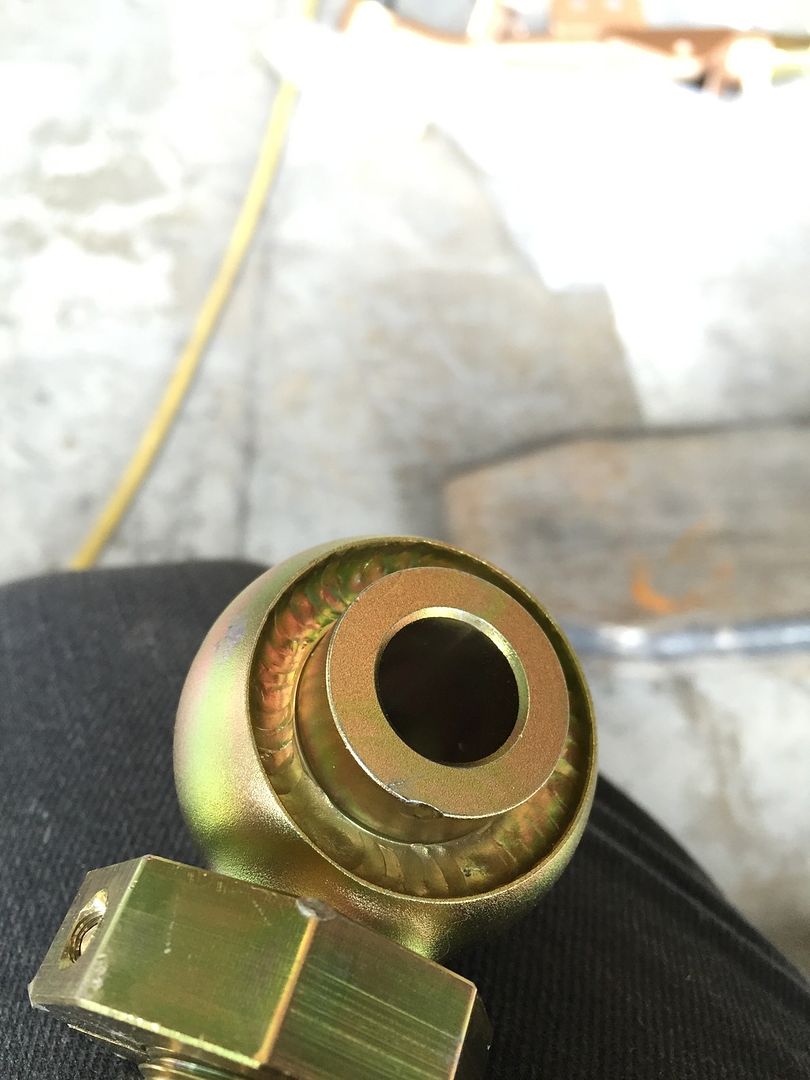 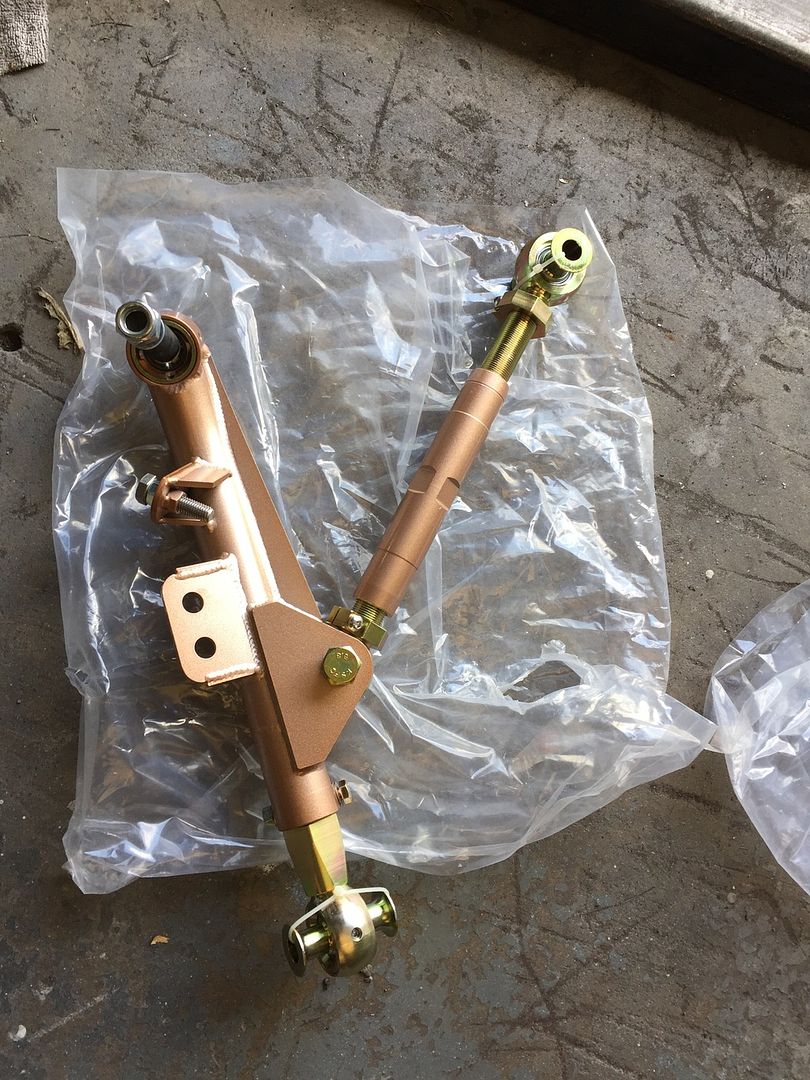 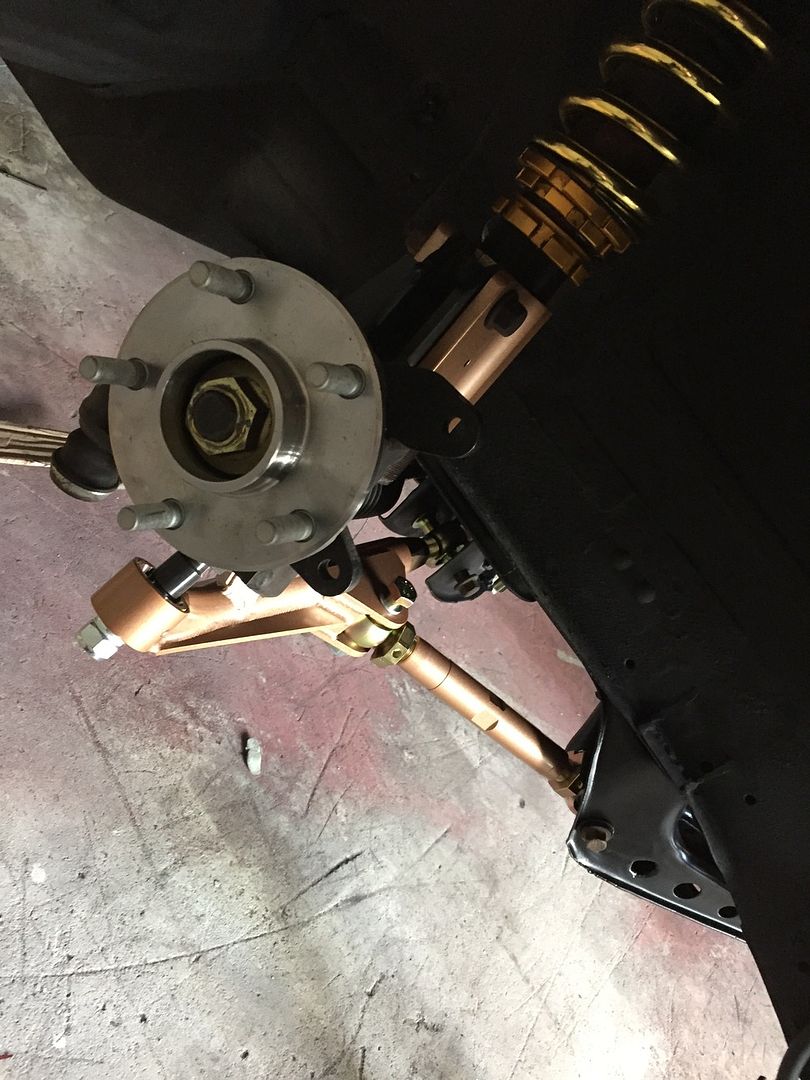 I only quickly put one side on, as today’s job is to go down to the car and get them adjusted to how I want and hopefully get the front end bolted up for good  Inside that package was another package, this time from Mazworx! 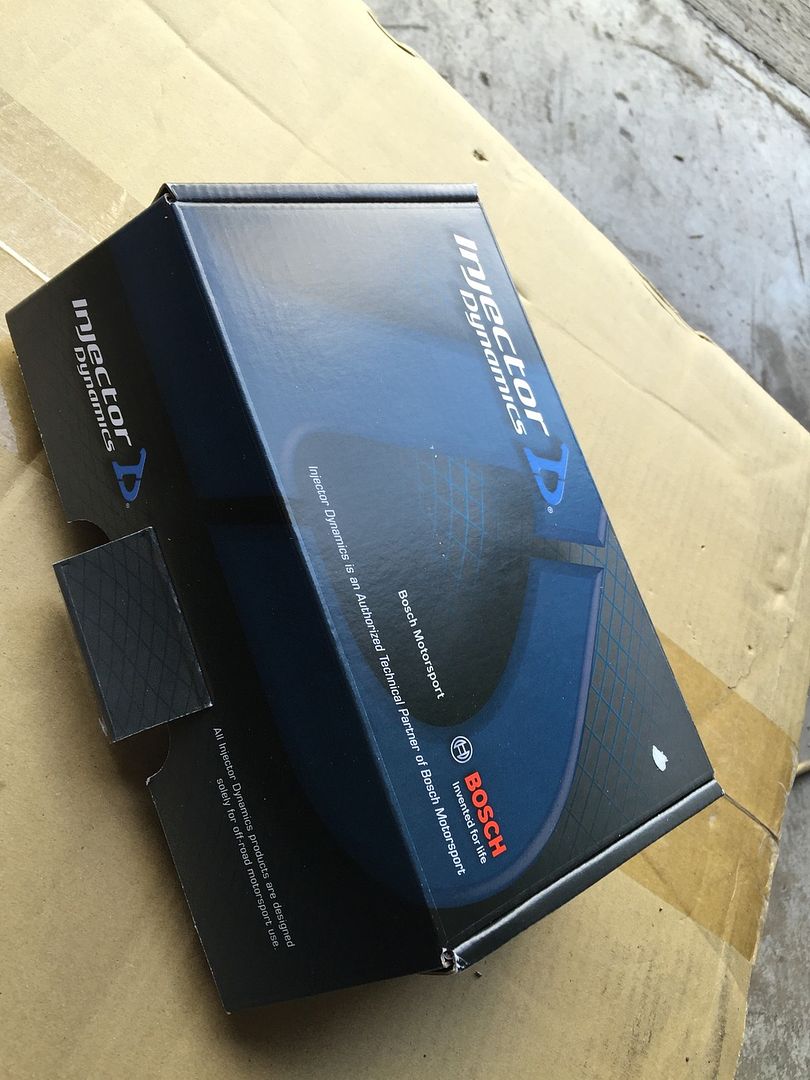 Billet fuel rail; 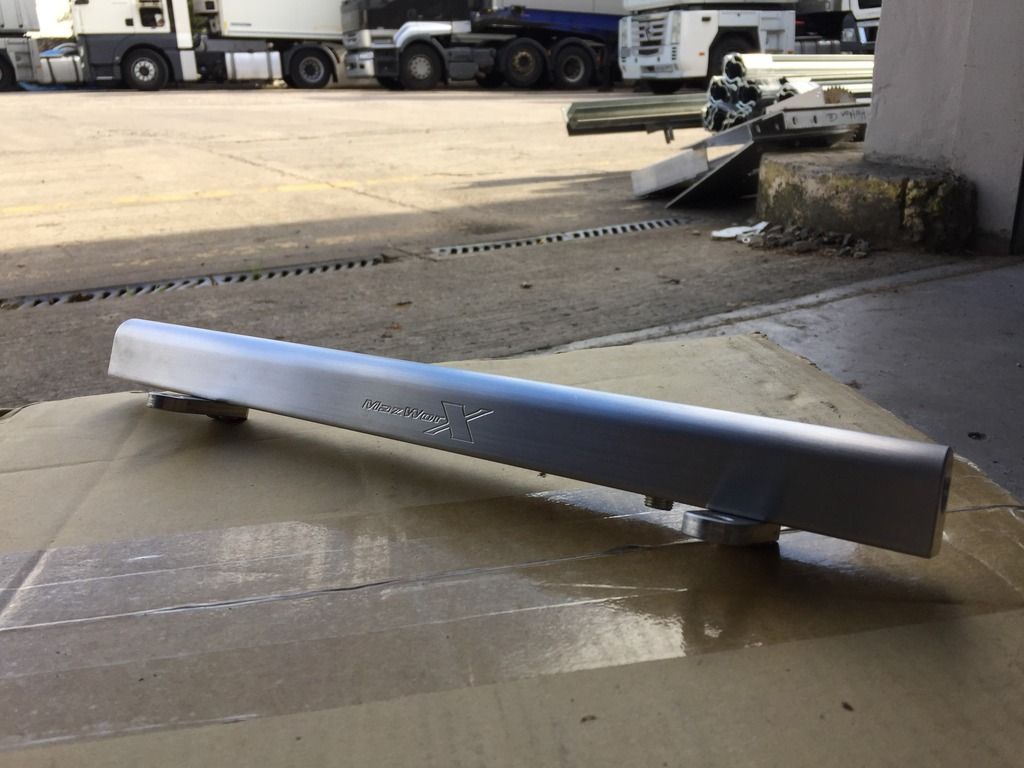 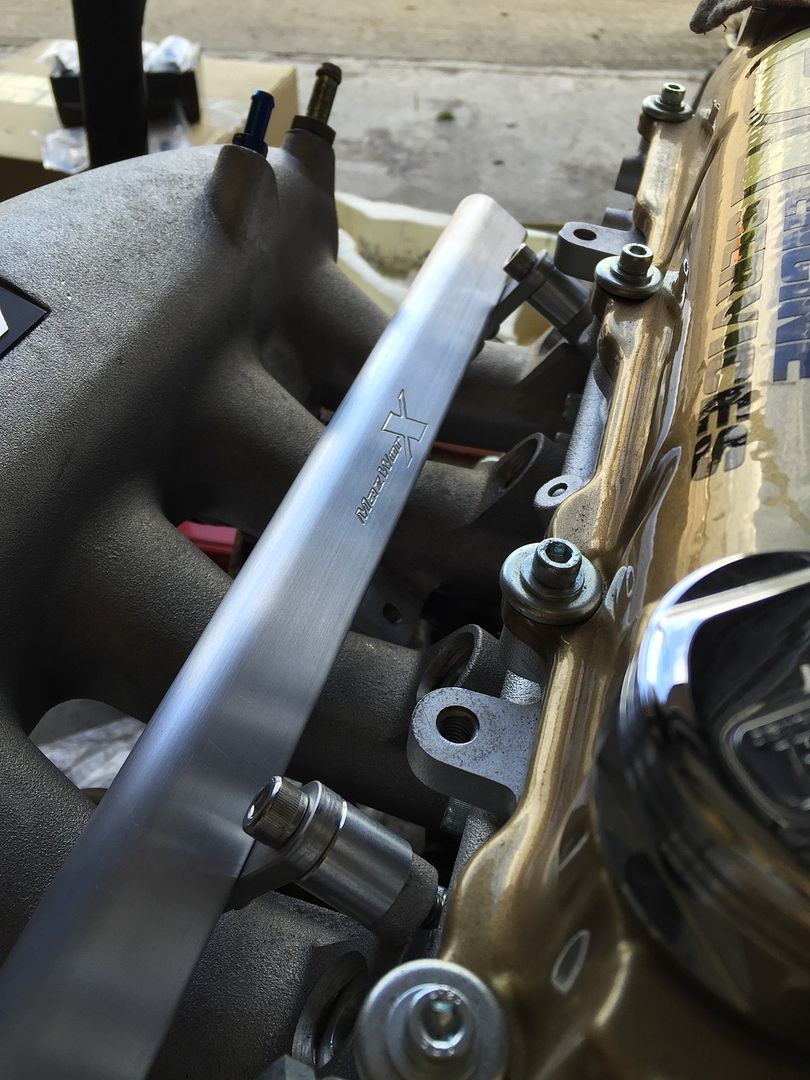 ID1000 Injectors; 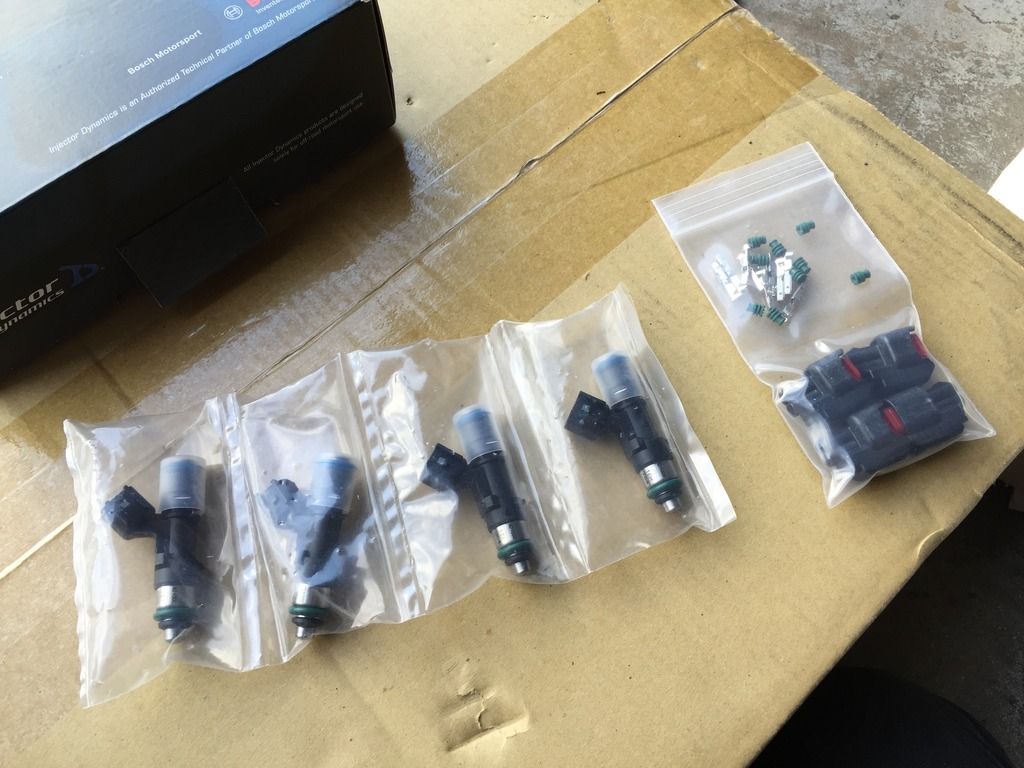 Shouldn’t be too long until the engine is the car, maybe that’s wishful thinking but I’d like to think that achievable  I went down to set the Powered by Max LCA's up, as I wanted to run them at their maximum length to try and mimic my old LCA's. Slapping all of this together was pretty straight forward, just following PBM's recommendation for the amount of thread engagement, then it was just a case of reinstalling the steering rods and ends and brakes. So after a couple of hours, it was finally on the floor! Ideally I wanted to keep the car in the air until the engine goes in, but I got a bit excited and had to lower it onto the floor to see the outcome :wack: This picture doesnt do much justice of how long the front subframe is, nor how low the car is. My old 13 was pretty low, and this was always going to be lower but its literally too low haha! The front wheels sit on the upper arch, so raising it around an inch is on the cards, but thats a job for Monday. 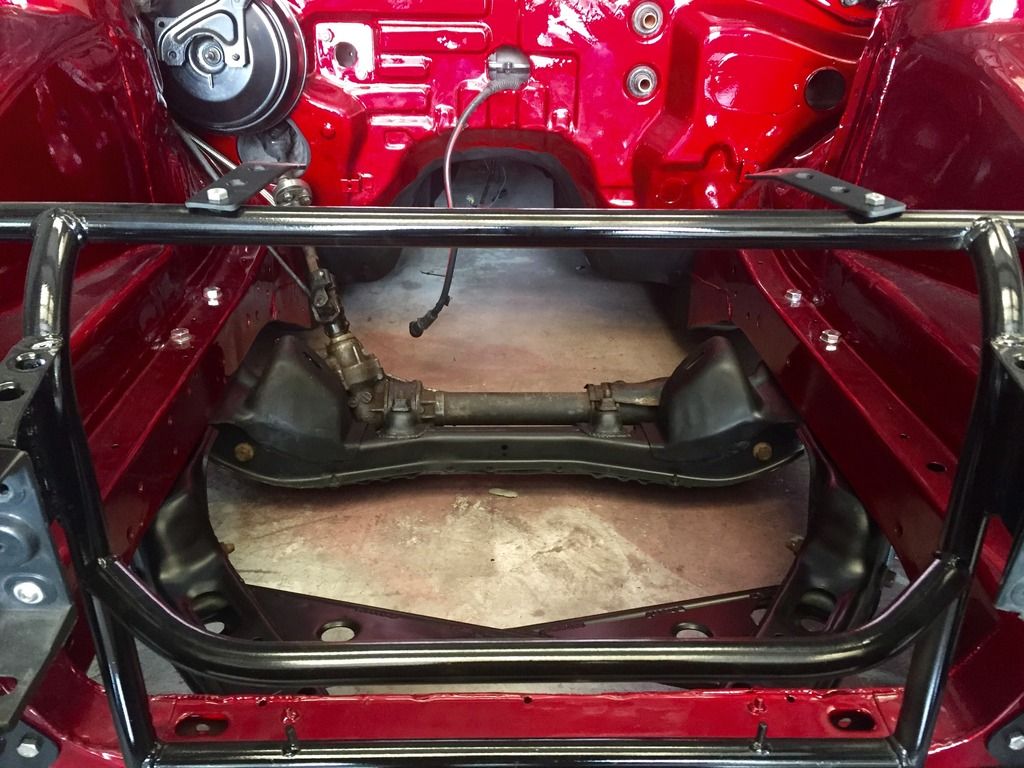 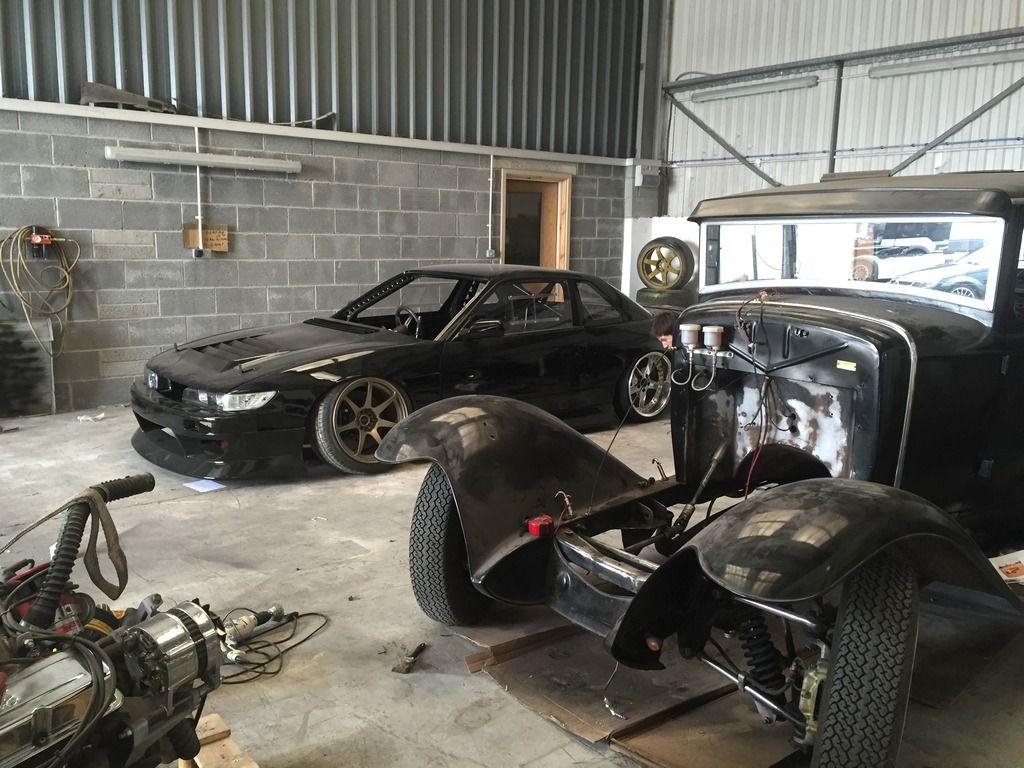 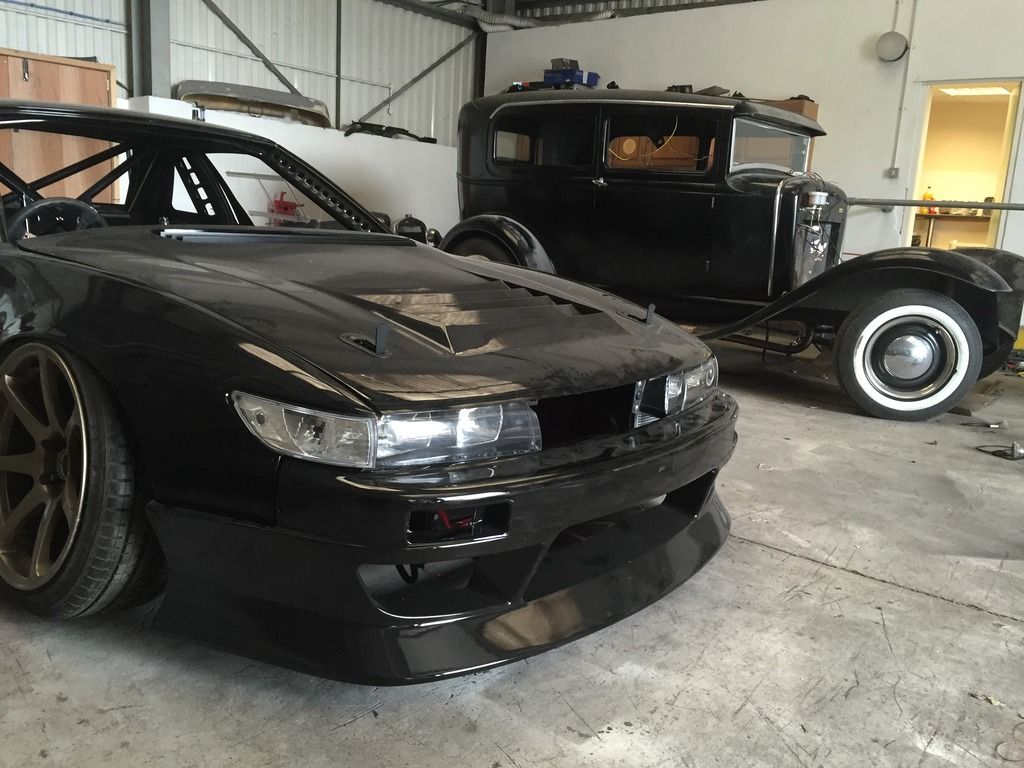 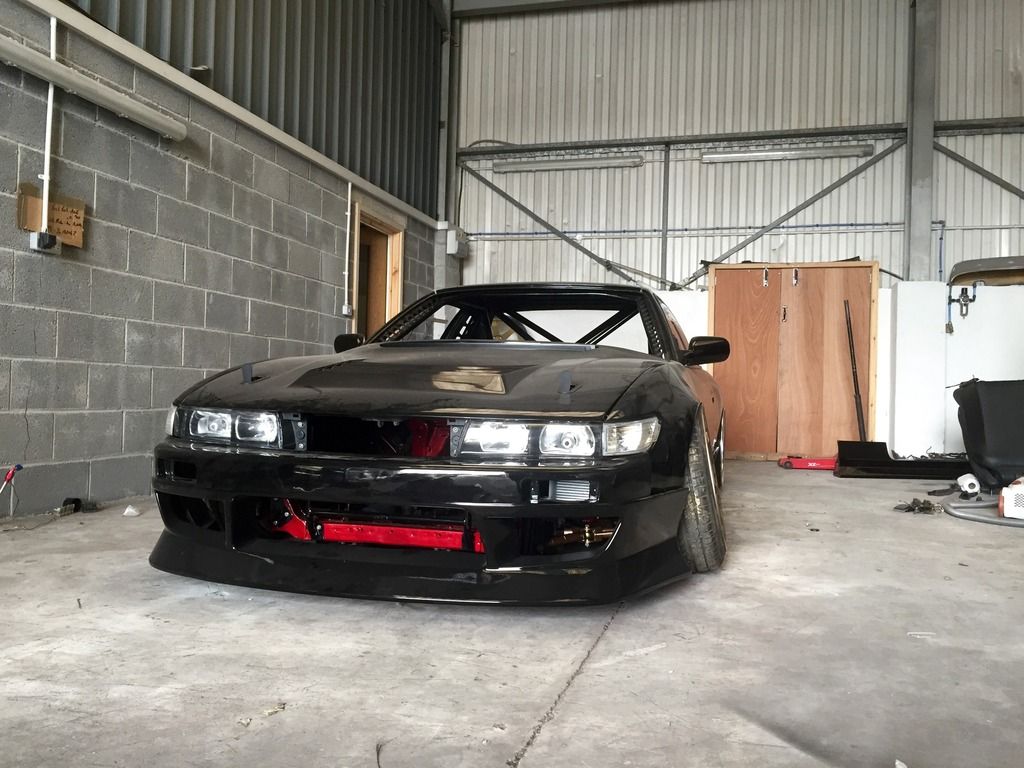 (Ignore the silly camber, I left the top mounts set to full negative camber, so i'll try and dial a fair bit out!) And odd thing was that my front was toe'ing out massively, I'm putting this down to the Geometers as the mounting point on the hub is probably different, and the extra 5mm track the PBM LCA's have given me, as they are now essentially S14 LCA's +25mm, instead of the +20mm my old setup used to run.) 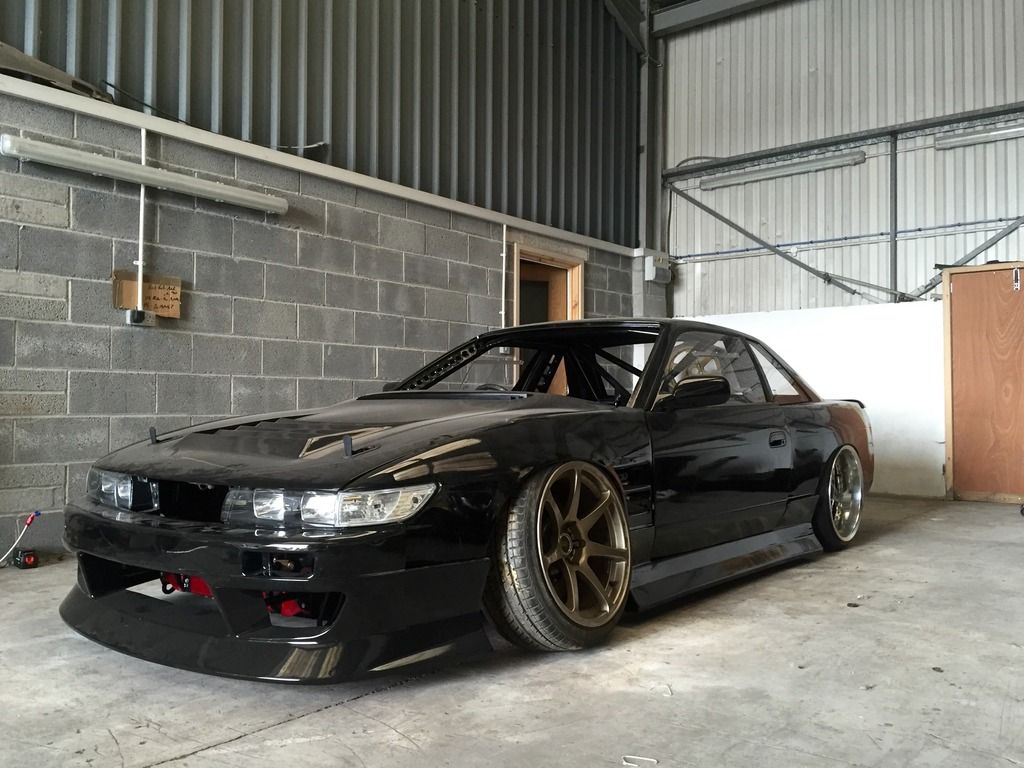 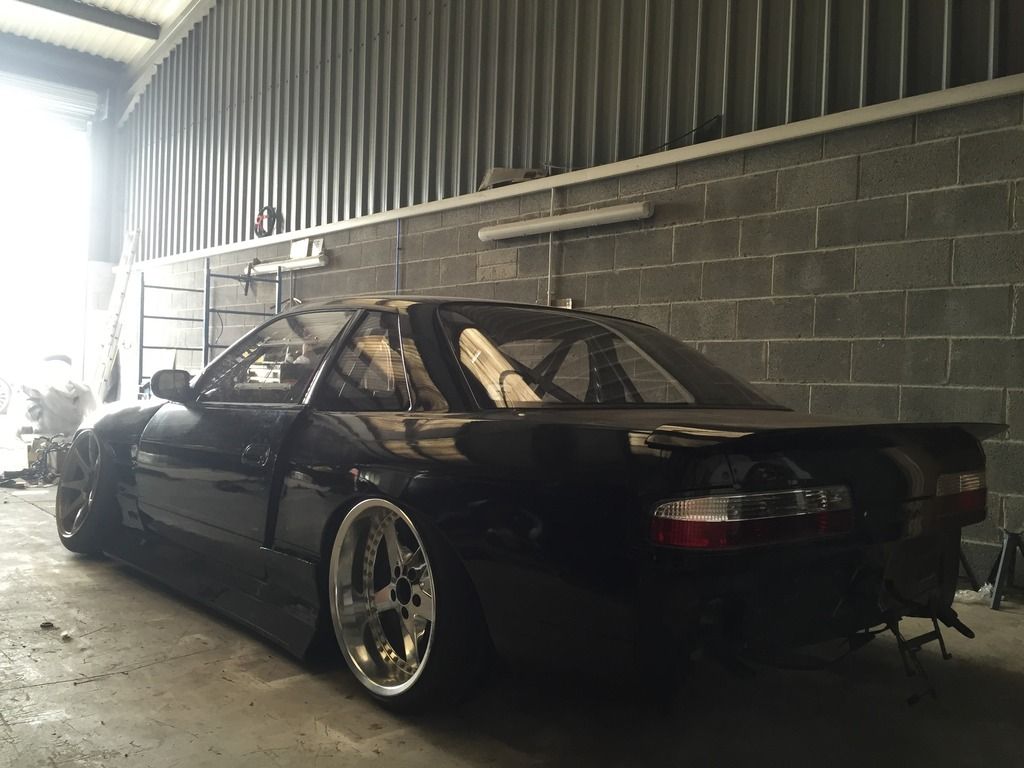 The rear fitment is so good though! No spacers too  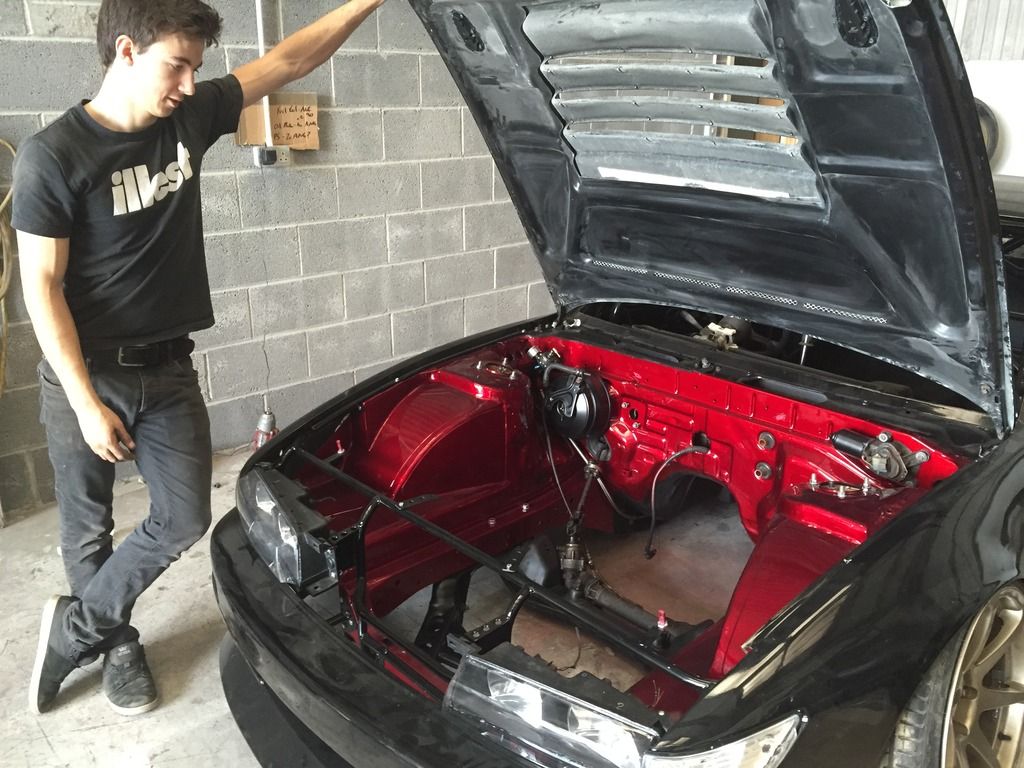 So today I'm hoping me and a friend can sort out the shifter linkage on the gearbox as it needs to be shortened, and then it should be a case of getting some gearbox oil and then the engine and gearbox SHOUD be ready to drop into the car. Wish me luck  |
|
|

|
|
|
#50 |
|
Leaky Injector
Join Date: Dec 2012
Location: Bristol, UK
Age: 30
Posts: 92
Trader Rating: (0)
 Feedback Score: 0 reviews
|
So since it was back on all four's with a ridiculous ride height, I couldn't stop taking pictures. I wish I could keep it at the height it was, but its not practical (read that as usable, the car would even move as the upper arch was just sat on the tyre!)
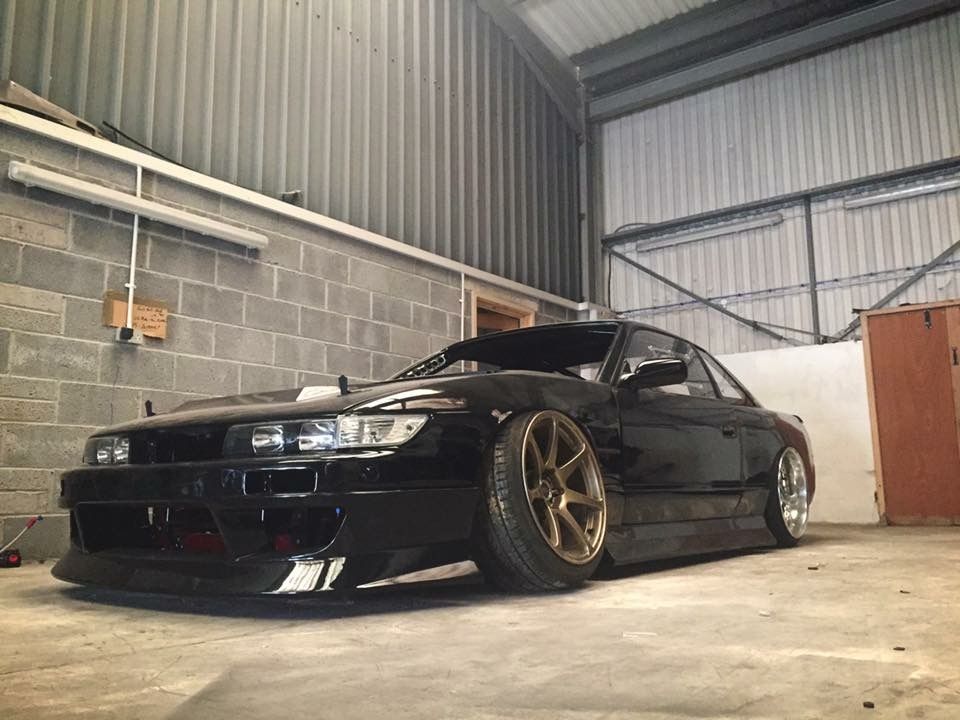 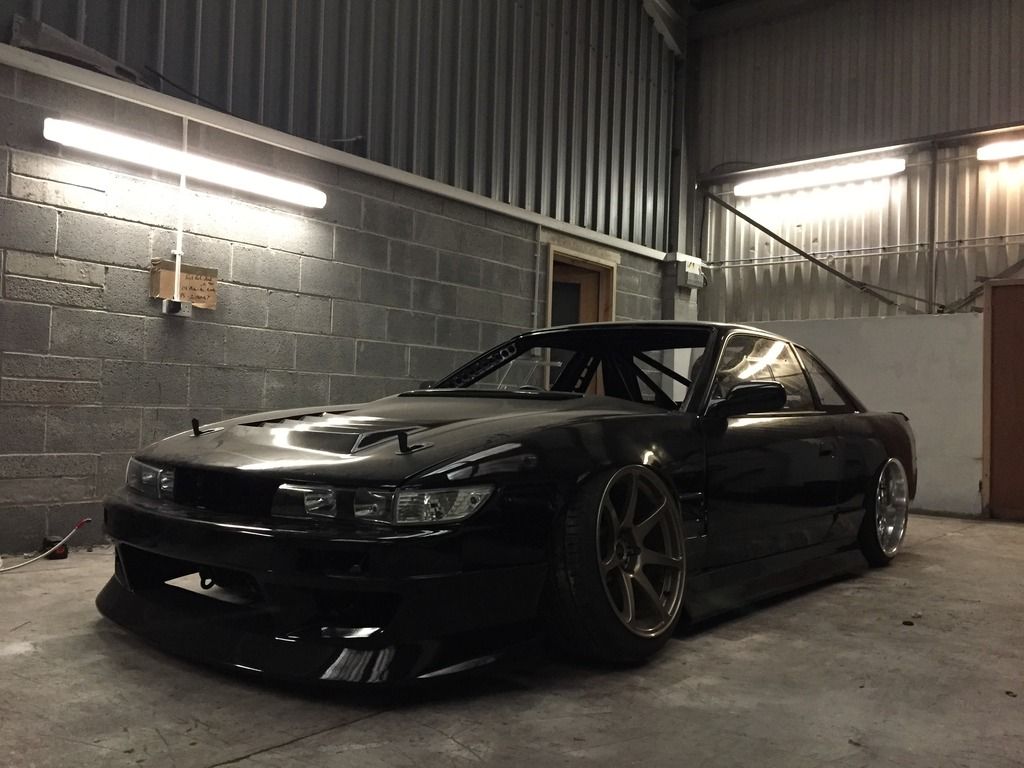 After lifting the Z33 box into the back of my car by myself, it was time to quickly pop to a friends unit, where a friend offered some welding the shifter linkage to meet the new shorter Mazworx shifter. In theory this should be straight forward, cut the rod between either mounting points to make it as physically short as possible, weld it together and happy days. And it was exactly that! After the linkage was cut, a few tacks were laid down and it just so happened to be that the first attempt lined up perfectly, all 6 gears plus reverse would engage. (I was having issues with the standard adjustment plate on top on the stock shifter, as this is supposedly meant to restrict movement in the shifter from going past 5th and 6th gear. Thankfully, the new Mazworx adjuster solved this instantaneously to me relief! So now the box works exactly as it should  ) )Now it was time to reassemble the box, bolt it back to the engine and get the engine ready to go in! I was going to wait until I dropped the gearbox oil in as I was a bit worried about accessing the fill plug once the engine is in. Having spoken to a friend with an SR/Z33 conversion, he assured me its doable with a suction pump  The reason why a tubular front is so useful :smokin: 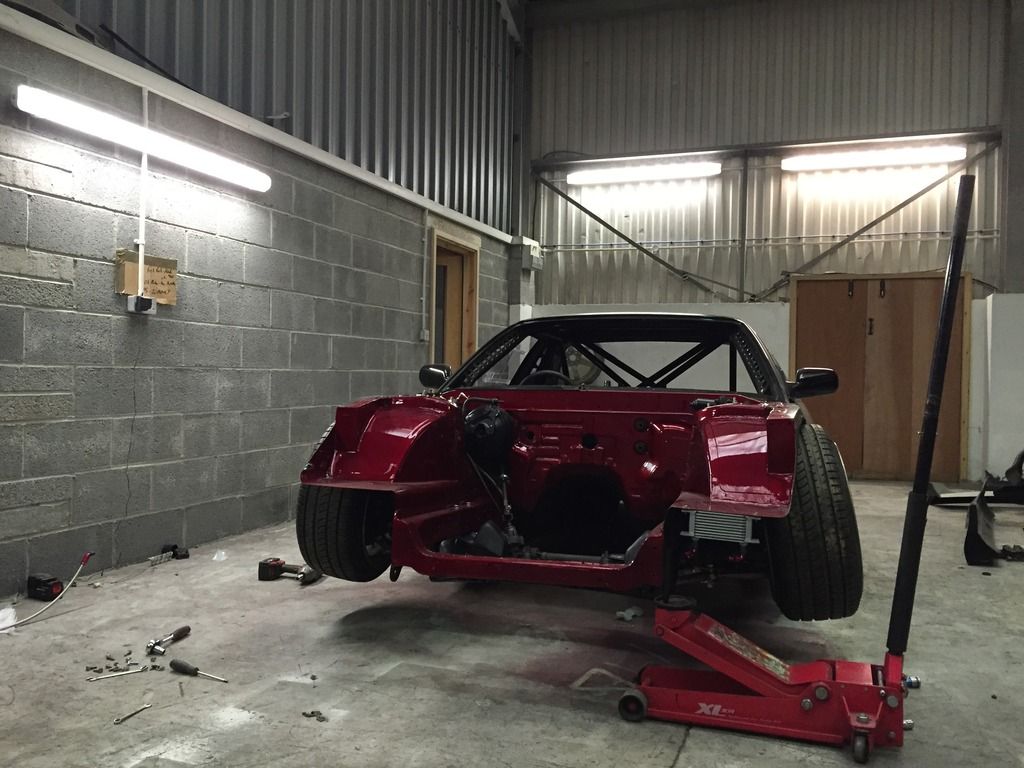 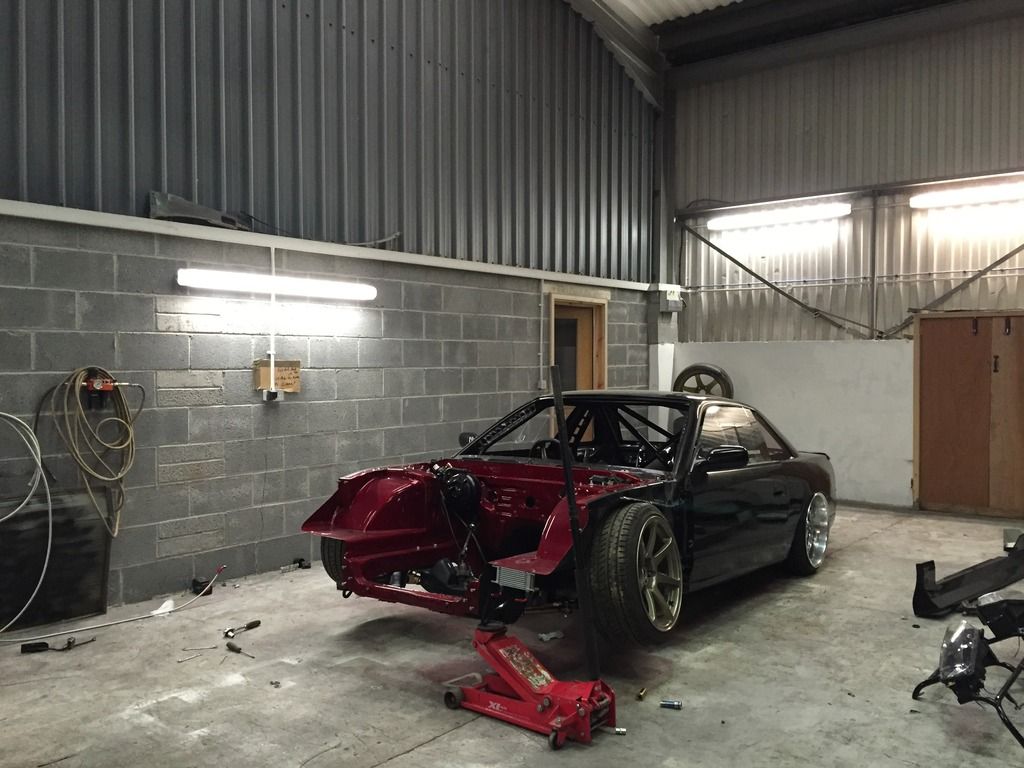 After 5 minutes with a friends help and the worlds best engine crane, it was almost in. (The straps look a bit messy, but I always run a single primary strap to do the lifting, with another as a precaution should the first snap, which is unlikely due to the loads they are built to take. Better safe than sorry eh.. ) 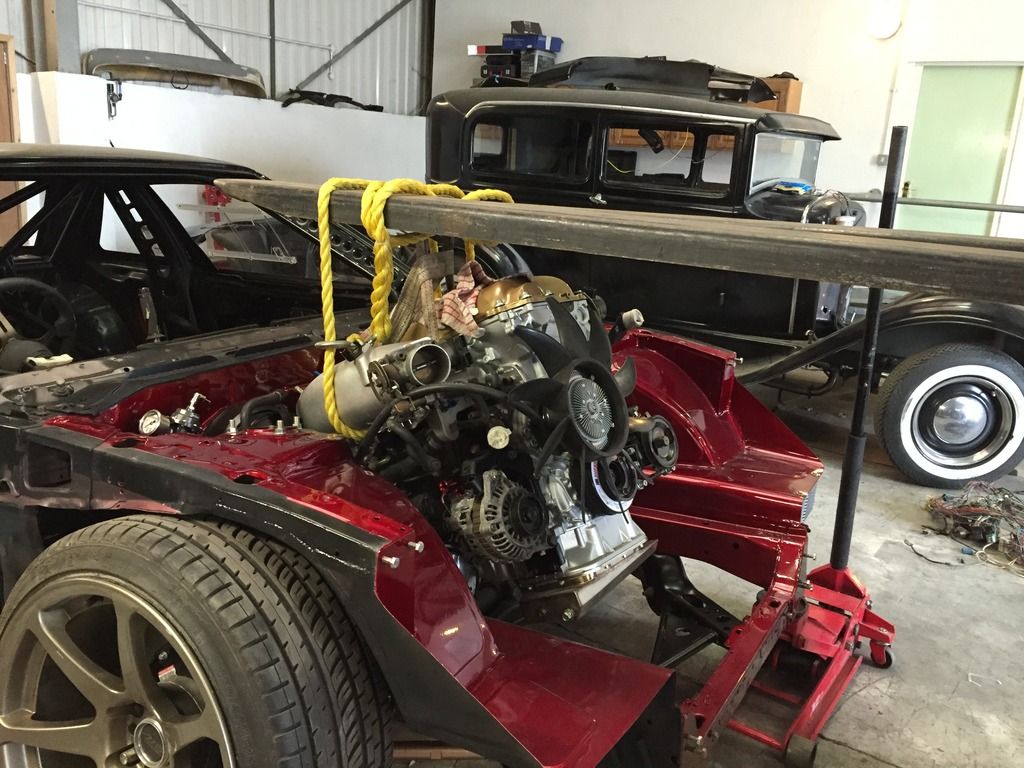 Once it was in, I couldn't help but stand in amazement for about 5/10minutes. I was pretty overwhelmed with how well everything works together, and the fact I'm so so glad I went with the Candy Apple Red engine bay over the gold I originally first had in my mind! We did come across a problem with the Collins Performance gearbox mount however, even though it fitted fine when the car was with Huxley getting the exhaust work done. After looking at the mount, I could see the marks from the bolts were at their maximum adjustment, and since then I've had the bell housing machined to accommodate the adapter plate. So a quick bit of thinking meant 2x 12mm holes were drilled slightly more forward, both of which lined up exactly, albeit with a little bit of enlarging to make sure the bolts go in straight. Sadly, I didn't get any pictures of this so more of a heads up to anyone reading who follows in my footsteps regarding the SR/Z33 conversion. 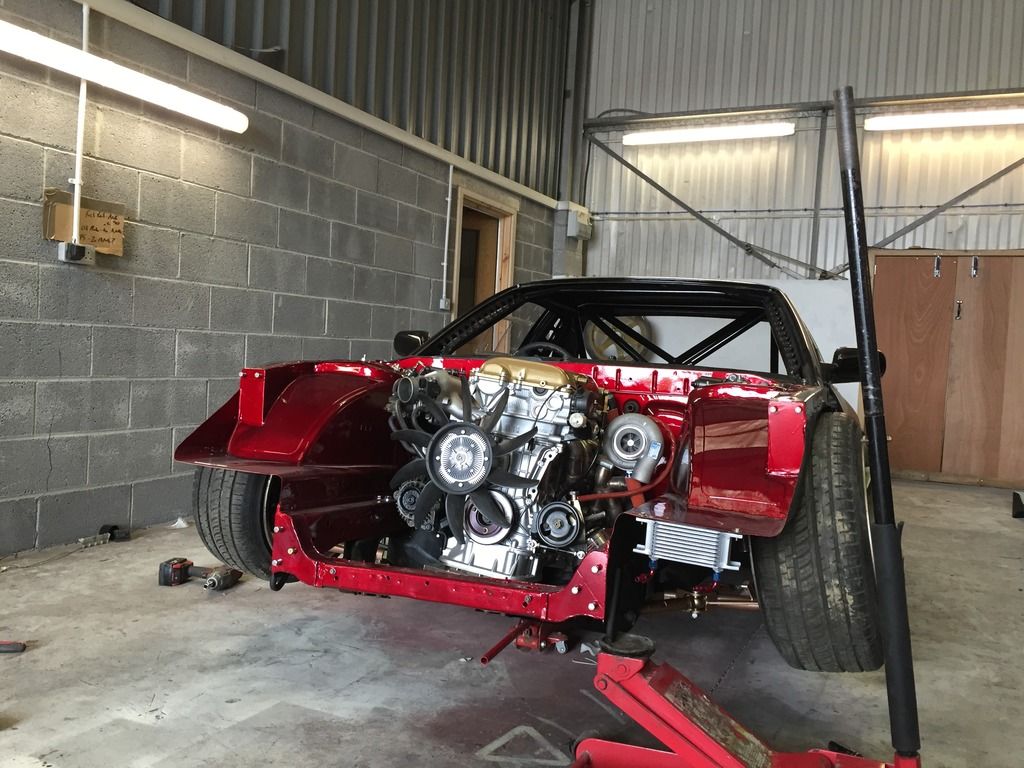 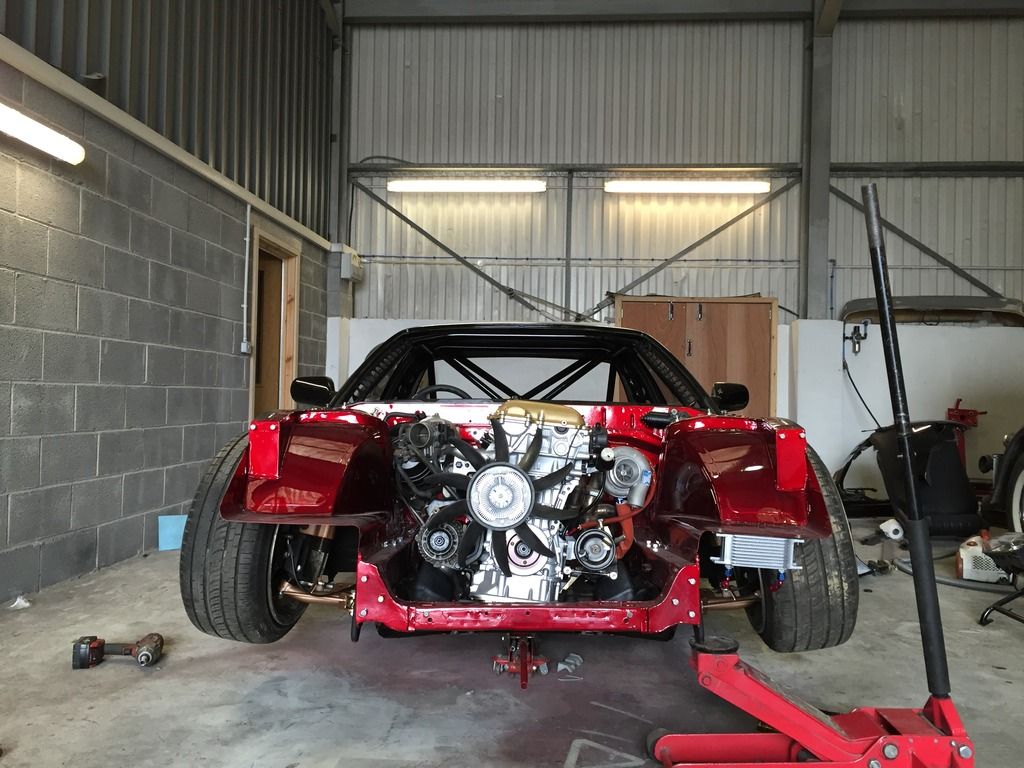 Quickly threw the tubular slam panel back on, as well as the Mishimoto oil cooler, intercooler and rad :smokin: 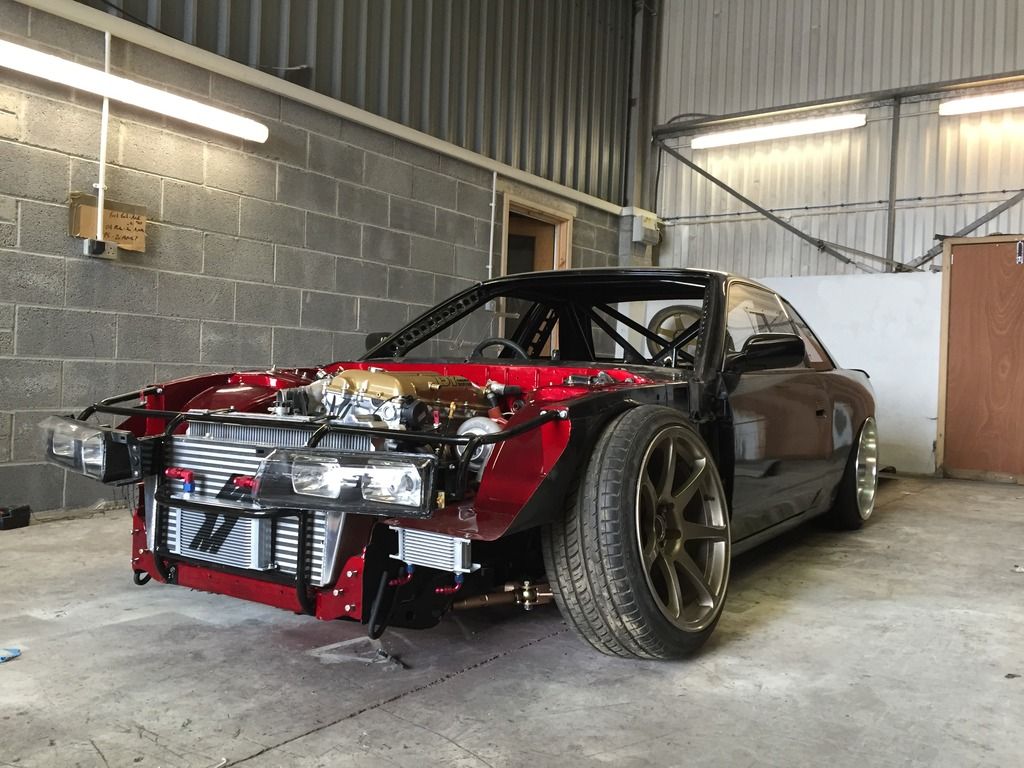 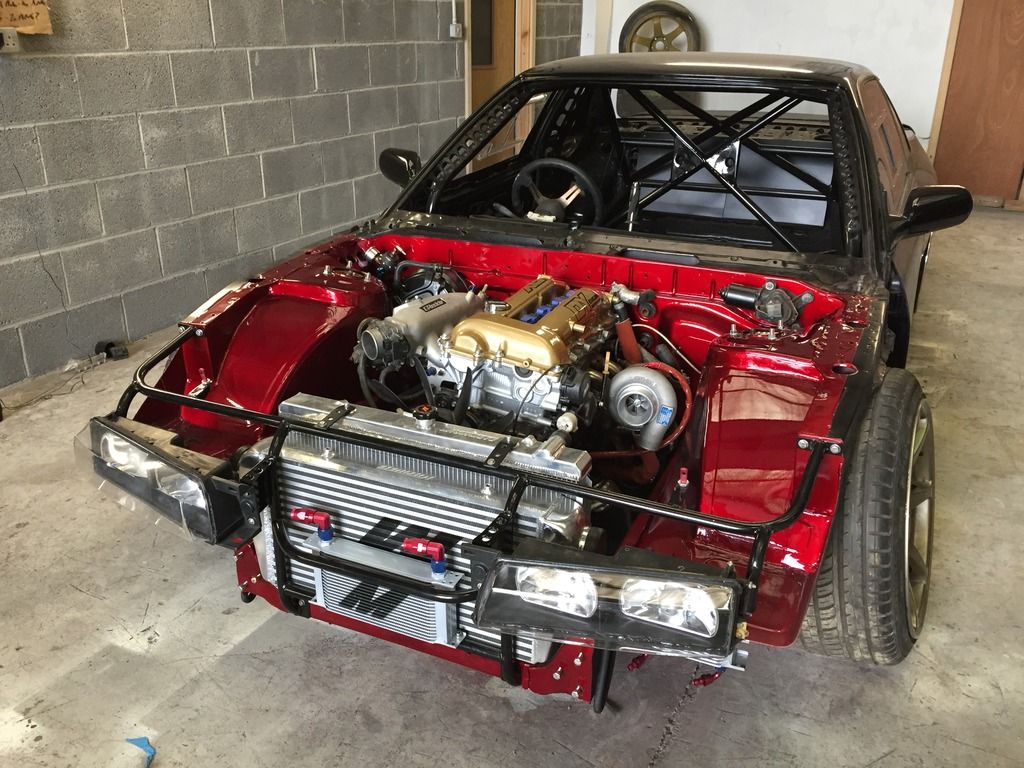 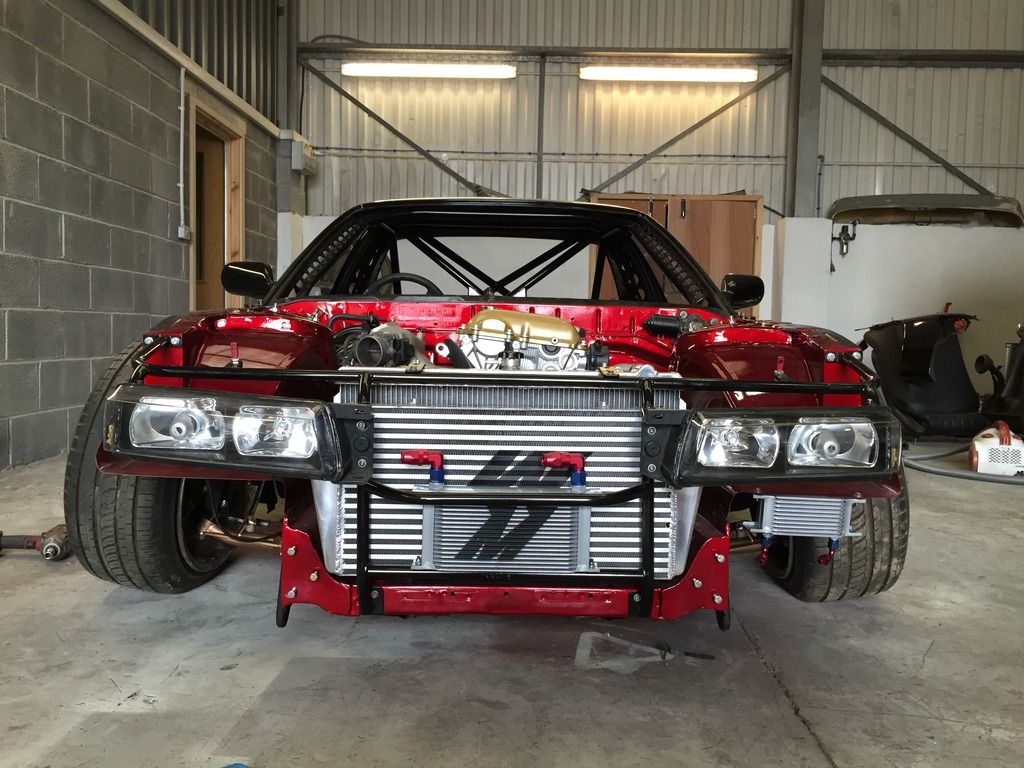 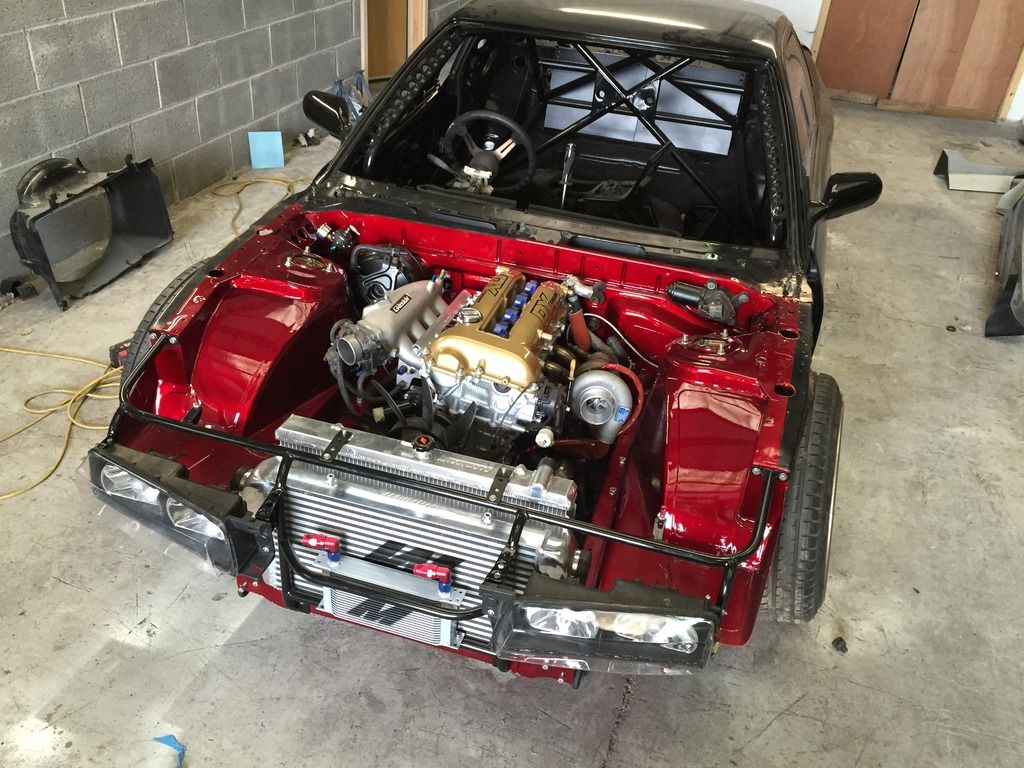 Whilst the engine was out, we quickly installed the Mazworx fuel rail and ID1000cc injectors :smokin: Thankfully, these seem to fit as they should which was a relief, considering how the standard rail did want to fit. But i suppose this fuel rail has been tried and tested by Mazworx on the Greddy inlet :roll eyes: 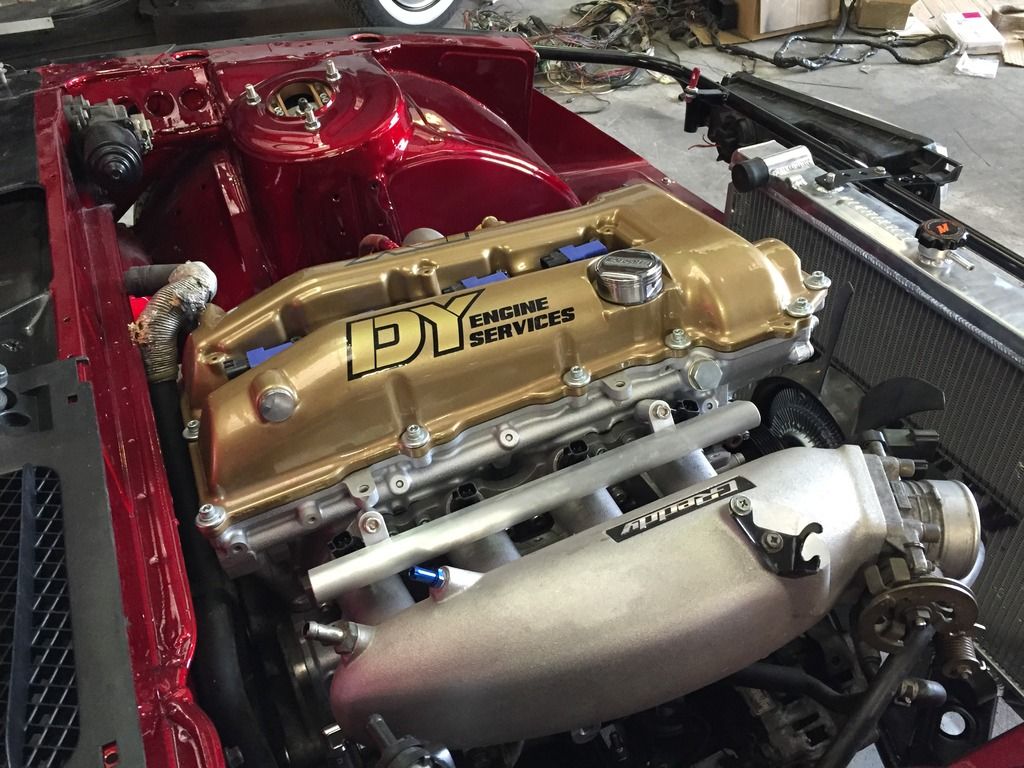 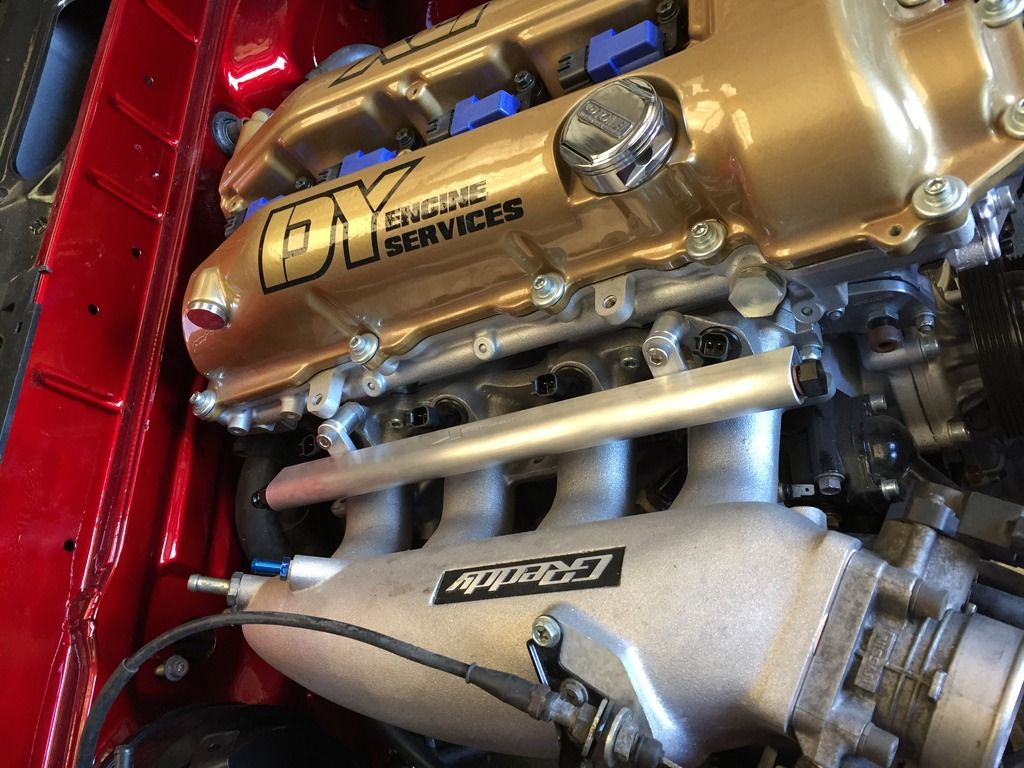 Ignore the front fitting on the fuel rail, I threw that on just to close of the fuel rail. Mazworx's kit only comes with one AN6 fitting, and one blanking orb/plug. I can only guess this is because they assume you will fit the standard fuel pressure regulator? Who knows, i'll measure up the threads and grab an AN6 male fitting when I order the rest of the AN fittings for the fuel, power steering and oil cooler setups. When fitting the Mazworx Z33 relocated shifter, it was apparent I had to "trim" the trans tunnel a bit more than I already had. Its a bit fiddly getting it in, but I'm not expecting to be removing it anytime soon. 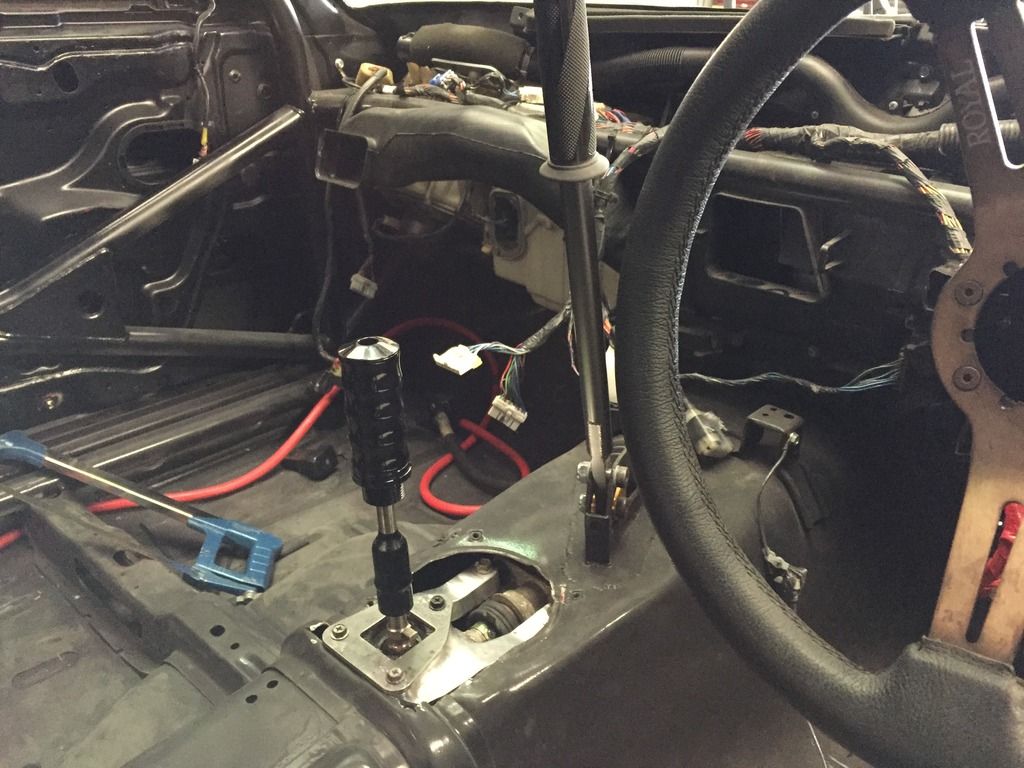 Im hoping to take my Bride down tomorrow to see how it feels, but like a friend said, the Z33 shifter "arcs" from side to side as you shift. It feels a bit weird, but with a bit of getting used to I'm sure it'll be just fine.  I did have a bit of a nightmare when fitting the shifter however, as I completely forgot to tighten up 7x 10mm bolts on a plate that covers the shifter/selector mechanism. I could have maybe gotten away with squeezing a spanner to reach the bolts with an SR box, but the sheer size of the Z33 box meant this was a no go  So I had to quickly remove the shifter and drop the gearbox mount to allow the box to pivot, and thankfully this was enough to reach, and tightness all 7 bolts with ease, phew! So I had to quickly remove the shifter and drop the gearbox mount to allow the box to pivot, and thankfully this was enough to reach, and tightness all 7 bolts with ease, phew!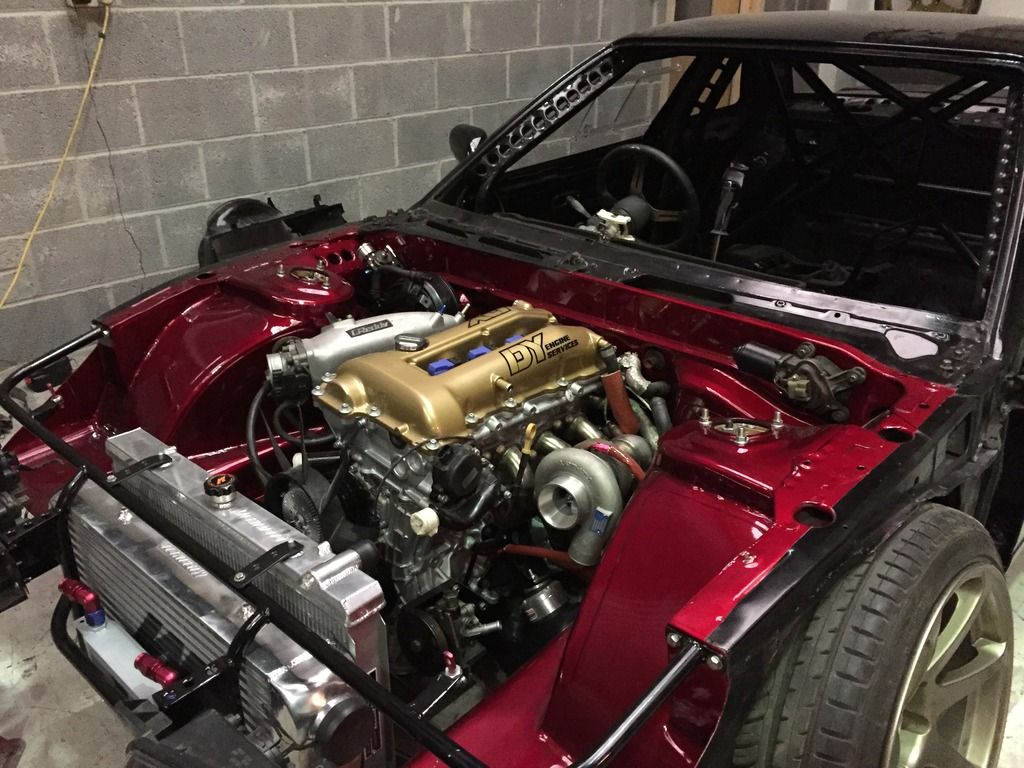 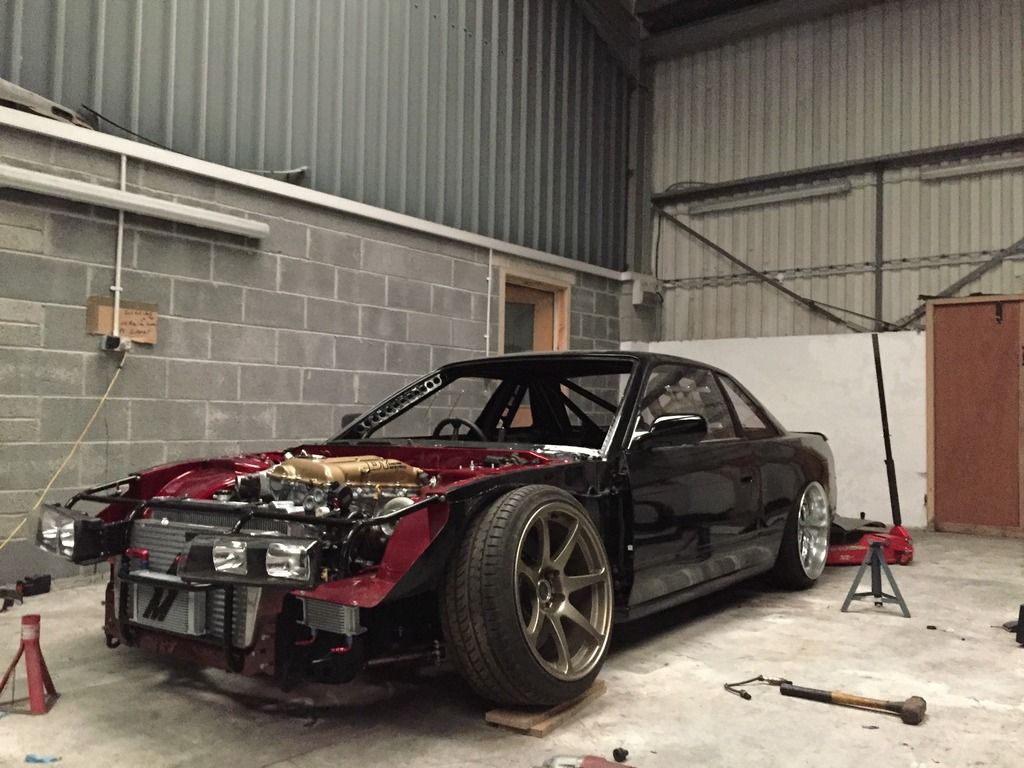 |
|
|

|
|
|
#51 |
|
Leaky Injector
Join Date: Dec 2012
Location: Bristol, UK
Age: 30
Posts: 92
Trader Rating: (0)
 Feedback Score: 0 reviews
|
I started adjusting the front end setup today, which was mainly raising the front and beating the front arches to try and get some kind of clearance on lock. I wont know for sure what clearance will be until I get the castor setup, but smashing the inner arches can be quite therapeutic :wack:
As you may notice, I also installed the brackets to try and stop the brake line away from getting caught  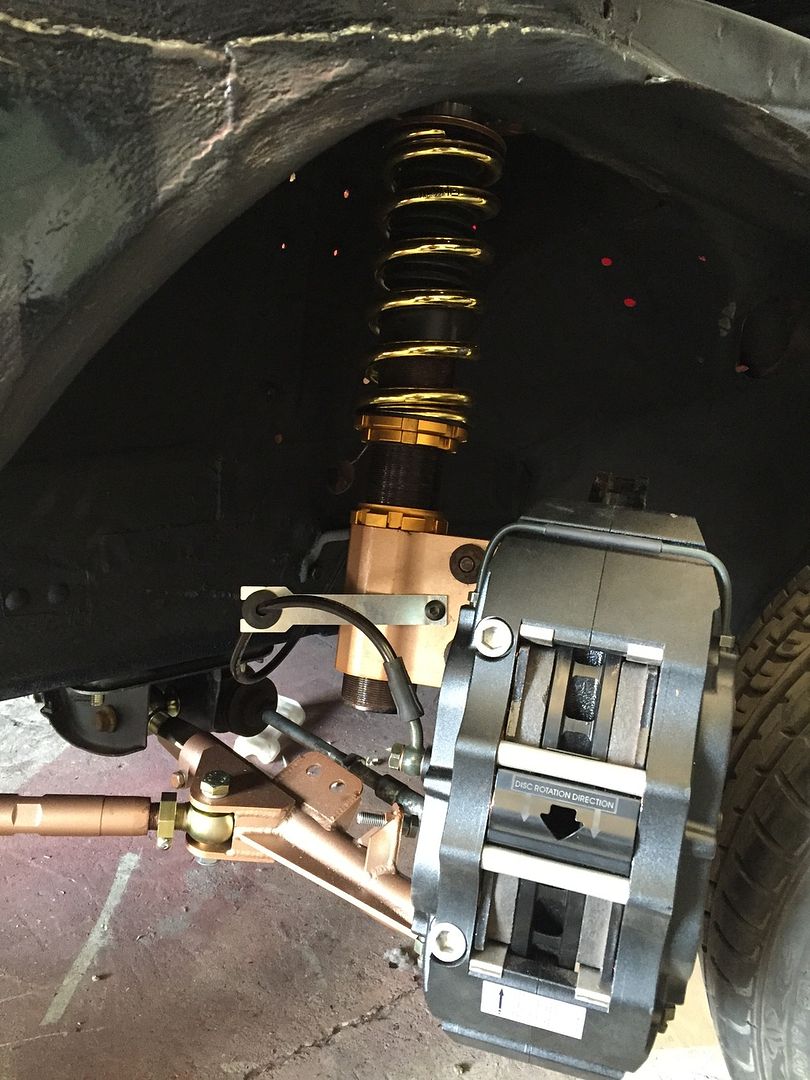 As today started off with quite nice weather, it'd be rude to not let the car see some daylight, and then proceed to find the largest hammer I have and "massage" the rear arches 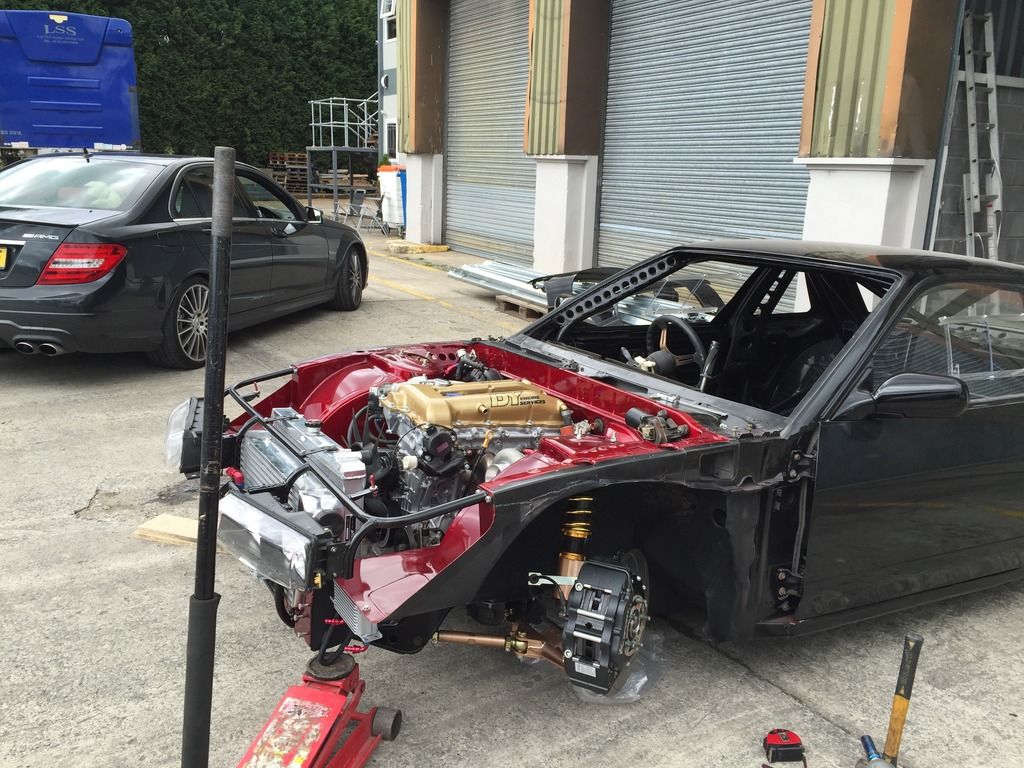 I raised the rear a bit too, as it was sitting uneven with the drivers side tucking rim statically. Im hoping this ride height will still be pretty low and under compression it'll tuck rim  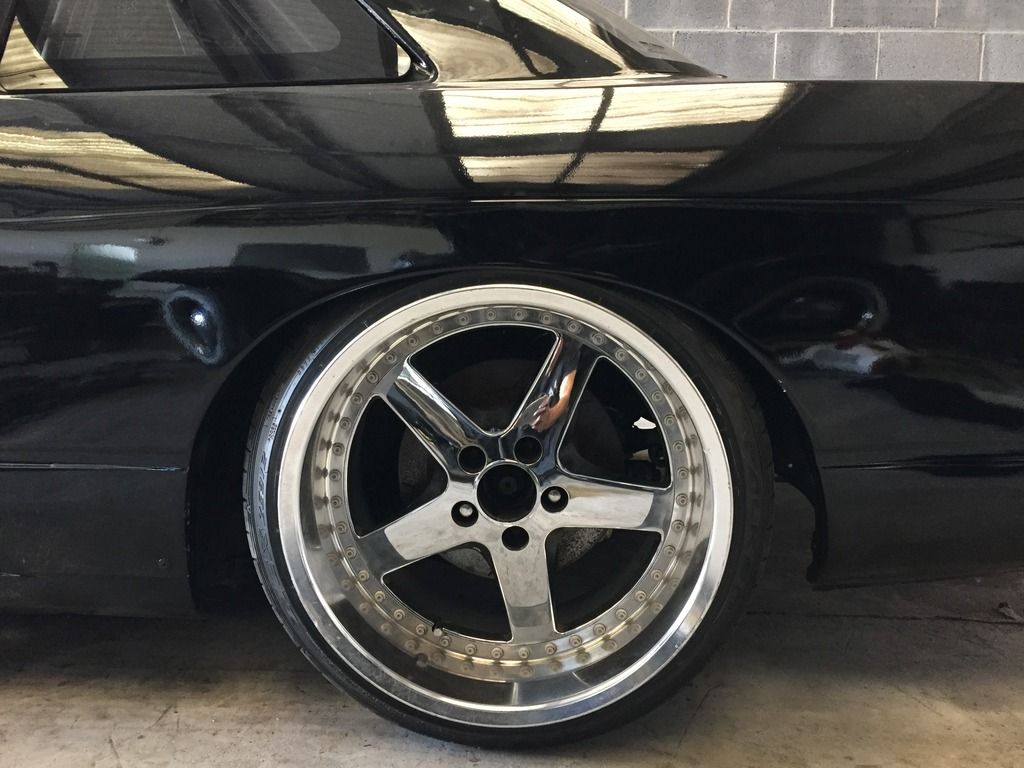 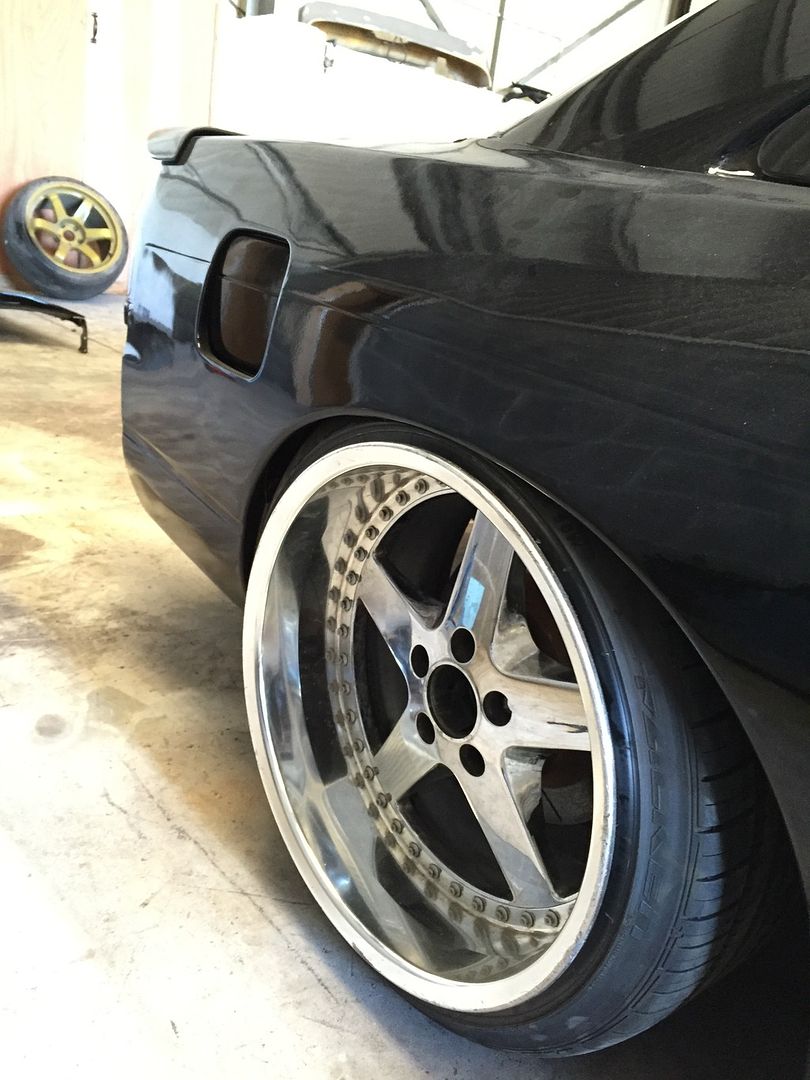 This is how the ride height sit as of tonight; 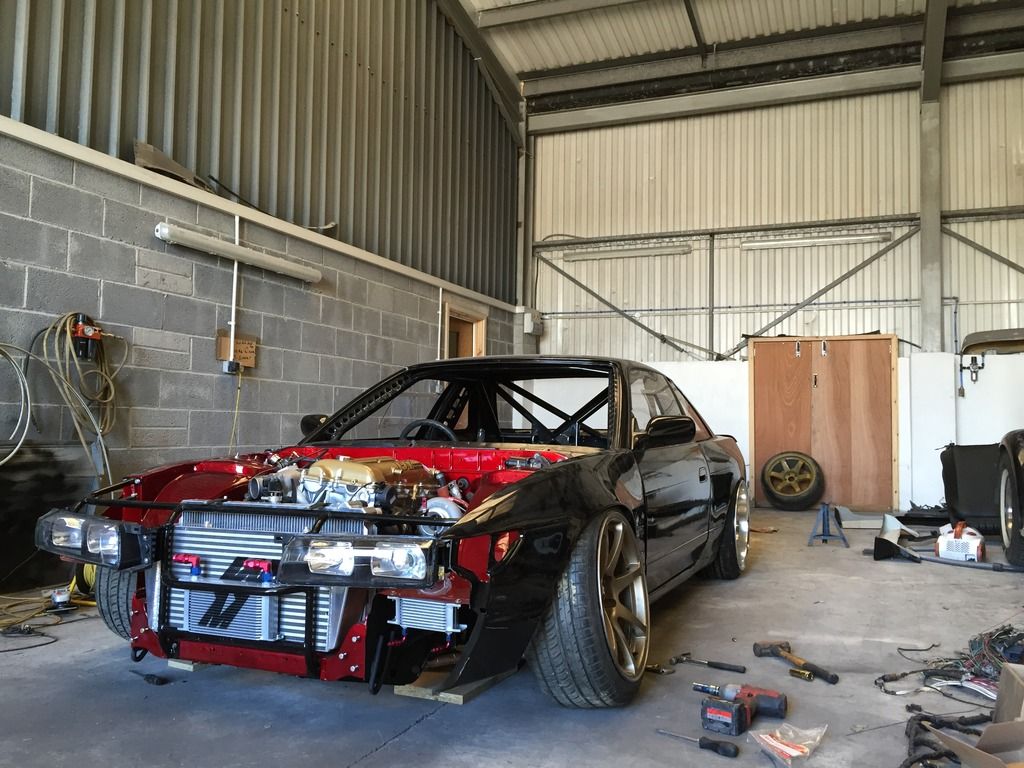 A few tweaks are still needed, as the drivers side sits lightly lower :wack: I did find a problem with the bonnet however, quite a common one it seems. The most rearward vent hit the top of the valve/rocker cover which is a right pain in the ass to be honest as it never did this when the engine was last in the car. I can only think its because of the Vibratechnic engines mounts being slightly larger than the Japspeed ones that were in the car beforehand. So my option are to either cut/trim a hole for the bonnet to close as it should, or possibly try to space the rear hinges to ease the angle the bonnet has to sit at. I'll try the latter tomorrow, even though I'm not a fan of raised bonnet, it may save cutting a hole in an expensive bonnet  So with the engine, gearbox and shifter all installed for what I hope to be the final time, I thought it would be a good idea to throw my seat in to see how the shifter feels. A friend of mine was saying about how much nicer it is with the shifter sitting a couple of inches further back, which I completely agree with! Im not the tallest of guys, but with my seat on my old settings (which is fairly low) the shifter feels like its in a much more natural position. After playing around with the shifter and handbrake again, I seriously can't wait to see how this feels out on track. 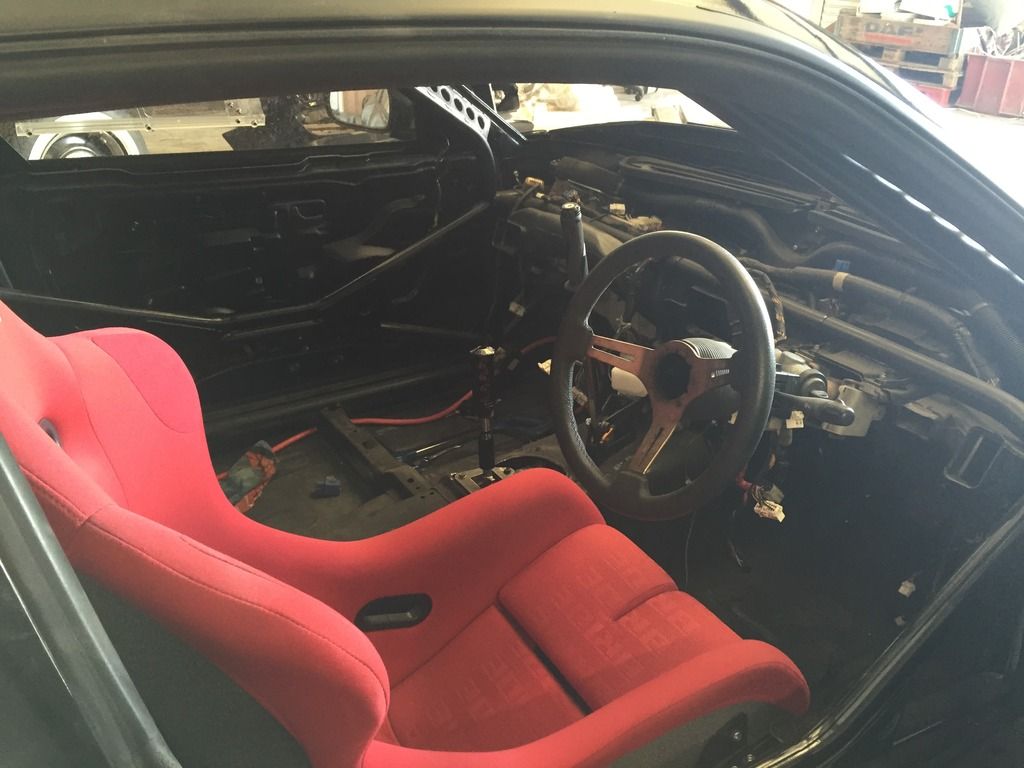 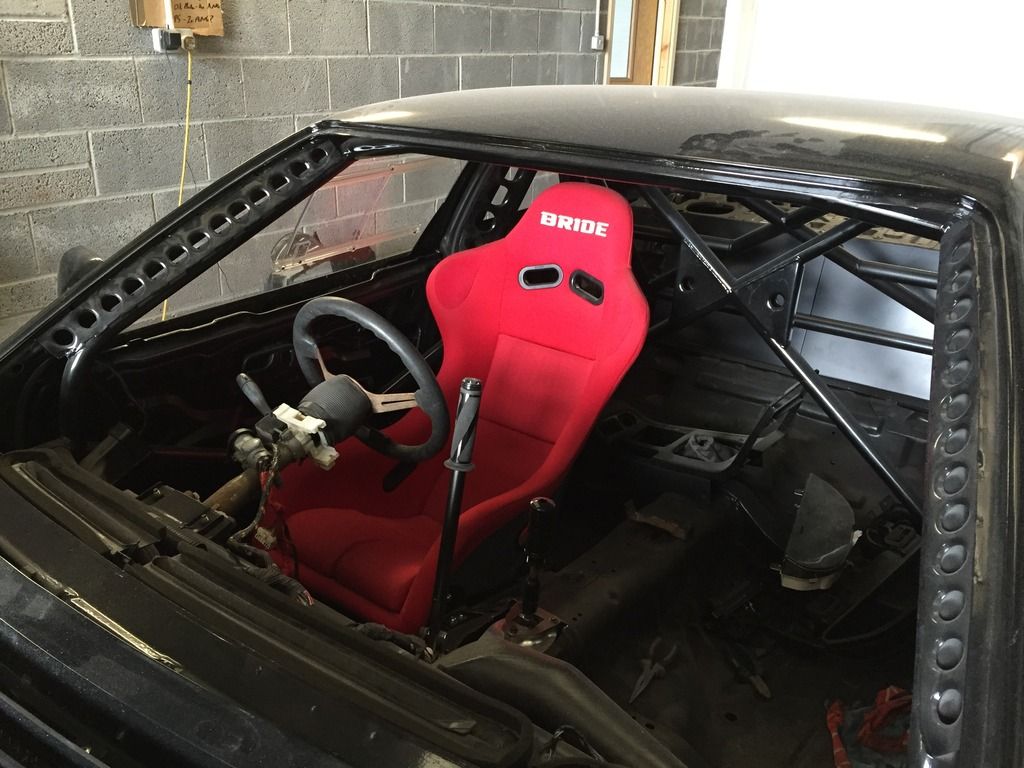 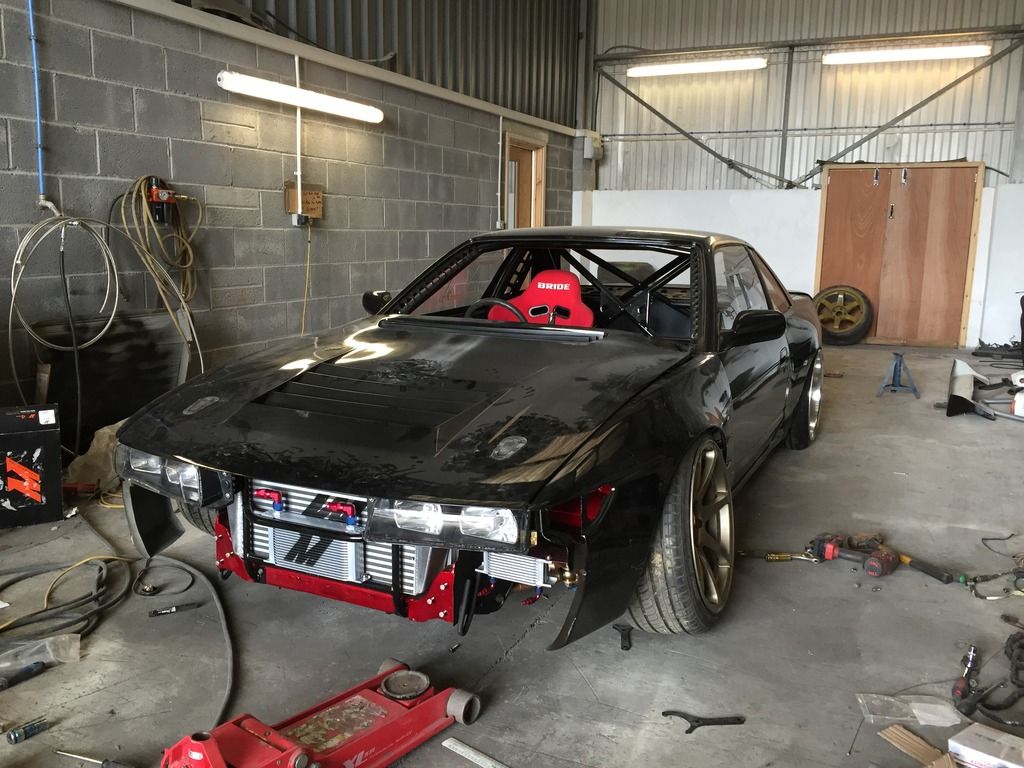 For those with a keen eye, you'll see I've had to raise the rear of the bonnet using 3 nuts/25mm ish. Even though the Vibratechnic engine mounts state they are the OEM height, I can't help but feel they are slightly bigger as the bonnet never used to foul the valve cover. Hey ho, I never used to like bonnet spacers in terms of aesthetics, but I suppose they depend on the car in question as it's slowly starting to grow on me...  In addition to raising the bonnet I still had to "trim" the bonnet which was something I really, really did not want to do. 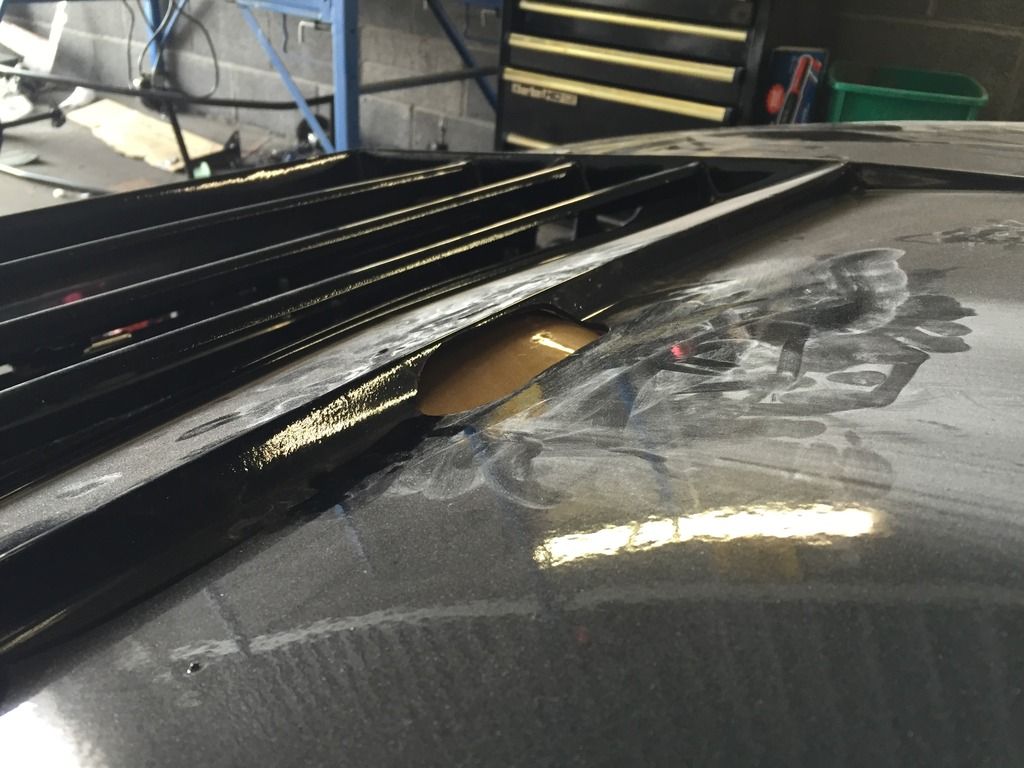 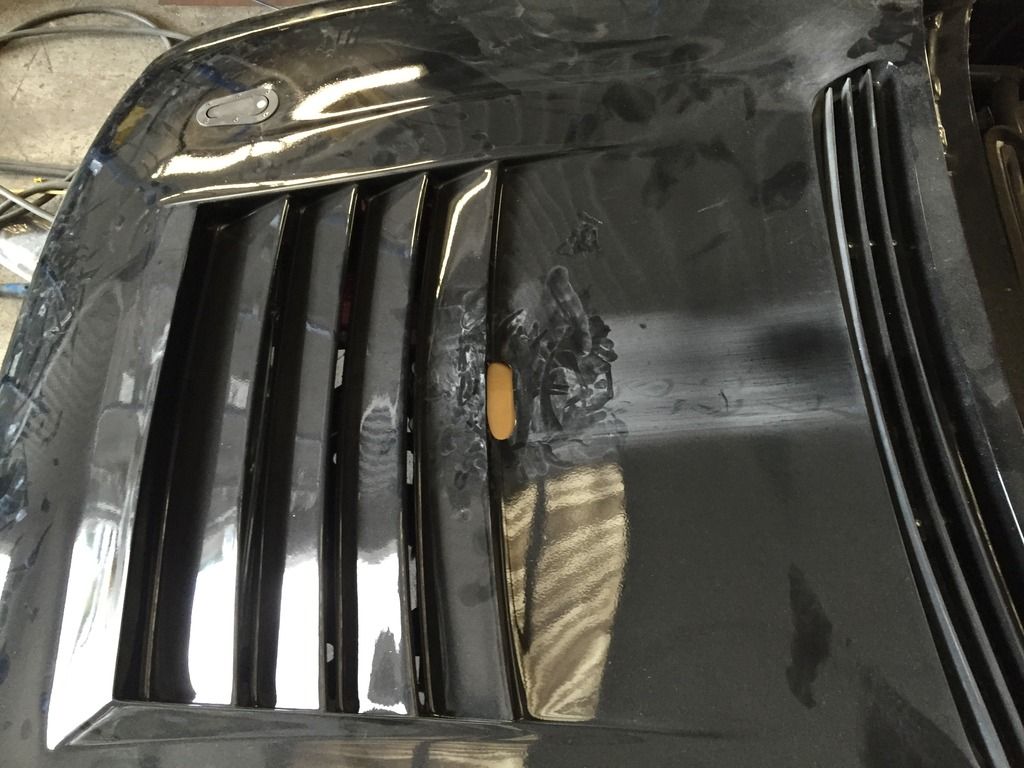 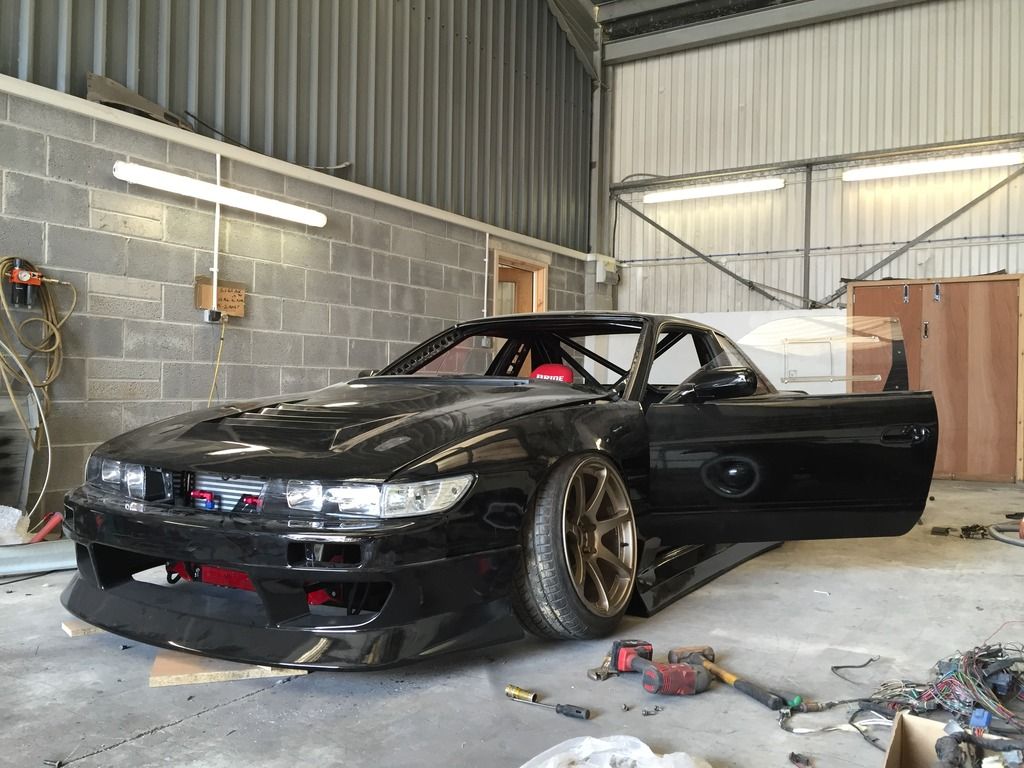 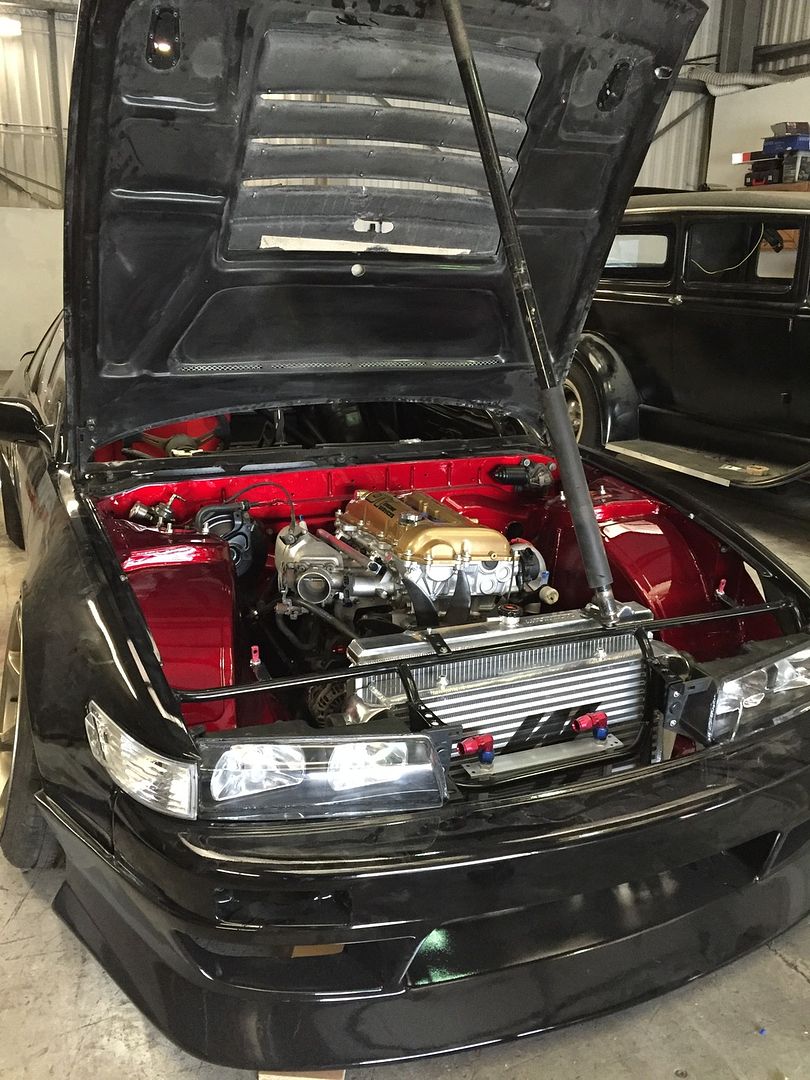 Today's job was mainly about measuring the prop. Originally, I was sold on the idea of modifying the original 2-piece Nissan prop like a friend (Diamondsink) had done to his, albeit with a Z32 box. After spending a few hours online, I came to the decision to purchase a 1-piece aluminium prop from America, Shaftmasters more specifically. This was because the price differential isn't as much as you'd have thought, especially by the time I purchase a Carbon 350Z prop just to cut the metal yoke off, and then pay for somewhere to professionally cut and balance the new "hybrid" prop. I wasn't really confident on the idea of measuring the prop as its something I've never done before, but everyday is a learning day i suppose! Anyway, I got in contact with David @ Shaftmasters and he talked me through the measuring process with this simple diagram; 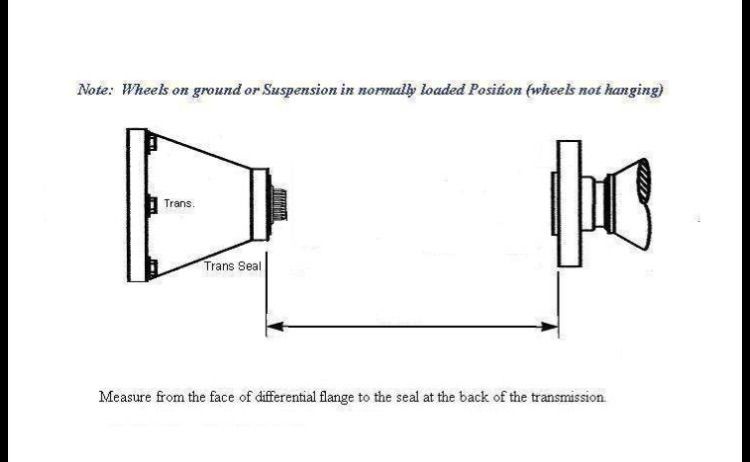 So firsts thing first was to get the car back in the air, yet again! But this time I need to make sure the car is loaded/suspension is compressed. 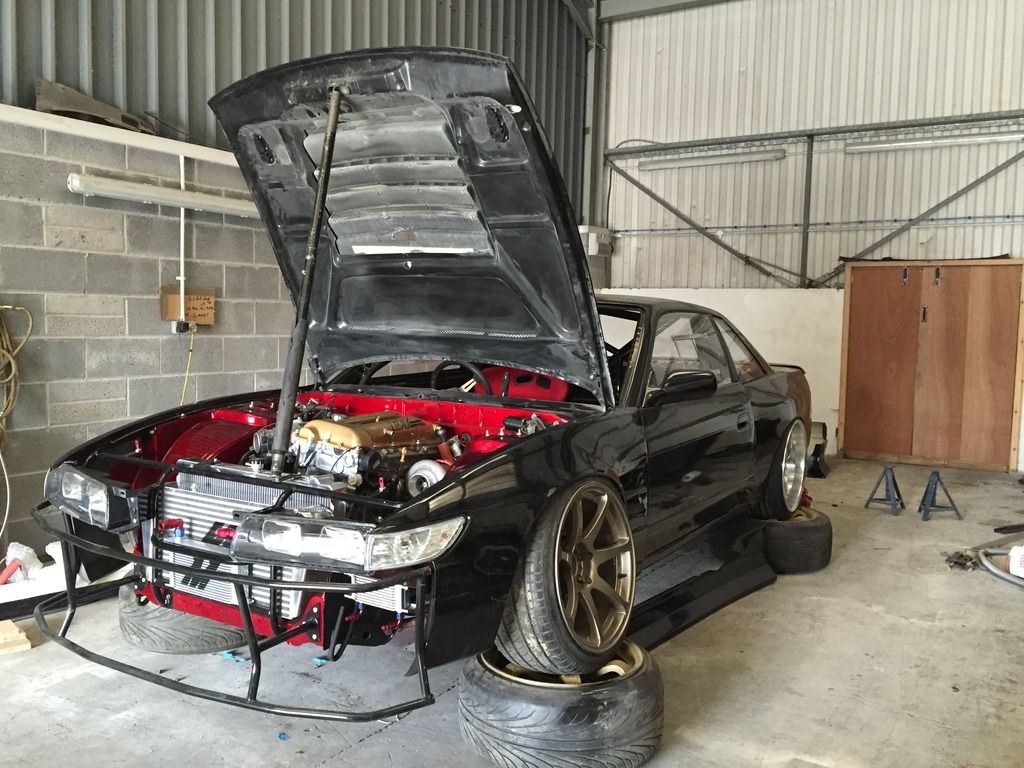 Shaftmaster's do offer an "S13 Non-ABS with Z33 Transmission" prop, but as I've machined the bell housing I wasn't really sure whether my measurements would be the same as theirs. But with a little bit of luck, my measurements came back at 1247/1248mm, which luckily enough is the same as their measurements! Worst case scenario was that the prop would be made to suit my setup, but having the same measurements did put my mind at ease somewhat. As for those intrigued how the Z33 box sits inside an S13 tunnel, here's what it looks like; 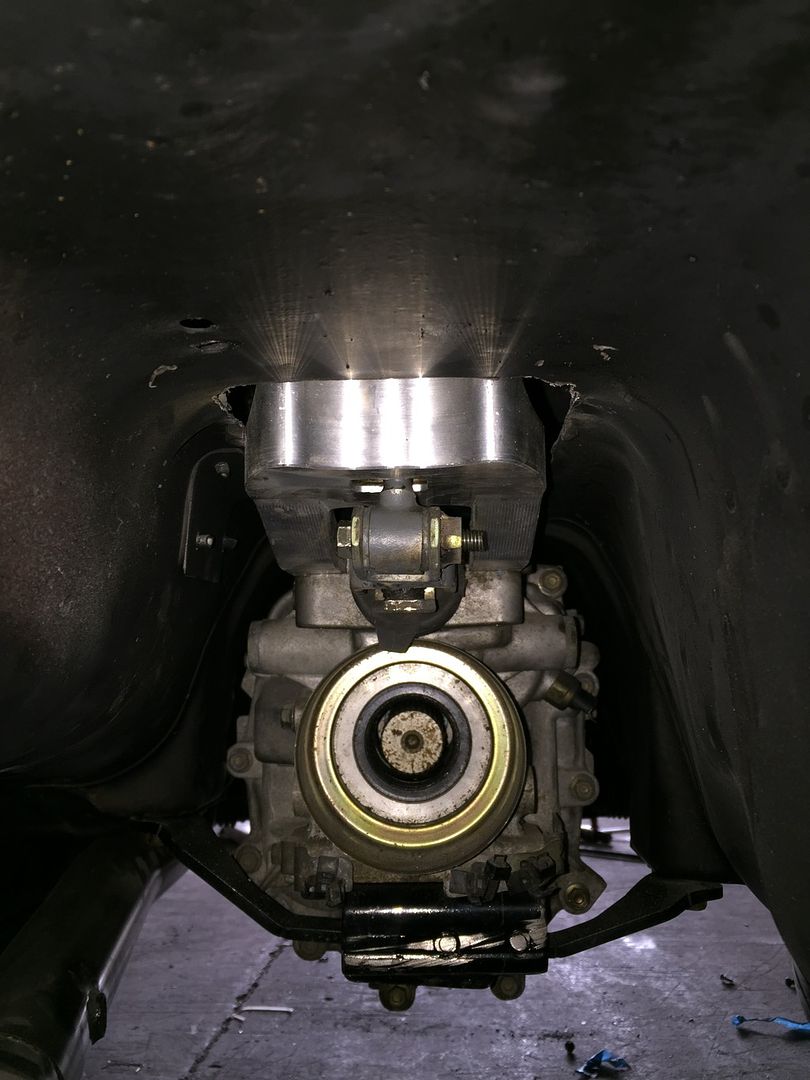 So thats me up to date for the moment. Ive ordered a few little parts up, one of which being yet more AN fittings! But hopefully this means I only have a few more to get in the due course of time when I need them. One of the issues I do have is mounting the Greddy/Grex/Trust sandwich plate due to the side of it, as I'd like for it to be mounted to the side of the front arches, but the size of the AN fittings and oil filter are making things a little bit more difficult than they should be. In my head I have the idea of mounting it vertically, so that the oil filter is positioned horizontally. (Similar to how they naturally sit on the SR20 block, albeit facing the opposite direction) |
|
|

|
|
|
#52 |
|
Leaky Injector
Join Date: Dec 2012
Location: Bristol, UK
Age: 30
Posts: 92
Trader Rating: (0)
 Feedback Score: 0 reviews
|
Ive been toying around with how to fit the Greddy/Trust oil filter relocation plate, as its quite bulky and with 4 AN fittings, it needs quite a bit of space around it. I wasn't keen on the idea of mounting the filter vertically upwards in case the filter doesn't have a one way valve(?) to stop any crap falling back into the oil. With this in mind, I want the filter to be mounted horizontally, similar to how they are naturally on the SR20, just facing the other way as I would like to mount the plate onto the front arch. So first things first was to order an oil filter so I can test a few locations. Thanks to Driftworks I grabbed 2 OEM filters, one being for the run in procedure, and the later for when the engine is ready to get wound up a bit.
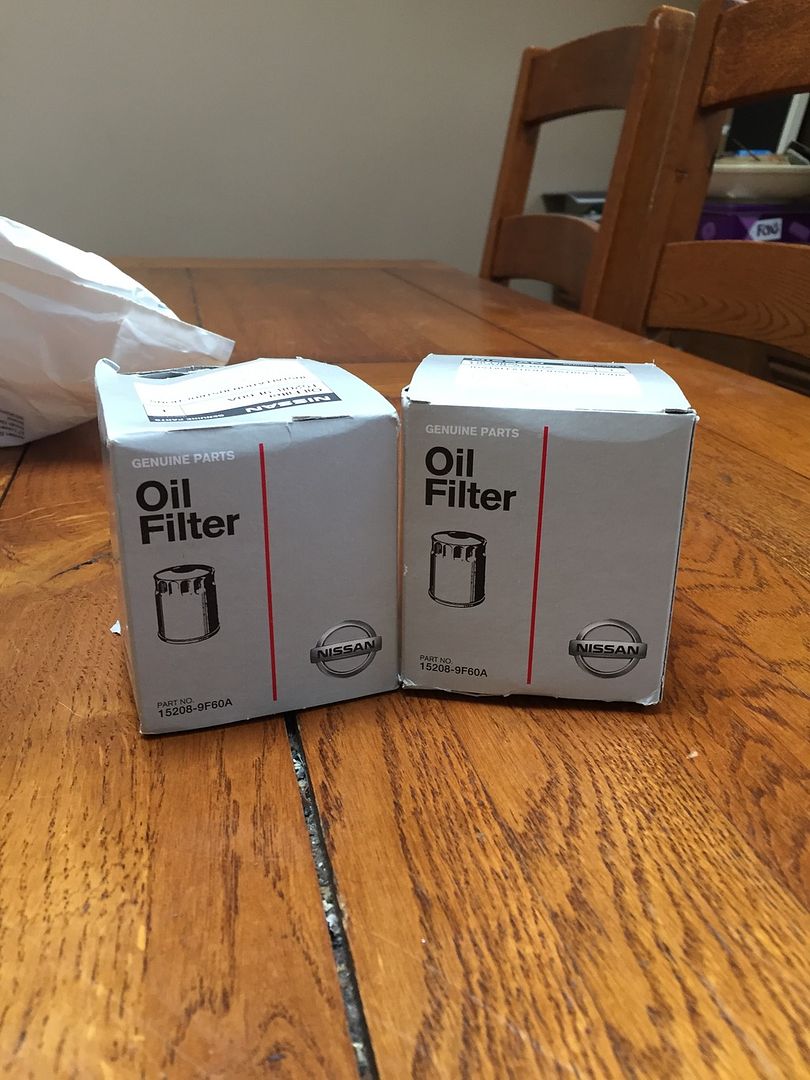 I checked the Greddy thread against my old oil filter to make sure they are the same, which they are. But it appears today when trying to mount the filter that the thread engagement is less than ideal which is annoying. I can get the filter to go tight, but I'm not sure whether i'd have any piece of mind as the seal on the filter makes contact before the first thread does. I'll do some research as I remember Greddy recommends on of their filters which may help things. In order to finish of the fuel system, I finally bought some of the remaining AN fittings from Torques now the engine & fuel rail is in place. 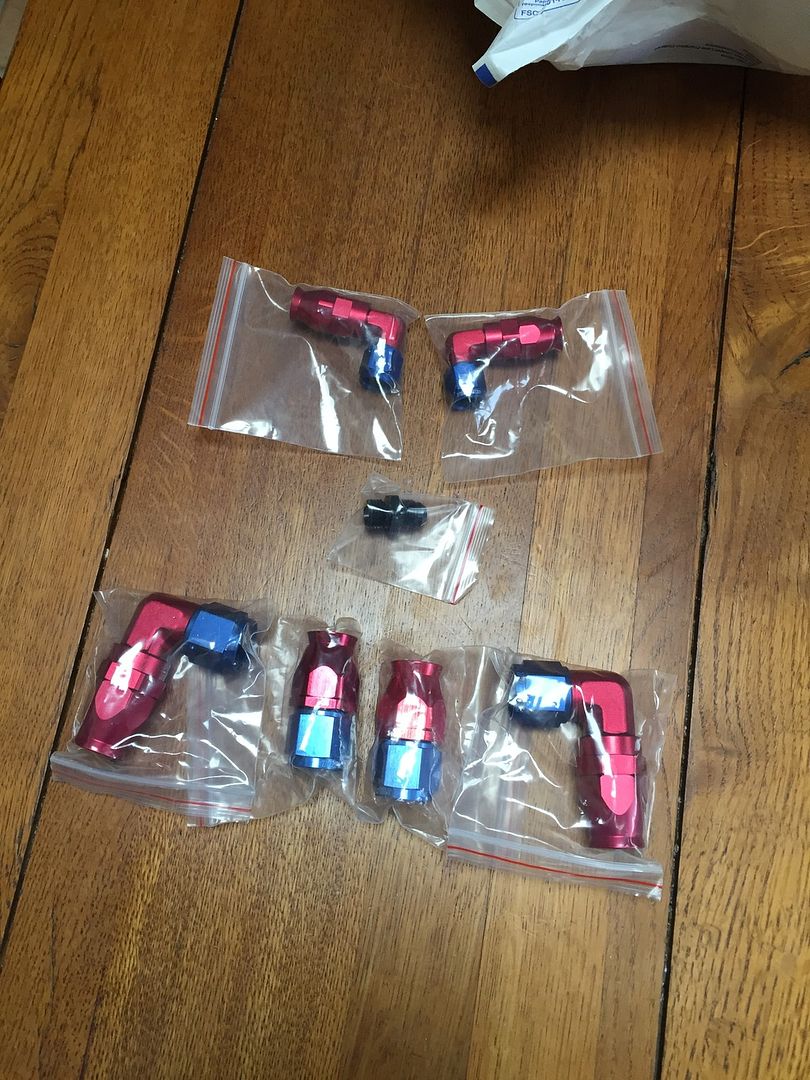 Fuel lines all done; 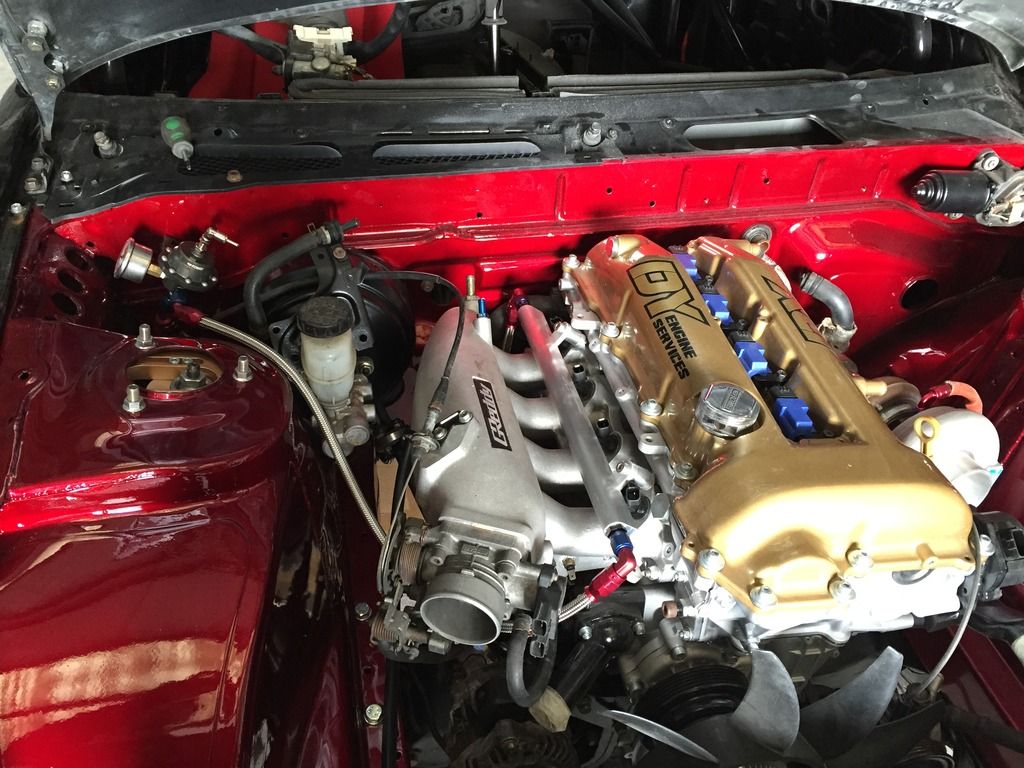 I quickly threw on some old BM50 BMC I had lying around just to gauge clearance on the line running from the FPR to the fuel rail. Hopefully my BM57 turns up soon so I can get that finalised too. I did notice the S13 clutch master cylinder wont fit with the Greddy inlet due to the length and positioning of the bleed nipple. After scouting the internet this seems to be an issue with people running the Greddy inlet on RB conversions too, where an S14/R33 master cylinder is much shorter but maintains the same cylinder bore size. Fingers crossed this will be a solution to my problem too. With the fuel lines done, I turned my attention back to the Greddy sandwich plate and the oil cooler lines. I finally managed to find an area on the side of the arch which allows an easy removal of the filter which trying to make the lines as easy as possibly. The annoying thing is that as it's mounted, the directional flow of the oil to and from the sandwich plate means the fittings aren't opposite to each other, meaning one line needs to be higher than another in order to cross over. You may get a better idea below; 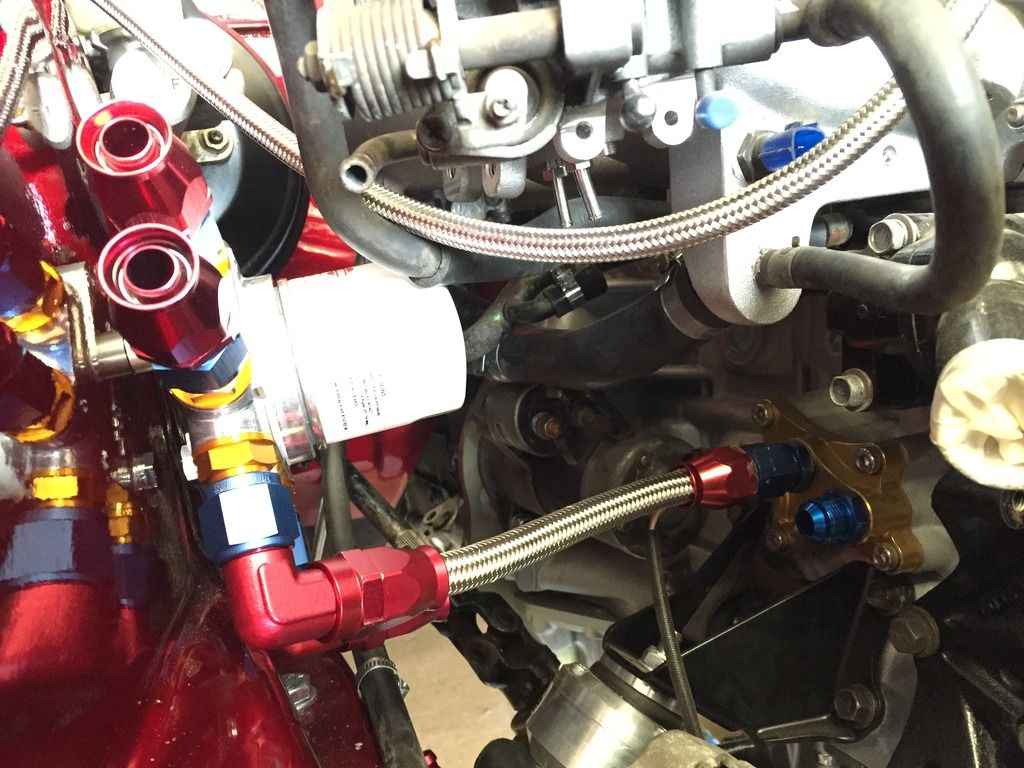 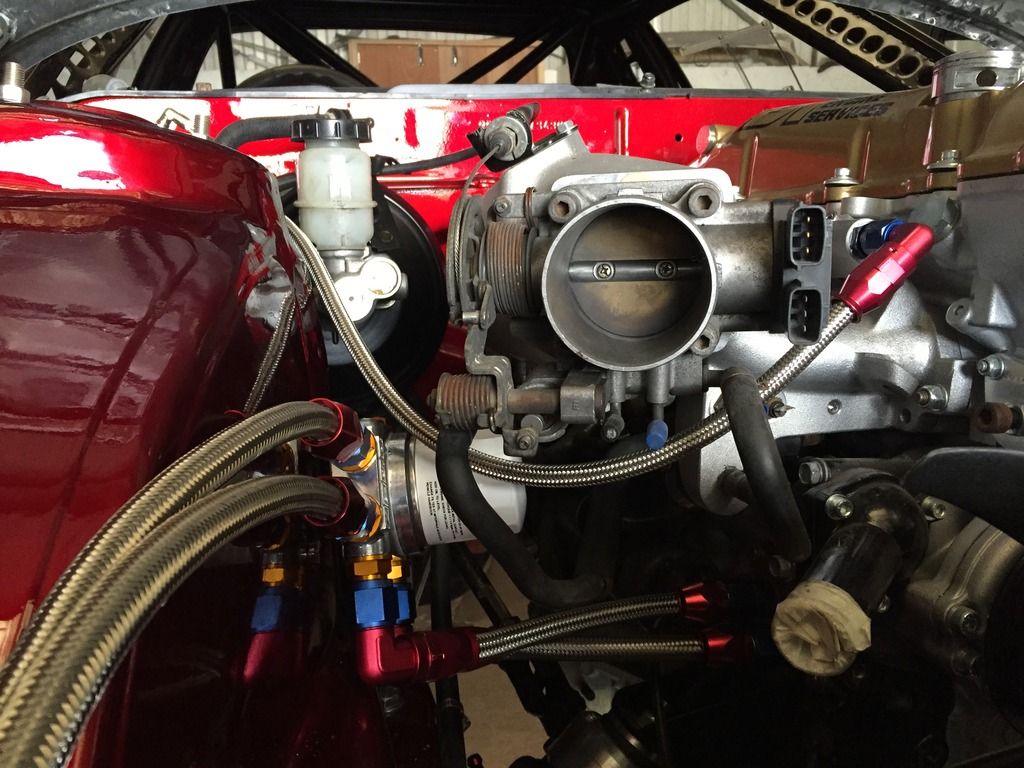 Note how the closest 90* fitting in the picture has to meet up with the fitting on the block that is the furthest away, hence the cross over idea by tilting the plate a bit. Next up was the oil cooler lines from the sandwich plate, which was a much more relaxing job due to more space and a much more simple line design was needed. 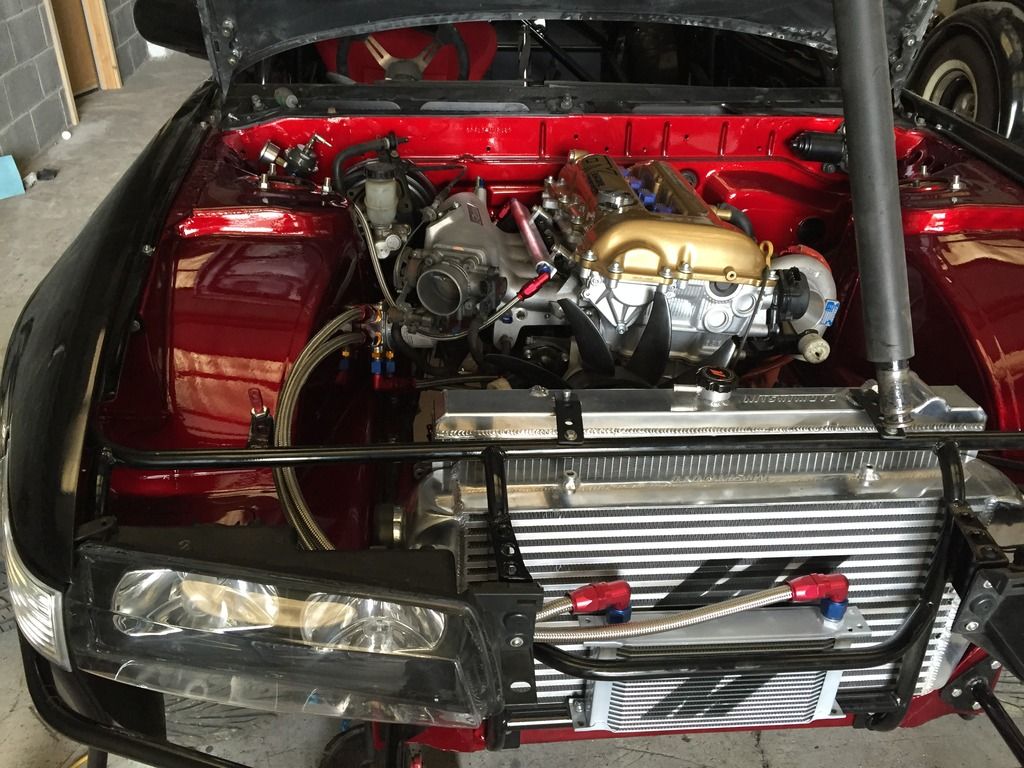 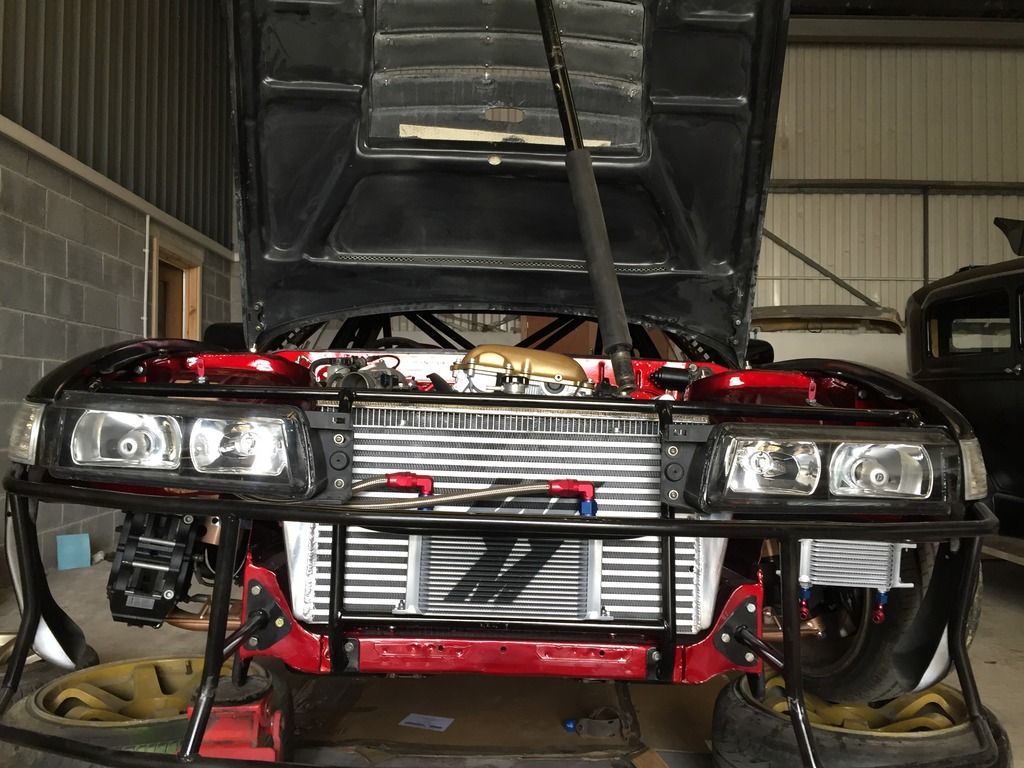 So I'm pretty sure that is most of the AN lines made up now. Im just waiting for the power steering reservoir to turn up as that has AN6 fittings, but they should be a simple case of use some push on hose in order to plumb up the steering rack > cooler > reservoir. I managed to finally find myself a BM57 Brake Master Cylinder, although it is an ABS version but thats nothing a T-piece will sort out. Hopefully this will be more suited to the front brake setup, but time will tell I suppose, plus the brakes are always a very personal thing in regards to feeling. 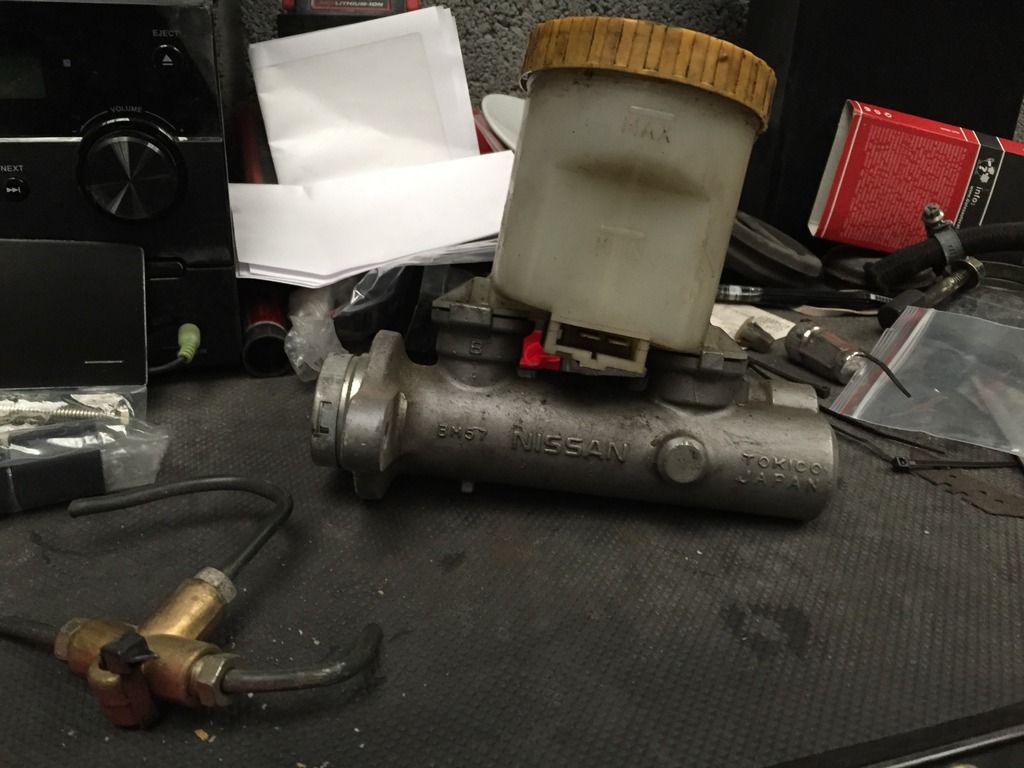 I finally got around to emptying the fuel tank as it still had fuel in from when the previous owner broke the car for parts, which is a shade over 1 year. Plus, it allowed me to see the condition of the tank, as the last thing I want is dirt/rust clogging the fuel filters and causing issues down the line. But thankfully, it looks pretty clean inside!  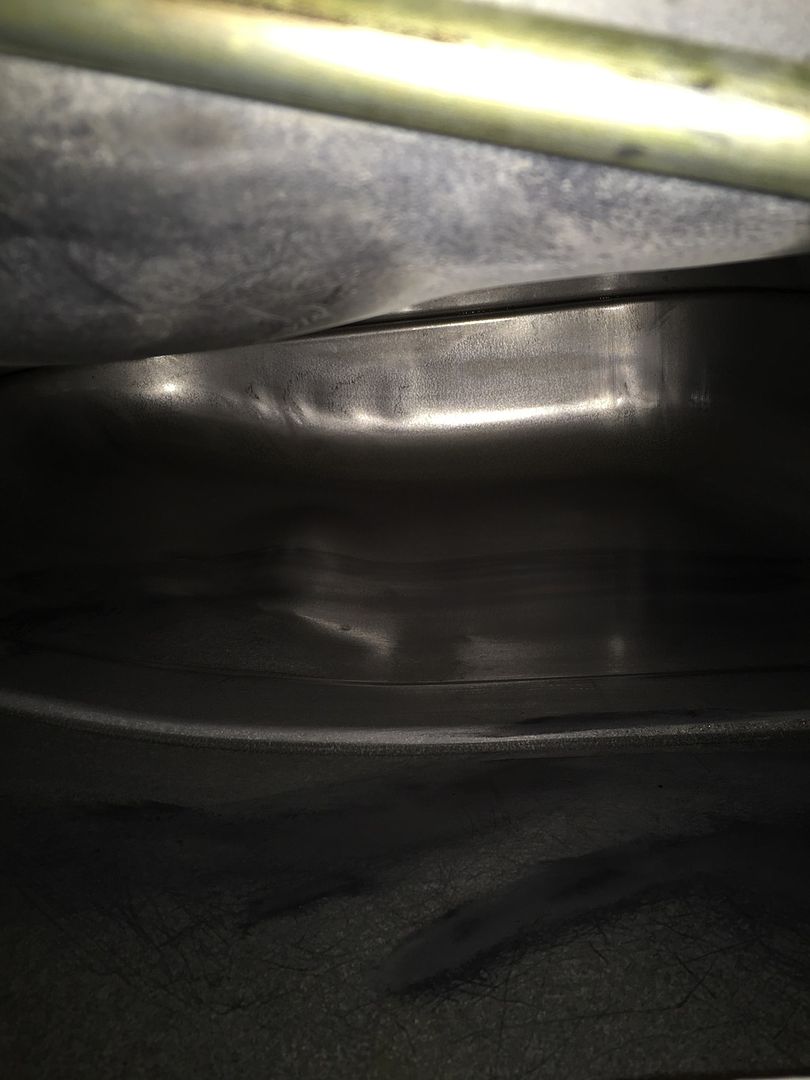 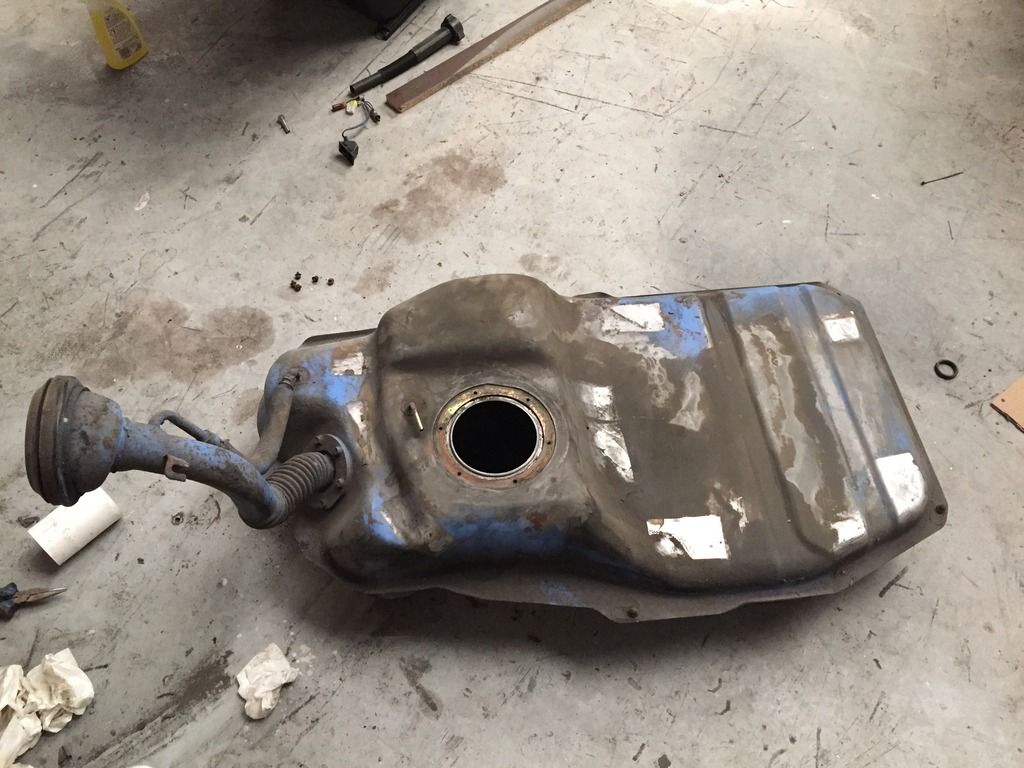 I went about finding another Walbro 255lph in-tank pump too as I ran my old one for around 4-5years without any issues, but it was something i'd like to replace now with a fresh filter to make sure it'll be fully working in the next couple of years to come. I got a bit bored too, and after flicking back through this thread it was cool to see how far the car has come along in the space of a year; 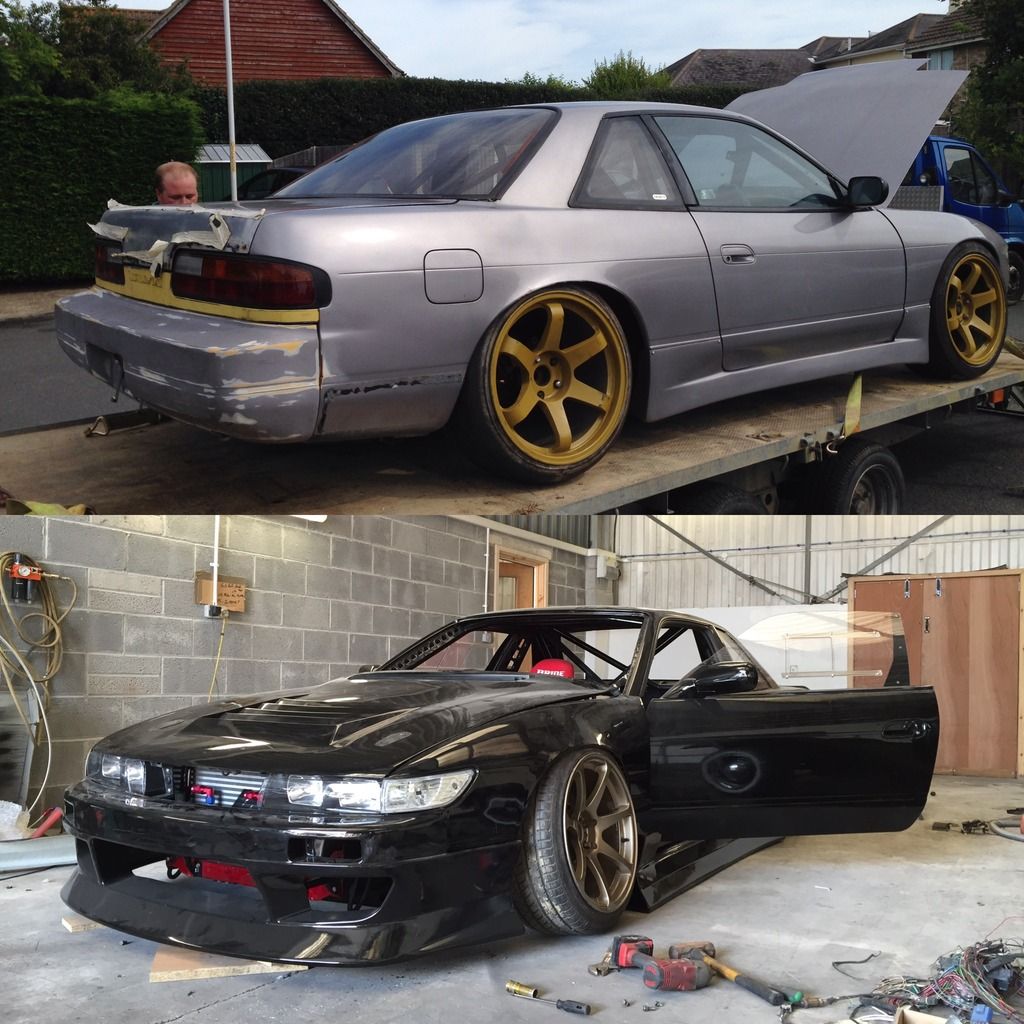 The next thing I wanted to sort out was the intake, and with so many people running various generic filters I wasnt too sure which route to go with mine. So cue a quick chat with Martin @ MB and I went with his recommendation; a 3" K&N filter.  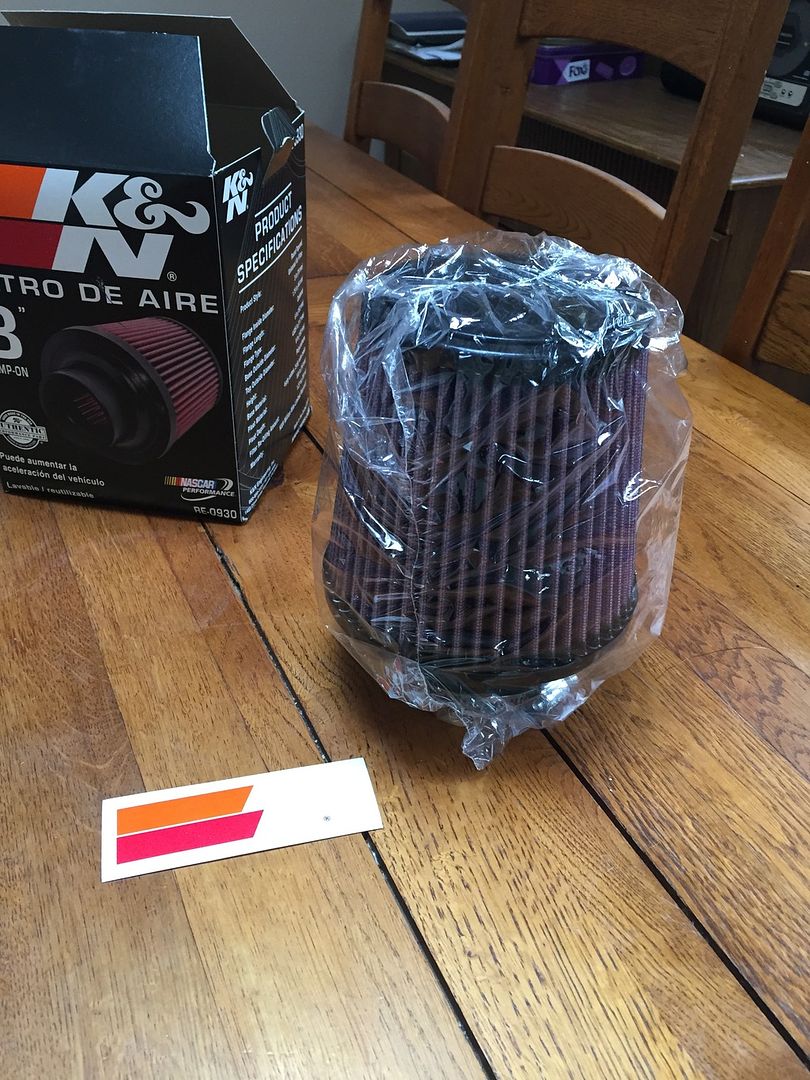 But all of this wasnt without an issue of course, but this time it came in the form of the S13 Clutch Master Cylinder. So the long story cut short is that the Greddy inlet plenum is quite a bit larger and sits completely different to the standard inlet (Obviously duhhhh haha  ) but this also means the standard clutch master cylinder is too long! Great.. ) but this also means the standard clutch master cylinder is too long! Great..After doing a bit more research, this appears to be quite common when using an RB25 with a Greddy inlet in an S13. The common solution to this is to use an S14/R33 clutch master cylinder as they are the same 5/8 piston/cylinder but with a much shorter design. Now before I went ahead and bought one I search the internet for hours trying to find the dimensions of the shorter clutch master cylinder to make sure it fits. As I couldn't find the answers, i'll answer my own query in here so anybody with a similar problem in the future can see. S13 CMC on the top, R33 CMC on the bottom; 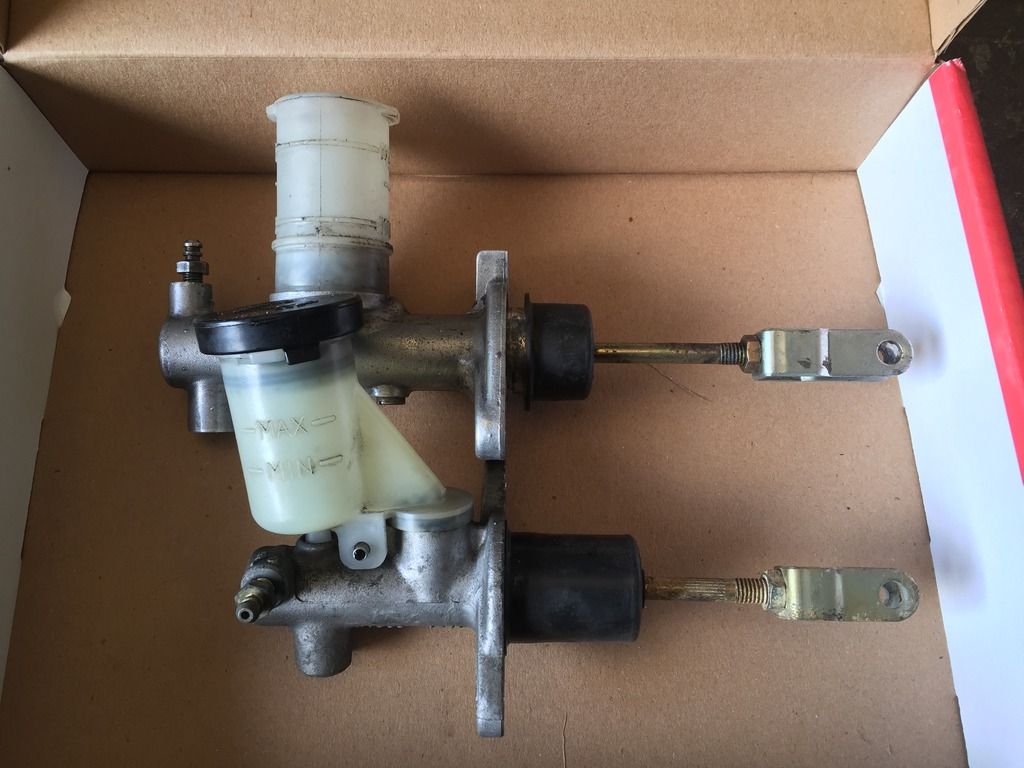 R33 CMC length - Around 78mm in the length 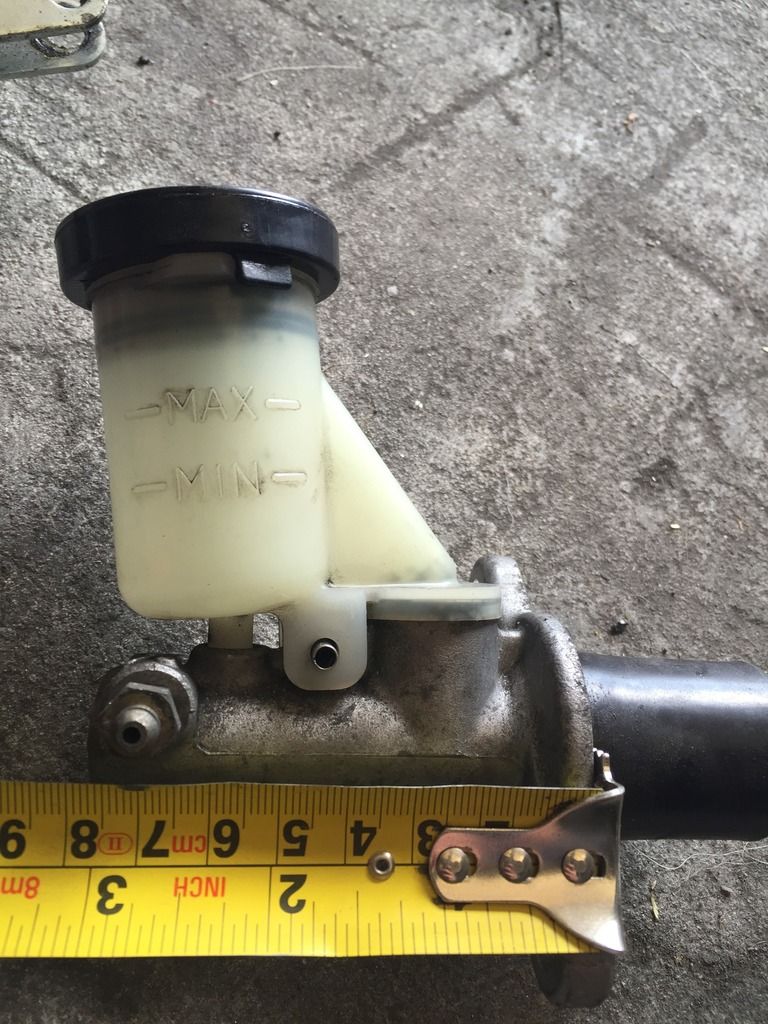 S13 CMC - Approx. 117/118mm in length. 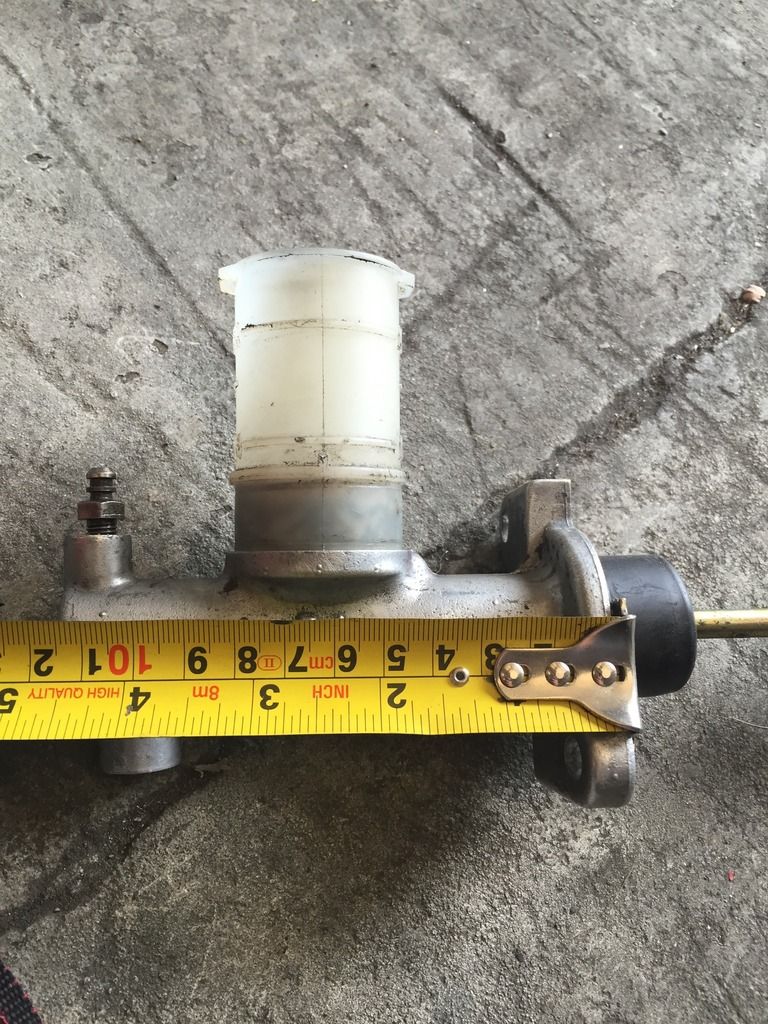 And with a little bit of filing it fits, phew! 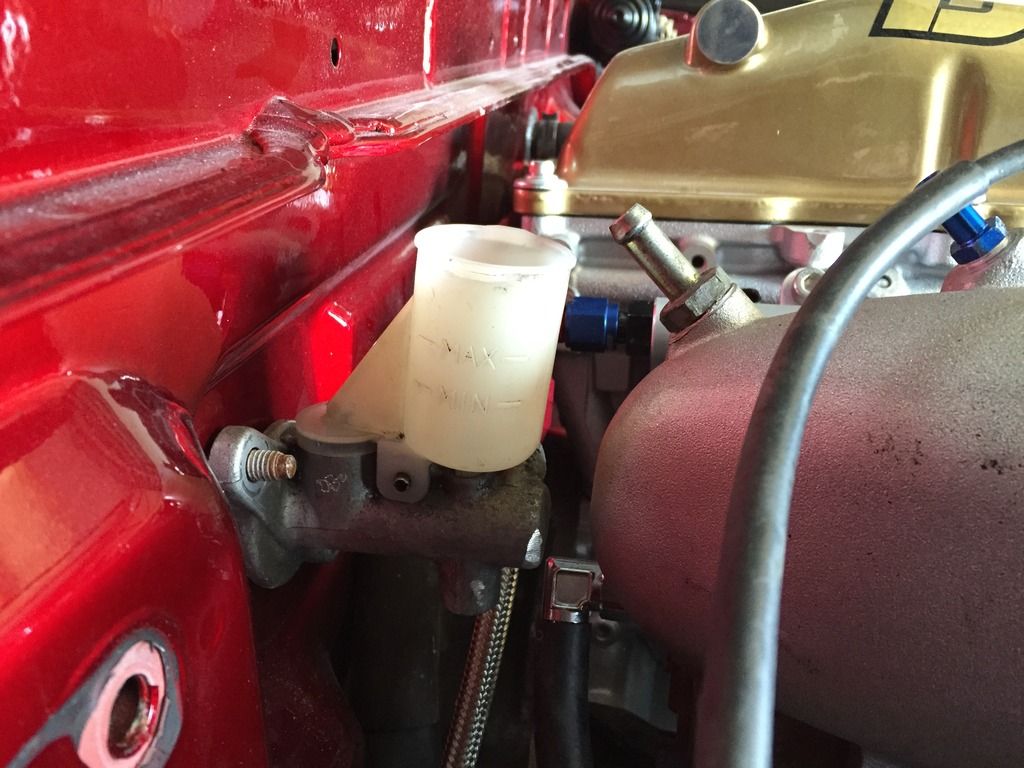 So thats another problem resolved, and hopefully I can get the clutch line made up soon  Before I installed the R33 CMC for good, one thing Martin advised me on was to swap the "Clevis" (Don't worry if you have no idea what that is, I didnt either :wack: Its just the end "fork", which as you can see in the comparison picture, they are different lengths to suit their respective pedal setup). I didnt really see how the pedal would've sat with the R33 clevis, but with the R33 CMC & S13 clevis the pedal sits identical to how it used to in my old S13  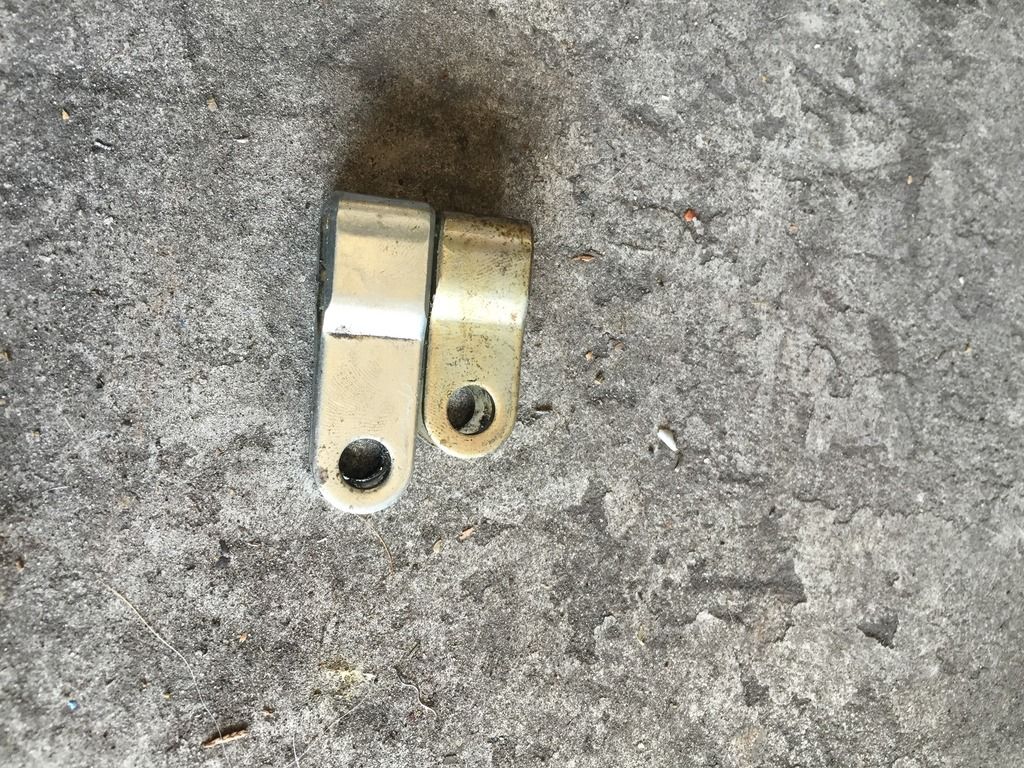 All bolted in for good measure, its quite a bit shorter than I was anticipating too which is nice. 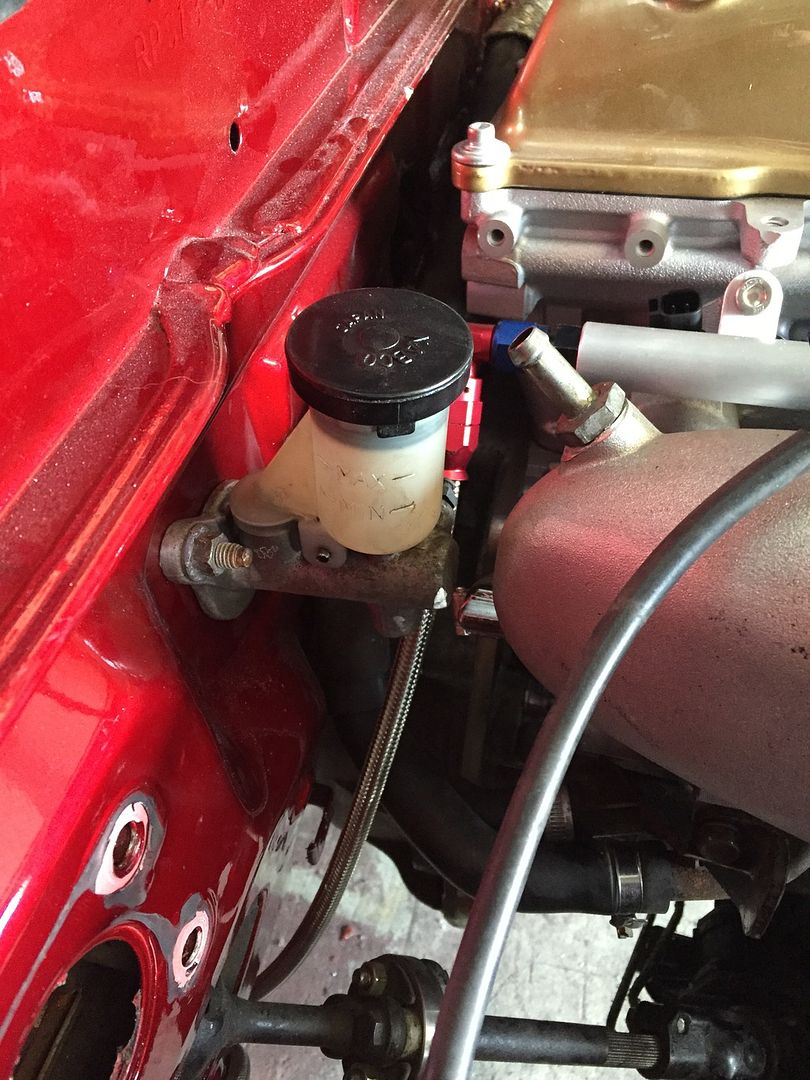 Obligatory engine picture! :wack: Im sorry for whoring it off haha. (Im not sorry  ) )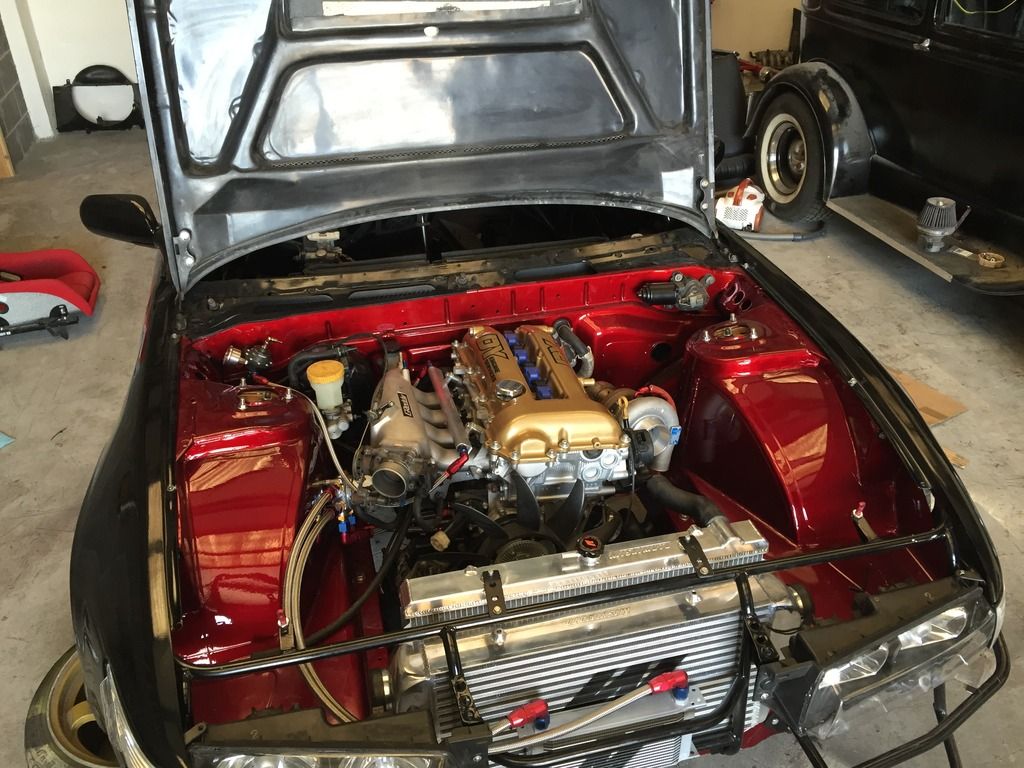 One thing I read on the US forums surrounding a 1-piece aluminium driveshaft/prop on an S-chassis is that they tend to use the centre bearing support bracket as a safety feature. I do have reservations about how well it'd stop the driveshaft if something let go bit I suppose for the sake of 2 bolts, its better than nothing. 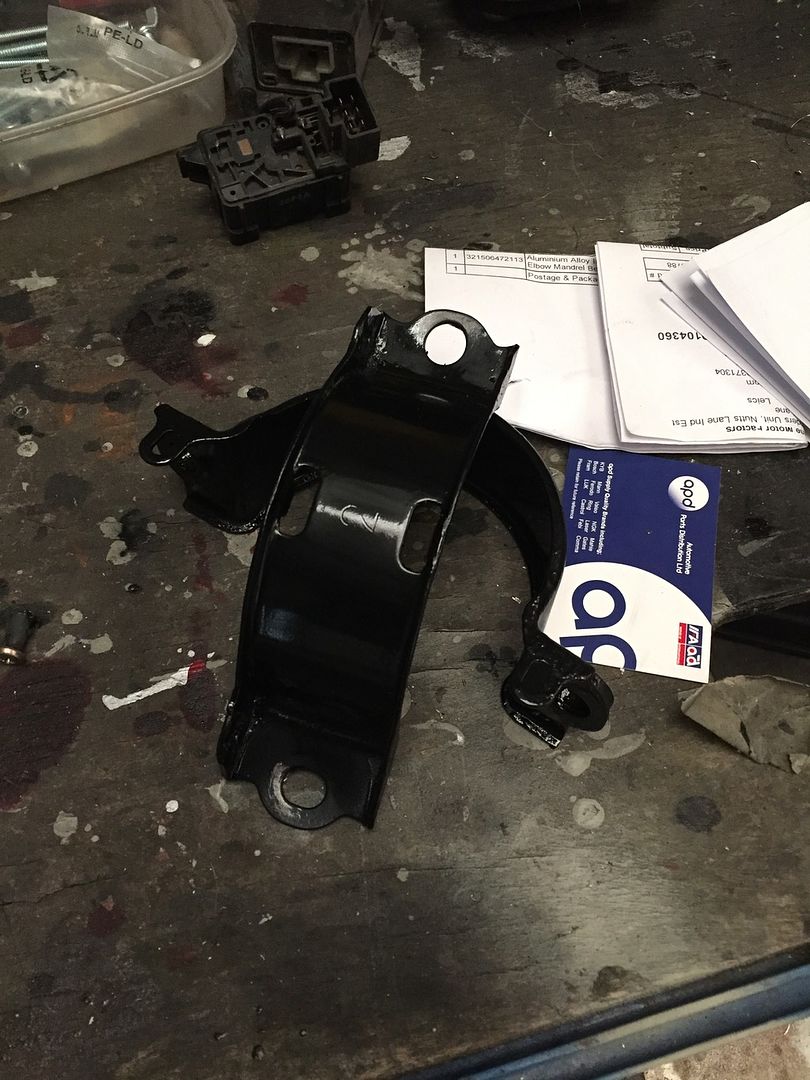 I got these in the post yesterday. 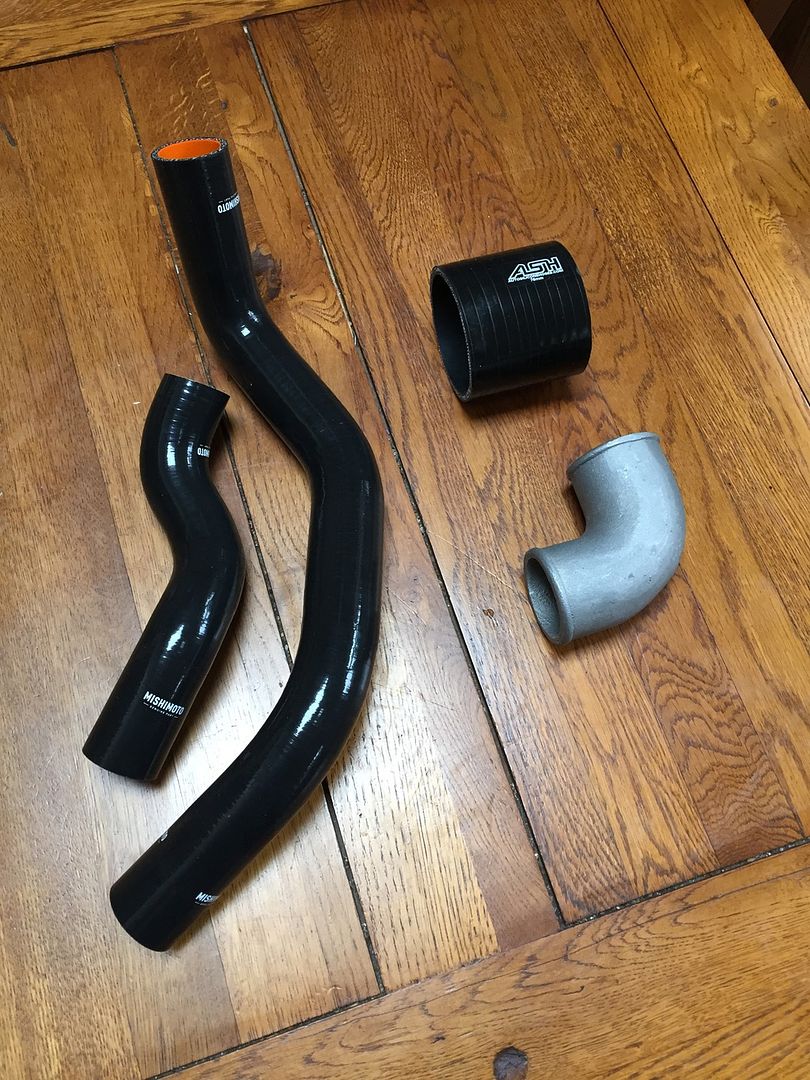 For the radiator hoses I went with Mishimoto again as quite simply I can't get enough of their stuff, everything looks really well made so I can't complain.  The top hose will need some trimming as the radiator sits a little closer to the engine, and the GKTech water neck spacer offsets the outlet on the engine, nothing that can't be sorted. The top hose will need some trimming as the radiator sits a little closer to the engine, and the GKTech water neck spacer offsets the outlet on the engine, nothing that can't be sorted.I also bought a 2" cast alloy elbow, which I plan to get Tig welded onto the compressor housing. This is mainly for reliability, as I always tend to see 90* bends blow off the compressor housing, whether that's down to user error or not, it'll be a relatively straight forward process and I can get a barb/nipple welded on at the same time for the boost control. |
|
|

|
|
|
#53 |
|
Leaky Injector
Join Date: Dec 2012
Location: Bristol, UK
Age: 30
Posts: 92
Trader Rating: (0)
 Feedback Score: 0 reviews
|
Next up was the gearbox oil, which after many hours of scouring the internet I finally settled on Redline MT90, with the idea being a GL4 oil it should help to keep the Z33's syncro's in check
 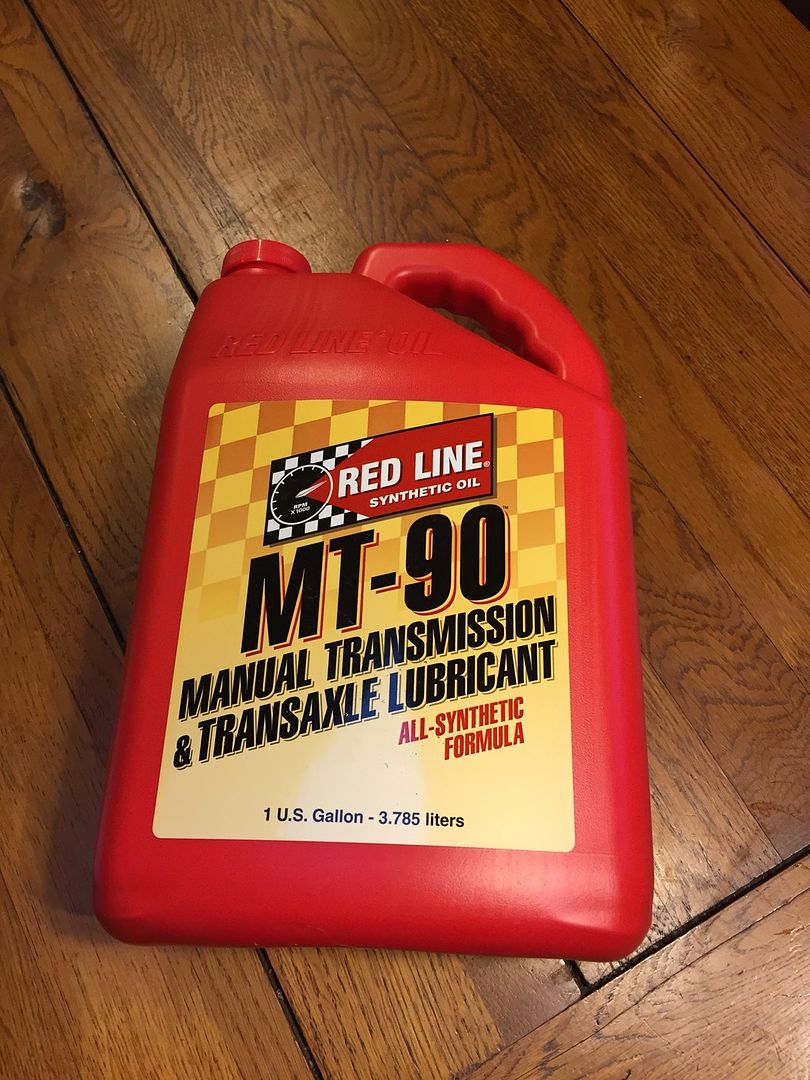 I've ordered various little silicone joiners today to start and start on the intercooler piping. Im planning on using 2.5" piping on the hot side and 3" on the cold side which will be ample for my current and future power levels.  Im hoping my Chasebay's overflow tank and power steering reservoir turn up this week so I can get them mounted. But apart from that, its just a case of completely all of th plumbing before getting in touch with MB to finalise mapping details and sorting the wiring out. I also wrote up this mini blog post; Hopefully I can be a bit more active on there once the car is done  Yet another PS13, but this one is mine. My ChaseBays gear finally turned up  So here it is, Power Steering reservoir on the left with AN6 & AN10 fittings, and the Coolant overflow on the right; 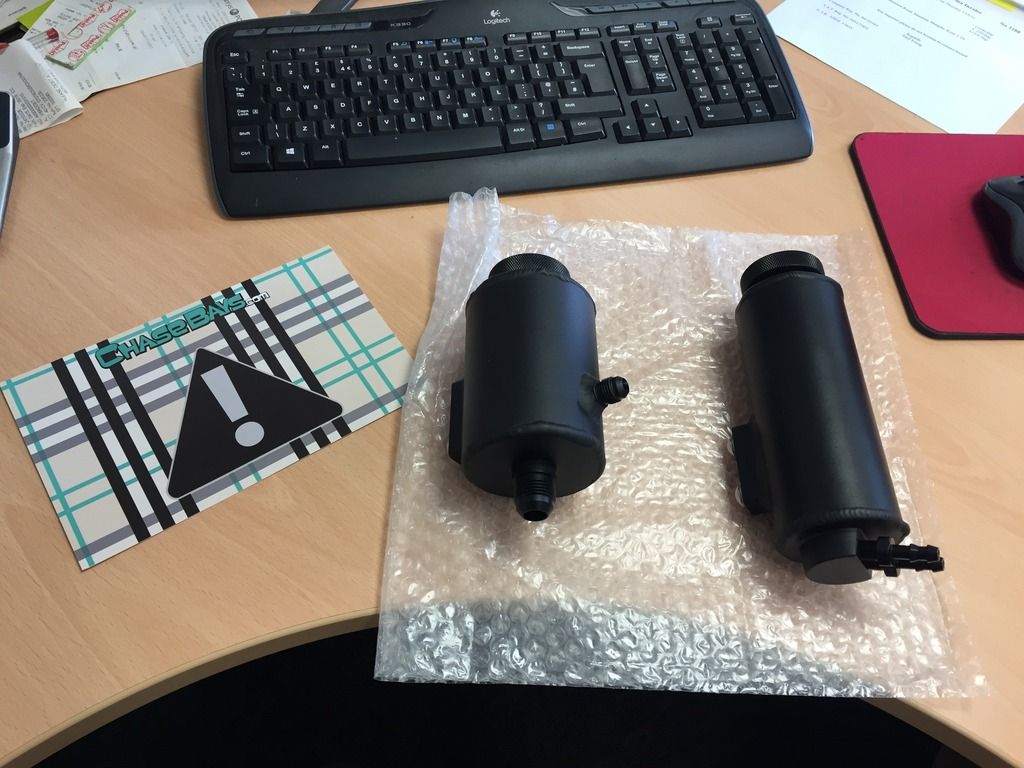 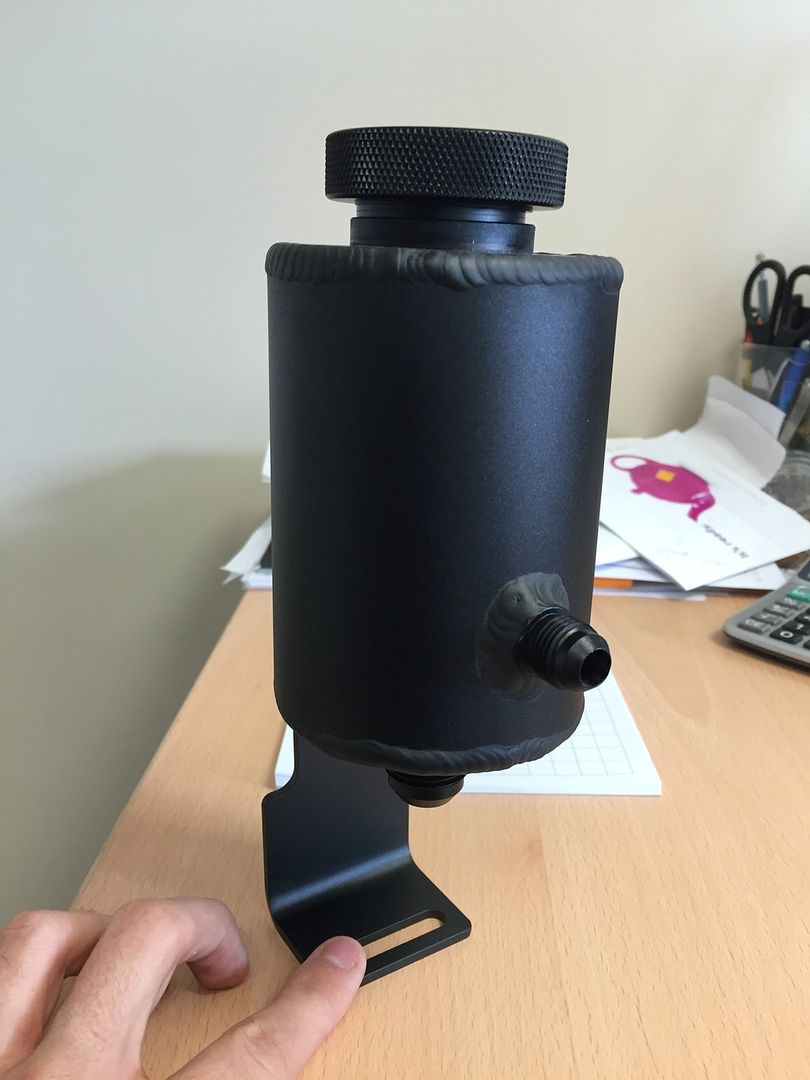 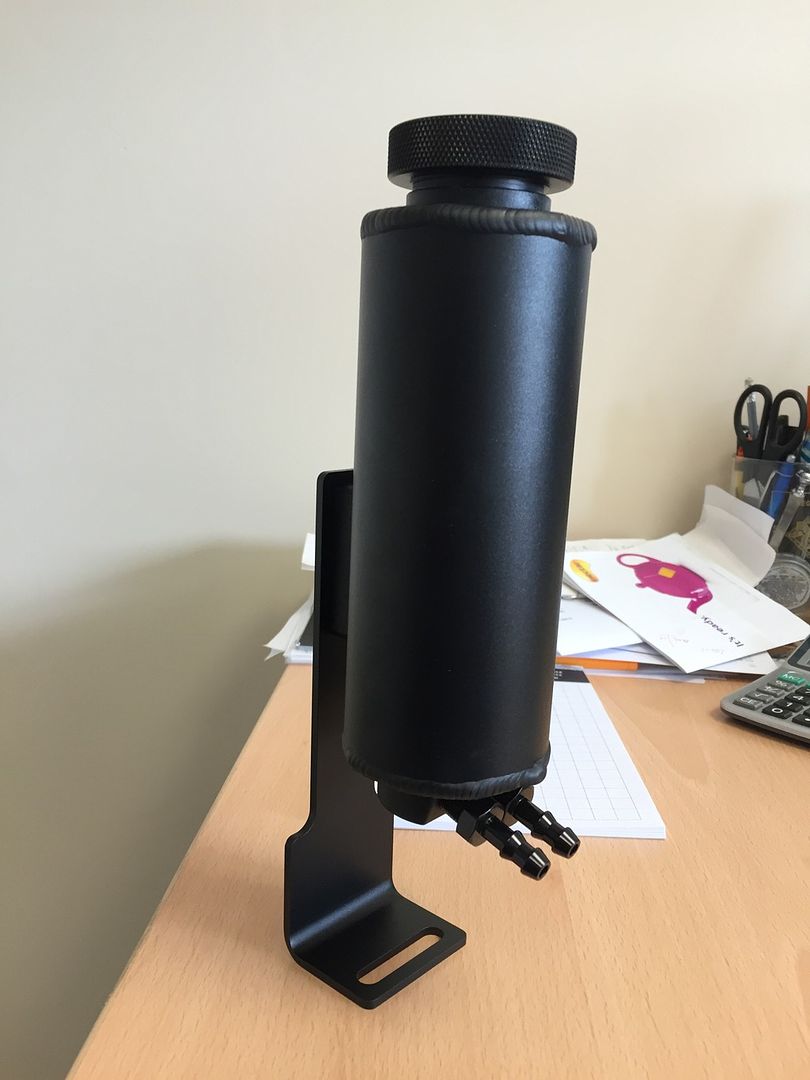 The quality is unreal, even the screw-on lids feel awesome and weighty! The coolant overflow tank was always going to be a bit of a pain to fit due to the length, but after remounting the tank on the bracket to sit a bit lower, it fits without any dramas  Worst case scenario was that i'd mount the bracket upside down from the tubular slam panel, but kinda wanted to avoid that to try and keep as much strength in that tube as possible. Worst case scenario was that i'd mount the bracket upside down from the tubular slam panel, but kinda wanted to avoid that to try and keep as much strength in that tube as possible.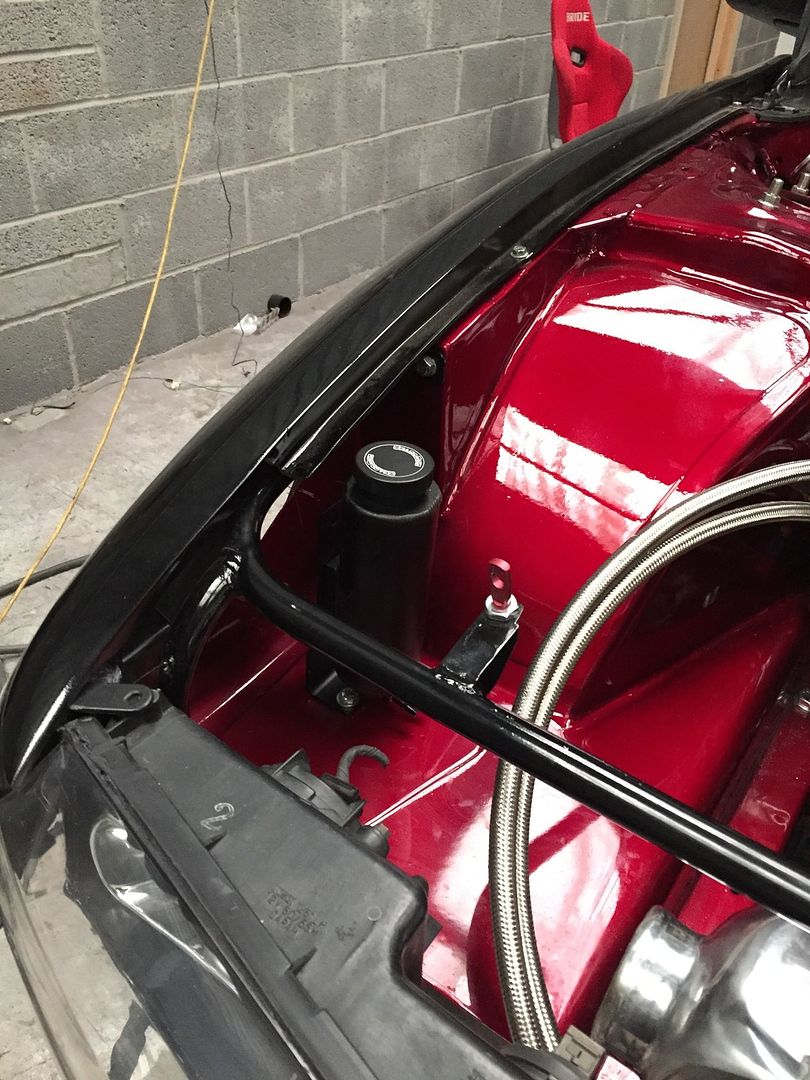 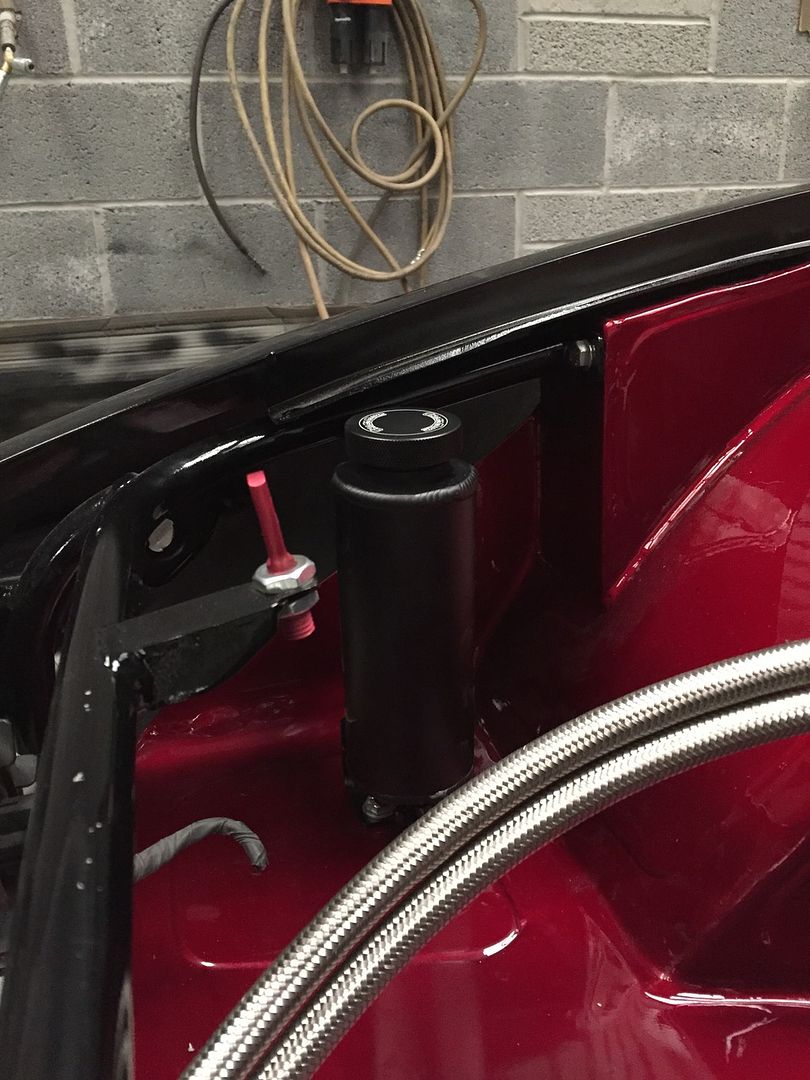 Next up was the power steering reservoir which is shorter, but space is limited due to the intake. So after having a play around with various positions this is how things sit finally; 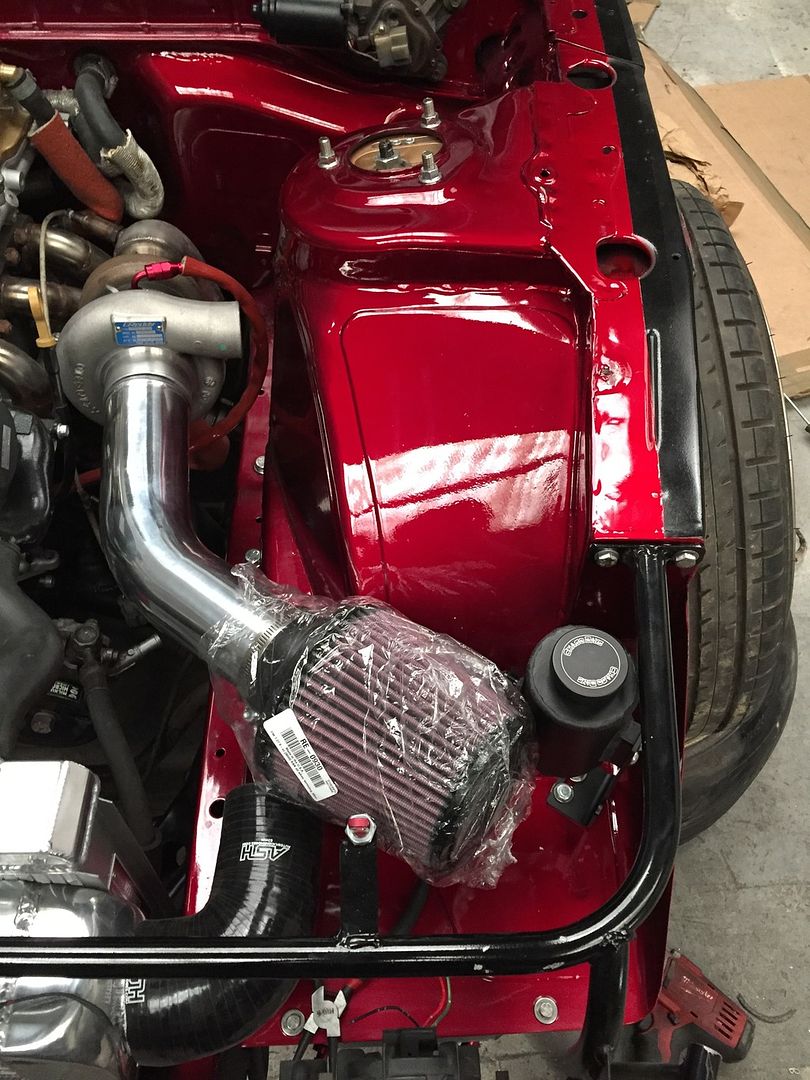 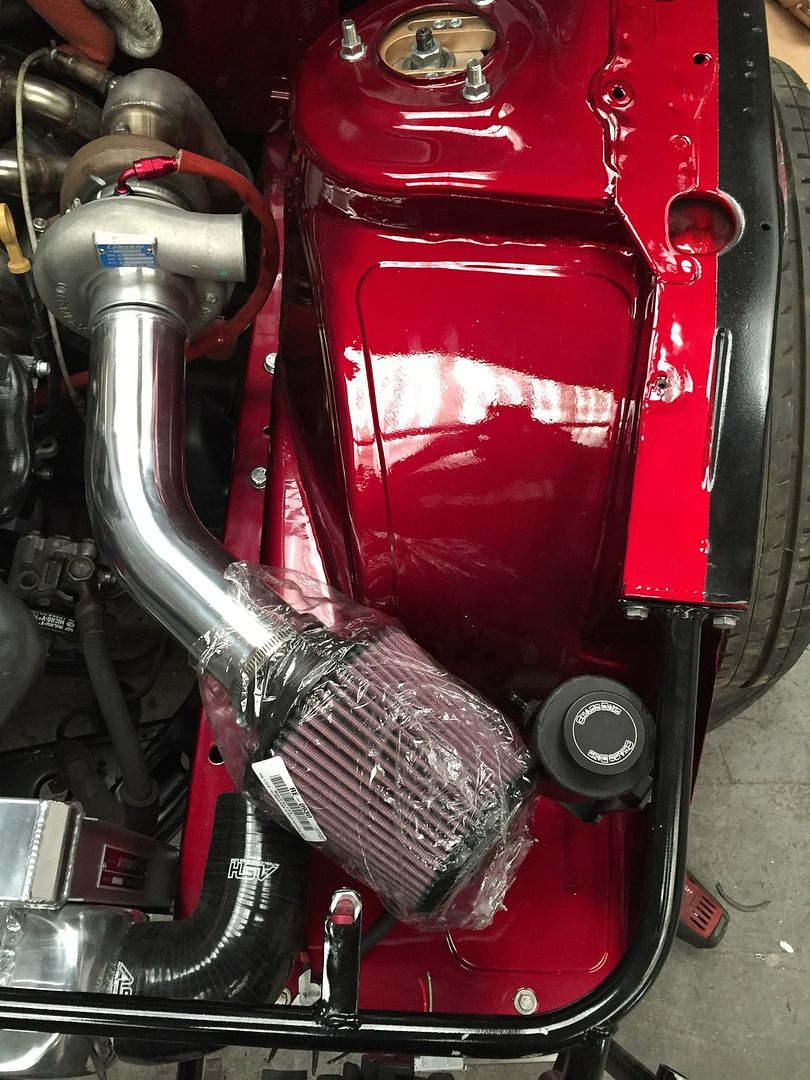 Both AN fittings are "easily" accessible and with a slight trim of the wing the top can be accessed relatively easy. Just need to order the respective AN push-on fittings and hose, then I can get things plumbed up. o last week I took delivery of the prop/driveshaft from Shaftmasters in the states, and even slipped through customs unnoticed  So here it is! 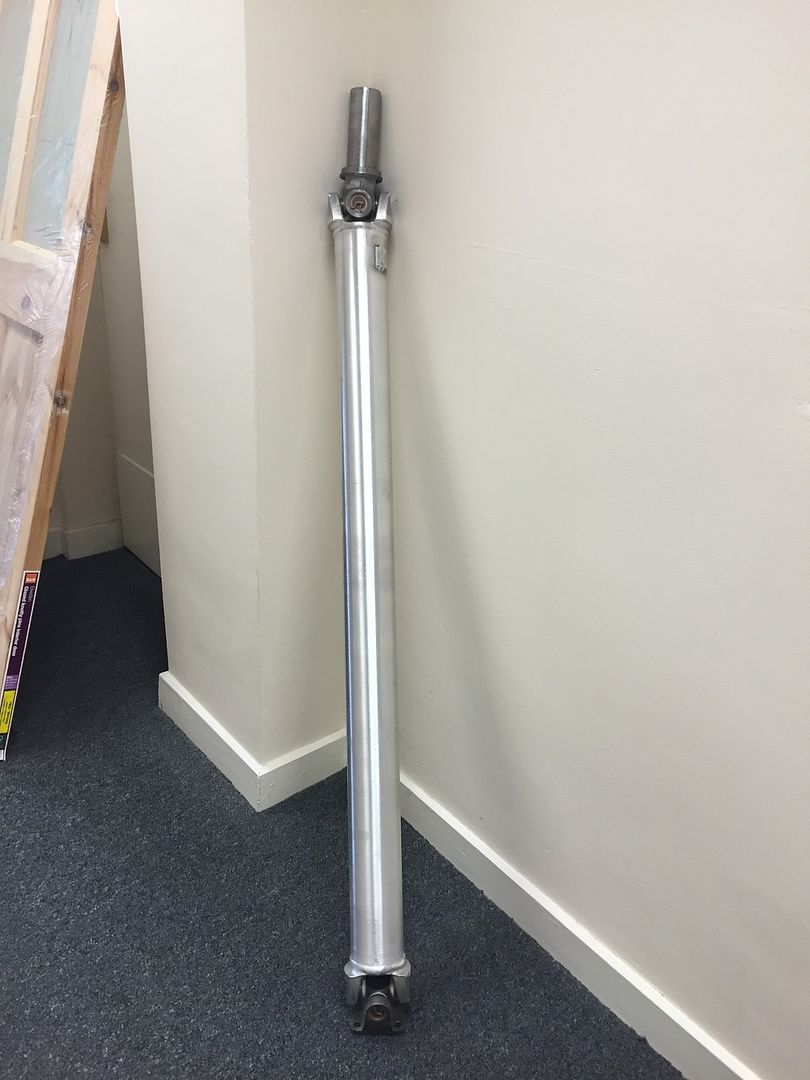 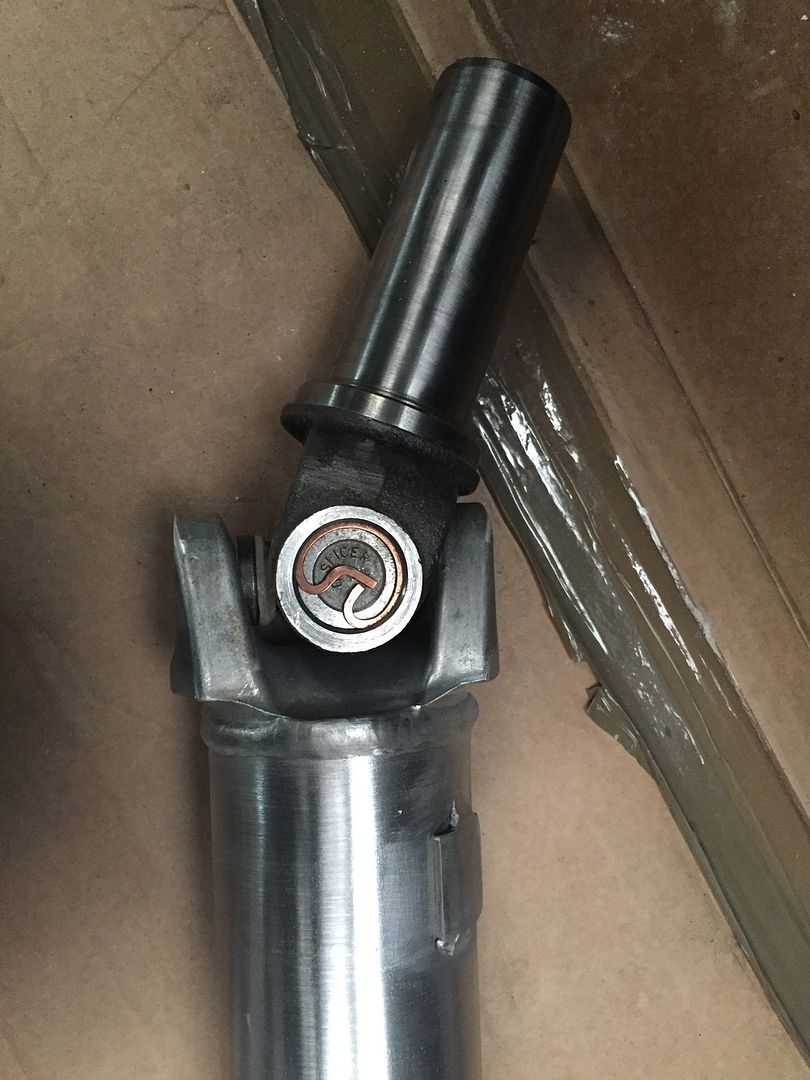 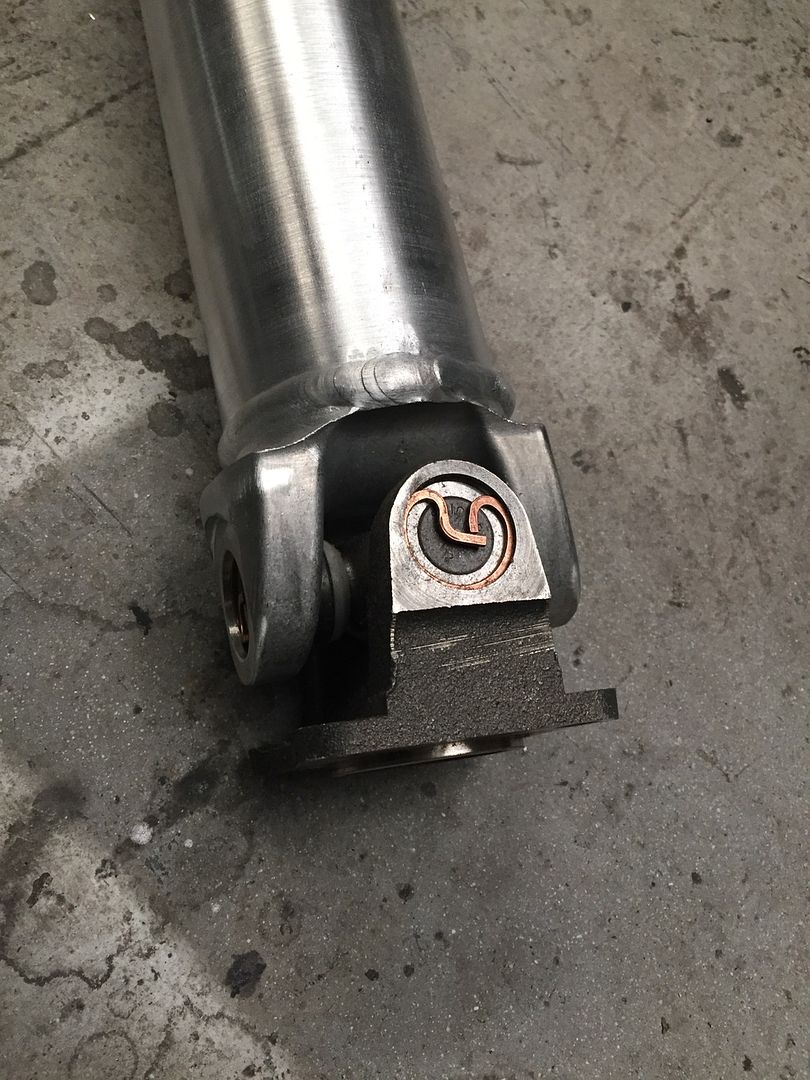 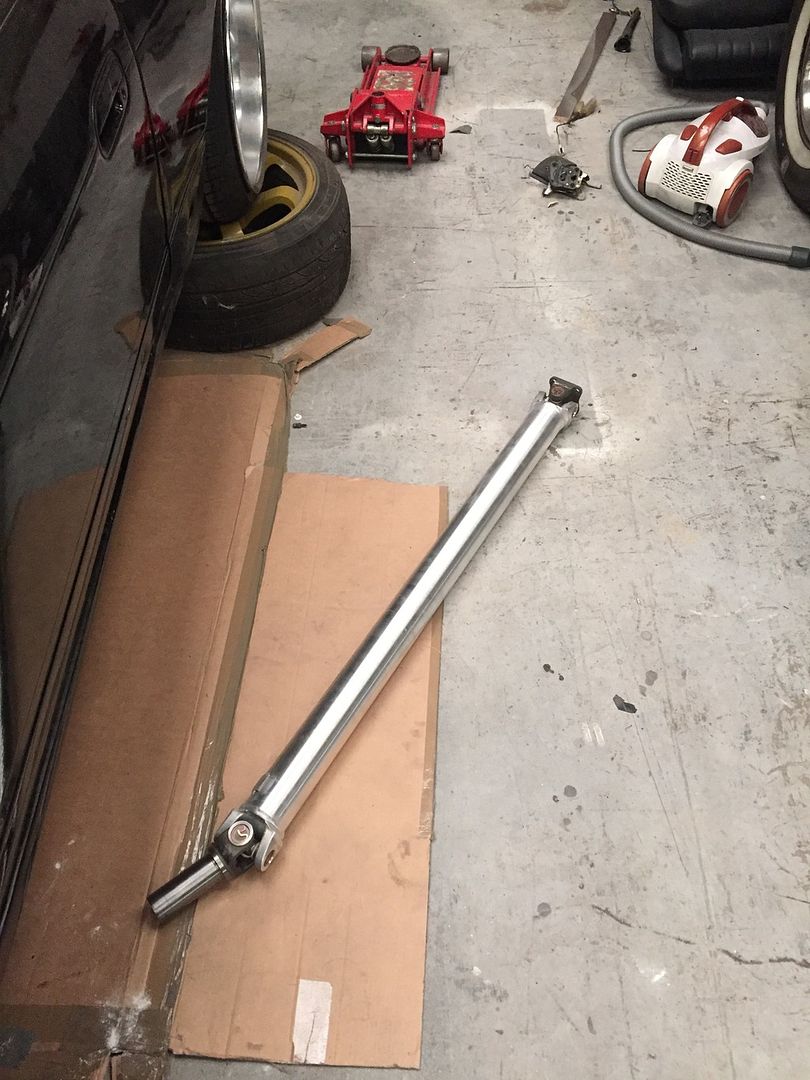 So stoked with the quality of the whole thing too. Although there was a tad bit of discussion on Facebook though with some people arguing how its going to instantly snap :/ But at the end of the day, I've done my research and so many people runs these in the states with zero problems whatsoever, even with more powerful and torquier engines (RB/JZ's), and not to mention some serious drag cars too. I also ordered what I'm hoping to be the final AN fittings which is a relief to my bank balance :wack: 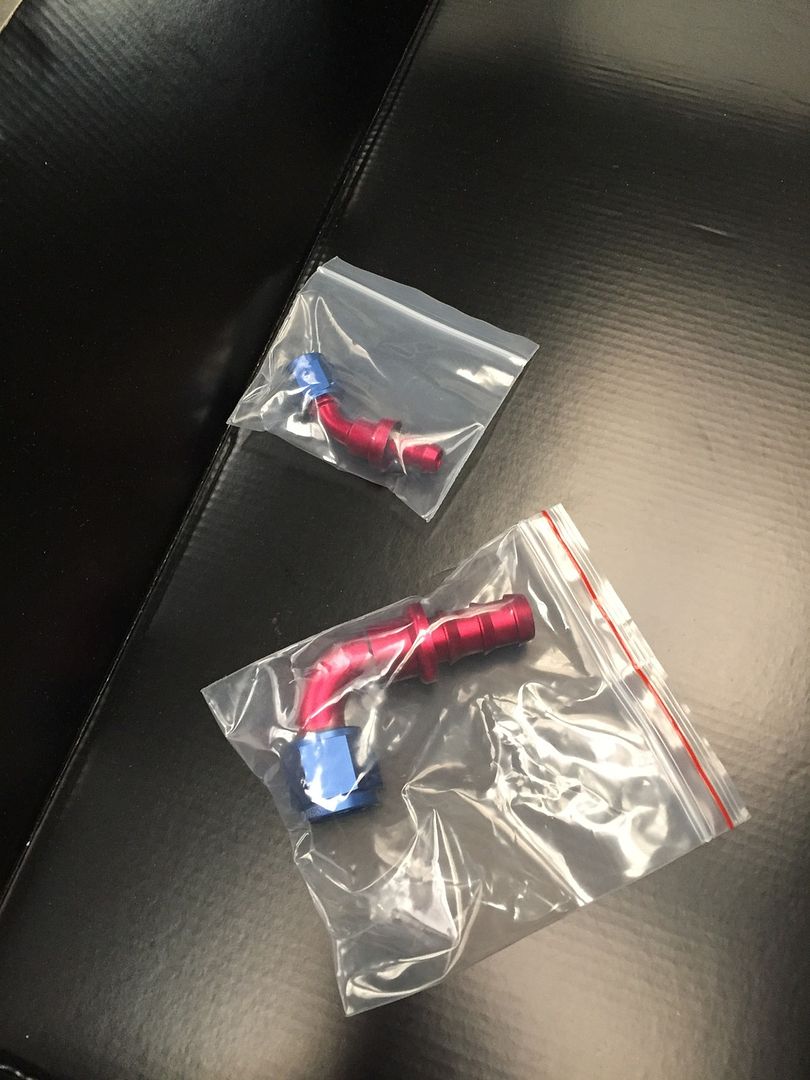 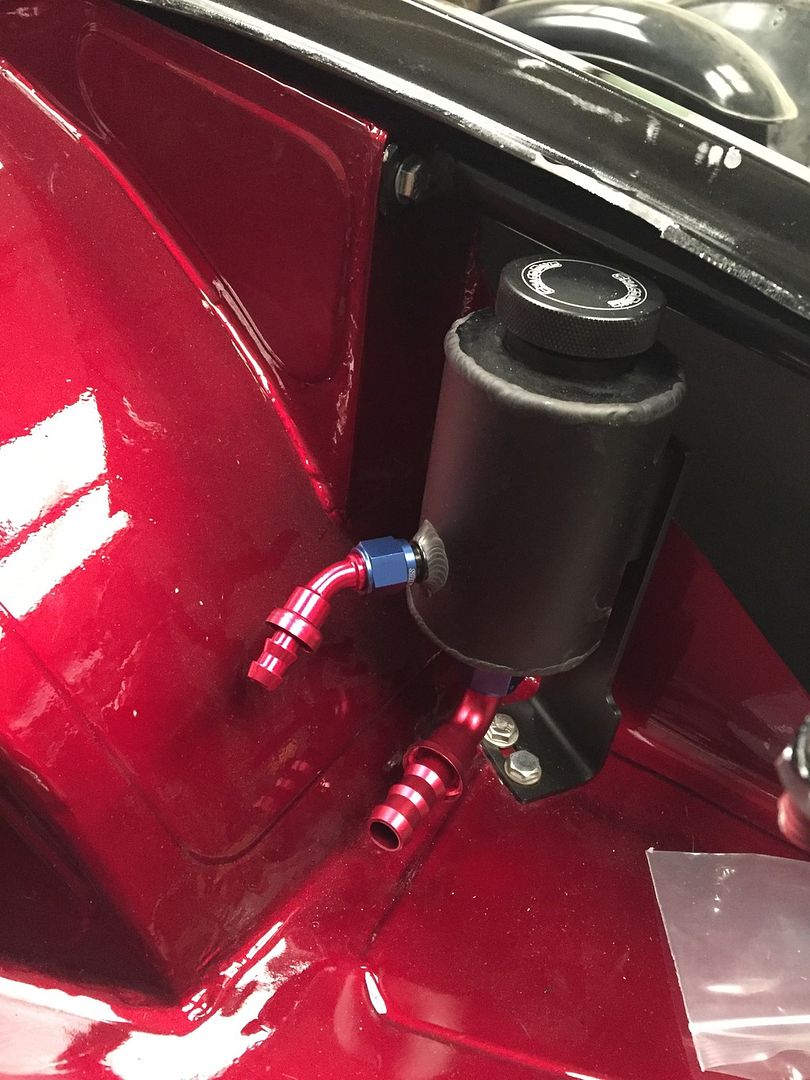 So whenever I have made up the intercooler piping, i'll grab some AN6 & AN10 push on hose and start to plumb up the power steering lines which should be nice and simple *touch wood* For the intercooler piping, I ordered a selection of hoses and stainless bend that I think will fit, as well as a selection of genuine Mikalor clamps which should hopefully hold things together nicely  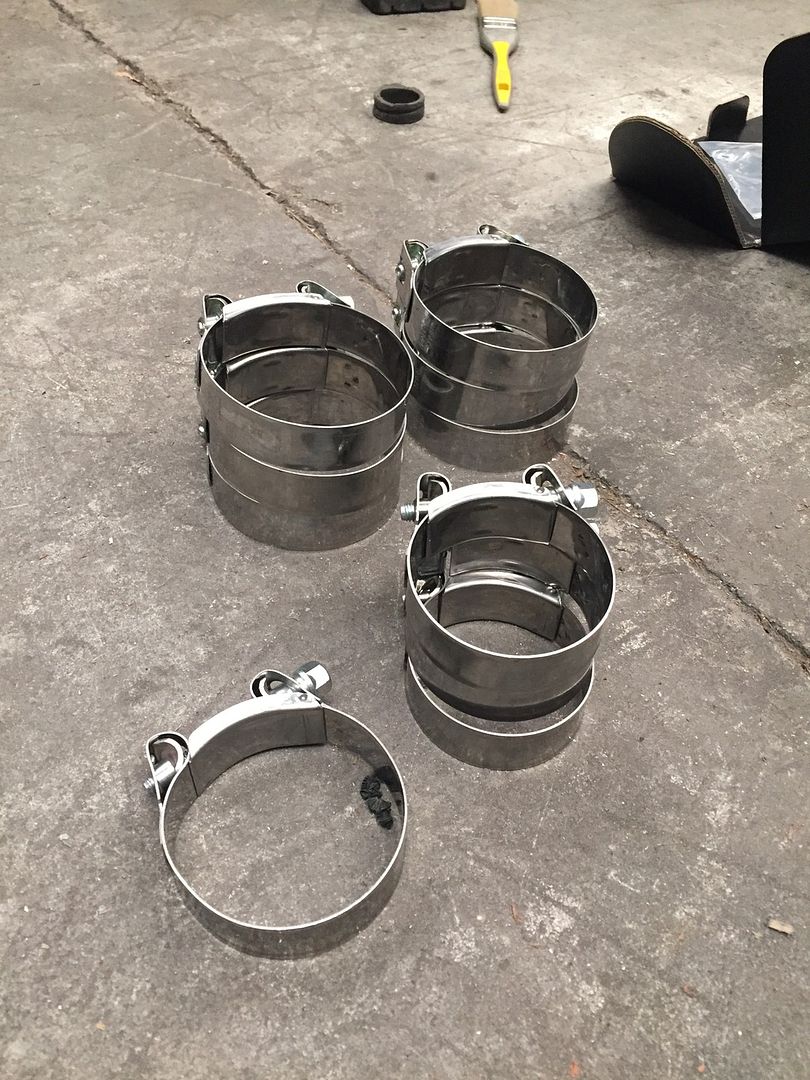 So I installed the prop for good now, but one thing that became apparent after speaking to David @ Shaftmasters again was that the dust shield on the gearbox needs to go to avoid any interference; (Before I removed the dust shield, but you can see the bracket I reinstalled to try and act as a safety measure which I mentioned previously) 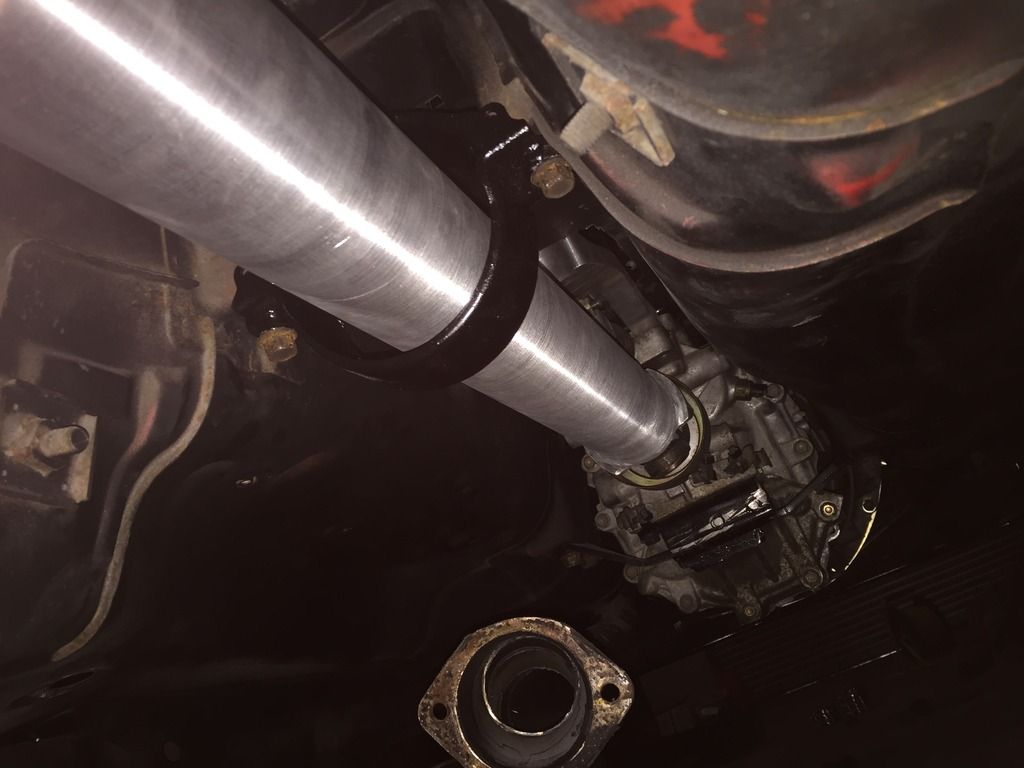  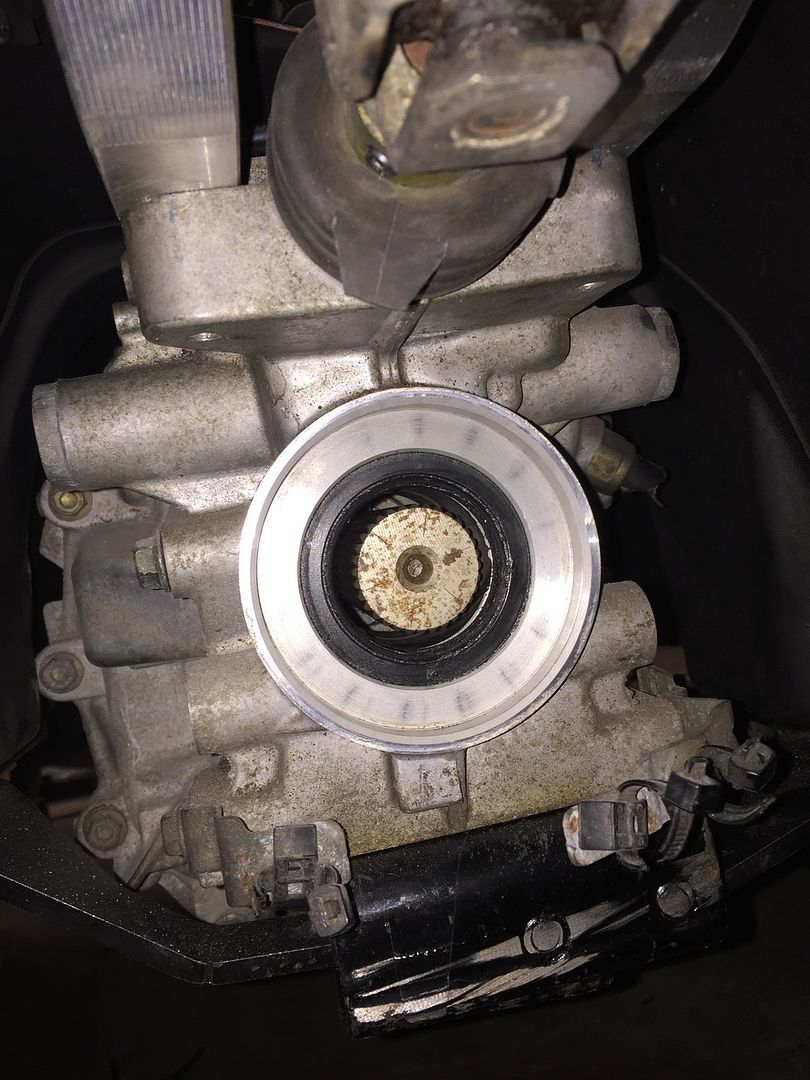 And finally this is how the splines sit as they enter the gearbox, which was the main reason I spoke to David which was to double check the engagement was safe and correct, which I'm pleased to say it is  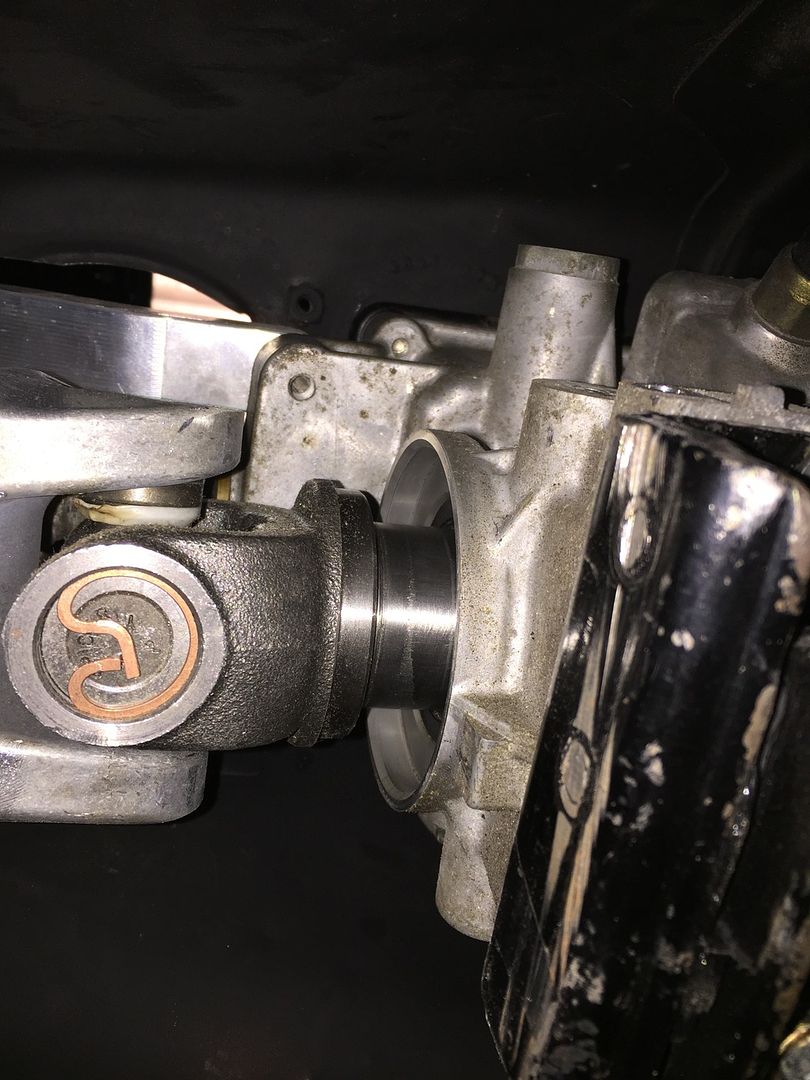 |
|
|

|
|
|
#54 |
|
Leaky Injector
Join Date: Dec 2012
Location: Bristol, UK
Age: 30
Posts: 92
Trader Rating: (0)
 Feedback Score: 0 reviews
|
So it’s been a bit of a while since the last update and there hasn’t be huge progress to speak about. Its at that stage now where the majority of the major jobs have been done and its just a million small jobs to try and bring the car together as a whole package, something that is expensive and tedious!
So the first job I set about doing since the last update was to purchase a cast alloy 90* elbow to get welded onto the compressor housing, mainly for reliability reasons to try and avoid a silicon bend near the manifold. (It was quite a daunting process to remove the compressor housing on a brand new turbo!) 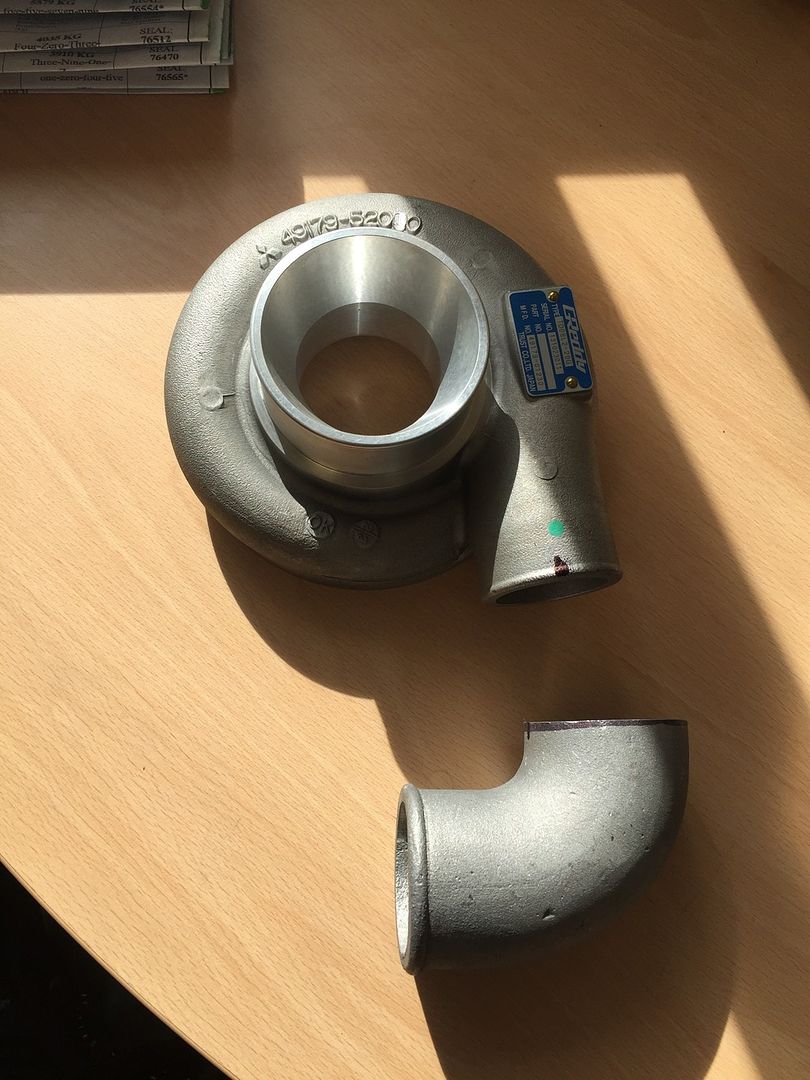 A found a local place near me who’s a welder by trade, so after some beer money it was all done  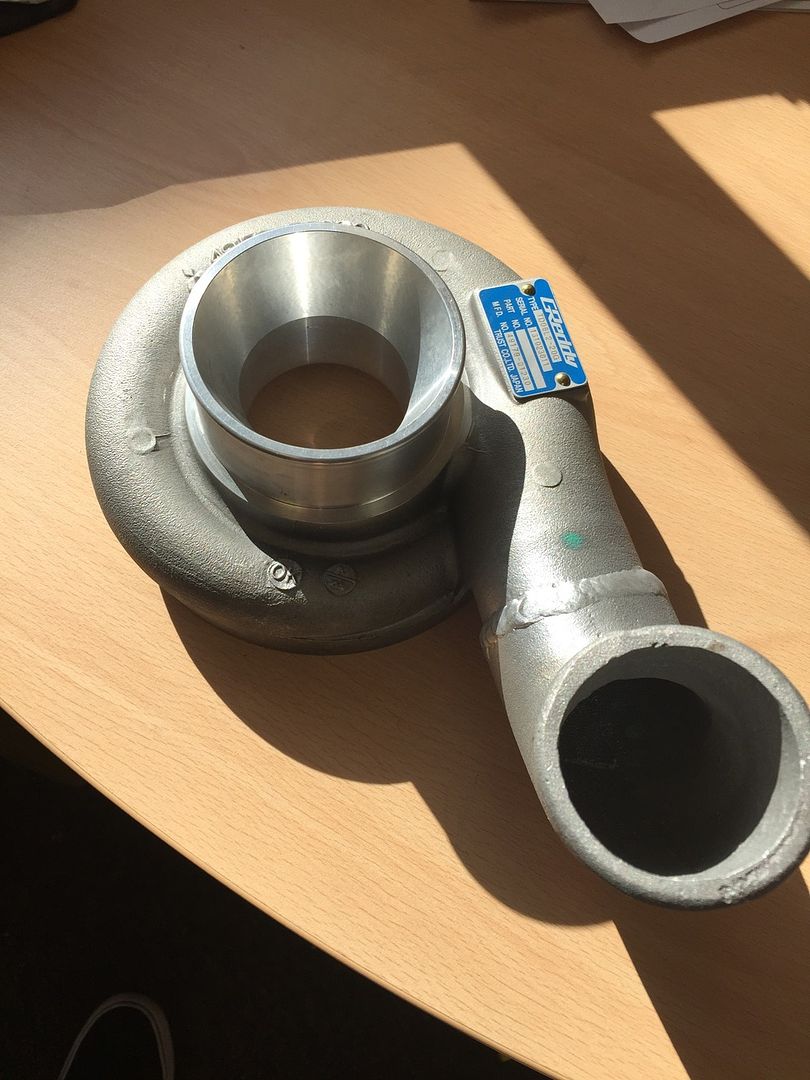 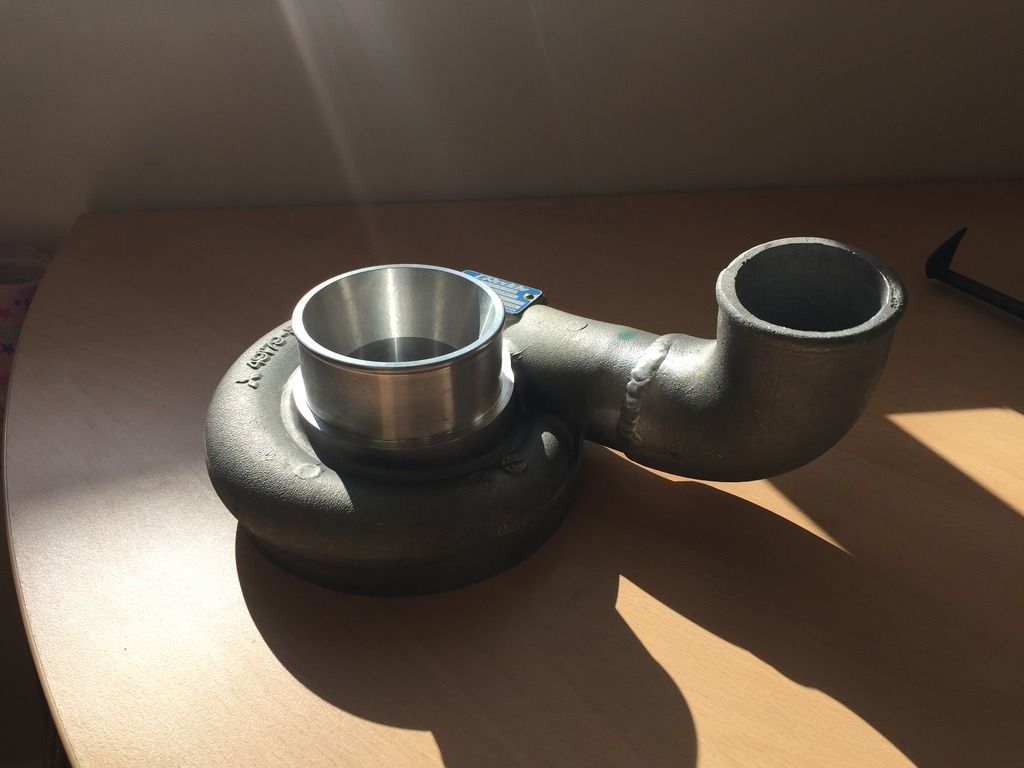 The annoying thing was that the elbow was supposed to be 2” in order to match the diameter of the compressor housing. It actually turned out be a shade over 2.25”, which was kinda on a blessing in disguise as there was enough overlap to weld to and it saves having a huge reducing silicone coupler. And all back on! 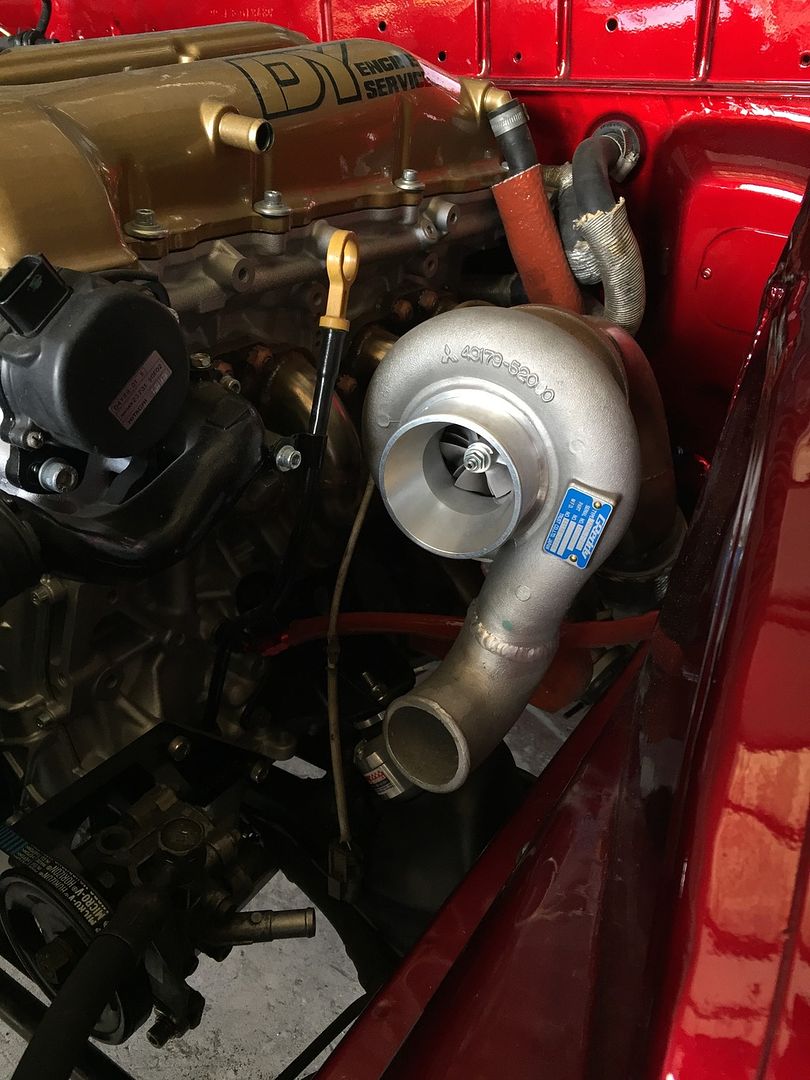 The next job was to change over the in-tank fuel pump for piece of mind and a new filter was desperately needed, after all, I’ve come this far and it’d be a nightmare for something as trivial as the fuel pump to play havoc on track! Plus, I can always keep the old one as a spare  Old pump with a dirty filter; 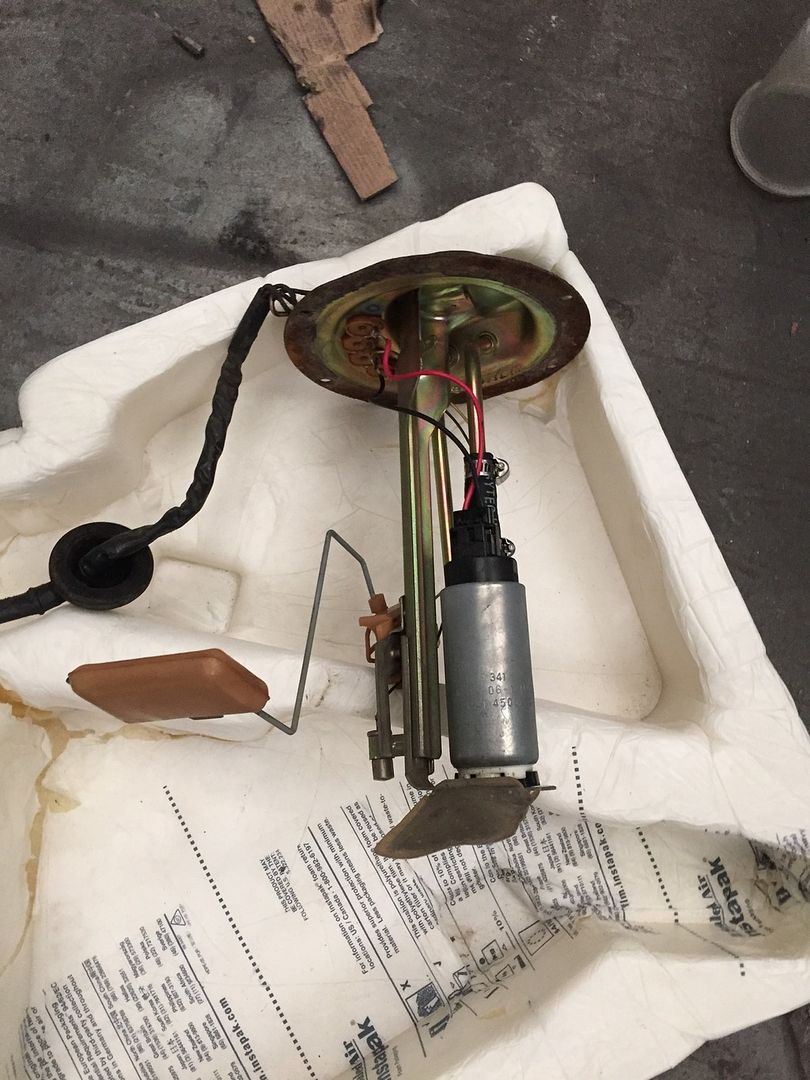 New Walbro which came with a much bigger sock/filter, which cant be a bad thing I suppose; 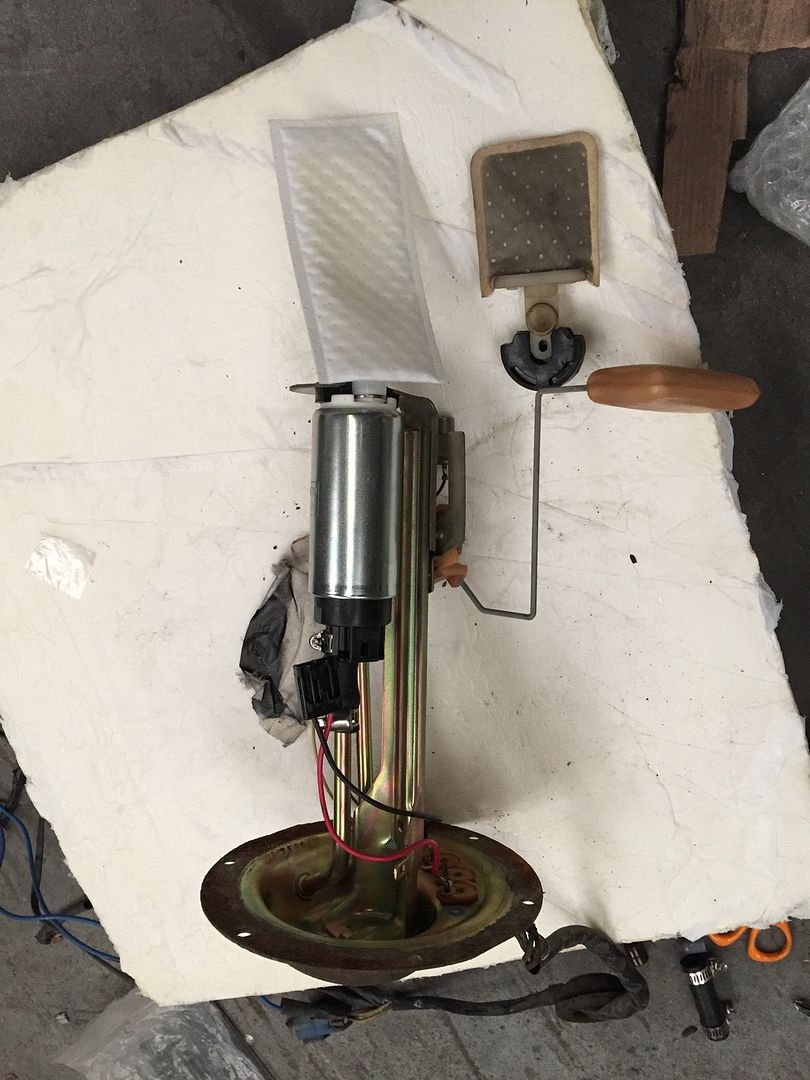 Generic boring picture of it all hidden away; 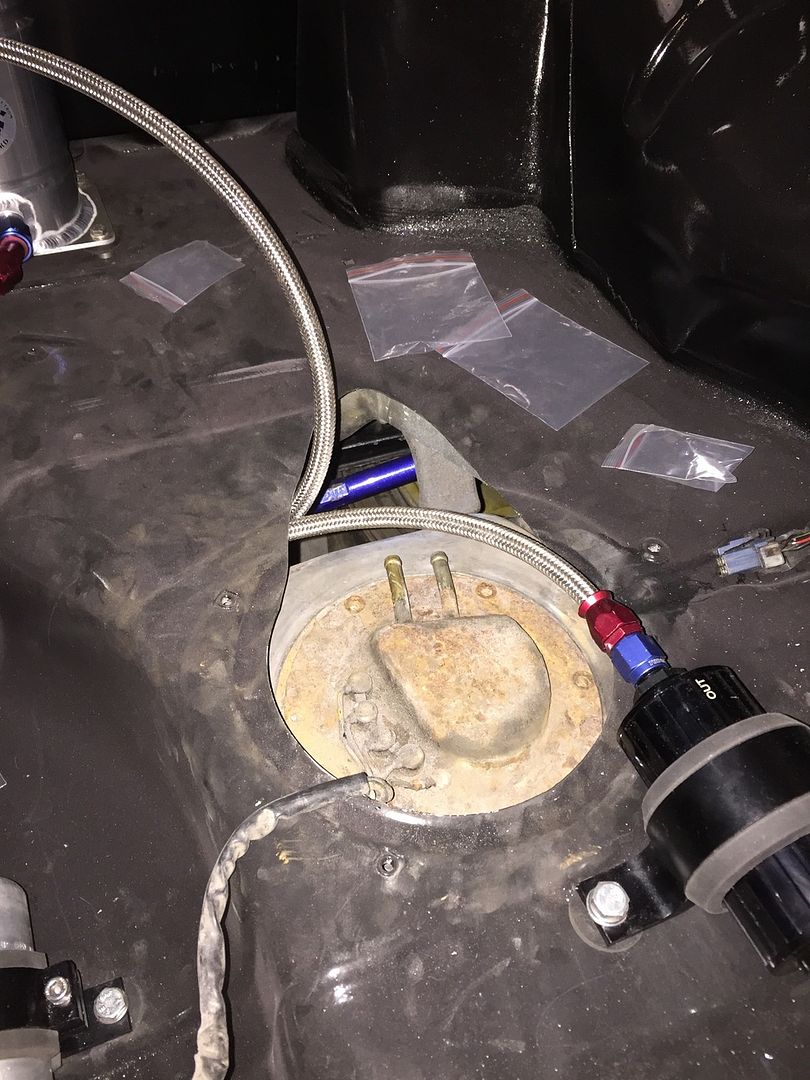 Now it was time to make a start on the intercooler piping, which wasn’t going to be an easy task nor a very difficult one either. So the plan was to order up a mix of stainless bends and try to make something work. After 10minutes, bingo! The hot side was all marked up and ready to get welded up by the guys who did the compressor housing. 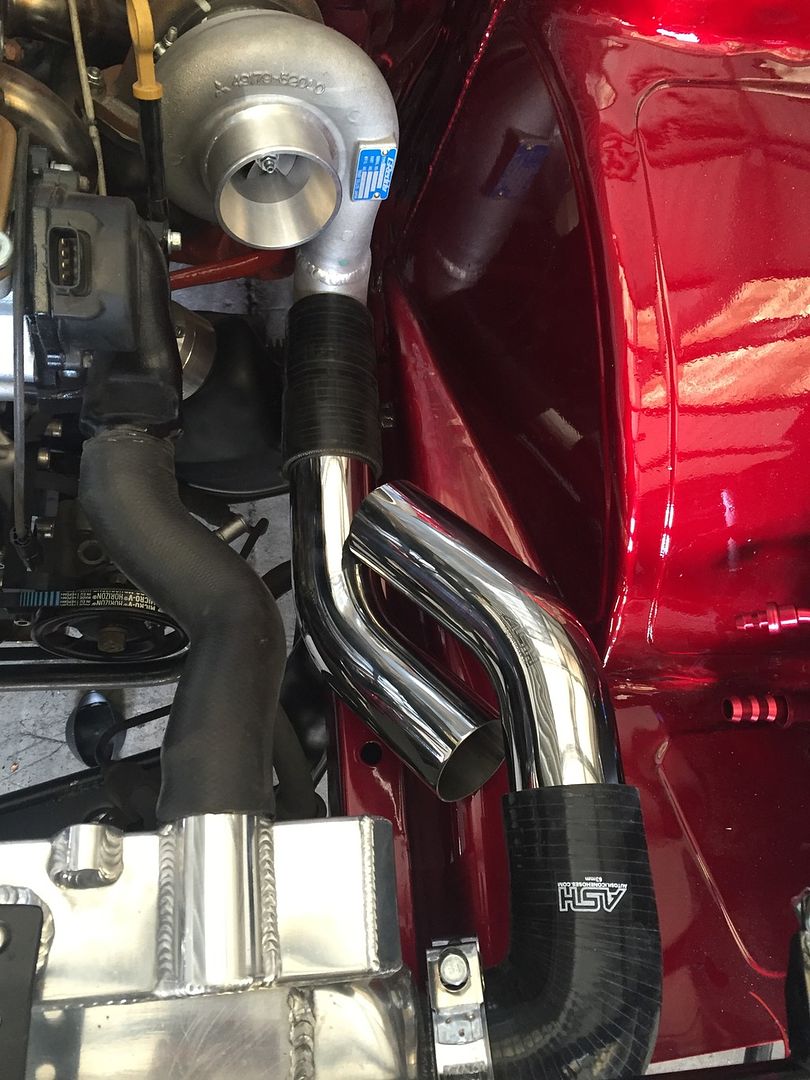 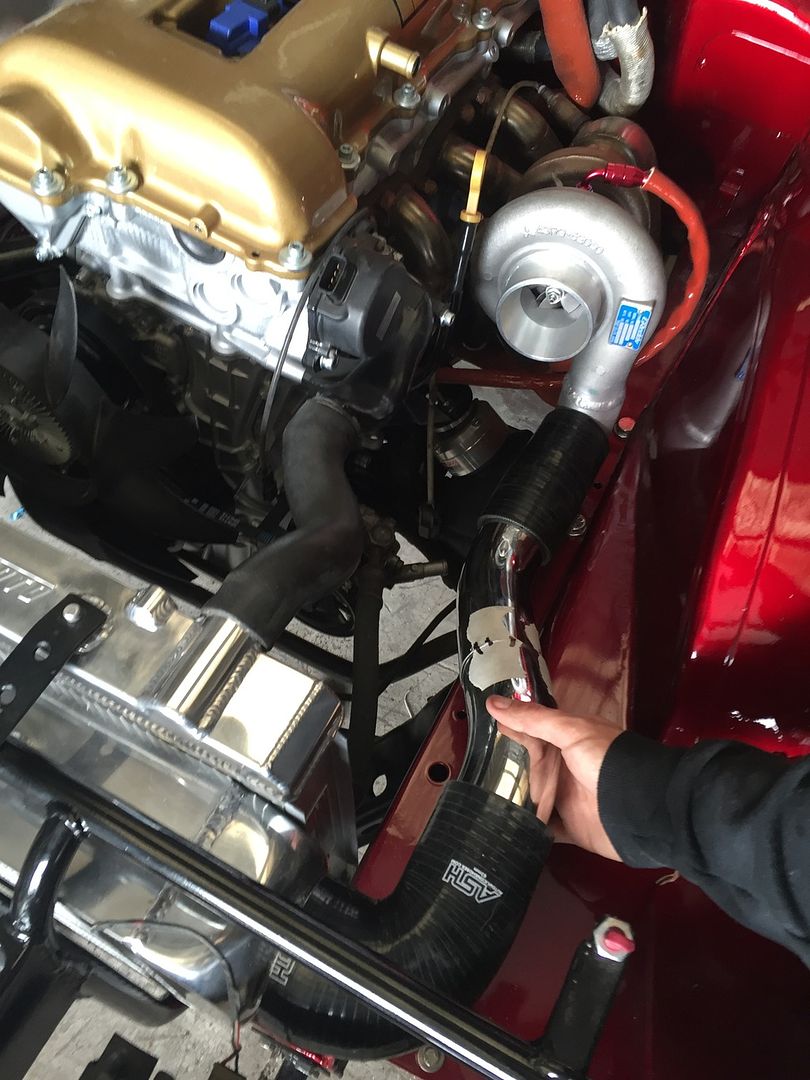 I always thought the cold side would be easier but I was kinda wrong, but cant help think it was because I was overthinking the design. Initially I want to do something similar as the hot side, which was to mix’n’match 2x 45* bends and make something work. But thankfully a friend popped over and instantly had the idea you see below; 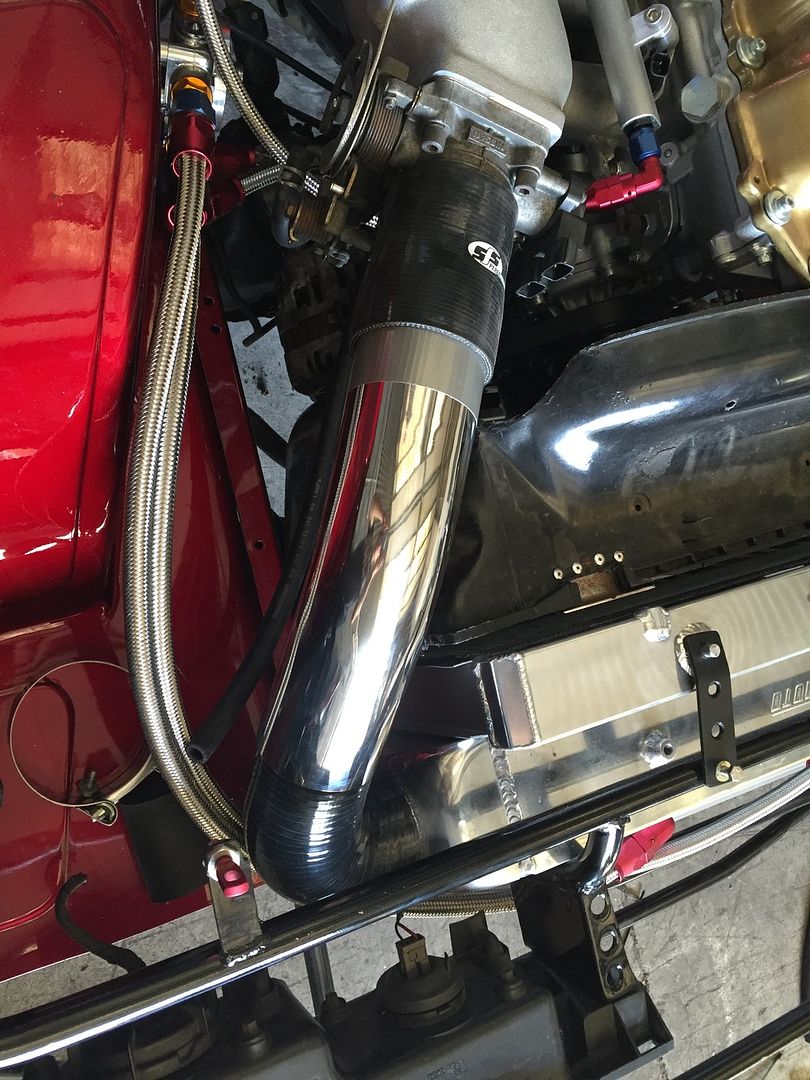 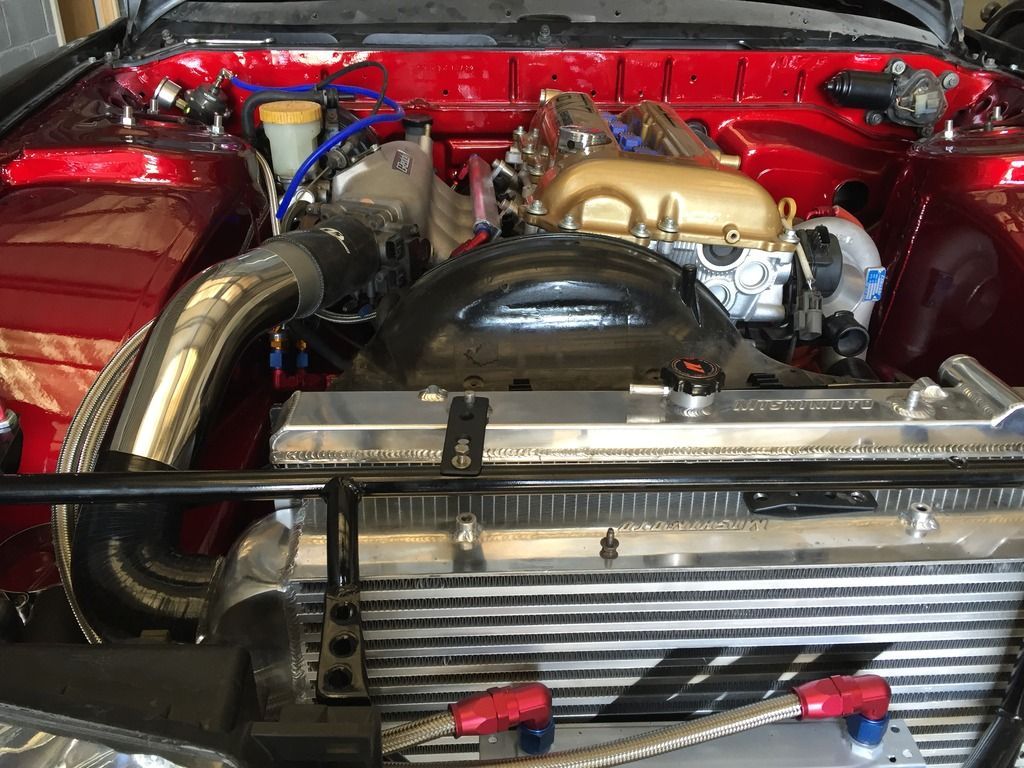 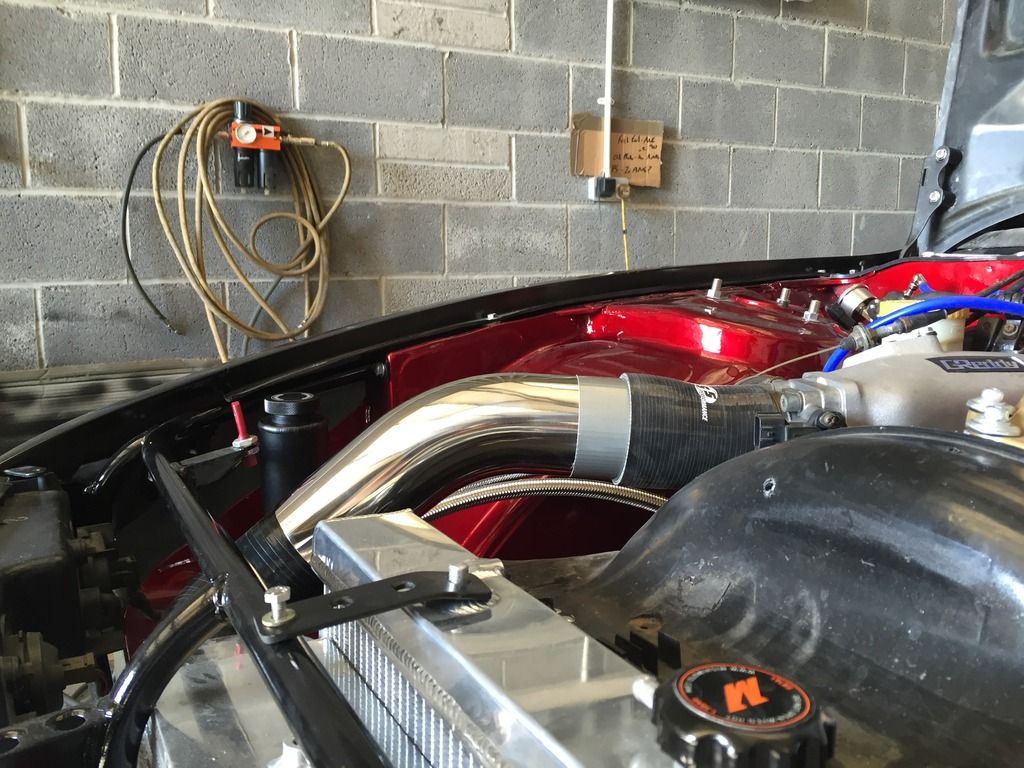 We used the 3” > 2.5” reducer from the hot side to mimic a 90* on the cold side, and with a 3” 45* bend it seemed to line up nicely, albeit on the shorter side, which wouldn’t be a huge issue to get lengthened. So I ordered up a 3” 90* silicone bend and hoped that it’d all work out once it turned up. In the meantime, these turned up  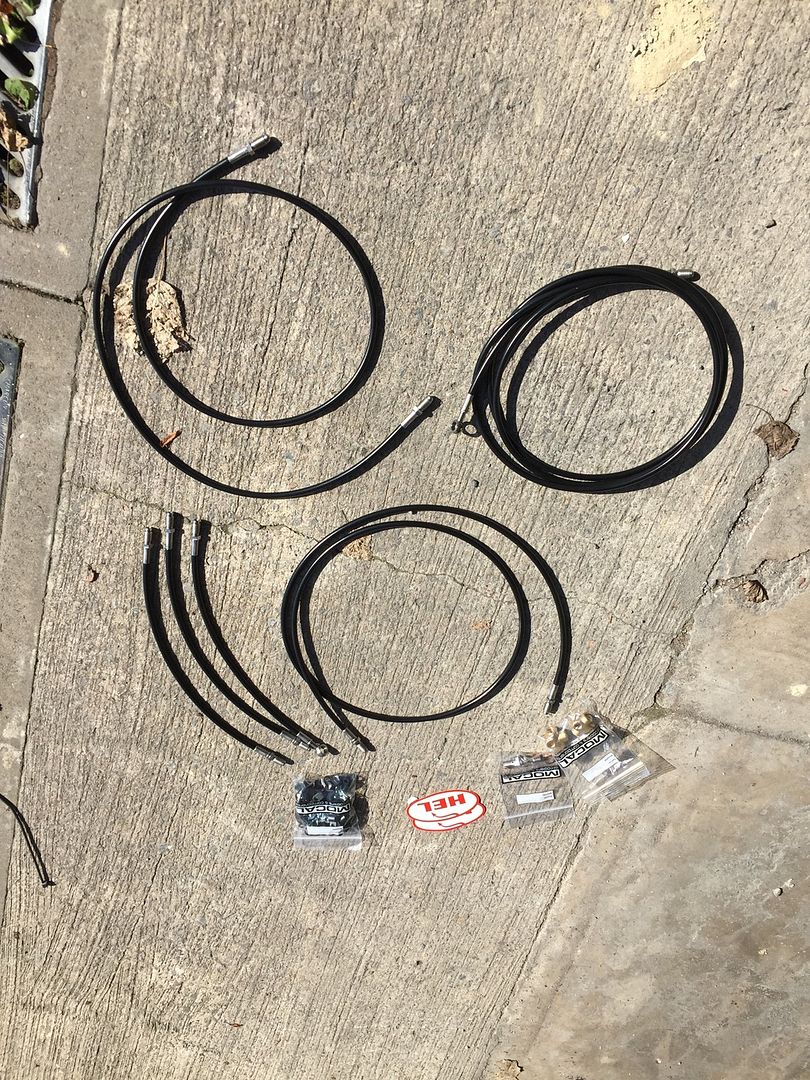 Proline Motorsport over at SXOC were making S14 ABS Delete kits, ideal for me as I wanted to run braided lines throughout. Intially I couldn’t think of any reason why the kits would differ between S-Chassis’ with the likes of GKTech selling a similar kit labelled S13/S14/S15 etc. Anyway, I got chatting to them and he told me that if any lines was too long, he’d shorten them free of charge! Ideal! The lines look great quality with HEL fittings either end  After initially looking at where the T-pieces would sit, one of the lines were definitely too long, which after fitting them all up, the rear passenger line was far too long, almost double the required length. Whether this was a mistake their end or a difference in the chassis, who knows but they shortened the line free of charge with a super quick turn around! Its so handy to know of a place like them, especially when I’ll be needing custom lines for the clutch and hydro setup :P Another picture to prove I was actually working on the car fitting the brake lines  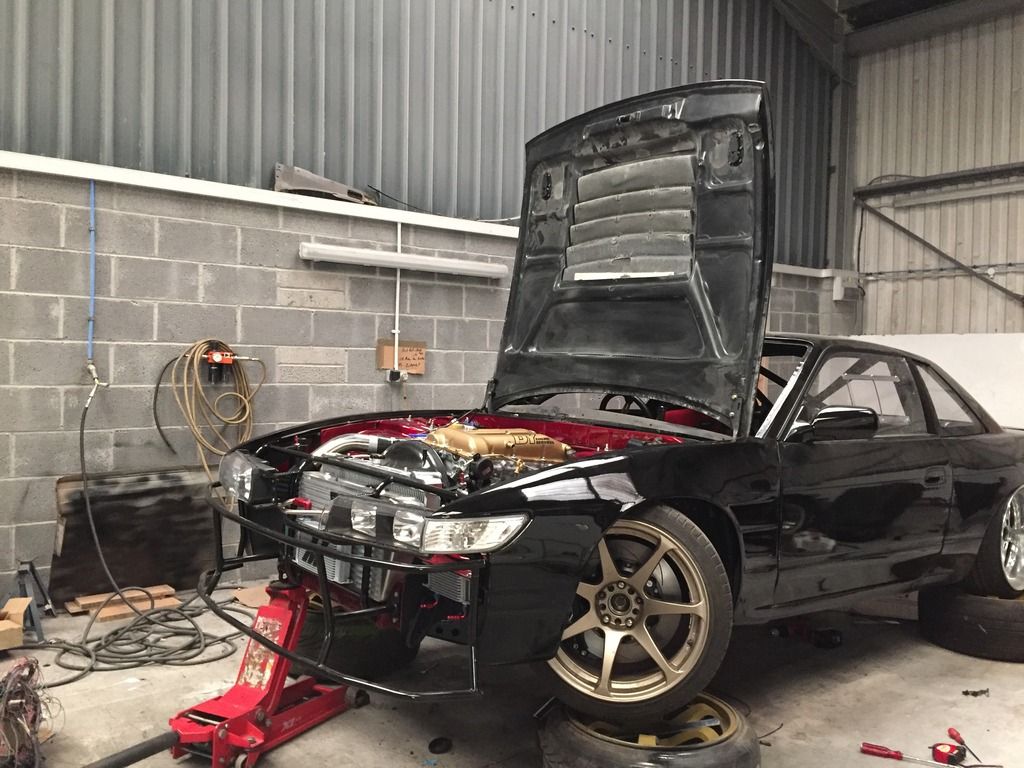 Here’s how I ran the front brake line, similar to the OEM positioning, although I’ve tried to hide it above the line and run it as far away as the turbo as I could. Stoked with how neat it looks though. 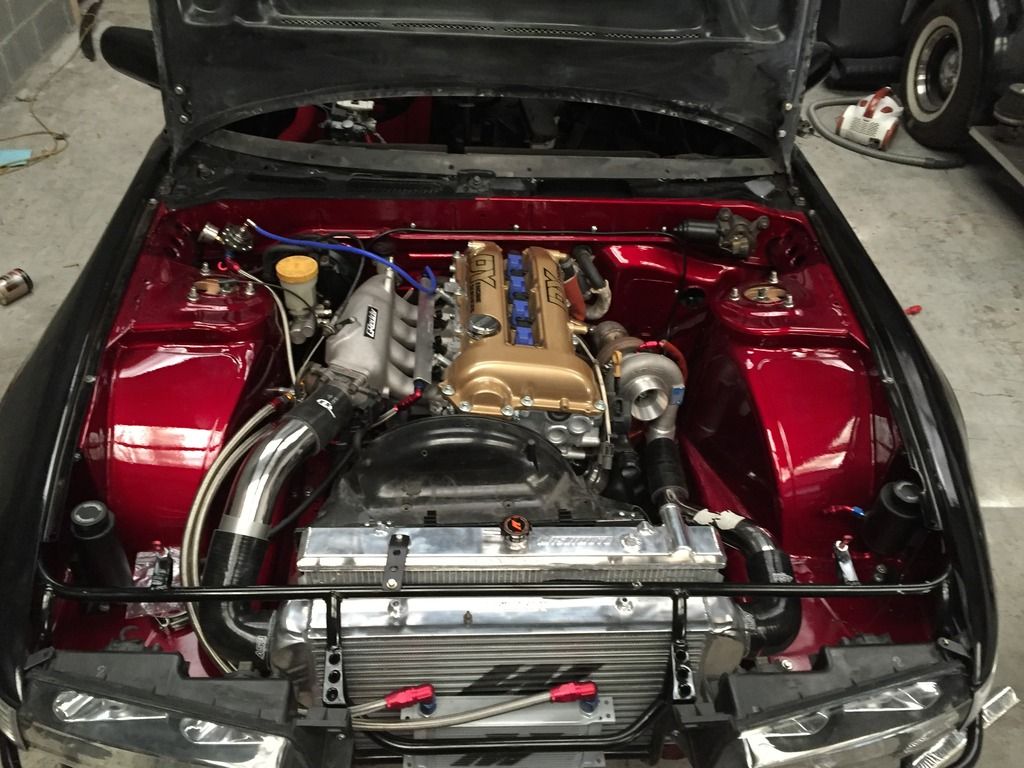 |
|
|

|
|
|
#55 |
|
Leaky Injector
Join Date: Dec 2012
Location: Bristol, UK
Age: 30
Posts: 92
Trader Rating: (0)
 Feedback Score: 0 reviews
|
So, the 3” silicone 90* turned up so I wasted no time in offering it up to double check how it’d sit.
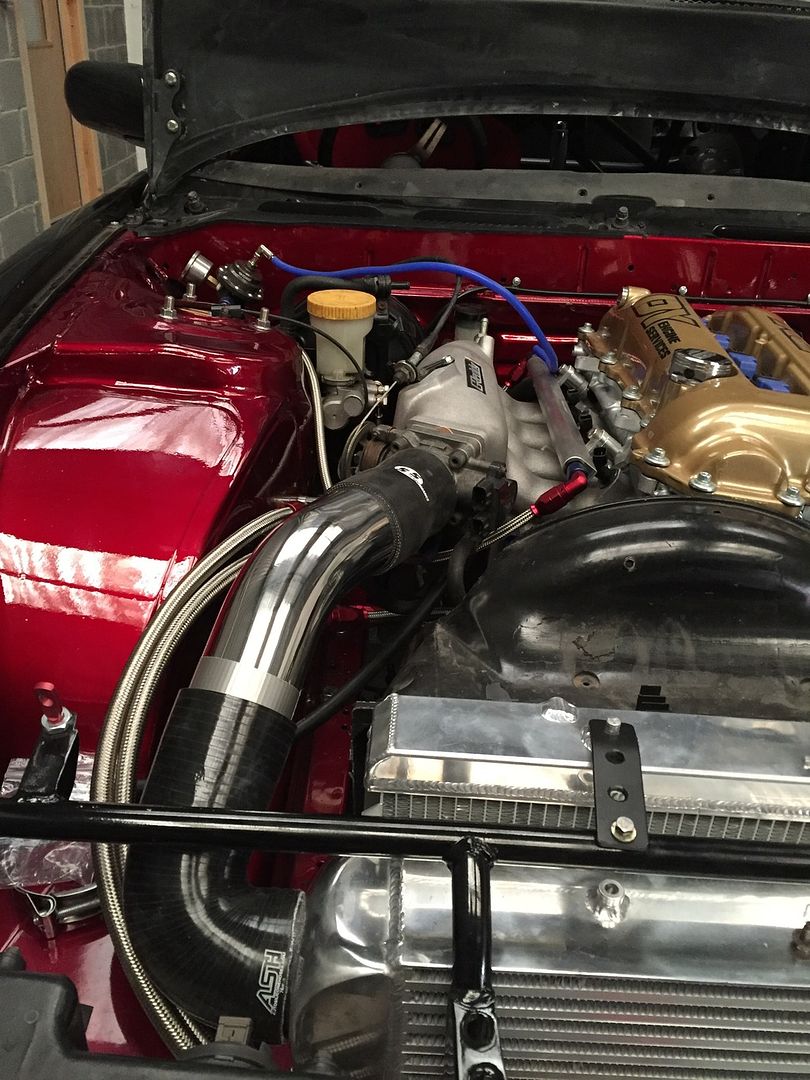 The silicone sits flush around the pipe, with the coupler at the throttlebody using a tiny bit of flex in order to create a more natural bend. Nothing a decent clamp will secure. 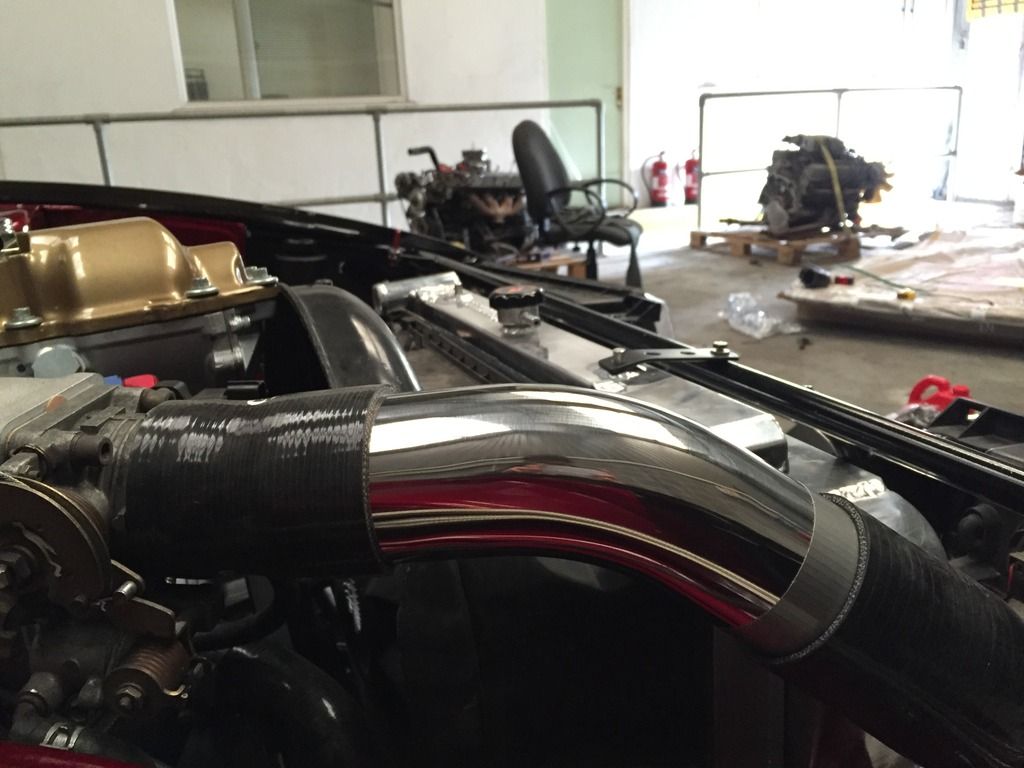 After a bit of thinking, it needs to be extended around 1.5/2” to be on the safe side, nothing to complex. Once this was done I set about order 2x hose tail/barb fittings to get welded onto the hot side (pressure source for the boost solenoid) and one for the cold side (IACV source), as well as a 3/8NPT boss for the IAT Sensor. The correct coupler turned up for the intake, as the snout on the compressor housing is 81mm, as opposed to the 76mm intake I have. Bit of an odd size, but its all sorted now. 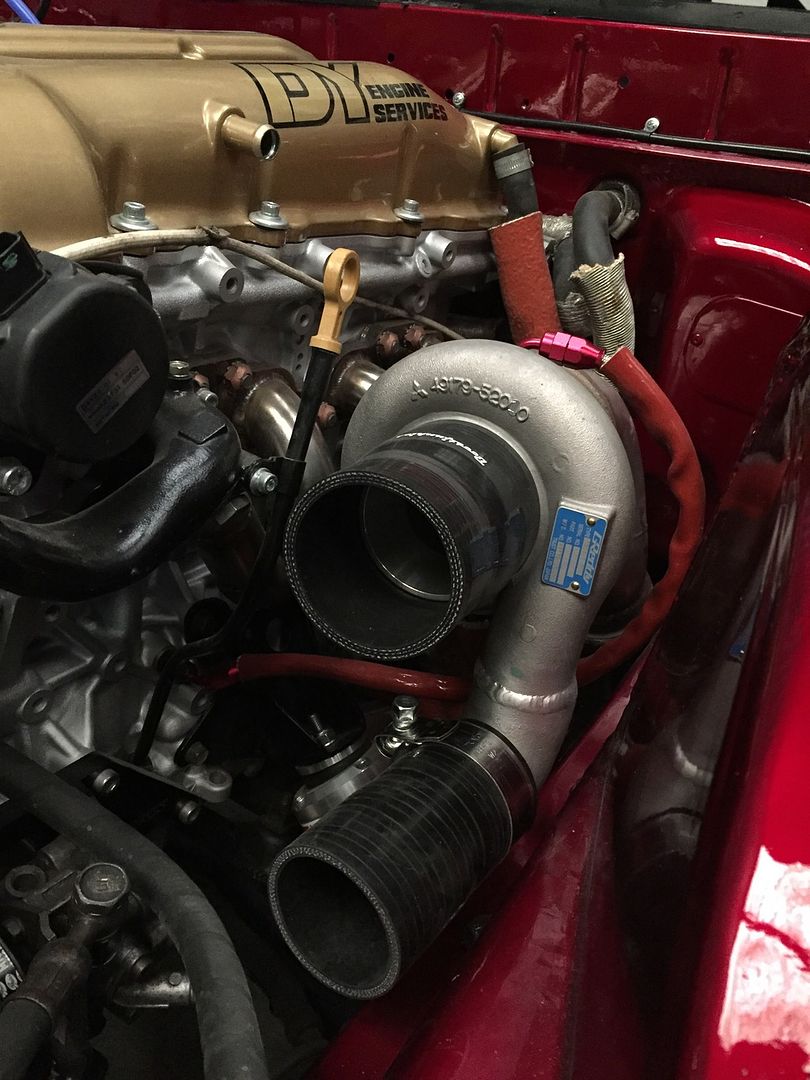 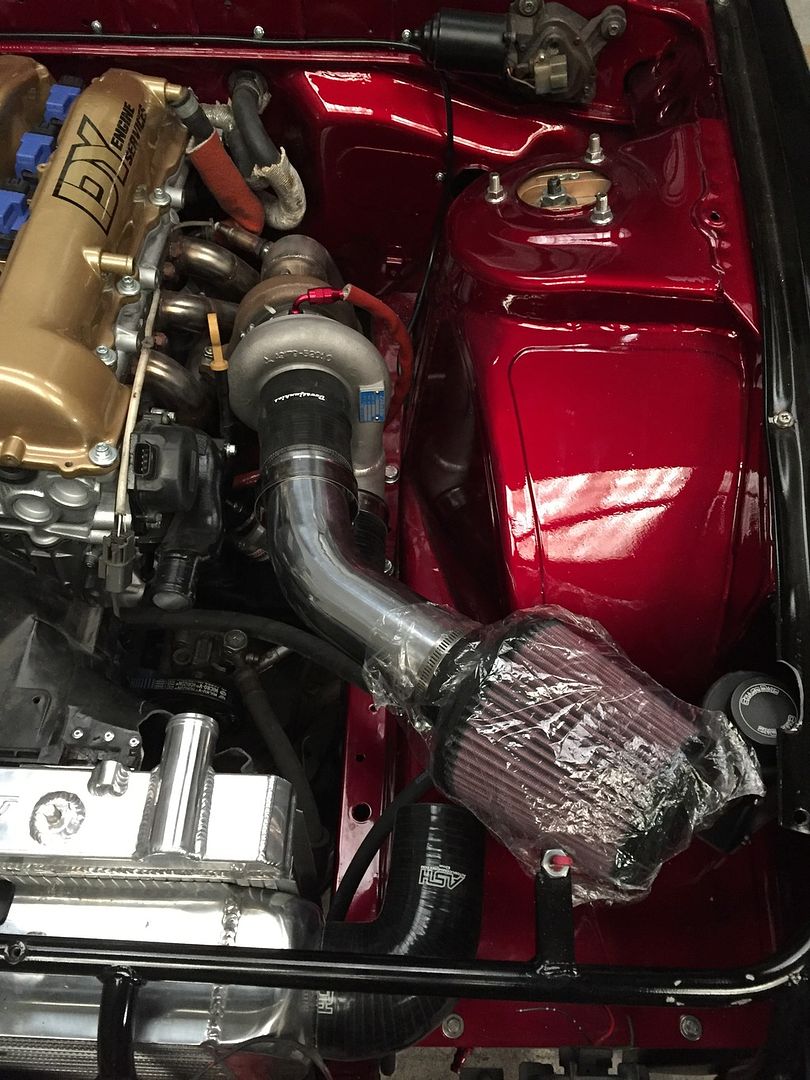 That’s roughly how the intake will finally sit, but final positioning wont be confirmed until the hot side is all welded up and installed below it. The next task I wanted to tackle was heat management surrounding the heater matrix hoses, purely because I didn’t have much faith the torn cardboard heat reflective material Nissan used, what with the downpipe sitting much closer than a stock turbo setup. So, first thing I did was to completely remove the Nissan stuff in order to re-protect the hoses; (I trimmed the top hose for those that may notice. The aim here was to try and “pull” the hose up and away from the downpipe without trying to kink the hose.) 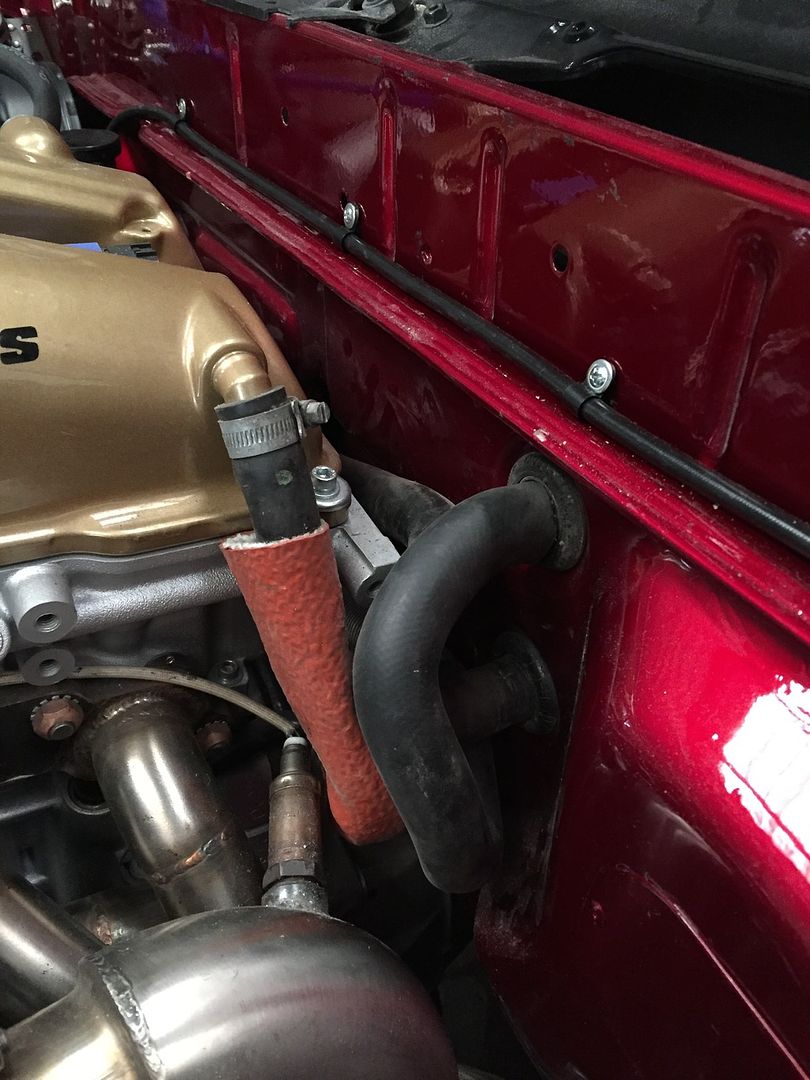 Unfortunately I forgot to take a picture of the heat sleeving I used, but I grabbed some heat reflective sleeving from Merlin Motorsport who are kinda local to me. You may just about notice it in the following pictures  Whilst I was at Melrin Motorsport, I grabbed some Nimbus GII Heat Shielding, which I’ve only heard good things about, even the chap at the counter was praising how effective the stuff is. I got this idea via 2 friends and kinda think it makes the how setup look more purposeful as well as more effective. Thanks to one of them, Diamondsink on here, I noticed he runs a fire extinguisher nozzle in the corner of the shielding, something I wouldn’t mind doing in the near future when I get round to installing a fire extinguisher setup. 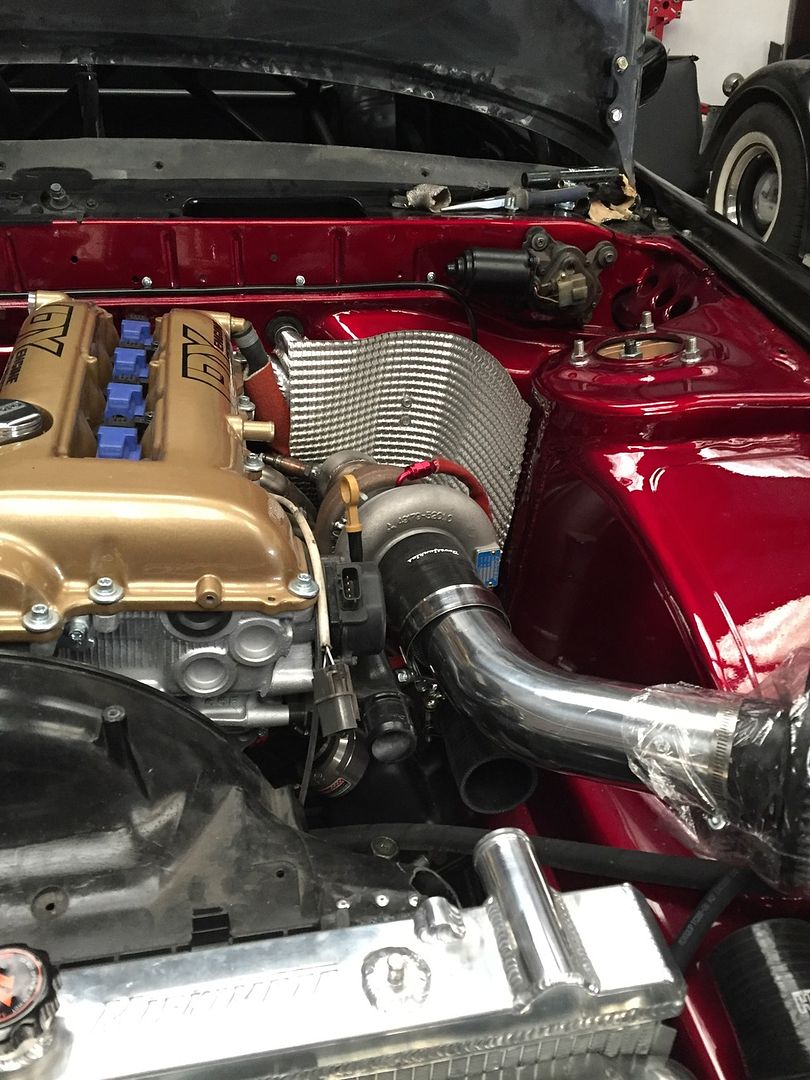 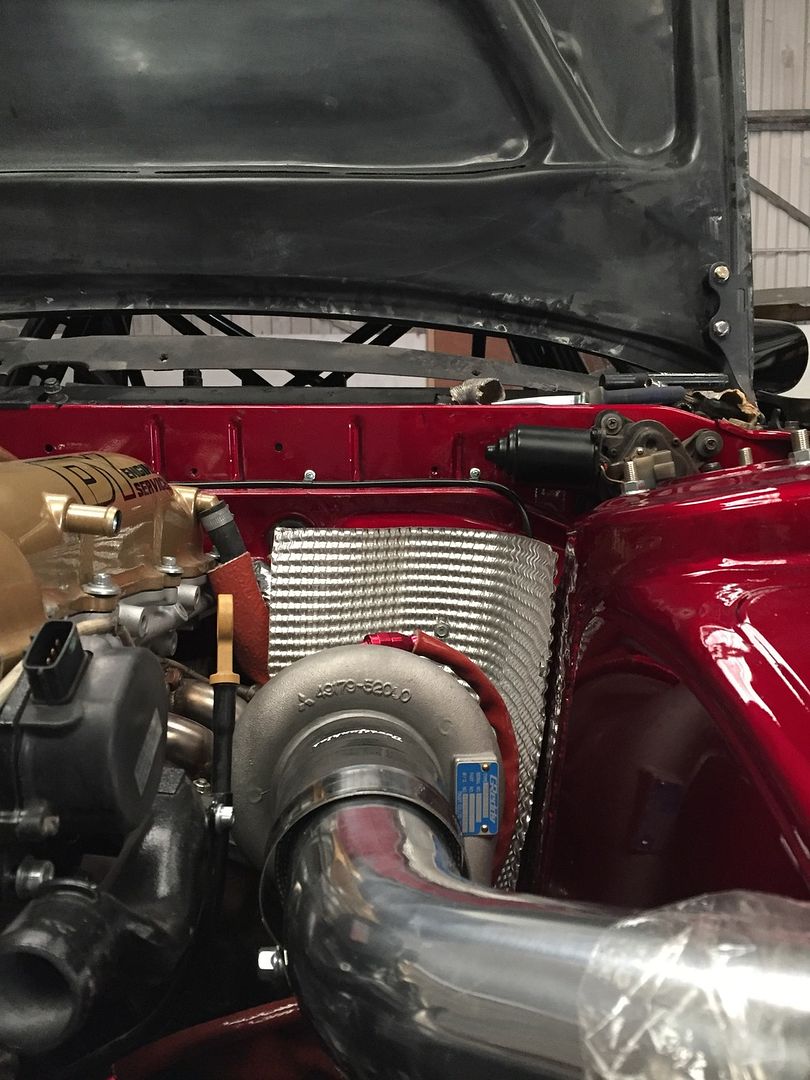 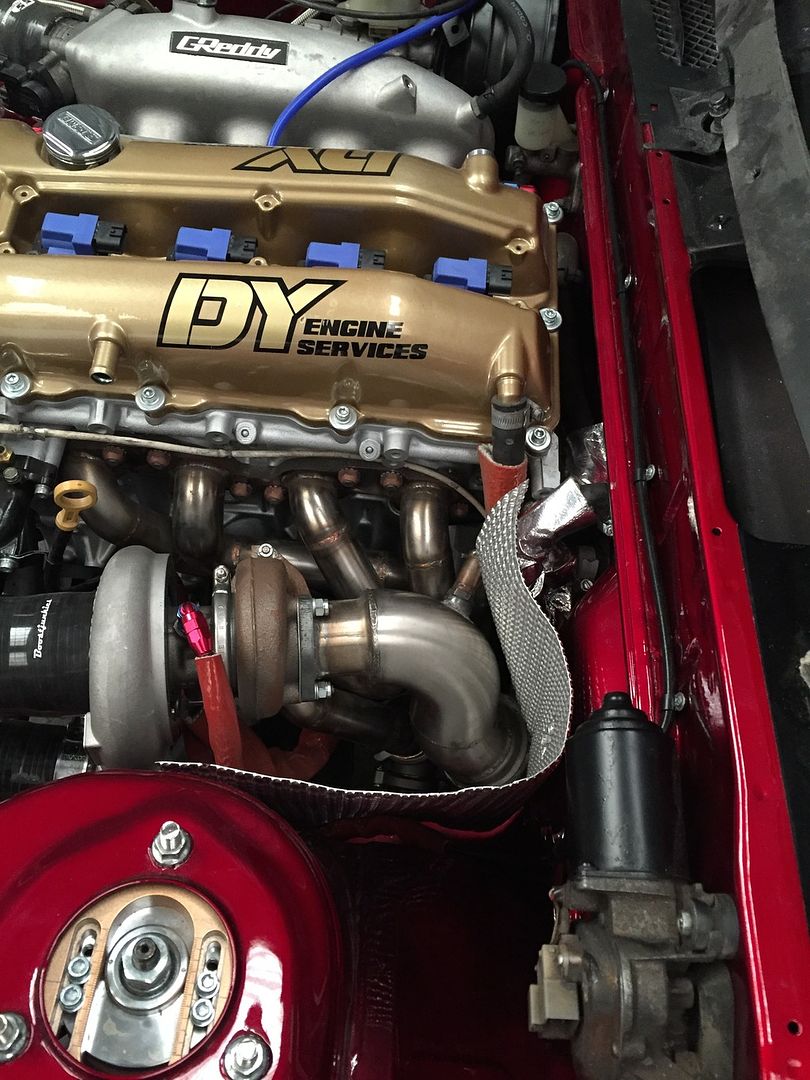 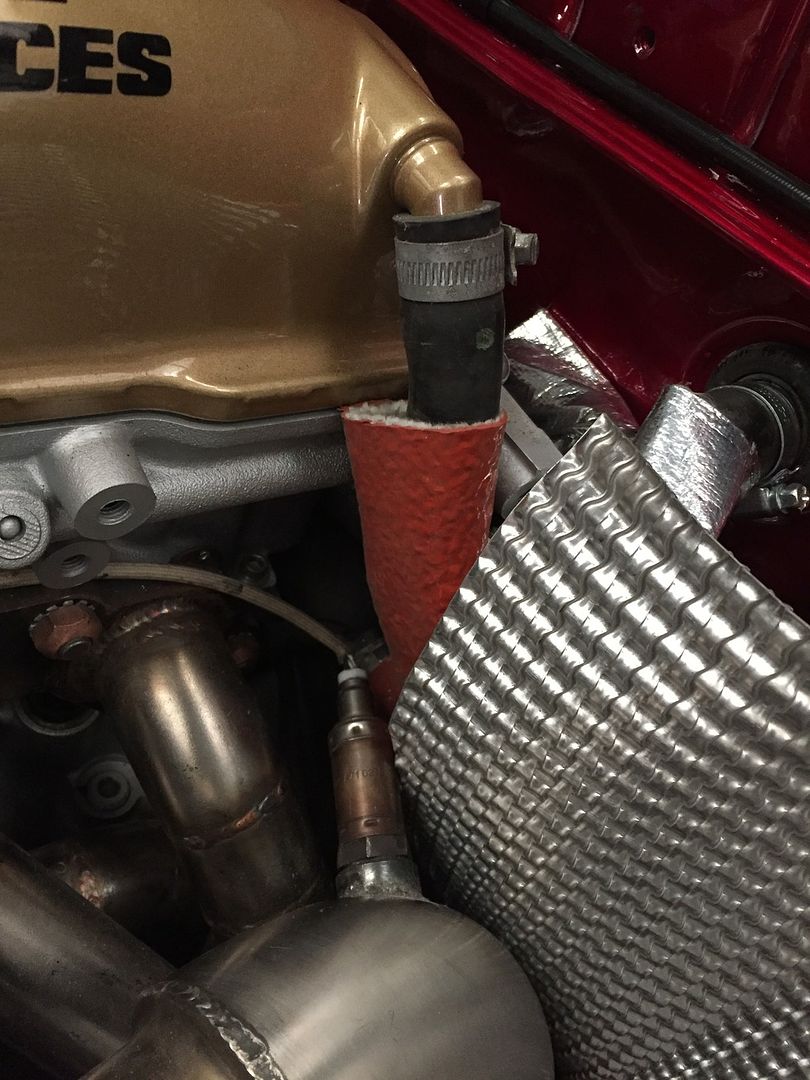 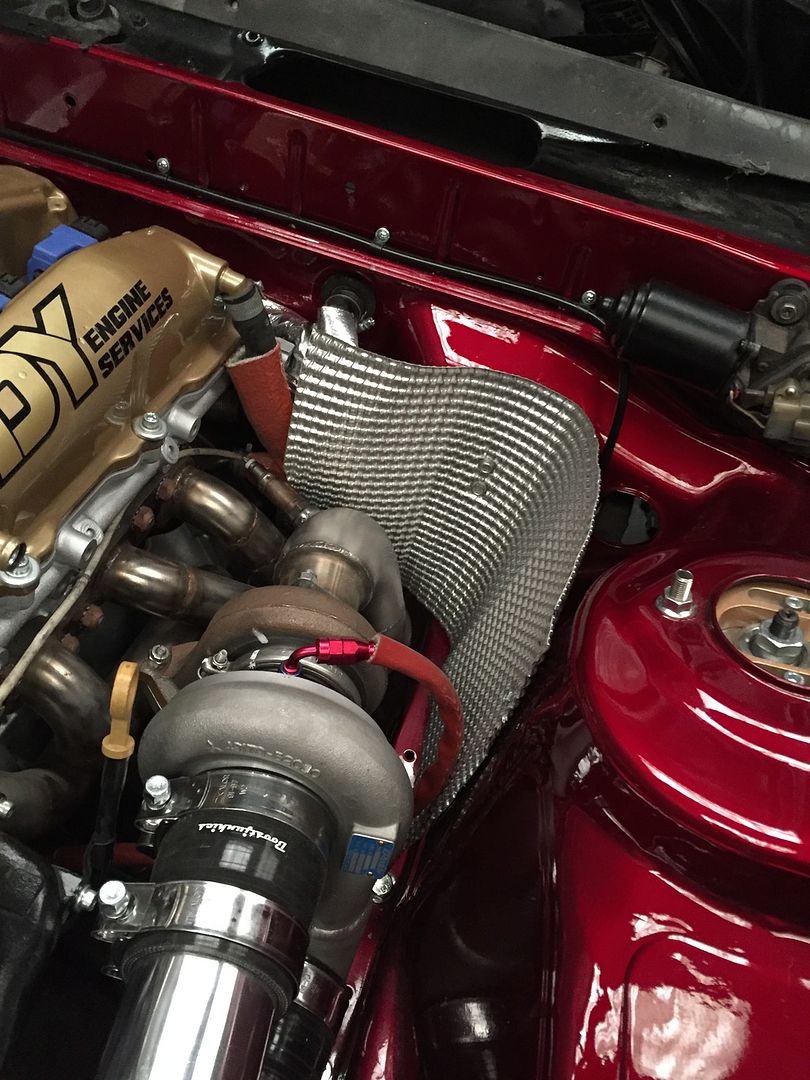 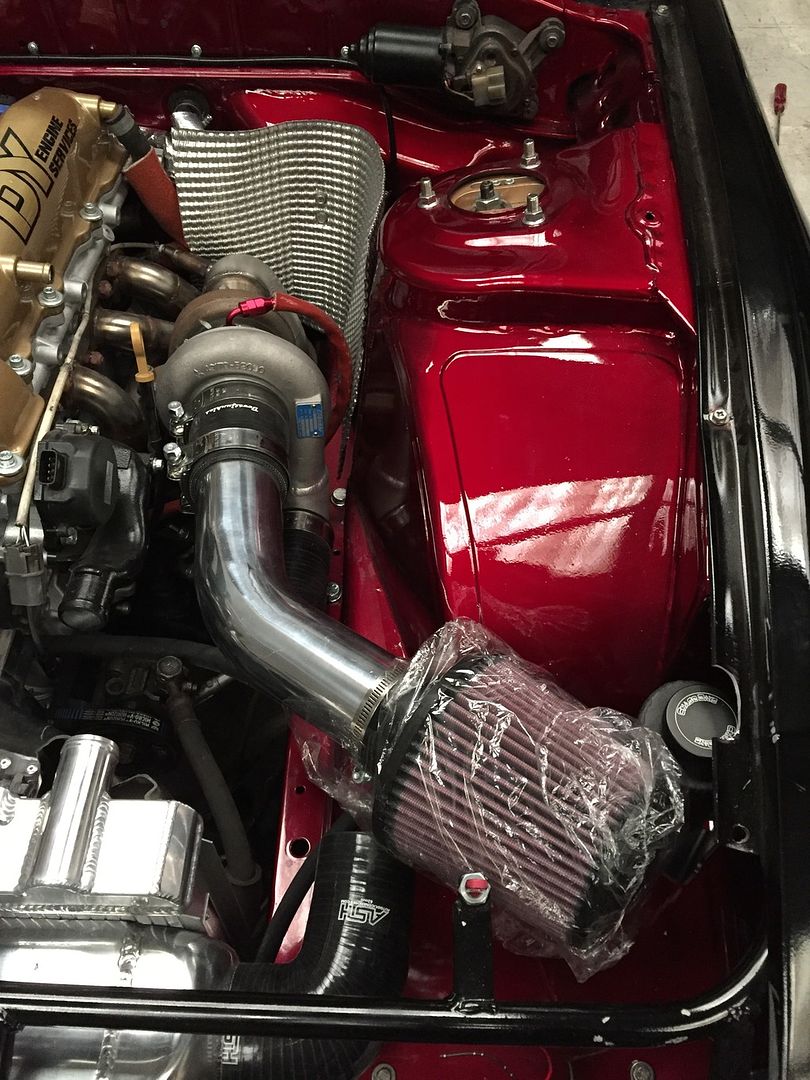 The heat shielding is a god send to work with! I tried to get a nice fluent curve to make it look neat, whilst making sure it follows the areas its trying to protect. For example, you cannot see it in the pictures, but the bottom of the heat shielding near the firewall mimicks the downpipes shape to try and control where the heat is dispersed to   What with the turbo sitting fairly low to a conventional top mount setup, I was kind of worried about the brake line. So I made sure the heat shielding sat low enough to protect the brake line, as well as a bit of fire proof sleeve for good measure :thumbs: 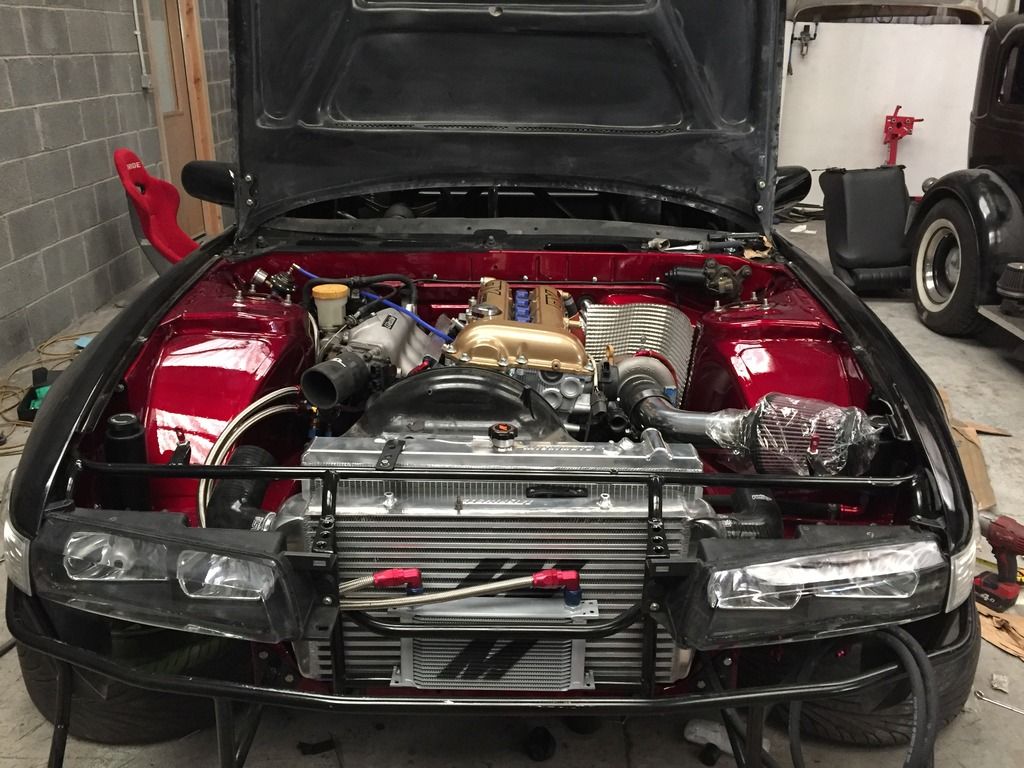 At this point, I received the adjusted brake line back, as well as a custom clutch line Proline Motorsport made up for me. Both of which fitted perfectly! 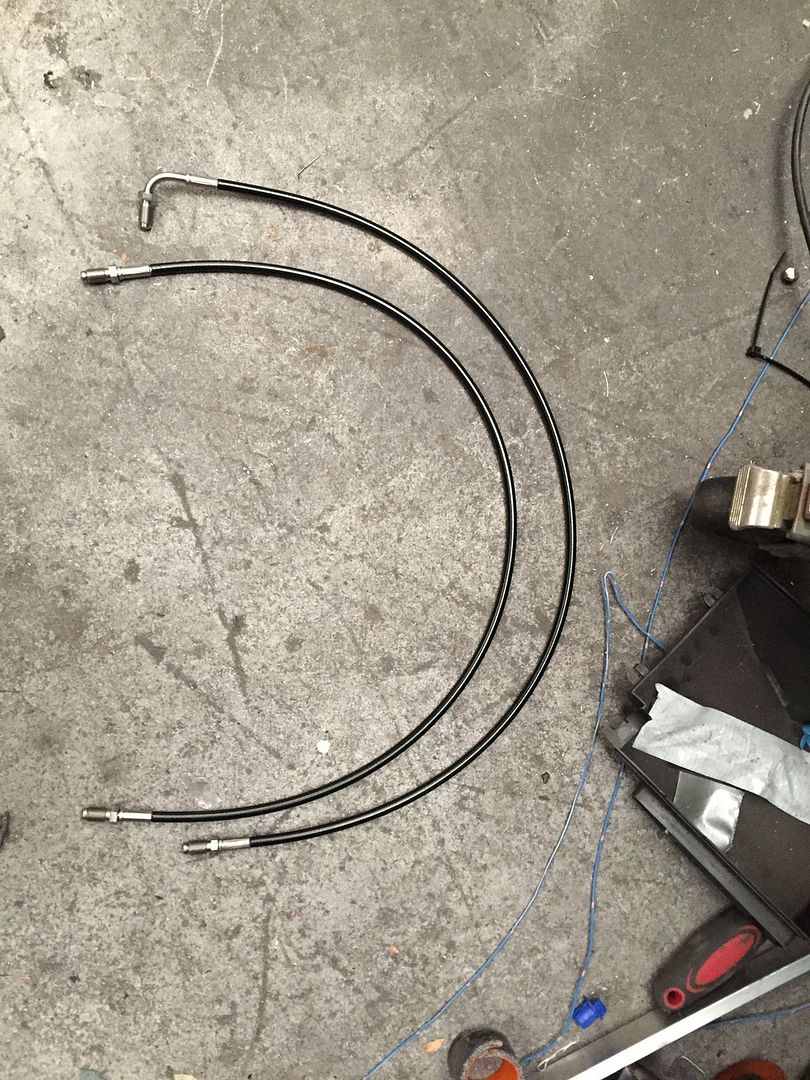 (Apologies for the terrible pictures, but light conditions are terrible under the car, who’d have thought that :wack: ) The issue with the Z33 box is that; a) The slave sits on the opposite side, so a custom line is required b) The gearbox sits fairly low, so I don’t exactly want the clutch line to be exposed should I run over a curb on track or something. So here’s how it sat once installed; 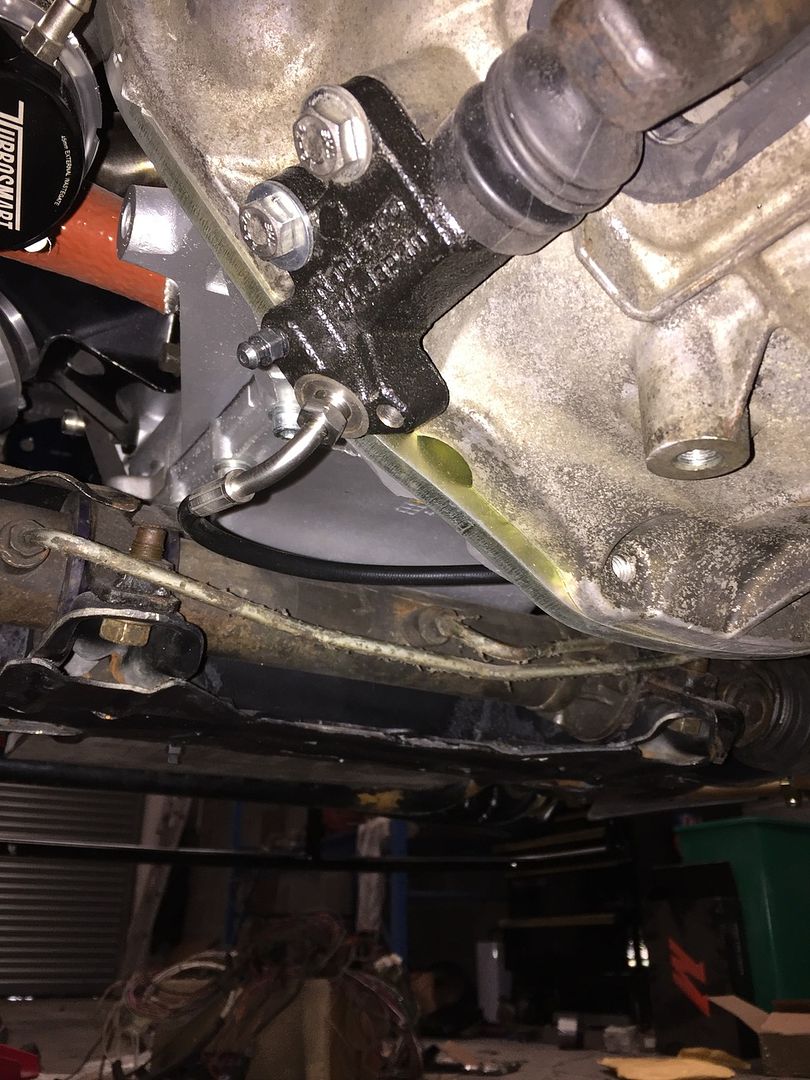 Thankfully, the 90* bend ensures the line doesn’t hang down which im stoked about. After speaking to 2 friends who run an SR/Z33 setup they both run their clutch lines different ways. One of them runs the clutch line to the front subframe then around, whilst the other follows the gearbox around the top. Neither of which aren’t exactly what I had in mind, as I wanted to make sure the hose was tucked out of the way as soon as possible, whilst keeping it away from the turbo/manifold & downpipe area. With this in mind, I noticed there were 2x M6 threads on the rear of the sump, which meant that I could just a P-clip there, so essentially following the gearbox around the bottom and straight up to the master cylinder. The biggest issue here was that I didn’t want the bolt to foul on the flywheel, but nothing a lil’ bit of common sense could sort out. Hopefully this will make things a tad clearer; 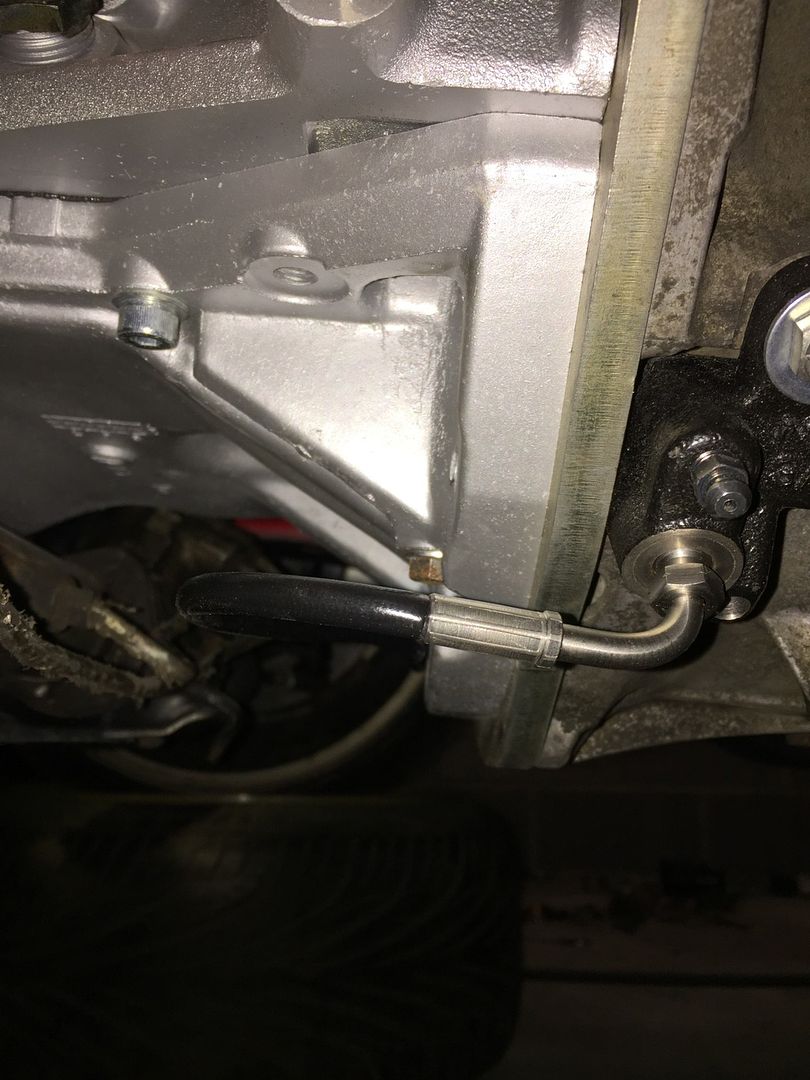 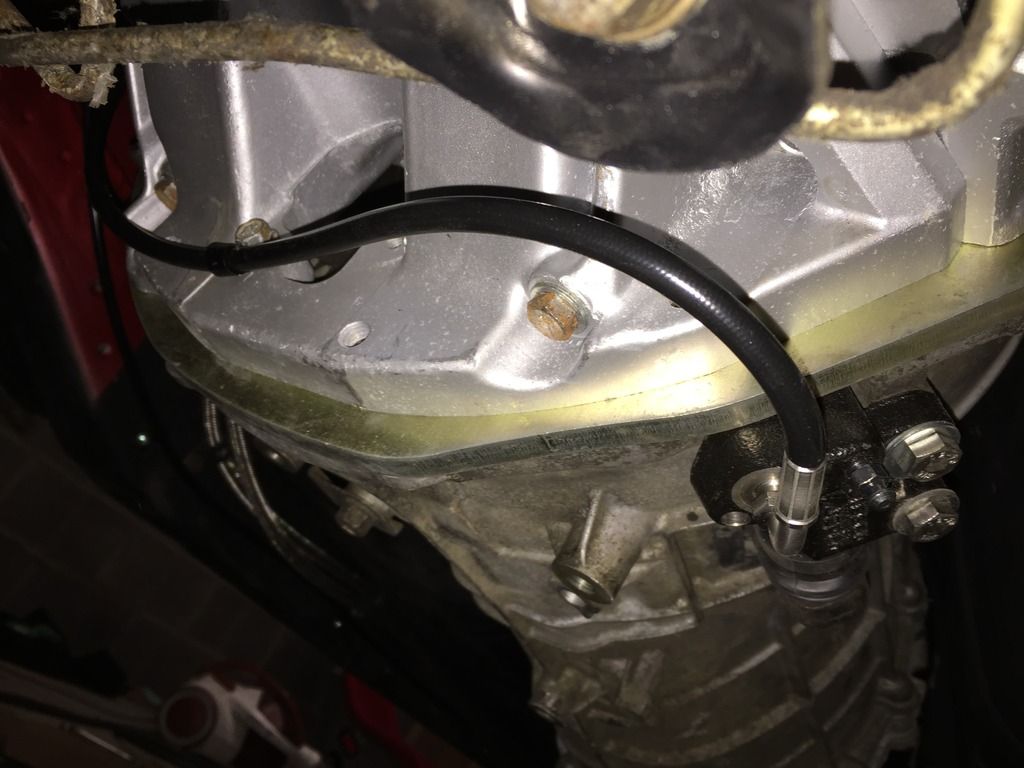 So that’s me kind of up to date at the moment, ive got a few little bits turning up but im hoping tomorrow the intercooler pipes will be welded up and fit without any drama’s (*touch wood*). I ordered up 2x pair of brake pads earlier, with one pair I spec’d to try and keep up with the track demands and kind of match the front pad (Ferado DS2500’s up front), with the other pair being chosen for their initial bite for the hydro pair of Z32’s. The mikalor clamps I purchased earlier were a tad too thick to sit properly on the throttlebody and the intercooler, so I decided to purchase my back up option, Murray's constant tension clamps, a.k.a fancy hose clips; 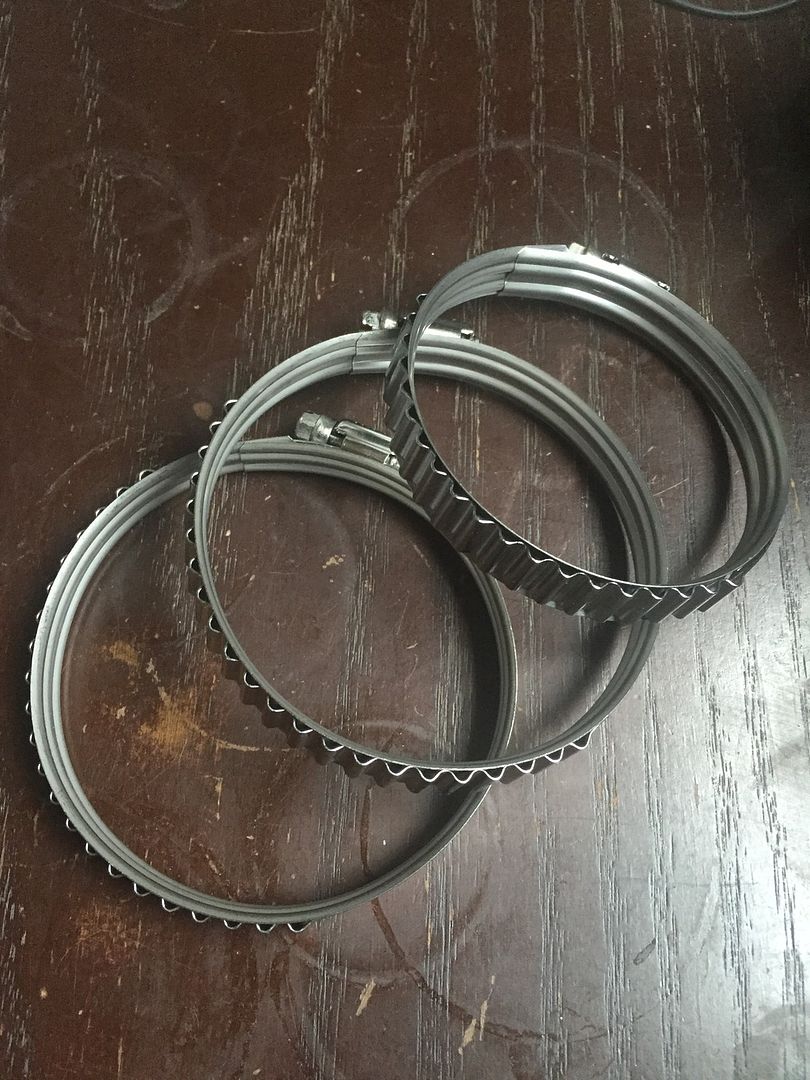 SO hopefully with usually correctly sized silicone joiners/bends and decent clamps all round, I'm hoping I wont have any boost issues. I picked up the intercooler pipes too, stoked with how they came out and so happy I chose stainless steel as the welding looks 100x neater! 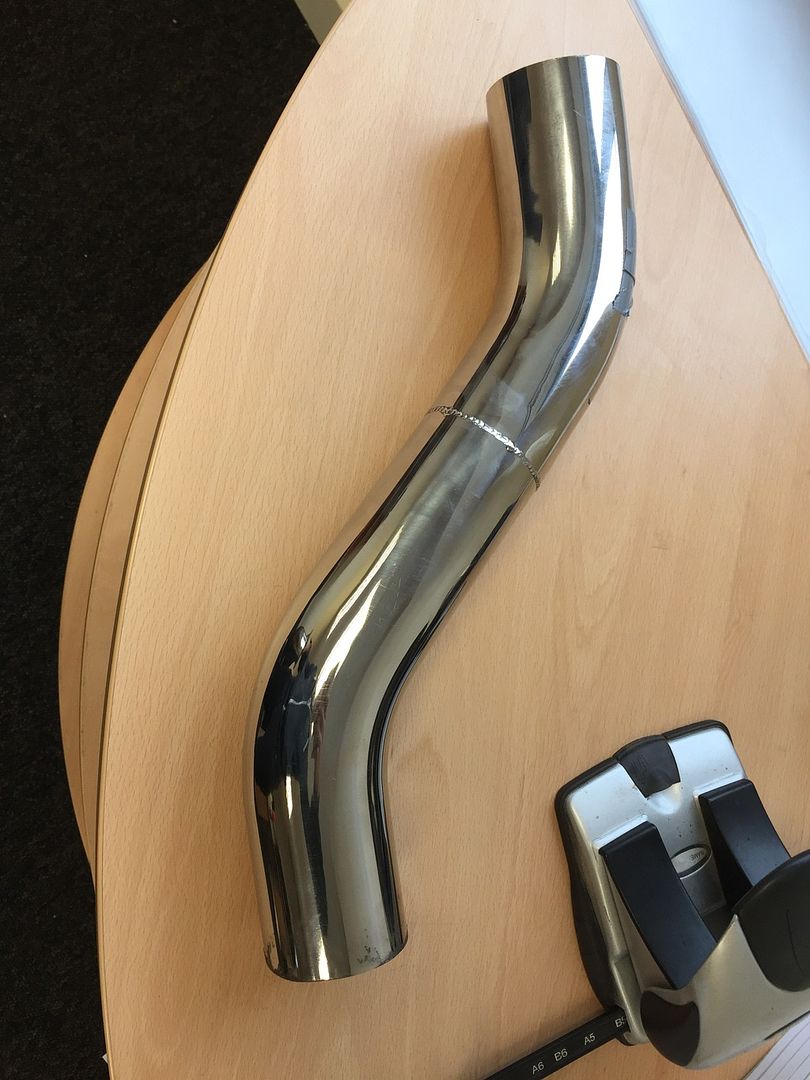 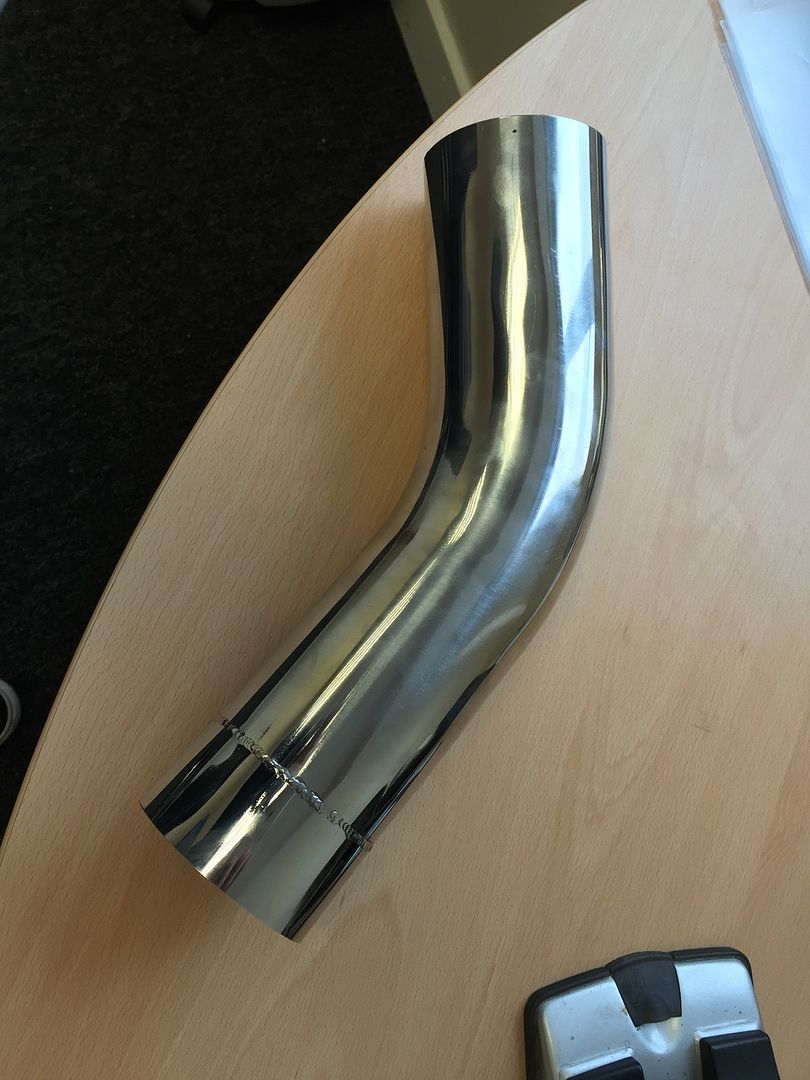 And the moment of truth as to whether they fit or not; 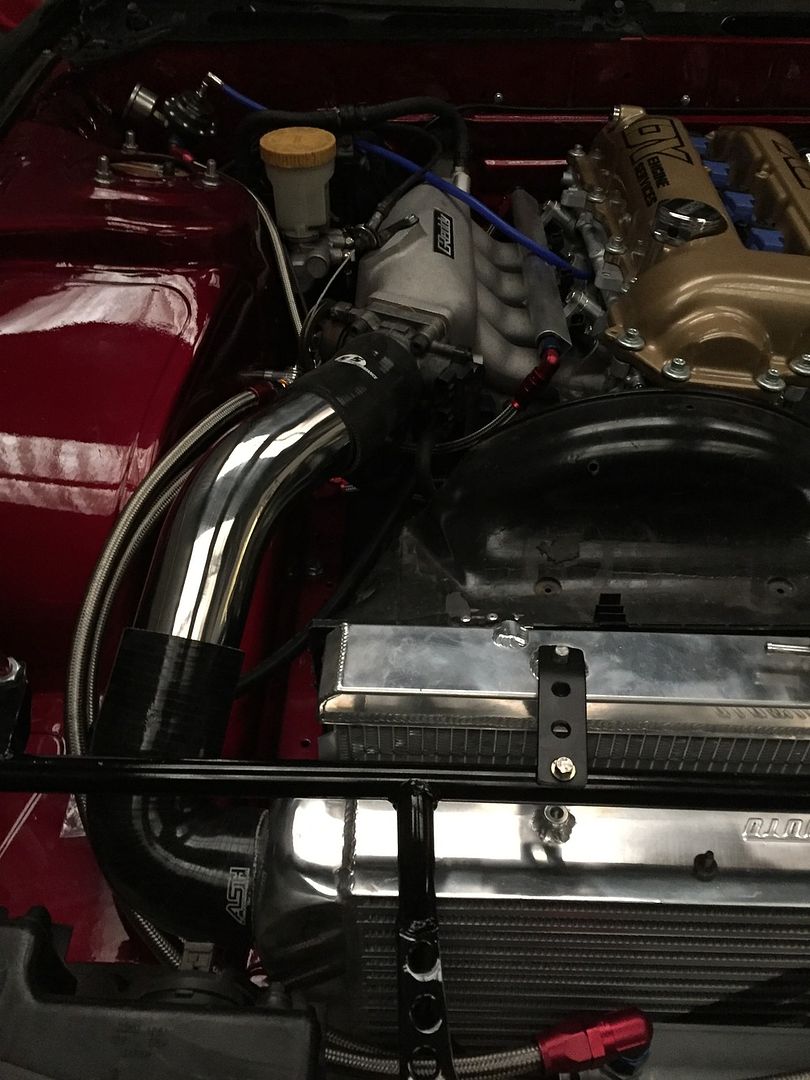 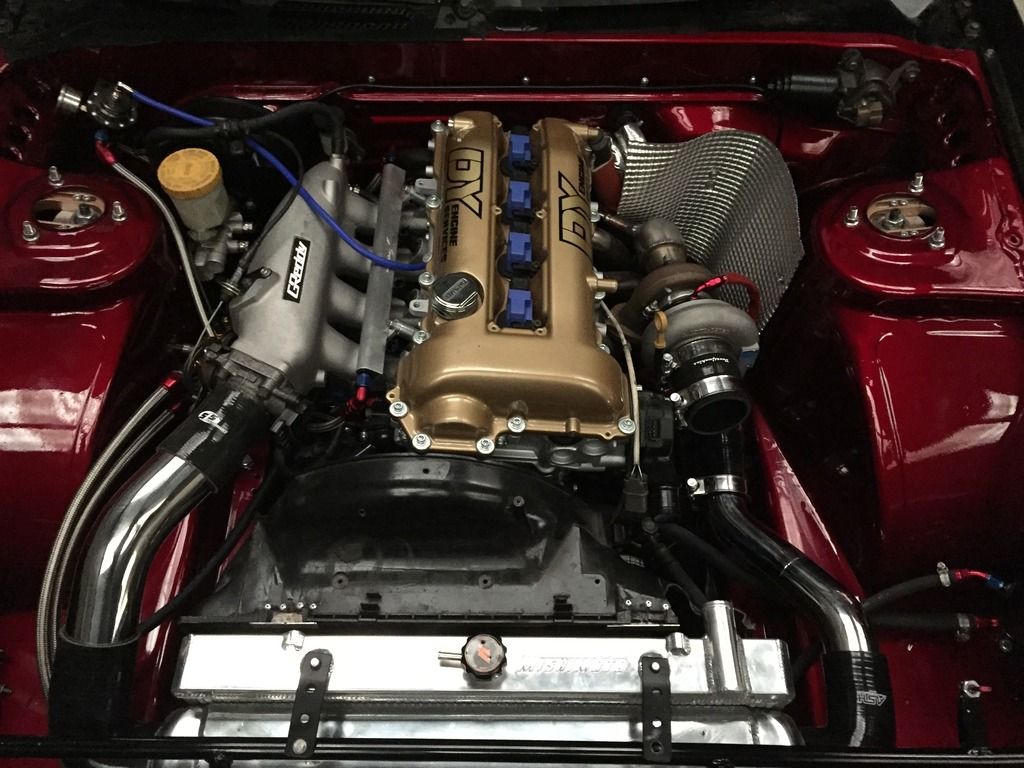 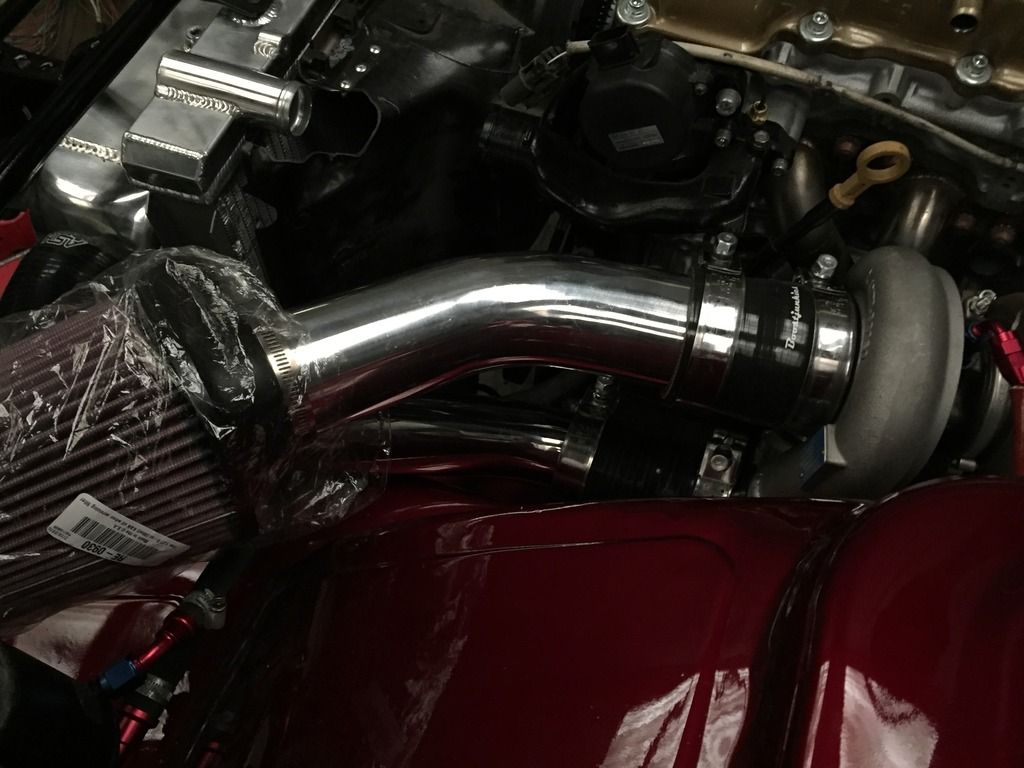 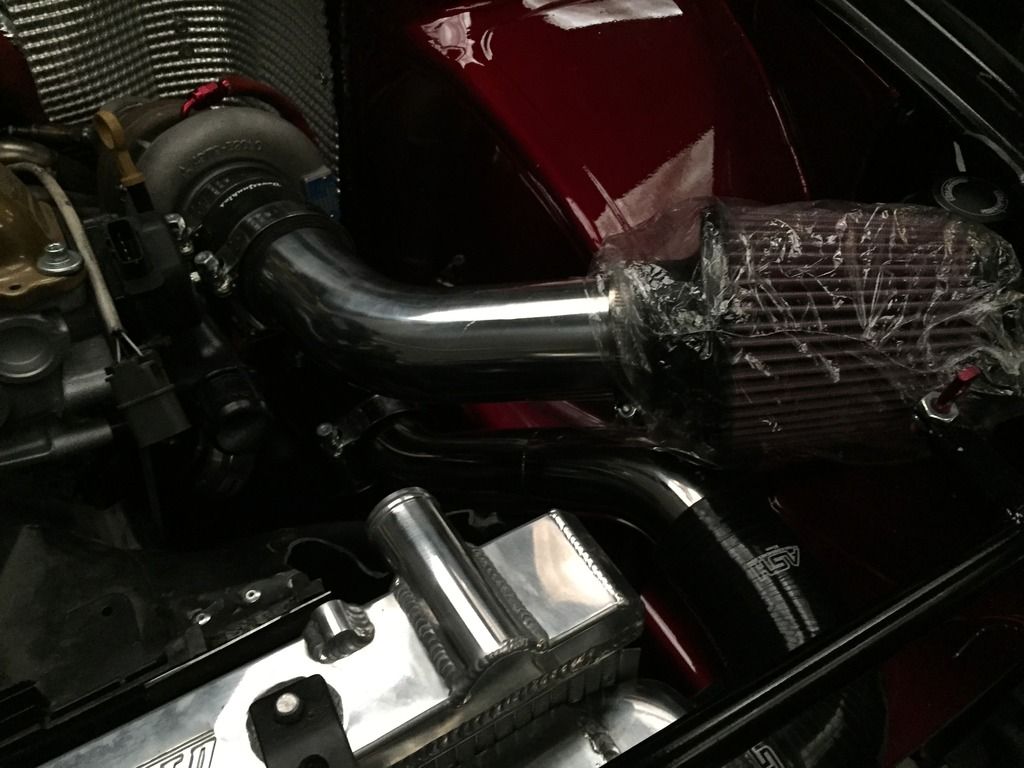 The cold side needs to be rotated to try and find that "sweet spot" where everything lines up perfectly, but even the worst case scenario is that it still fits real good!  |
|
|

|
|
|
#56 |
|
Leaky Injector
Join Date: Dec 2012
Location: Bristol, UK
Age: 30
Posts: 92
Trader Rating: (0)
 Feedback Score: 0 reviews
|
I finally got around to ordering x2 CA18 oil filters from Conceptua Tuning, which as much as I dislike the CA18 engine, they fit and they have a pretty vital job to do, so genuine filters were a must in my opinion.
Wont match the colour of the engine bay though!  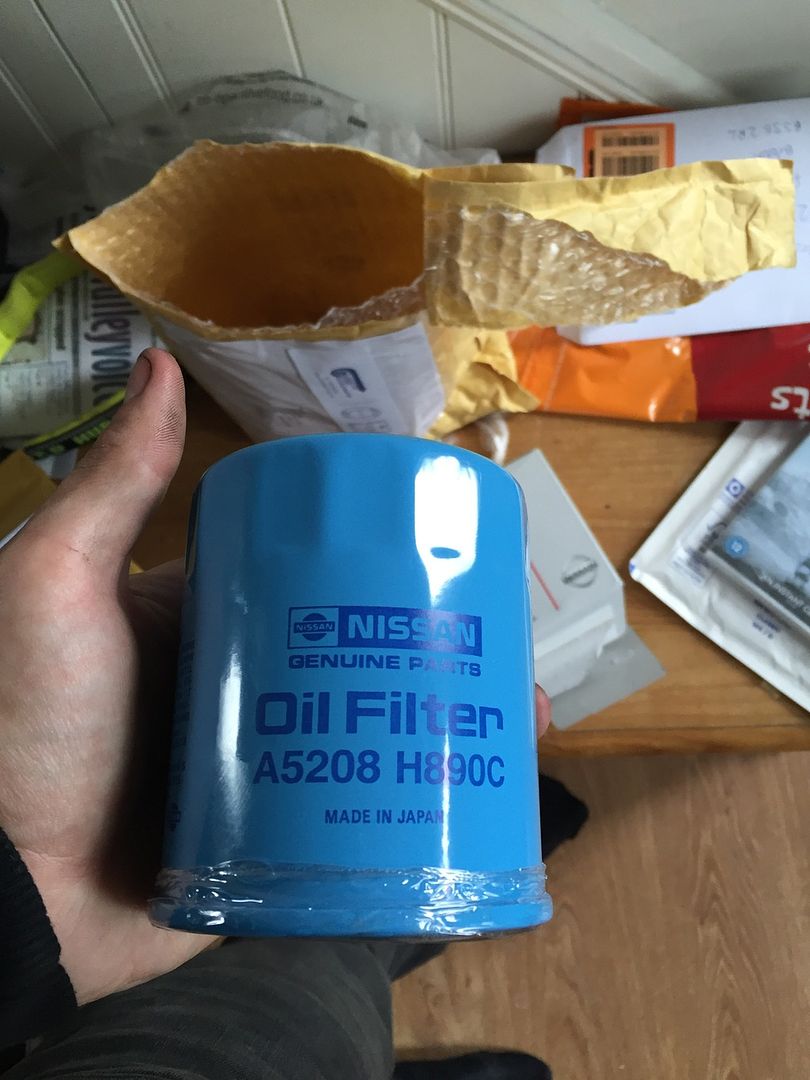 And all fitted, it looks pretty close to the inlet and it is to be honest haha, but theres enough of a gap in my opinion to allow the engine to move. It's bit tricky to fit with the alternator and AN lines in the way but it fits, and its out of the way from any harm  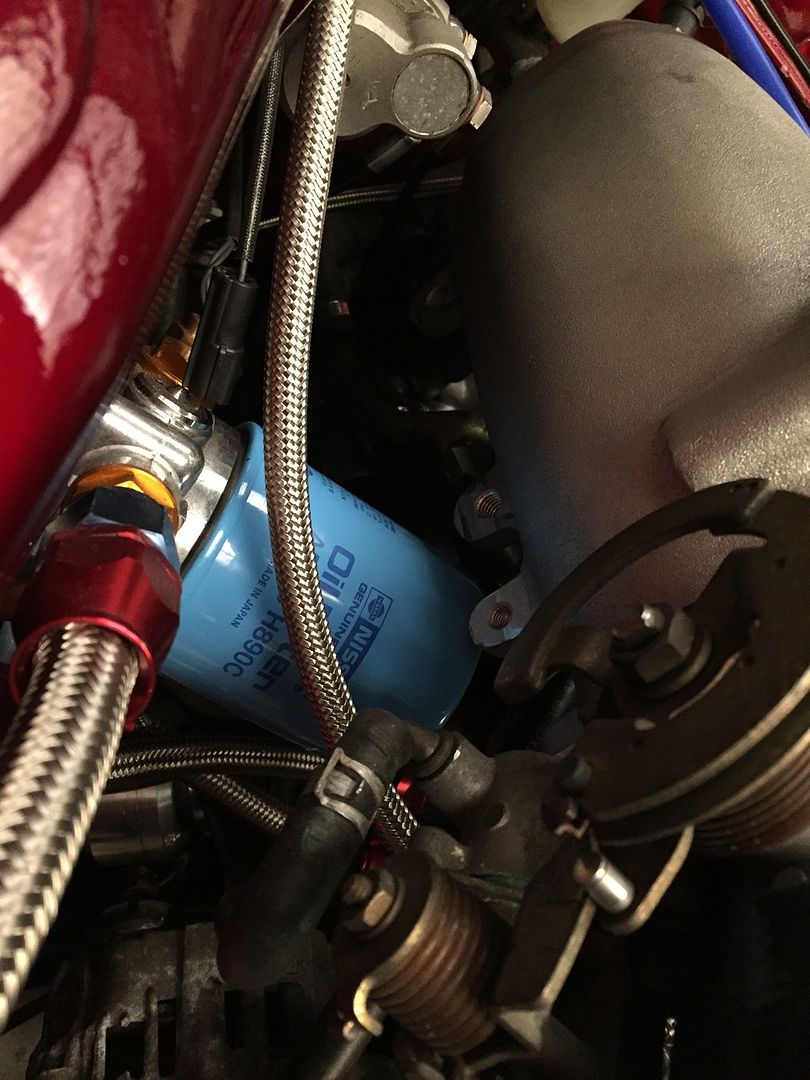 As I mentioned earlier, I went up to see Huxley to get some fittings welded on to the intercooler pipes, but due to being stainless we were unable to bead roll the edges like Diamondsink has shown above  So I dropped them back to the local welder near me who tried to build a bead with his TIG welder. It was never going to be a super neat job but the bead sits proud and should hopefully allow the clamps & silicone to bite into it should they begin to move. As a precaution, i'll probably assemble the intercooler pipes with hairspray on the ends, something i've been told helps the pipes from popping off. So I dropped them back to the local welder near me who tried to build a bead with his TIG welder. It was never going to be a super neat job but the bead sits proud and should hopefully allow the clamps & silicone to bite into it should they begin to move. As a precaution, i'll probably assemble the intercooler pipes with hairspray on the ends, something i've been told helps the pipes from popping off.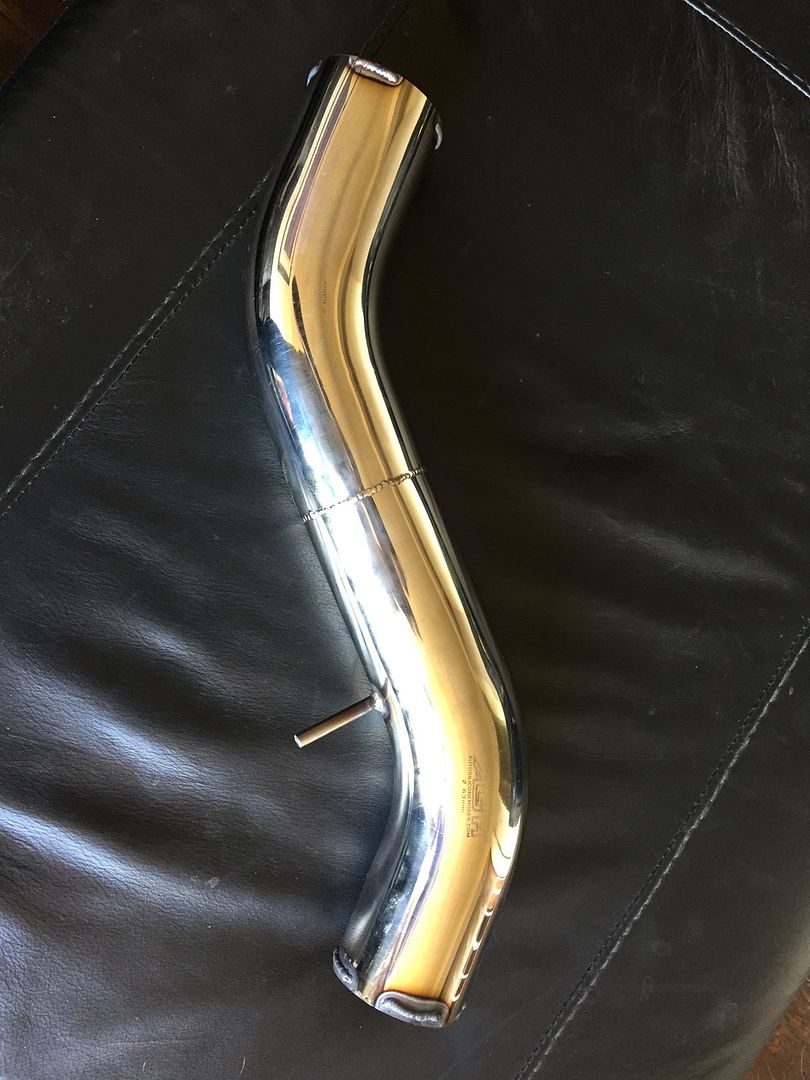 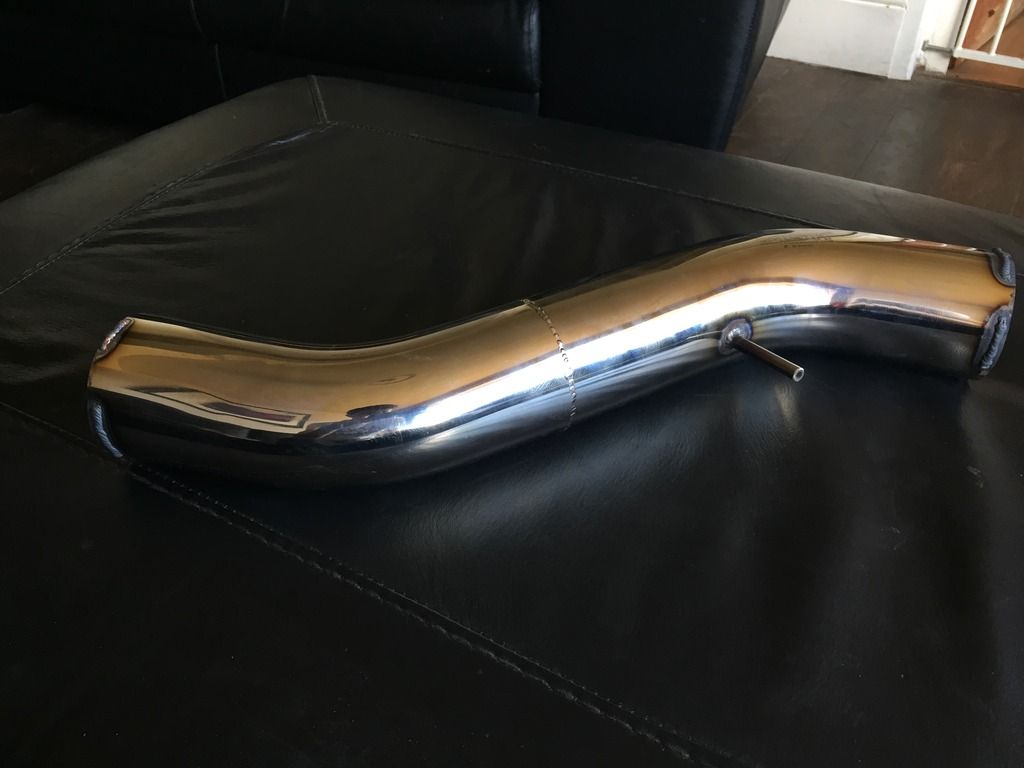 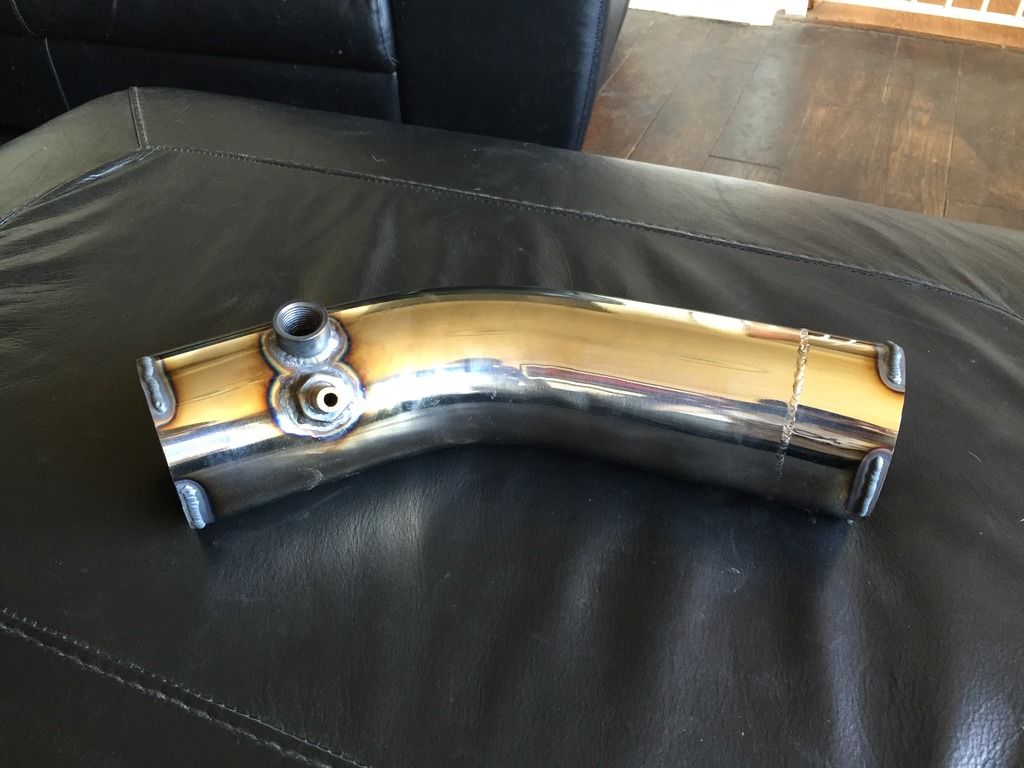 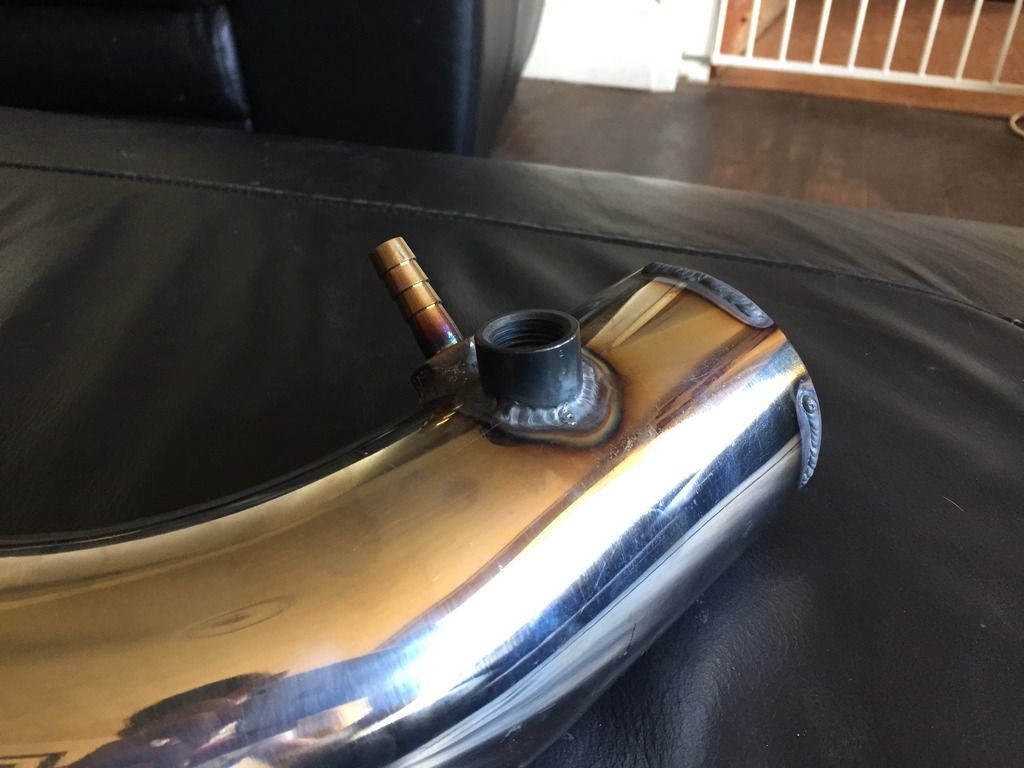 I just need to clean the insides of the welds to make sure the air can travel relatively smoothly, nothing vital but whilst its apart it may as well be done. Ive ordered yet more AN6 Teflon hose which should allow me to finalise the fuel setup, which is just the feed & return from the intank pump. Whilst I could just use regular hose clamps, Ive opted for some fancy hose finishers as I wasn't sure they are a requirement for the teflon hose or not. If they're not, well at least they look pretty haha!  So since the last update things have come on slowly, mainly with the engine bay coming together. Initially I wanted to give the intercooler pipes a thorough clean after hearing some horror stories. I tried my best to try and grind down the welds on the inside, whilst cleaning all of the debris with a wire brush, and air line and a good old wash; 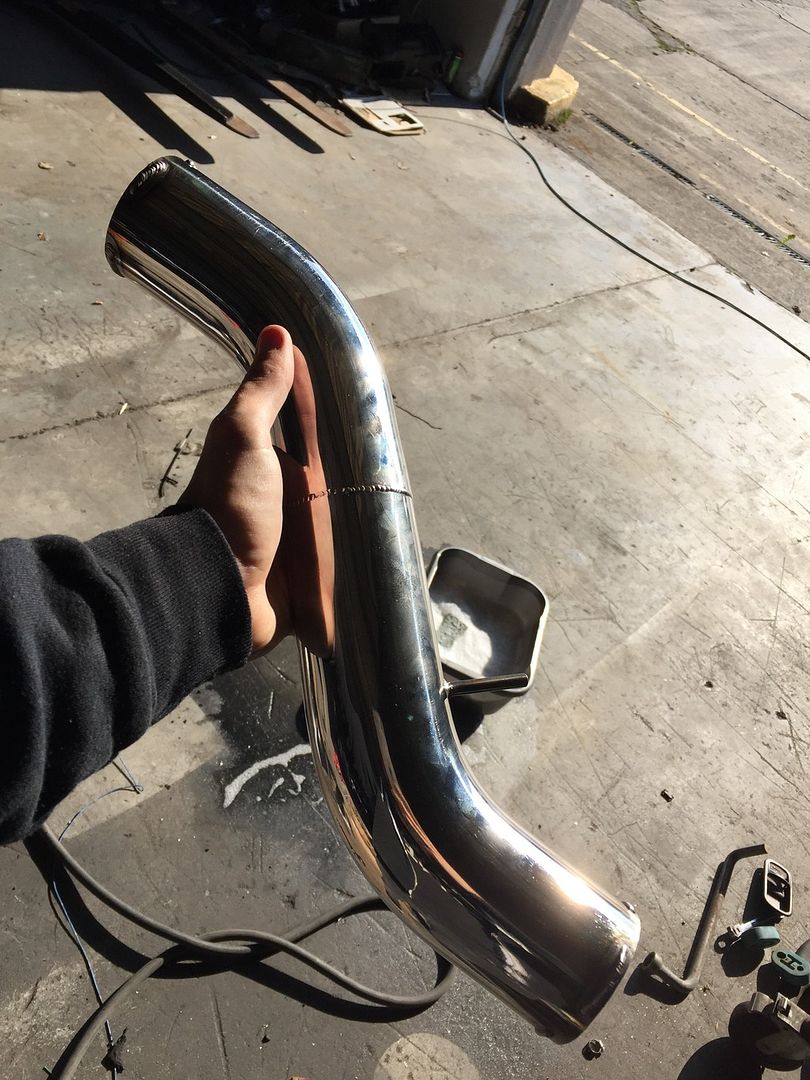 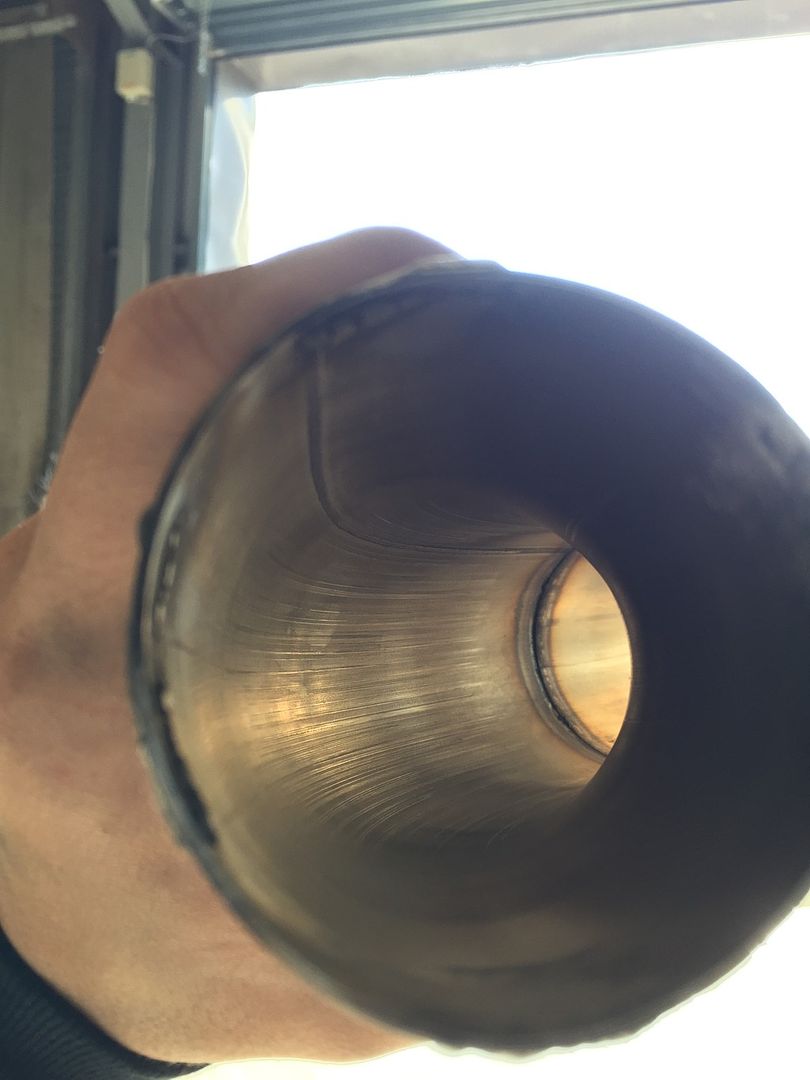 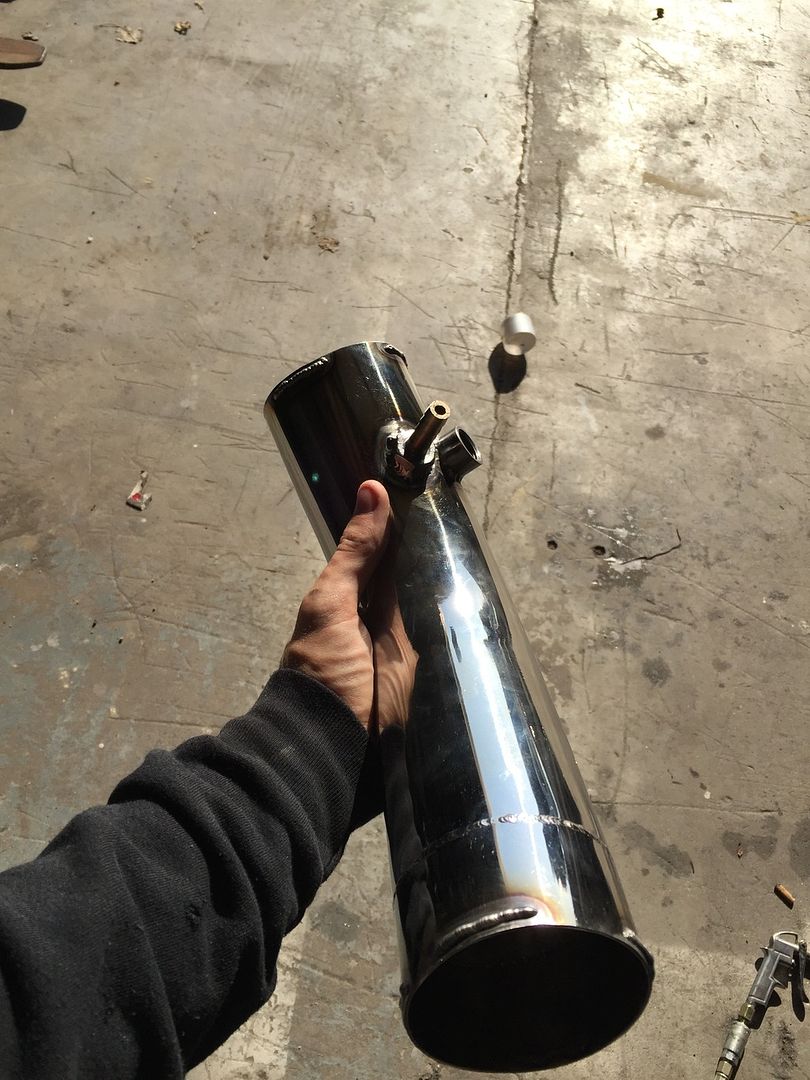 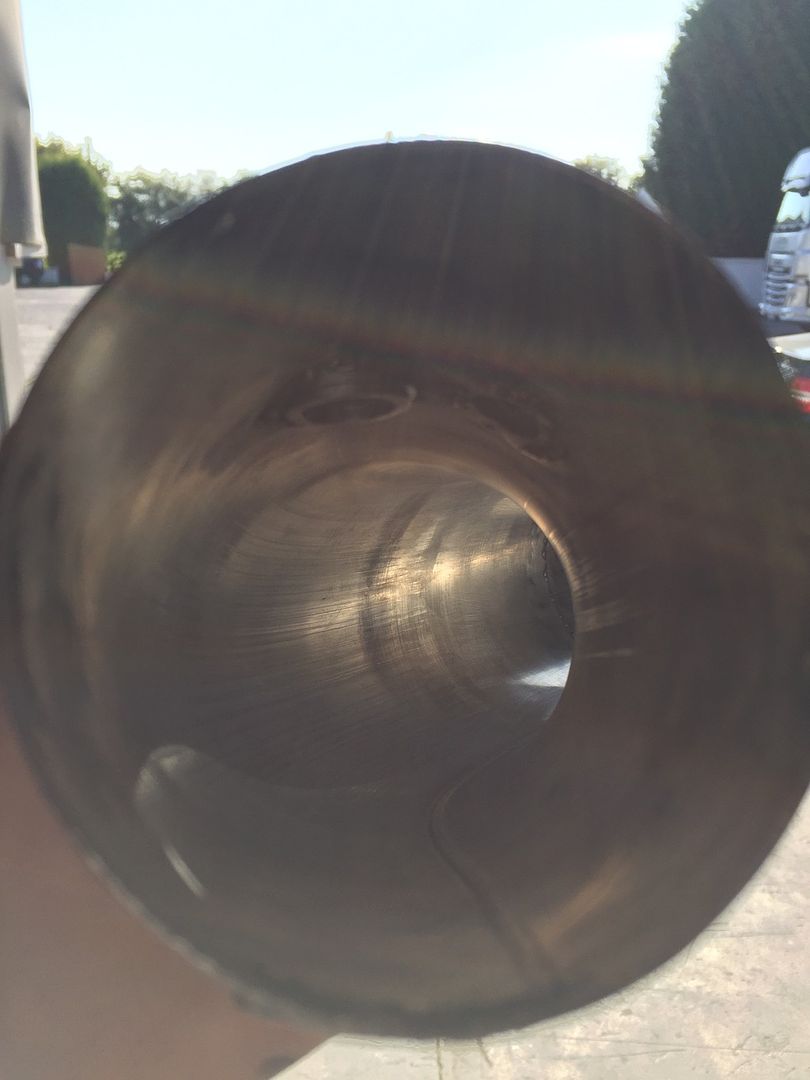 So I'm hoping *touch wood* none of the horror stories of loose debris going into the engine should surface  Anyway, I quickly got about spraying the ends of the pipes with hairspray as a precautionary measure and got everything assembled for what I hope to be the final time! Anyway, I quickly got about spraying the ends of the pipes with hairspray as a precautionary measure and got everything assembled for what I hope to be the final time!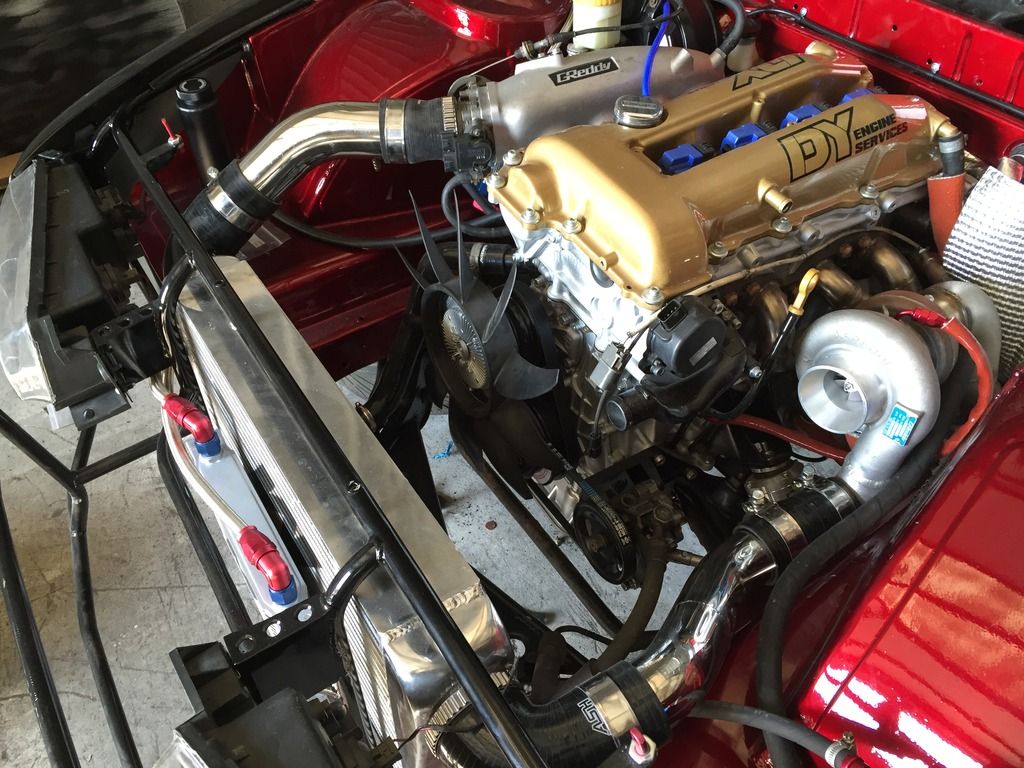 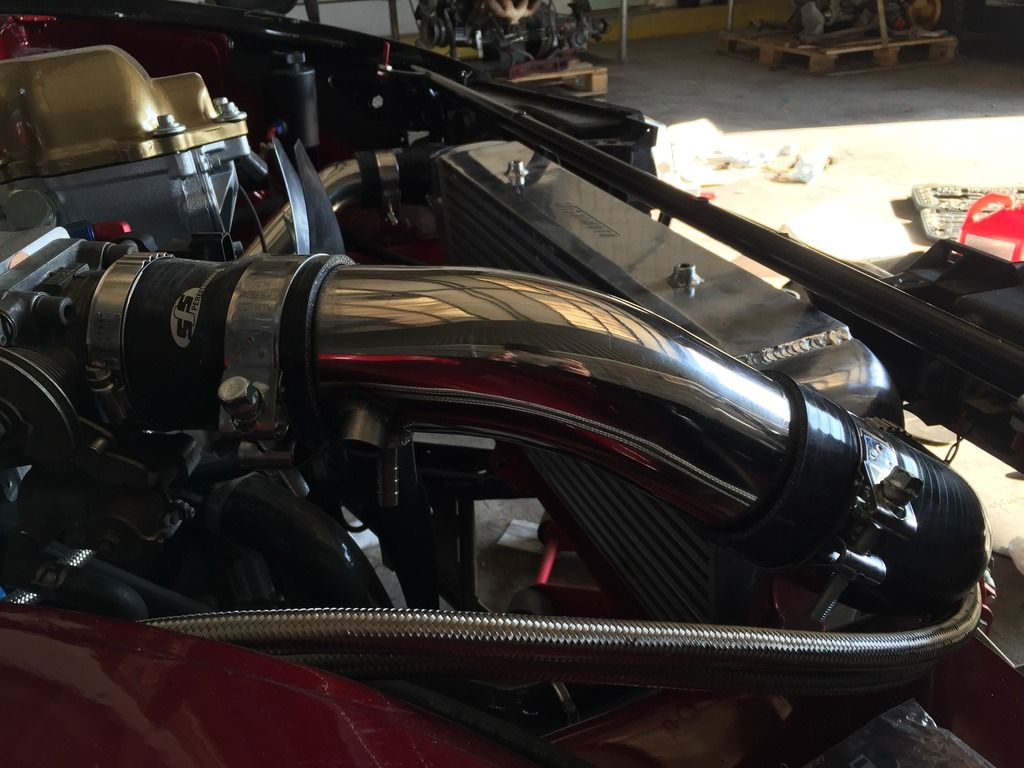 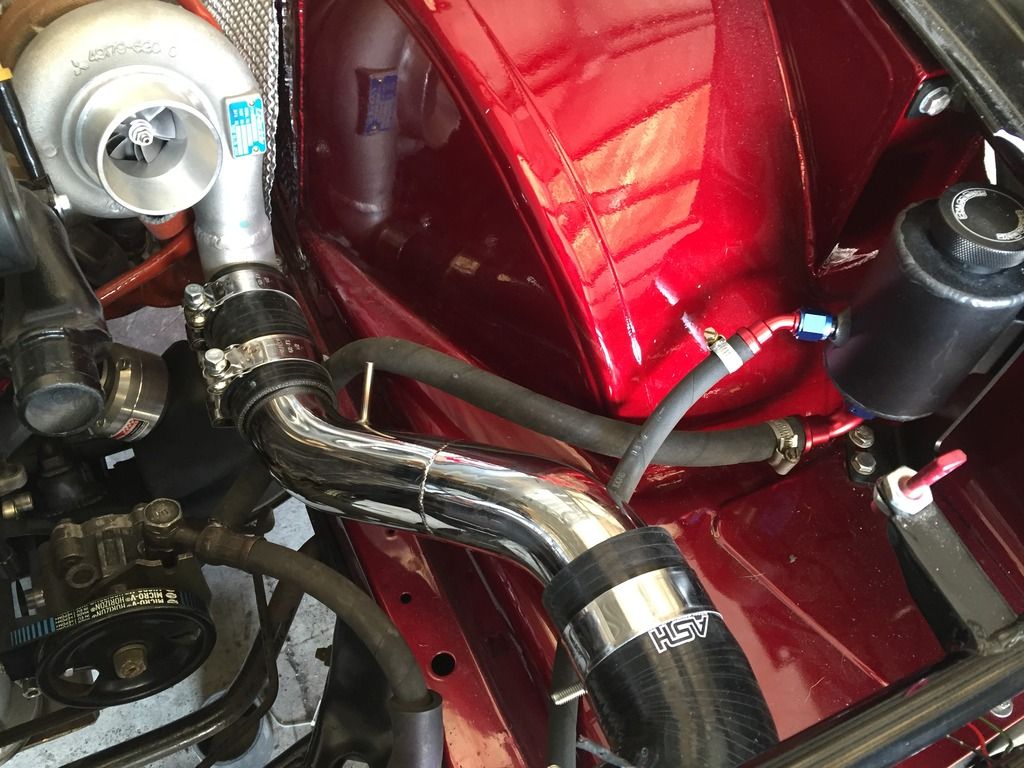 You can see in the above picture that Ive finally plumbed up all of the power steering side of things too, something I wanted to do after the intercooler piping was done so I can see what kind of clearance I have. The hardest section was the feed from the reservoir to the pump, due to an angle that needs to be created, which inevitably meant the hose tries to naturally kink. But after a bit of trial and error, I seem to have a nice bend without any kinks  The main bend as it goes around the intercooler piping; 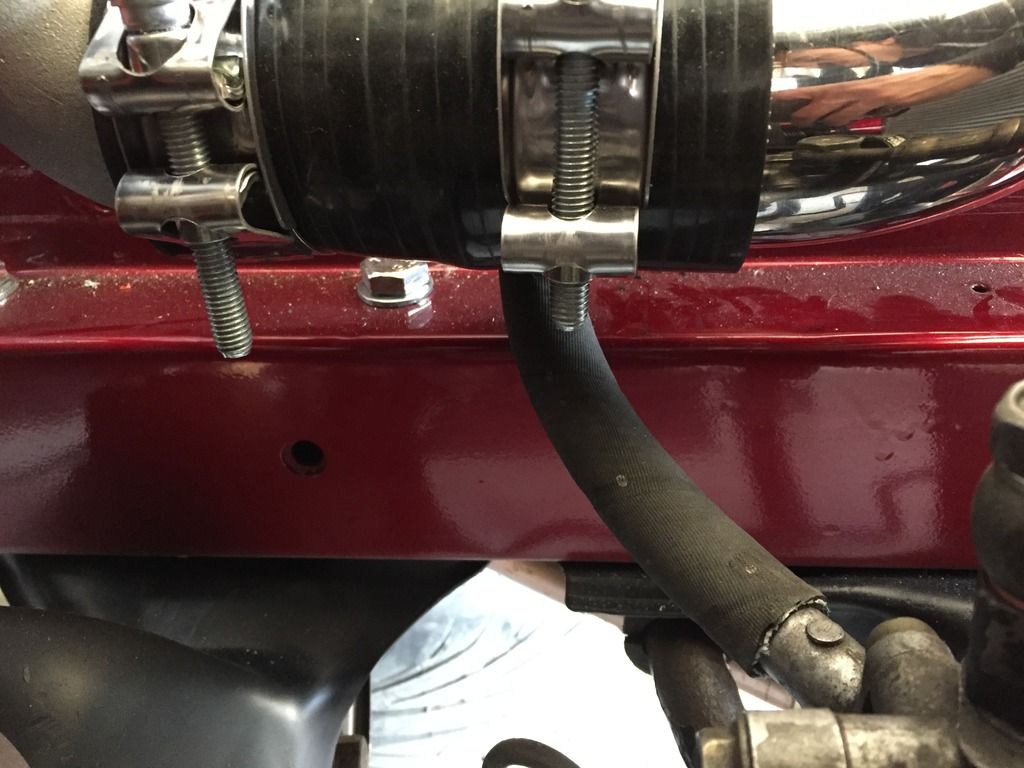 I put around 2 inches of fire proof sleeving over the hose around the section where it may touch the piping, purely just to stop and chafing in the future. And the lines to the cooler; 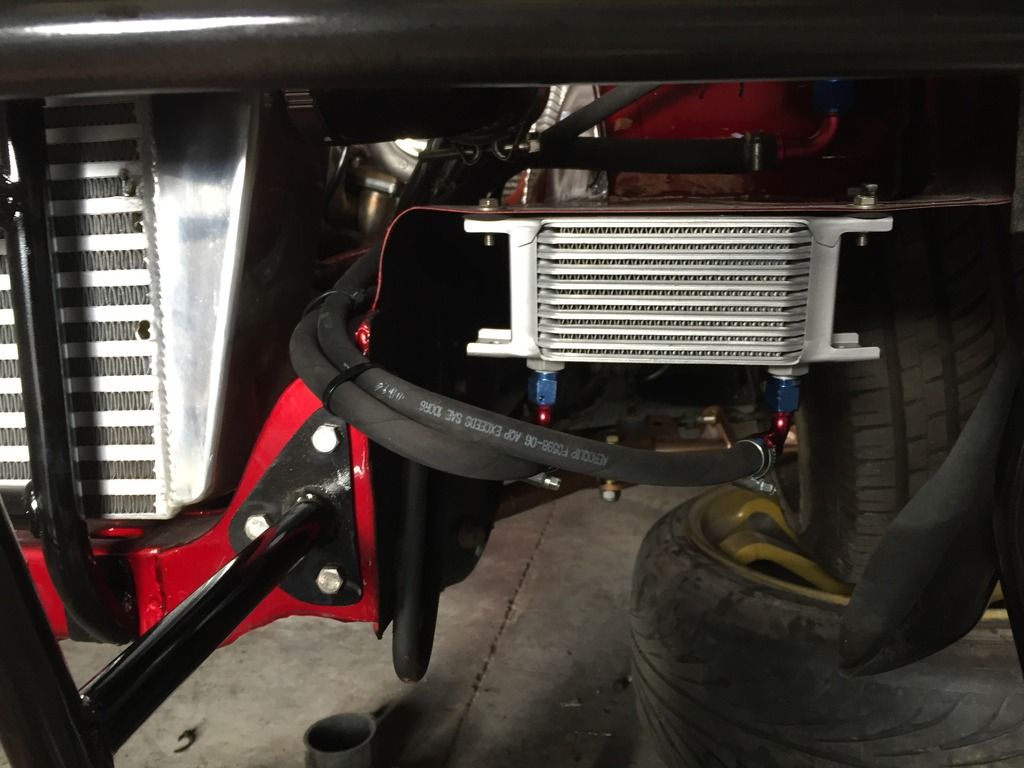 Anybody who have used the AN Socketless/Push On fitting will sympathise who hard the hose can be to put on the fitting, I was seriously struggling to try and make the hose reach the end! Well I suppose the silver lining is that a tight fit shouldn't leak  And finally, a more "complete" engine bay! 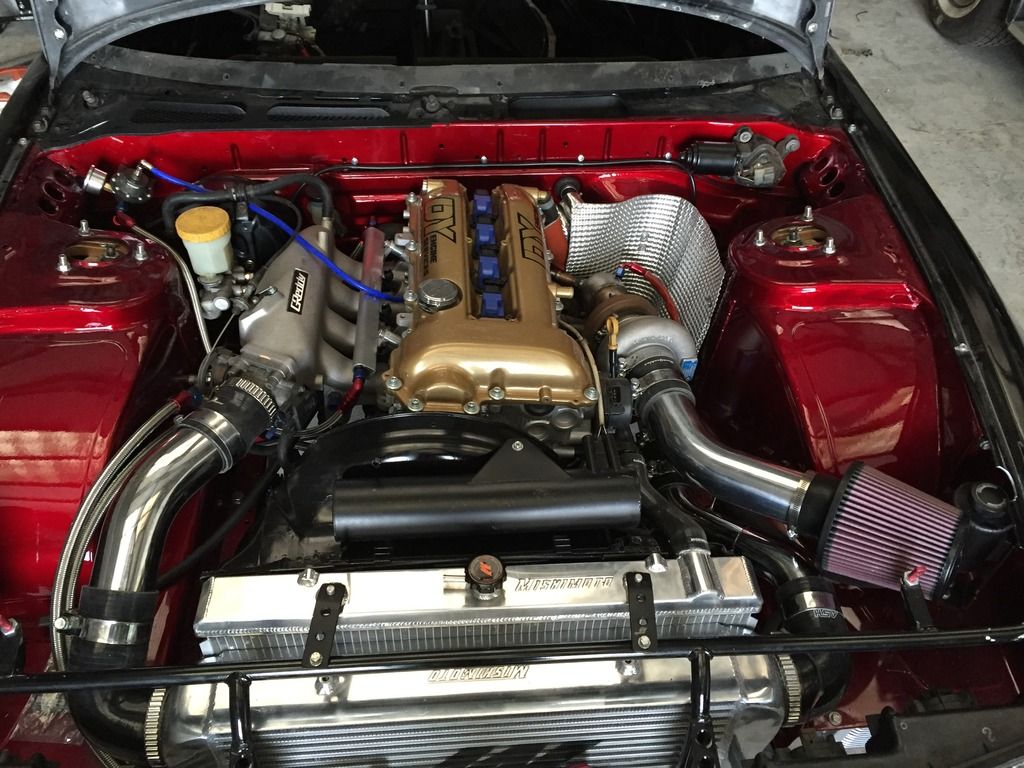 The shroud has been cut and messed around with to try and fit nicely, so its by far the most prettiest part of the car but hopefully it'll be useful and increase the efficiency of the cooling setup. 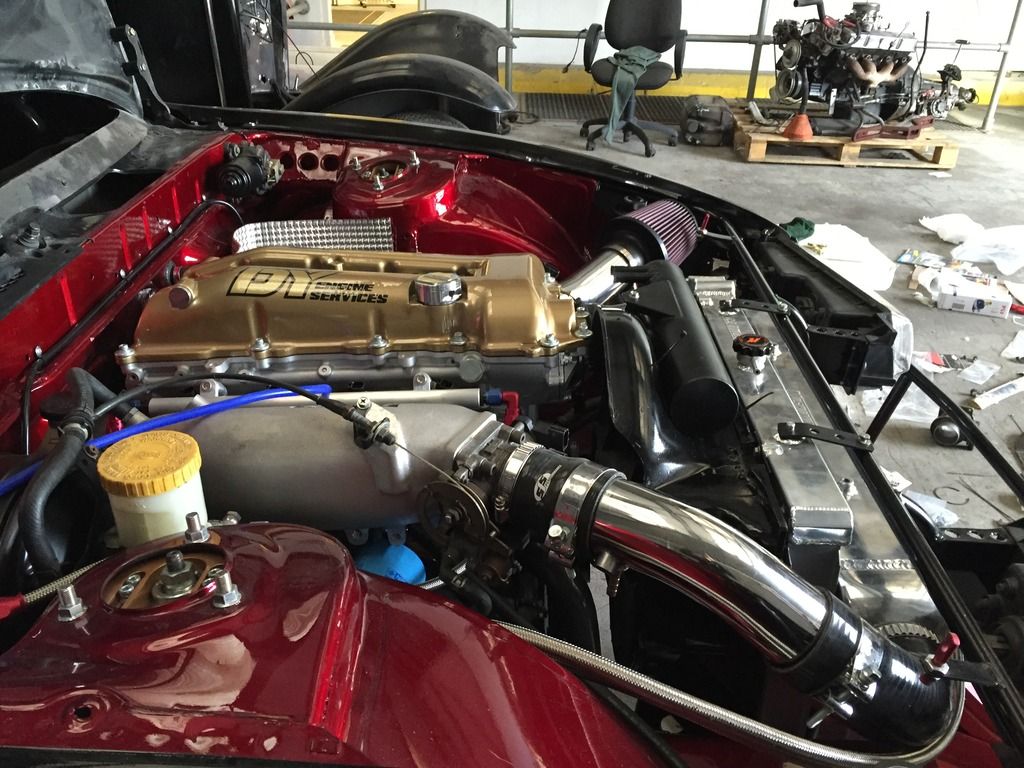 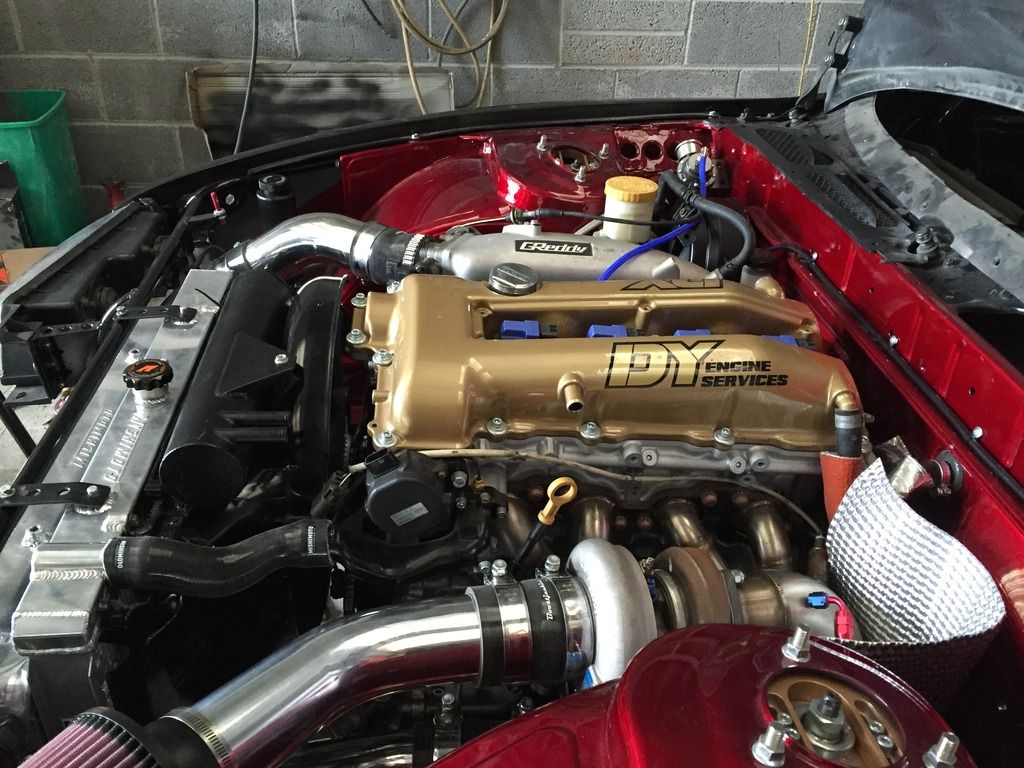 I finally set about finally completing the fuel system for good, which was essentially just the tank fittings left to do. The AN fittings were the usual procedure and fairly straight forward, but those little hose finishers were extremely hard to try and fit over the braid, but they seem to go nice and tight over the barb fittings fro the tank and look pretty so hey ho haha. 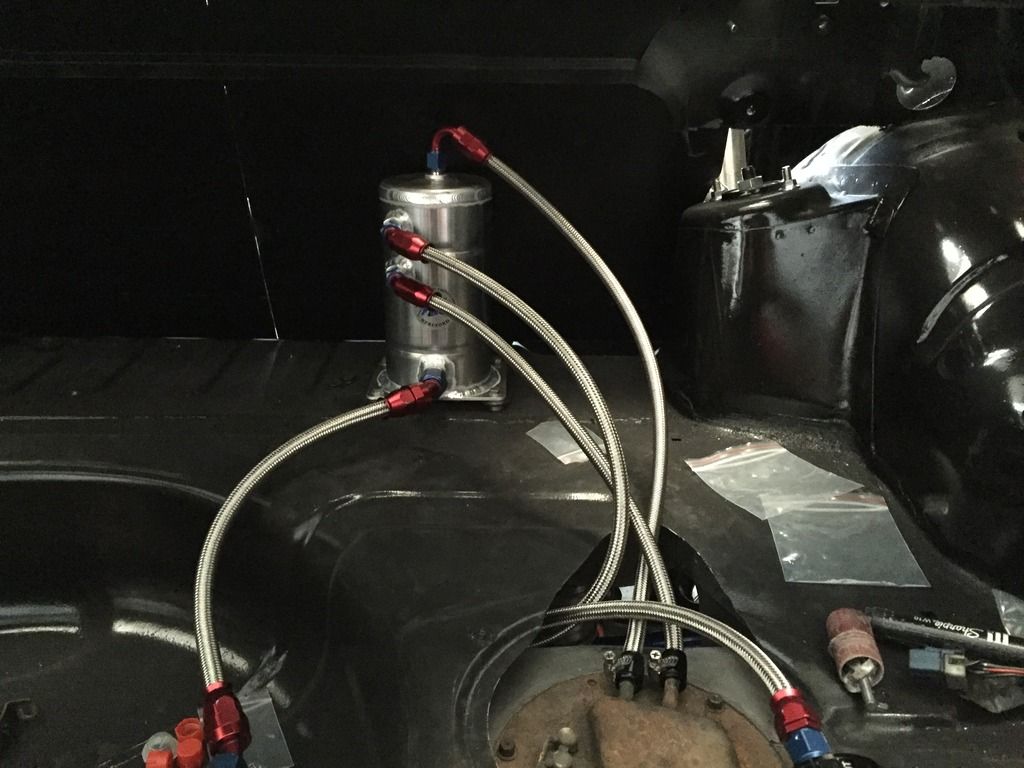 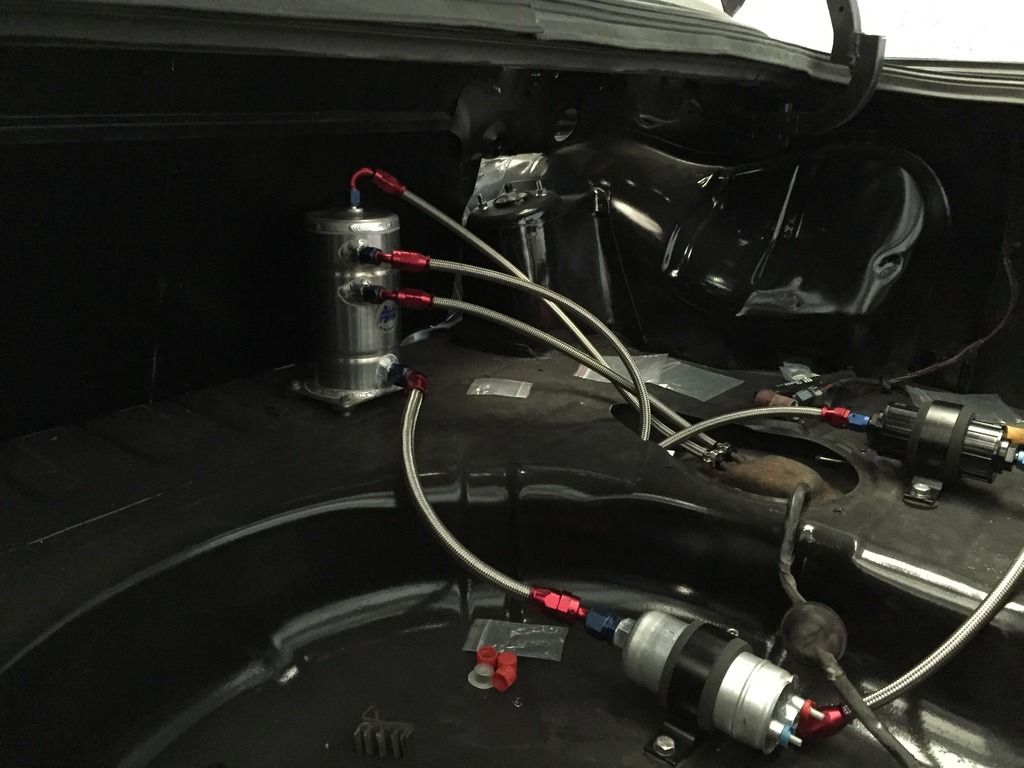 I'll probably chop about the standard cover that hides the top of the fuel tank, to try and stop any debris from entering the boot and hopefully tidy things up a tad in there. I havent done much since this as I somehow got drafted in to spray a trailer for my dad, but more experience with the spray gun wont go amiss for those inevitable replacement bumpers :wack: I went to go and see Dave @ DY Engines today, to grab some mineral oil and discuss a plan to try and move things along as quite simply, I'm procrastinating loads at the moment! But, we have a plan! Basically, were going to use the starter to help build oil pressure in the engine, which means I can see if anything leaks and get things ready for when Martin can come and wire the ECU up and get things running. So hopefully, if all goes to plan I should have some more enthusiasm to get this sodding thing running! |
|
|

|
|
|
#57 |
|
Leaky Injector
Join Date: Dec 2012
Location: Bristol, UK
Age: 30
Posts: 92
Trader Rating: (0)
 Feedback Score: 0 reviews
|
So not alot has happened recently, I went and bought this little suction syringe type thing yesterday to put the gearbox oil in. Its a bit tricky to start with, and well, gearbox oil is horrible stuff! But it seemed to do what it said on the tin and transferred enough oil of for it to slowly trickle out of the fill plug on the gearbox (3.1L if i remember correctly
 ) )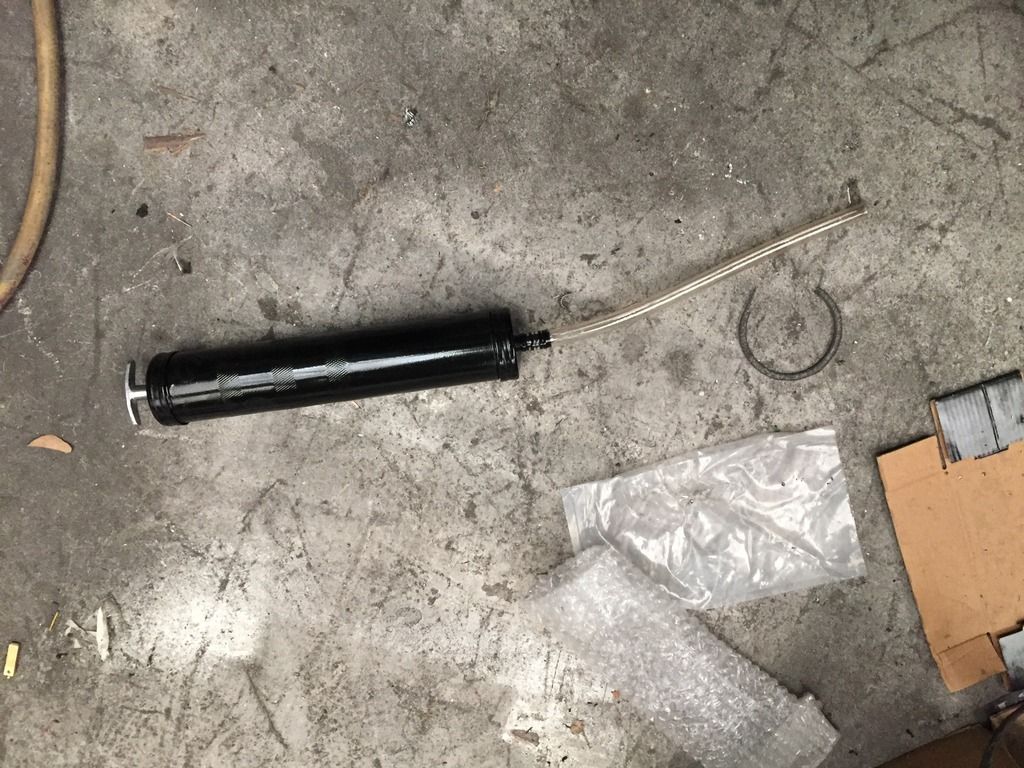 My biggest worry was whether the bell housing had sealed properly since having the gearbox apart for the machining work. But, having left it overnight all seems fine thankfully! If it i'd leak, it would probably have to be an engine out job due to the size of the gearbox in the standard transmission tunnel! I've also finally bonded the roof spoiler on, which was a bit of a pain after the gun used to apply the sealant kinda broke. Anyway, I used the same bonding adhesive that I used on the windows and all seems fine and shouldn't be falling off anytime soon! 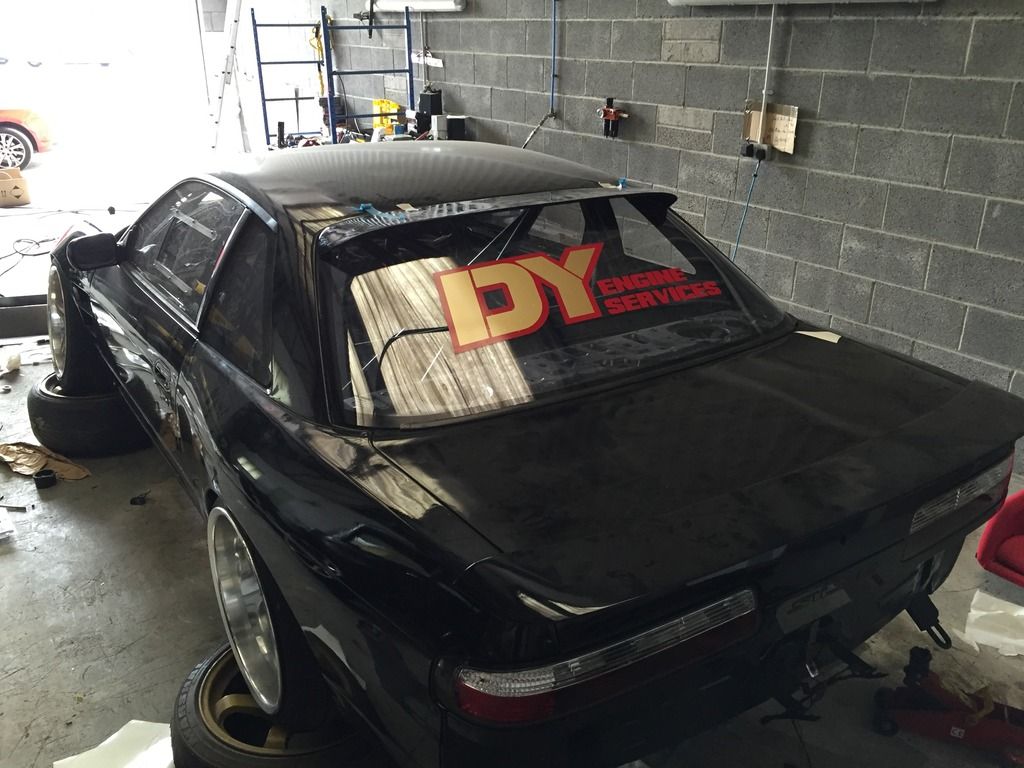  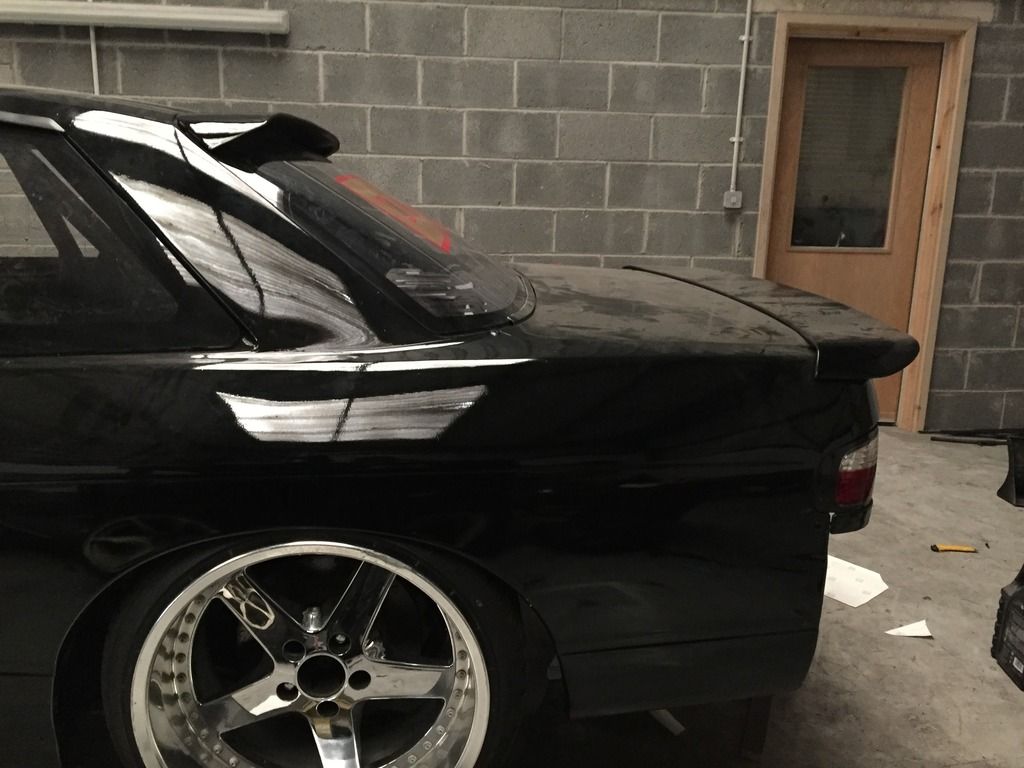 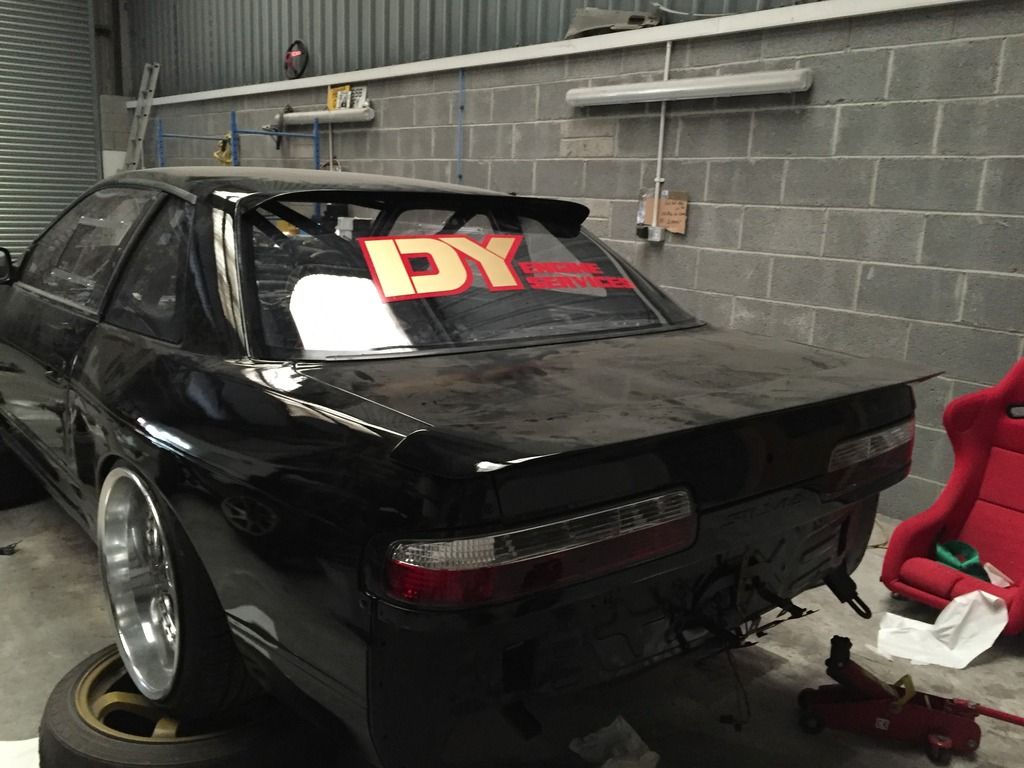 You can't really miss that big sticker on the rear window now, can you!? Anyway, rather than some peoples approach of trying to constantly seek any form of sponsorship in return for plastering stickers over their car for a slight discount, i've gone towards the approach representing DY Engines because of the awesome work they put into my engine, thats it! No discounts or free stuff, just pure appreciation  Hopefully, this car will have very little stickers because I'm more a fan of the simple and clean look, so this will probably be the only sticker to on the rear window and looks pretty damn cool in my opinion! I need to replace though, as I was a bit of a tit when applying it and managed to get quite a few air bubbles even when using a squeegee :wack: Hopefully, this car will have very little stickers because I'm more a fan of the simple and clean look, so this will probably be the only sticker to on the rear window and looks pretty damn cool in my opinion! I need to replace though, as I was a bit of a tit when applying it and managed to get quite a few air bubbles even when using a squeegee :wack:  This weeks job list is to slowly get the car ready to try and build oil pressure up and double checking the basic things that could cause issues or problems, and hopefully see about getting a windscreen fitted if I get a chance. And i'll leave you with one more obligatory photo with some fancy front wheels on. 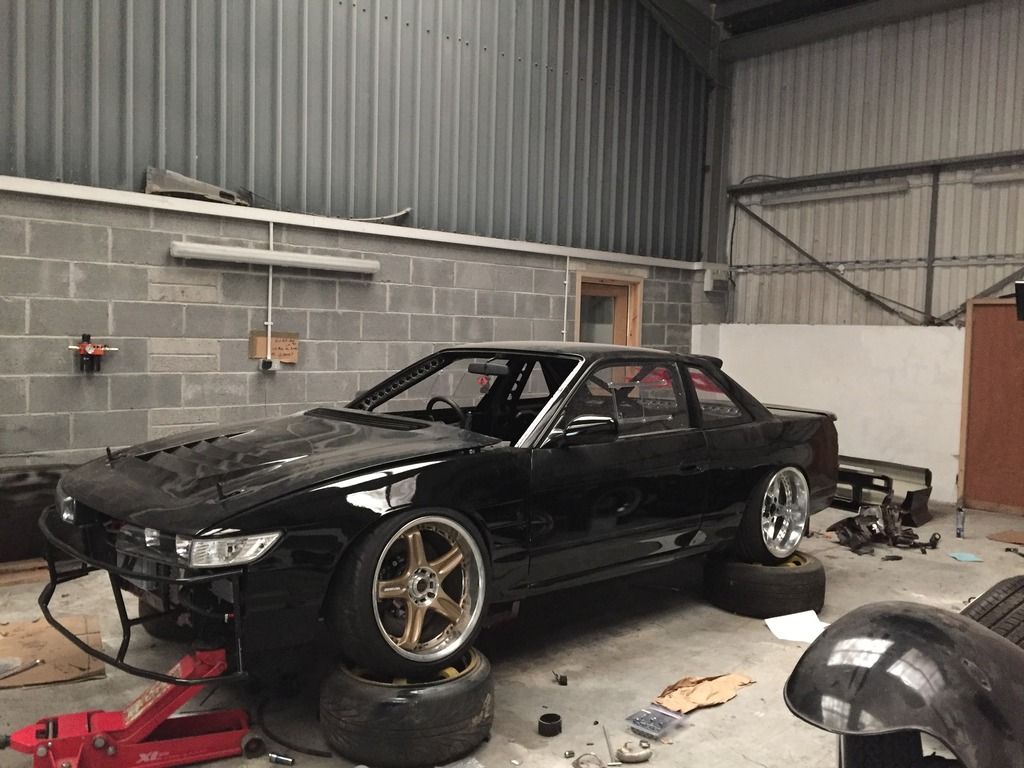 They're a friends wheels, but couldn't resist trying them on to see how they looked  I'll still go down the route of some Works CR Kai's in the polished/chrome look in the future though. But that can wait until the car is running! I'll still go down the route of some Works CR Kai's in the polished/chrome look in the future though. But that can wait until the car is running!2 small packages arrived, with the first being glorious brake fluid. Whilst this car will mainly be used for drifting, there will be the odd times where I take the car to my local track (Castle Combe) for a bit of grip driving, hence the large brakes and fancy pads. So for an extra few pounds, I did a bit of research and found that ATE SuperBlue brake fluid was highly rated for track use so it was a no brainer to order some up. It came in fancy tins too   The second package was some generic heat wrap and some metal cable ties. This won't be for the manifold or downpipe however, as I'm planning on wrapping the end section of the cat back exhaust. The reason behind this is with my old car, I found the heat from the exhaust began to melt the plastic shielding around the fuel tank. And after seeing pictures of an S13 set on fire in Japan due to the fuel tank catching alight, it was a no brainer whilst everything is apart just to eliminate that risk. The second reason is to help reduce any heat going into the driveshaft. Whether or not heat is a direct cause of the driveshaft boots failing is a different matter, but I can't see it doing any harm  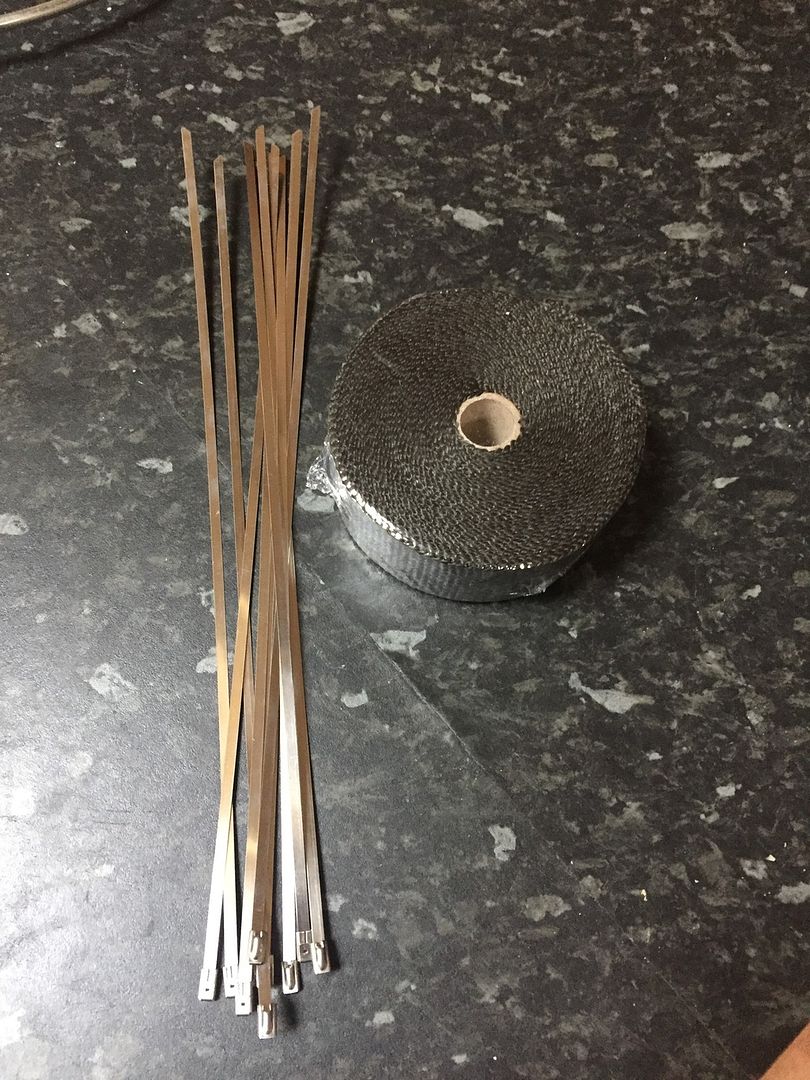 I've booked a local windscreen fitter to come round Wednesday morning to get a front windscreen fitted, so it'll begin to resemble a normal car even more  And more importantly, I want to sort out sticker placement haha! From there, I just need to carry on doing the small tasks, and getting the car ready to begin building oil pressure and see whether the dash/AN lines seal or leak (one of my biggest worries And more importantly, I want to sort out sticker placement haha! From there, I just need to carry on doing the small tasks, and getting the car ready to begin building oil pressure and see whether the dash/AN lines seal or leak (one of my biggest worries  ) but to find that out I just need to man up and crank the engine over! ) but to find that out I just need to man up and crank the engine over! |
|
|

|
|
|
#58 |
|
Leaky Injector
Join Date: Dec 2012
Location: Bristol, UK
Age: 30
Posts: 92
Trader Rating: (0)
 Feedback Score: 0 reviews
|
So the highlight of this week was getting a windscreen! Kinda boring I know, but hey its essential! After using National Windscreens on my old S13 a few years ago, I went with them again as the price isn't THAT bad for a brand new windscreen
 So after it's all in, kind of resembles a car a bit more now; 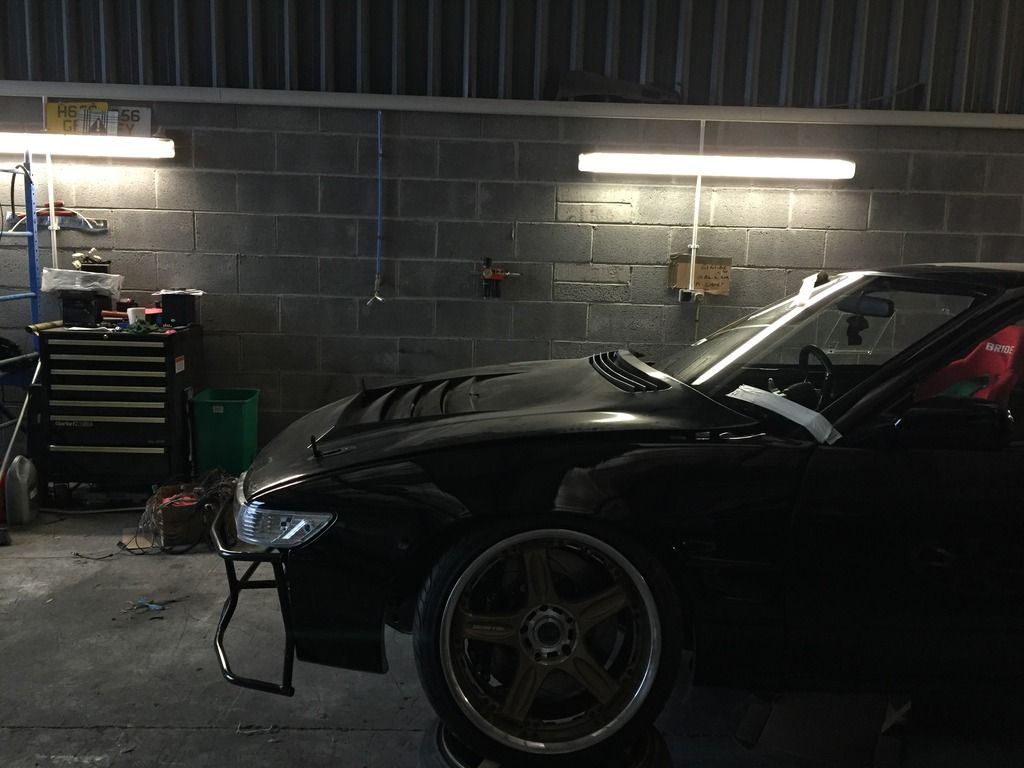 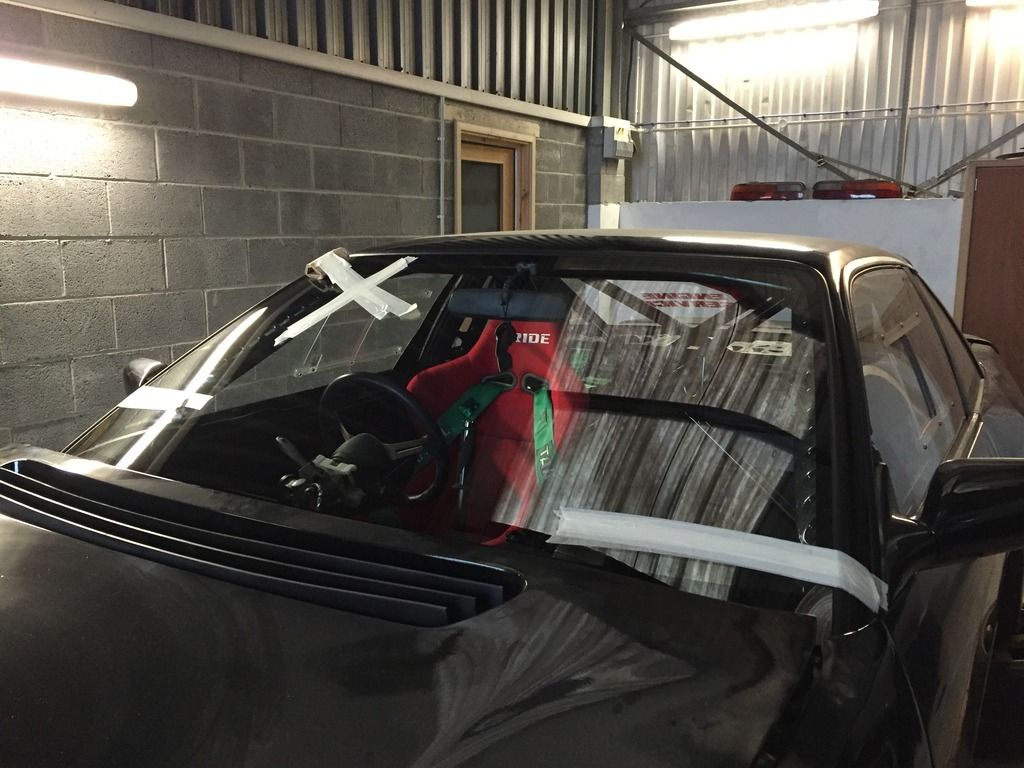 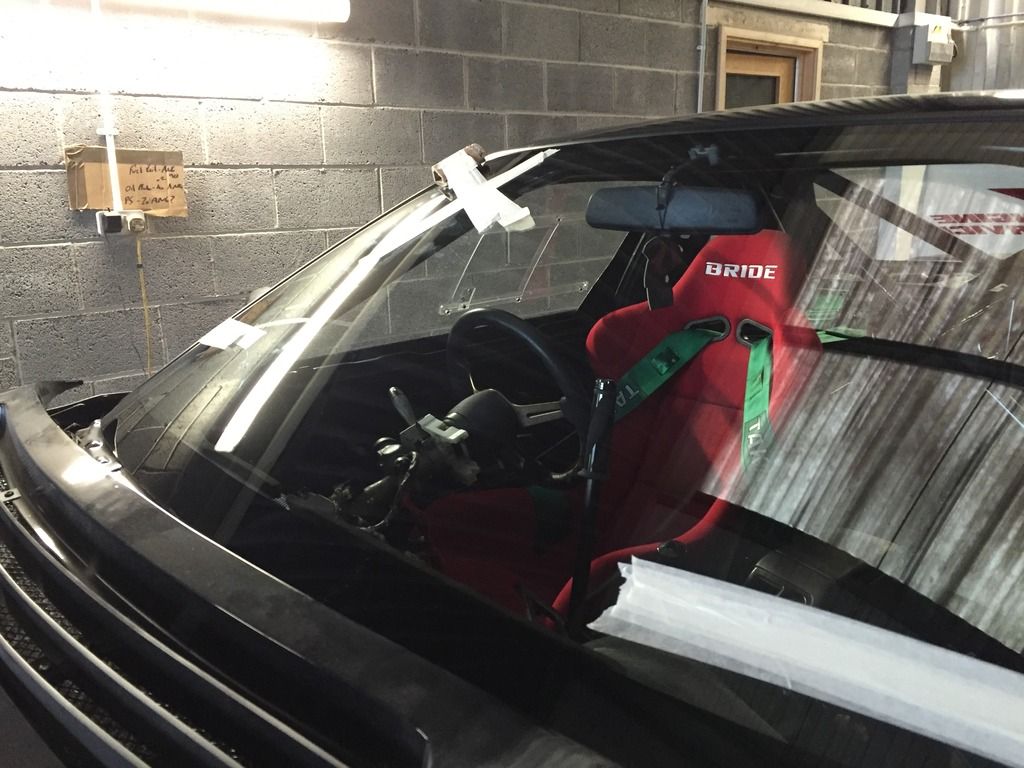 As you can see, I've put the seat and harness in to test the positioning of the eyelet, but I still can't get bored of looking at this setup, and still feels as amazing as when I first sat in it  The beautiful part of finally having a windscreen was that I could apply another sticker, whilst keeping to my points made previously and keeping the overall theme very simple    I can't help but love that the writing and outline is black, it looks super stealth, clean and easily noticeable up close! With the list of tasks finally reducing, the wiring is the next substantial task to rectify. 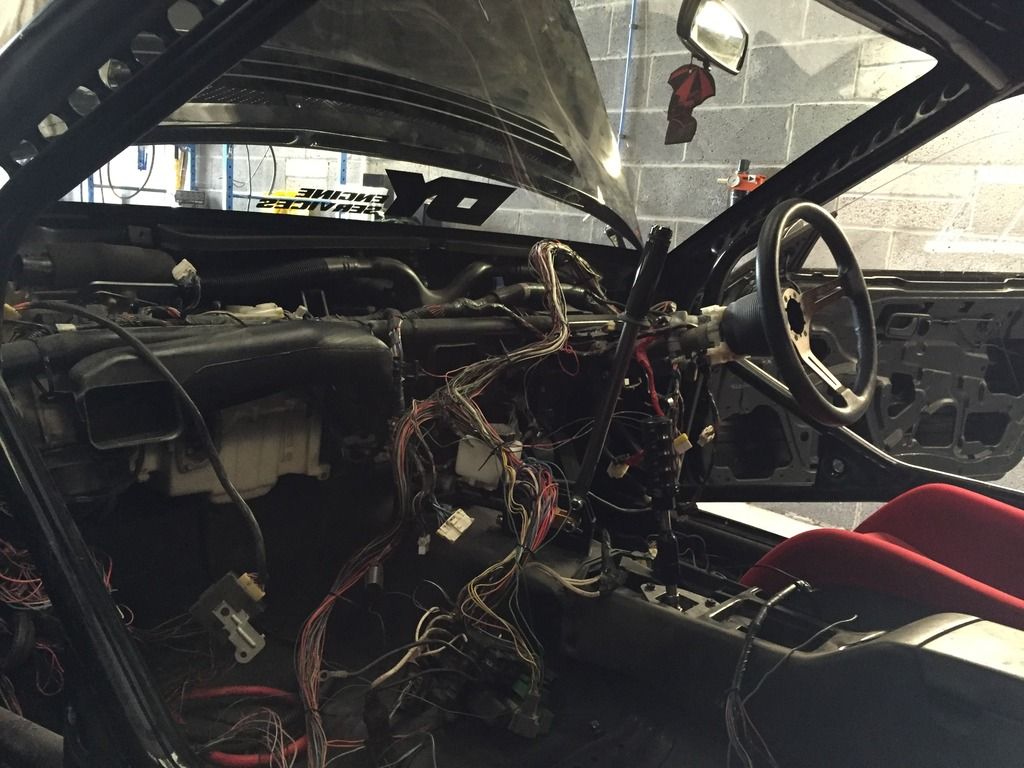 Whilst I'm keeping my old UK S13 looms, I wanted to tuck the fuse boxes inside and try to eliminate any unnecessary wiring to keep it simple and neat. Obviously this is easier said than done, and I seriously thought about getting a custom loom made up, but after getting a quote back I can't justify that sort of money on some wiring! So after speaking to Martin @ MB again today, we're (he is) going to attack the wiring when doing a site visit and work his magic with the stock loom and hopefully get everything working as it should  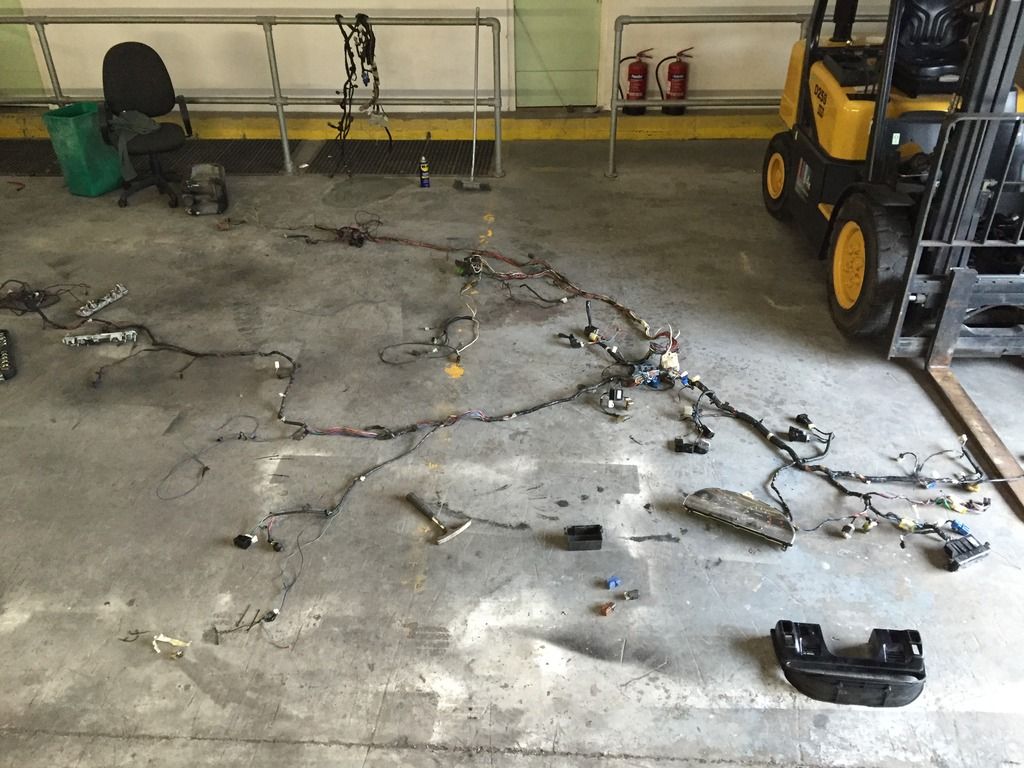 I was kind of hoping to fit the rear brake pads tomorrow, but unforeseen problems mean they're going to be a little bit late, but as soon as they arrive, they're fitted and the dual caliper setup is done i'll post some pictures up  Since the last update, the first thing I did was to throw on a pair of rear callipers so I can make sure the bolts are the right lengths and to double check the mounting tabs for both callipers are straight after hearing about a pair of rear knuckles which needed to be redone. But thankfully my rear knuckles were absolutely spot on. 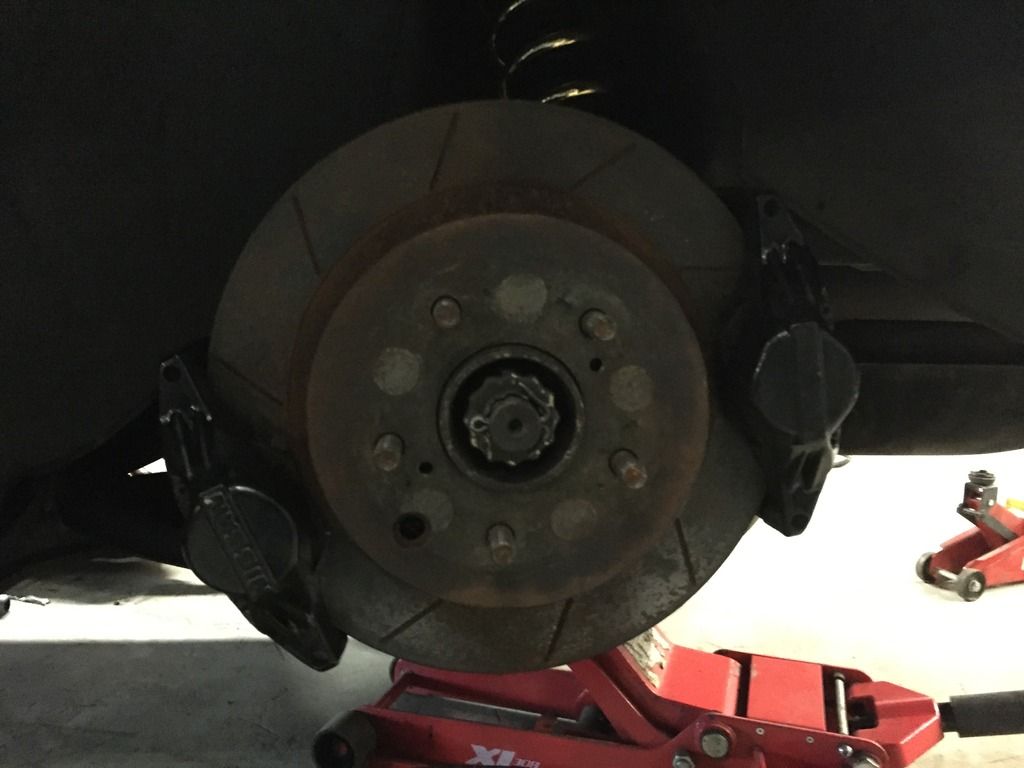 I previously mentioned I bought some heat wrap, so one of the tasks were to fit this to my exhaust which I quickly cleaned up. Upon installation I noticed the downpipe flange wasn’t perfectly flat, meaning the gasket between the downpipe and the catback wouldn’t completely seal. Nothing a bit of exhaust putty or something will cure.  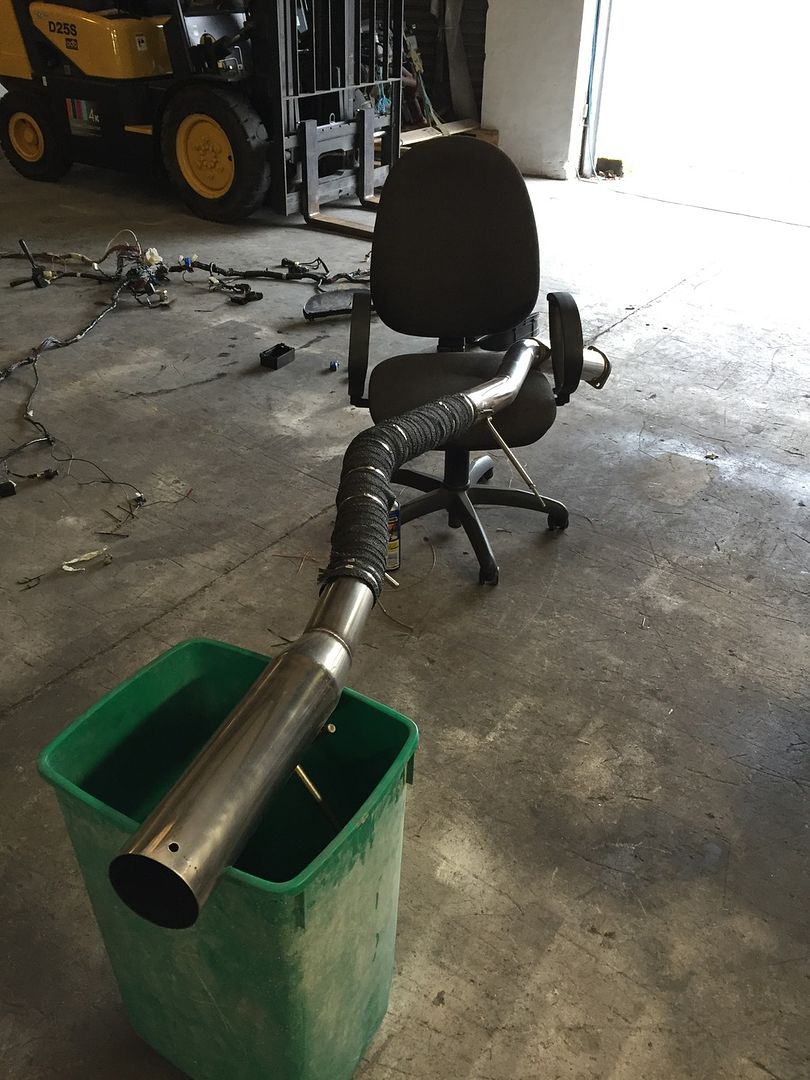 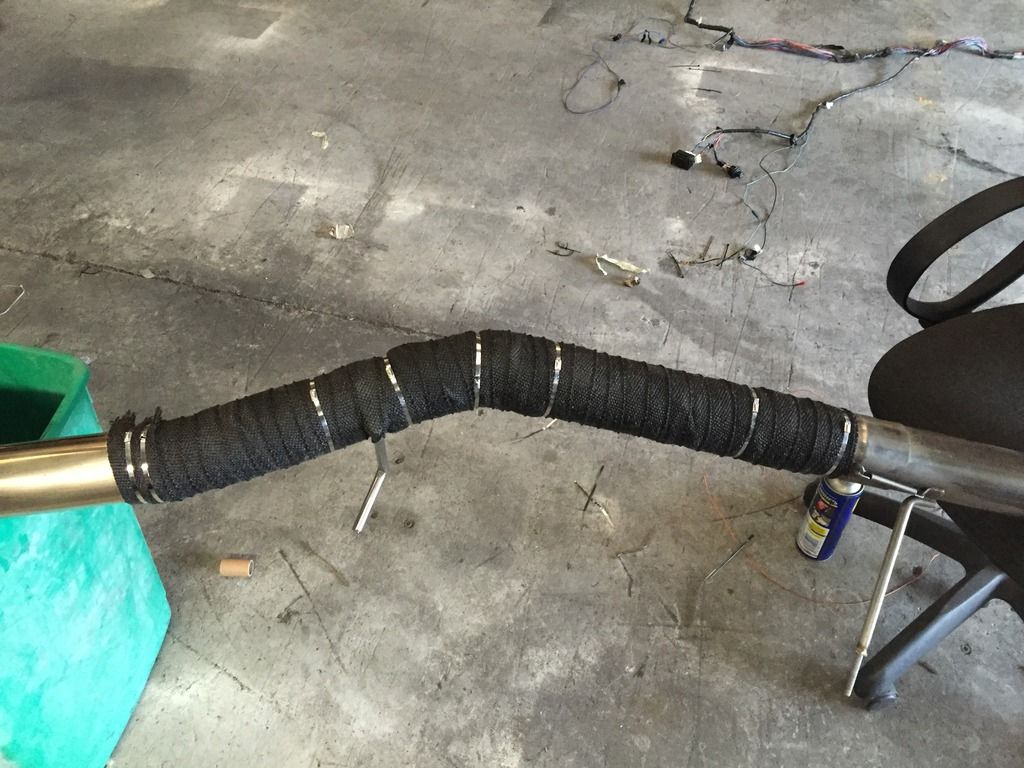 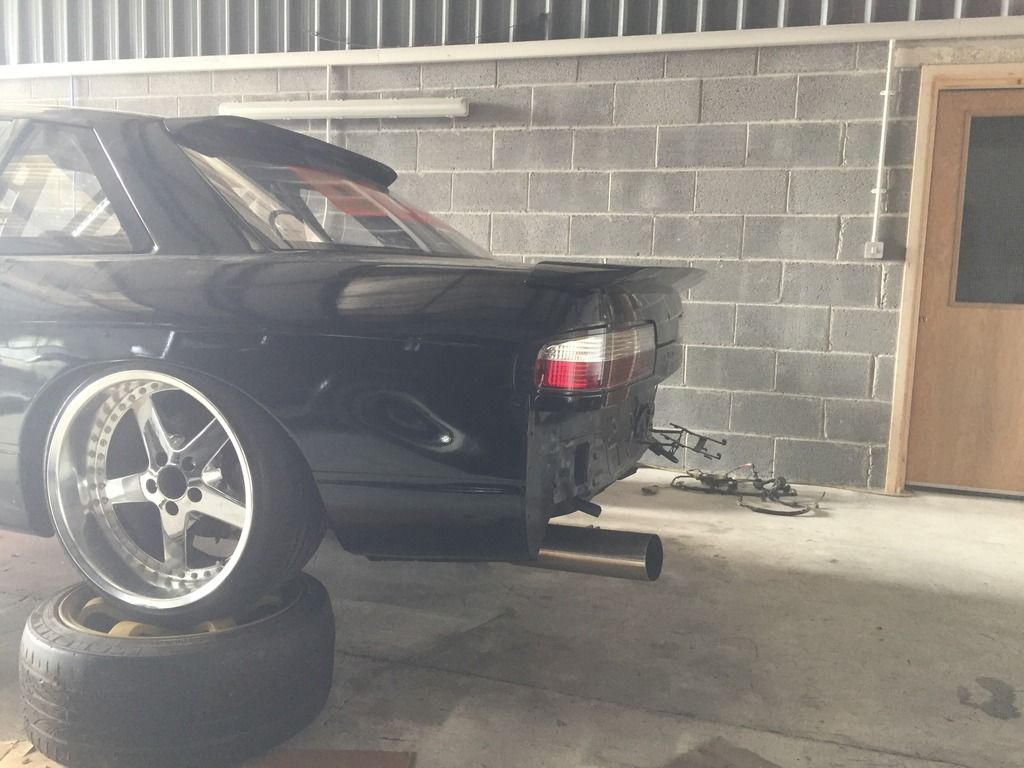 - - - Updated - - - I contacted Stu @ Garage SR a bit earlier in the year to order some Project Mu brake pads, which I’ve heard nothing but good thing about. With the front brakes being quite extreme, I needed something with a good bite on the rear to try and balance out the feel, and after looking at generic Yellowstuff, Redstuff pads etc, Stu pointed me in the directions of running; Rear Brake – Project Mu – Hyper Carbon+ Hydro – Project Mu - D1 Spec Which should give me a great pad that’s up to the duties of hard braking on track, whilst having a pad with extremely good cold bite for the hydro, winner! 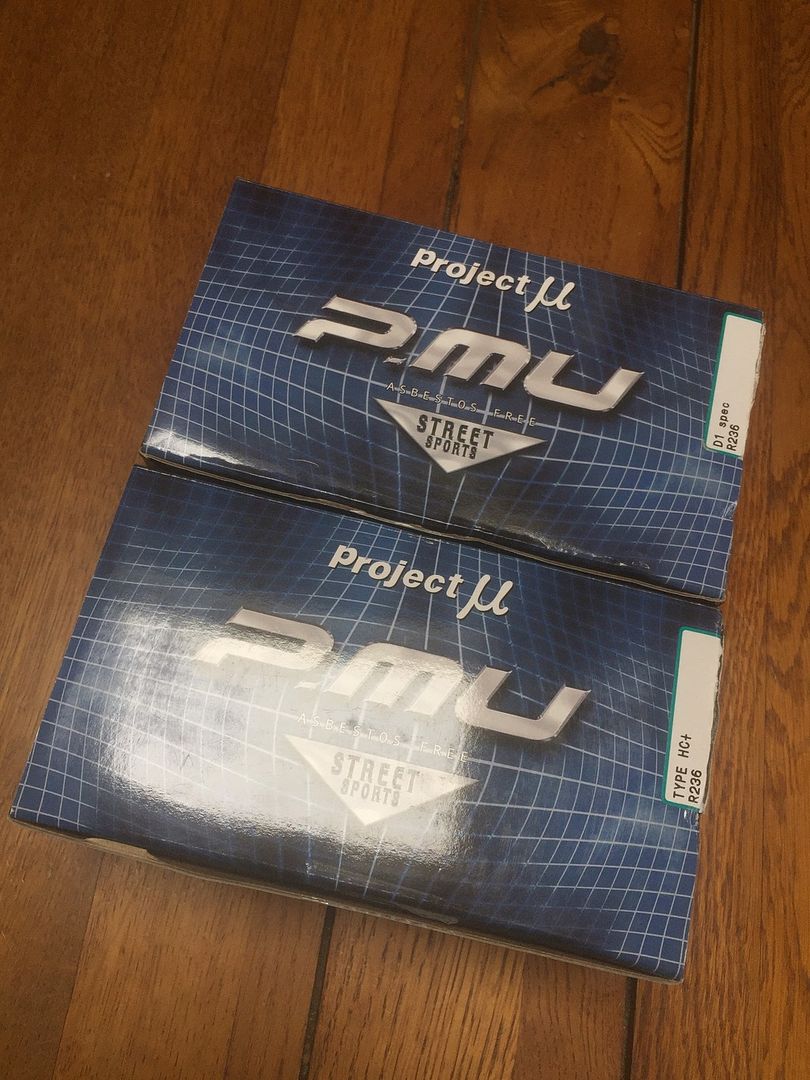 D1 Spec Pads; 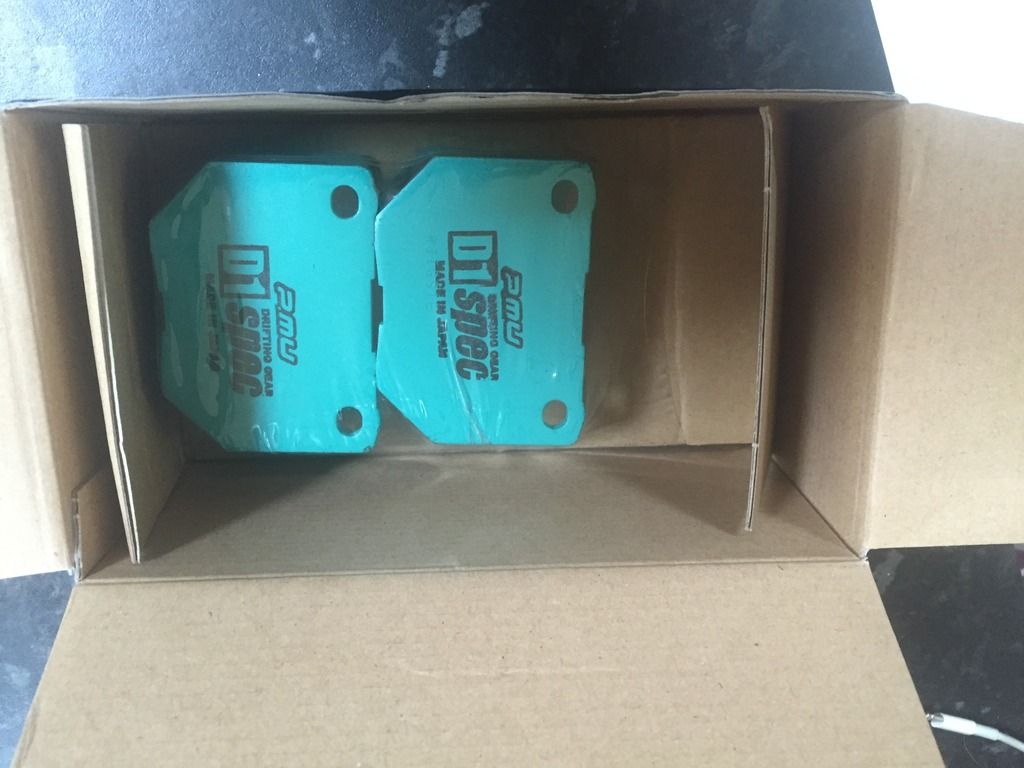 Hyper Carbon+ Pads; 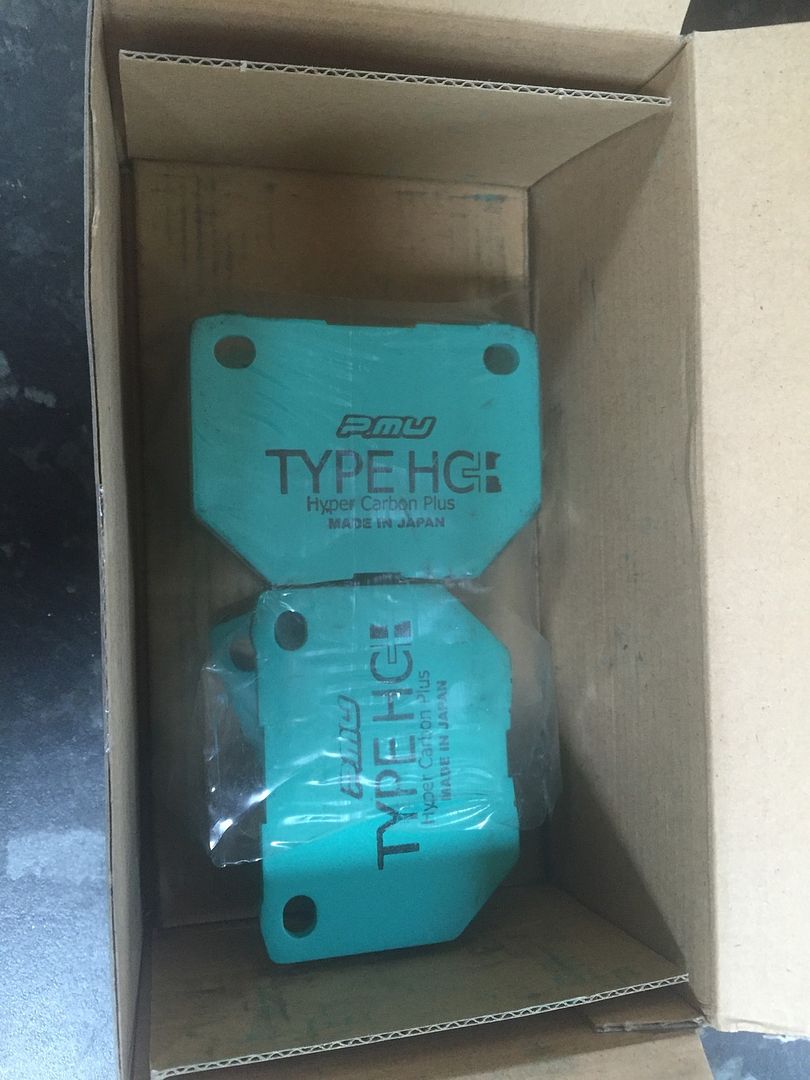 At this point it was my birthday (Halloween) and I was stupid enough to go and work on the Silvia, how silly of me! So quickly assembled the brakes, ensuring I had the pads on the right calipers on either side. 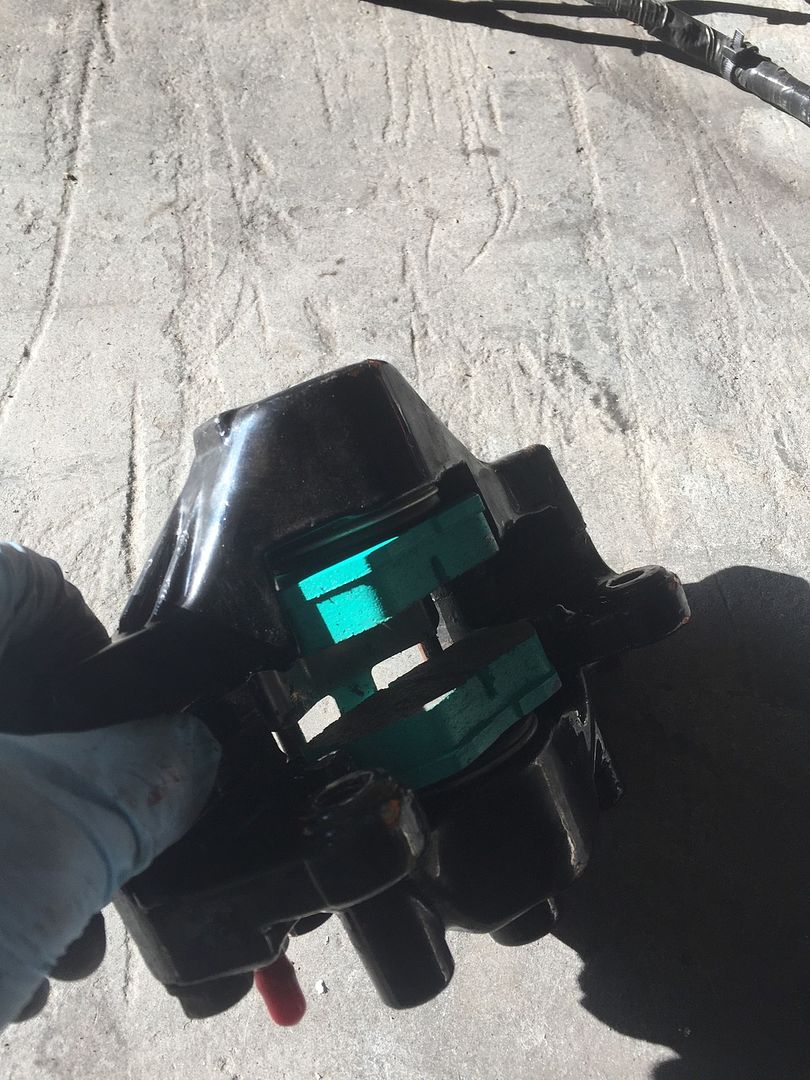 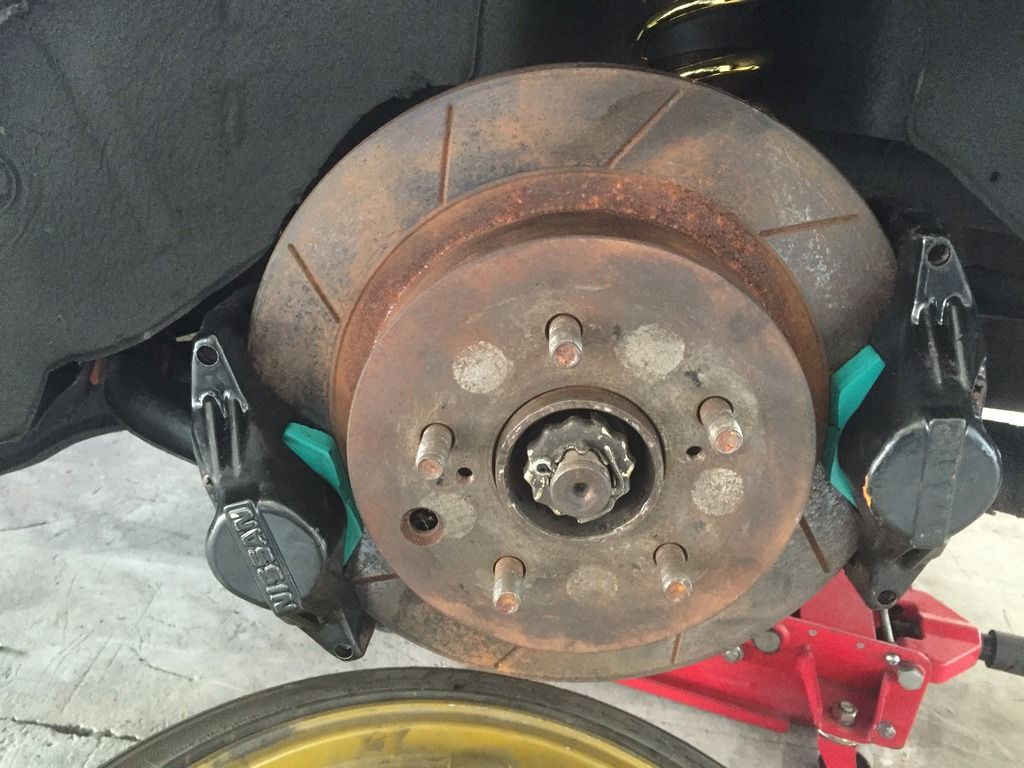  It was at this point I realised I probably shouldn’t reuse those discs with fresh pads if I could help it. So after scouring the internet for a couple of hours I ended up buying some EBC rear discs to complete the rear setup. What’s even cooler is that their new coating is black, which supposedly lasts for a number of years. 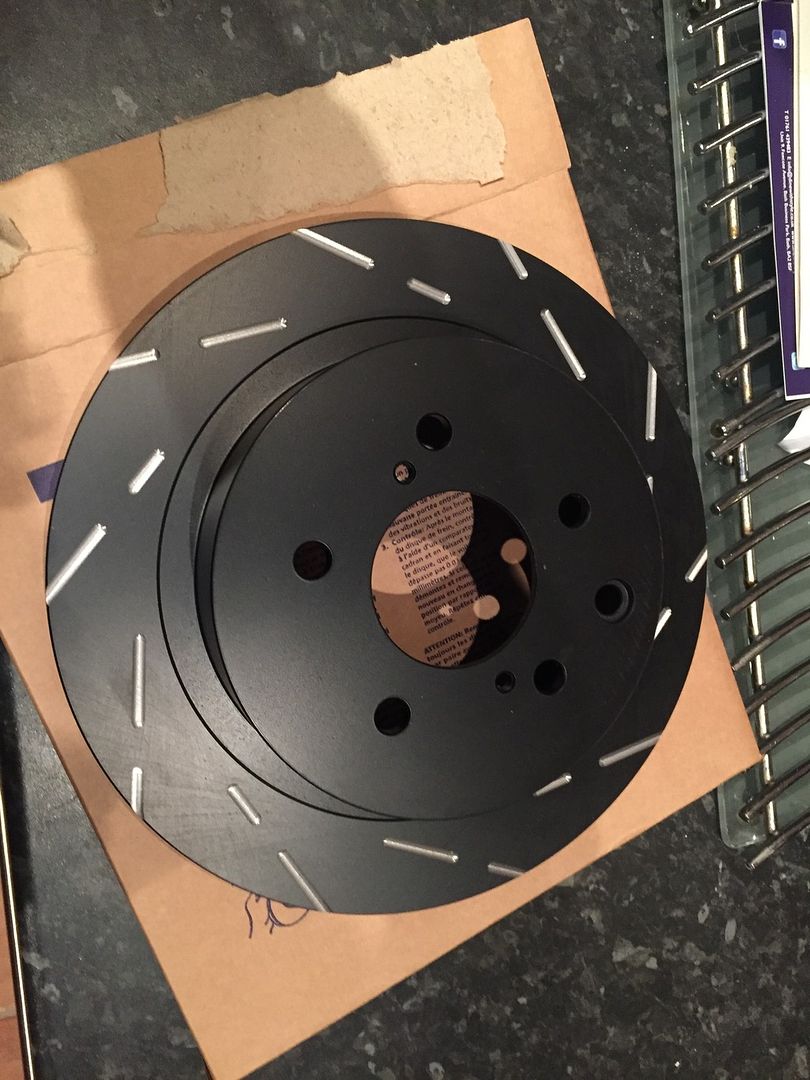 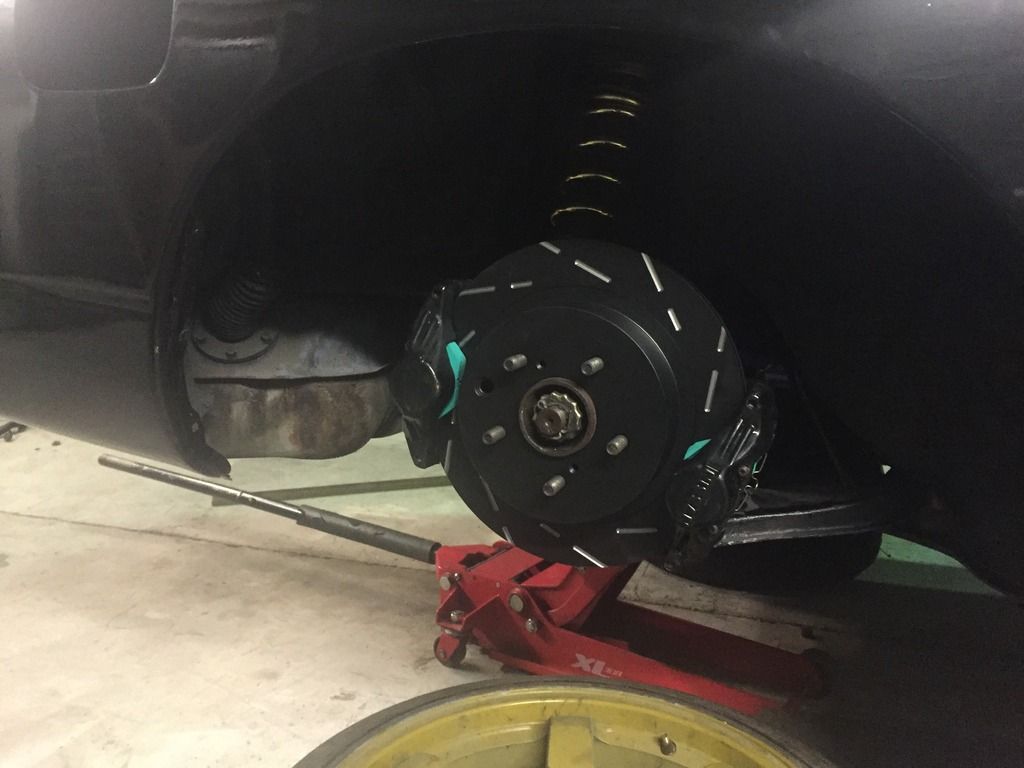 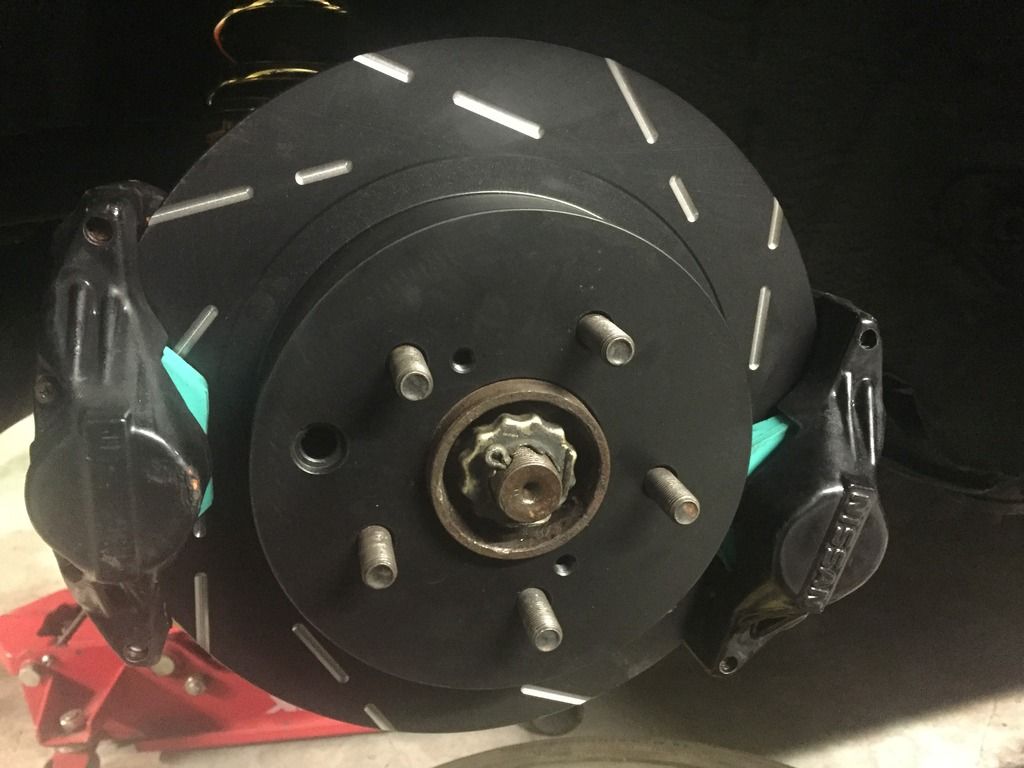 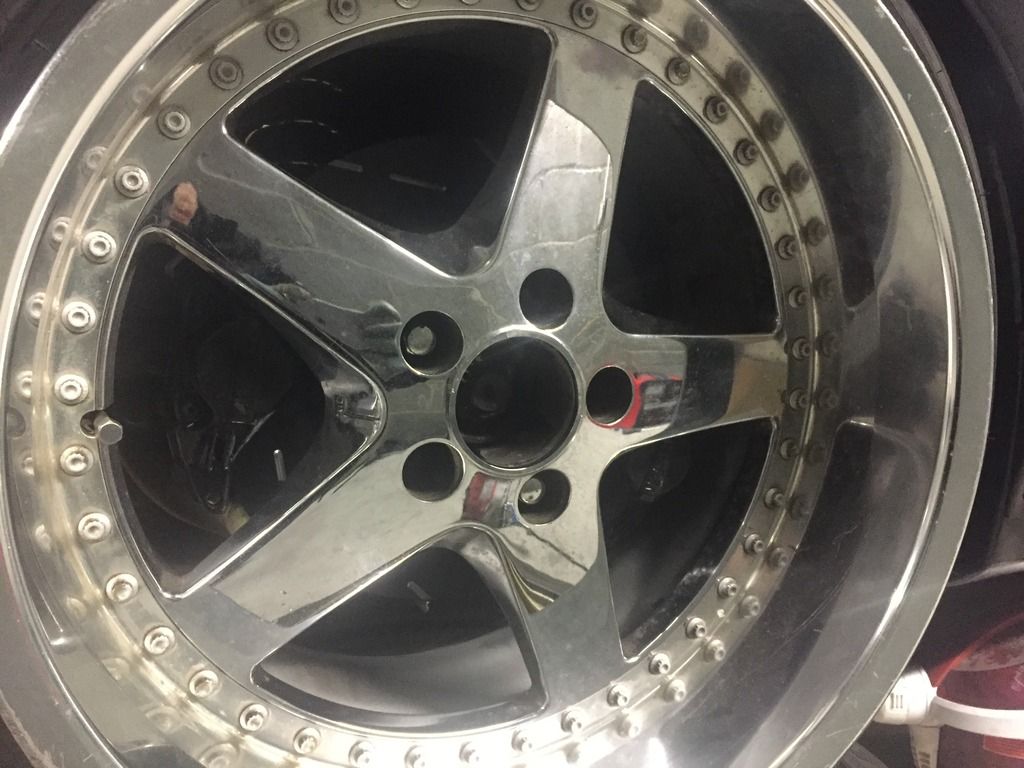 I love how stealth the rear brake setup looks! |
|
|

|
|
|
#59 |
|
Leaky Injector
Join Date: Dec 2012
Location: Bristol, UK
Age: 30
Posts: 92
Trader Rating: (0)
 Feedback Score: 0 reviews
|
Since one of the requests from MB was a fresh engine loom to avoid any gremlins, I quickly grabbed one off ebay after a cheeky offer won the item. (Apologies for the picture, not sure what I was thinking when focusing the phone!)
 The next task was to bleed the brakes and clutch, something I was a bit wary of as I rebuilt the rear calipers myself for the first time. Thankfully nothing appears to be leaking after a couple of weeks, so fingers crossed they’re 100% working. The brakes bled up fairly nicely, especially considering the whole system was bone dry, and I have a solid peddle. I did find one of the connections loose (my fault I never checked it) so they will need another bleed as a precaution, but that will be a few minutes work. The other task was the clutch, something I was more worried about over the brakes due to the issue I had with the release bearing. The cylinder and slaves themselves bled up fairly easy, and appears I have full engagement/disengagement of the clutch after turning the rear wheels in the air and testing the clutch. (Also seems to engage nicely when pushing the car around, so touch wood it should be fine! I’ve probably just jynx’d myself though ha.) Since it was on the floor at this point, after bleeding the clutch and brakes I couldn’t resist the inner fanboy and take some more pictures  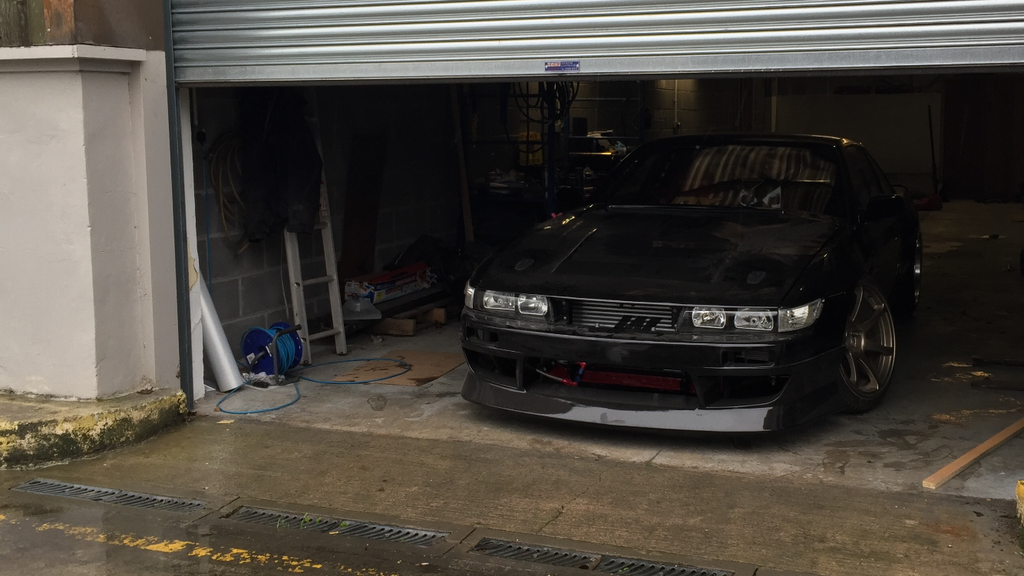 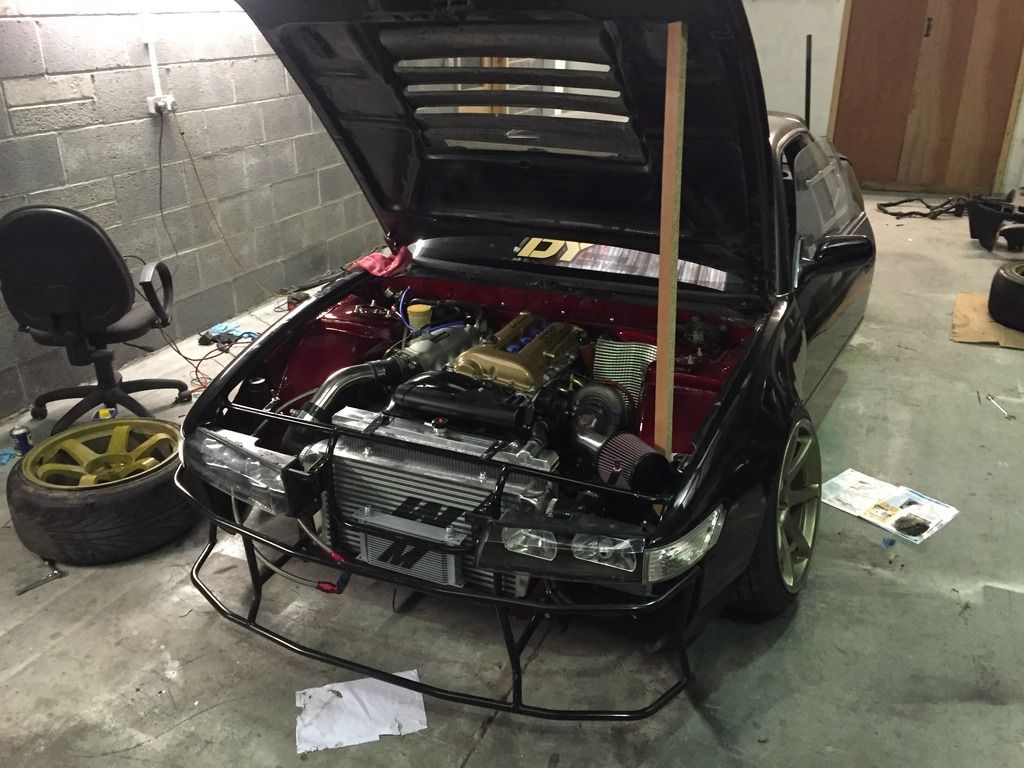 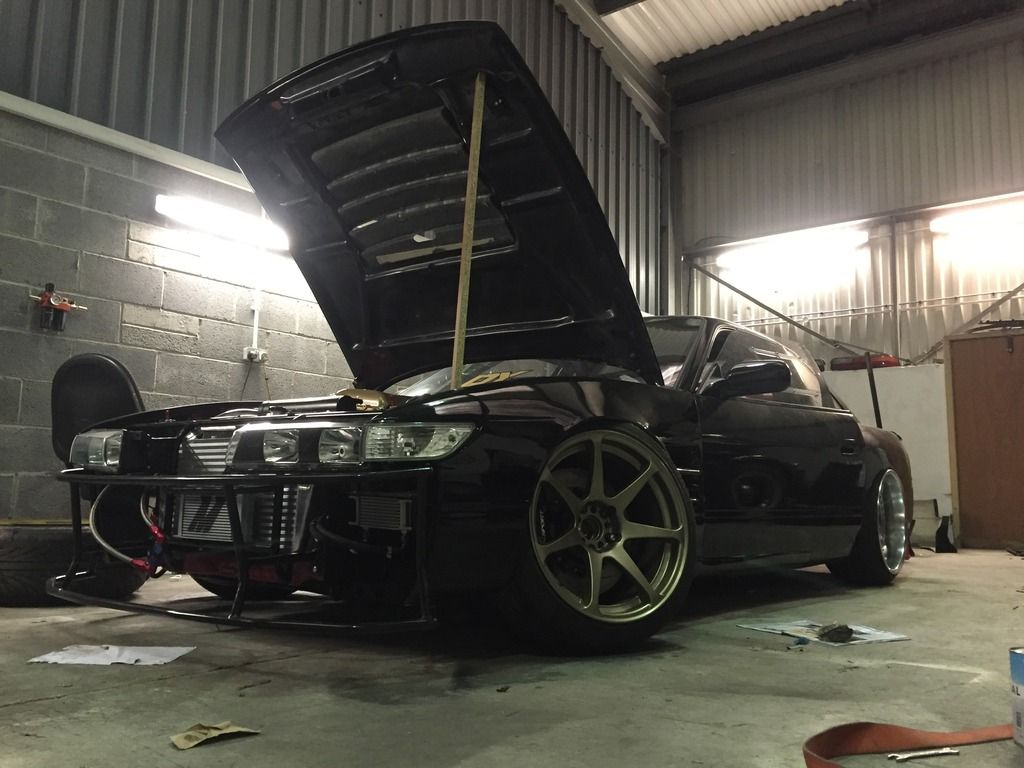 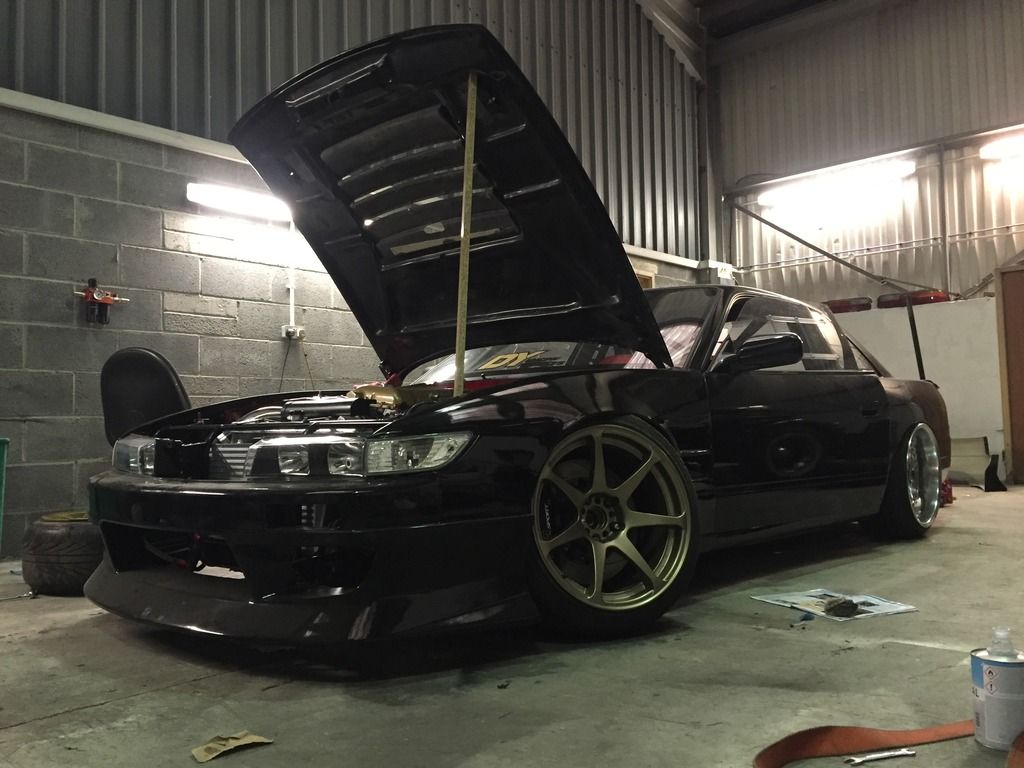 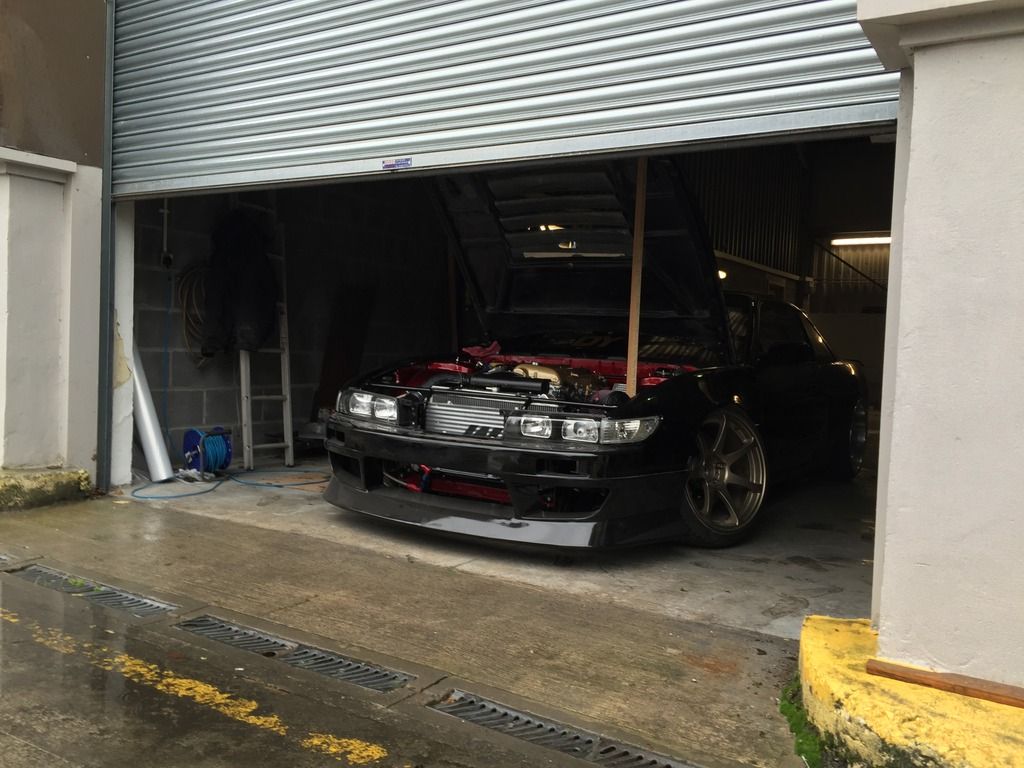 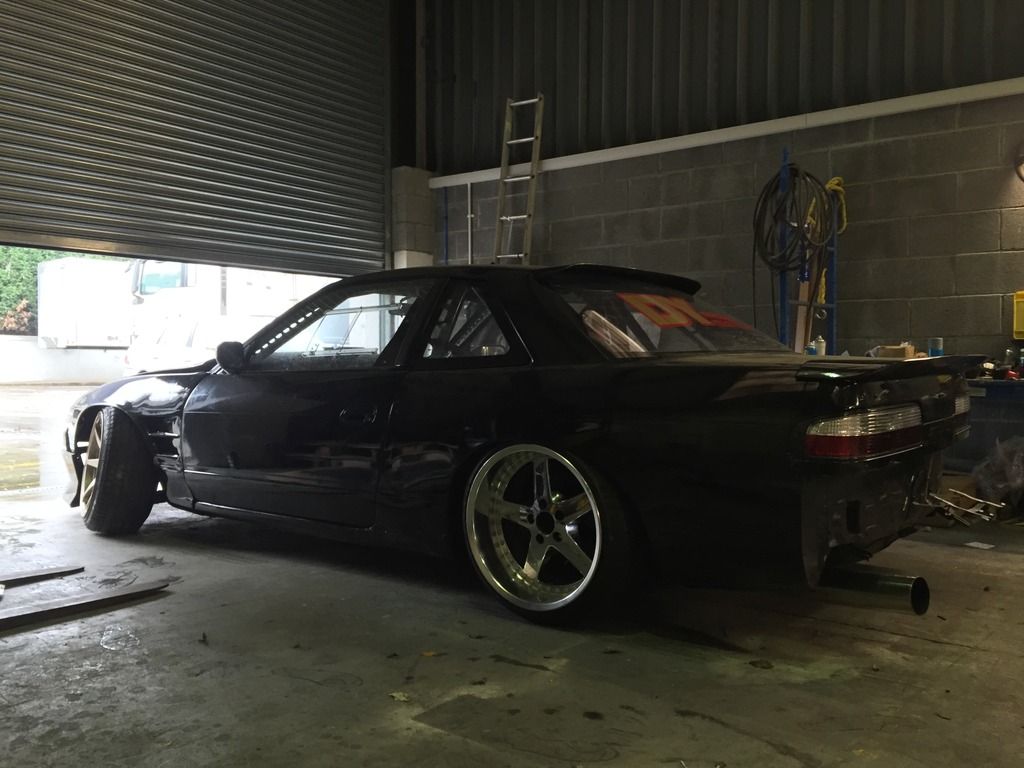 - - - Updated - - - 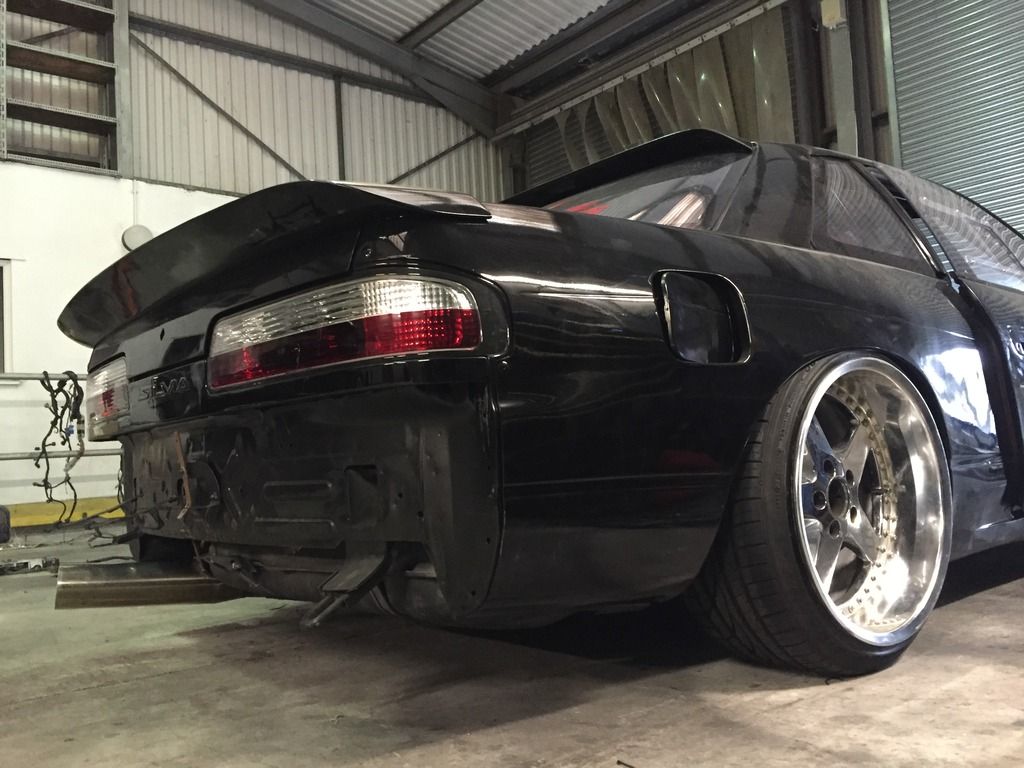 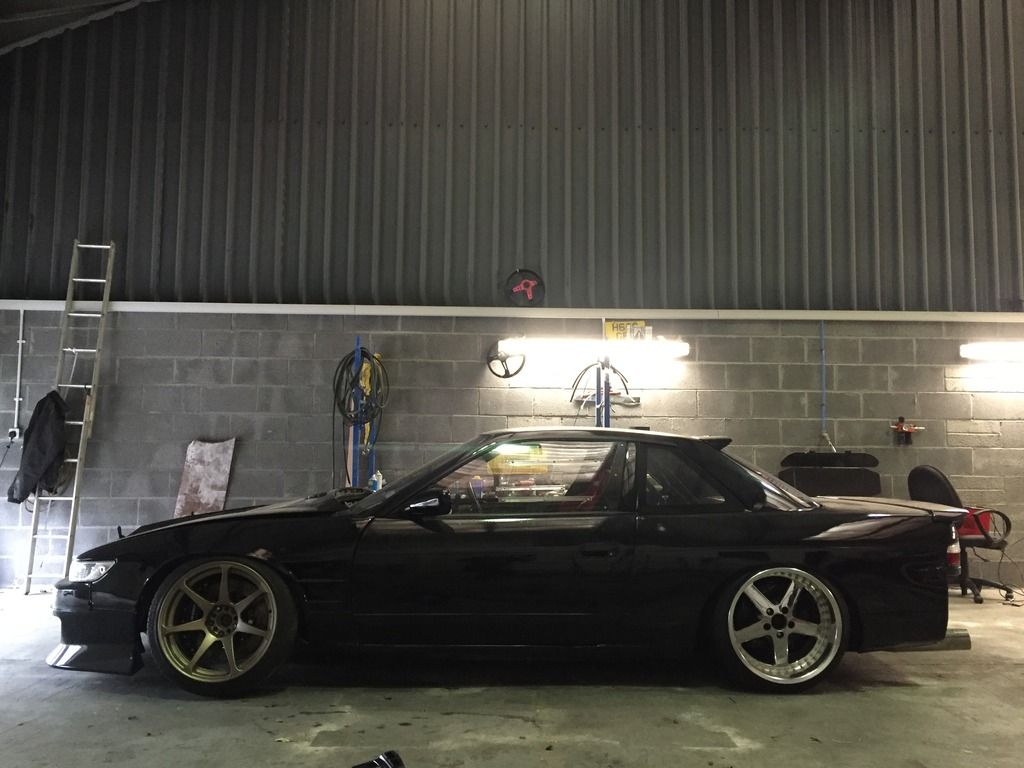 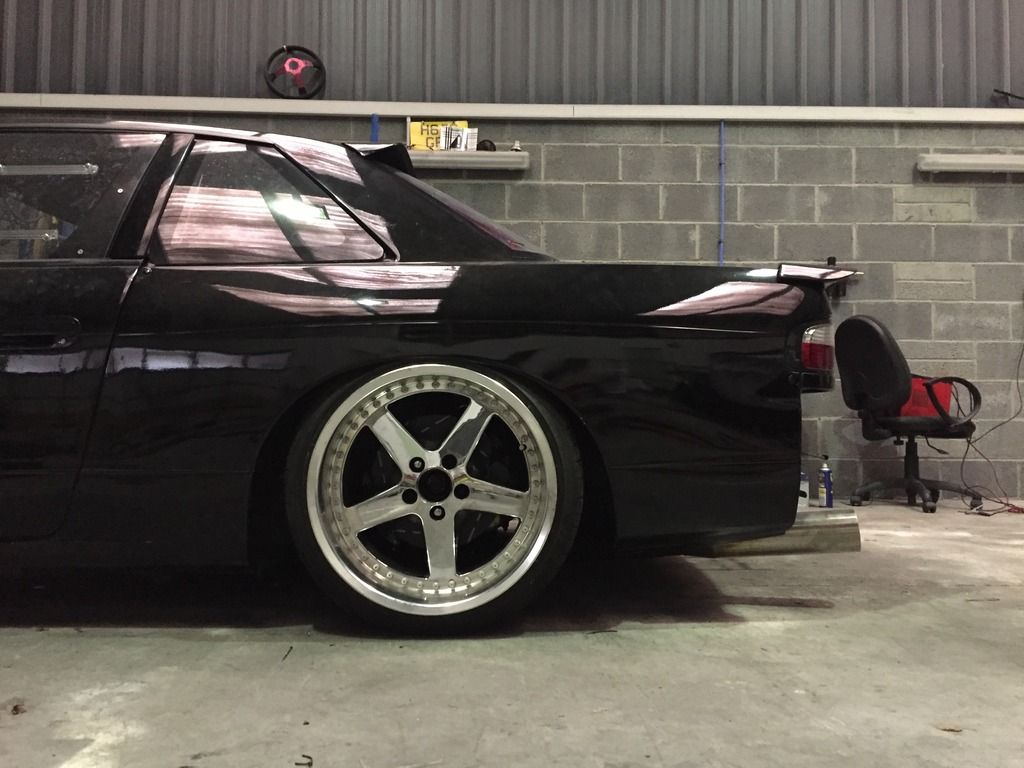 And then the weather got quite nice for a change, so it’d be rude not to take the car outside for a few pictures, so prepare yourself for a number of pictures! 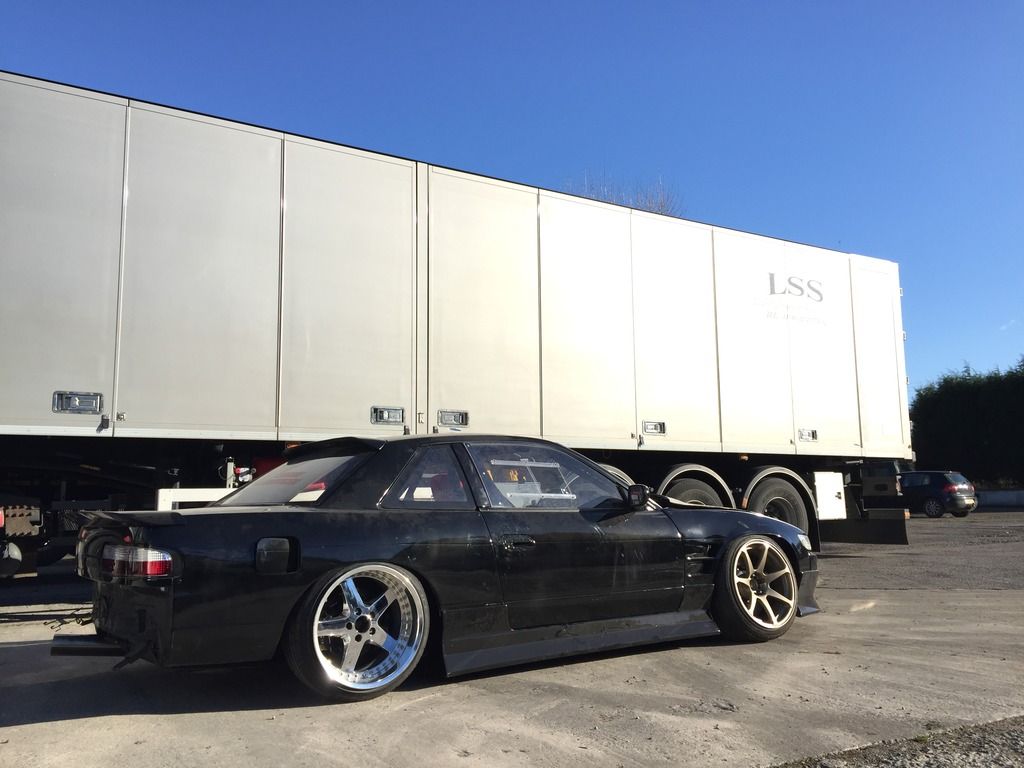 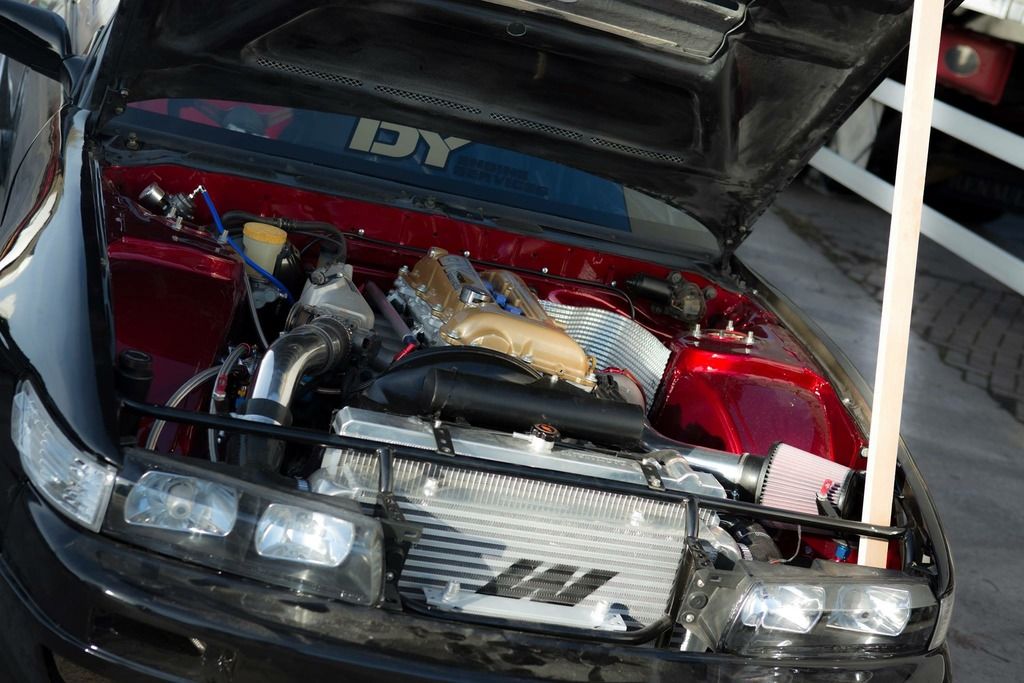 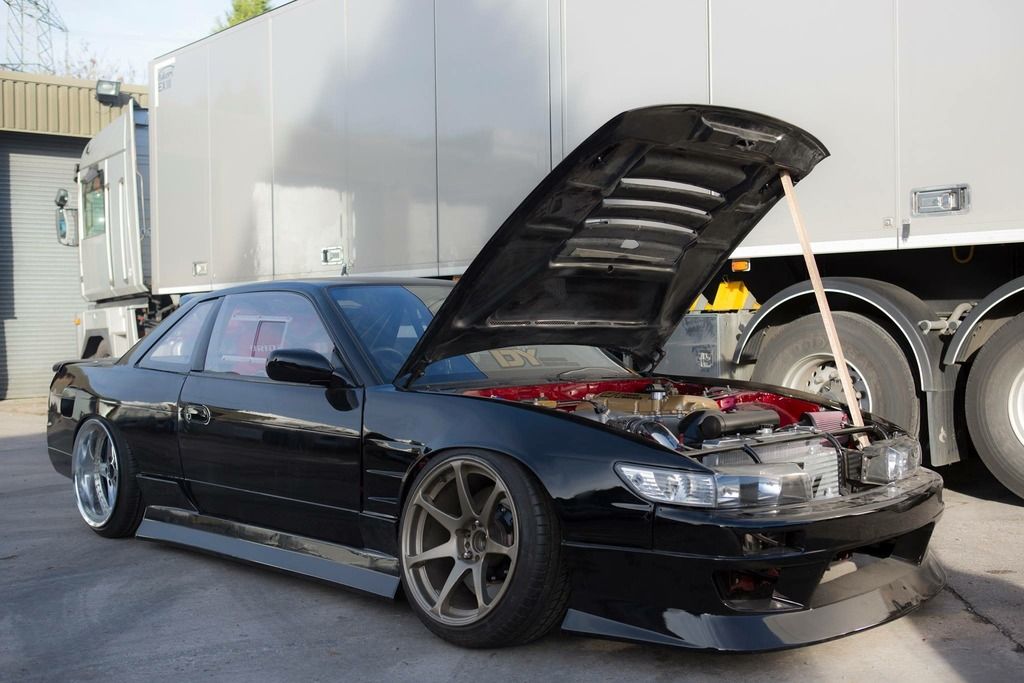 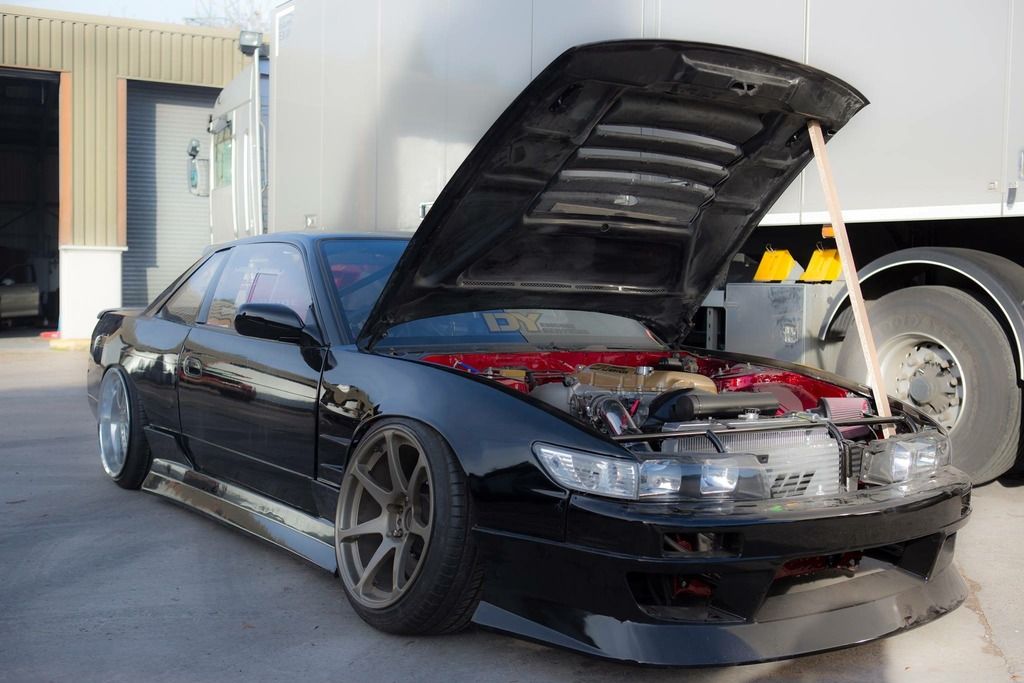 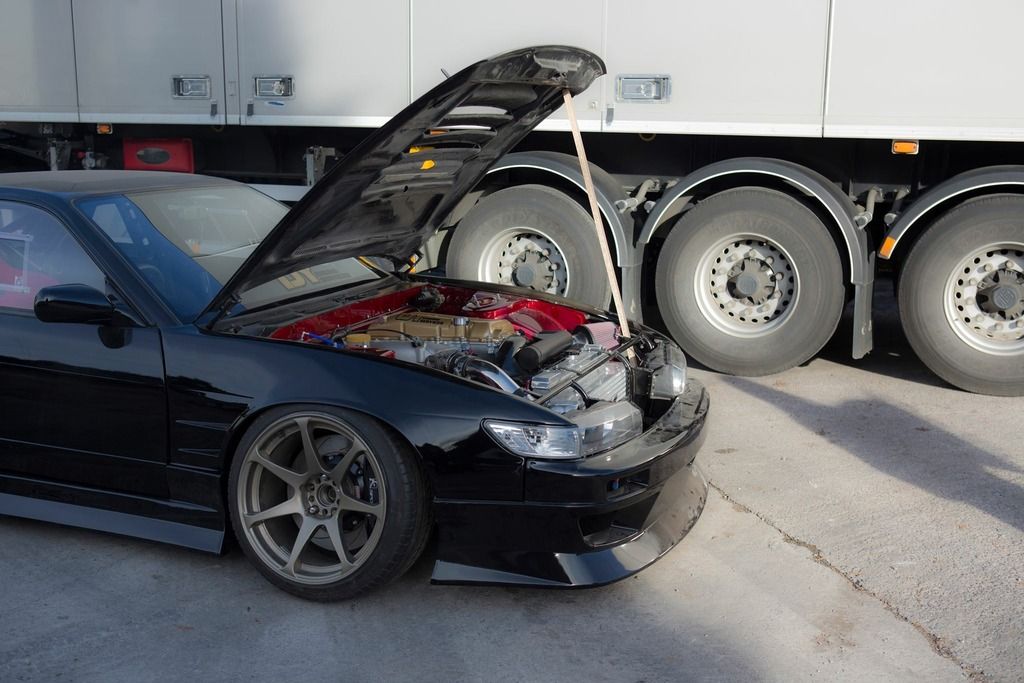 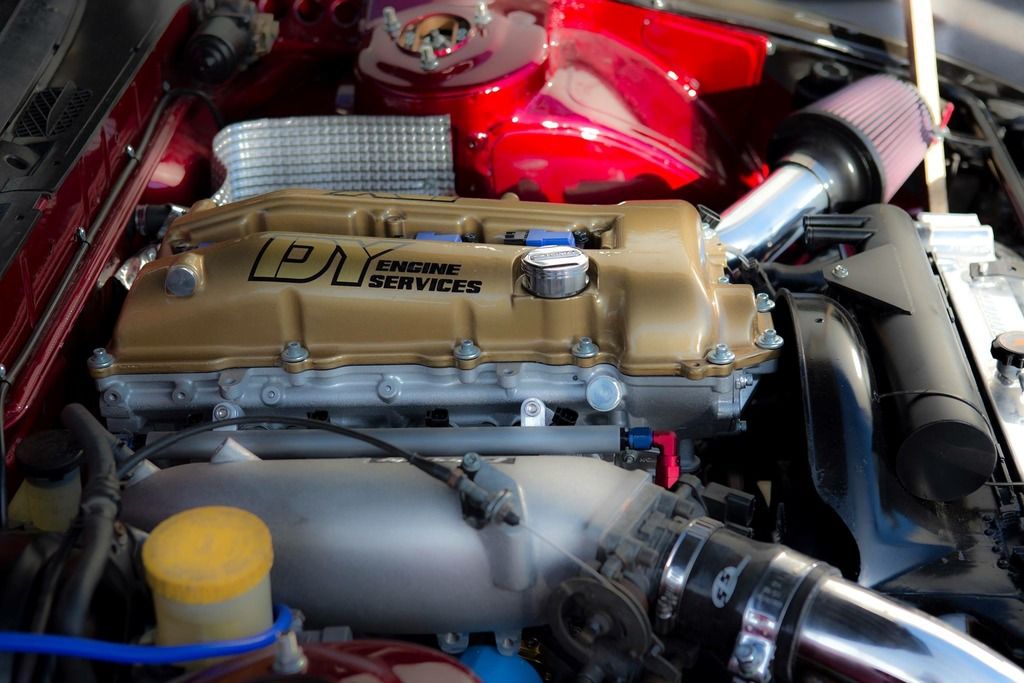 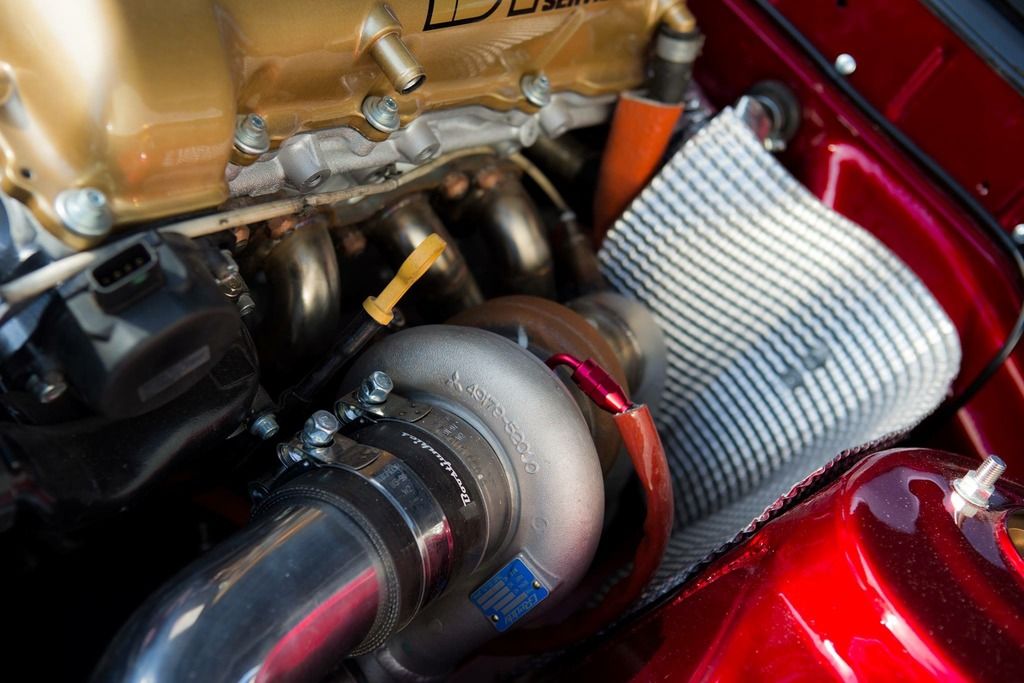 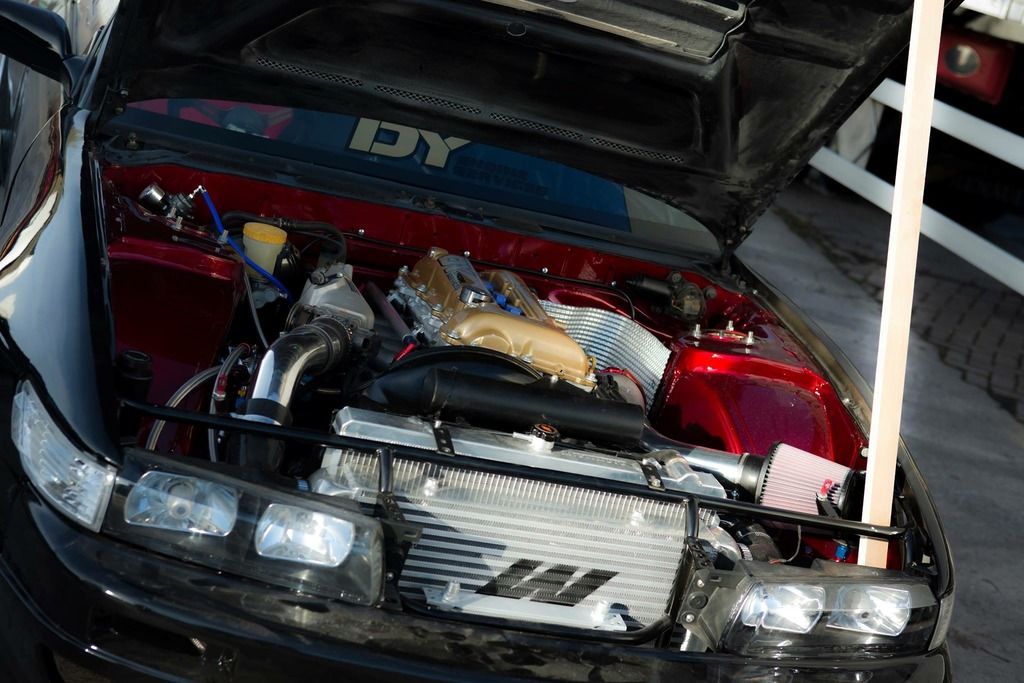 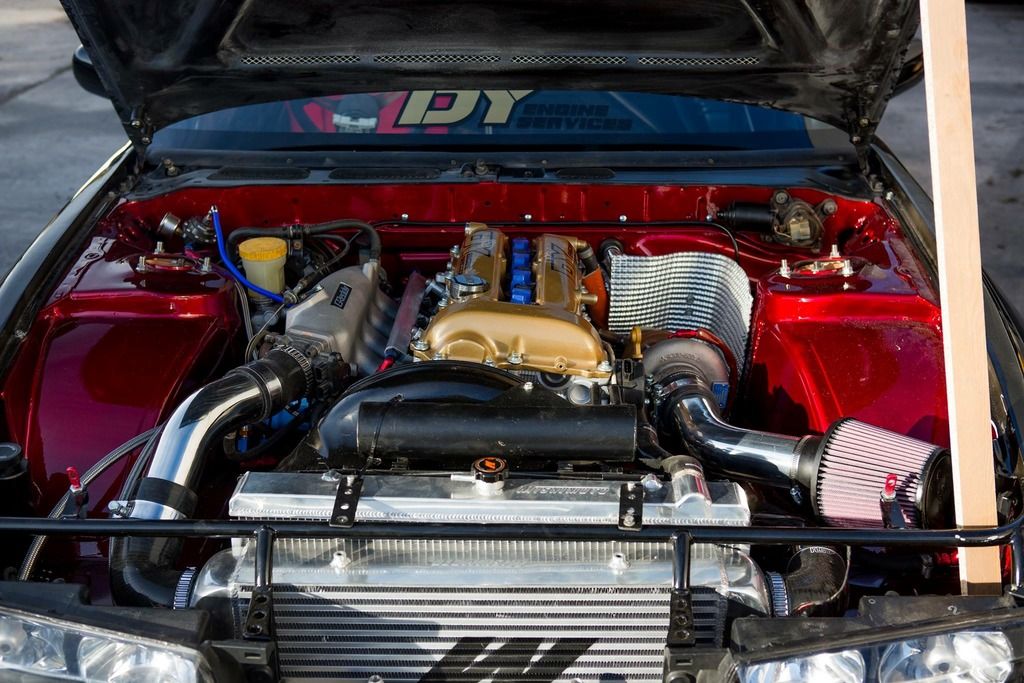 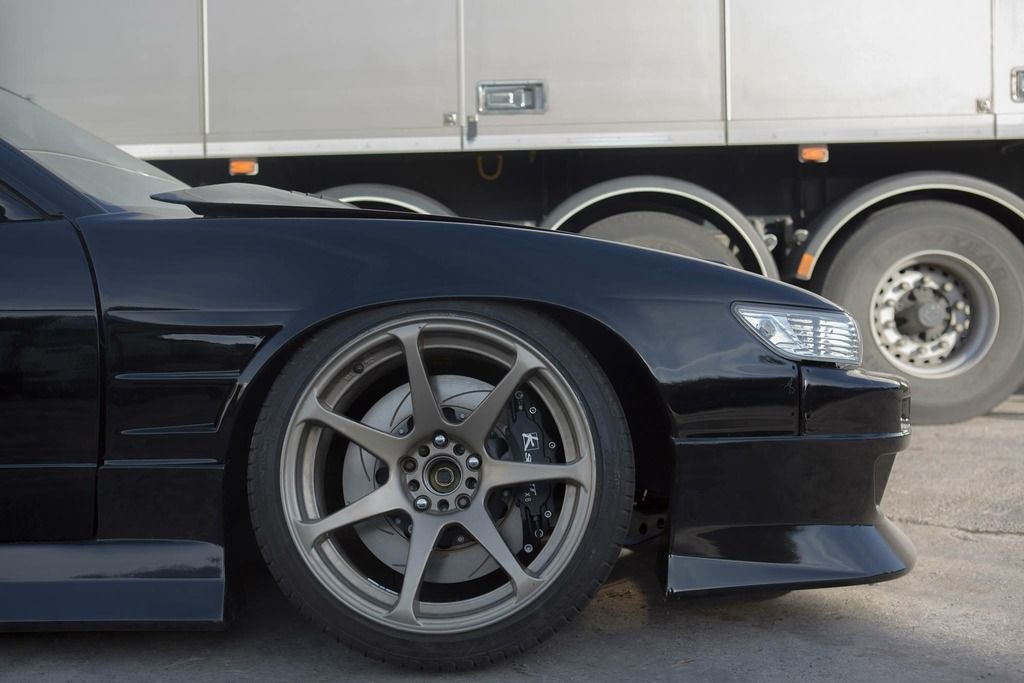 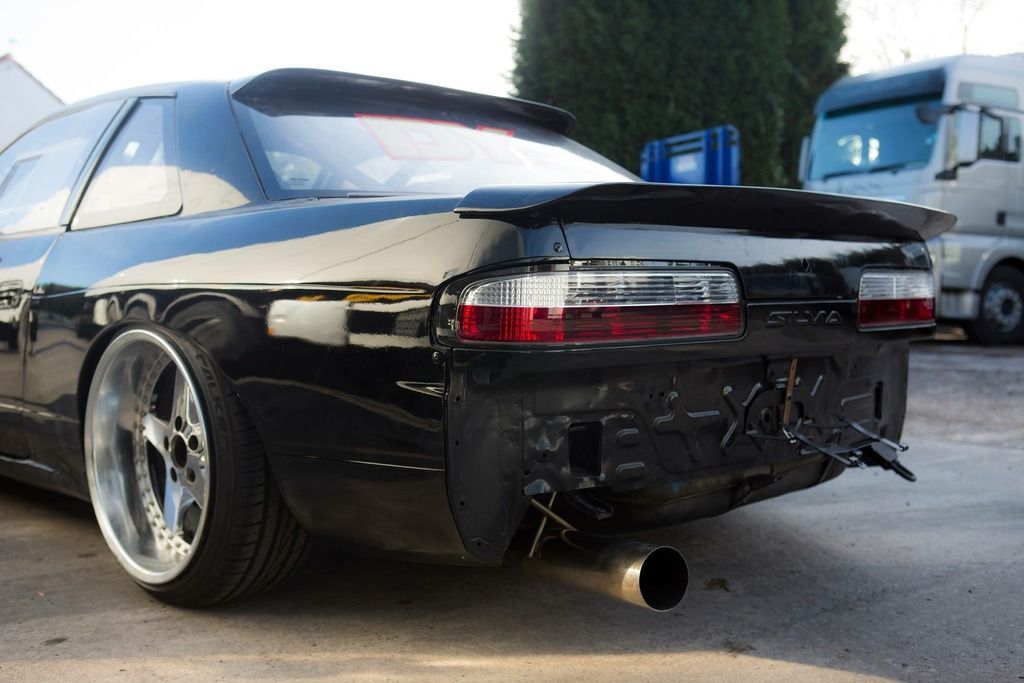 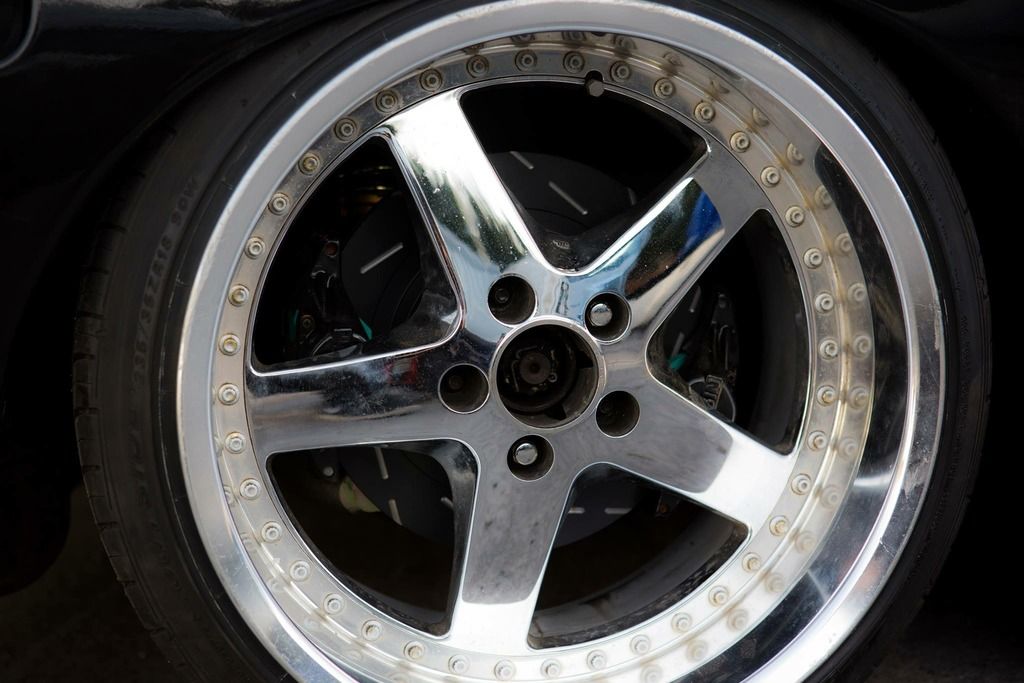 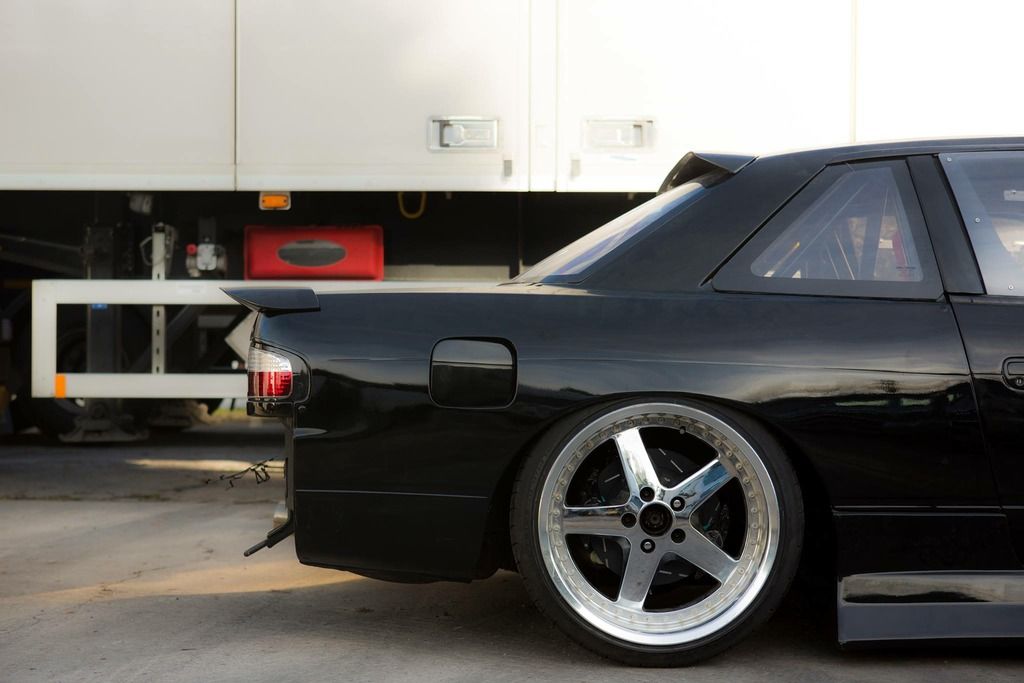 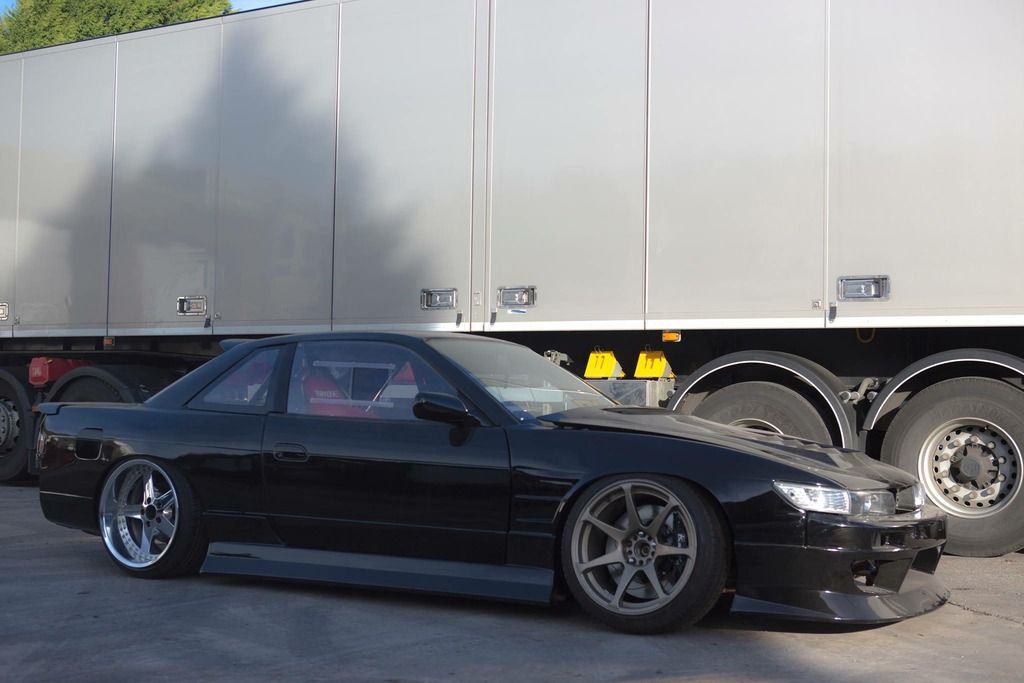 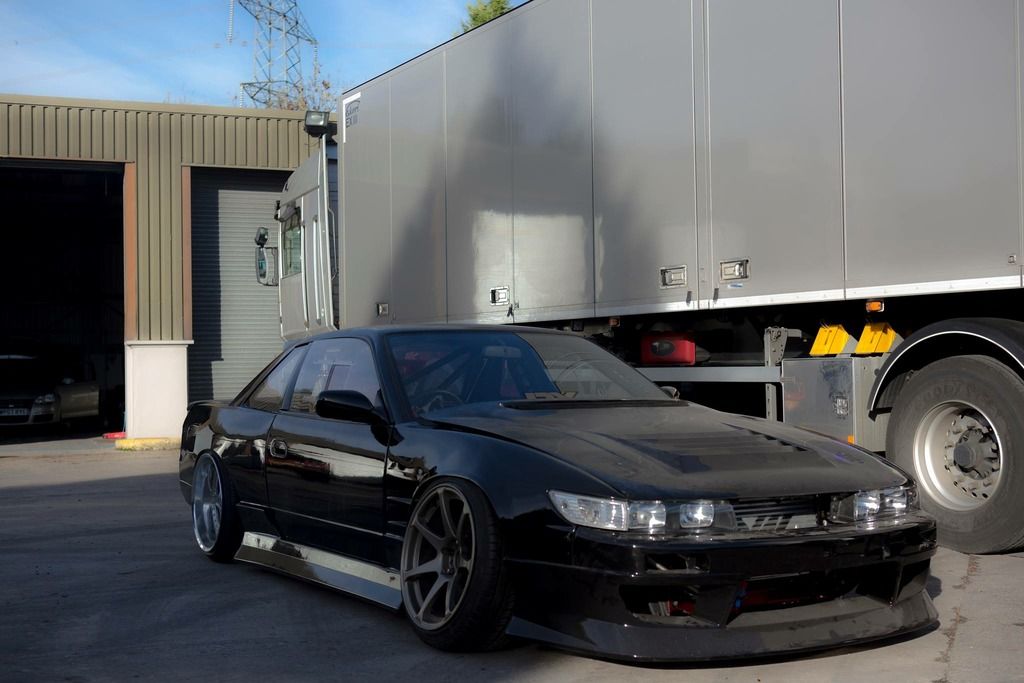 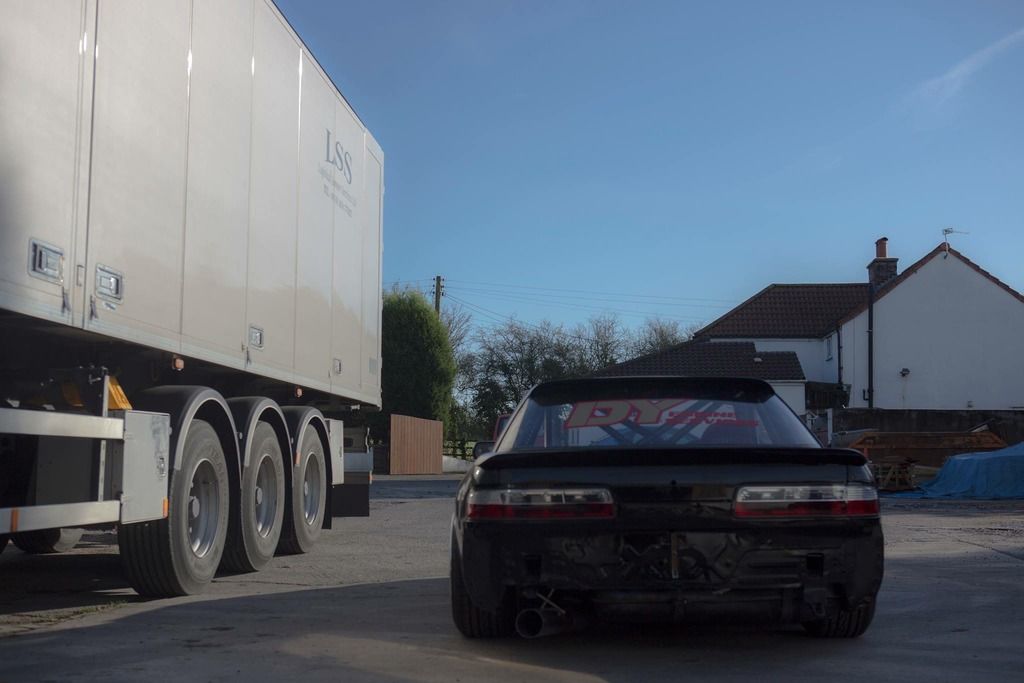 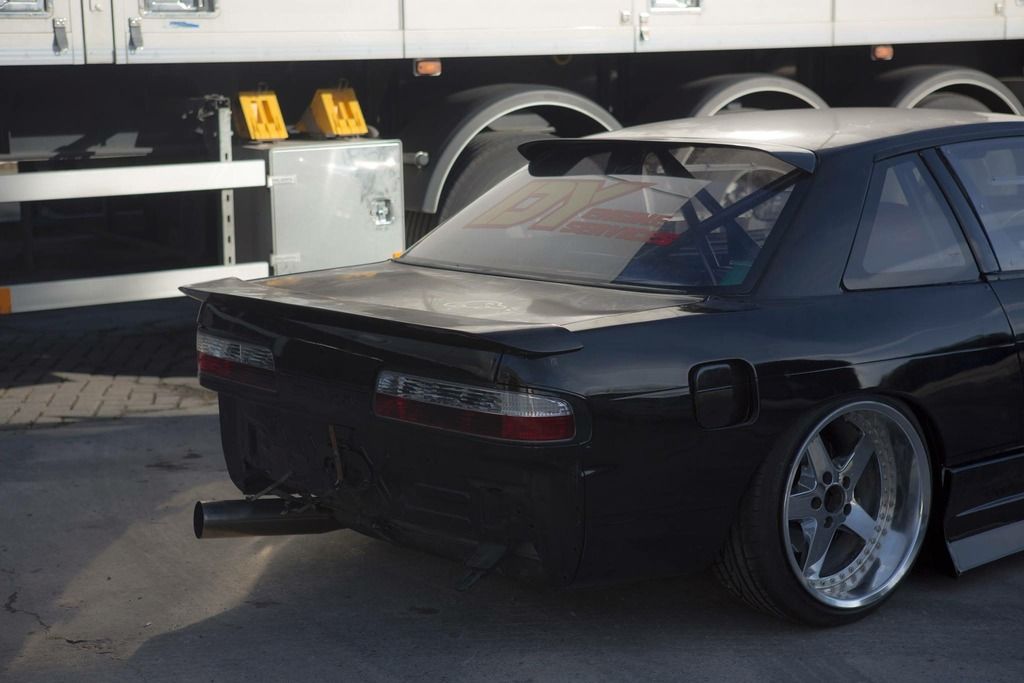 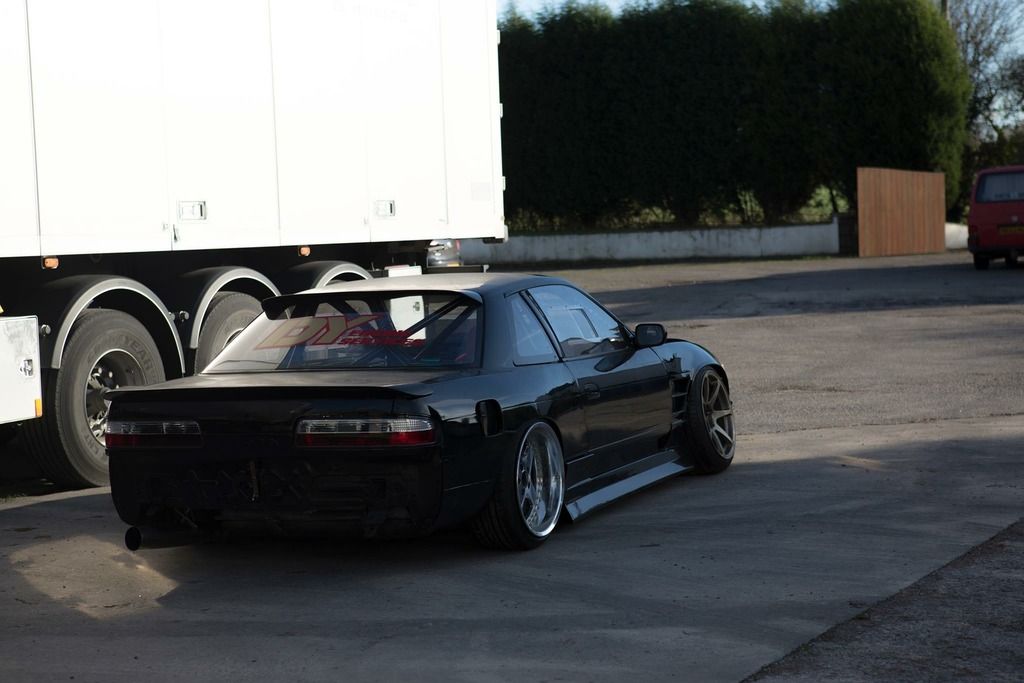 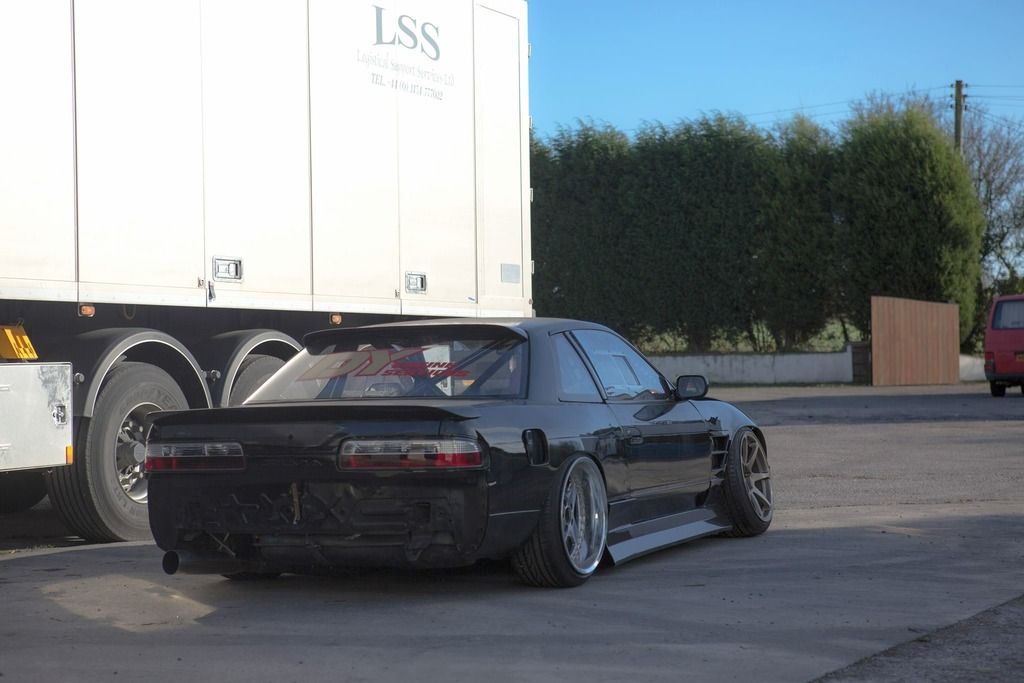 (I still need to cut and paint the standard fuel tank cover, which should hopefully tidy the boot up a bit) 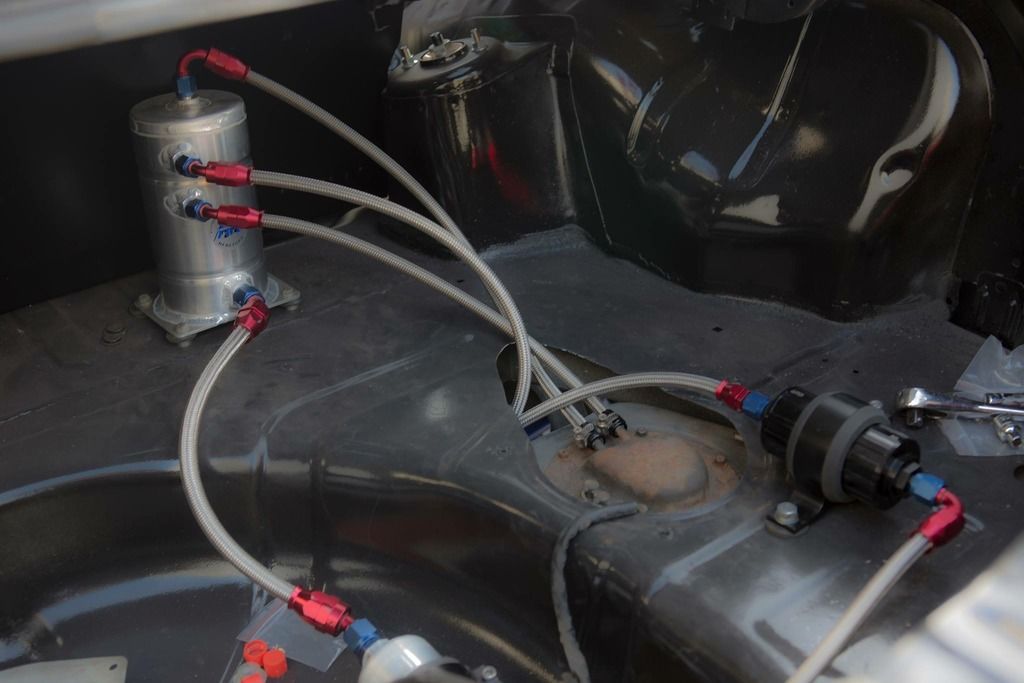 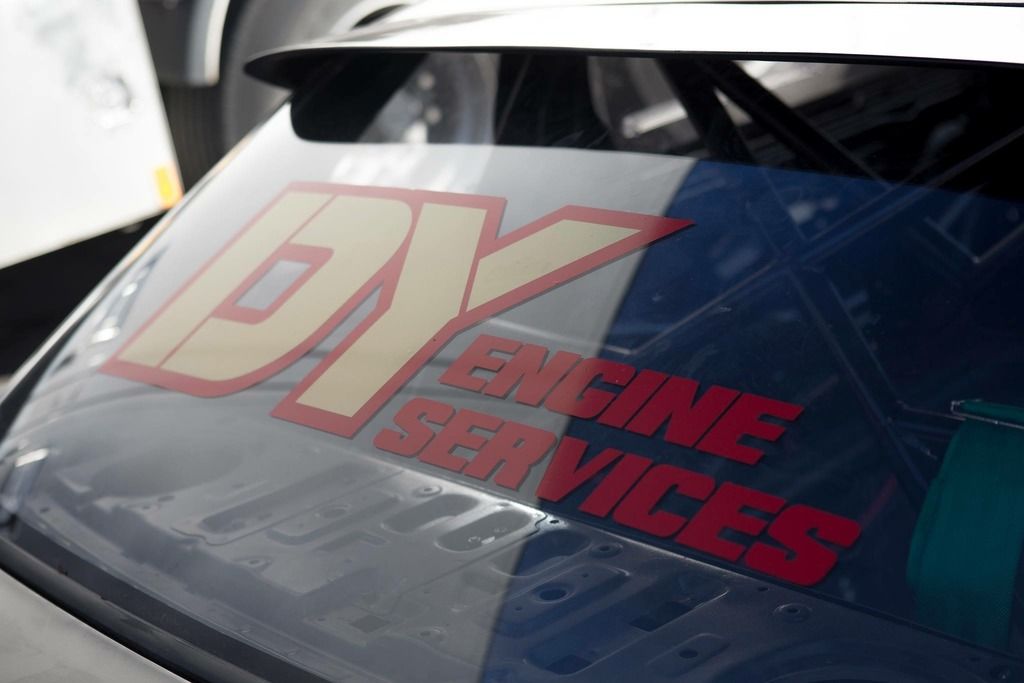 So that’s everything up to date sadly, more pictures than words unfortunately as progress has been slow recently due to a lack of motivation and the fact I was avoiding spending any money of the PS13 until I bought myself a new daily (which I now have, so normal service can resume  hopefully lol!) hopefully lol!) Hopefully a friend of mine will be making me a replica set of Origin Front Under Canards as I felt the front end could do with a bit more aggression, but on the other side, the D-Max kit is already extremely angular so may not work. But time will tell! |
|
|

|
|
|
#60 |
|
Leaky Injector
Join Date: Dec 2012
Location: Bristol, UK
Age: 30
Posts: 92
Trader Rating: (0)
 Feedback Score: 0 reviews
|
A friend of mine reproduces Origin Canards, so I had to grab a pair as I felt the front end was lacking a bit of aggression! So after a week, these turned up - Contact cliodan26 (I think thats correct ha)
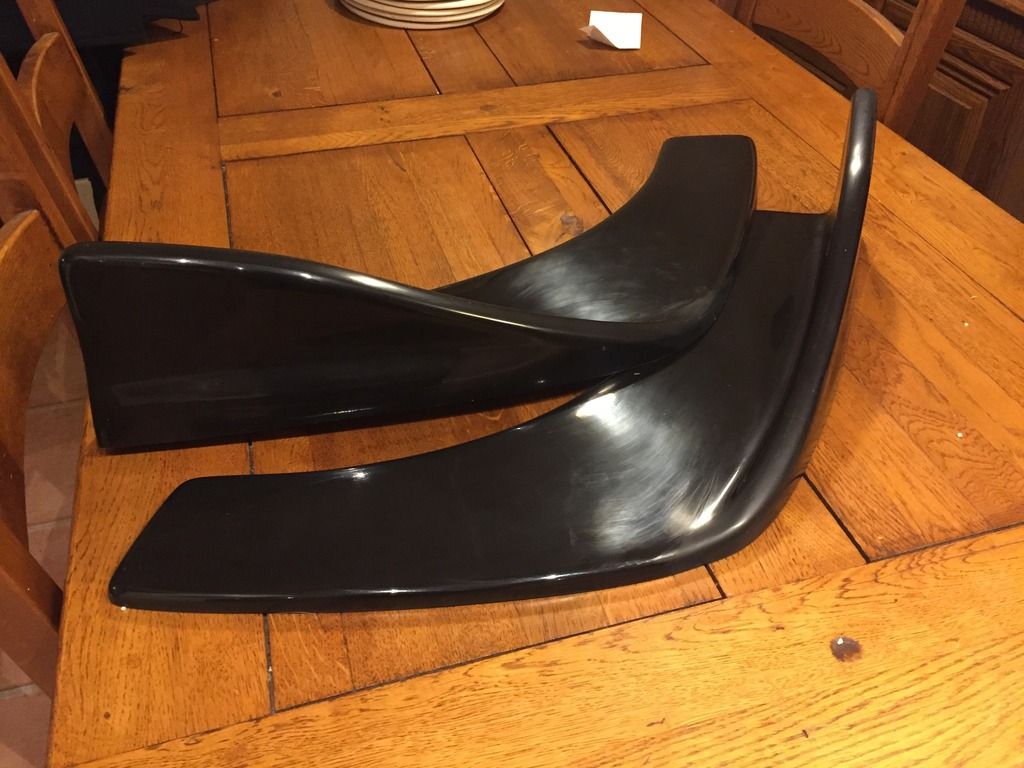 And here's how the front end sits with them fitted; 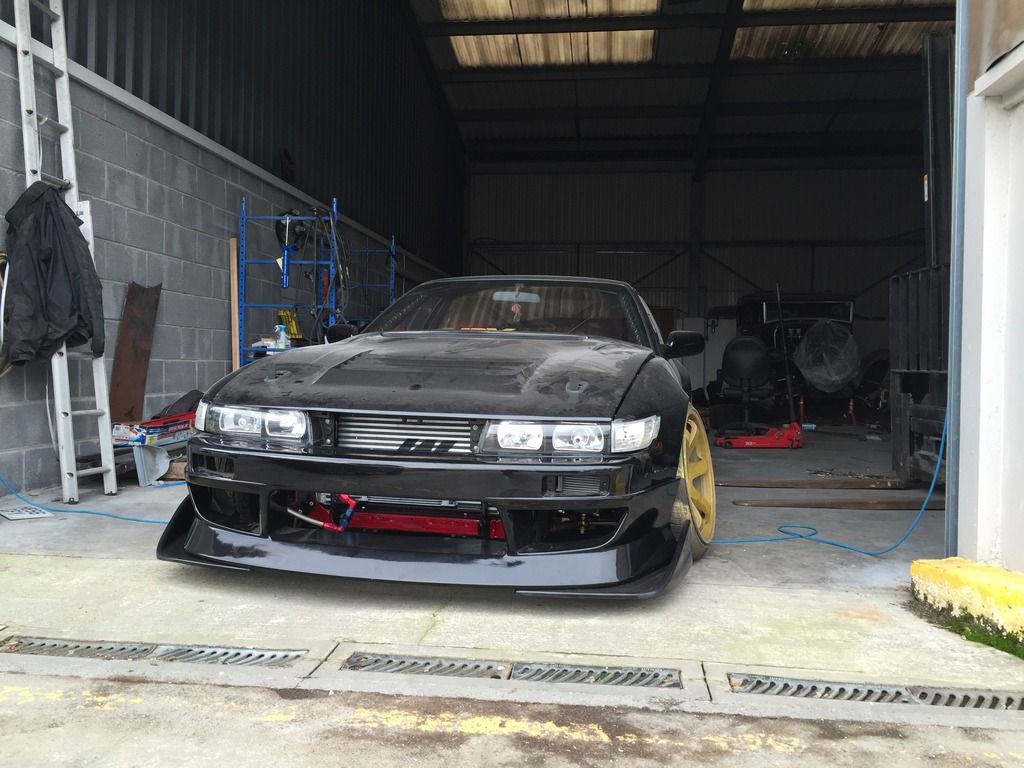 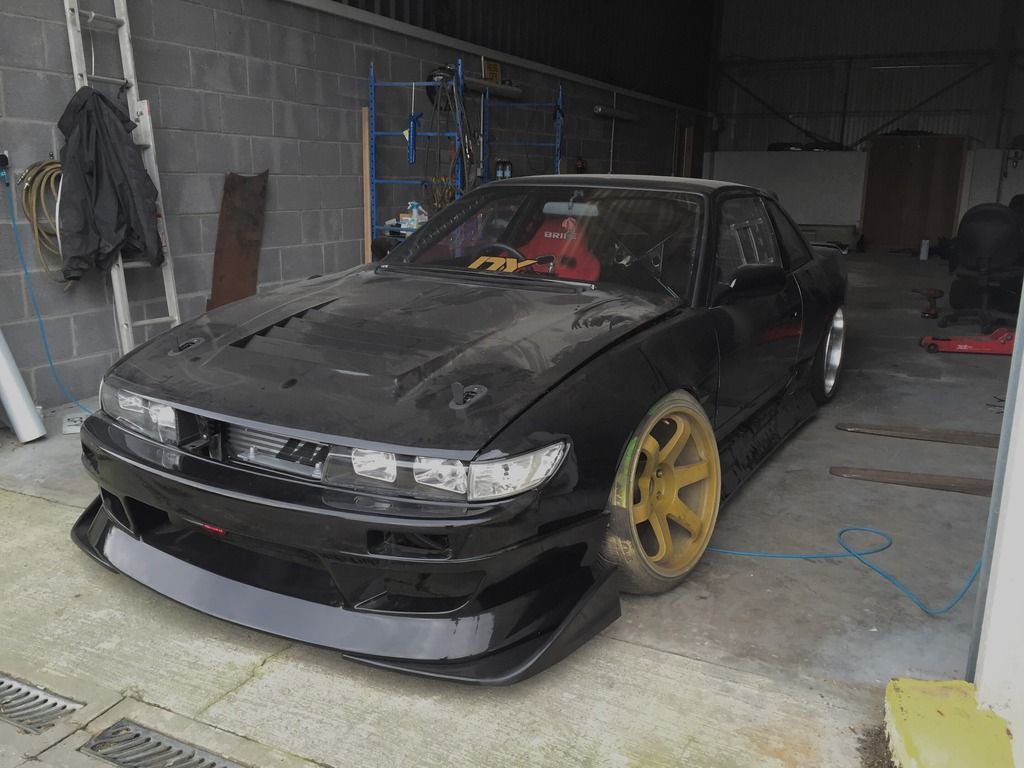 Some photo's make them look a bit weird, but in the flesh, its looks so rad! You may notice it now has a pair of Rota's up front, and thats because I sold the MB Battles to a friend  But fear not, the replacements have been purchased and should be arriving soon! But fear not, the replacements have been purchased and should be arriving soon!So you're probably wondering what wheels I've ordered, and truth be told, I've had these in mind for about 3 months now :smokin: 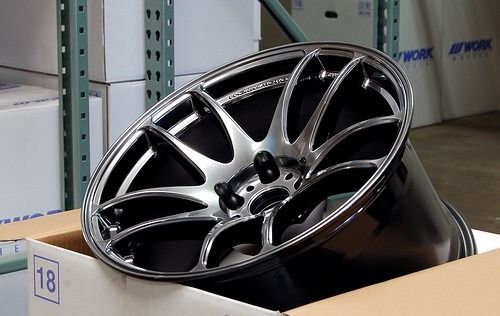 Ive got a pair of 18 x 9.5 ET-15 Work Emotion Kiwami's in GT Silver on their way thanks to Driftworks! (Yup, ET NEGATIVE 15!) Its a part of the new range of Kiwami's, which have the Ultra Deep concave face from the 10.5 wheel, so can't wait to see them fitted up. I did some measurements, and they should sit perfect! And should I want to reduce the camber, I can reduce the front track width as the current LCA's are set to +35mm S13 length  And over the Christmas period, I got an email from Driftworks saying they now have 10% off, typical ehhhh! But, I may have bought another pair :wack: As much as i'd love to run the same size on the rear, that negative offset just isn't going to work. The Equips on there now with fitment that is godly are currently 18 x 10.5 ET2/3 (TBC). And heres how an 18x10 Rota sat when mocked up to sit similar (2mm more poke than the 9.5 -15 would sit) 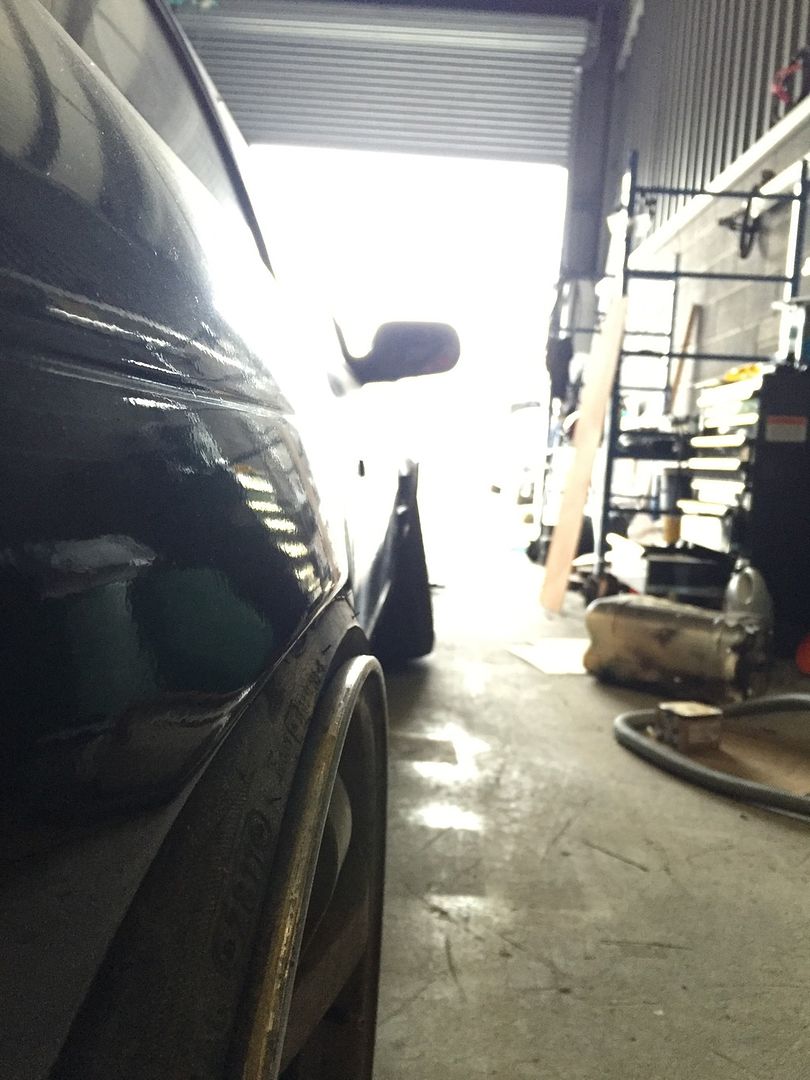 The tyre is just sat against the fender, which isn't any good for when I want to drive the car in anger! I mean, I could dial in some negative camber, but its currently set around the 0* mark at present, with the intention of running -0.5*. But i've built this car to be something special out on track, and I would like the rear grip on the rear that camber level would offer. So, it's a good job the new range of Kiwami's offer an 18 x 9.5 ET0 with the same Ultra Deep Concave face, which would sit around 7mm further in than the Equips, nothing a slip on 5mm hub centric spacer could sort out lol. Plus, it allows me to play with fitment for when I want to run a sightly bigger tyre as I can just simply take the spacer off. So the rear wheel setup will not alternate between Equips & Kiwami's :smokin: Im hoping to buy another pair of Kiwami's in the future just to have an extra set of rear wheels for an event, but for the time being, 2x pair's will be enough. 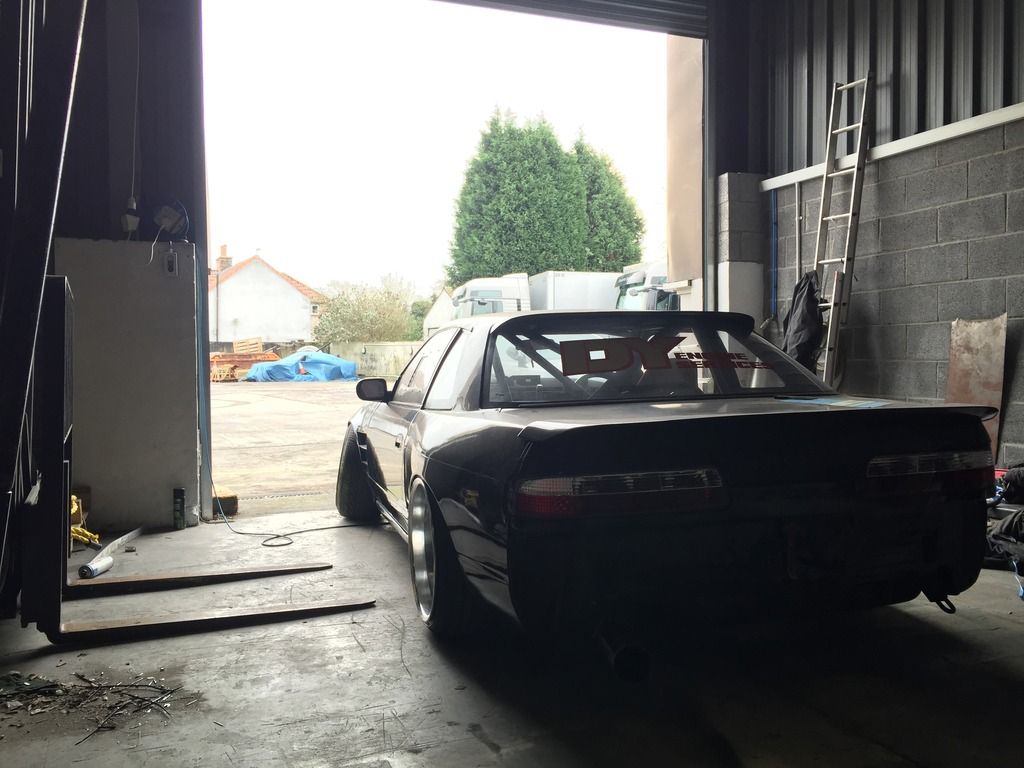 So January is here, and now I need to pull my finger out and get this car running. I'll be speaking to Martin @ MB Automotive on Monday to get him all booked up to wire the car, and from there hopefully mapping will be pretty damn soon after providing there are no major issues. The reason for this sudden motivation? Well as some of you will be aware, Spring Matsuri tickets go on sale tomorrow evening and I've been dying to drive at Rockingham. 2 full months should be enough time to get the car running, maybe not enough to do a shake down test beforehand but as long as its running, i'll be there and driving on the Saturday providing I get a ticket of course! Anyway, my parents got me this rad wing cover for when I'm working on the car (Long standing joke with my dad about calling my Nissan an old Datsun!). Such a cool item, might even frame it haha! 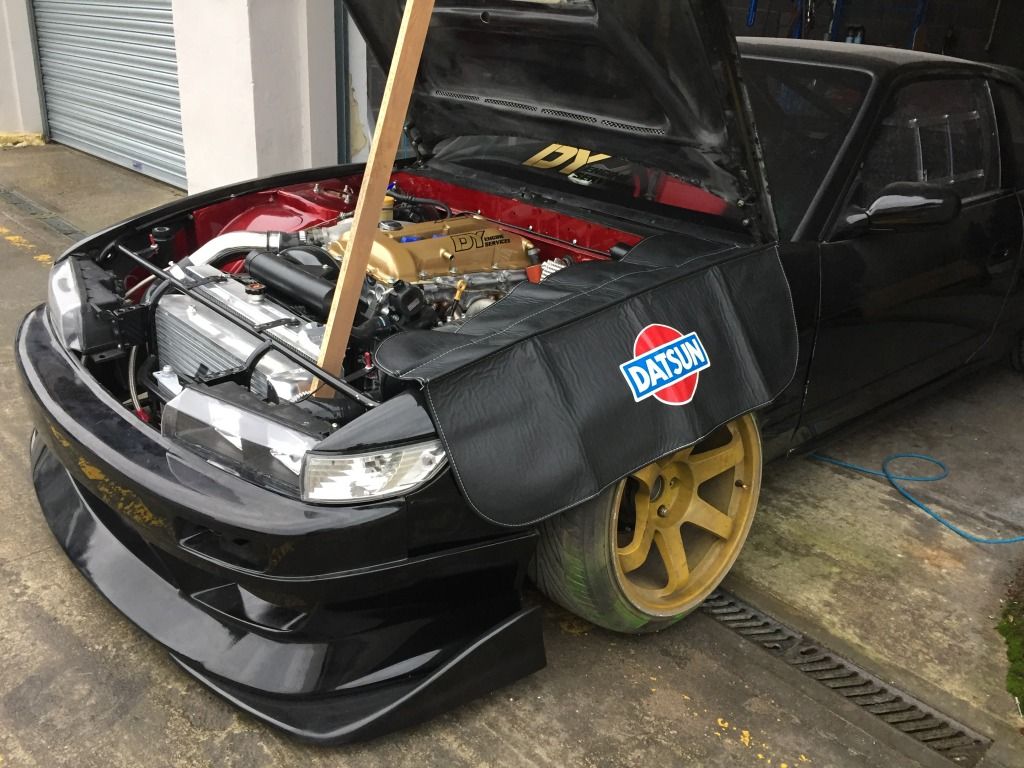 Over the weekend Dave from DY Engines came down, the reason here was because we originally set the timing as per Protuner's setting, whereas Martin (who's going to be mapping the car) would like another setting. So before things progress, he offered to pop down on his weekend and set the timing up. It was quite cool to see inside the head, something I haven't done. With the new cam and pulley setup, its look so mechanical and quite simply badass! Cant wait to hear the sound they'll produce. The car should be getting wired at the end of the month with a little bit of luck, and if all goes ok with the first start up, mapping wont be much longer after. Today I received some goodies from Driftworks! 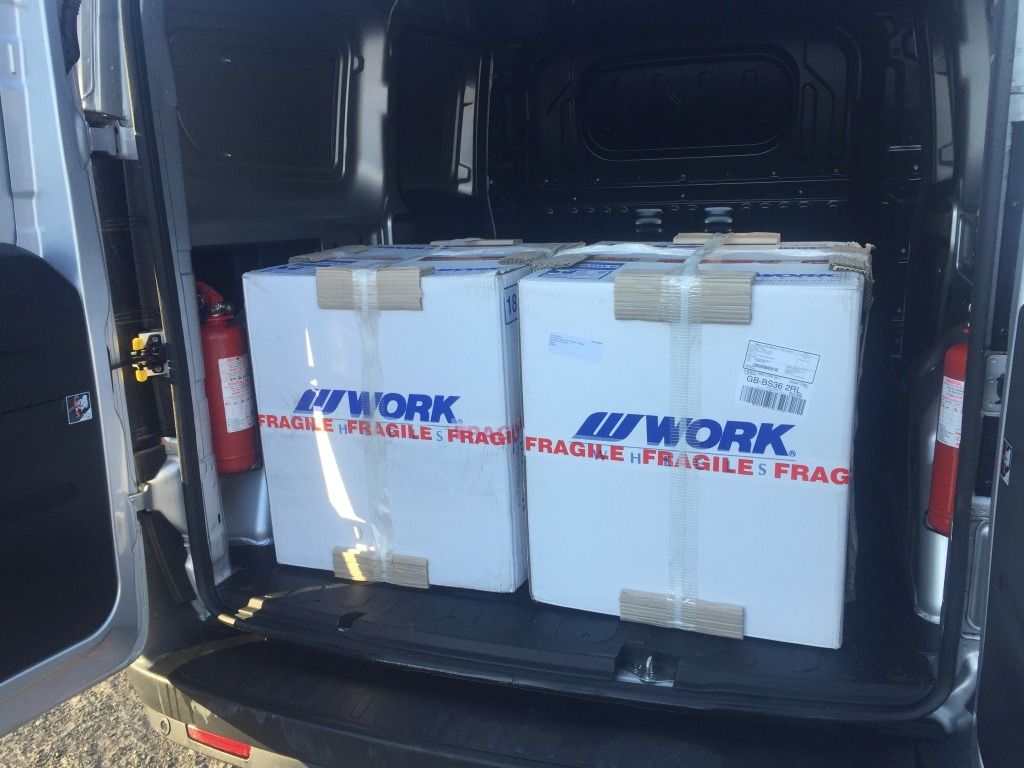 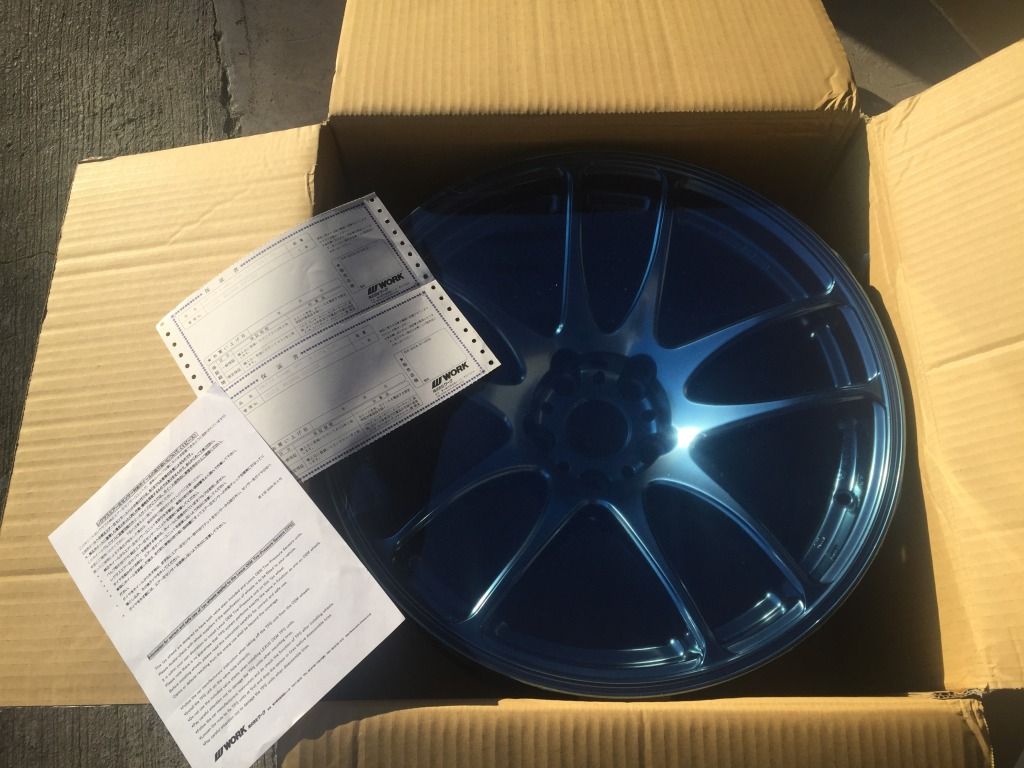 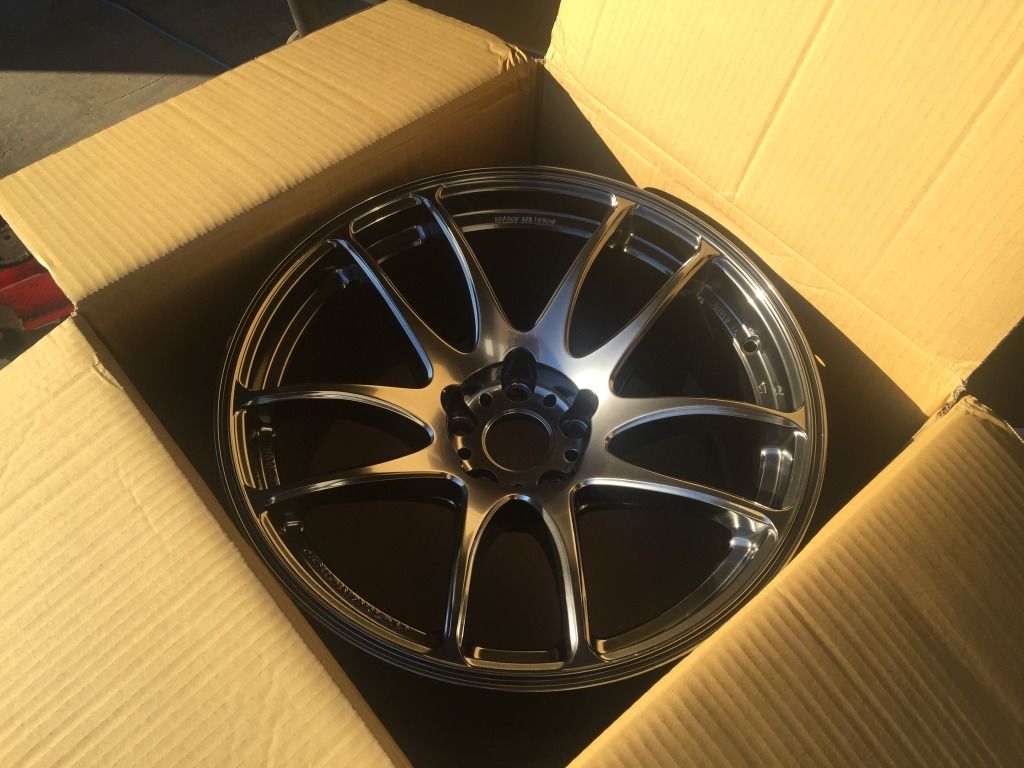 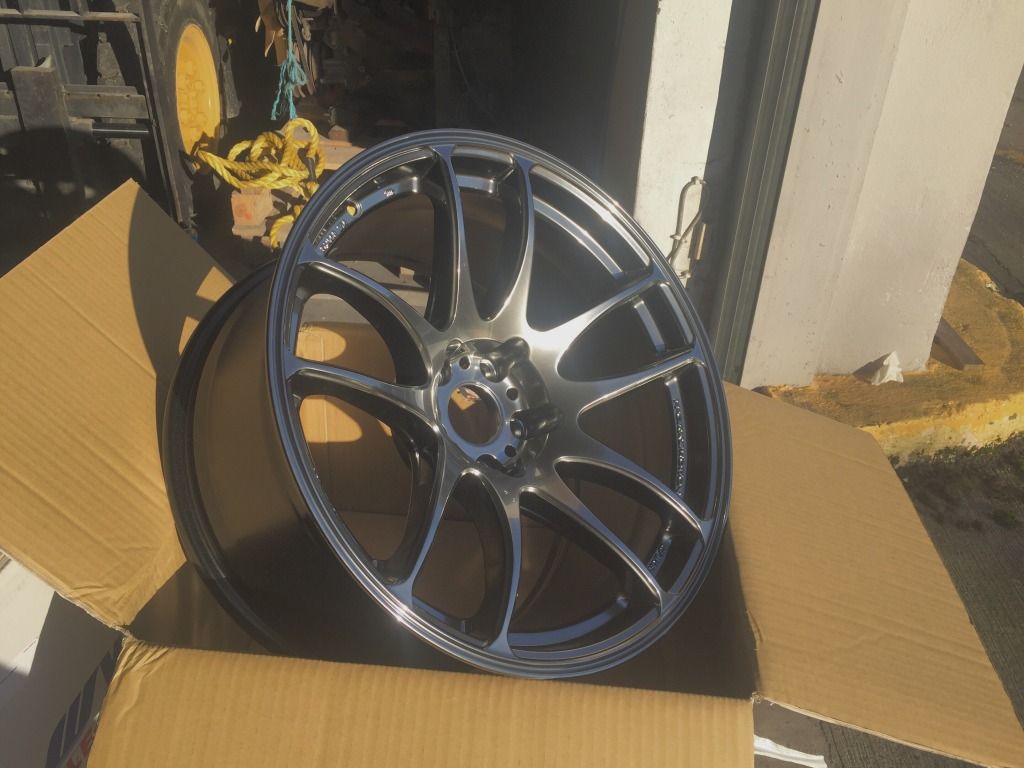 So stoked with how awesome they look! Really can't wait to chuck some tires on the 18x9.5 ET-15 pair so I can put them up front! (And see how much "tweaking" is needed :wack: ) Im hoping to run a 235/40 or 35 tire up front, to help with front end bite and clearance, but i'll see what sizes come in my desired tire. I thought about something sticky, like a Federal RSR, Nankang NS2R but I'm still a bit undecided. As I know the car has been setup for quite a responsive steering setup, so I'm leaning towards a budget-ish tire like a regular Nankang NS2 to allow the car to remain balanced, after all, I'm not going to run semi slicks on the rear. The catch-22 is that I've tried to dial in quite a bit of mechanical grip on the rear with the geo setting, so the only way to find out for sure is trial and error  |
|
|

|
 |
| Bookmarks |
| Thread Tools | |
| Display Modes | |
|
|