|
|||||||
| Builds (and builds only) Got a build thread? It goes here, build threads anywhere else on the forum will be locked and never moved. |
 |
|
|
Thread Tools | Display Modes |
 02-04-2013, 10:55 AM
|
#391 | |
|
BANNED
 |
Quote:
|
|

|

|
| Sponsored Links |
|
02-05-2013, 02:05 AM
|
#392 | |
|
Zilvia Junkie

Join Date: Oct 2003
Location: Norway
Age: 38
Posts: 345
Trader Rating: (0)
  Feedback Score: 0 reviews
|
Quote:
So from you fit the fender, until its complete molded in  Sorry for my English. Sorry for my English.
__________________
2011 BMW F11 5-series and 2003 Nissan 350Z |
|
|
|
|
|
02-05-2013, 06:31 AM
|
#393 |
|
Zilvia Junkie
|
Your English is fine man. =) There is already shots of the whole process in the thread? Whats up there is basically all I have of that though.
|
|
|
|
|
02-05-2013, 09:40 AM
|
#394 | |
|
Zilvia Junkie
Join Date: Oct 2003
Location: Norway
Age: 38
Posts: 345
Trader Rating: (0)
Feedback Score: 0 reviews
|
Quote:
Thanks for the reply.
__________________
2011 BMW F11 5-series and 2003 Nissan 350Z |
|
|
|
|
|
02-05-2013, 05:37 PM
|
#395 | |
|
Zilvia Junkie
|
Quote:
We re-glasses the inside of the guard so it was thicker in the right places this was done at the same time as fitting it. So when the guard was then pressed onto the car and hot glued and also rivited on the glass sets in the new shape. This is all then sanded back and blended with bog. This goes all the way to the top of the panel to help minimise the chances of it cracking. If it does crack it will most likely be along the top not in the middle of the panel (fingers crossed) Hope this helps. |
|
|
|
|
|
02-05-2013, 10:44 PM
|
#396 | |
|
Zilvia Junkie
Join Date: Oct 2003
Location: Norway
Age: 38
Posts: 345
Trader Rating: (0)
Feedback Score: 0 reviews
|
Thanks alot!
Good idea by re-glassing the inside of the guard..Looking forward to see updates. Quote:
__________________
2011 BMW F11 5-series and 2003 Nissan 350Z |
|
|
|
|
|
02-06-2013, 07:10 AM
|
#397 |
|
Zilvia Junkie
|
I got a chance to trial fit the braces.
I quite like the look of them in the engine bay its abit different. If I do use them they'll be painted the same colour as the engine bay and have all the welding spatter removed. 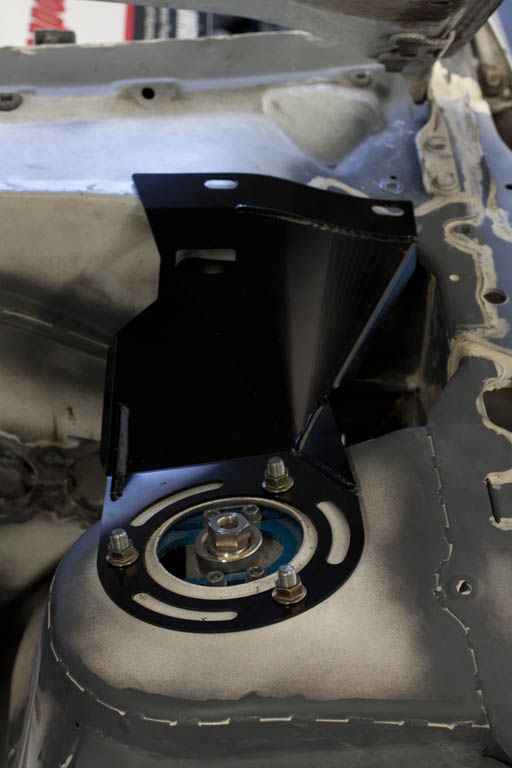 They sit off the back if I tighten the base plates up flush to the towers. So they'll have to be squashed into place a bit not sure if that means they'll do more or less probably less though. 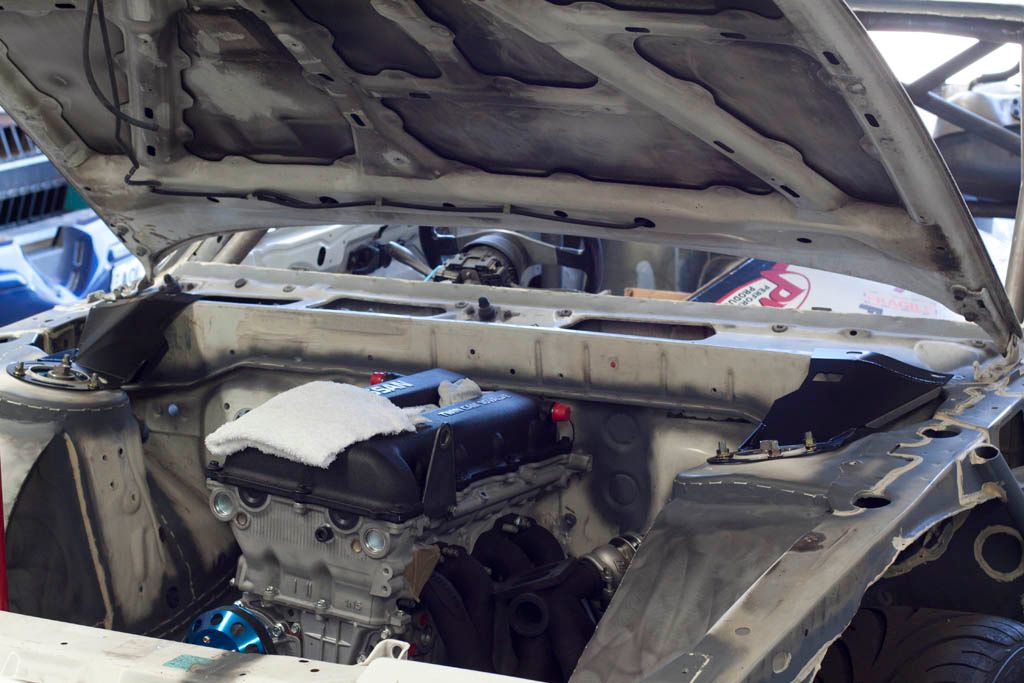 You can see some of the spatter in this shot. It looks worse in person though quite rough dont know if i'd be in a hurry to recommend the quality of them to anyone tbh. 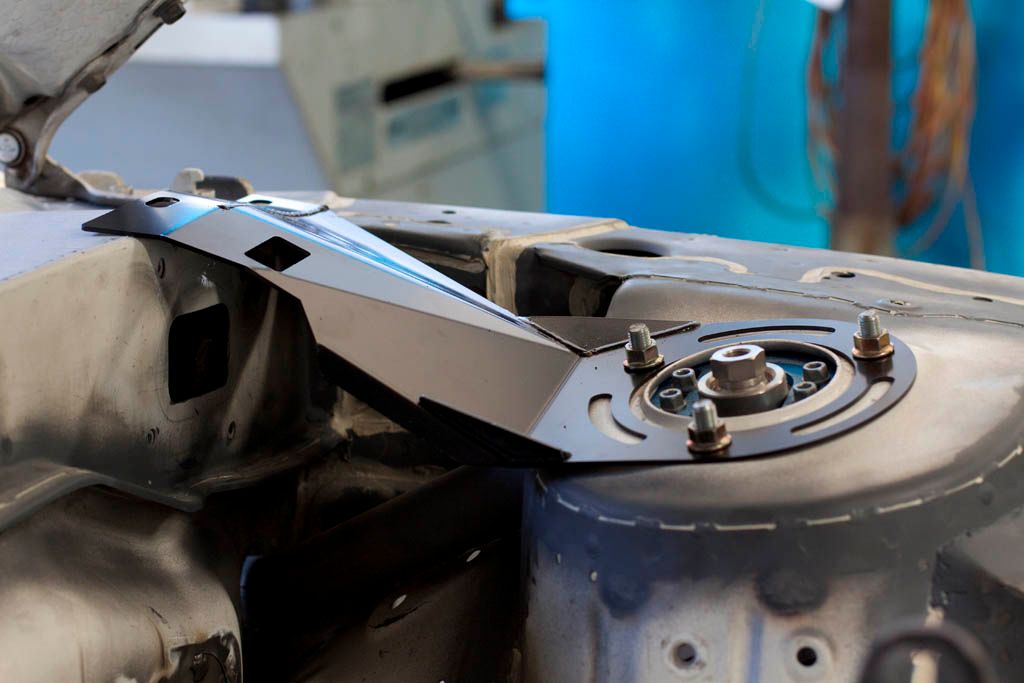 They came with two long pieces with nuts tacked on the ends worked out your supposed to put these in the windscreen trough and tighen them up with a bolt through the top. I wont be using this though if they go on as is we'll just be drilling the holes out bigger and putting in some zinc plated riv nuts so they dont rust. More soon. |
|
|
|
|
02-12-2013, 06:56 AM
|
#398 |
|
Zilvia Junkie
|
Today I had the day off and wanted to do something towards the build. I'm going to sit down sometime this week and write a list of small tasks that need to be knocked over and are not waiting on anything else of will at least save time at the other end. Tiny task for this week was installing the stock studs and installing the Nismo longer replacements into the front hubs. Not the most exciting of things but progress non the less.
I took this before I realised that the longer Nismo stud in the picture is actually for the rear hubs. You can tell by how much thicker the base of the shorter stud is that I'd already removed. Still these are the same length as the front ones so its a good comparison of length (15mm or so extra) 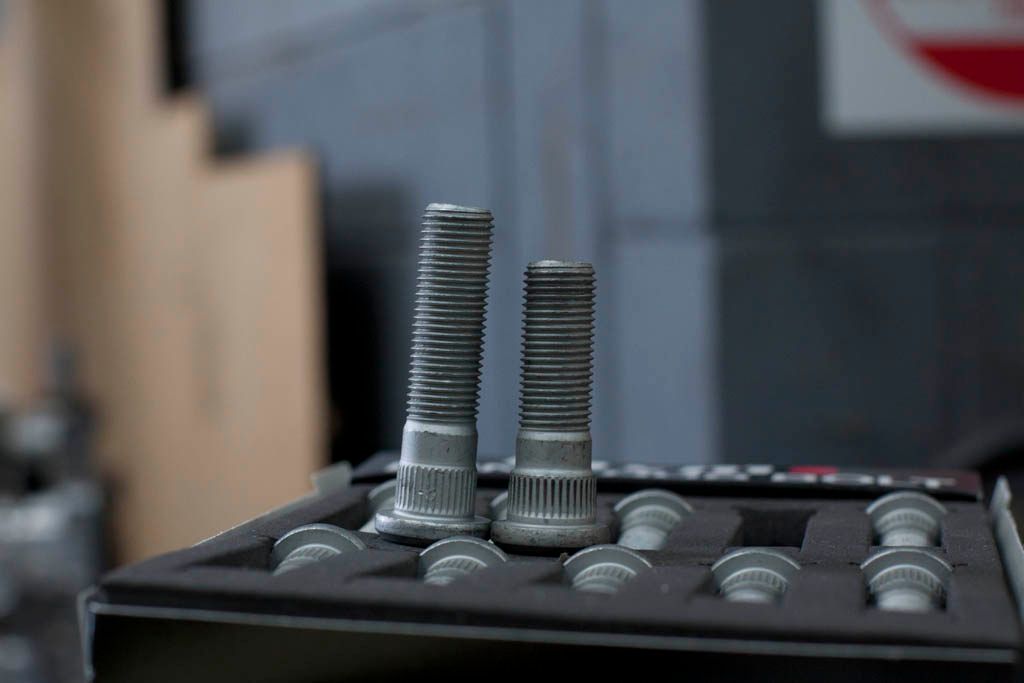 All bashed out with the old wheel nut + hammer + gal pipe behind it all method. Worked ok managed not to damage any of the standard studs. 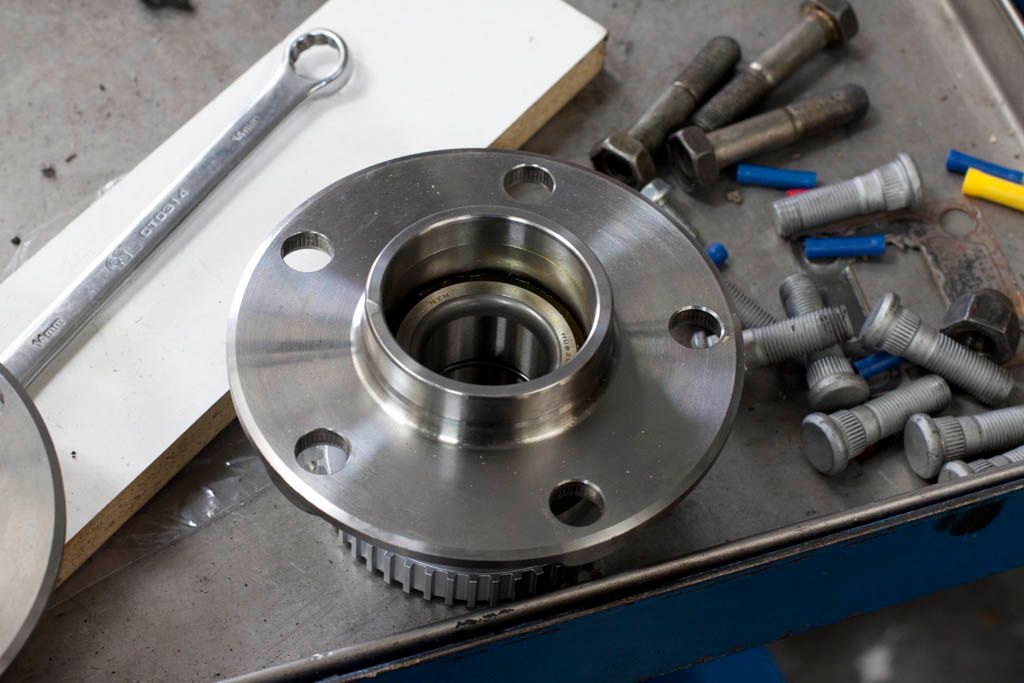 Used a section of pipe that was slightly bigger than the bore size of the hub and an old 1/2" drive extension to hammer the studs in from the back. Not sure if this is the best method but it worked.  Then once they looked pretty well seated put a spacer on the front and gave them a short rattle gun burst make sure they were 100% bottomed out. 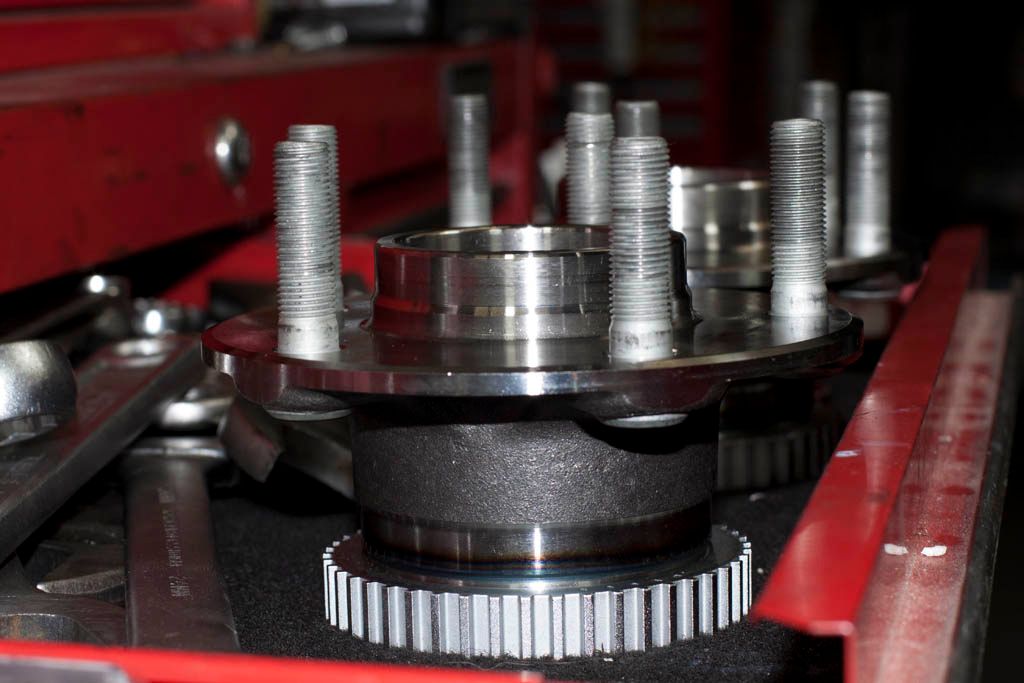 More soon! |
|
|
|
|
02-25-2013, 07:55 PM
|
#399 |
|
Zilvia Junkie
|
Finally got myself a decent torque wrench delivered from ebay just 2 days after ordering. Will be using this quite alot in the coming months. =)
40-200Nm capable should be able to do everything I need to within that range I hope. 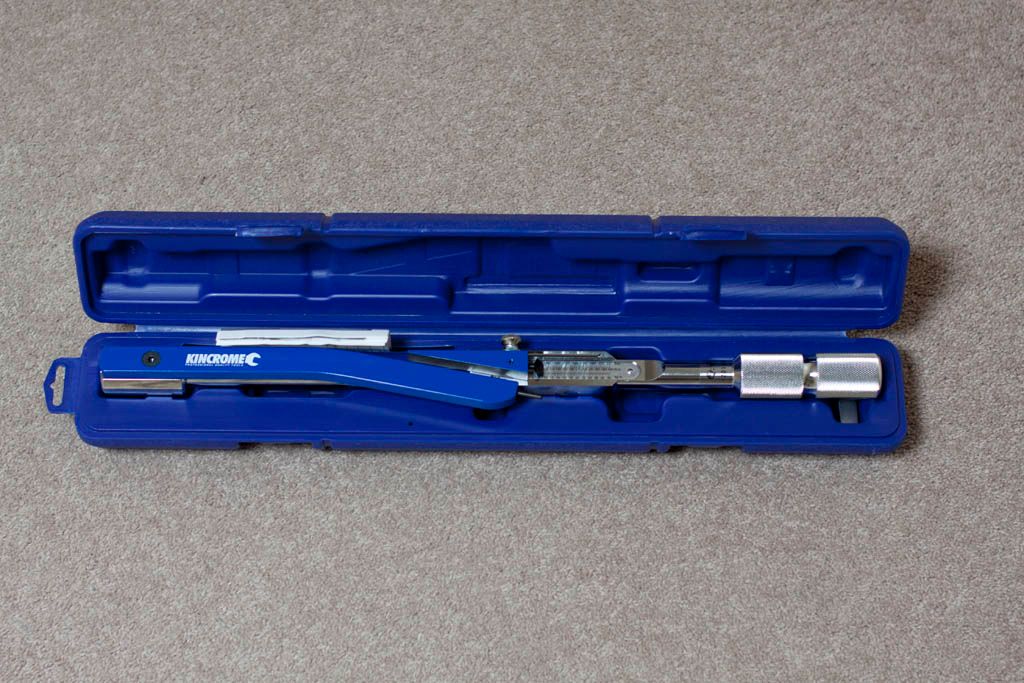 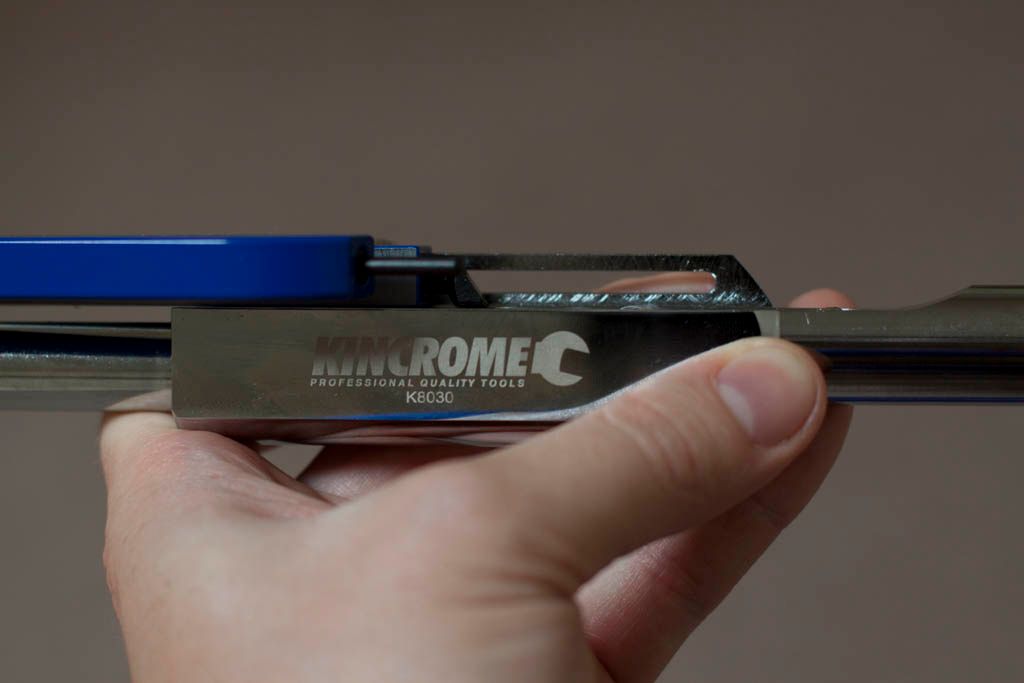 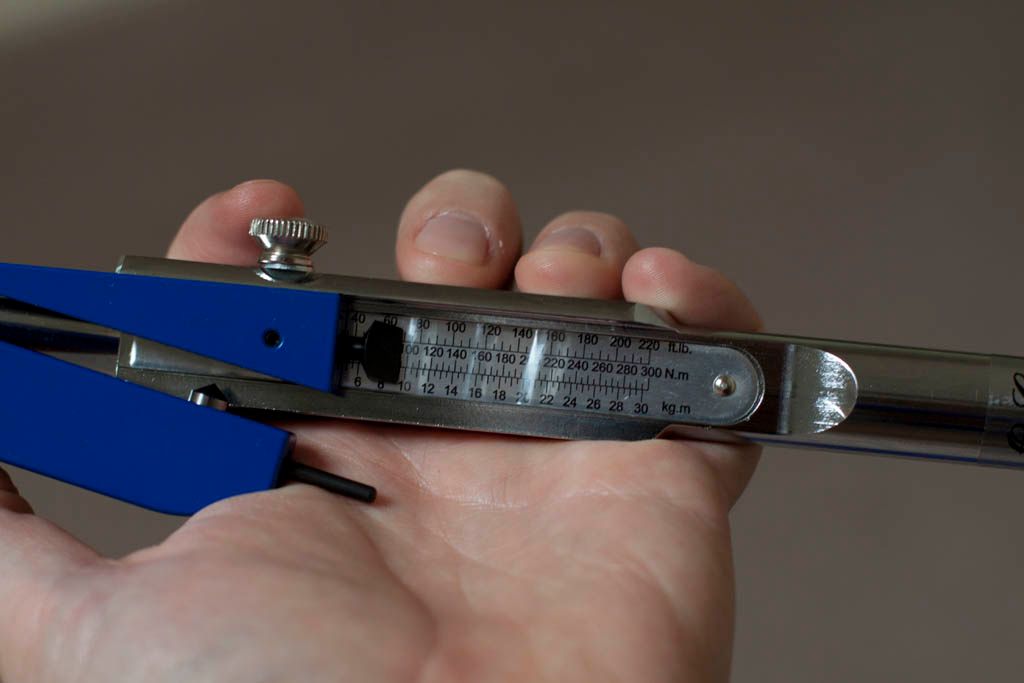 More soon! |
|
|
|
|
02-25-2013, 07:56 PM
|
#400 |
|
Zilvia Junkie
|
Borrowed some scales this week so I could weigh some stuff also got a mate (thanks Kim) to weigh his full-race manifold for me. Its not a direct comparison cause its T3 twin scroll so I imagine the t4 version might be a few grams more but it should be pretty close.
The 6 boost tipped in at 7.1kg 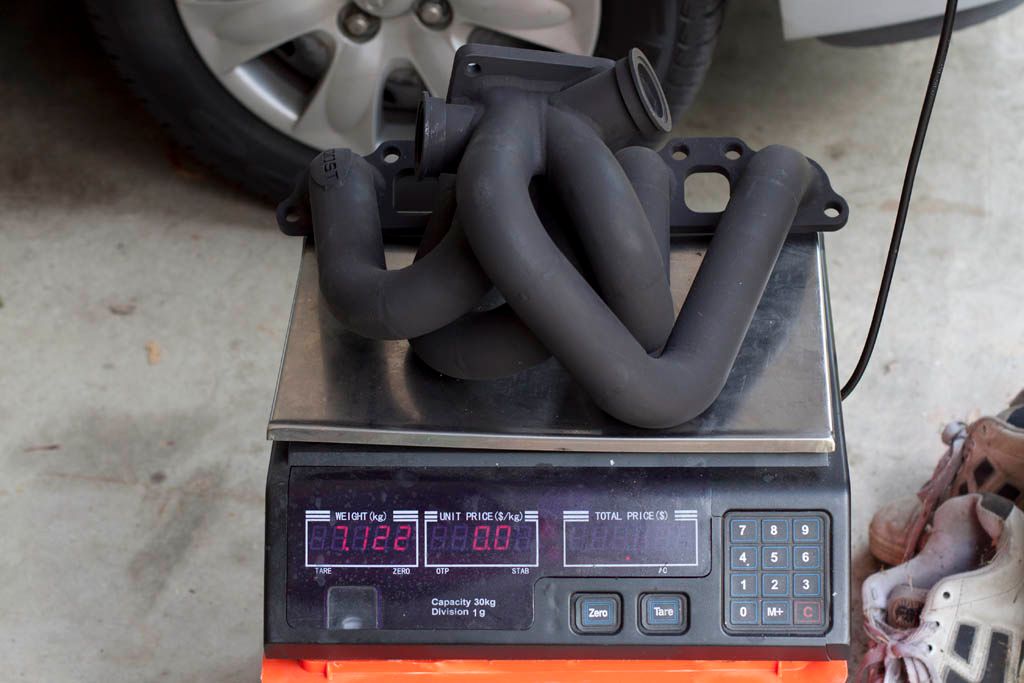 I was suprised that the fullrace only tipped in at 7.7kg last time I picked one up my guesstimate was much heavier. 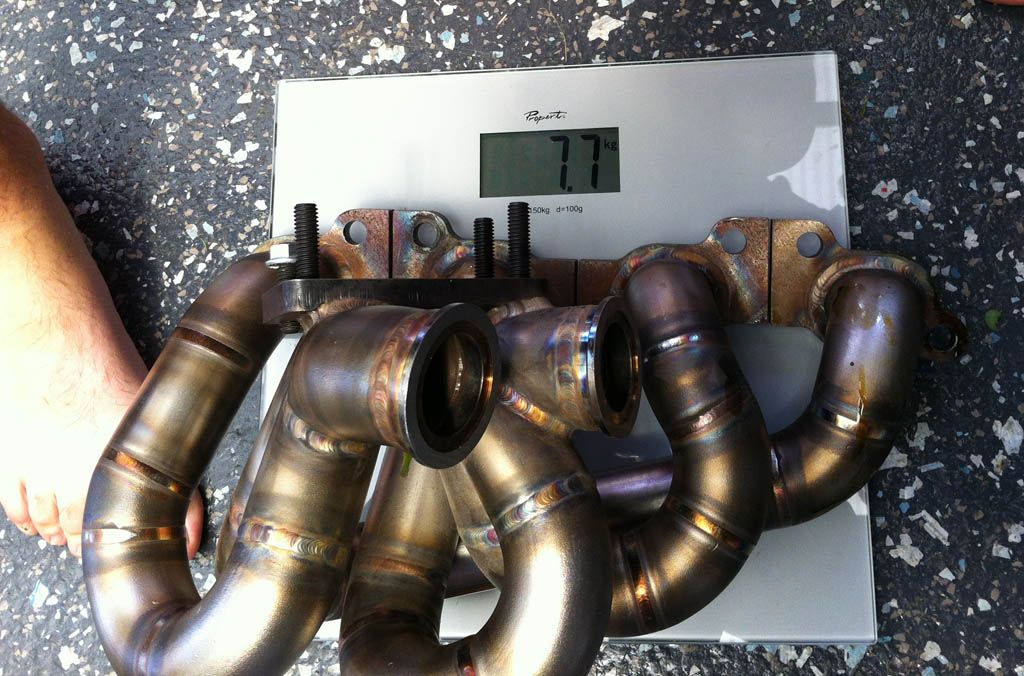 The turbo tipped in at almost 9.6kg wish they made those schmicko tial thin walled stainless rear housings in twinscroll to suite precisions. 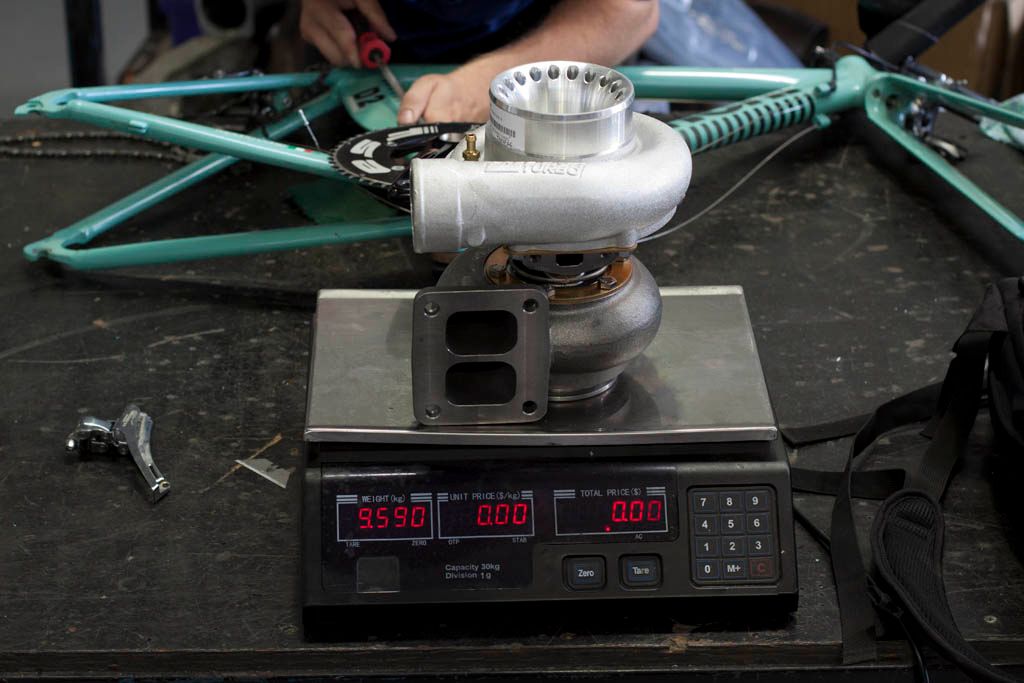 More soon! |
|
|
|
|
02-28-2013, 02:02 PM
|
#402 |

Join Date: Jan 2006
Location: Helsinki/Moscow
Posts: 18
Trader Rating: (0)
Feedback Score: 0 reviews
|
Oh, I also weighted Full-Race vs Mazworx and GTX3582+Tial and GT3076 TS
manifold MAZWORX - 7.2kg manifold Full-Race ProStreet - 8.1kg GTX3582R+tial - 6kg (kit - 13.2kg) GT3076R+TS housing - 7.2kg (kit - 15.3kg) so, MAZWORX's kit, lighter than Full-Race's kit for 2.1kg with bigger turbo! also, did some manifold measurements: manifold MAZWORX - runners 49mm ,intake on flange 33x45mm manifold Full-Race ProStreet - runners 42mm ,intake on flange 29x41mm  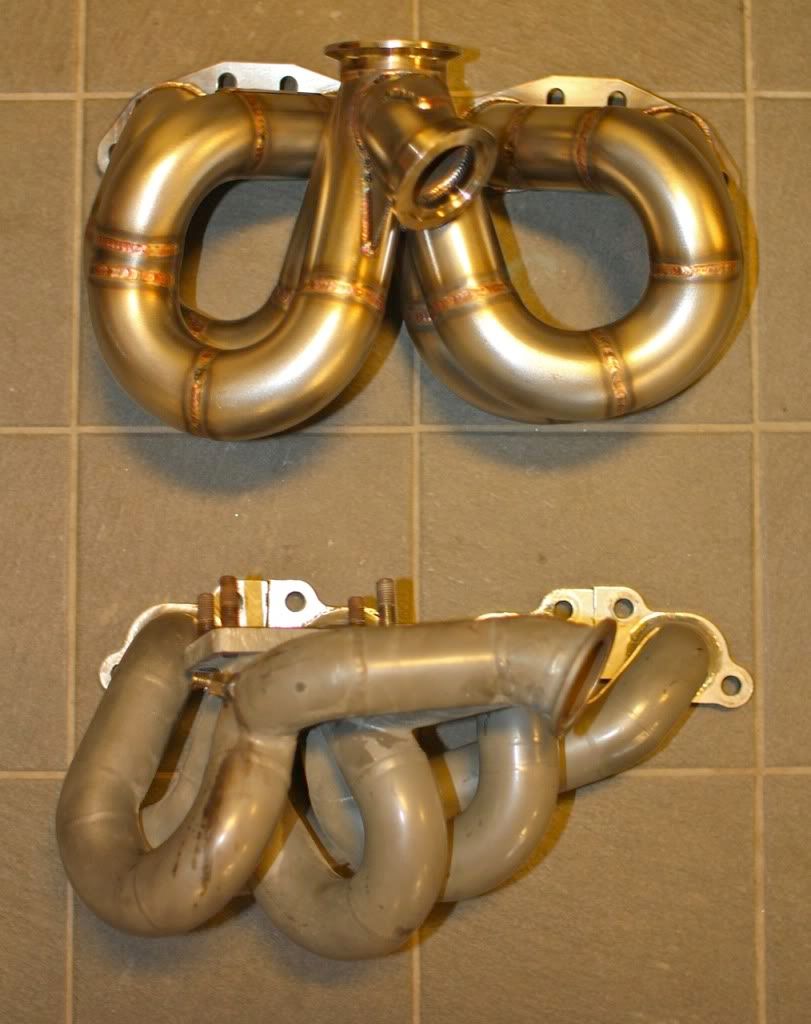 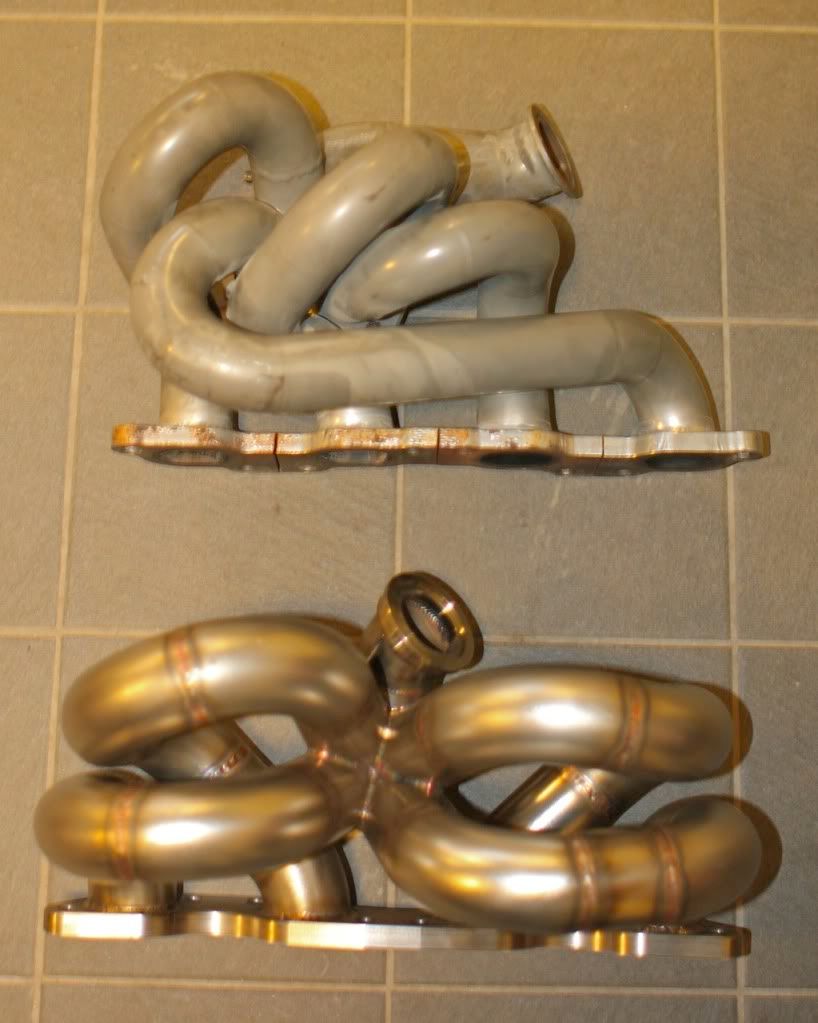 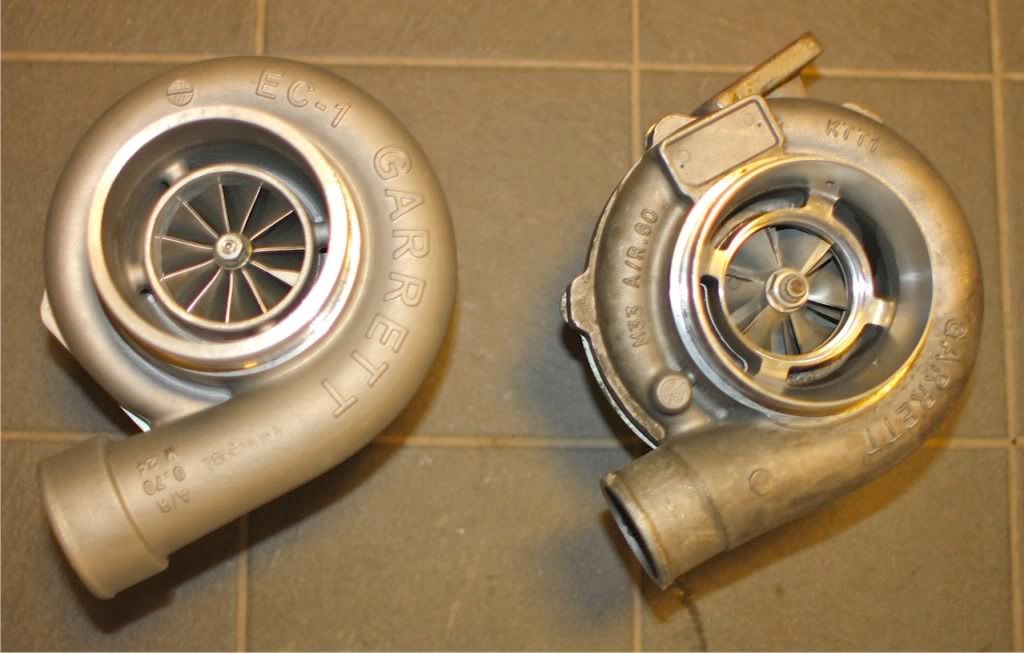 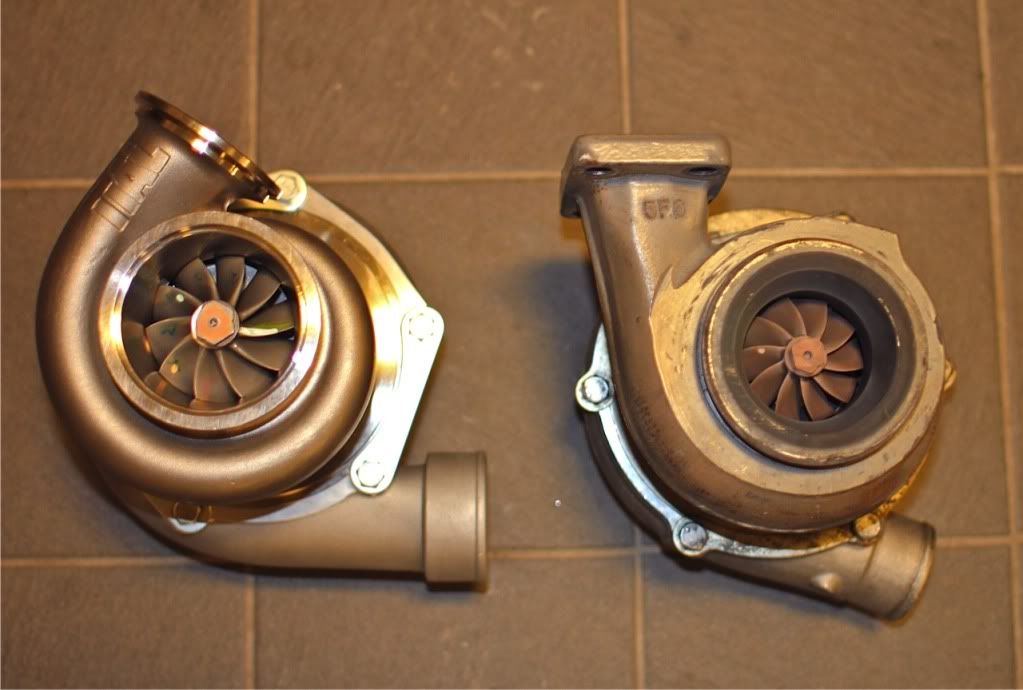 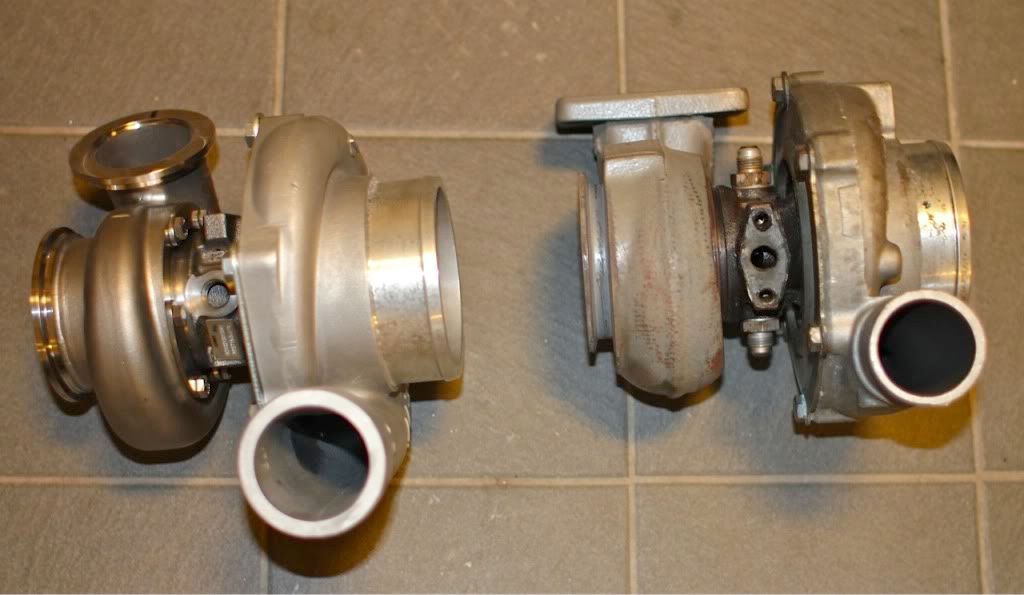 |
|
|
|
|
02-28-2013, 04:50 PM
|
#403 |
|
Nissanaholic!
 Join Date: Dec 2010
Location: king of prussia, PA!
Posts: 1,721
Trader Rating: (18)
Feedback Score: 18 reviews
|
I can see why the Full-Race manifold weighs more, it has a twin scroll design with a twin scroll flange and it has a twin runner to the wastegate. That could be your weight difference right there. Also, is that runner width measurement from inside the runners or outside? Either way, looking forward to see how the Mazworx setup works out with the GTX and Tial setup.
__________________
https://instagram.com/eck_matthew/ |
|
|
|
|
03-03-2013, 08:22 PM
|
#404 | |
|
Zilvia Junkie
|
Quote:
On a side note dont the response gains of going twin scroll become somewhat defeated by then joining both side of the manifold back together at a single gate though? Has anyone on here used the Racepak Smartwire when rewiring their cars? I'm looking at if they're worth it or not given I'm using a decent aftermarket ecu which can control alot of things anyway. |
|
|
|
|
|
03-03-2013, 10:33 PM
|
#406 | |
|
Zilvia Junkie
|
Quote:
|
|
|
|
|
|
03-04-2013, 12:34 AM
|
#407 | |
|
Zilvia Junkie
|
Quote:
|
|
|
|
|
|
03-18-2013, 08:34 AM
|
#408 |
|
Zilvia Junkie
|
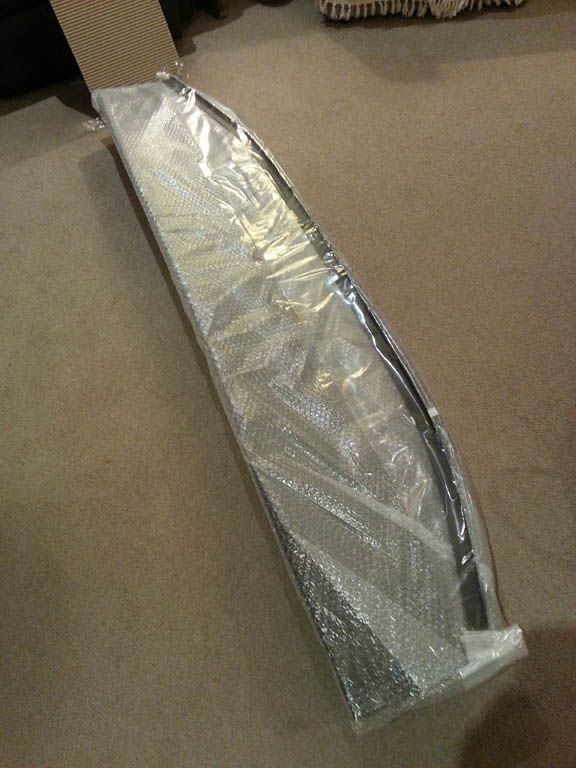
Picked up something this week I'm super happy about. No prizes for guessing what it is the packaging doesnt hide much, it was more than I had planned to get but an offer came up I couldn't knock back. The trick now will be to get the front end aero working well enough to match this mofo.
 Came with certs and two transfers for the end plates, they got abit folded in the package. They probably wont be going on the wing anyways.  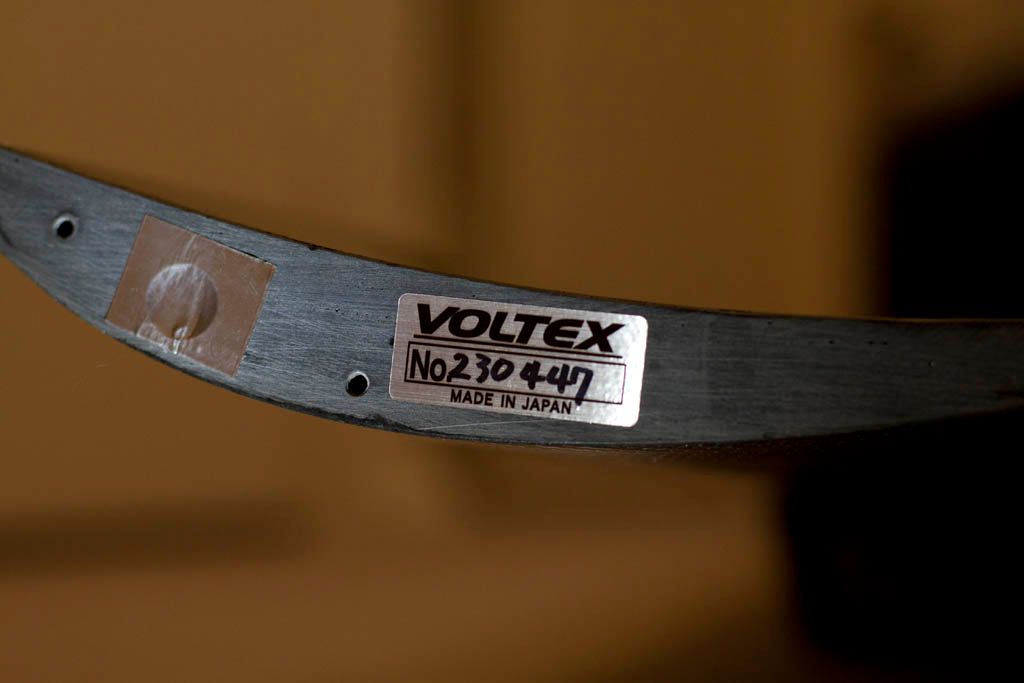 Easier to see the profile of it without the end plate on. Its actually much thicker than this towards the center though. 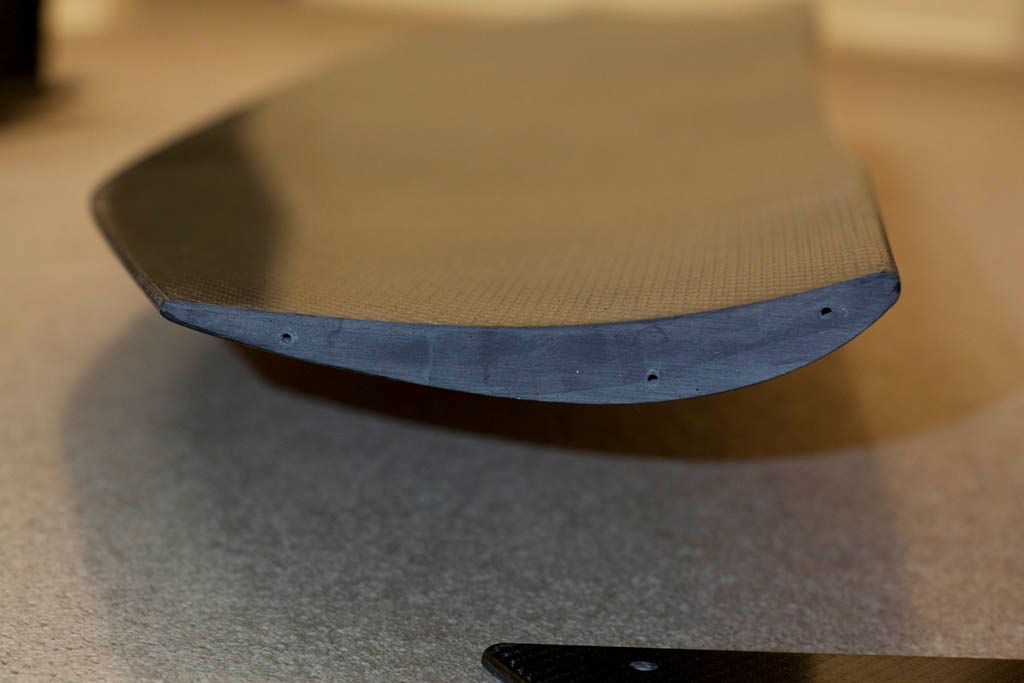 Counter sunk holes so its all smooth once the end plates are bolted on. 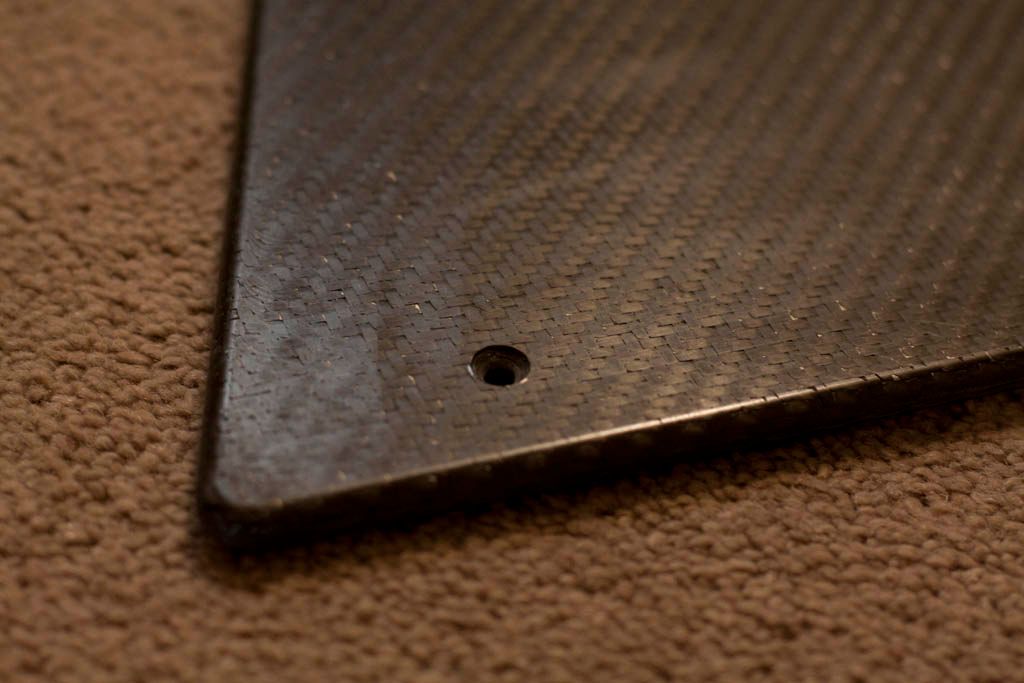 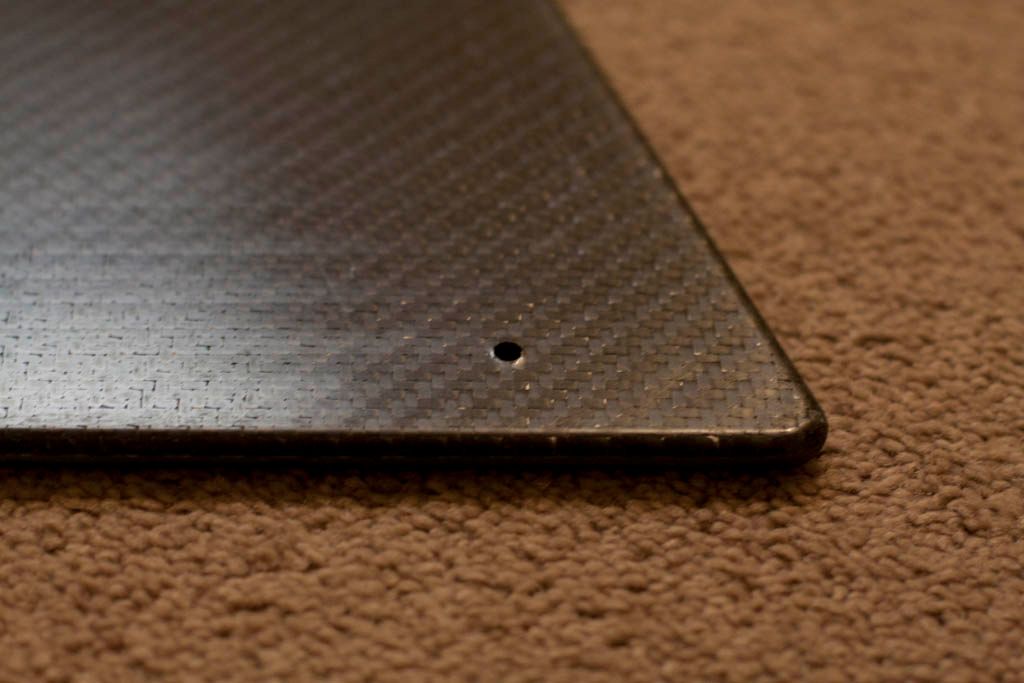 The end plates are stiff as **** abit heavier than I was expecting though. 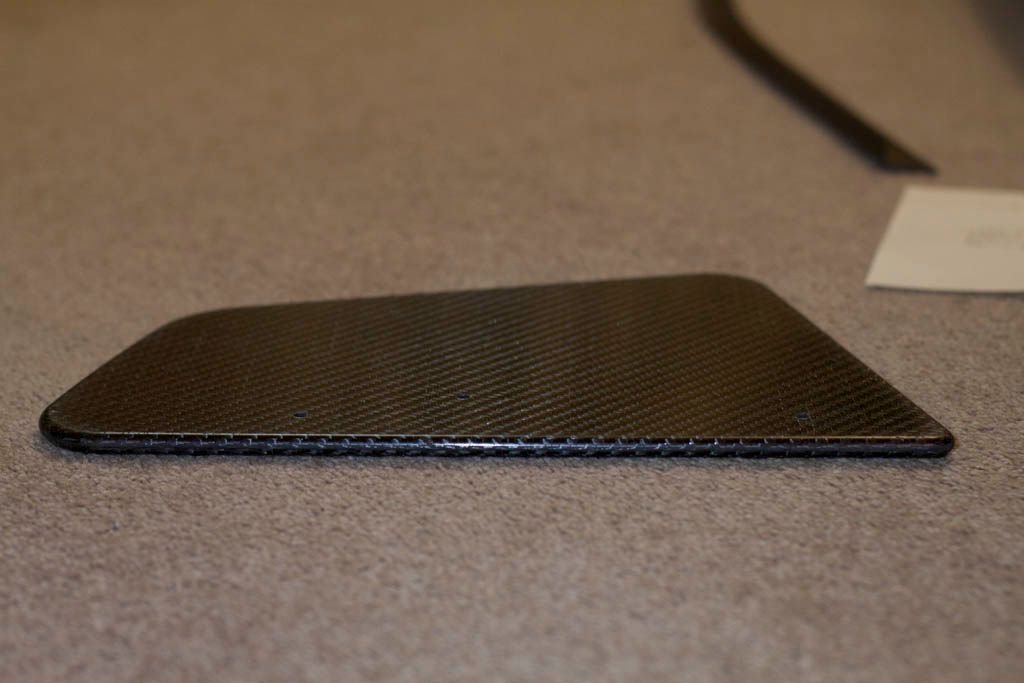 Gurney flap is stuck on with double sided tape already attached to the flap itself. 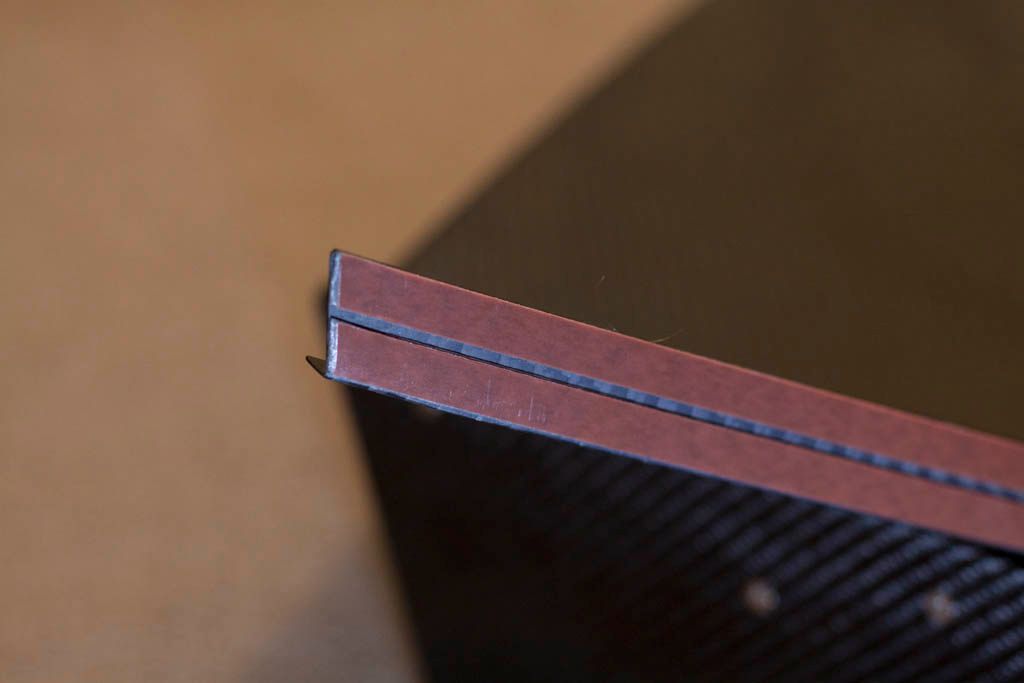 Neat fit. 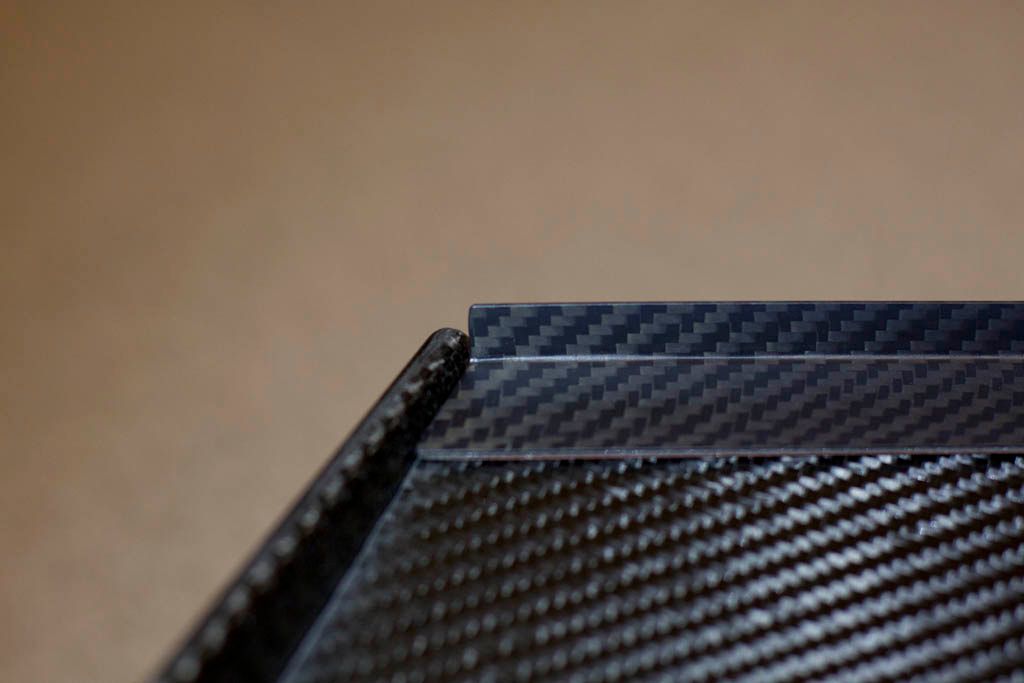 Follows the contour of the trailing edge perfectly. 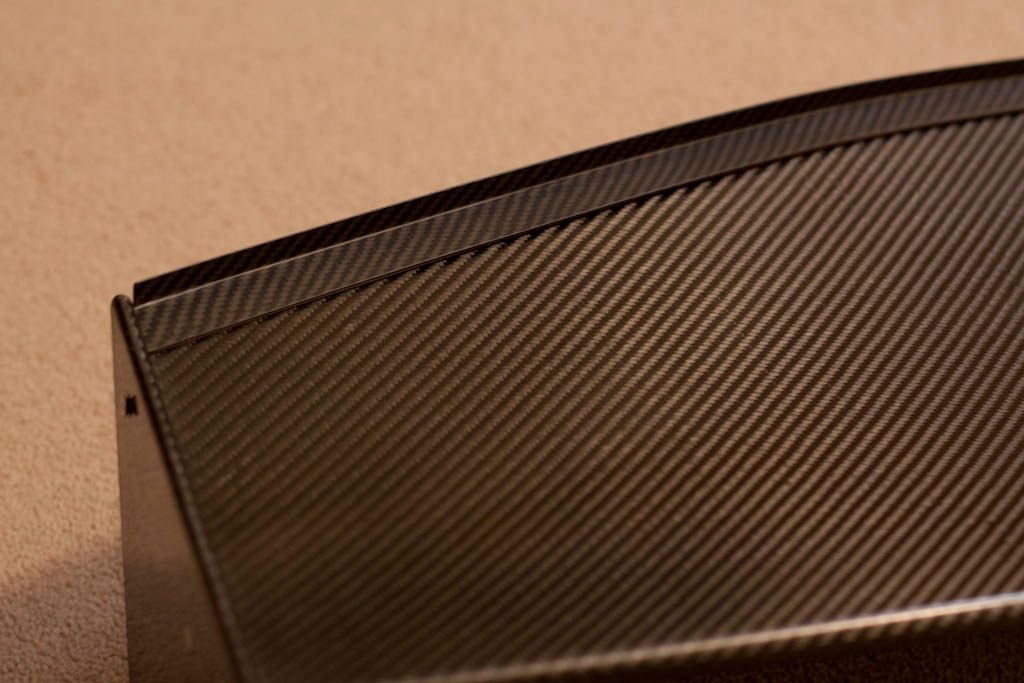 Can kinda see here how dull the finish is of the dc. 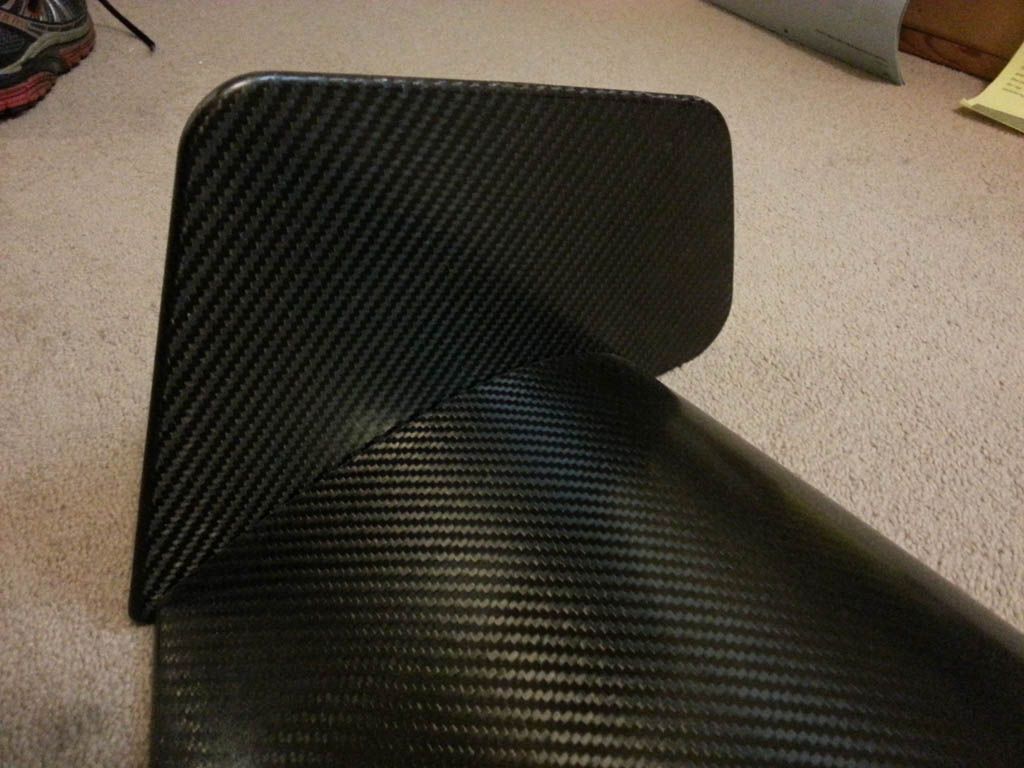 Adjustments for different wing angles 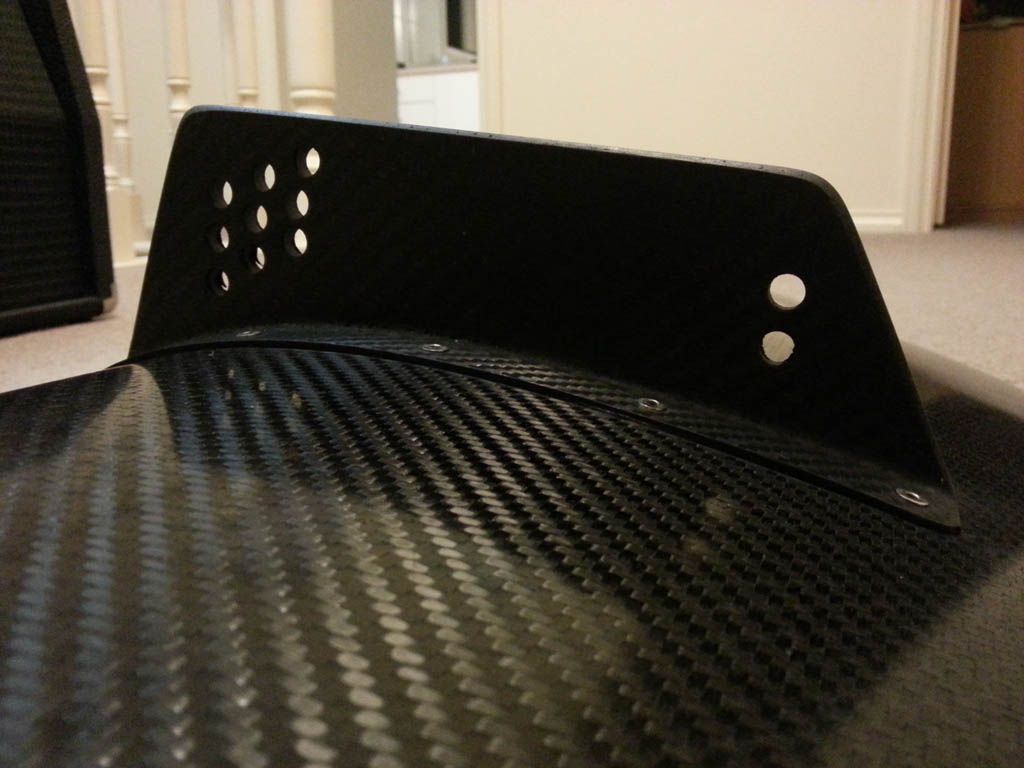 The mounting panel is riveted onto the bottom of the wing. 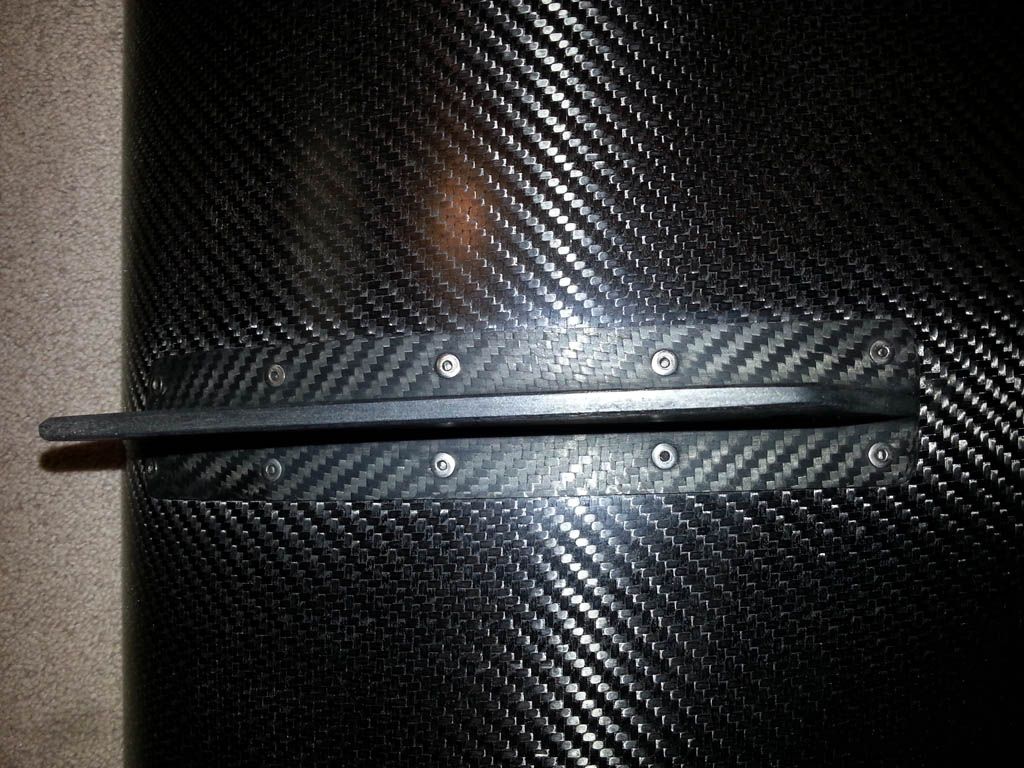 I wish I could see more behind the scenes on how these are made I'm really impressed with the craftsmanship of it. Cant wait to see what crazy custom stuff they have planned for the Tilton car! 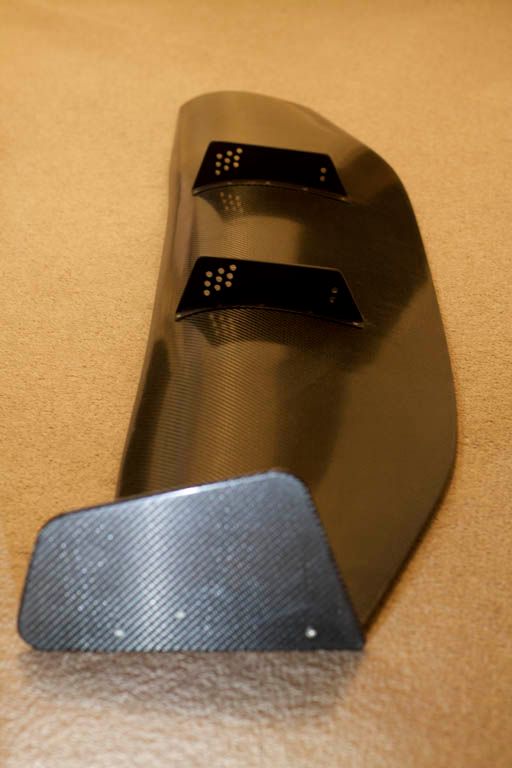 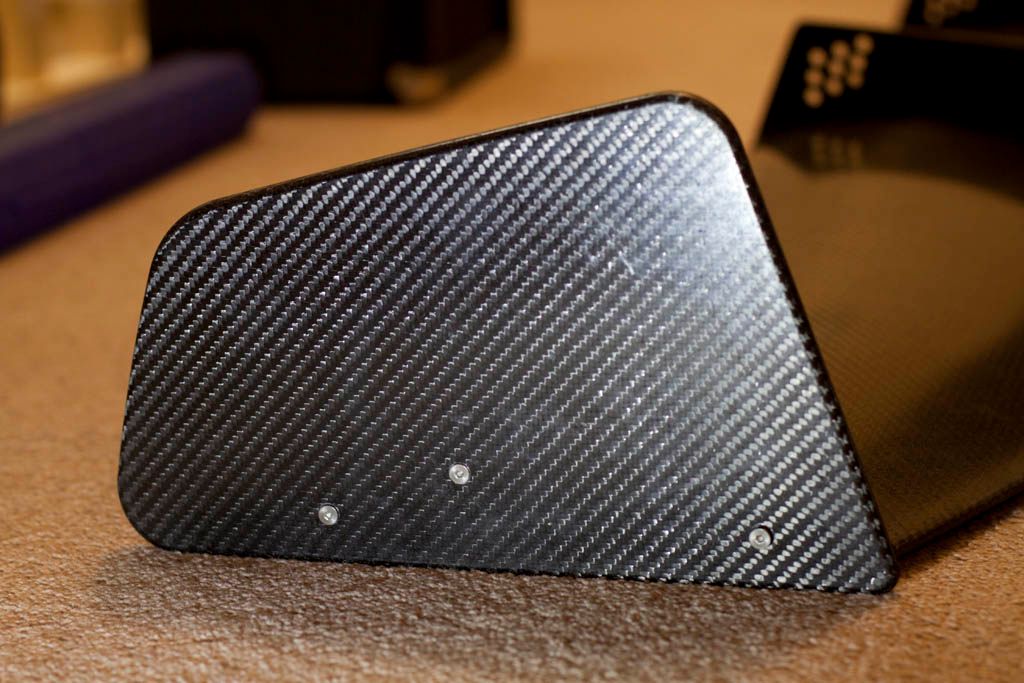 Looking at some different options for mounting it. Possibly doing something similar to the Ben Sopra 380SX which leaves the boot assessable while the wing is on the car. Also means the standard boot seal remains intact so I shouldn't have to worry about water getting into the car in shitty weather. Not the best for front downforce to have it mounted so far back but due to the other issues it might just be something I have to work around. More soon! Last edited by CaBS; 03-18-2013 at 09:40 AM.. |
|
|
|
|
03-18-2013, 07:46 PM
|
#411 |
|
Nissanaholic!
Join Date: Dec 2010
Location: king of prussia, PA!
Posts: 1,721
Trader Rating: (18)
Feedback Score: 18 reviews
|
great choice for a wing! I went all Voltex for the aero on my Z. The quality is amazing to actually see in person. great job and keep it up!
__________________
https://instagram.com/eck_matthew/ |
|
|
|
|
03-20-2013, 07:54 AM
|
#412 | |||
|
Zilvia Junkie
|
Quote:
Quote:
Quote:
|
|||
|
|
|
|
03-20-2013, 08:22 AM
|
#413 |
|
Zilvia Junkie
|
Took the tail light assembly and the wing over to where the cars at today and had a play with it all seeing roughly how it'll sit and how we're going to do the stays. The wing sits comfortably inside the rear guards which is nice. The gap between the rear bar and the center garnish is going to need some work though I'm not happy with how it currently sits.
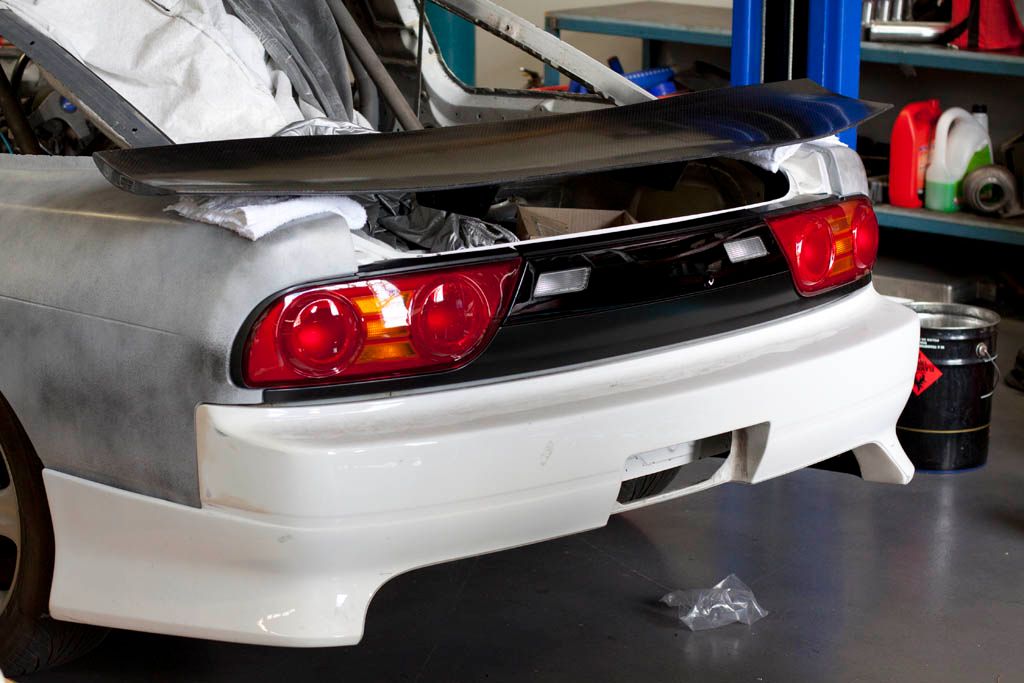 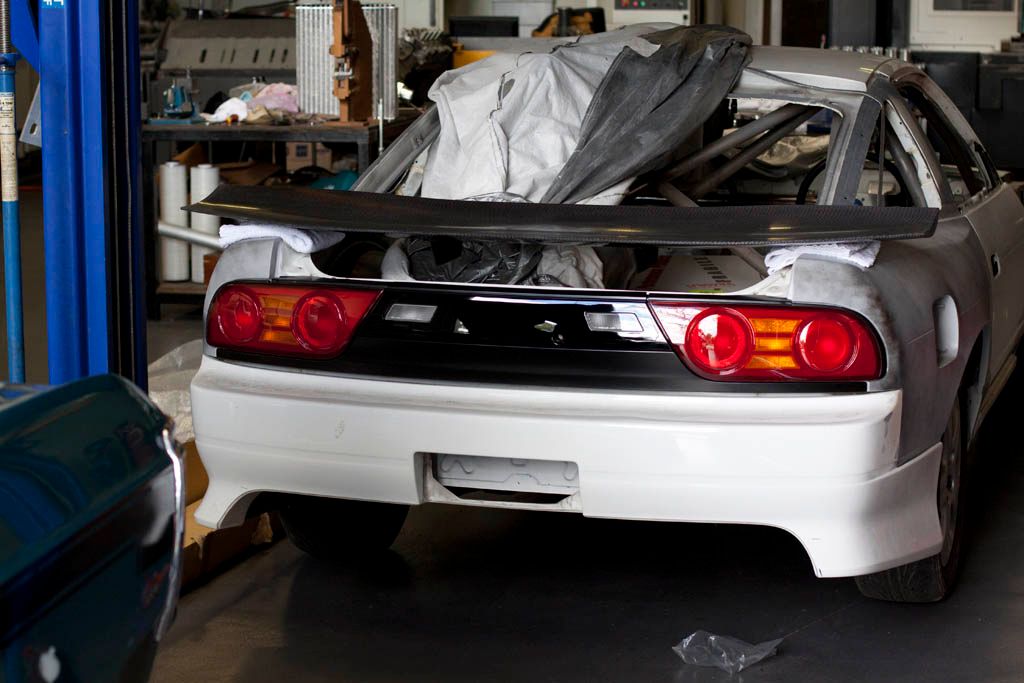 Sitting one of the bins in the boot put it just about at the right height final position will be slightly back from this.  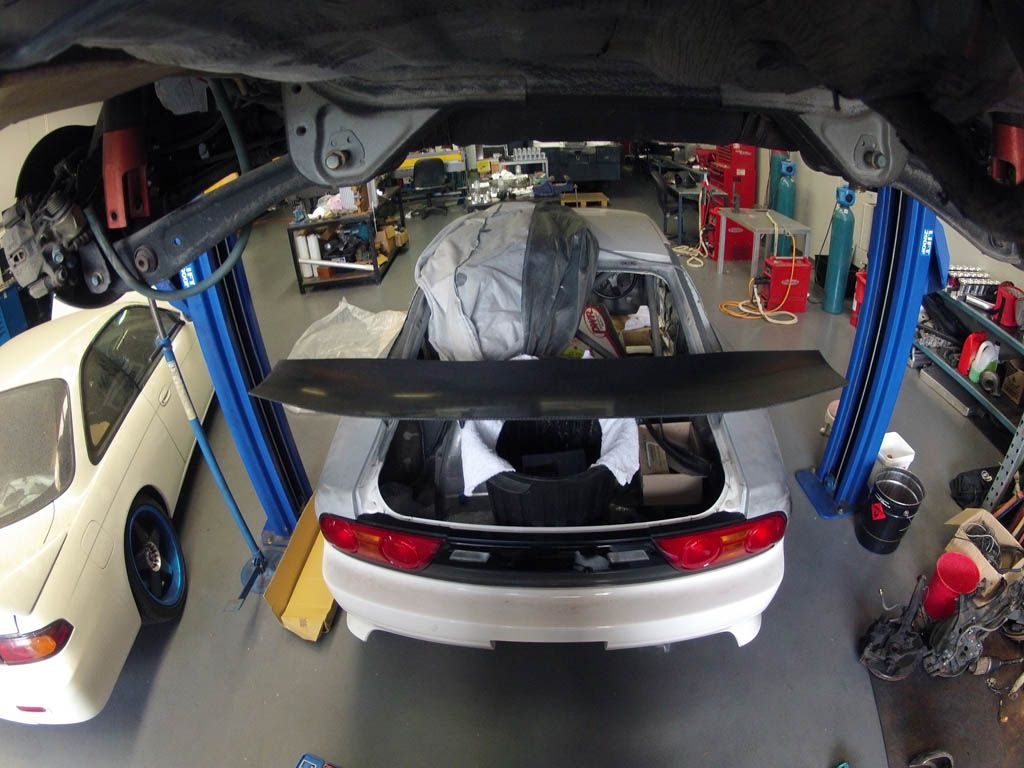 The new WTAC rules state you cannot have the wing go more than 100mm rearward of the "coachwork" which I'm assuming just means the rear bar. It must also be no higher a horizontal line drawn from the highest point on the roof. 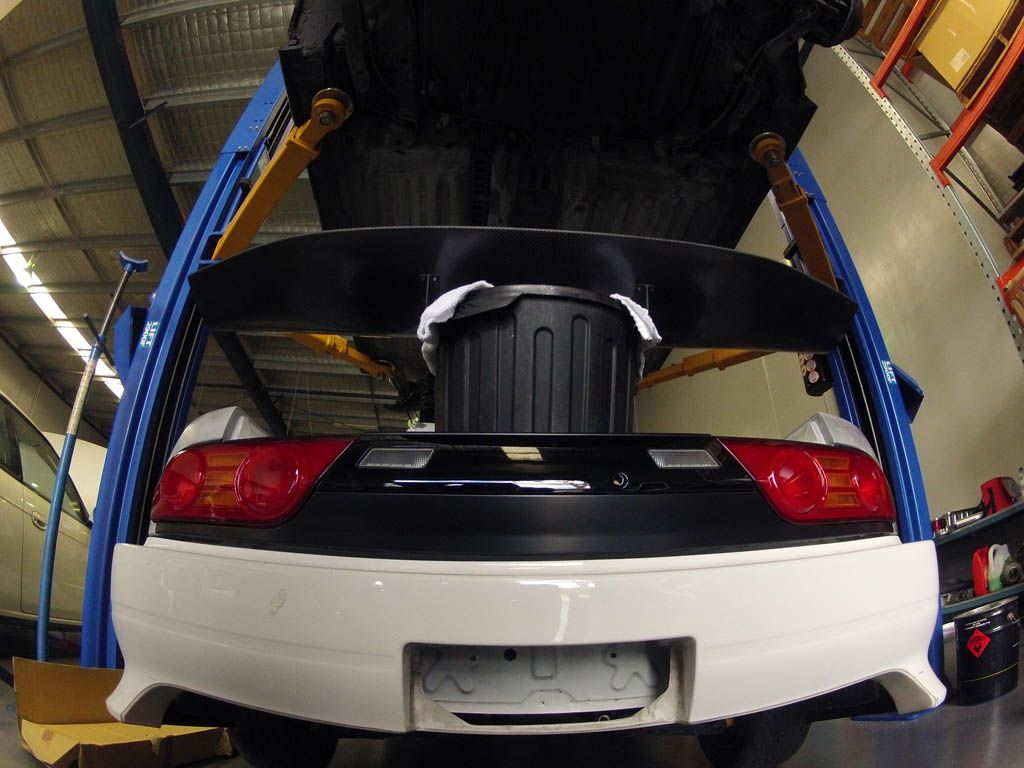 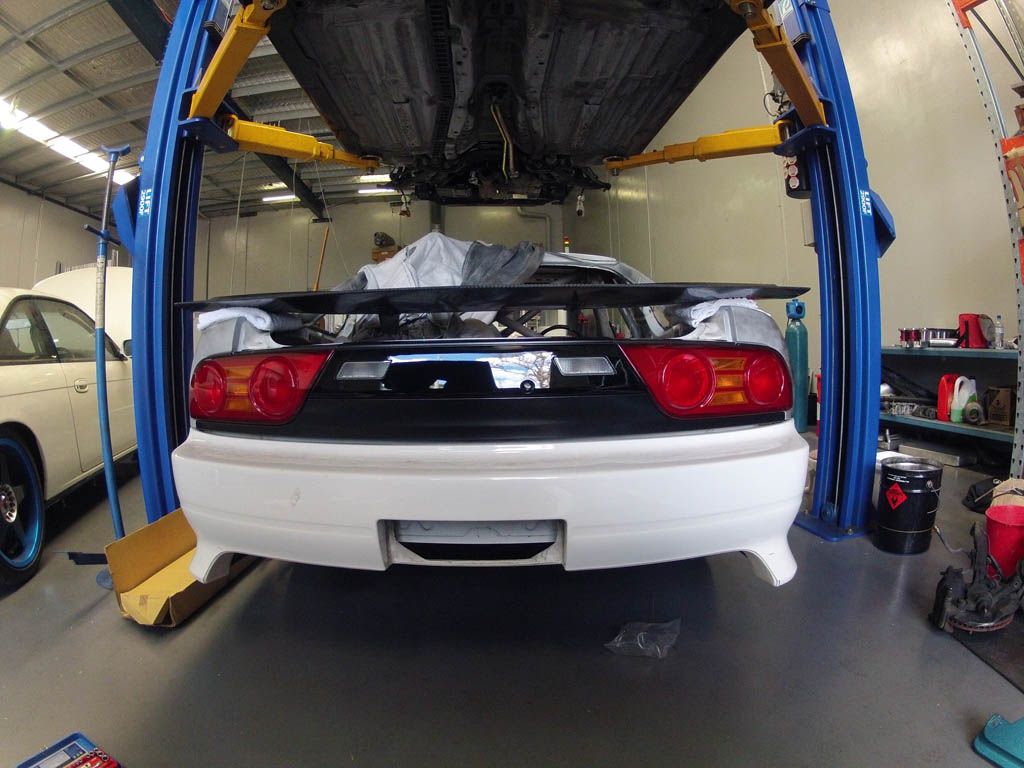 More soon! |
|
|
|
|
05-30-2013, 07:23 PM
|
#416 |
|
Zilvia Junkie
|
Over the last few months progress has slowed to a crawl. The fabricators have been stupidly busy and just haven't had the spare time to get to work on the 180. The car has finally made it onto the hoist in the last few days though so things are looking a bit more promising to make some leaps and bounds towards getting things done in the near future.
My new PWR oil cooler core turned up this week, we've been talking about trying this for awhile but have not gotten around to it before. This should now give me the option of fibre glassing over the side vents in the bar for better aero and much more of a unique look to the car.  Its surprising heavy for the size of the core but the weight will be low and centered instead of having it out at one of the front corners. Particularly the drivers side front corner which we want as much weight away from as possible to offset my fat arse. lol  Roughly the height it'll be sitting at maybe slightly lower end position though.   Picked one of these VVL Ricer badges up from Streeter (thanks Sam for the nissan P/N) plan is to mount it on the switch panel that gets made for the center console.  Writing has this cool holographic type texture.  My new AEM smart coils arrived from the US this week also. I've yet to figure out where I'll be mounting these but they should work perfectly for my setup and provide a very nice long duration powerful spark. Hopefully meaning I dont have to bother with a CDI setup and providing a better end result.  Complete with water resistant plug and heatsink on the back they also have inbuilt ignitors.   We ordered a pair of these (S14/15 Rear wheel bearings) for nfis rear end so I grabbed some at the same time so I'll be starting off with new bearings all round. Took a shot of the part number for future reference.    Other than that I've been spending some time planning out the aero and how I'm going to go about making it. Also looking into all the replacement door rubbers/ window seals and what I'm going to do for a fuel setup. Hopefully a large update in the near future! |
|
|
|
|
06-05-2013, 10:24 AM
|
#417 |
|
Zilvia Junkie
|
Made the trek over to a fibreglass supplier this week and bought some fibreglass matting and epoxy resin gear to do some testing. I've never done anything the composites before so its a large learning curve. Just started out with a flat sheet which went ok. The temp being so low ment the 5:1 resin/hardener mixture had a much longer curing time than I was expecting so I left it overnight
Basics covered  Acetone to wash up everything I can reuse in before the resin sets on it  Left it overnight to cute the end result came off the board I'd used as a mold surprisingly easily. When I first looked at it I thought there was no chance it was ever coming off. :P The mold release wax and PVA release agent did their job well. I guess the true test will be with a more intricate shape though.  Came out much better than I was expecting for a first try very keen to cut it down and check the thickness. Play around with it abit more before I try something with carbon.  Good side, I thought the release wax might smooth over the slightly divited surface of the melamine board but it did nothing at all in terms of helping with that just helped it release. Will have to use something smoother if I want a perfectly flat surface or maybe buzz back this surface with fine grit paper and rewax it.  More soon. |
|
|
|
|
06-05-2013, 10:33 AM
|
#418 |
|
Zilvia Addict
 
|
That oil cooler core is huge..... like too big huge... How is your pump gonna keep up with the resulting pressure drop?
__________________
* S14SR22 * 9.0 c/r * GT3071R * |
|
|
|
|
06-05-2013, 11:32 AM
|
#419 | |
|
Zilvia Junkie

Join Date: May 2009
Location: Illinois
Age: 33
Posts: 351
Trader Rating: (0)
Feedback Score: 0 reviews
|
Quote:
|
|
|
|
|
|
06-05-2013, 02:02 PM
|
#420 | |
|
BANNED
|
Quote:
|
|
|
|
|
|
| Bookmarks |
|
|


 Linear Mode

