|
|||||||
| Tech Talk Technical Discussion About The Nissan 240SX and Nissan Z Cars |
|
|
Thread Tools | Display Modes |
 09-01-2010, 08:18 PM
|
#1 |
|
Zilvia Junkie
 
Join Date: Jun 2006
Location: East Coast
Age: 38
Posts: 585
Trader Rating: (20)
 Feedback Score: 20 reviews
|
S14 Suspension build thread.....Pic Intensive
I would first like to thank Donovan of Yamato Garage and Ryan from BallerBolts for the fantastic products. They unknowingly, motivated me to go into greater detail with the build to compliment their products. This thread will focus primarily on the process from beginning to end of the restoration and upgrade of the suspension, brakes, and chassis on my S14 240sx. Feel free to ask questions and post comments, positive or negative are fun too.
The car started off as a completely stock S14 SE from New Jersey, which is why the suspension is such a rusty horrible mess. Every square inch was covered with rust and was extremely difficult to disassemble for that reason.  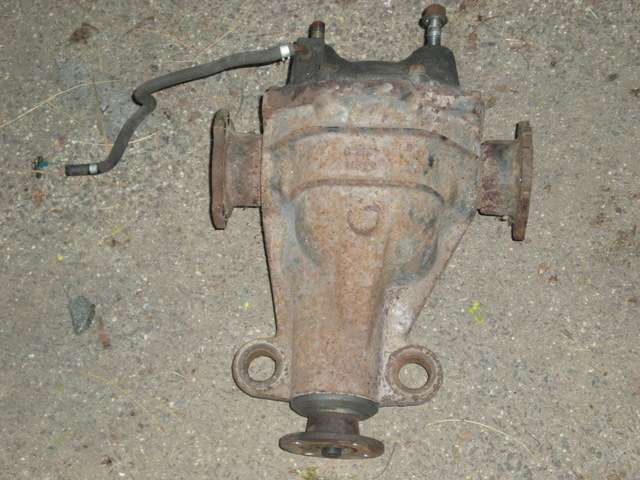 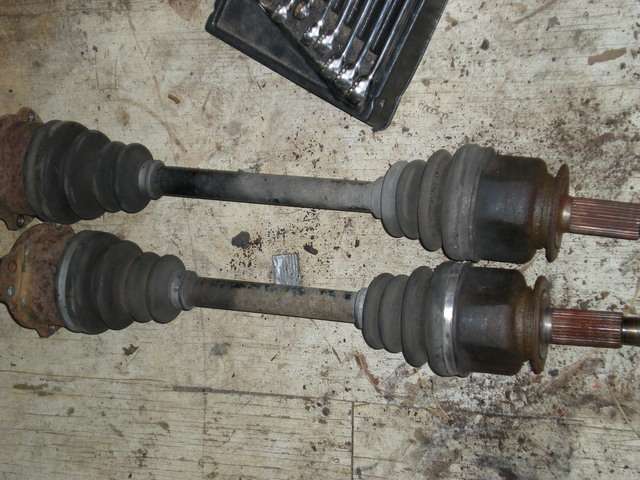 Every bushing was torn and rotted, which was the first order of business. Started by burning out the old subframe bushings, which is pretty easily done with a small torch and a hammer. 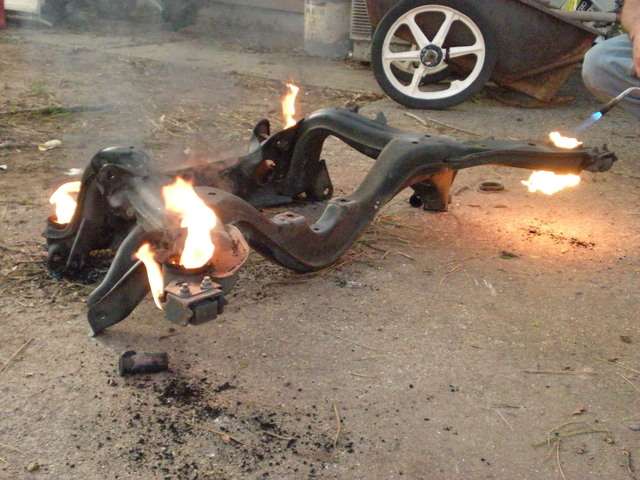 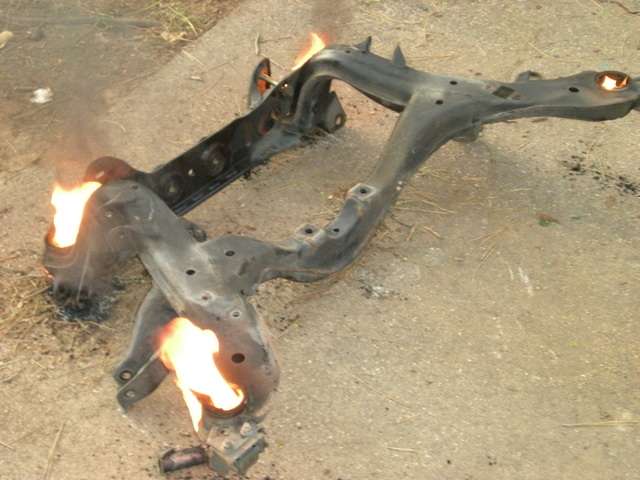 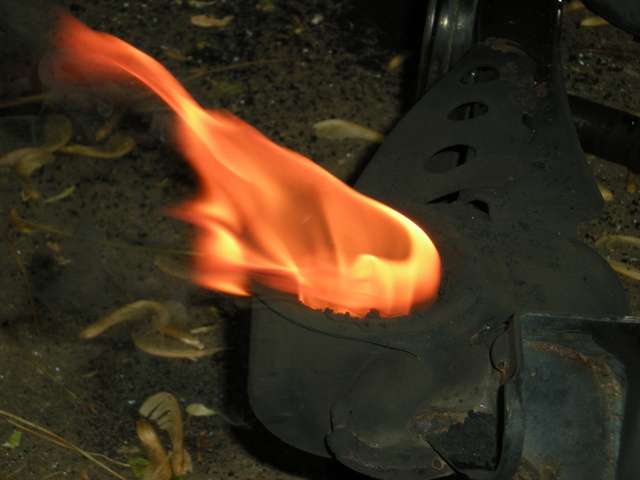 After the inserts are have been removed, you must burn and chisel away as much of the rubber as possible. The result will be something like this..... 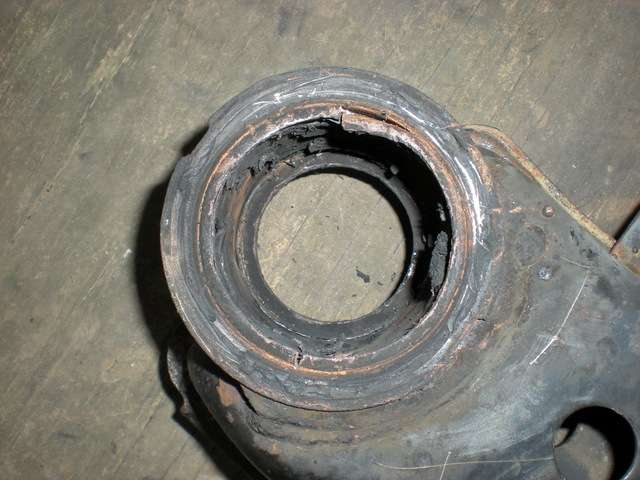 At this point the sleeves are ready to be removed according to the instructions provided by the manufacture of bushings you are using. I opted to use Energy Suspension bushings, which include reasonably clear instructions on how to remove the sleeves. The bushings ended up fitting perfectly. http://www.energysuspension.com/asse.../pdf/17486.PDF 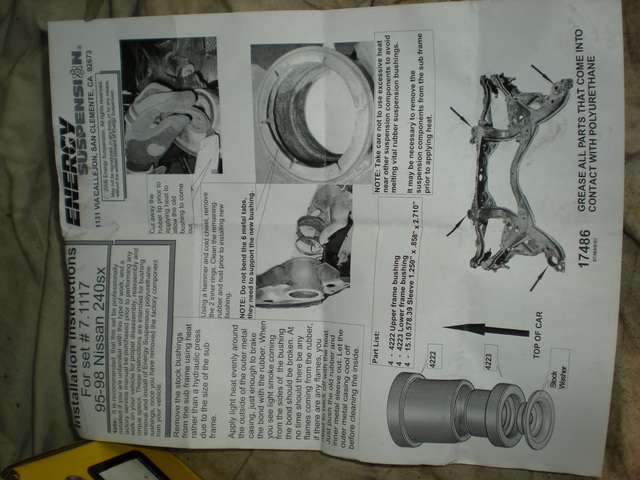 To remove the inner cage, you will need to make relief cuts around the inside and bend the cage inward. A mini pneumatic reciprocating saw will make this task much easier. Two cuts 180 degrees apart will allow the metal the fold in towards the middle. Be careful not to cut through the sill on the bottom of the hole. It can then be hammered out through the bottom with a chisel.  The inner sleeve it a little more difficult to remove, as the metal is a thicker and you must be very careful not to cut through to the subframe. I accomplished this by carefully making relief cuts about an inch apart, and bending the sleeve inward. You will then be able to hammer the whole sleeve through from the bottom. 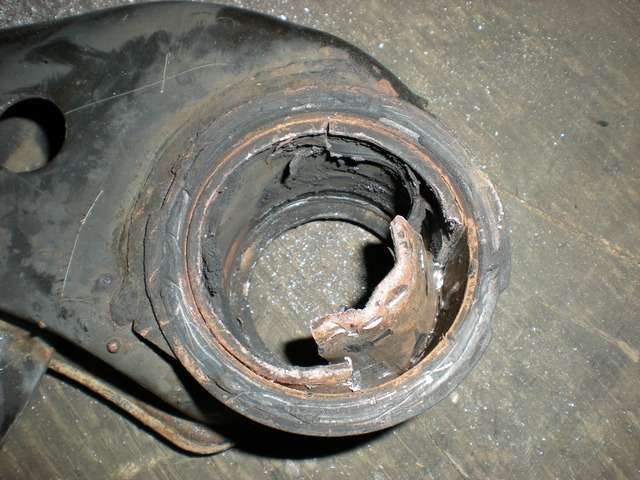 Starting come out..... 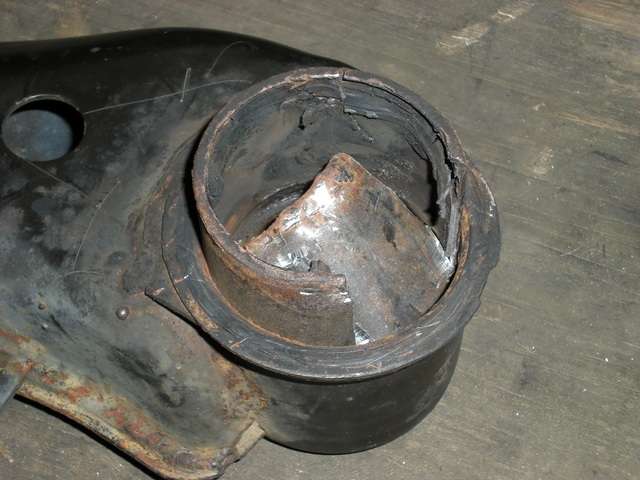 All the way out.....  After they are out wire wheel everything clean, and you should end up with something like this.... 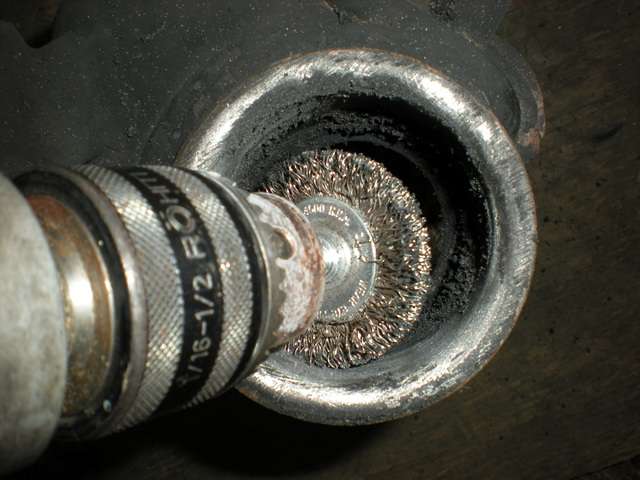 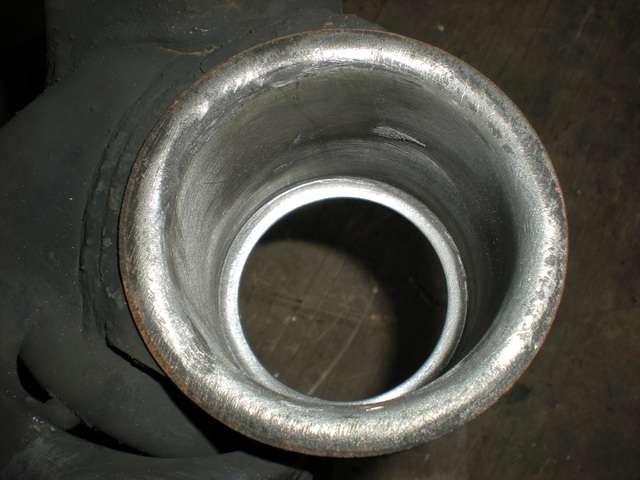 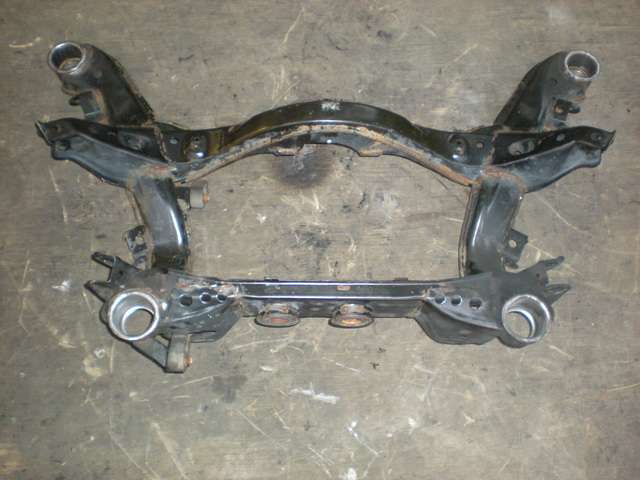 The subframe was then washed, sanded, primed and painted Graphite Gray 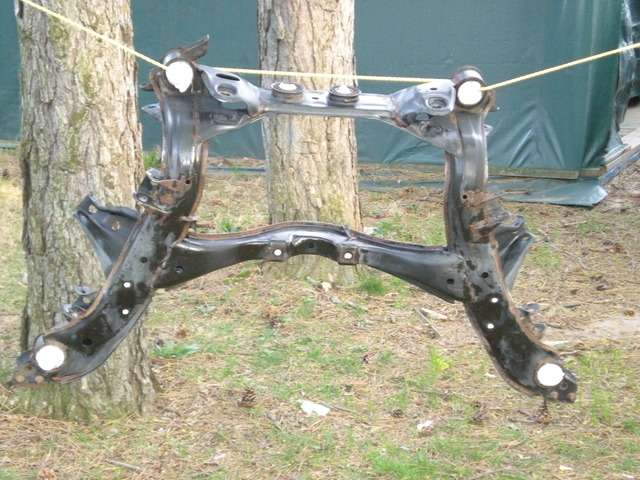 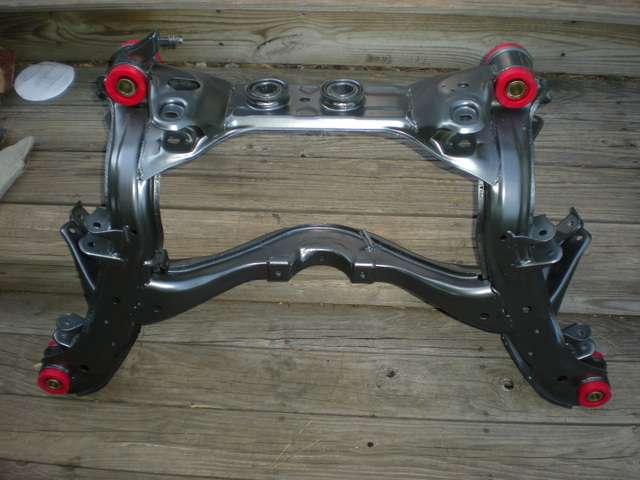  The bushings are then simply pushed in (ended up switching to black bushings, for cosmetic reasons only) 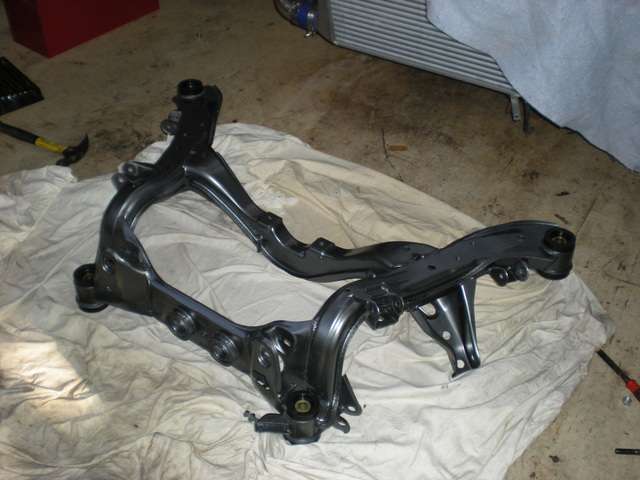 I next moved on to the rear spindles, which were especially difficult to separate from the hubs. If you come across this problem, partially thread the 4 bolts into the hub and evenly hit the bolts until the hub separates from the spindle. I then burned out the bushings,and cut out the metal sleeves in a similar fashion as the subframe sleeves. They were then bead blasted, taped, and powder coated matte black. I then installed the Energy Suspension bushing set using a lot of lubrication and a vice. 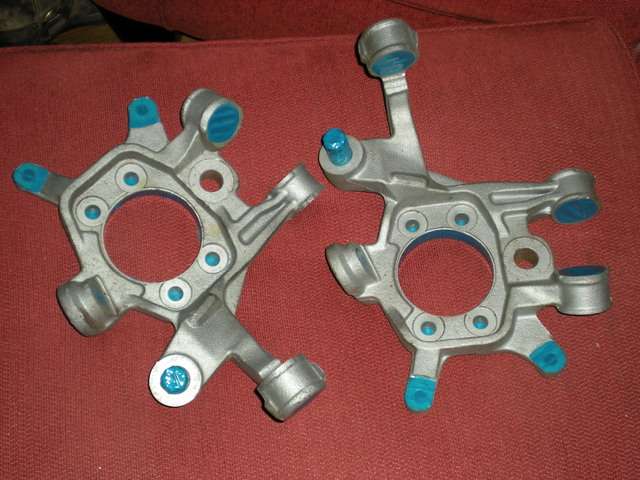 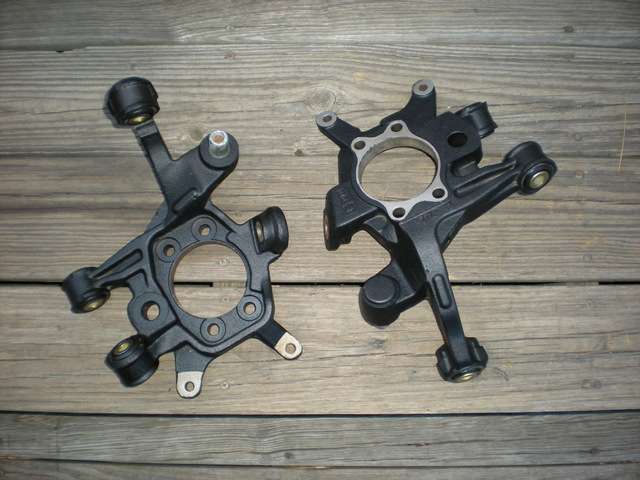  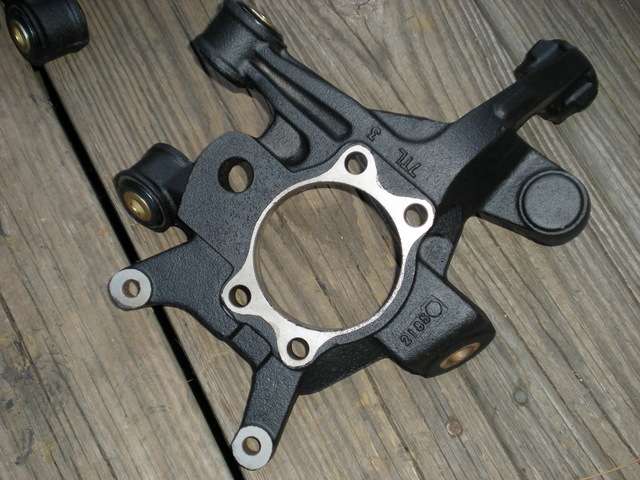 Last edited by doyle4281; 11-06-2011 at 10:01 AM.. |

|

|
| Sponsored Links |
| Bookmarks |
|
|


 Threaded Mode