As promised, here are some more pictures from the rear suspension build. This portion of the build has actually been done for quite some time, so this post will take us right to the finished product. Thanks to everyone following along, and I will begin posting the front suspension next....
After test fitting all the suspension arms, to verify the fit, everything was disassembled for prevent damaging anything during the installation of the heavier components.
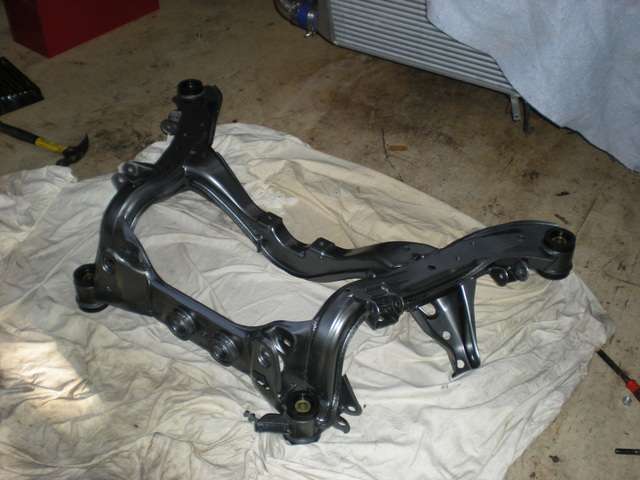
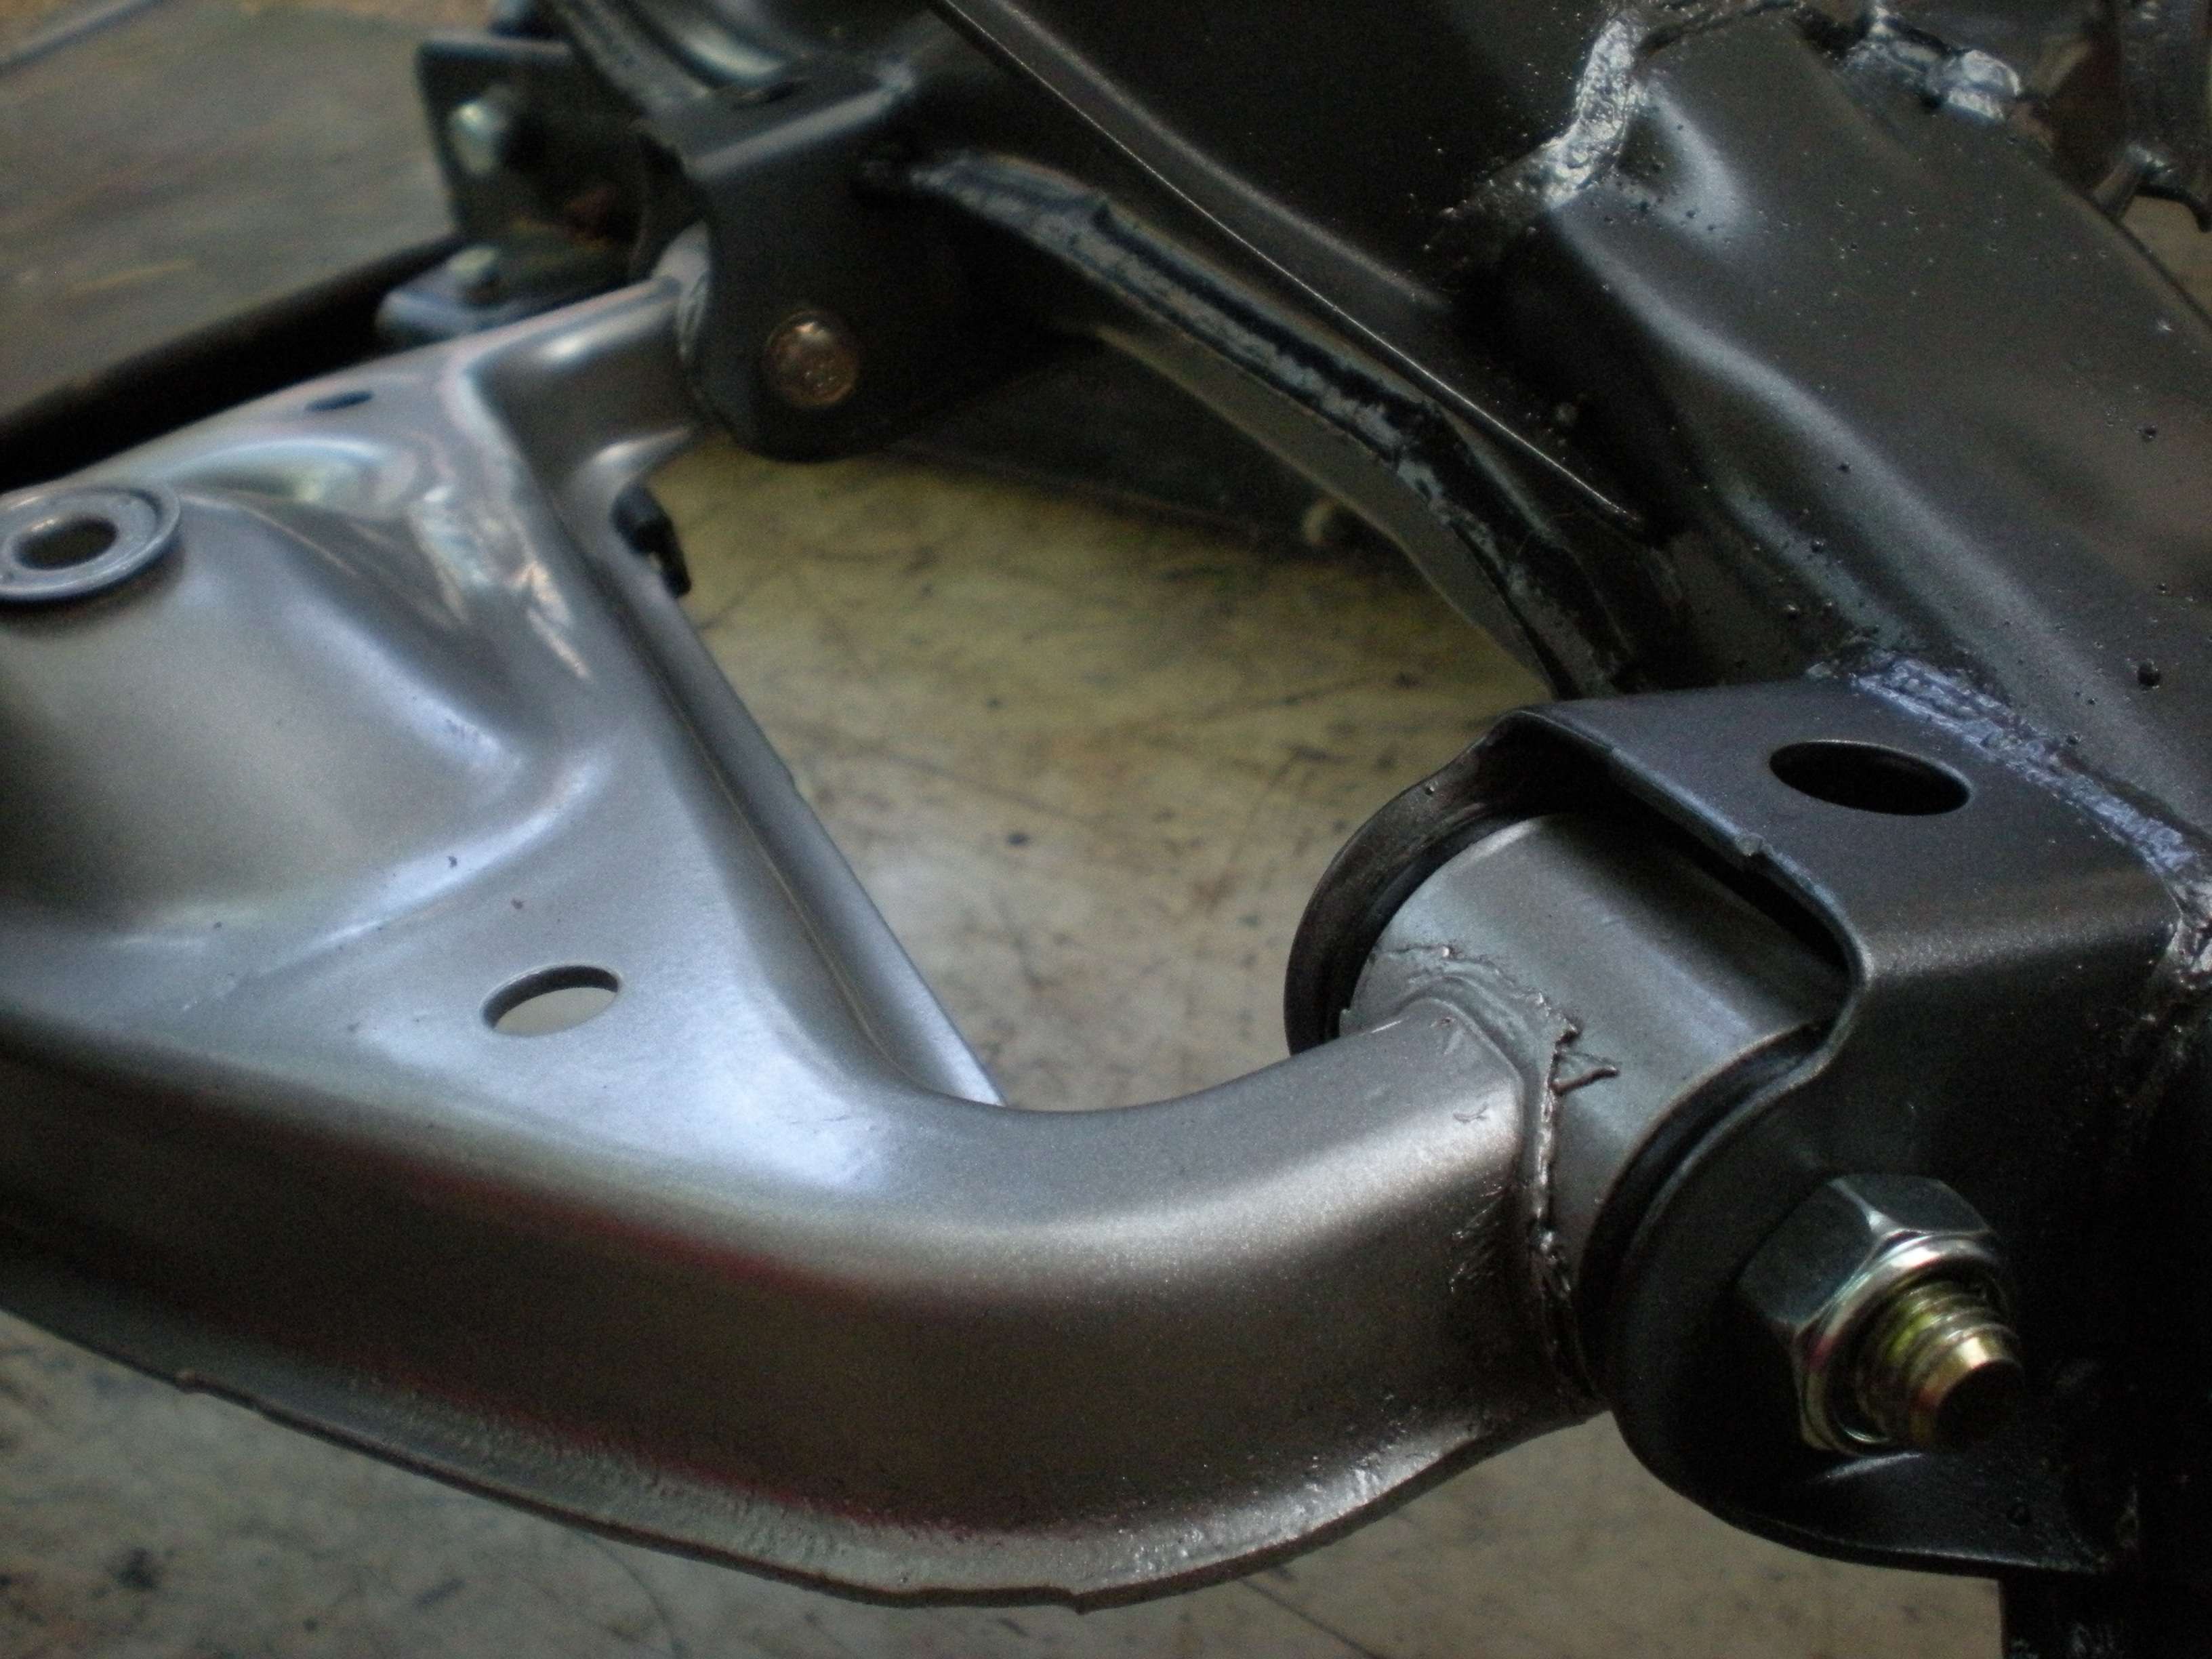
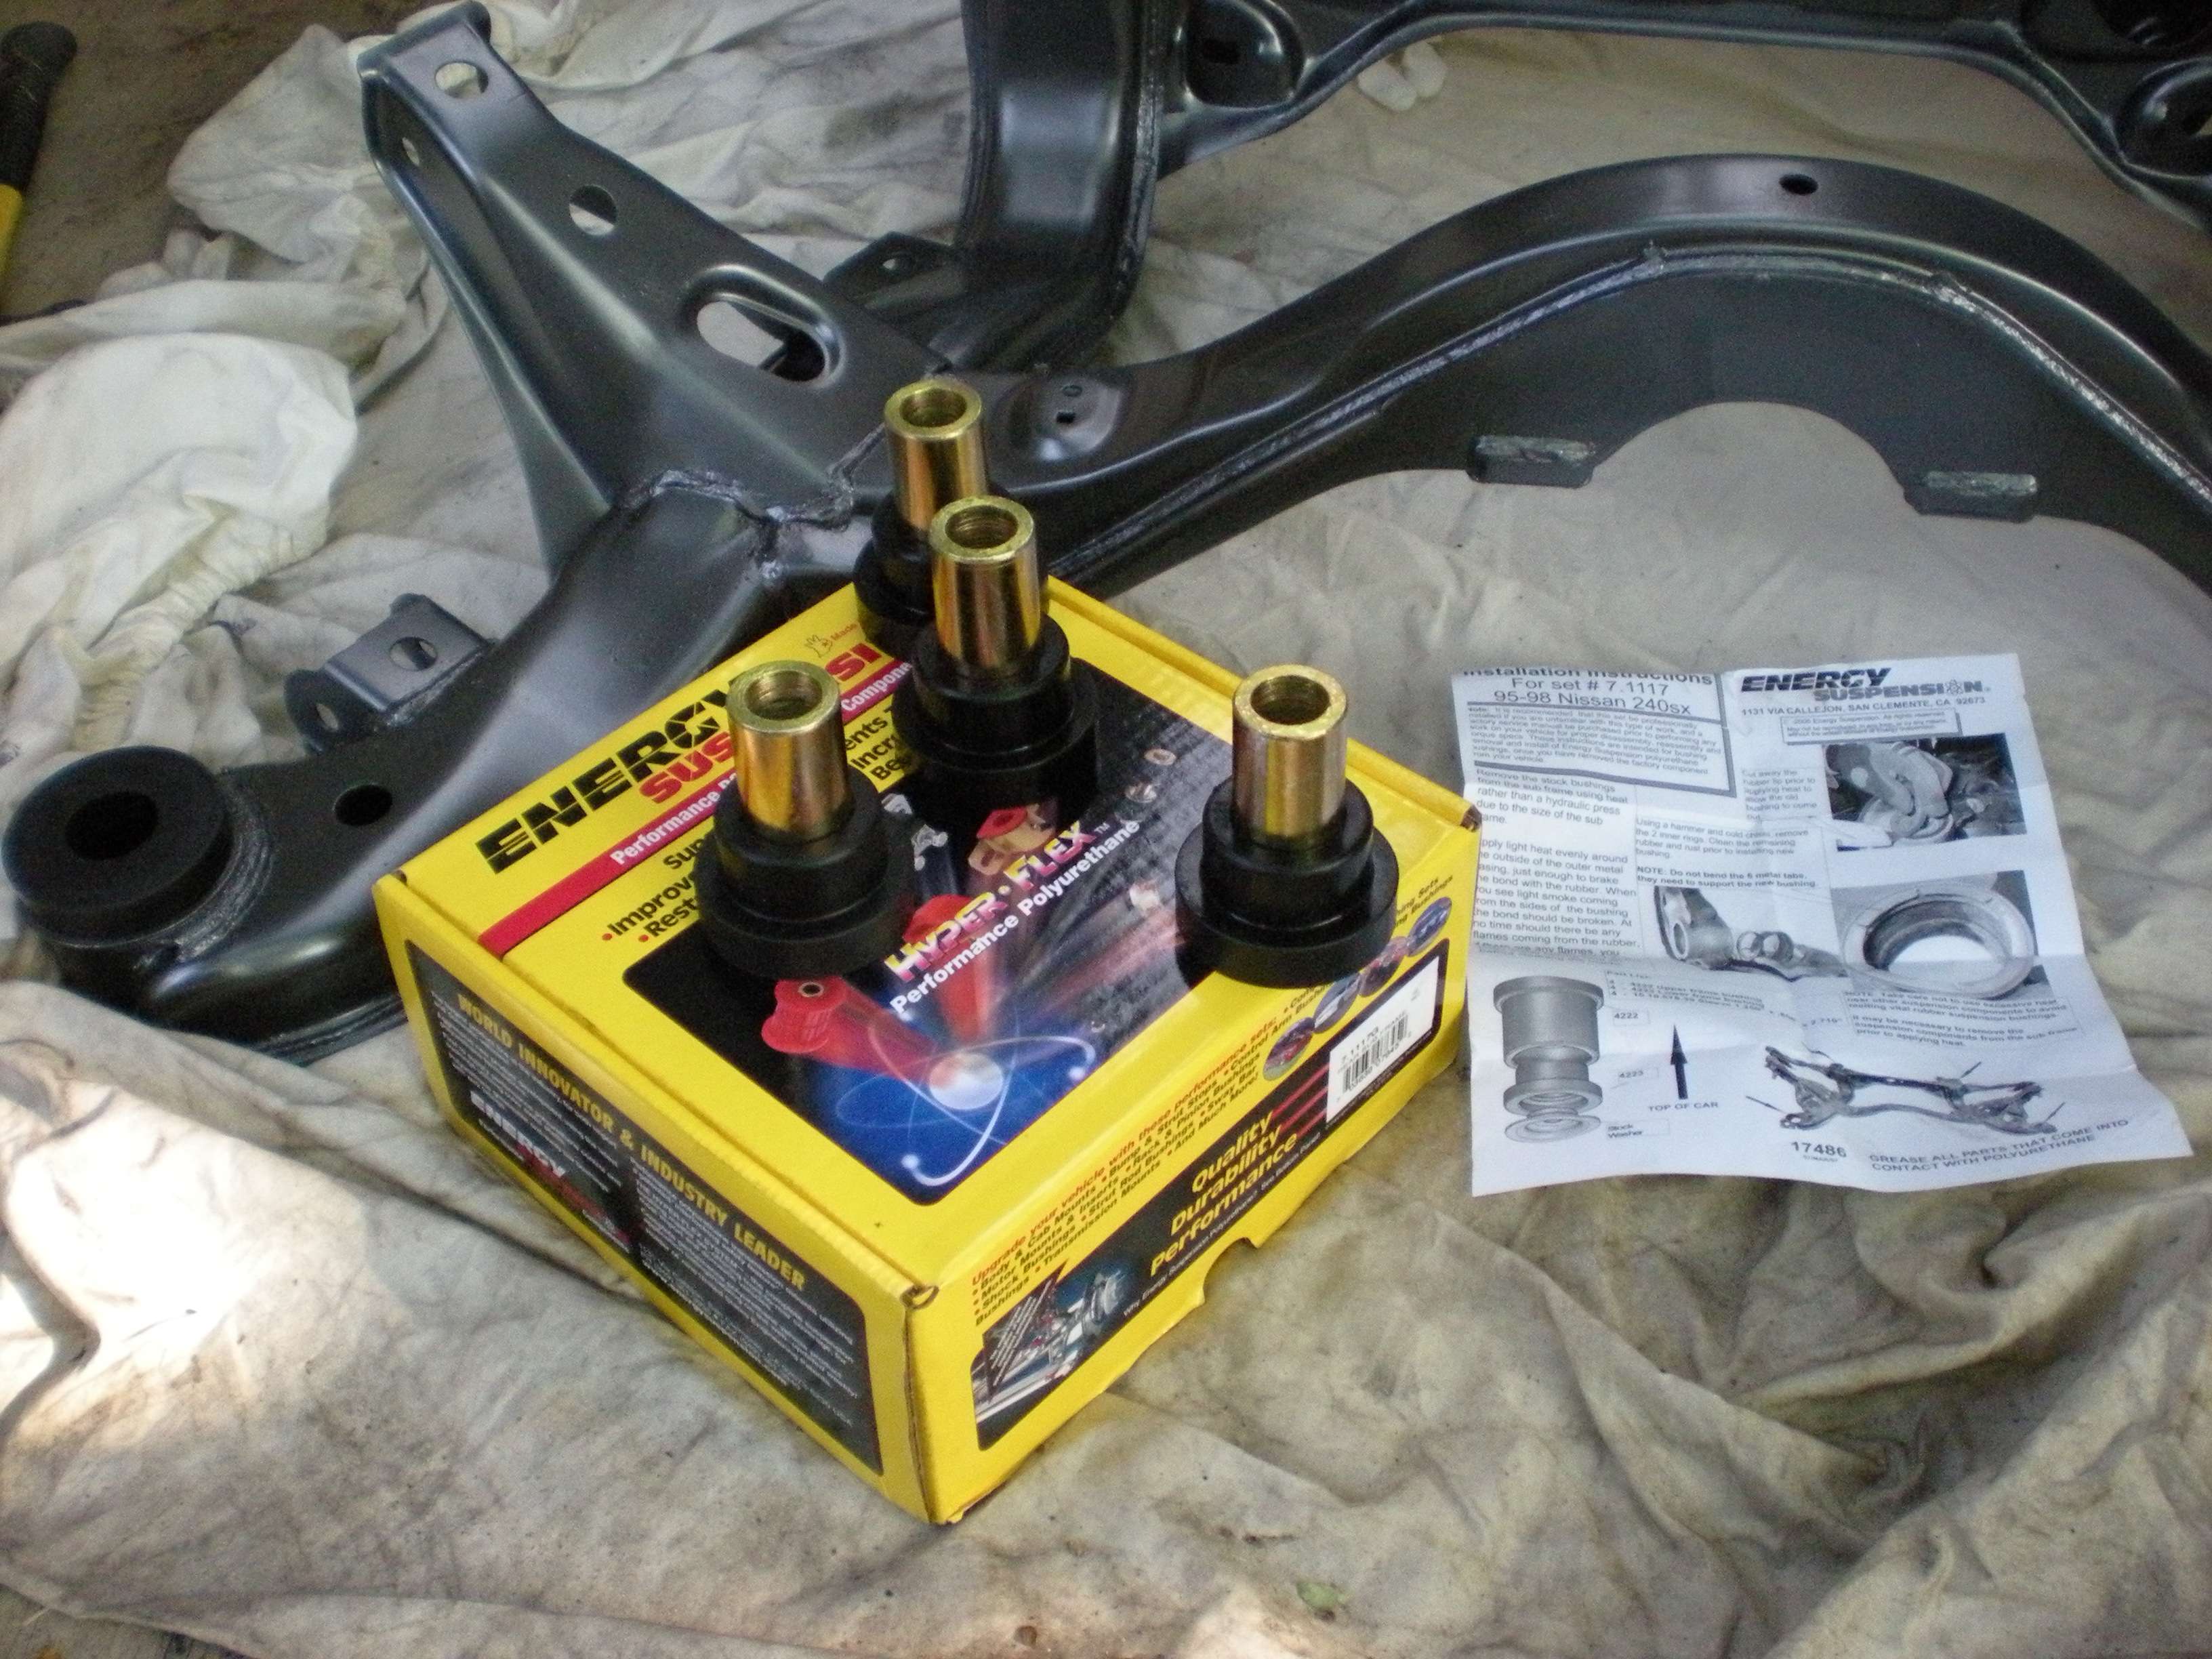
The red Energy Suspension subframe bushings were removed, in favor of the black, for cosmetic reasons only
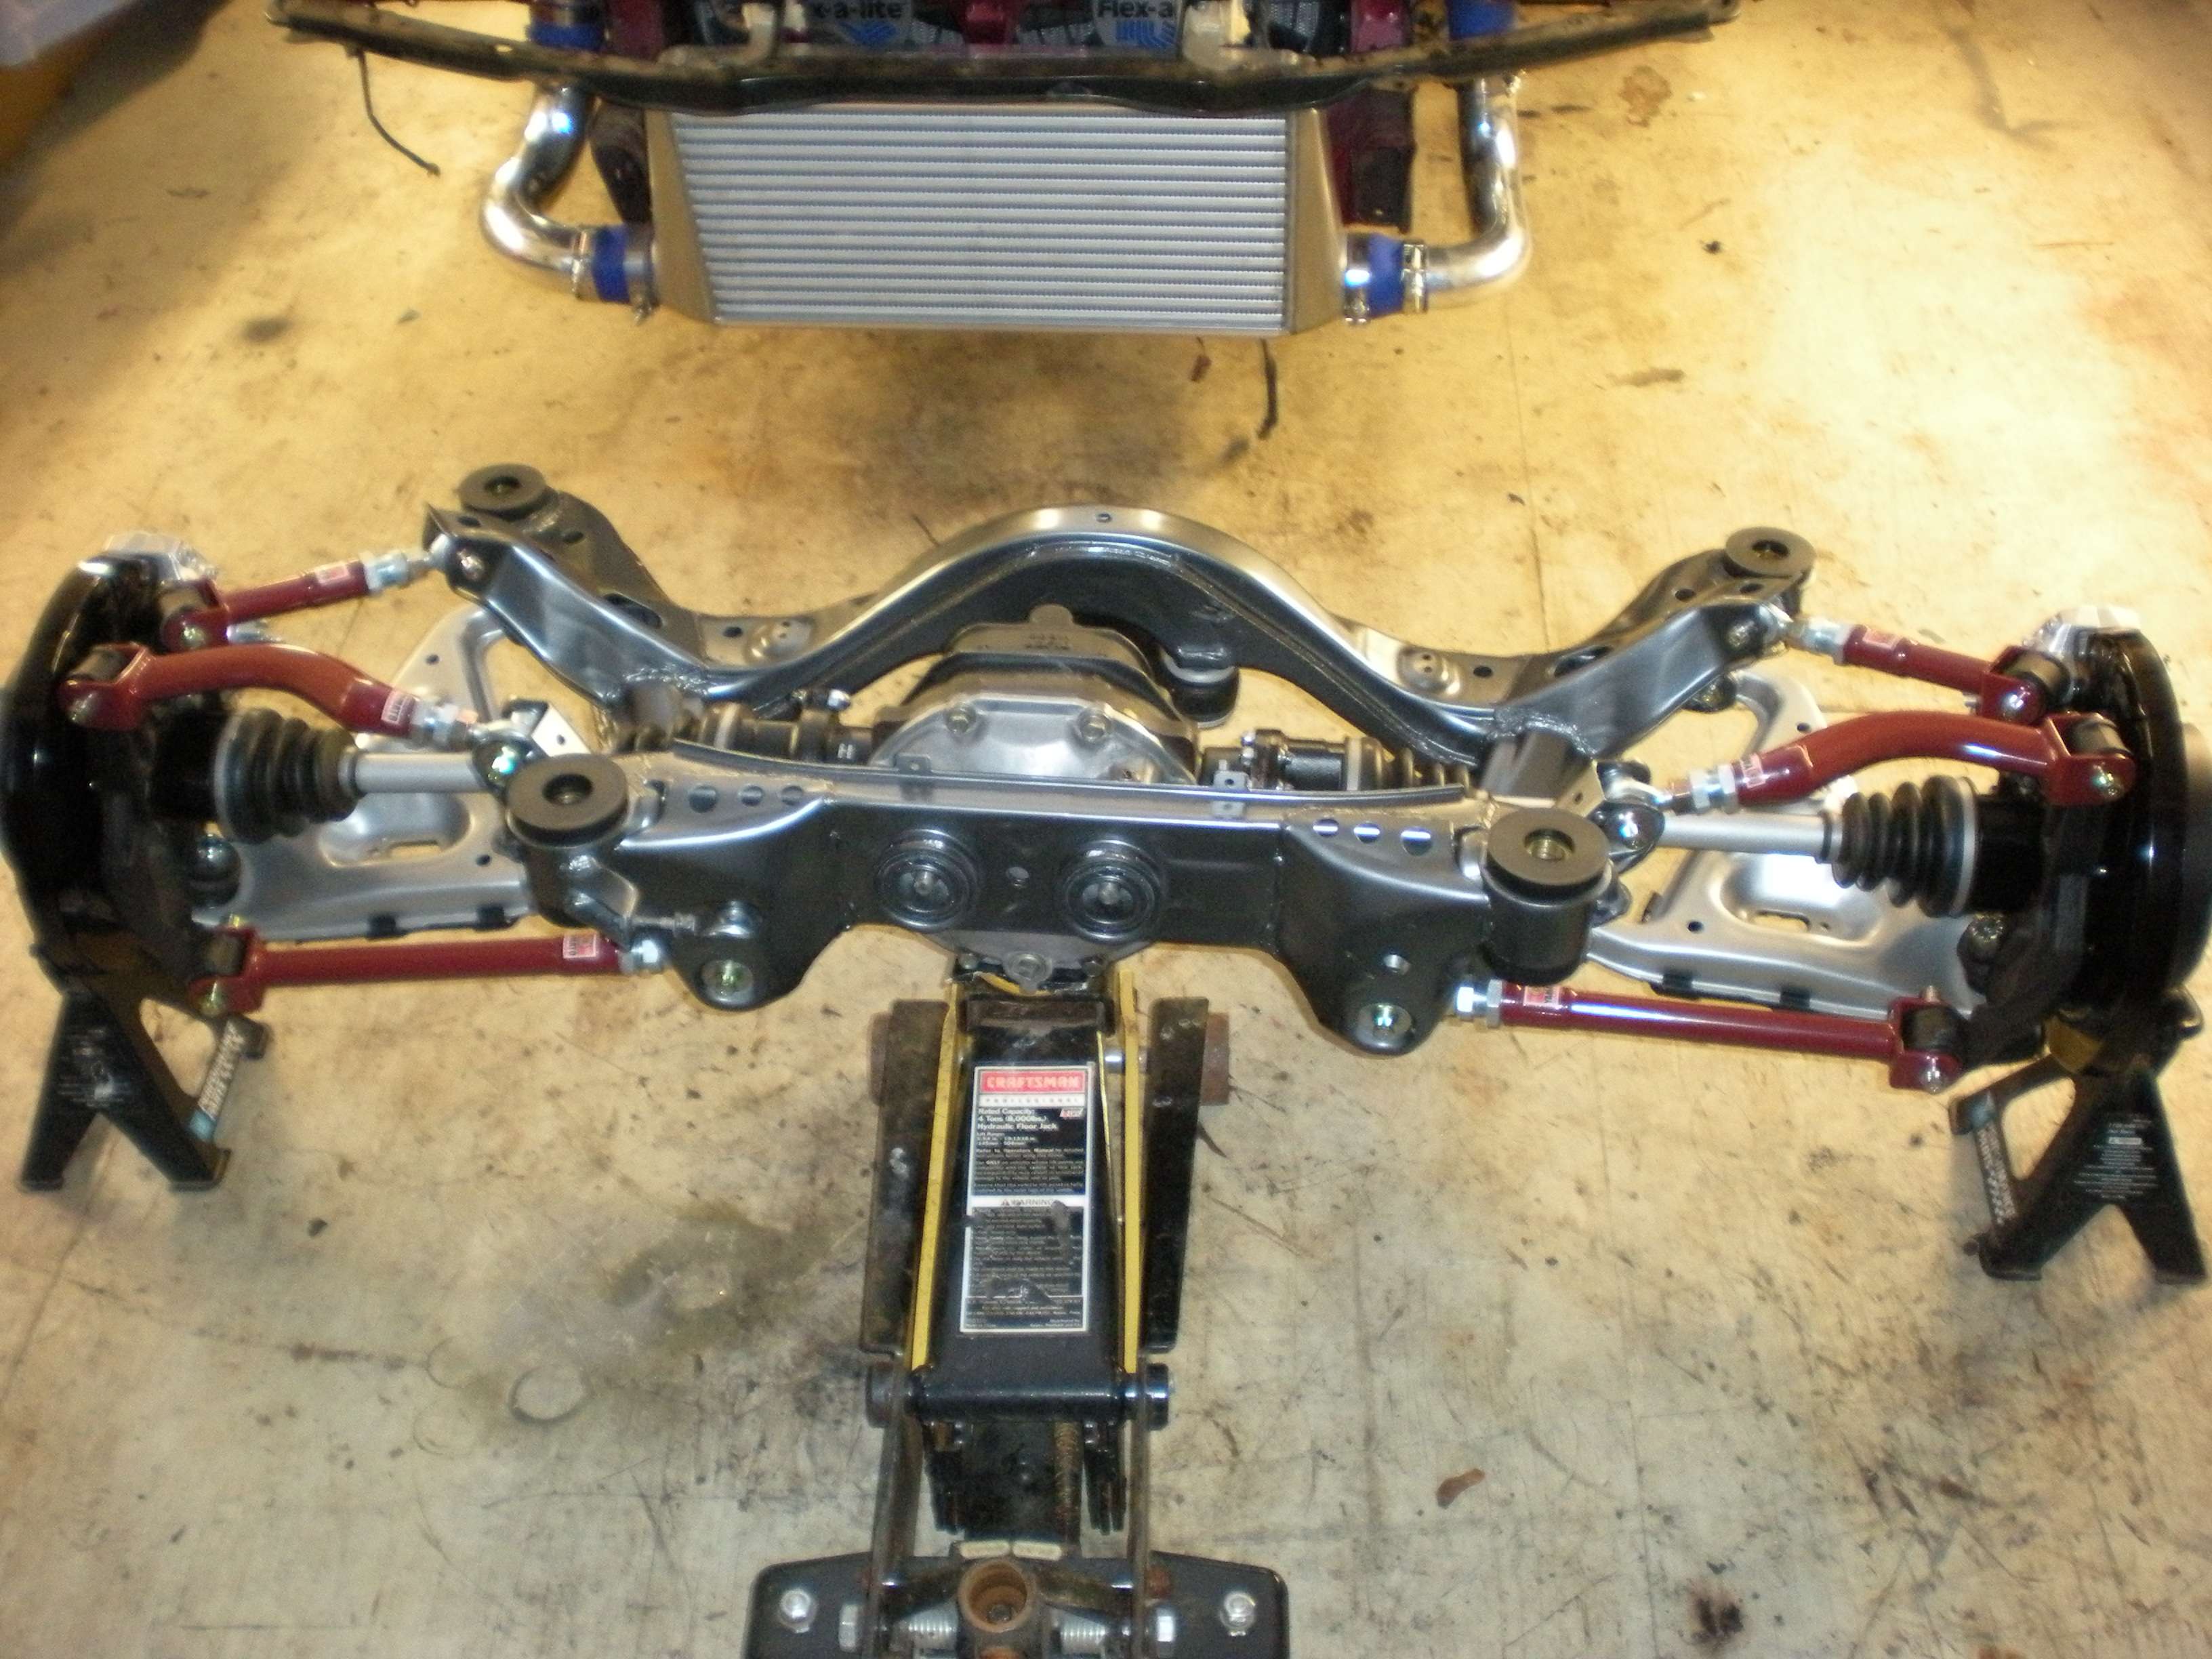
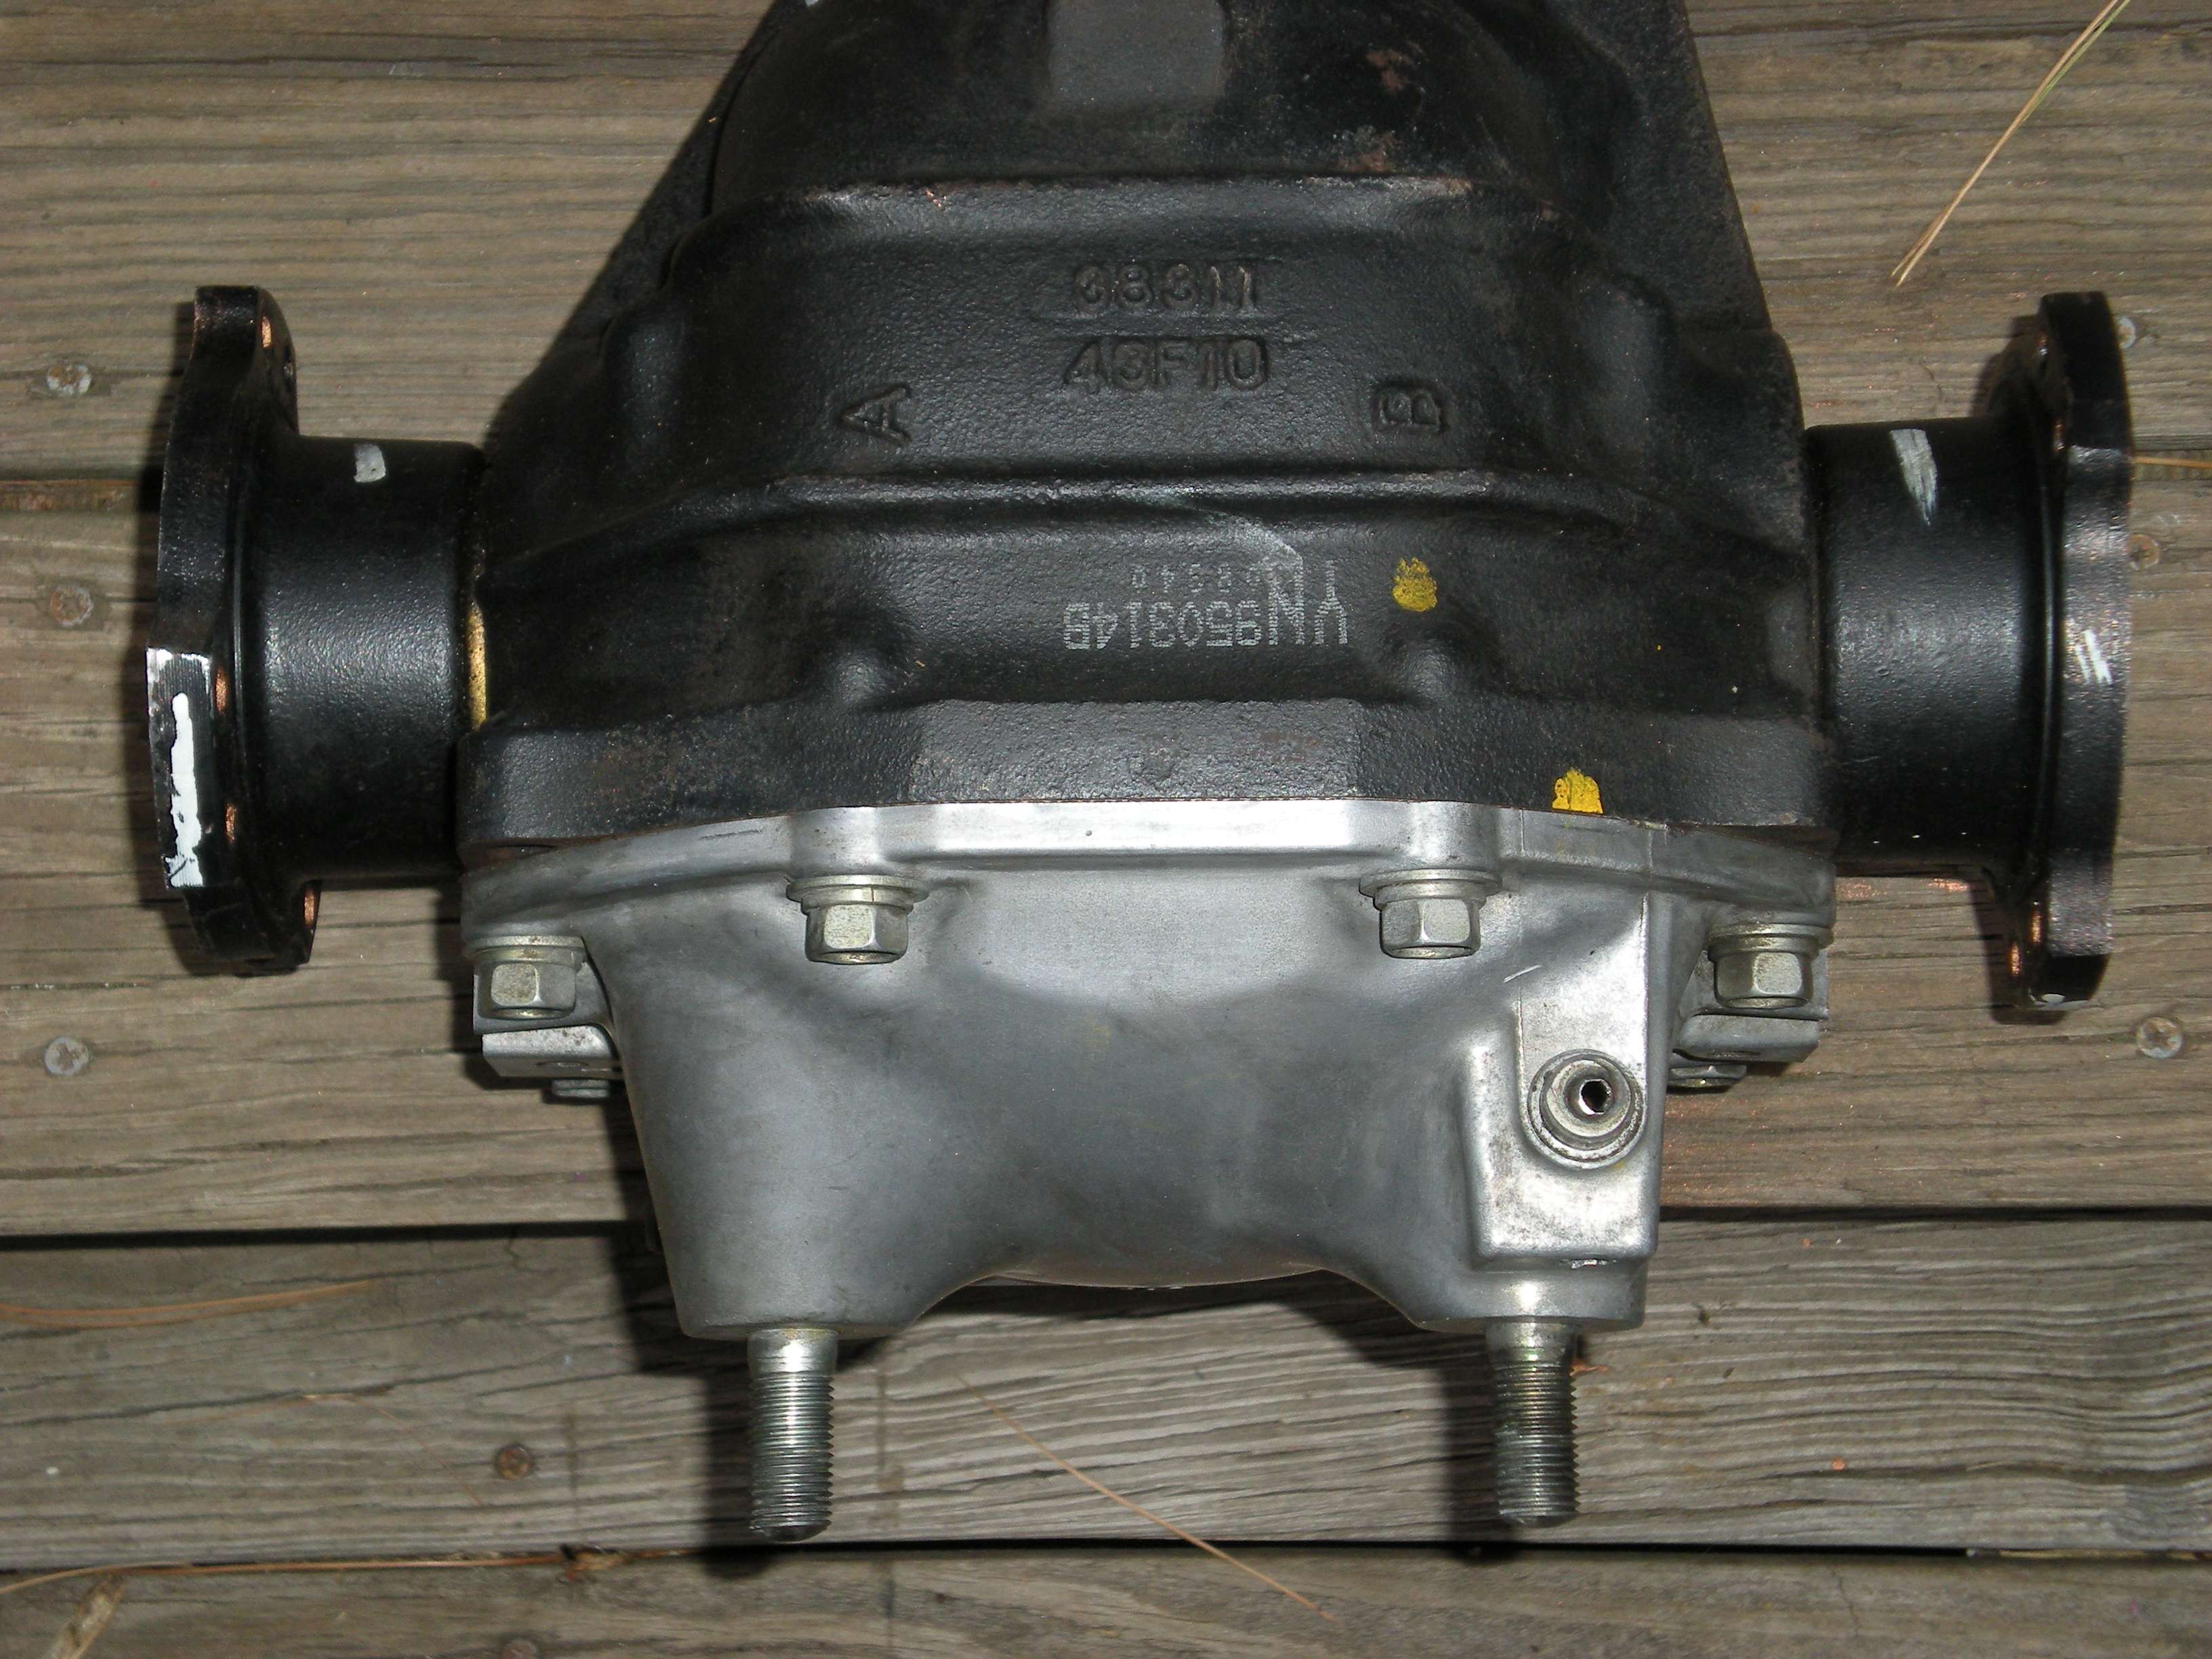
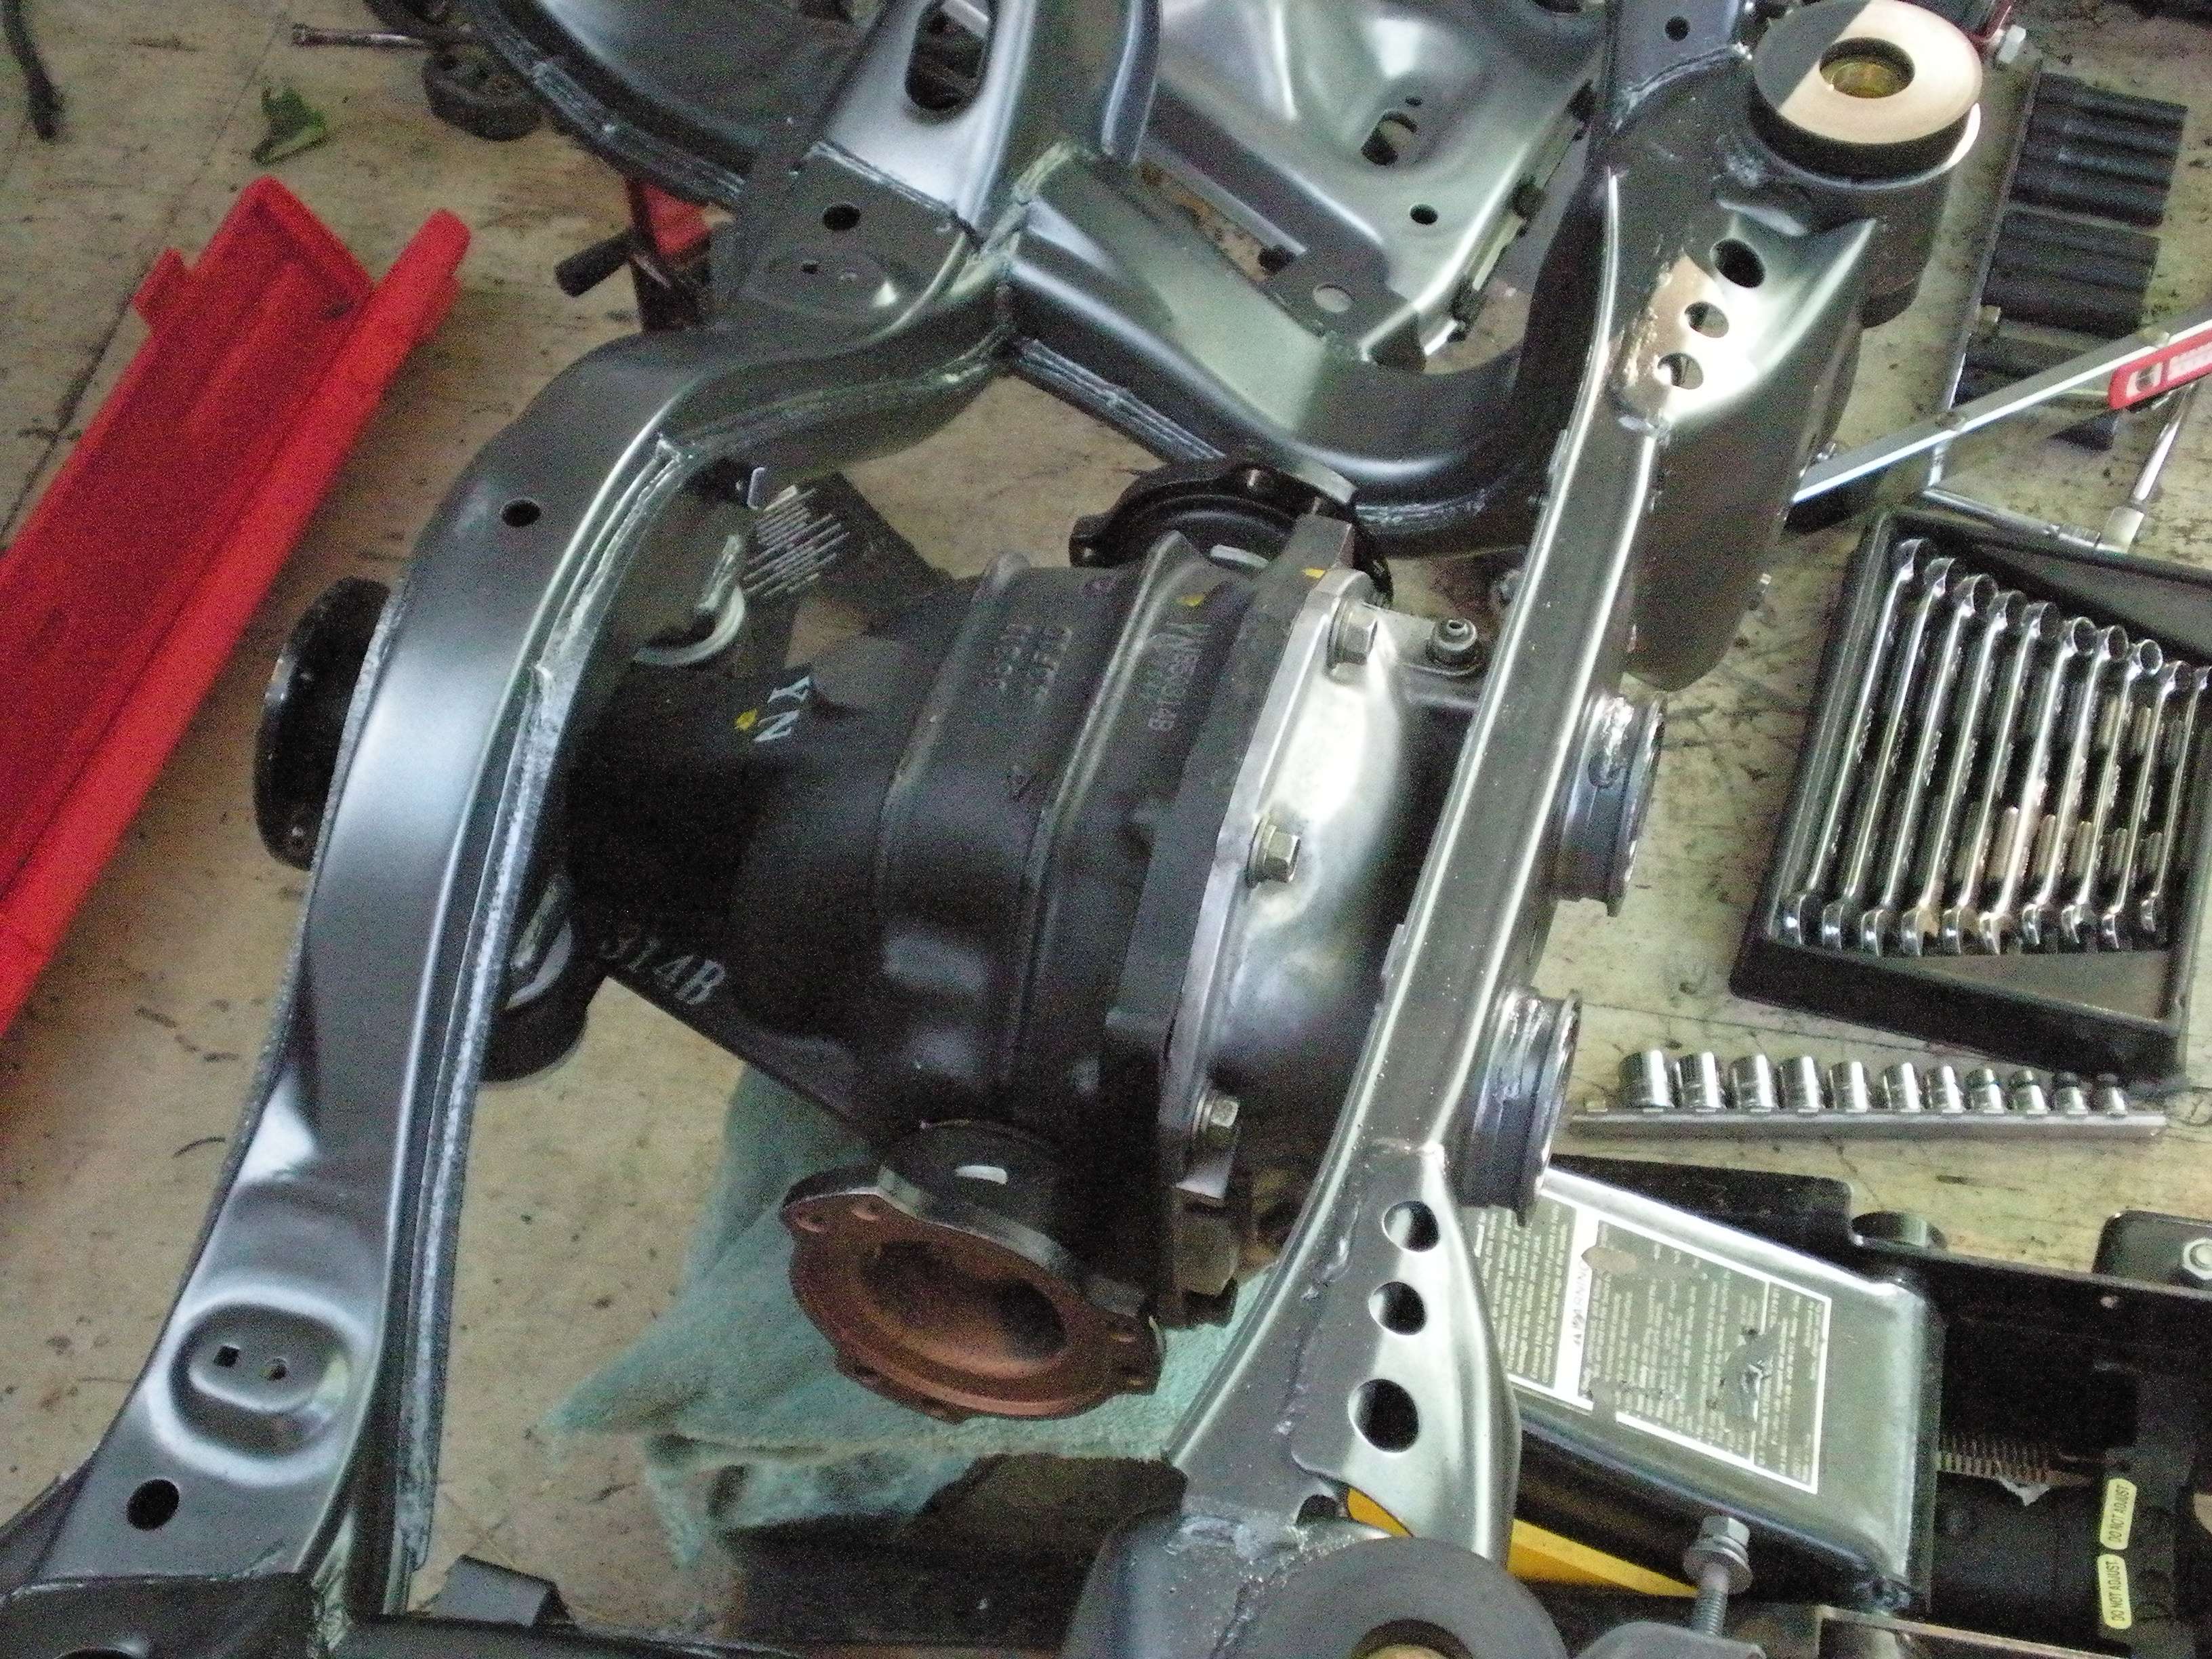
The subframe was theN placed on jack stands, and then the differential was raised into placed. The factory bolts were used, however they were all bead blasted and powder coated.
Anti-seize applied
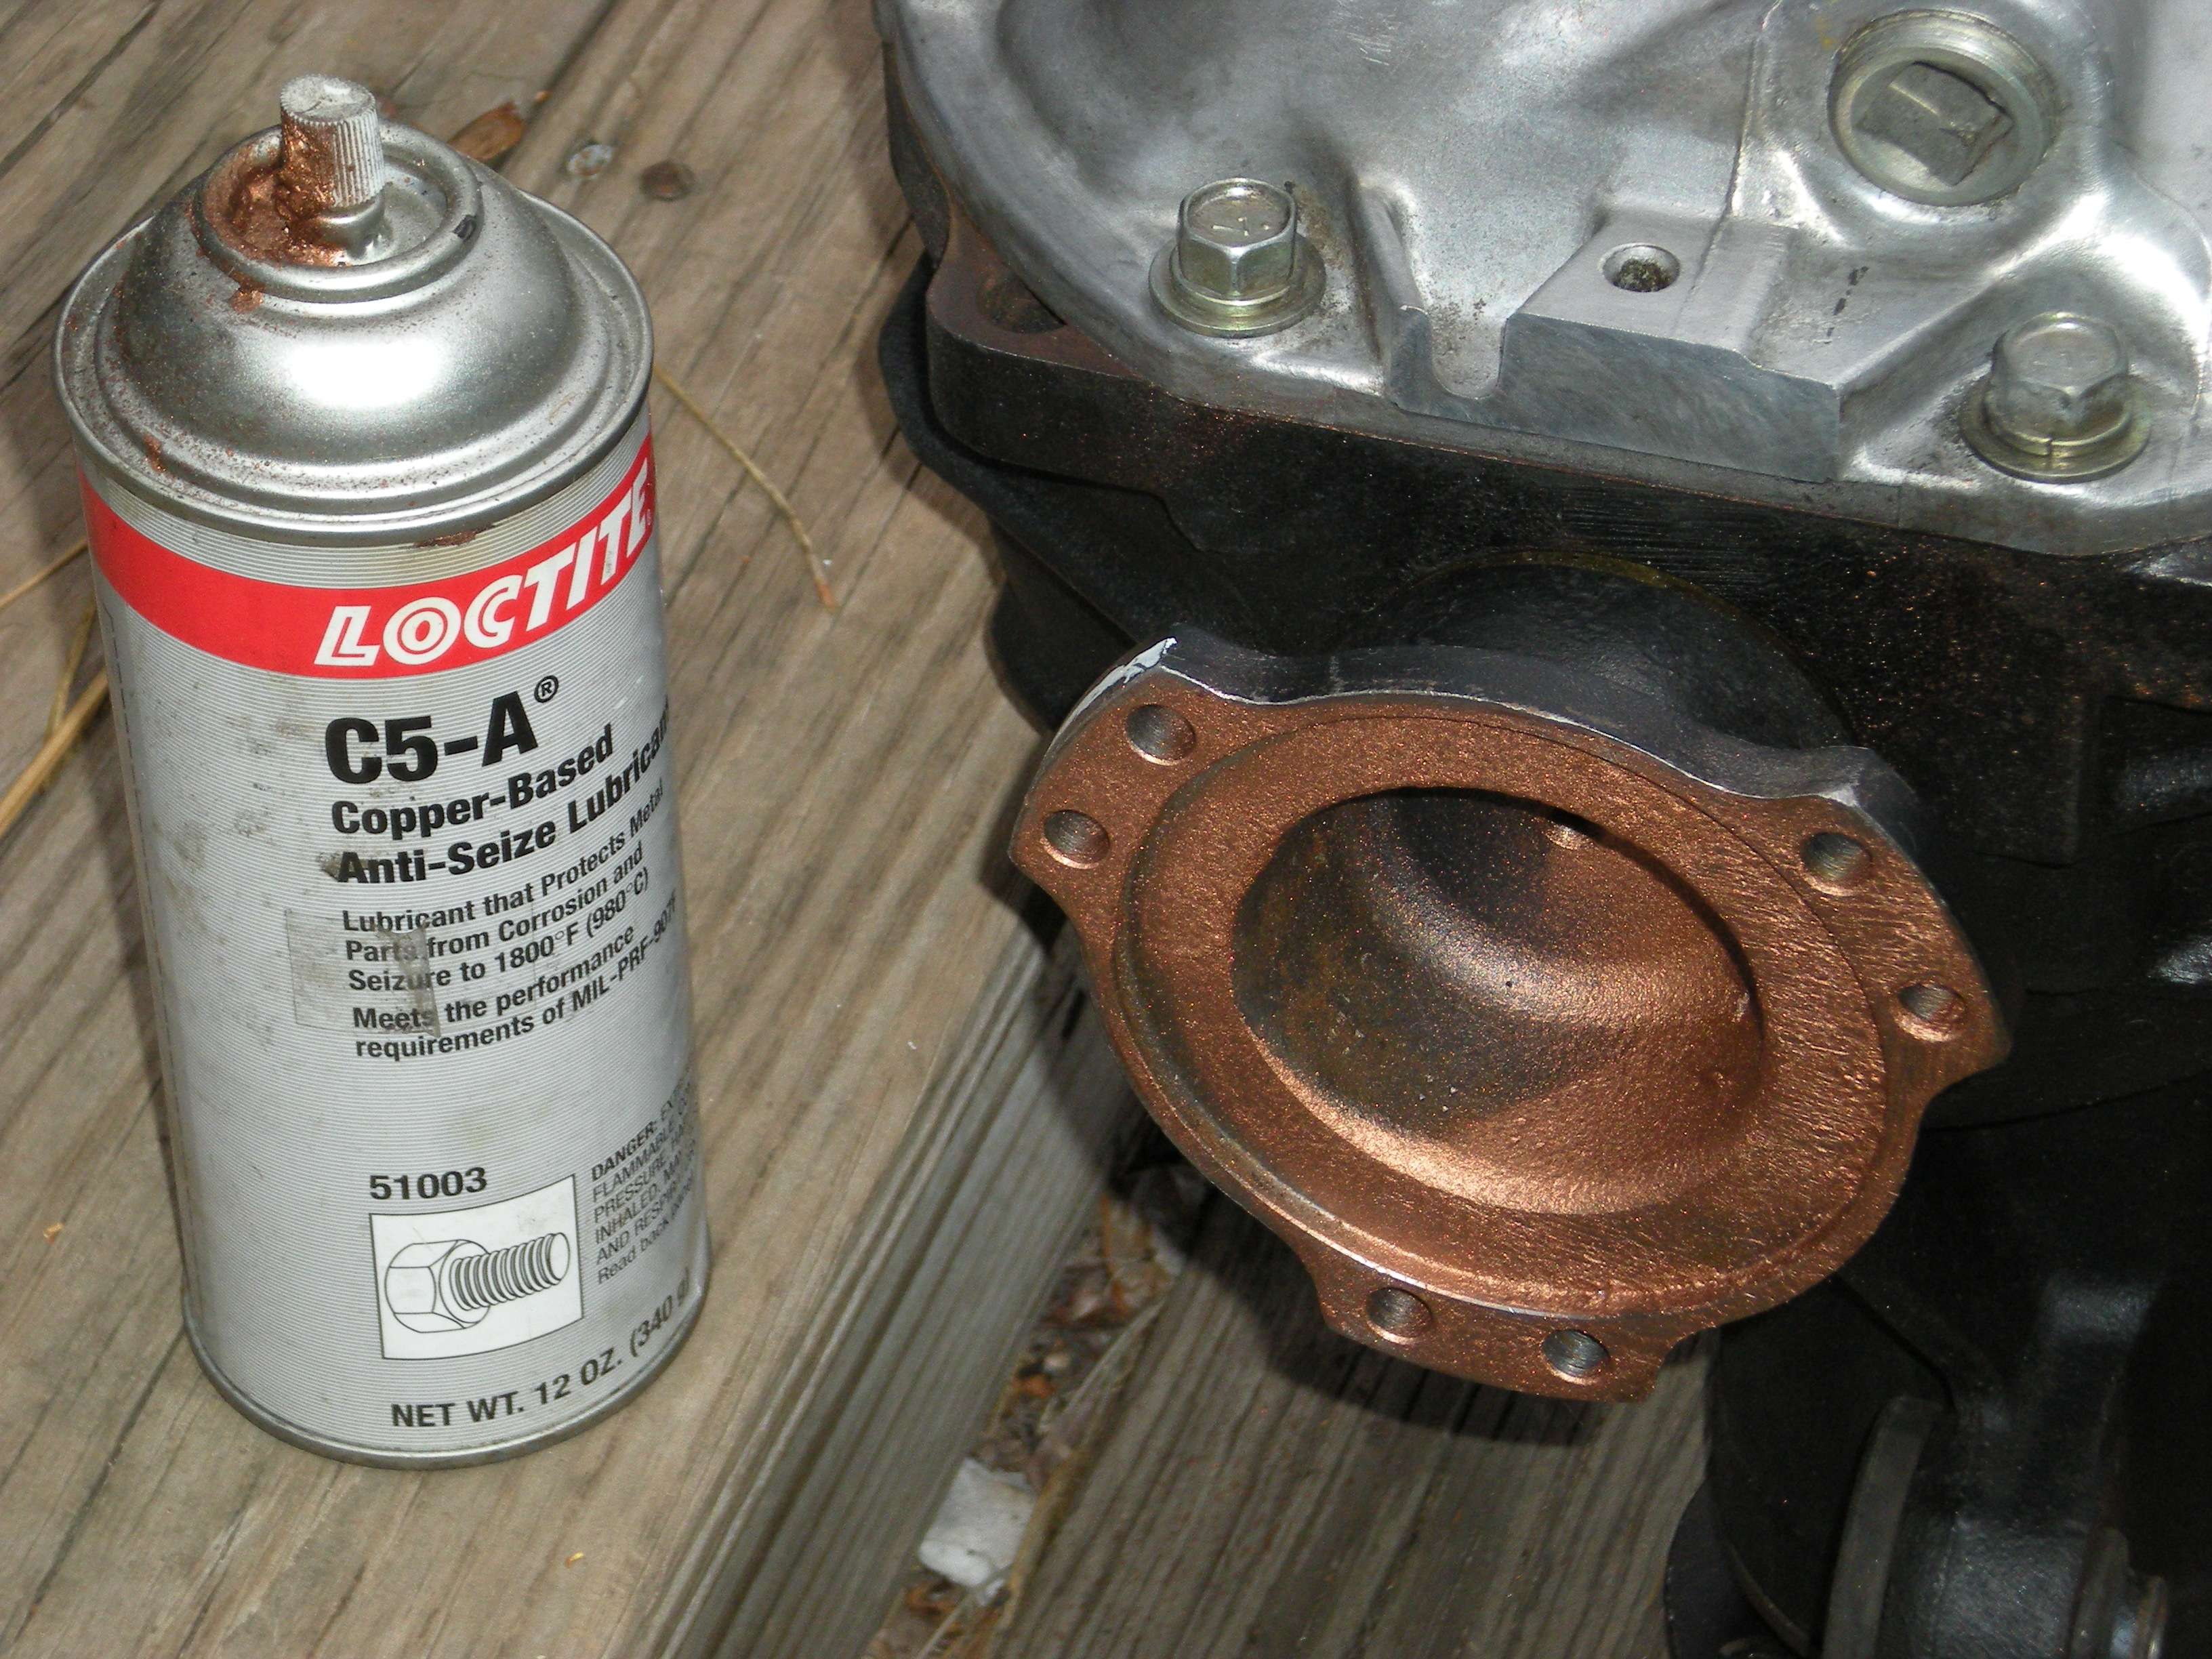
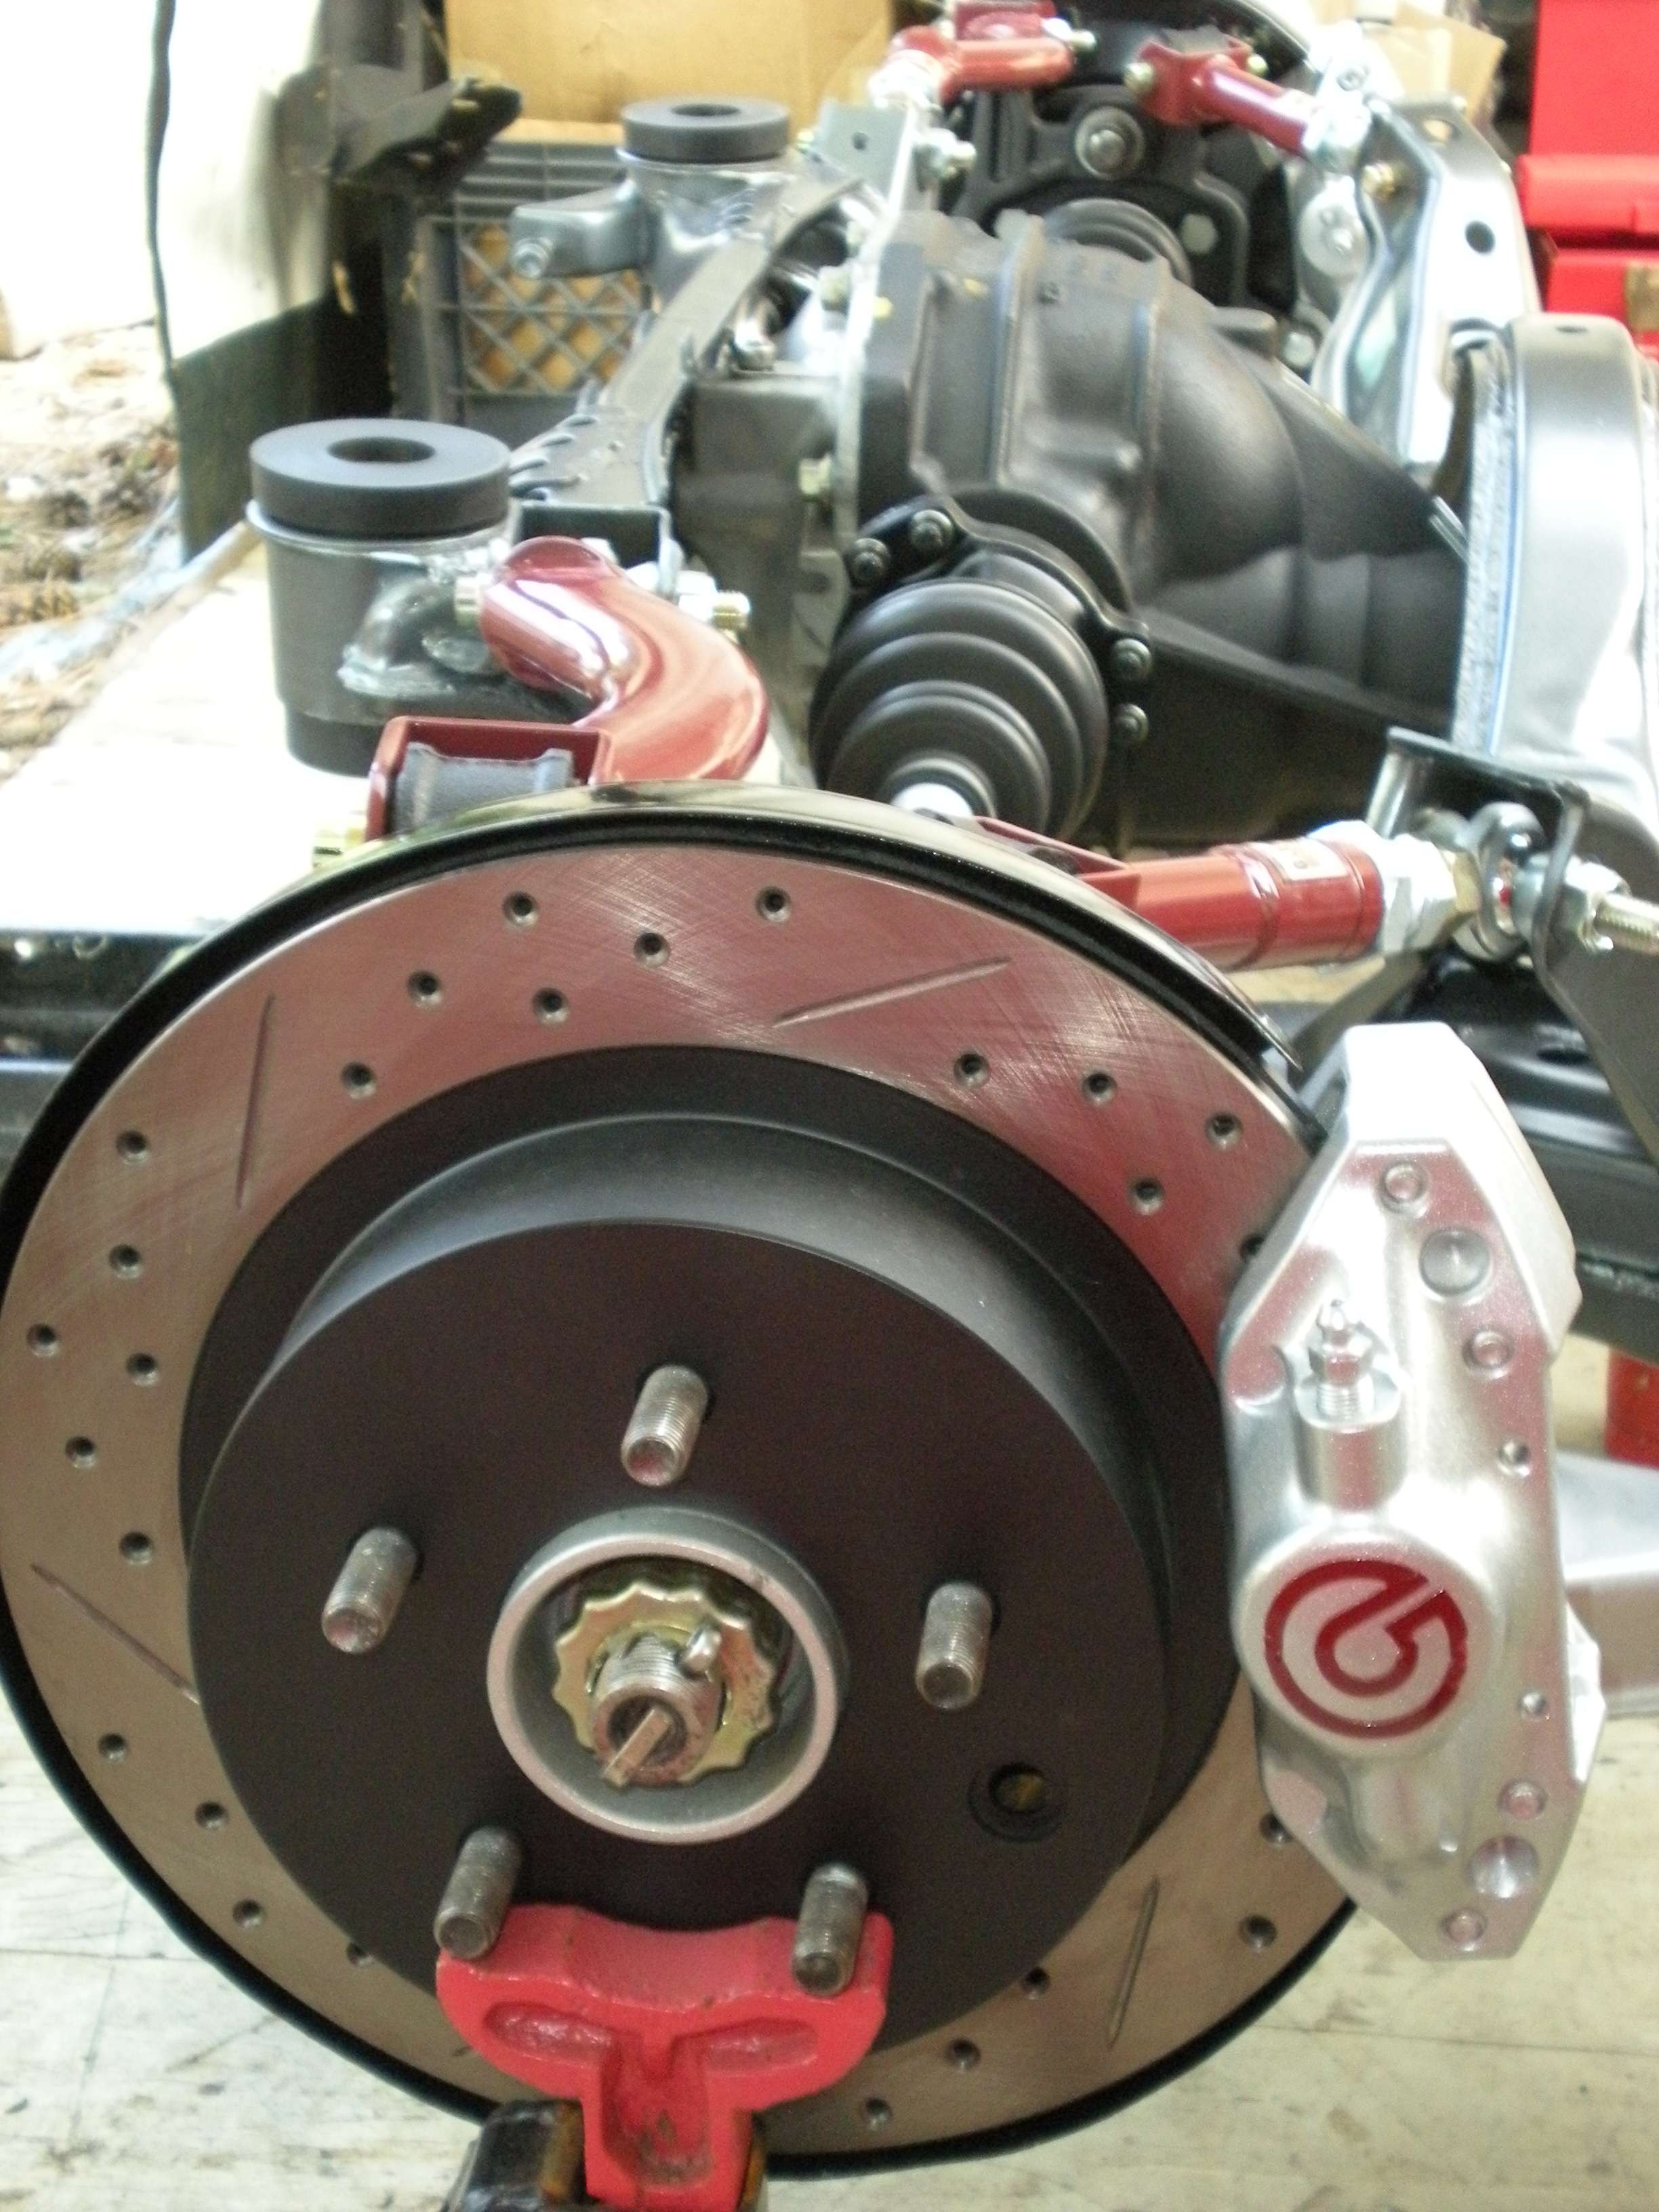
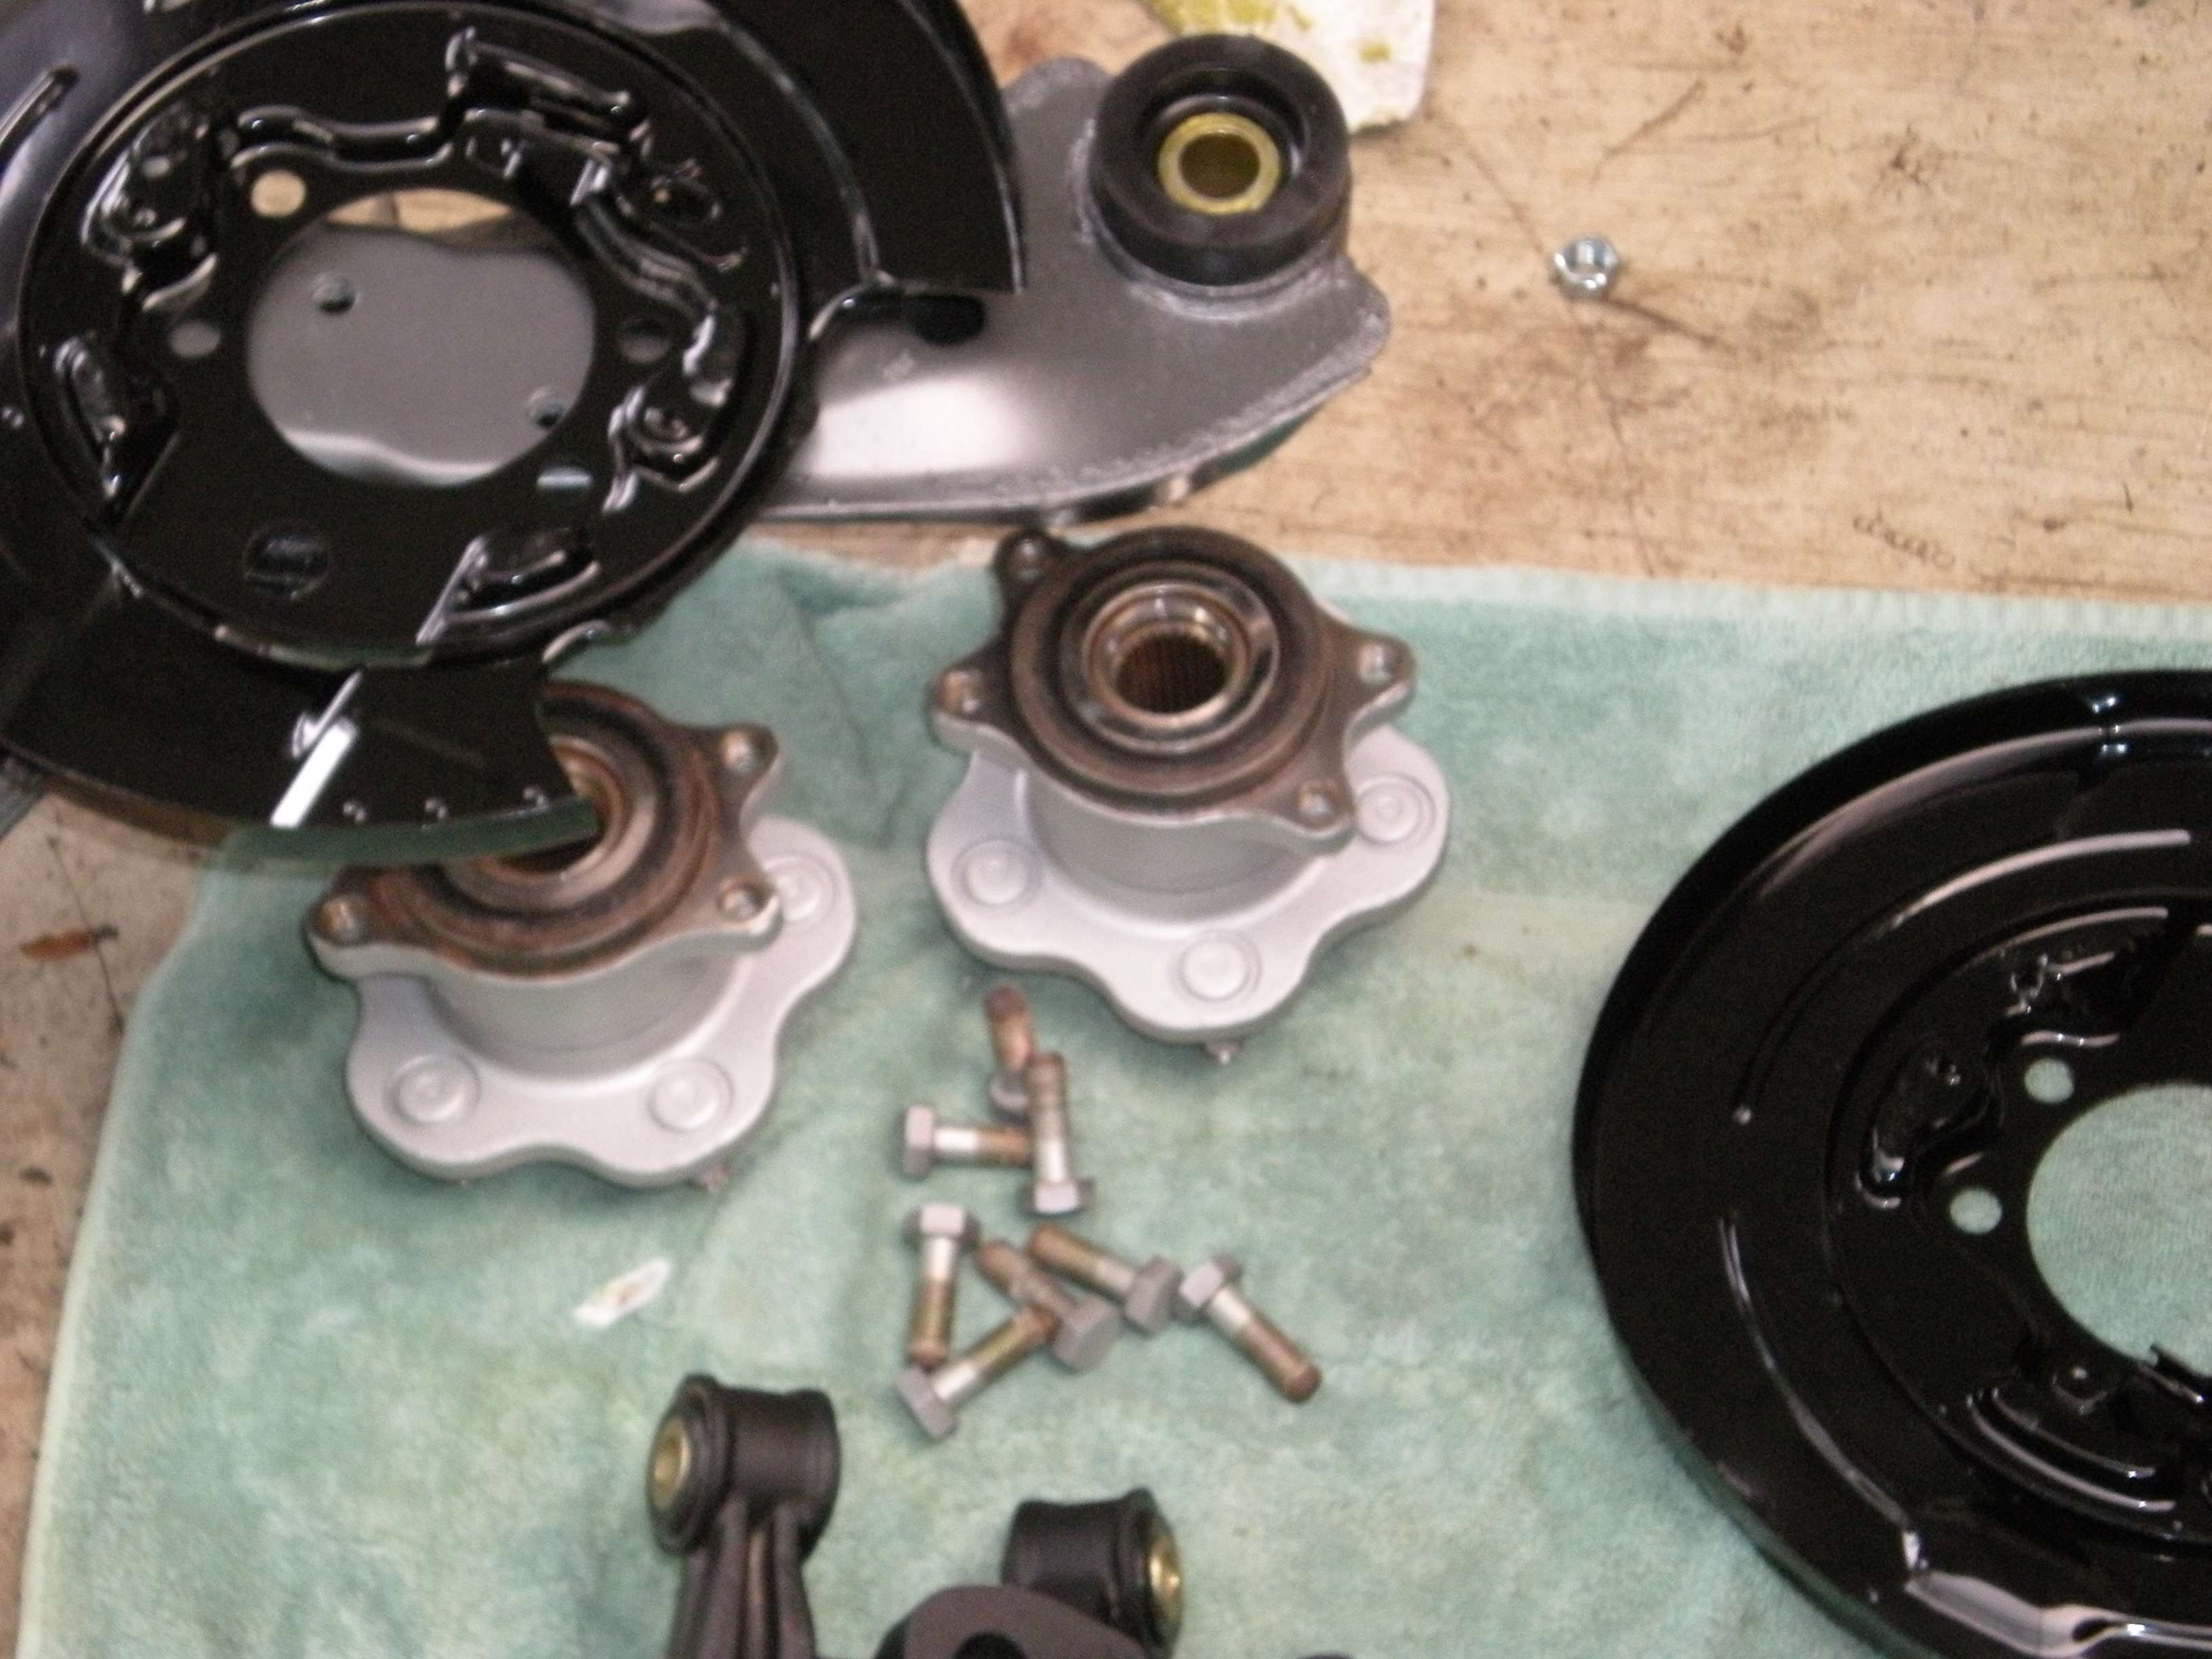
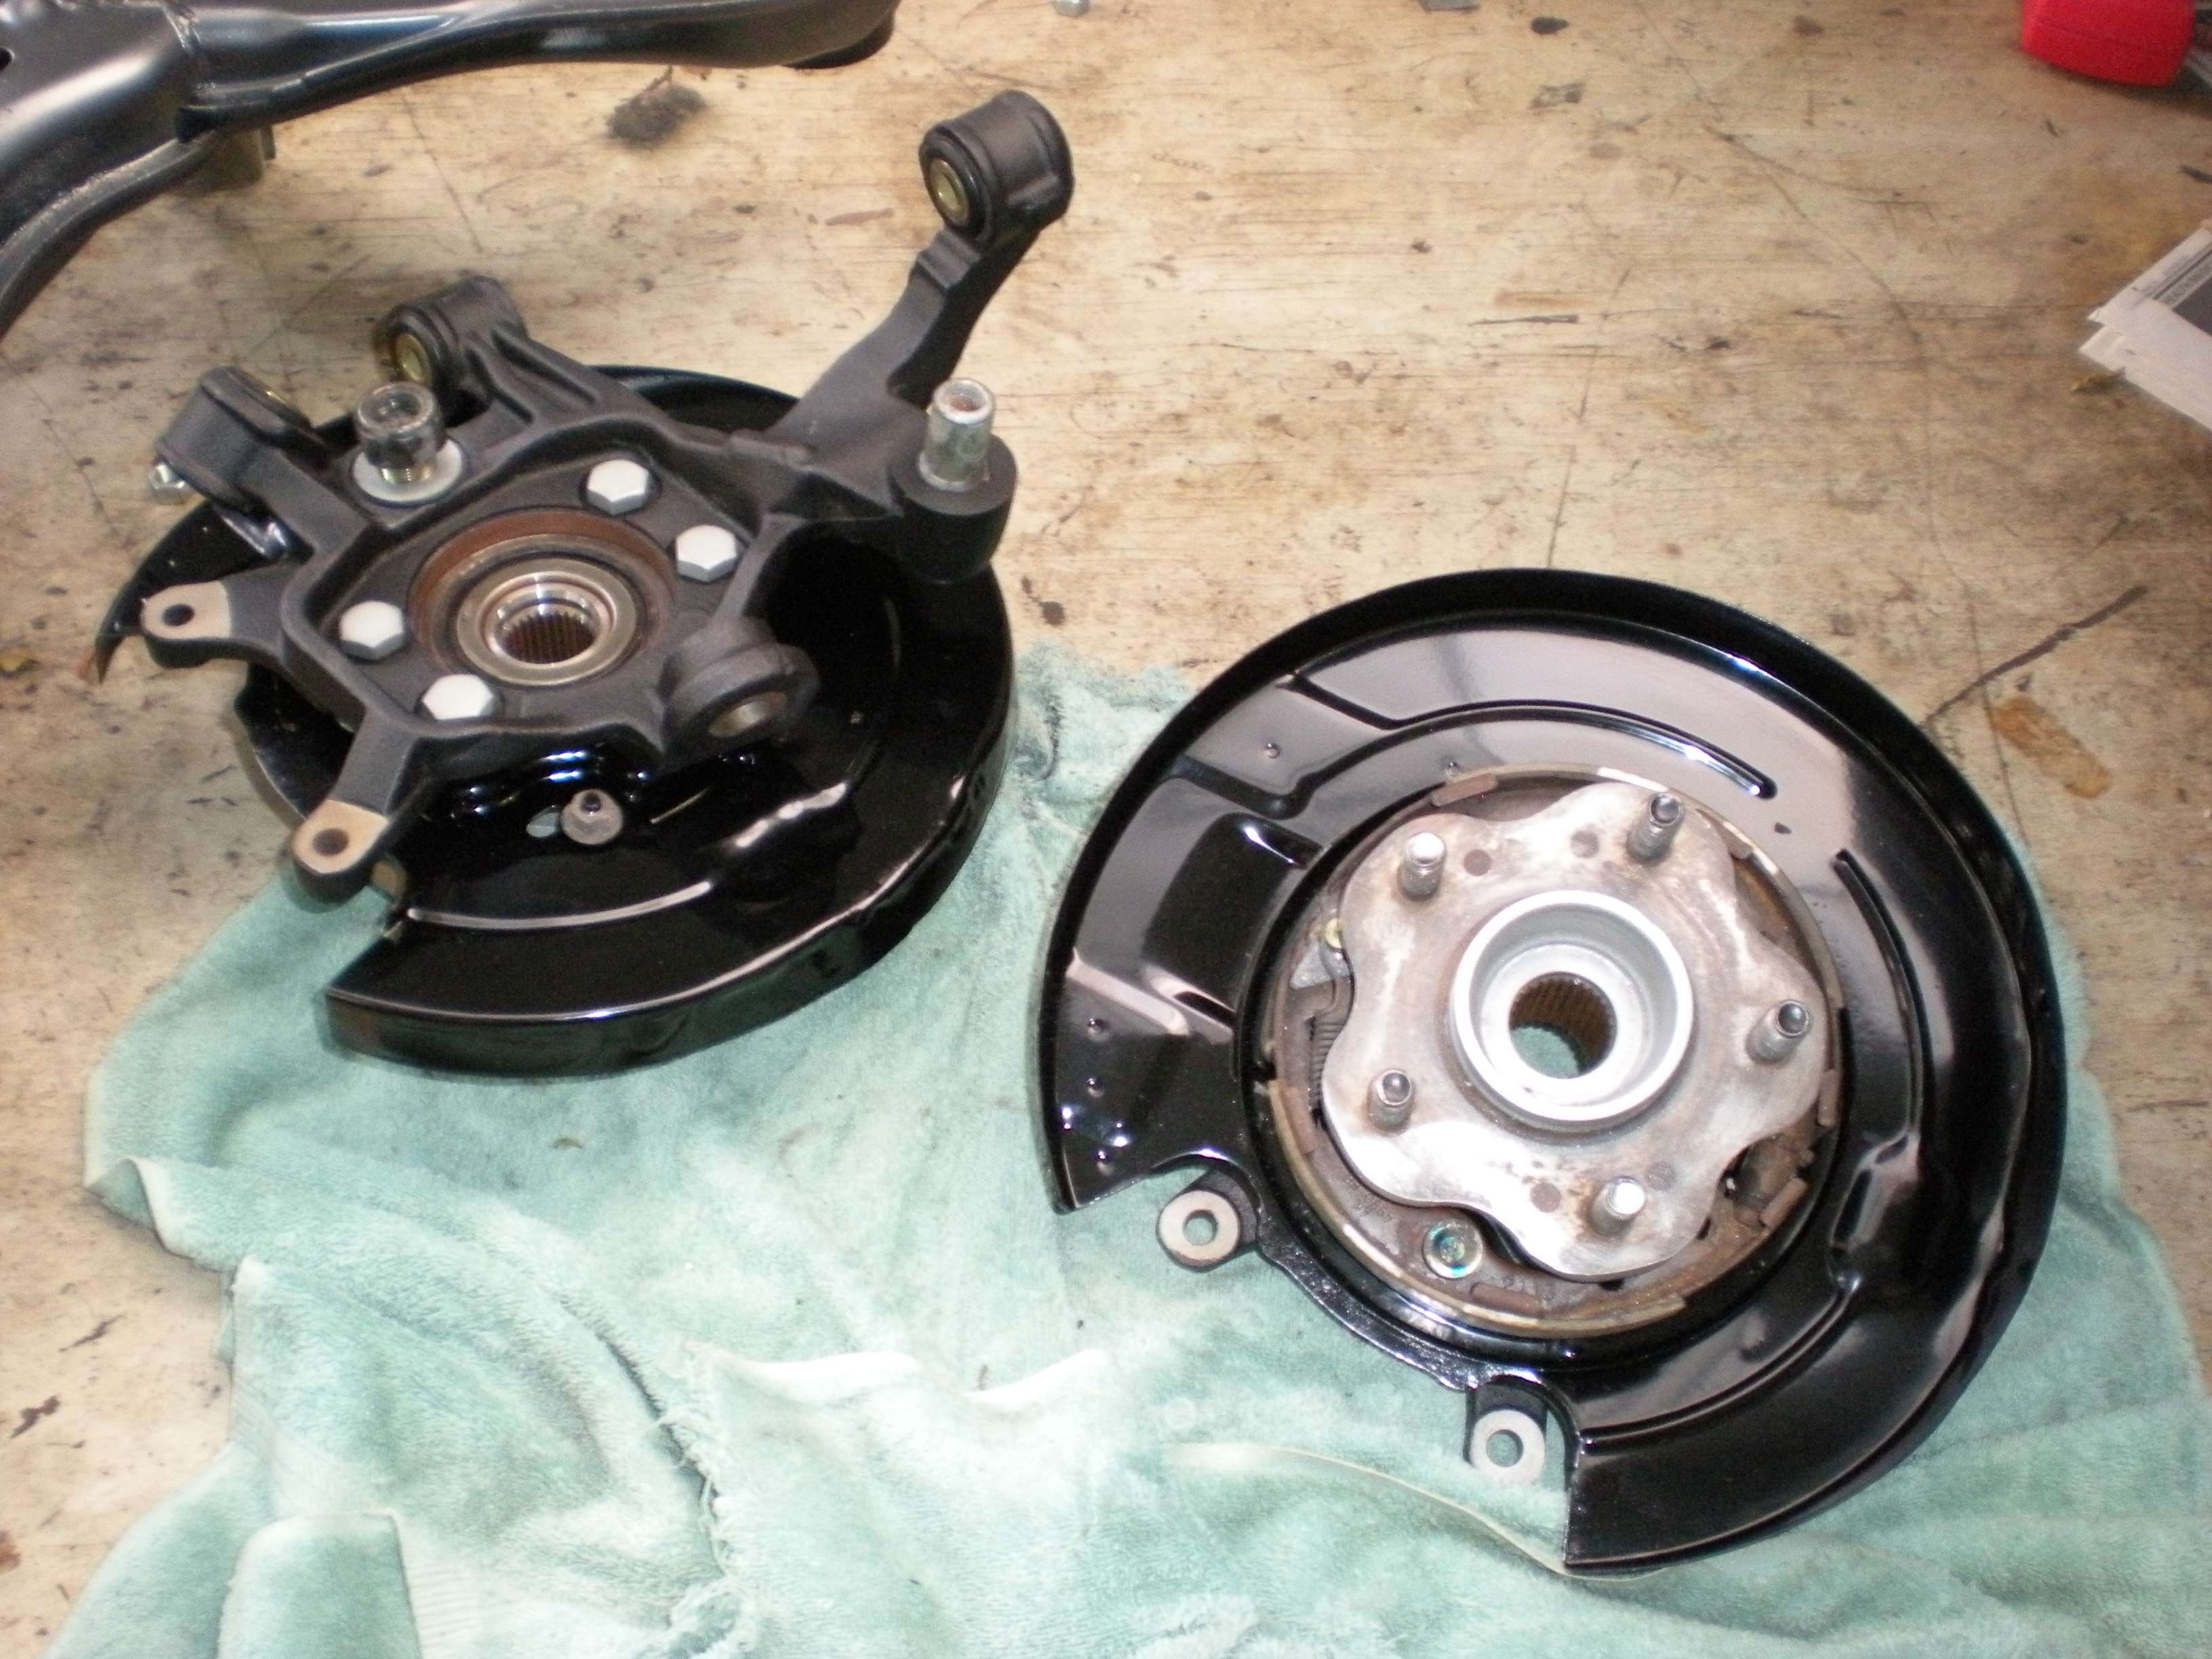
Next up was installing the rear Z32 Emergency brake drum assembly to the spindles....
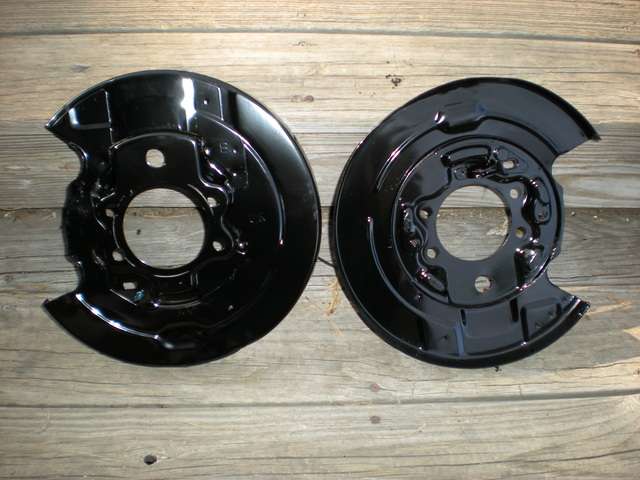
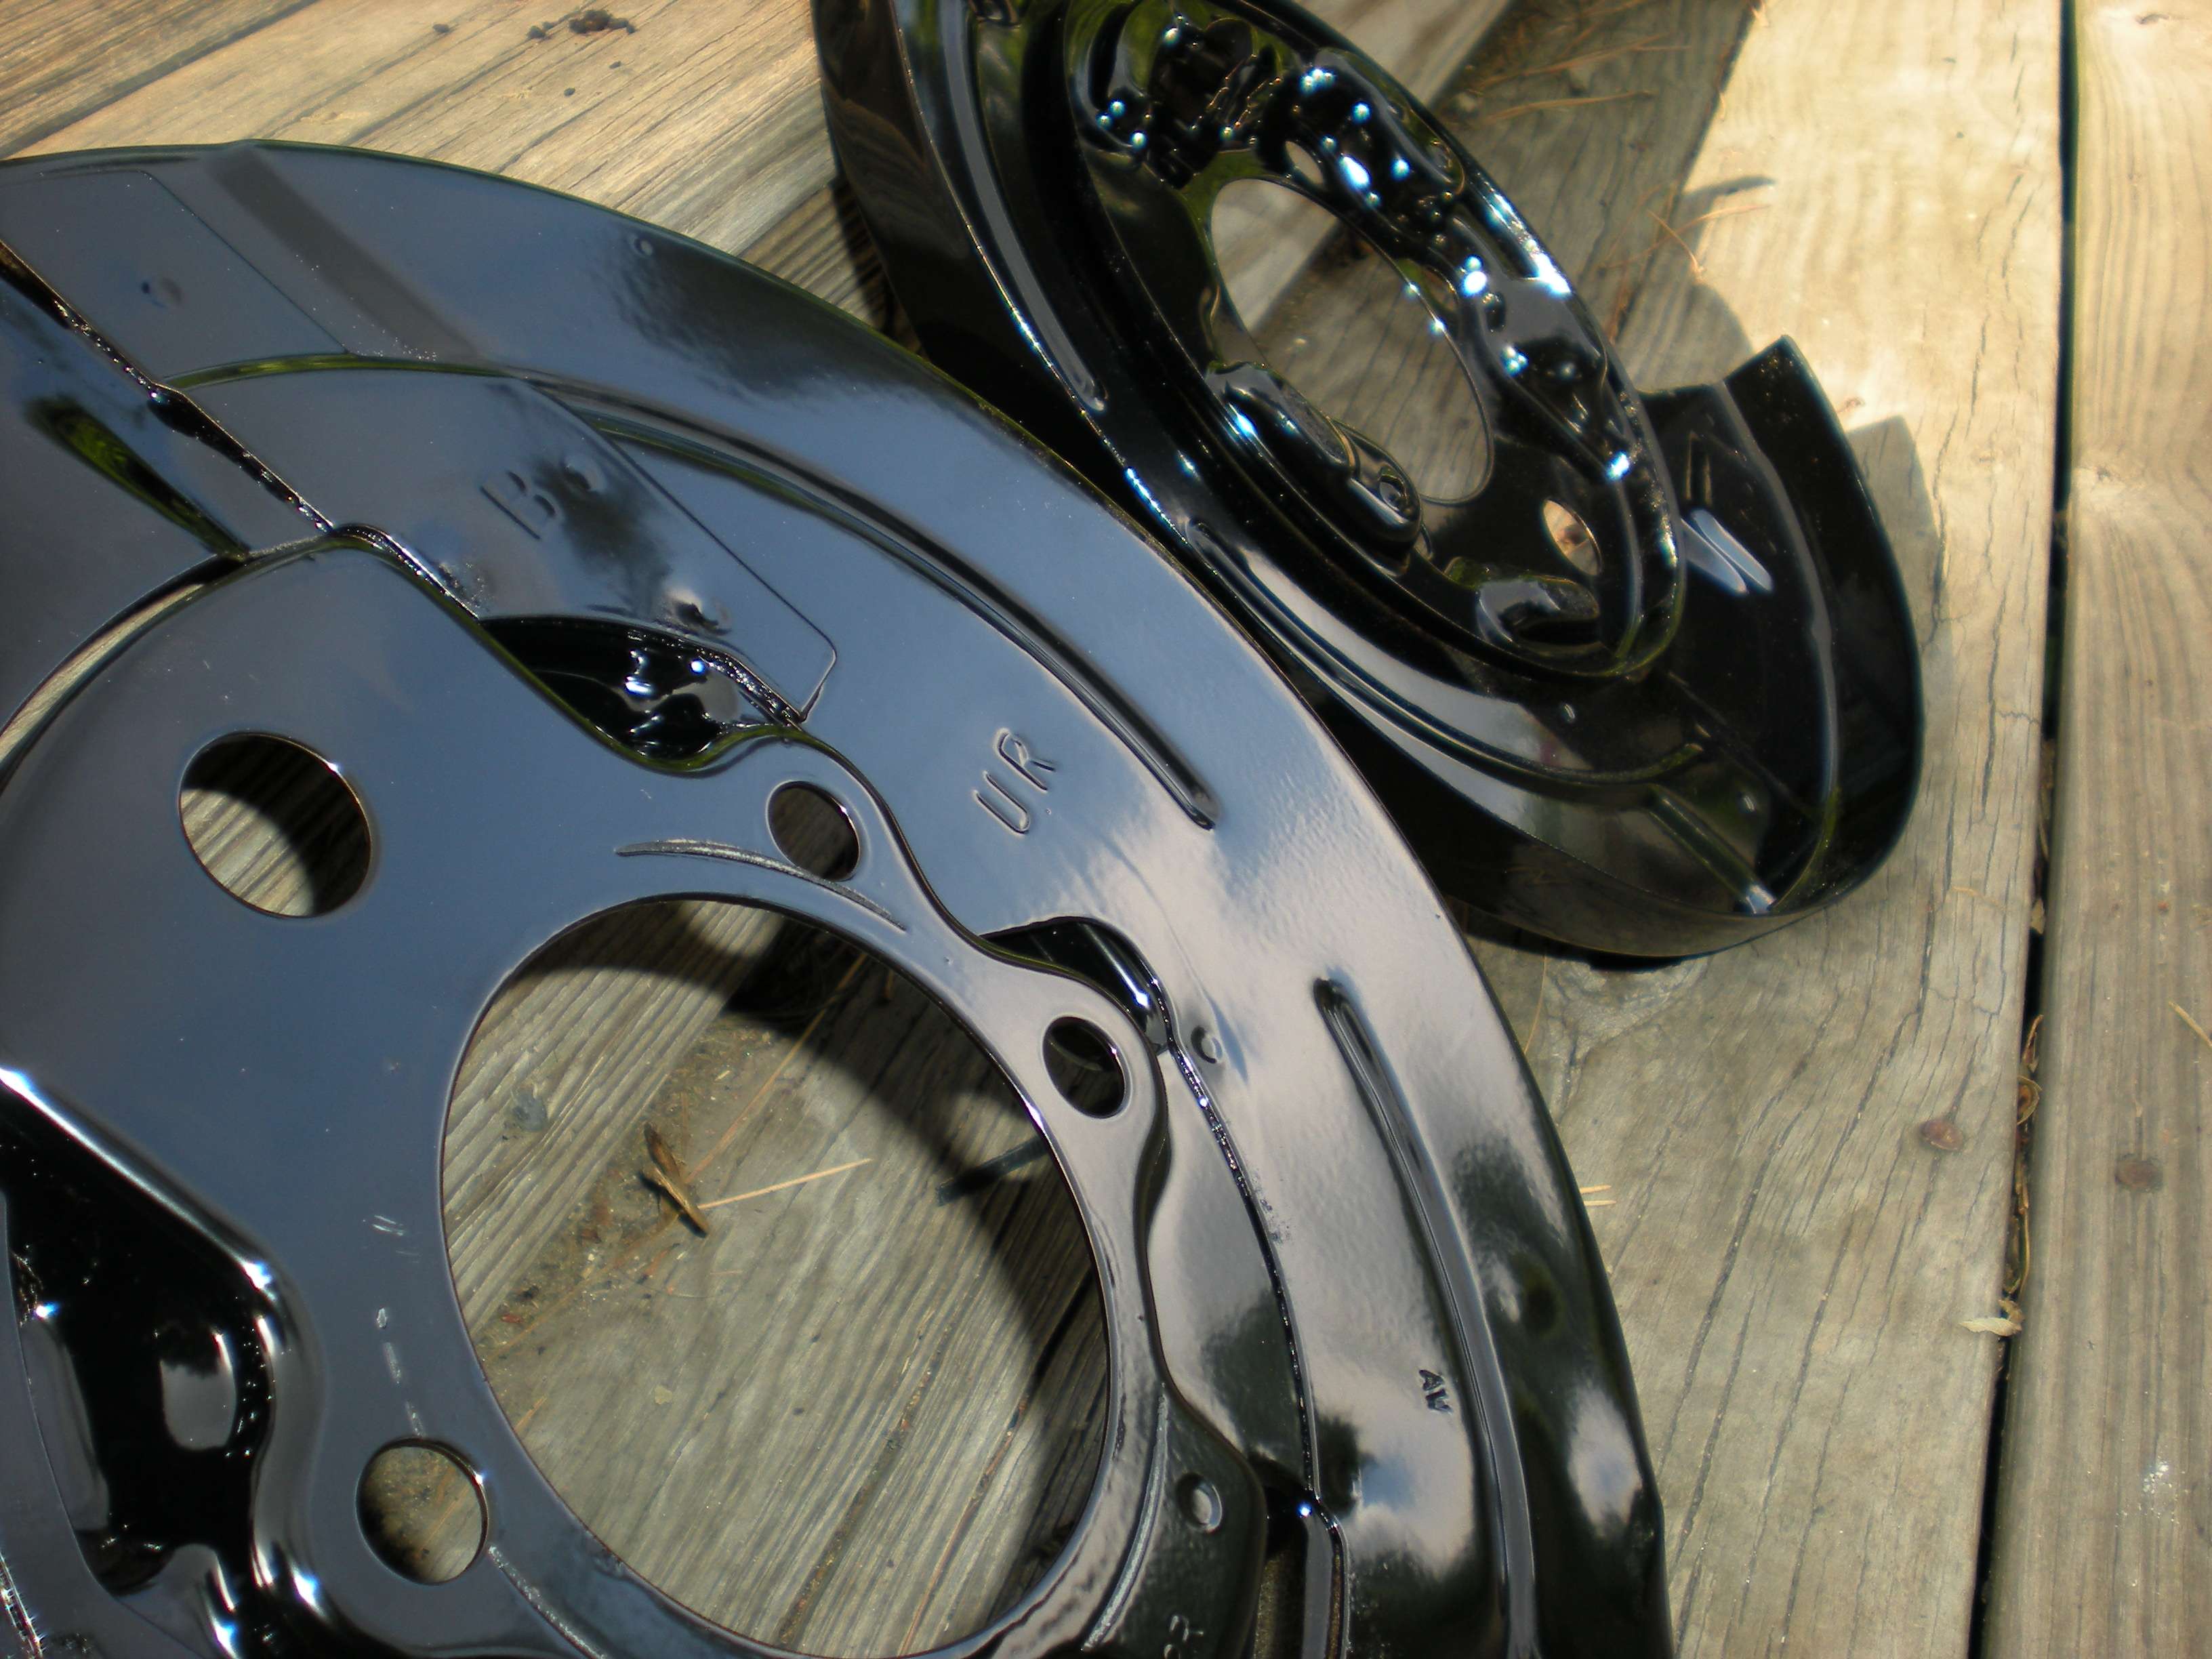
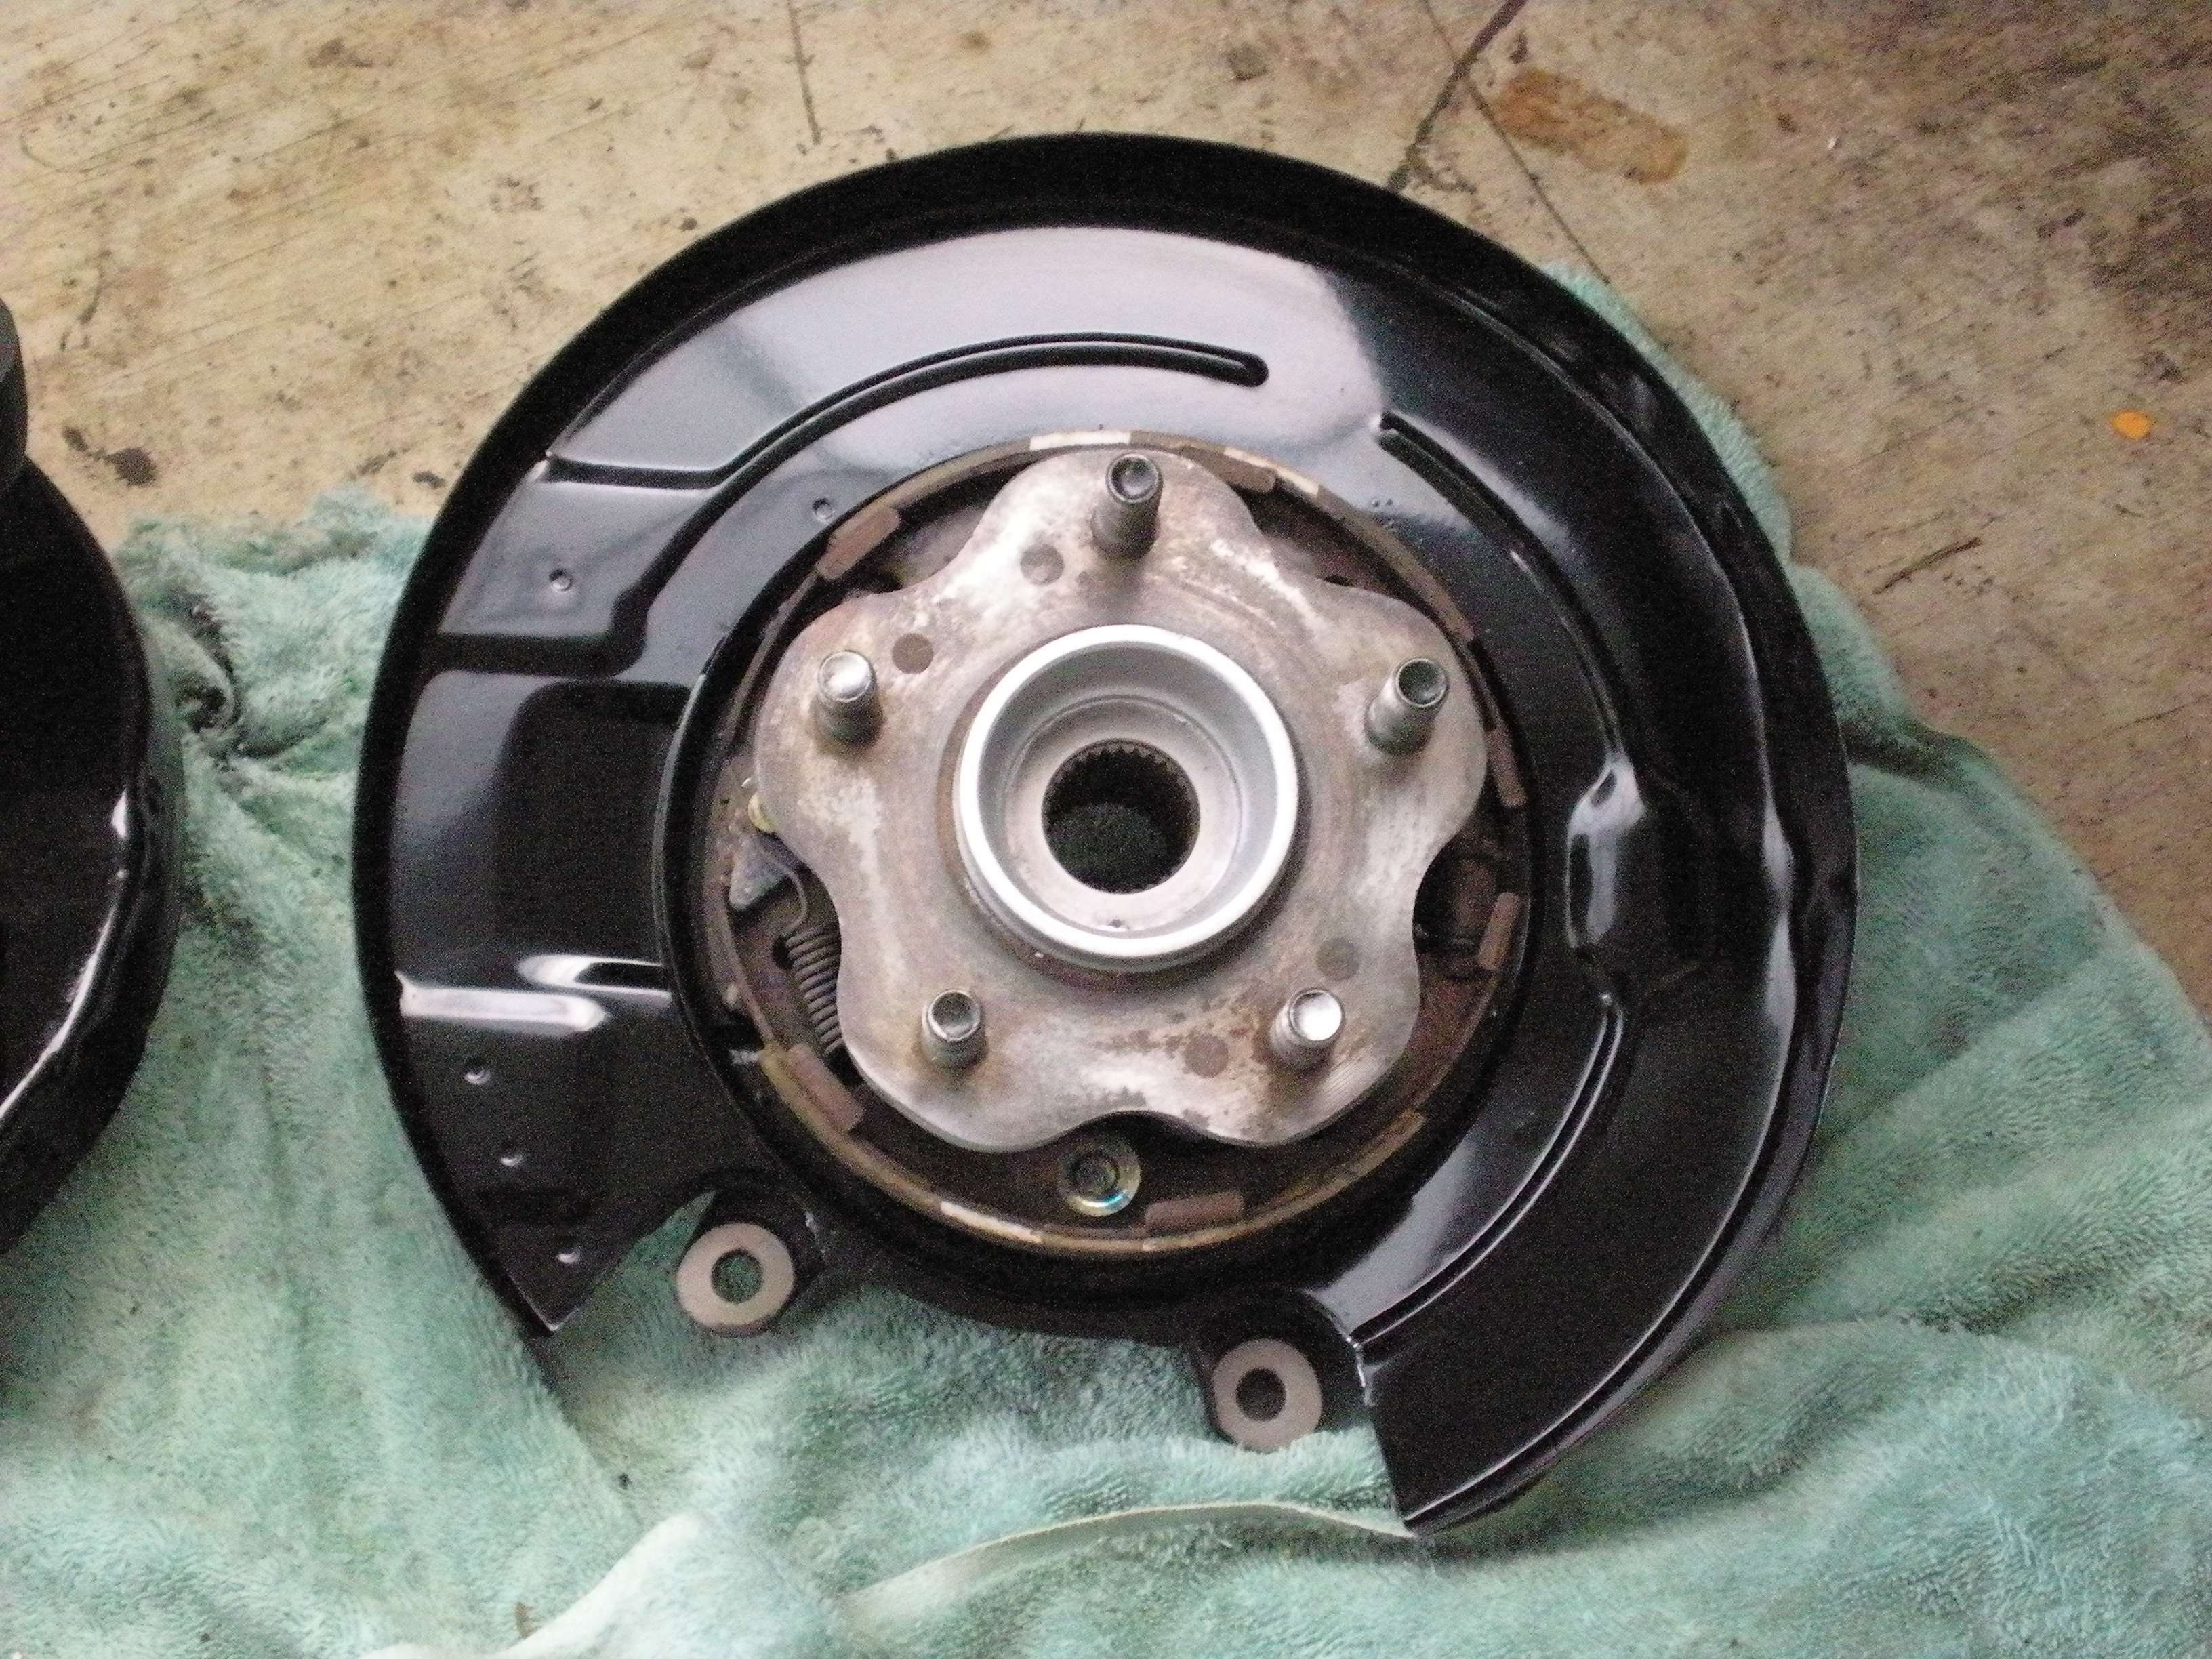
The backing plates were acid dipped and powder coated gloss black...
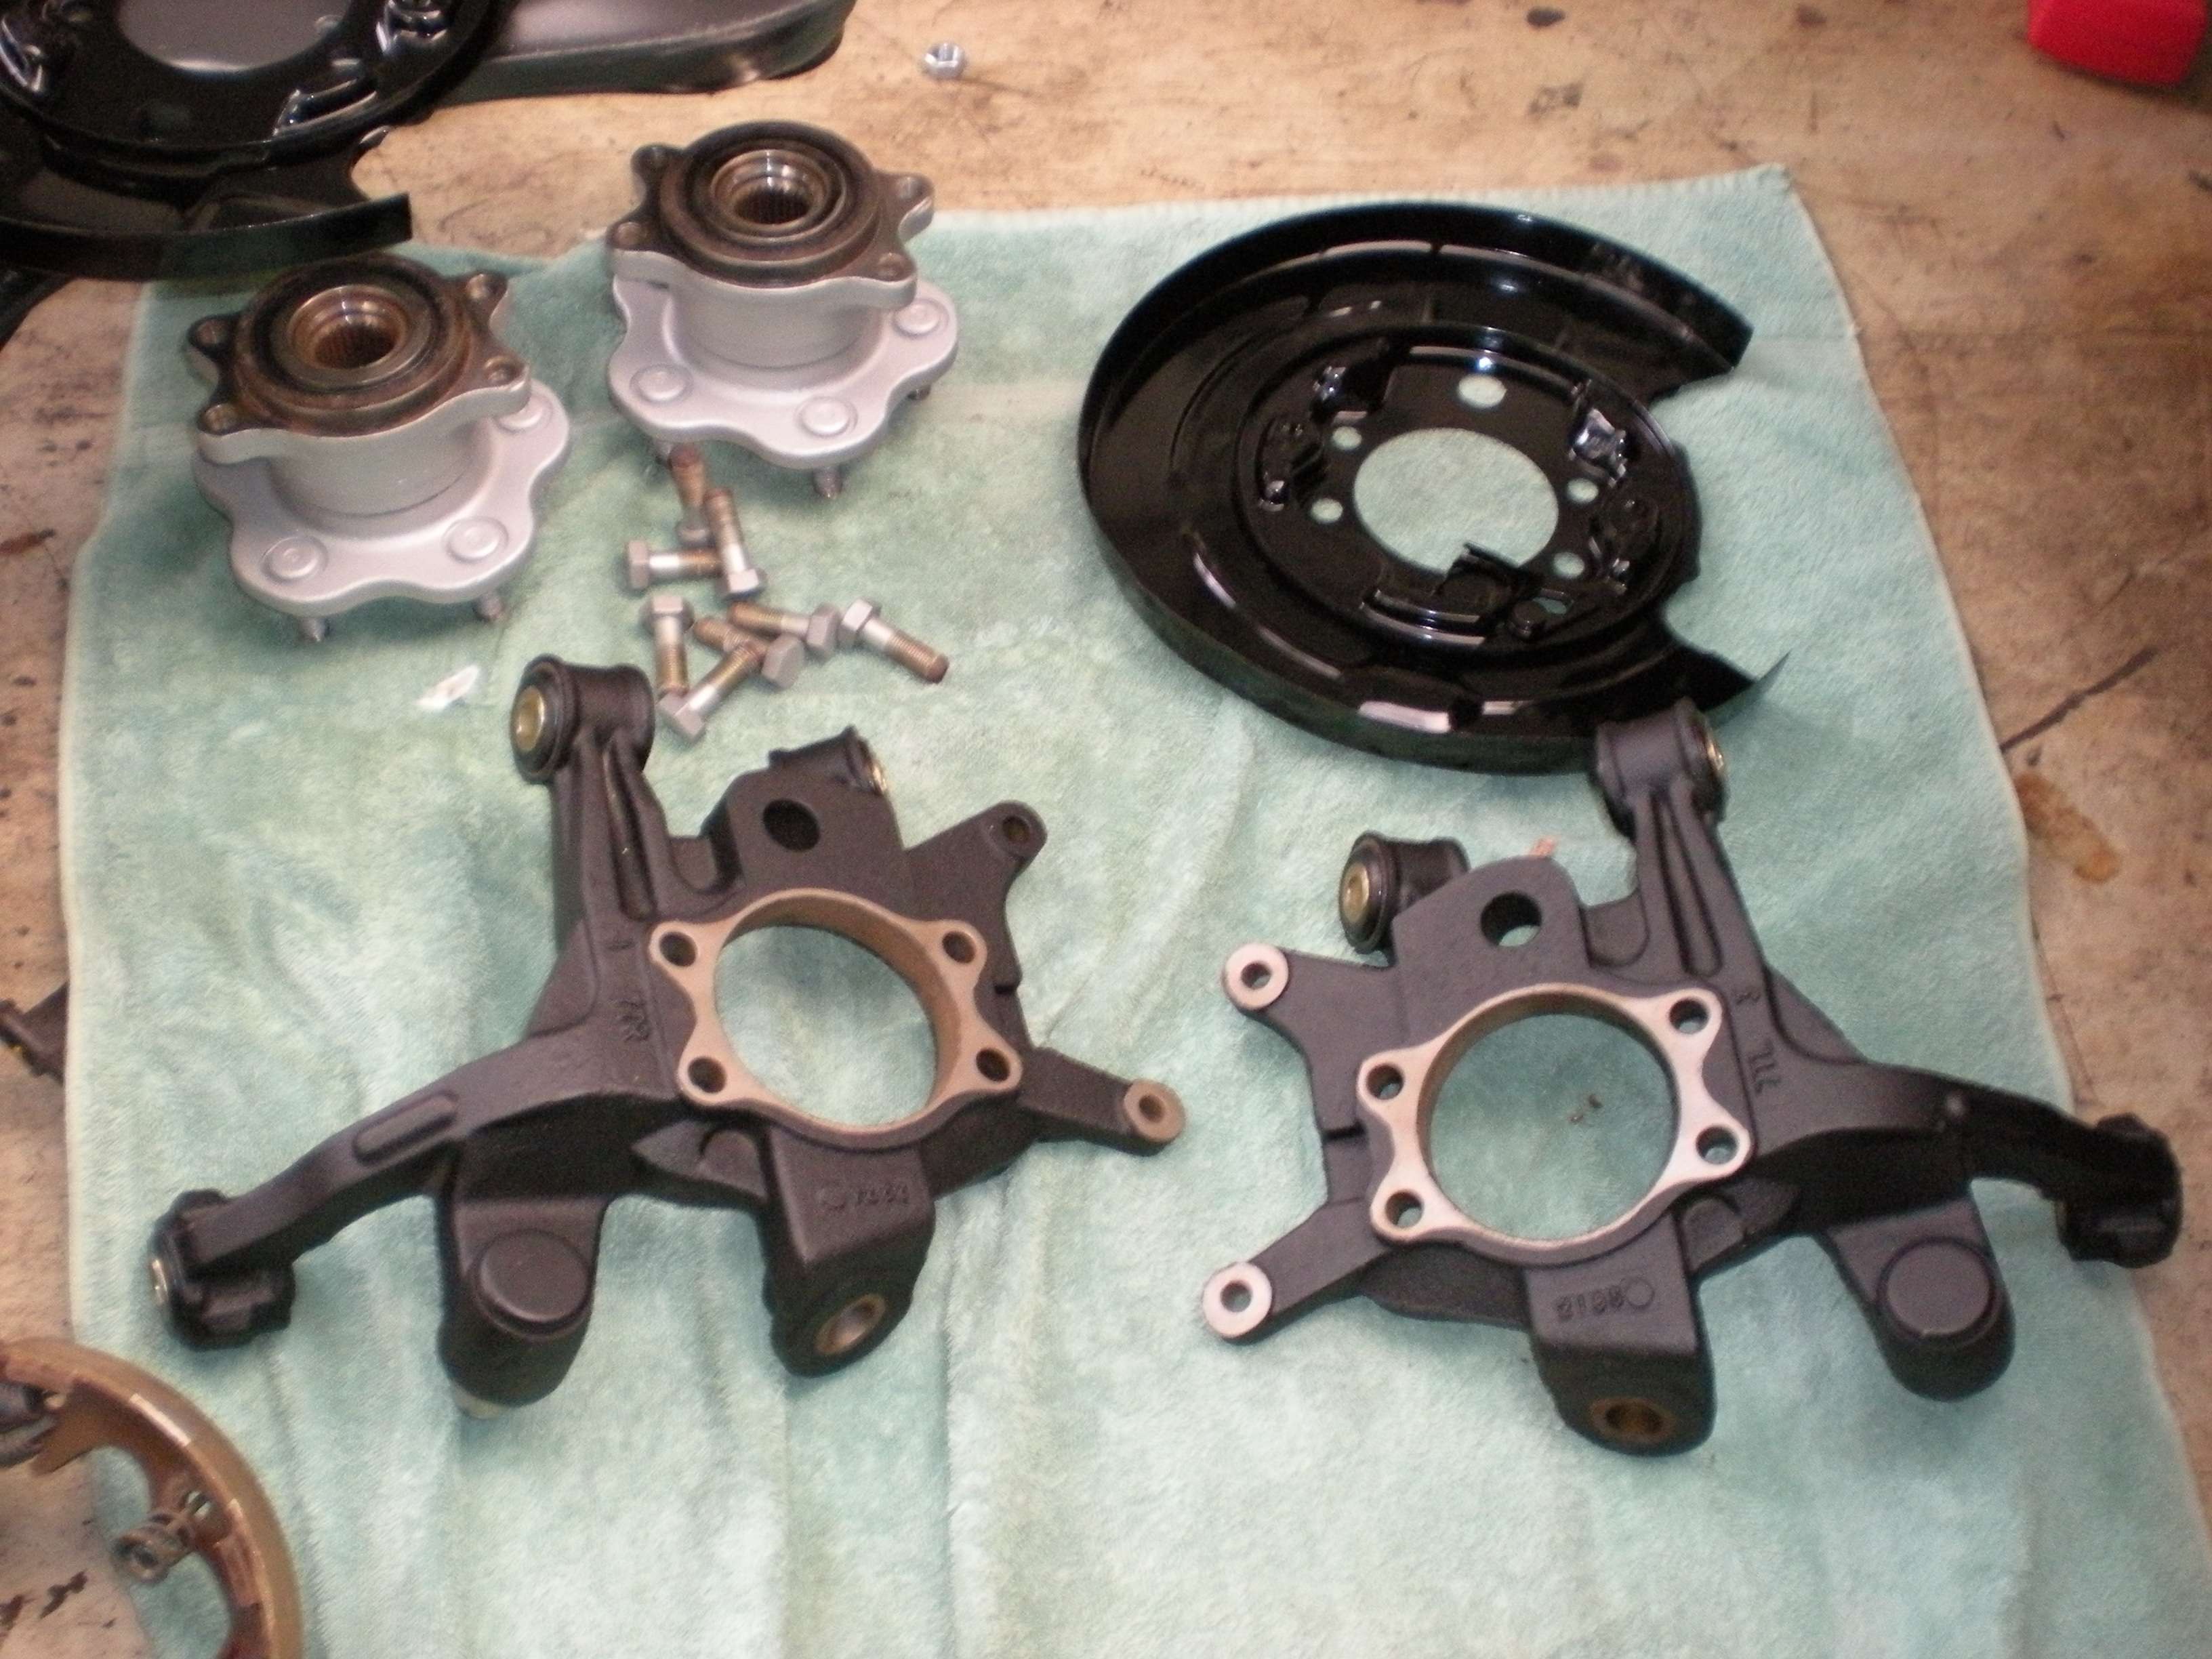
The hubs where properly taped off, bead blasted and sprayed silver. I was hesitant to powder coat them, as I was unsure if the seals could handle the 500 degree temperatures.
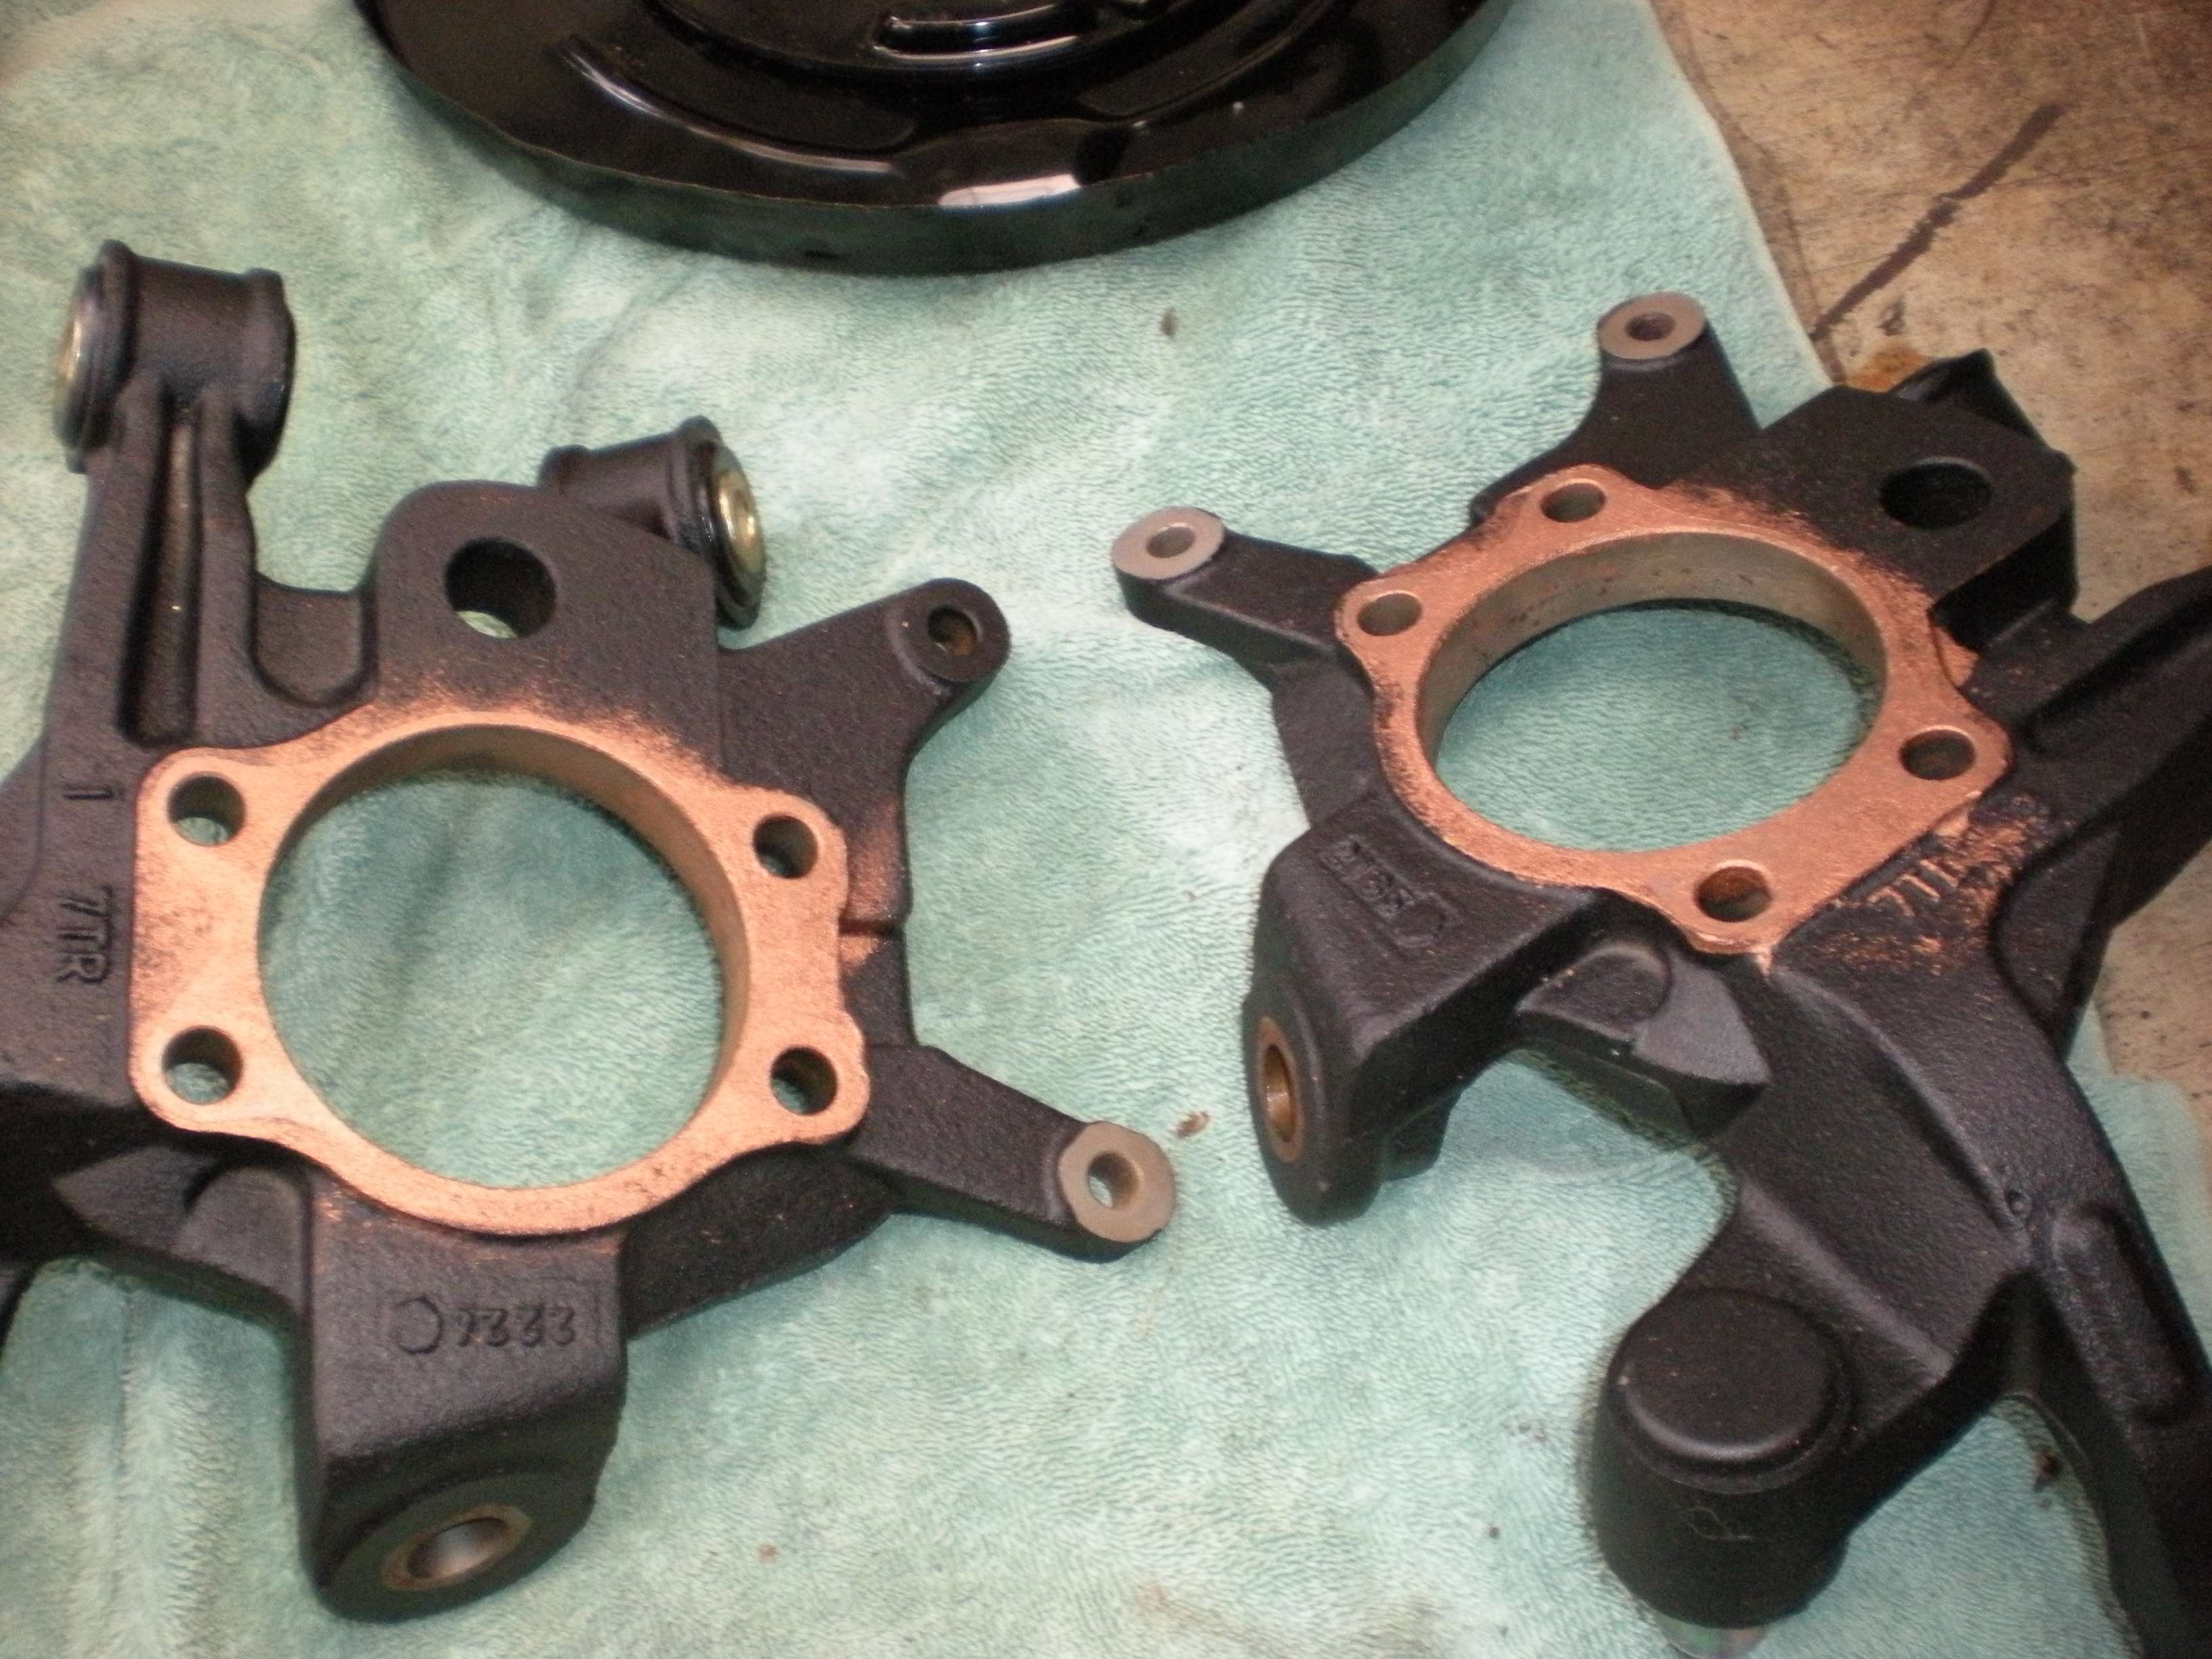
The large hole in the spindle that the post on the drum assembly goes through needed to be opened up a bit, as the post would not fit. I am unsure if that was due to the powder coat or if it is normal with this conversion. I simply used a steeper drill bit and opened the hole until the post fit properly.

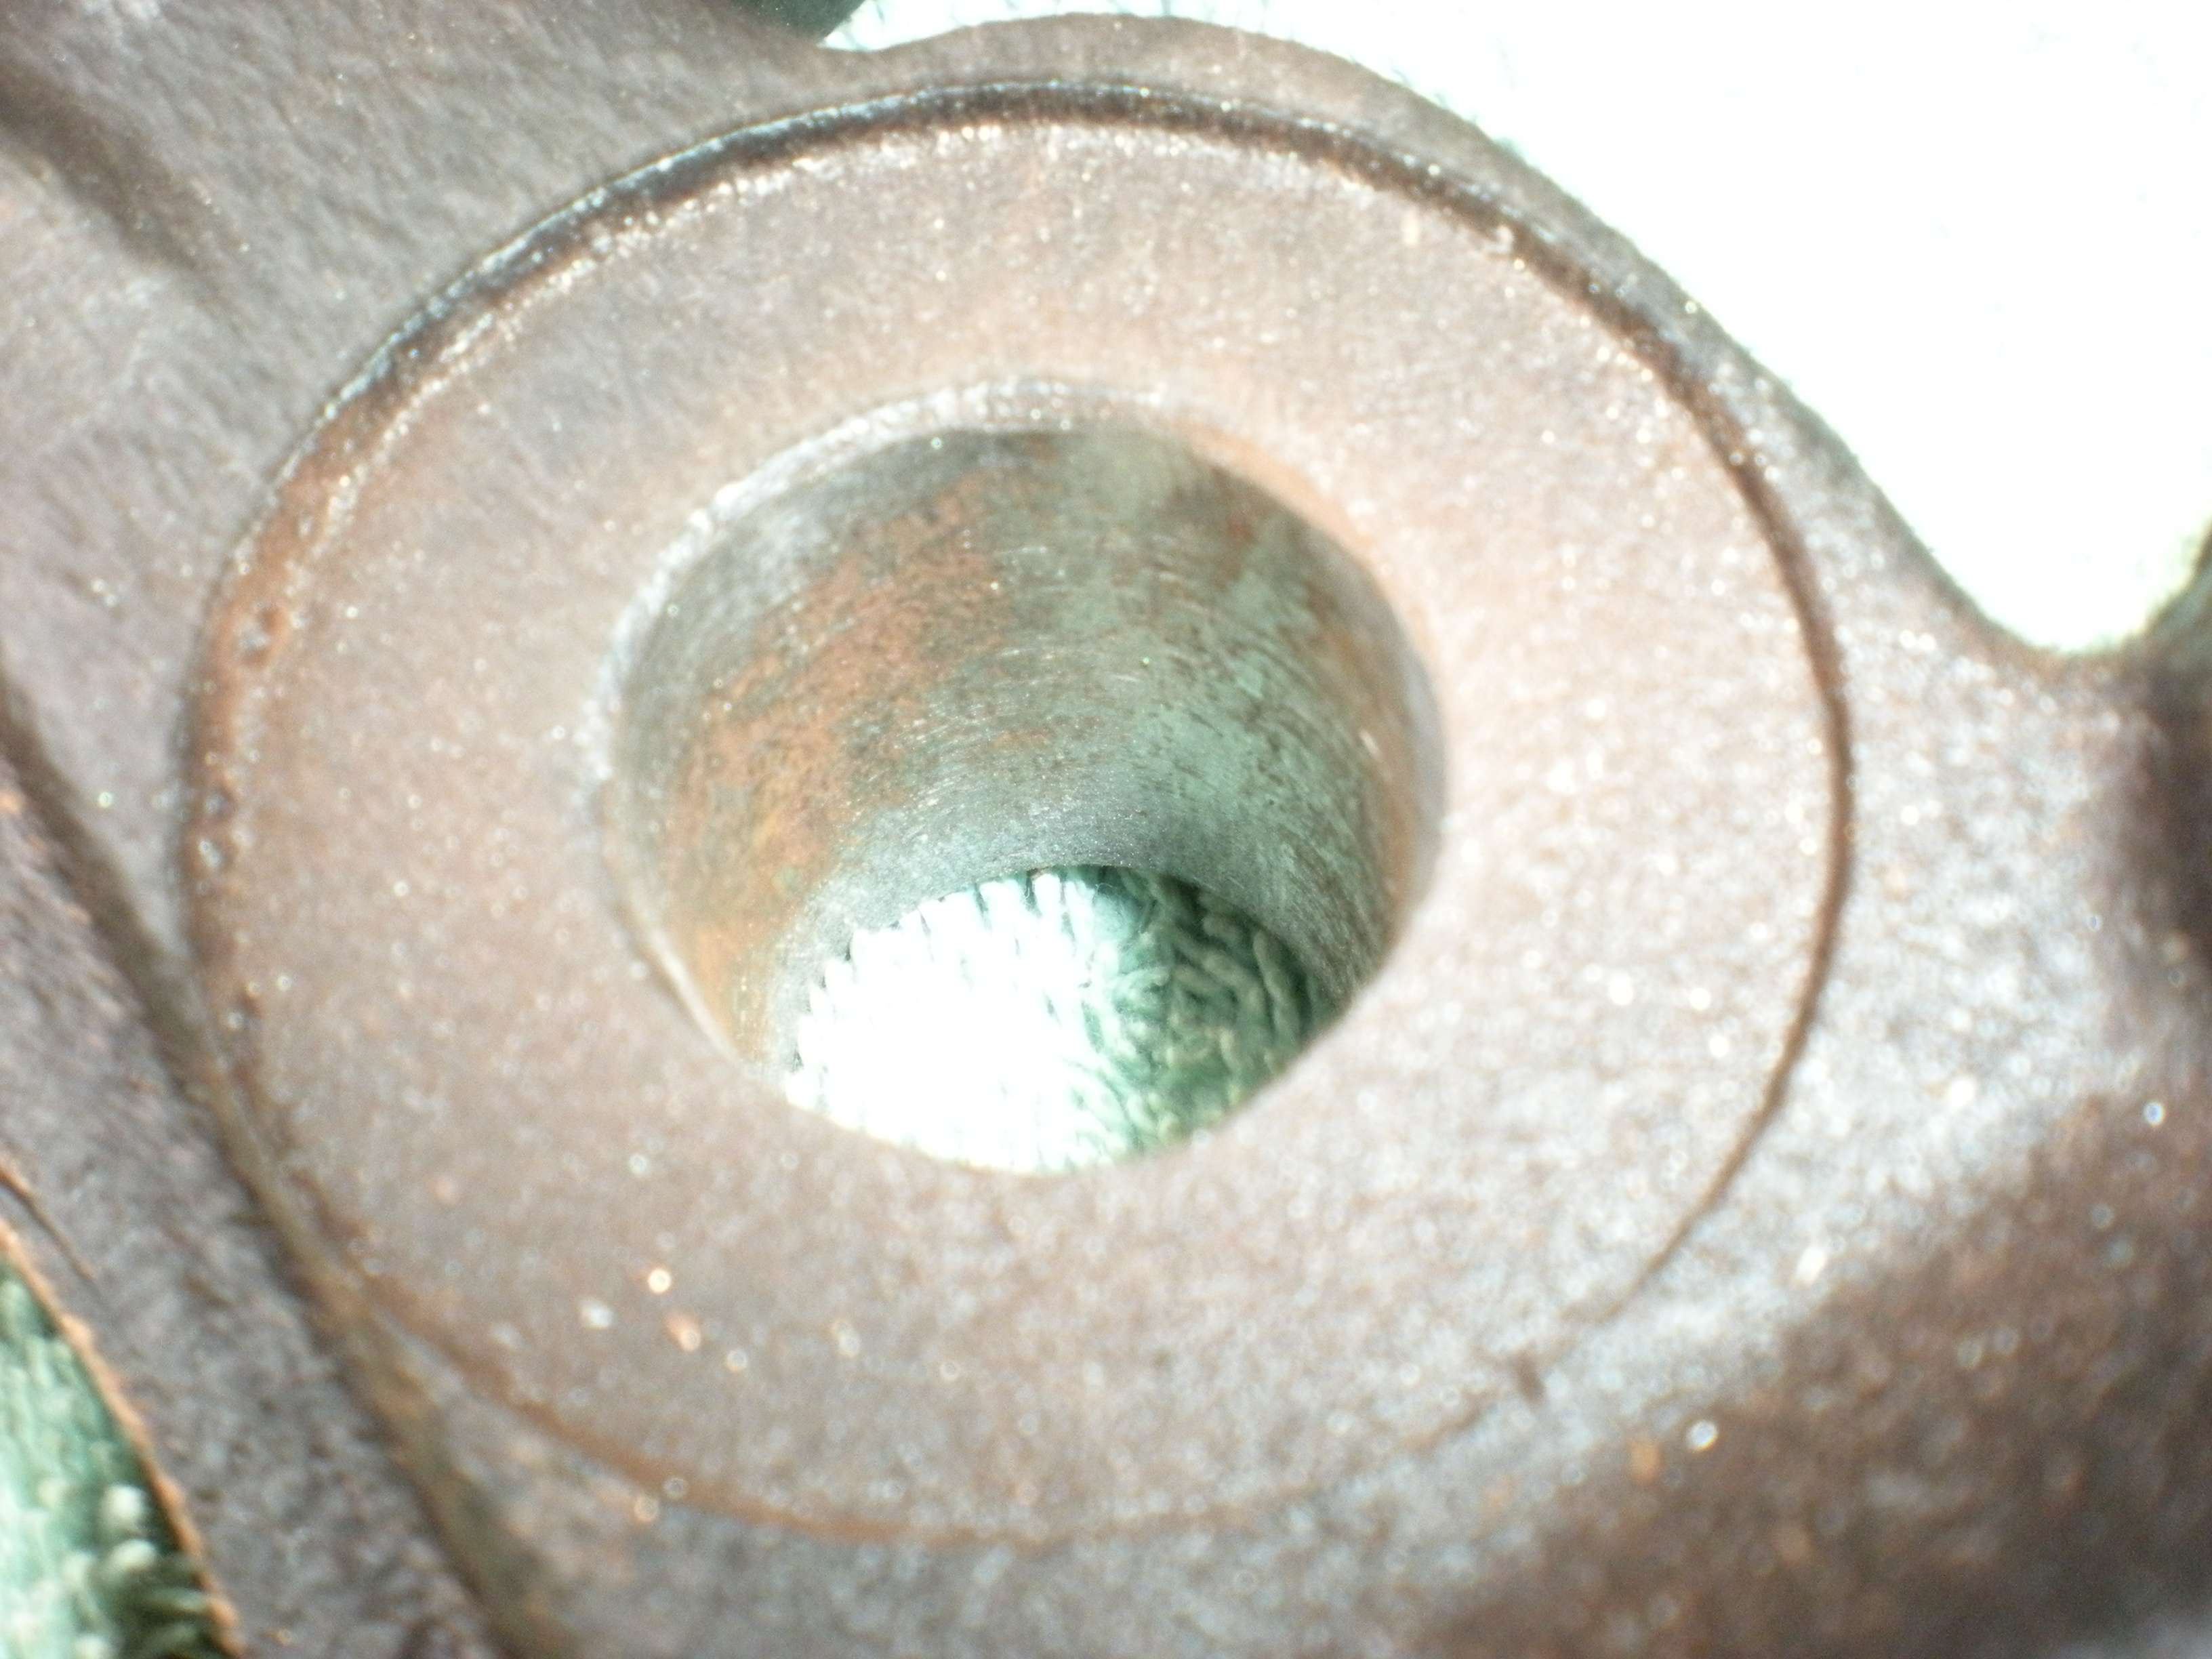
Of course, anti-seize was then applied....

The backing plate was then placed on the spindle, the drum assembly was secured to the plate by the springs, and the spindle was bolted through the back of the spindle.
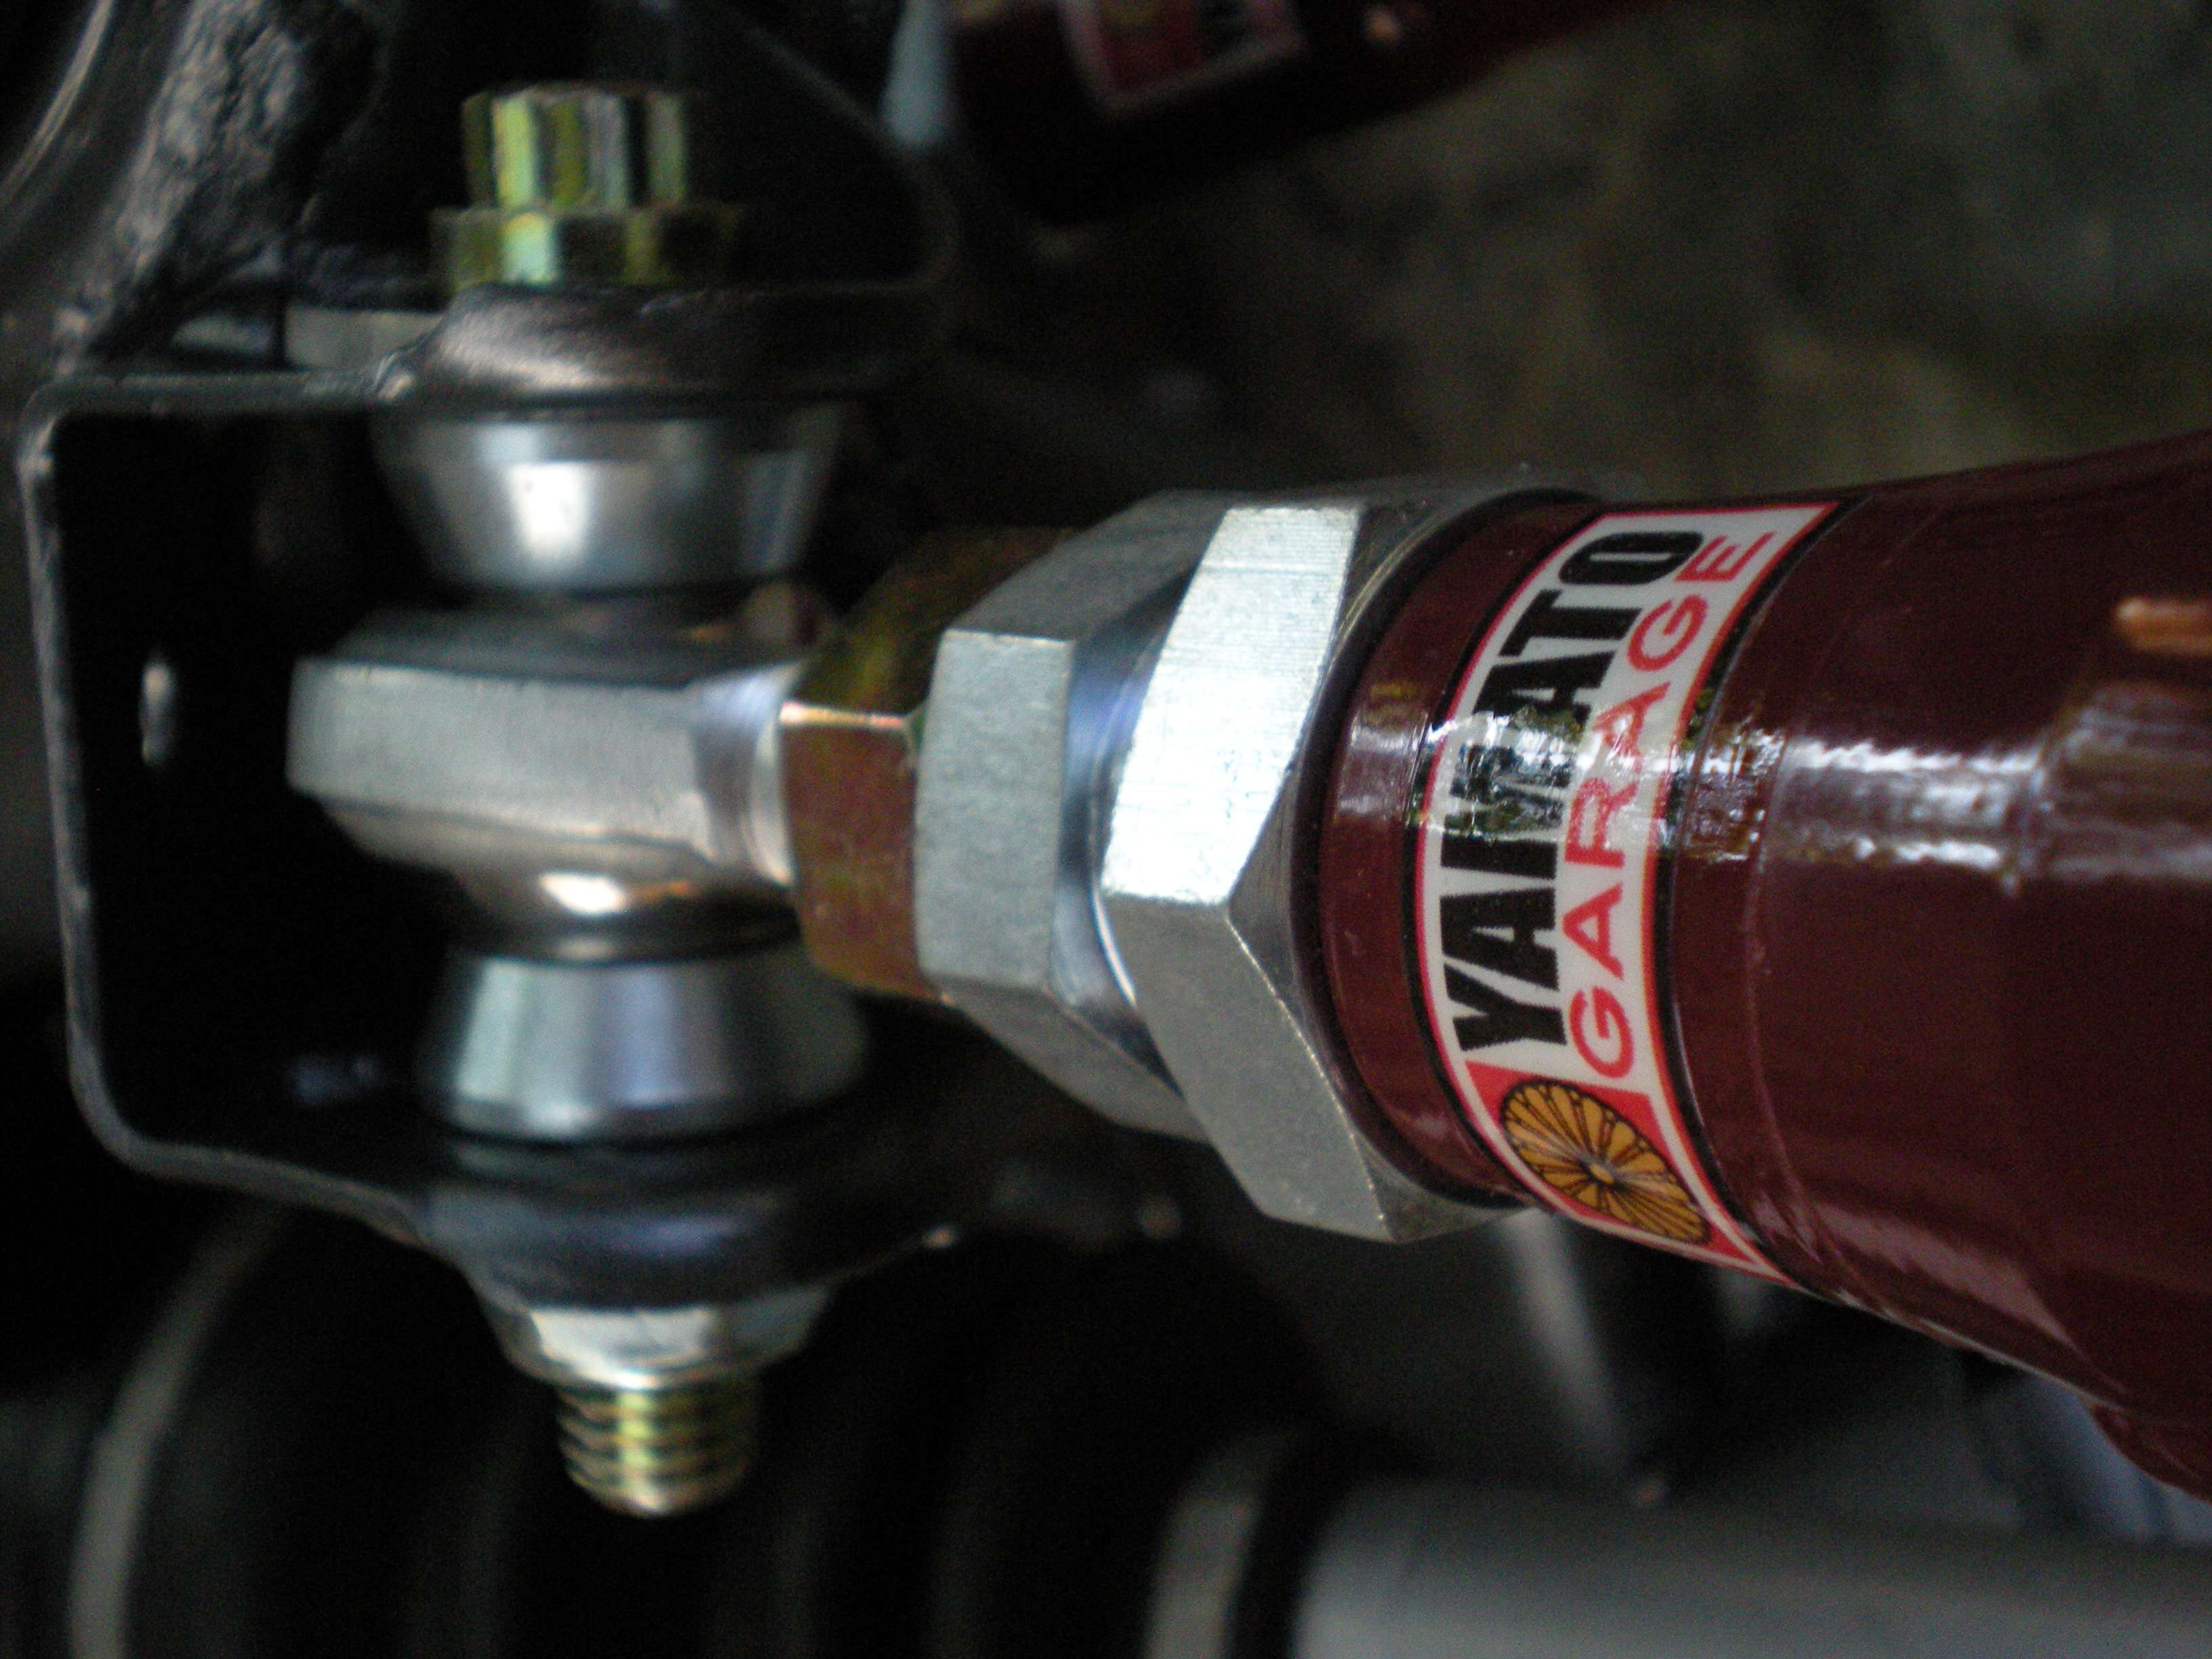
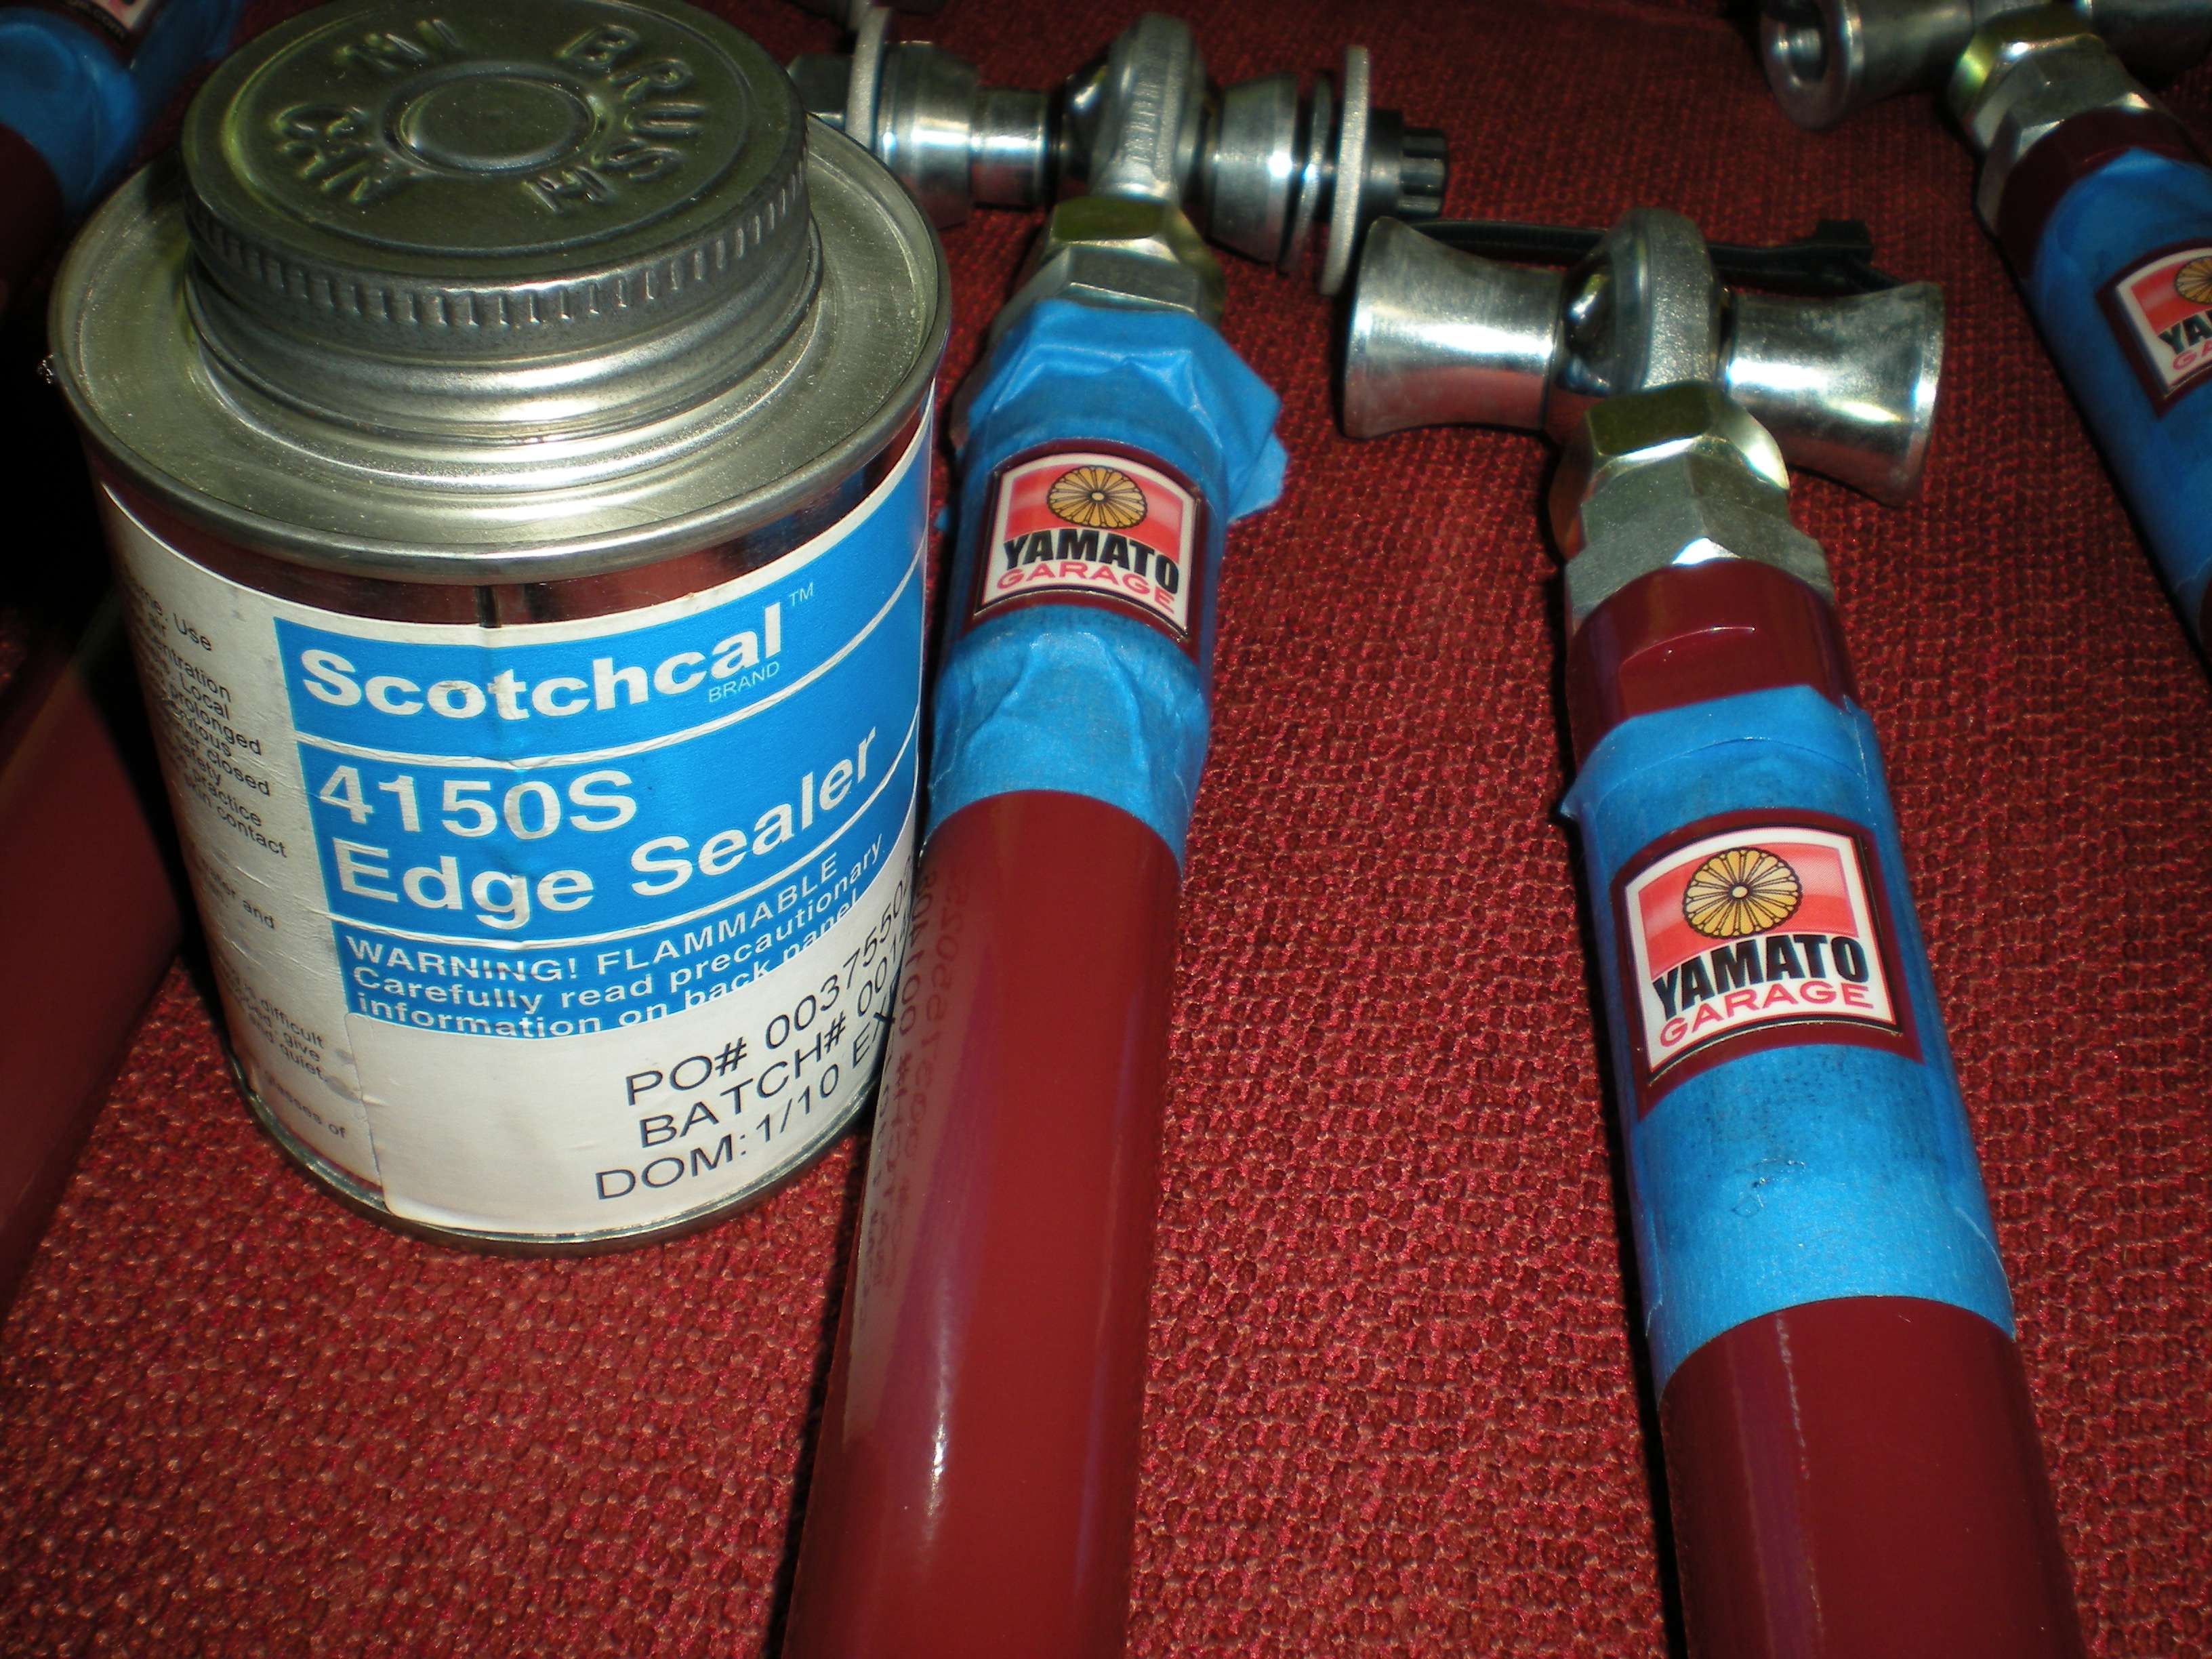
Prior to installing the suspension arms, I applied and aircraft decal edge sealer. We use it at work to prevent decals from lifting off the airplanes at 600 mph.

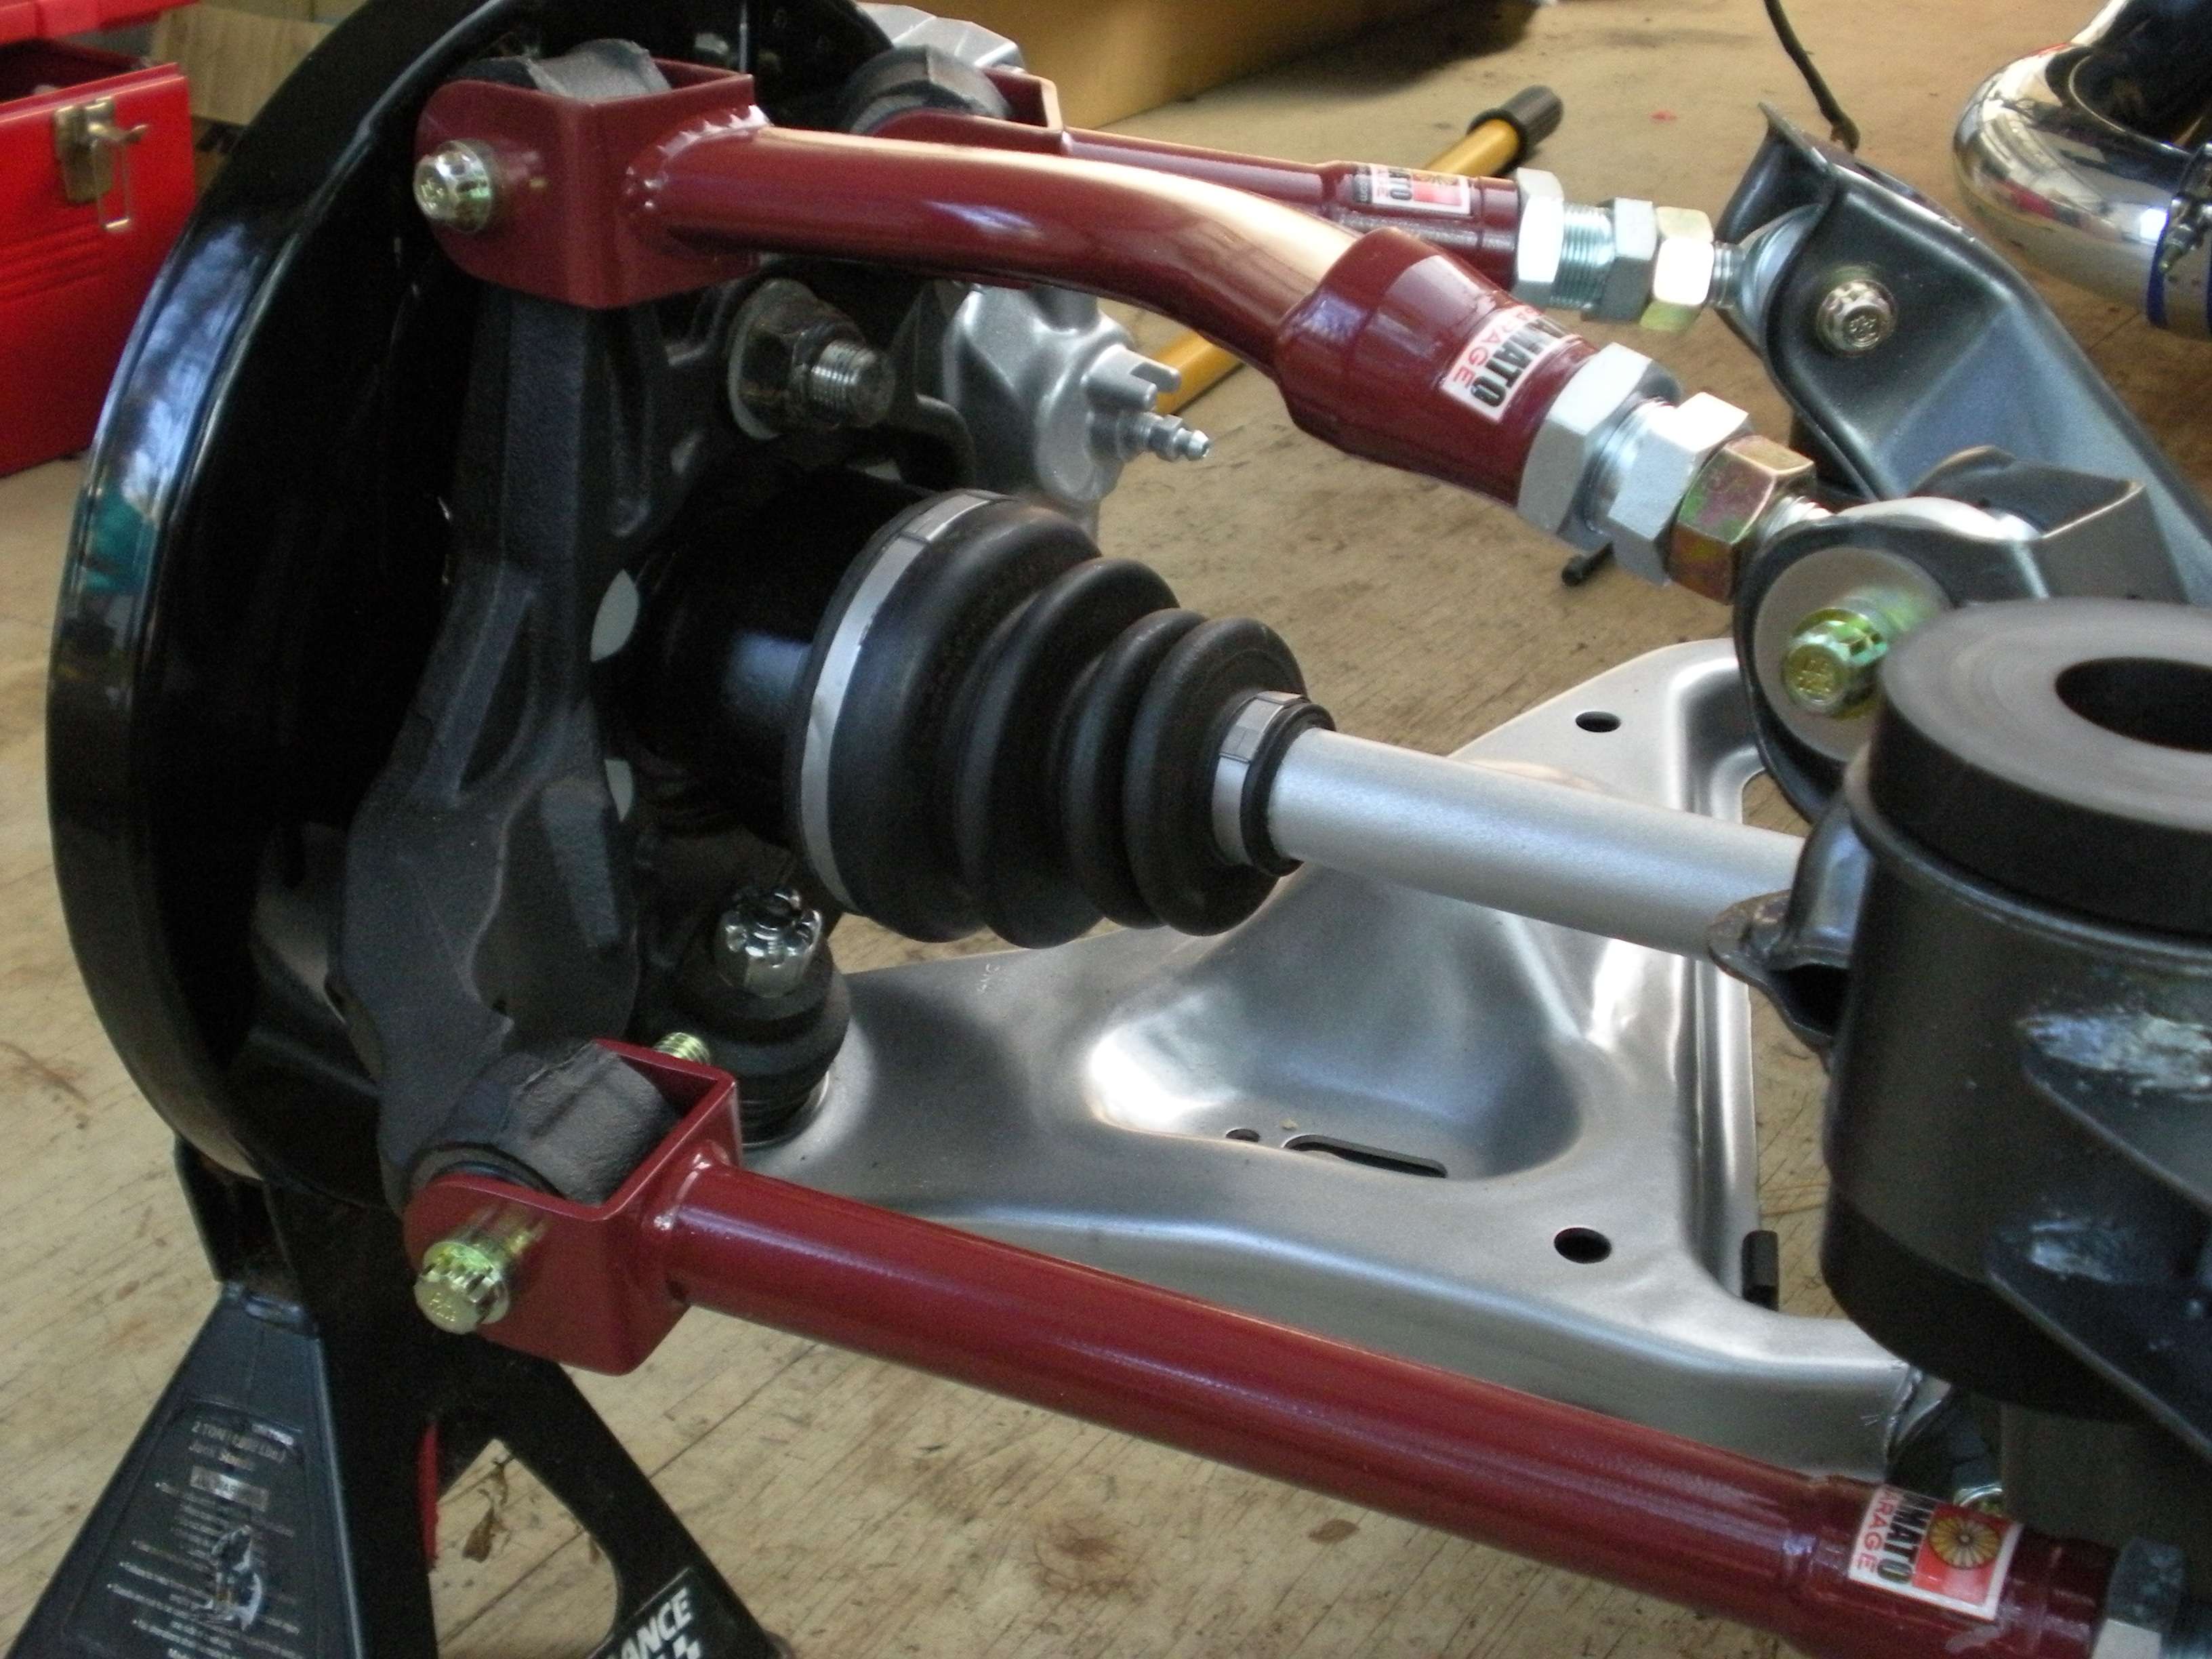
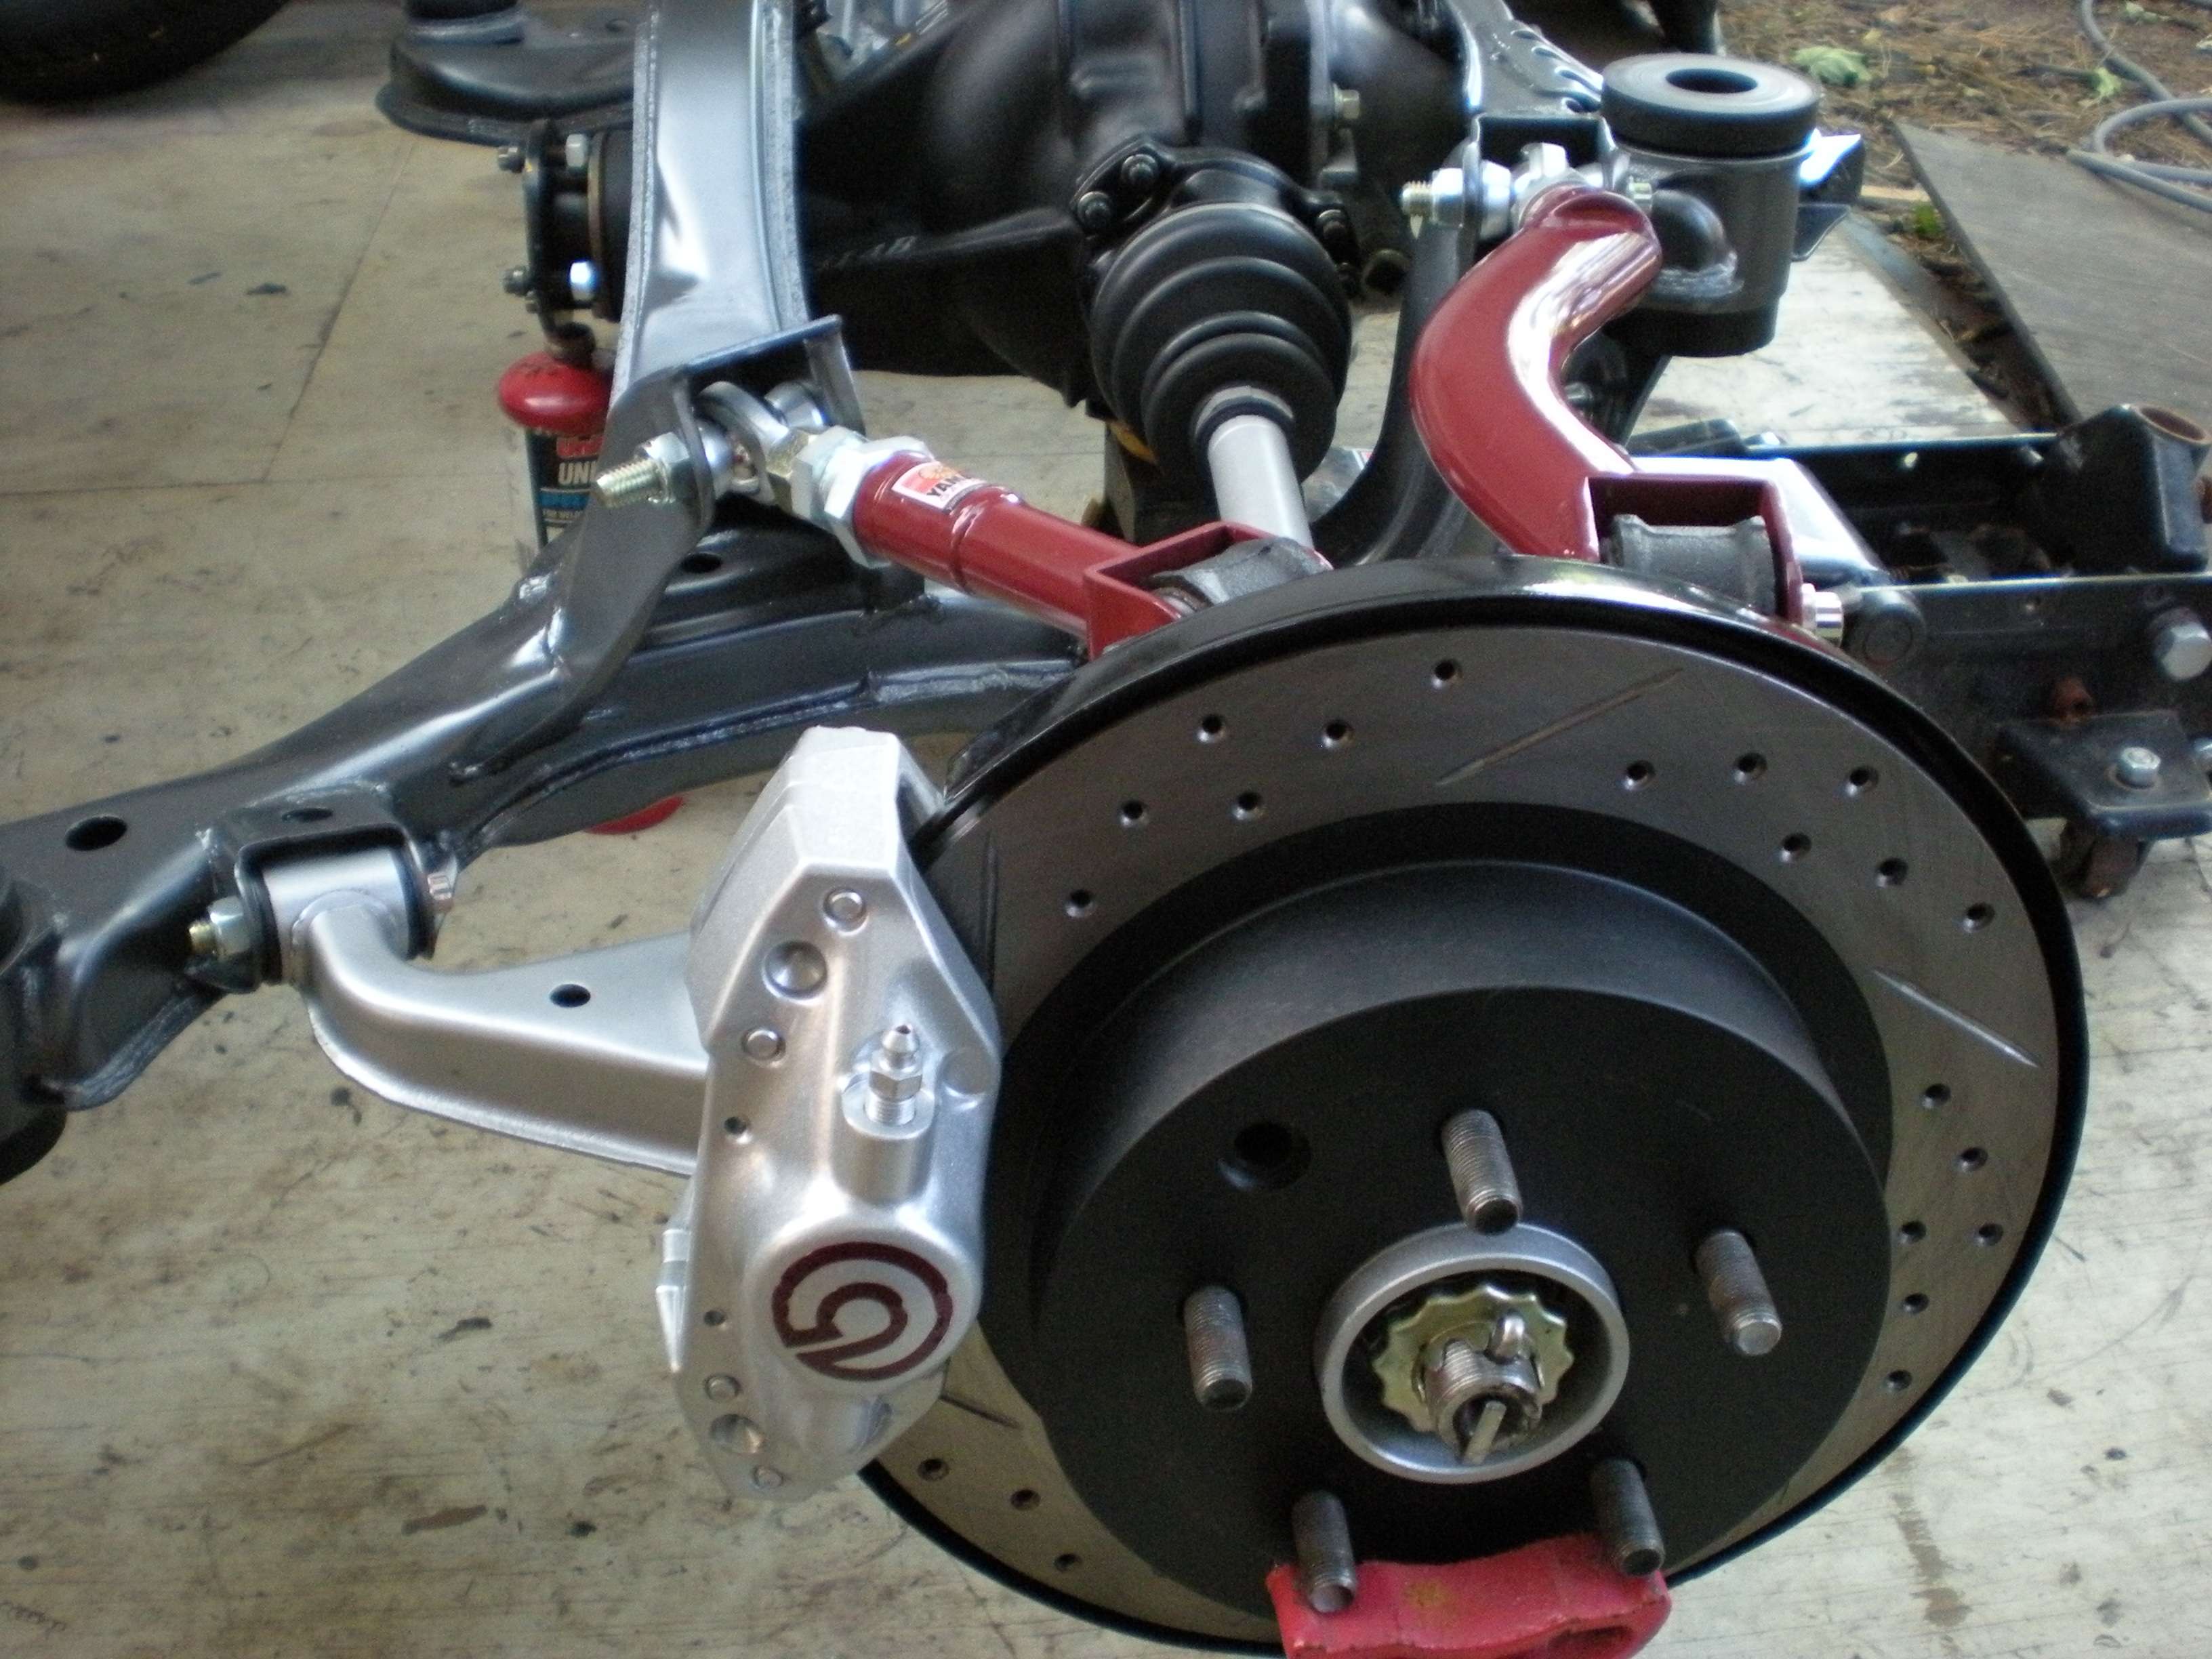
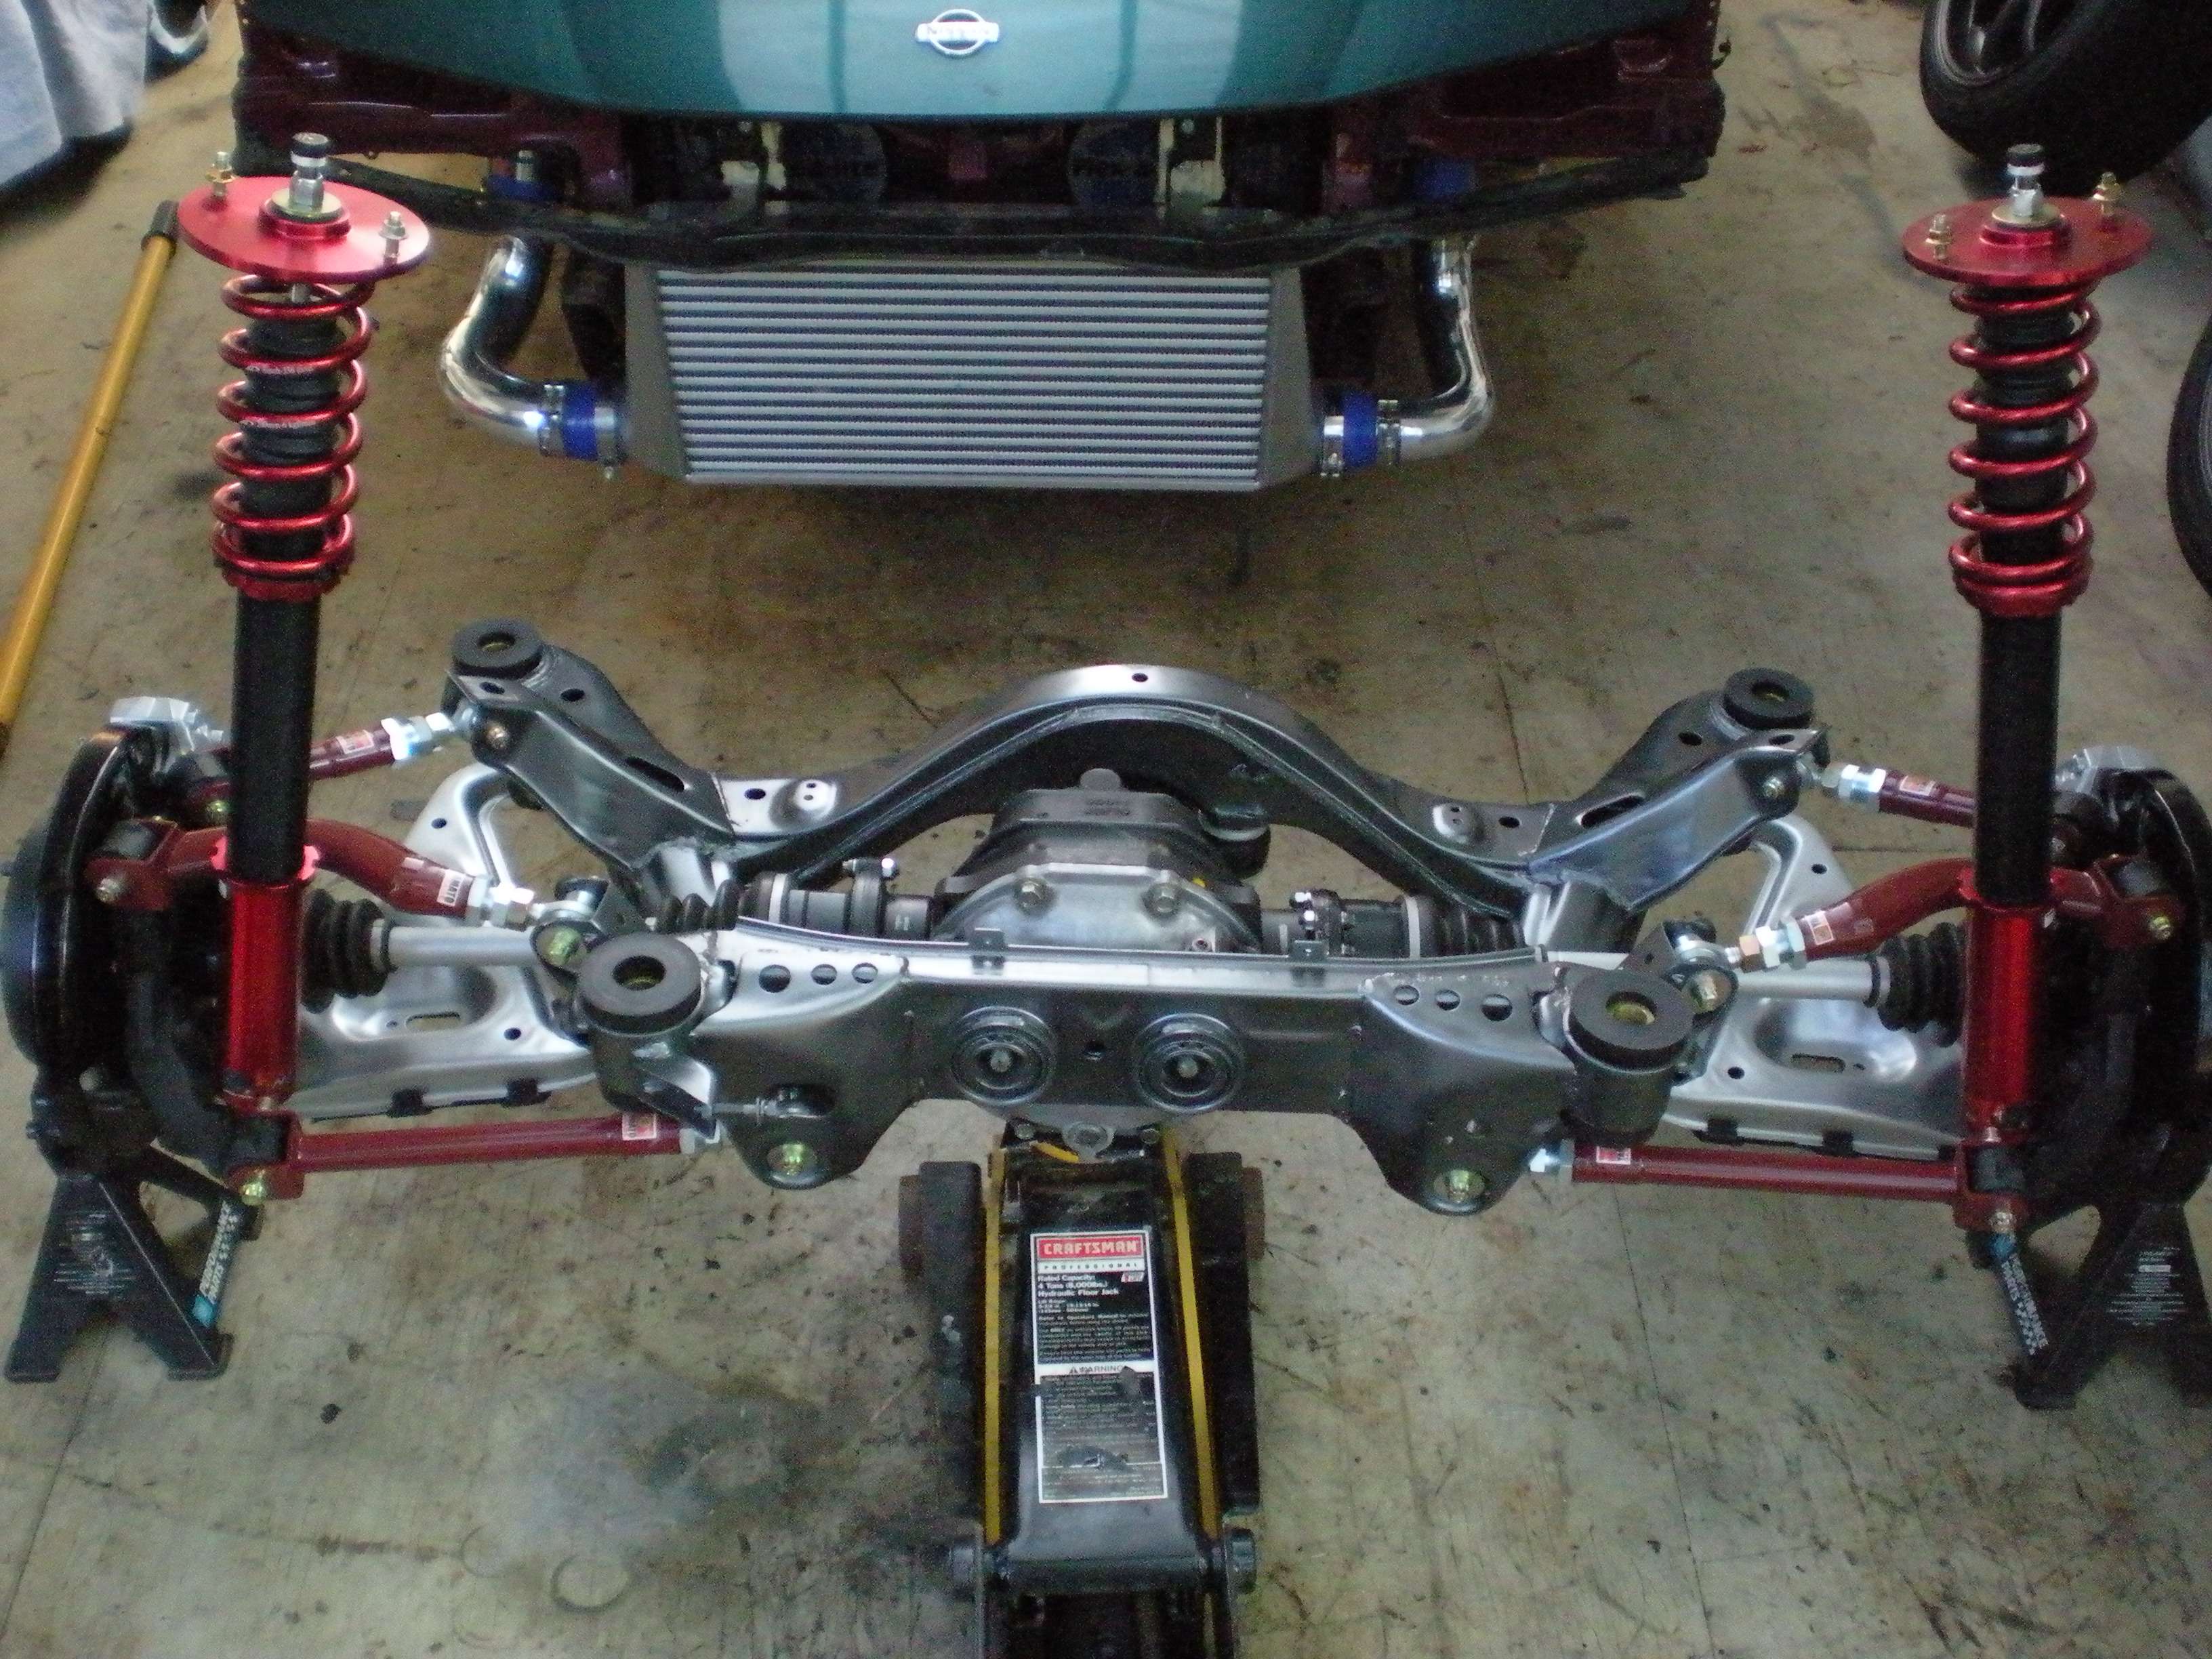
The suspension arms and the spindles were then installed to the subframe...
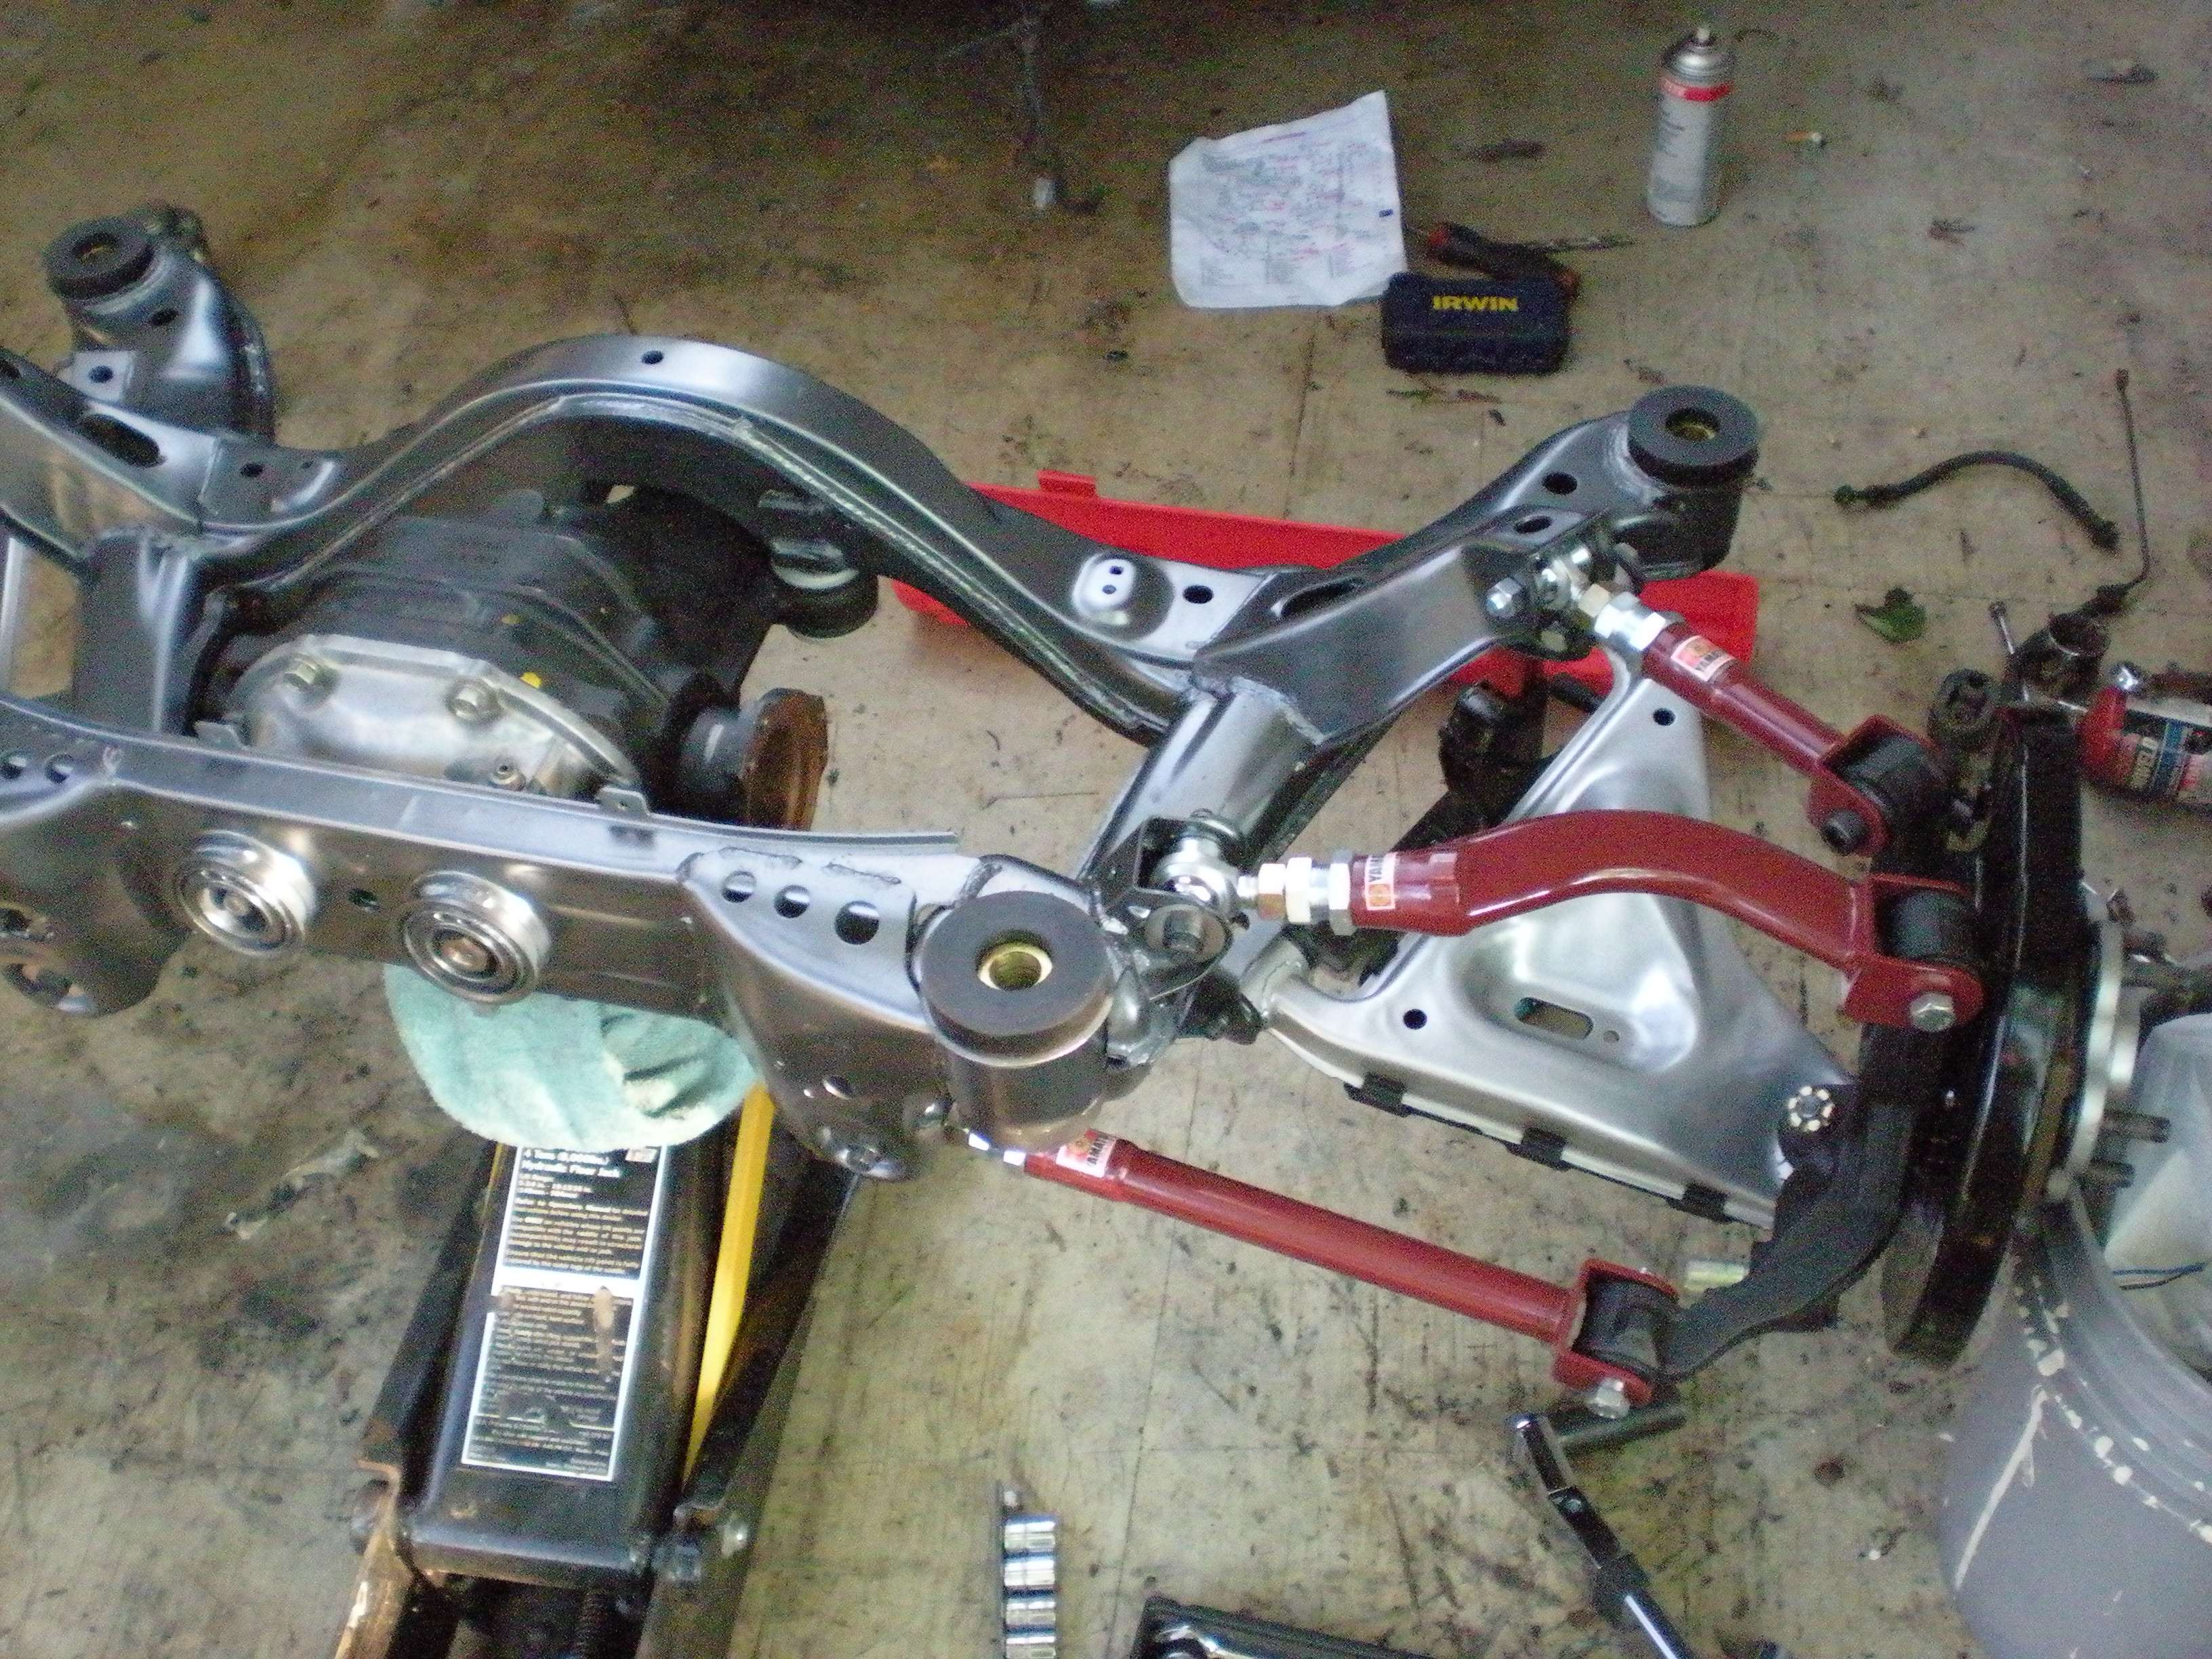
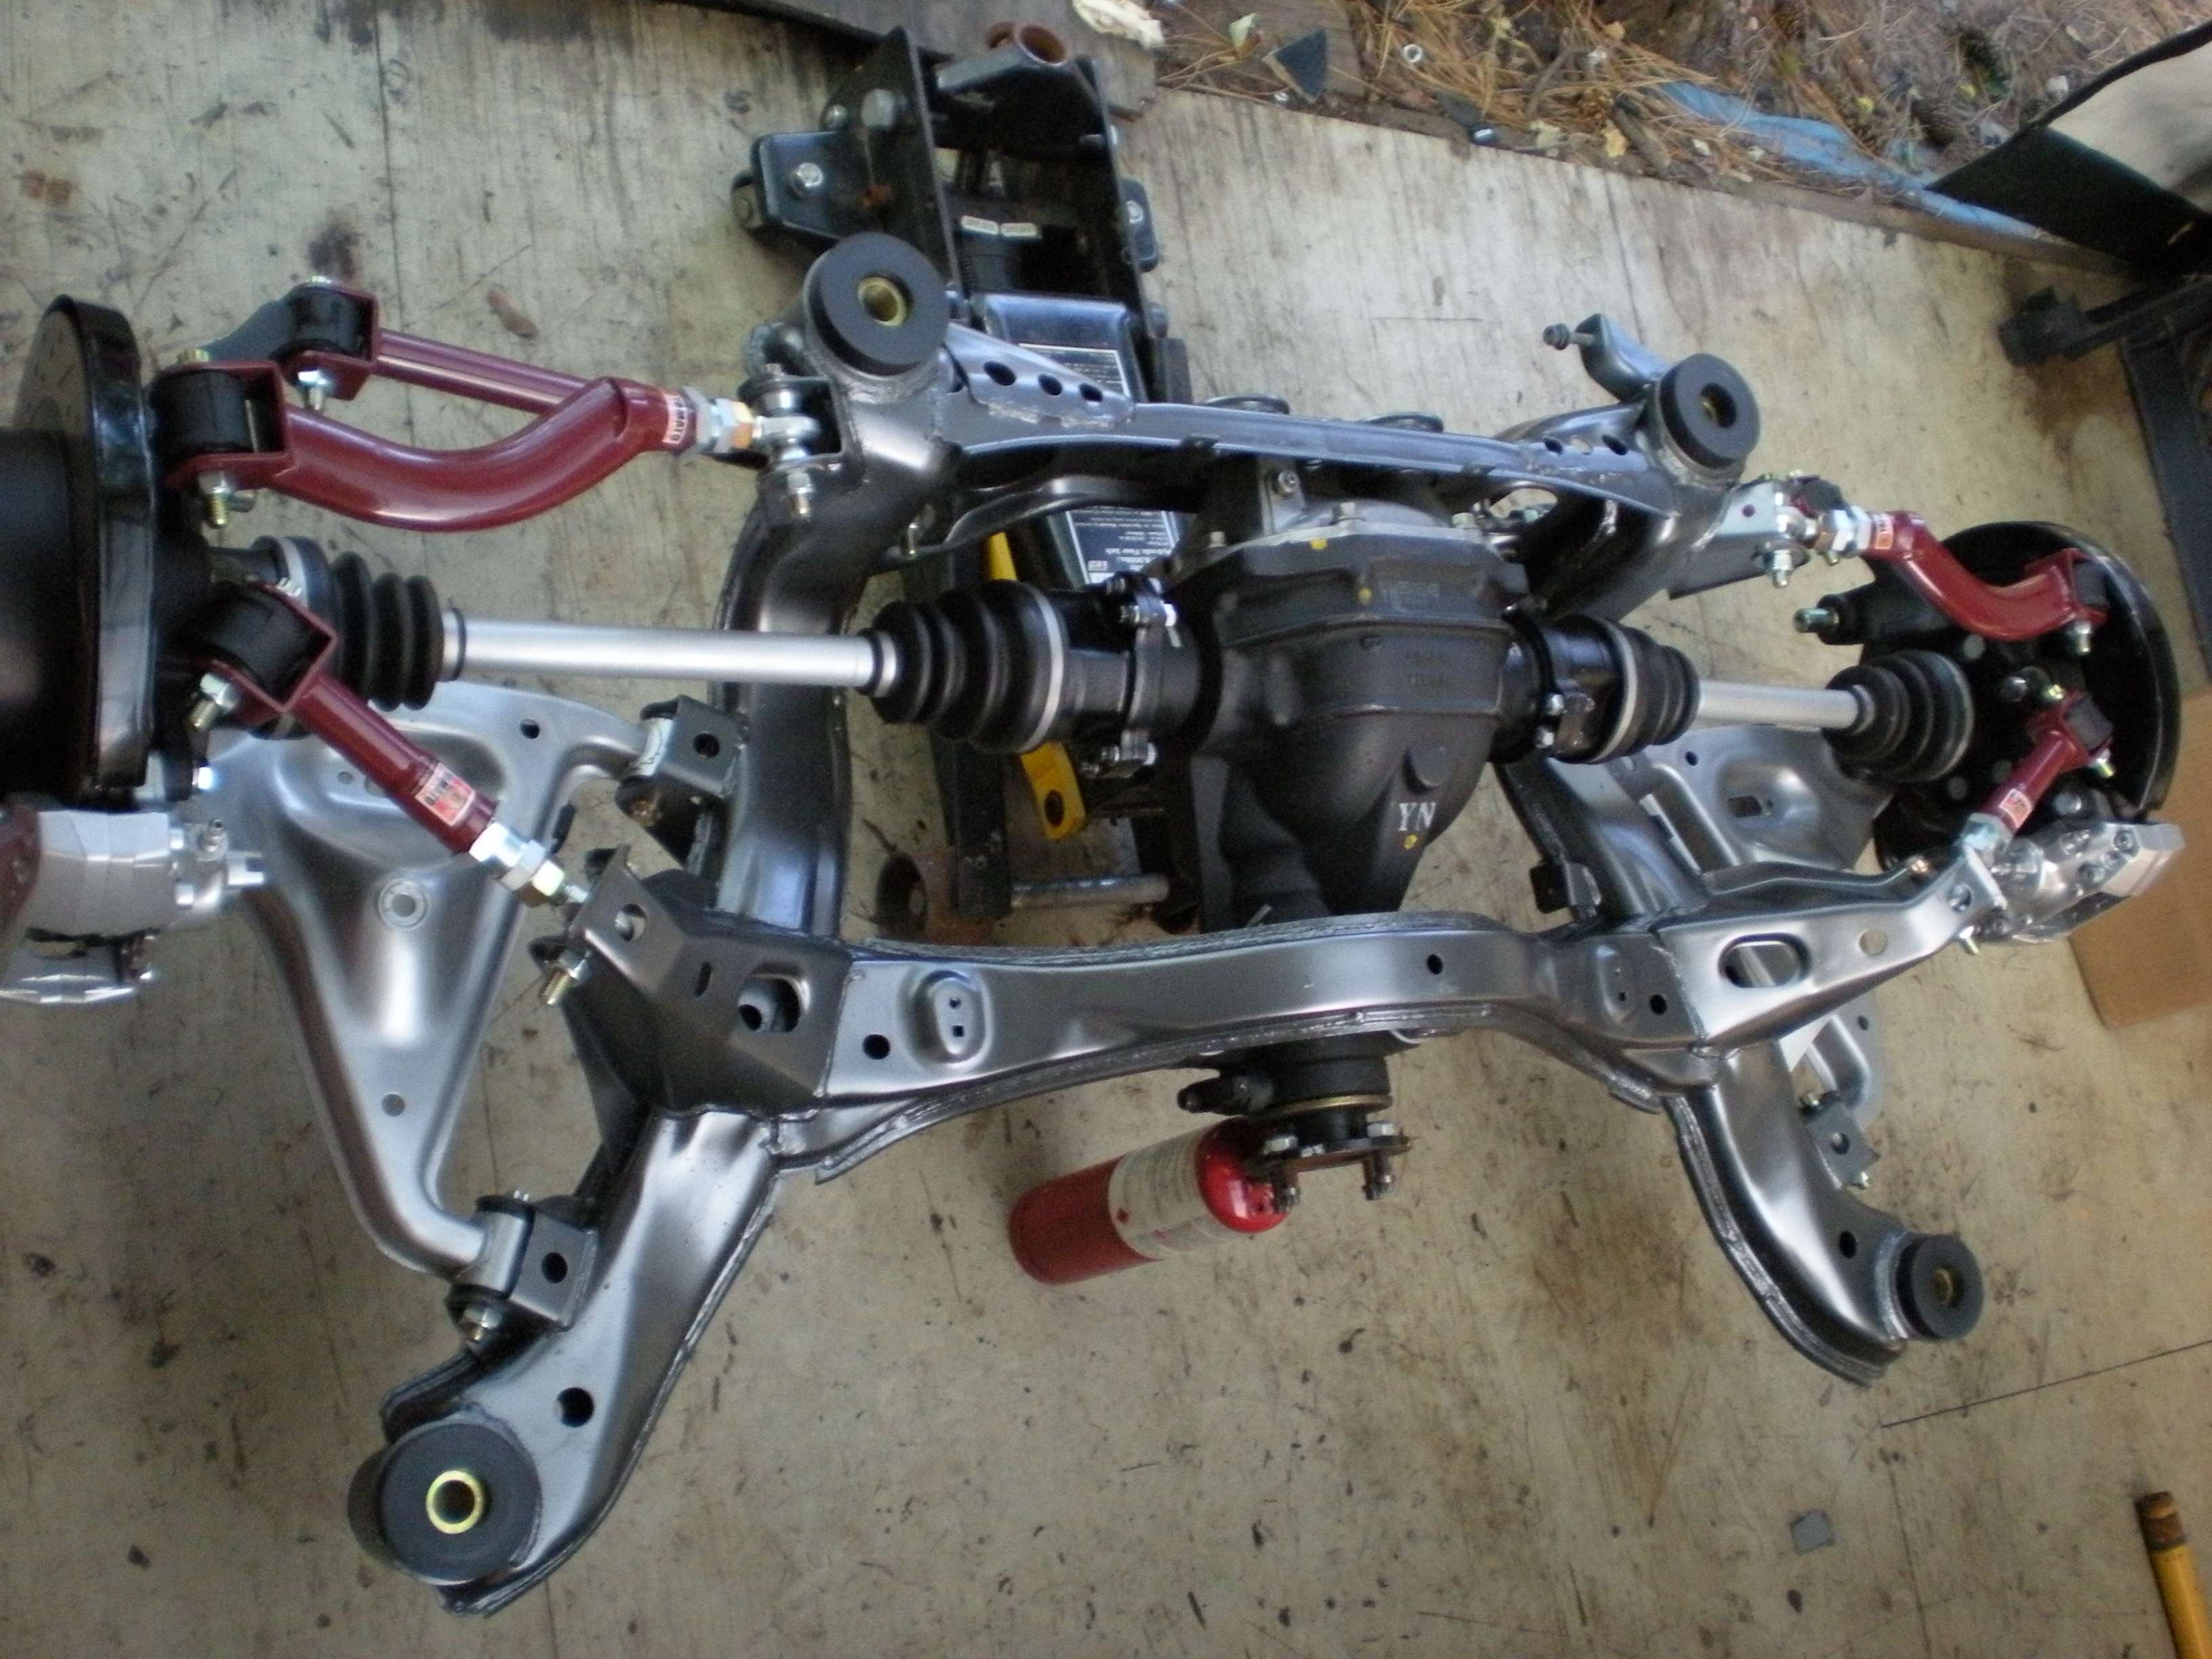
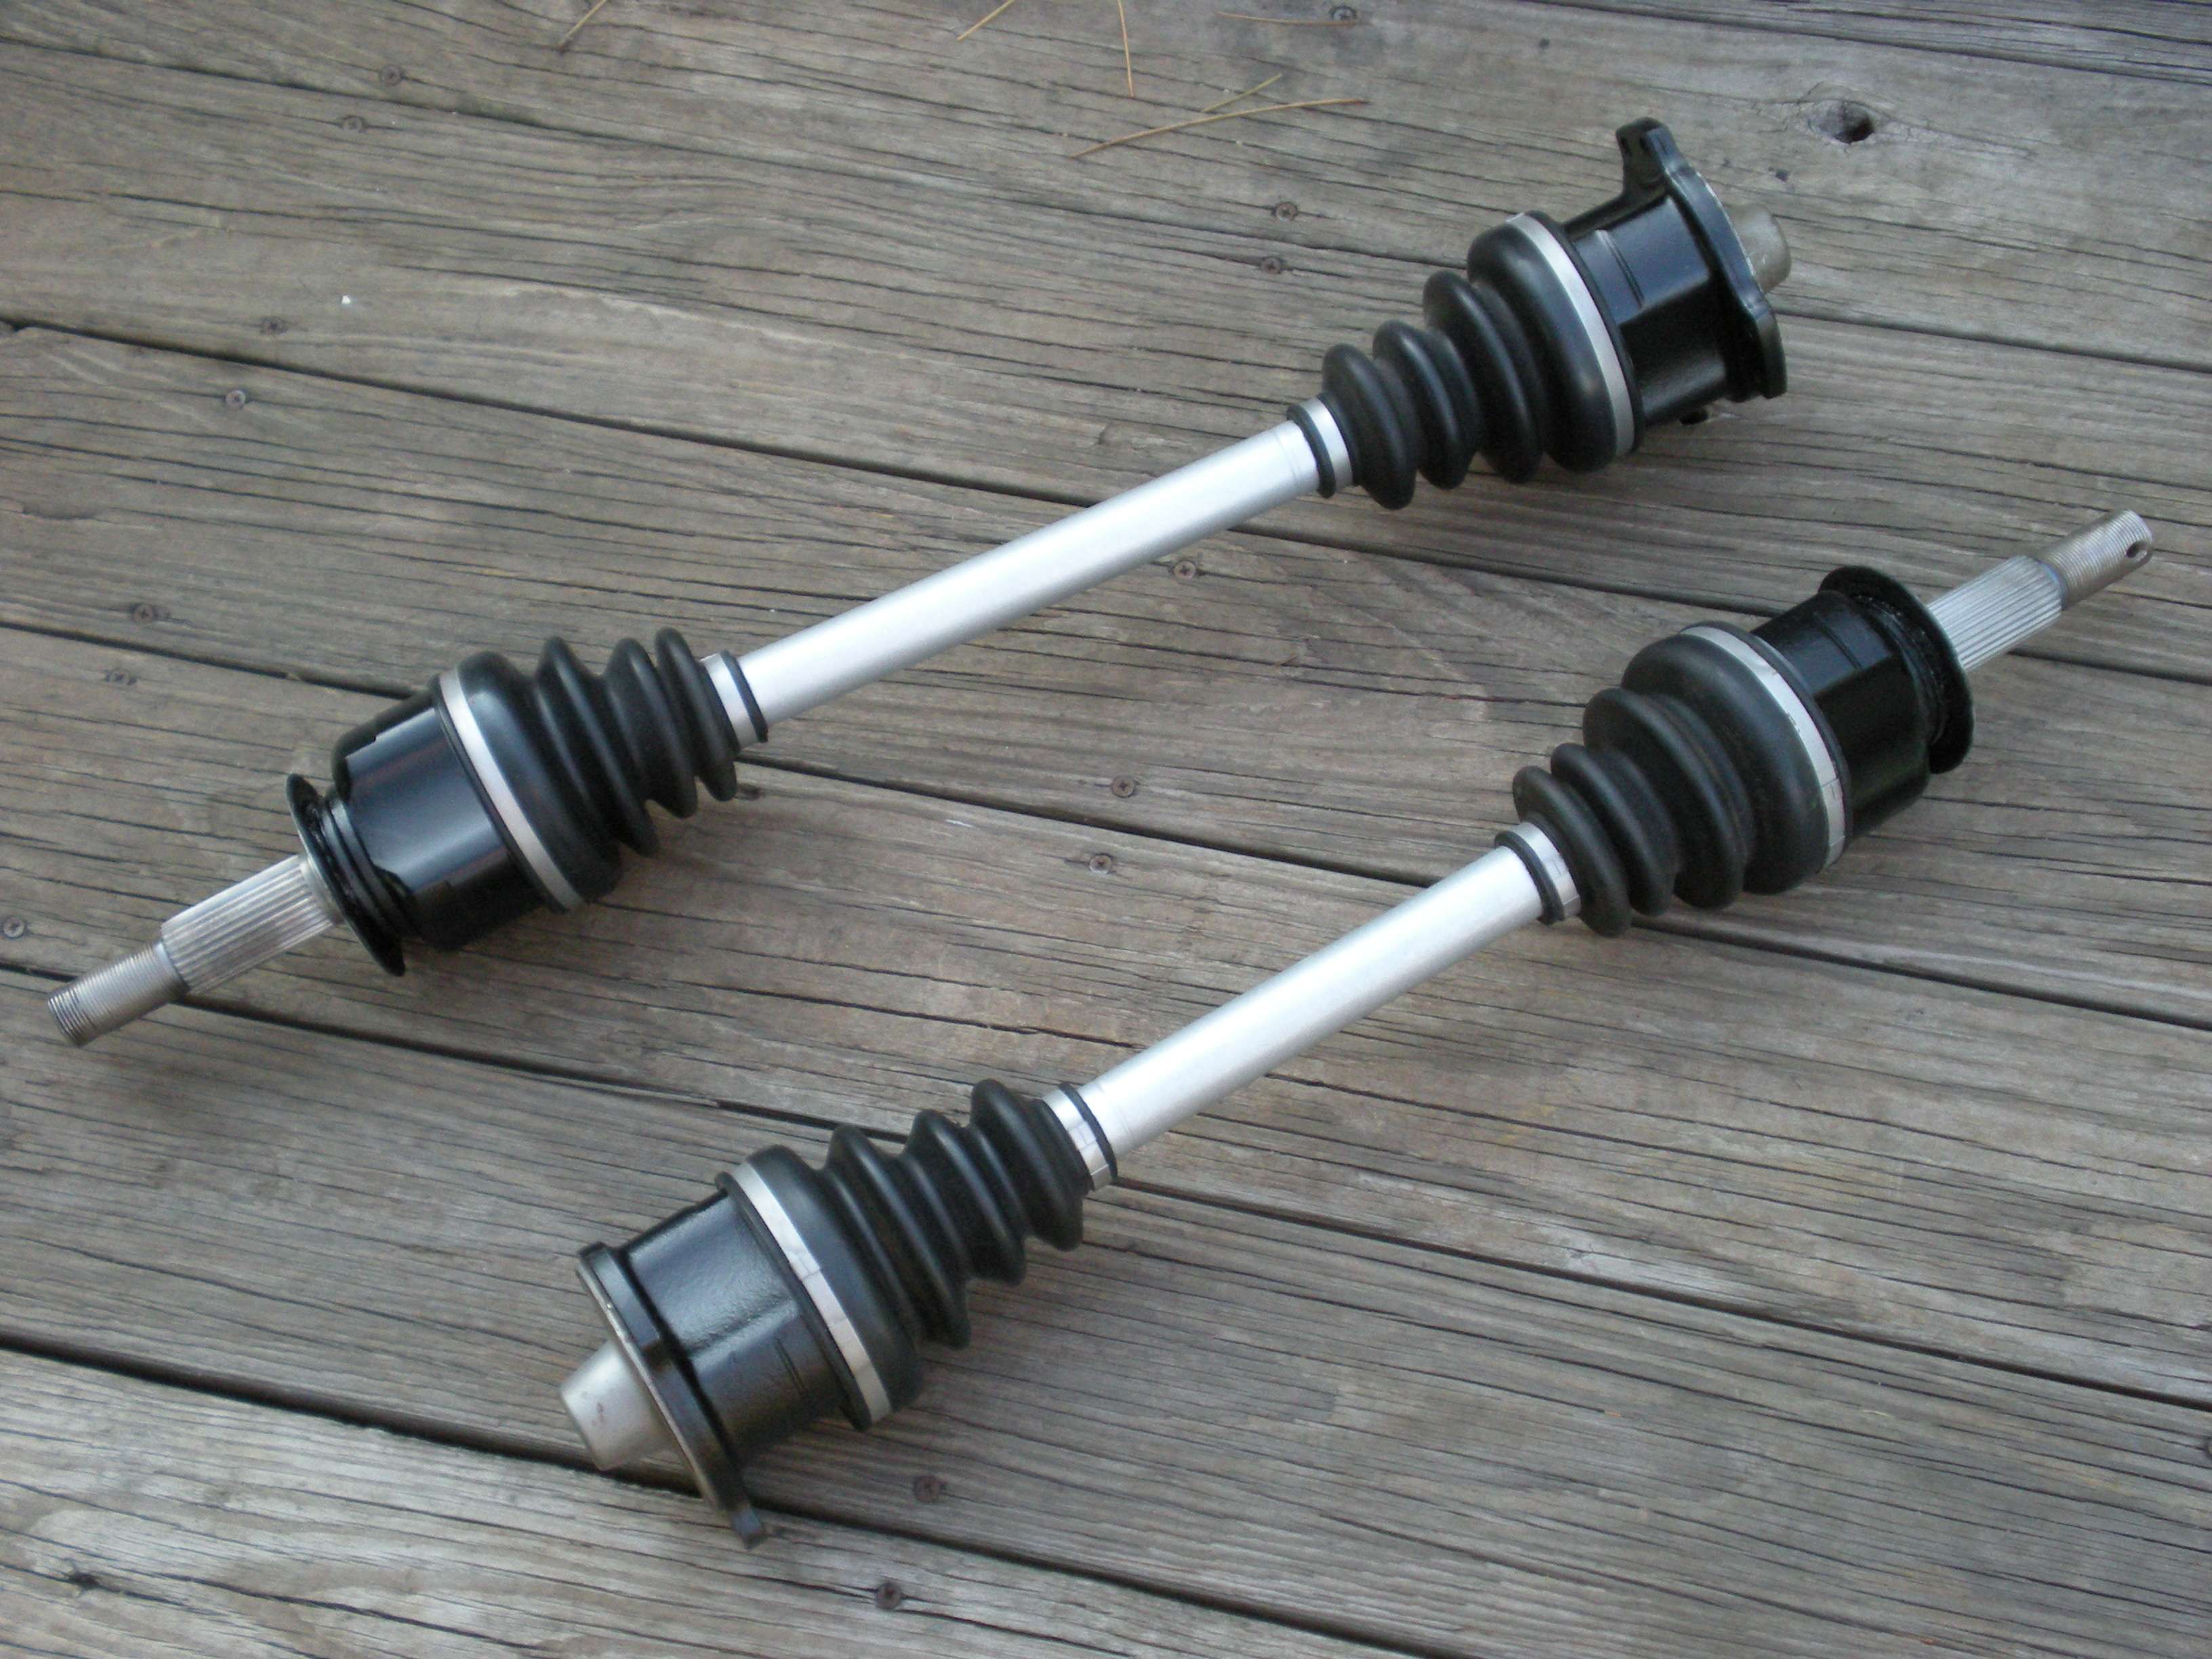
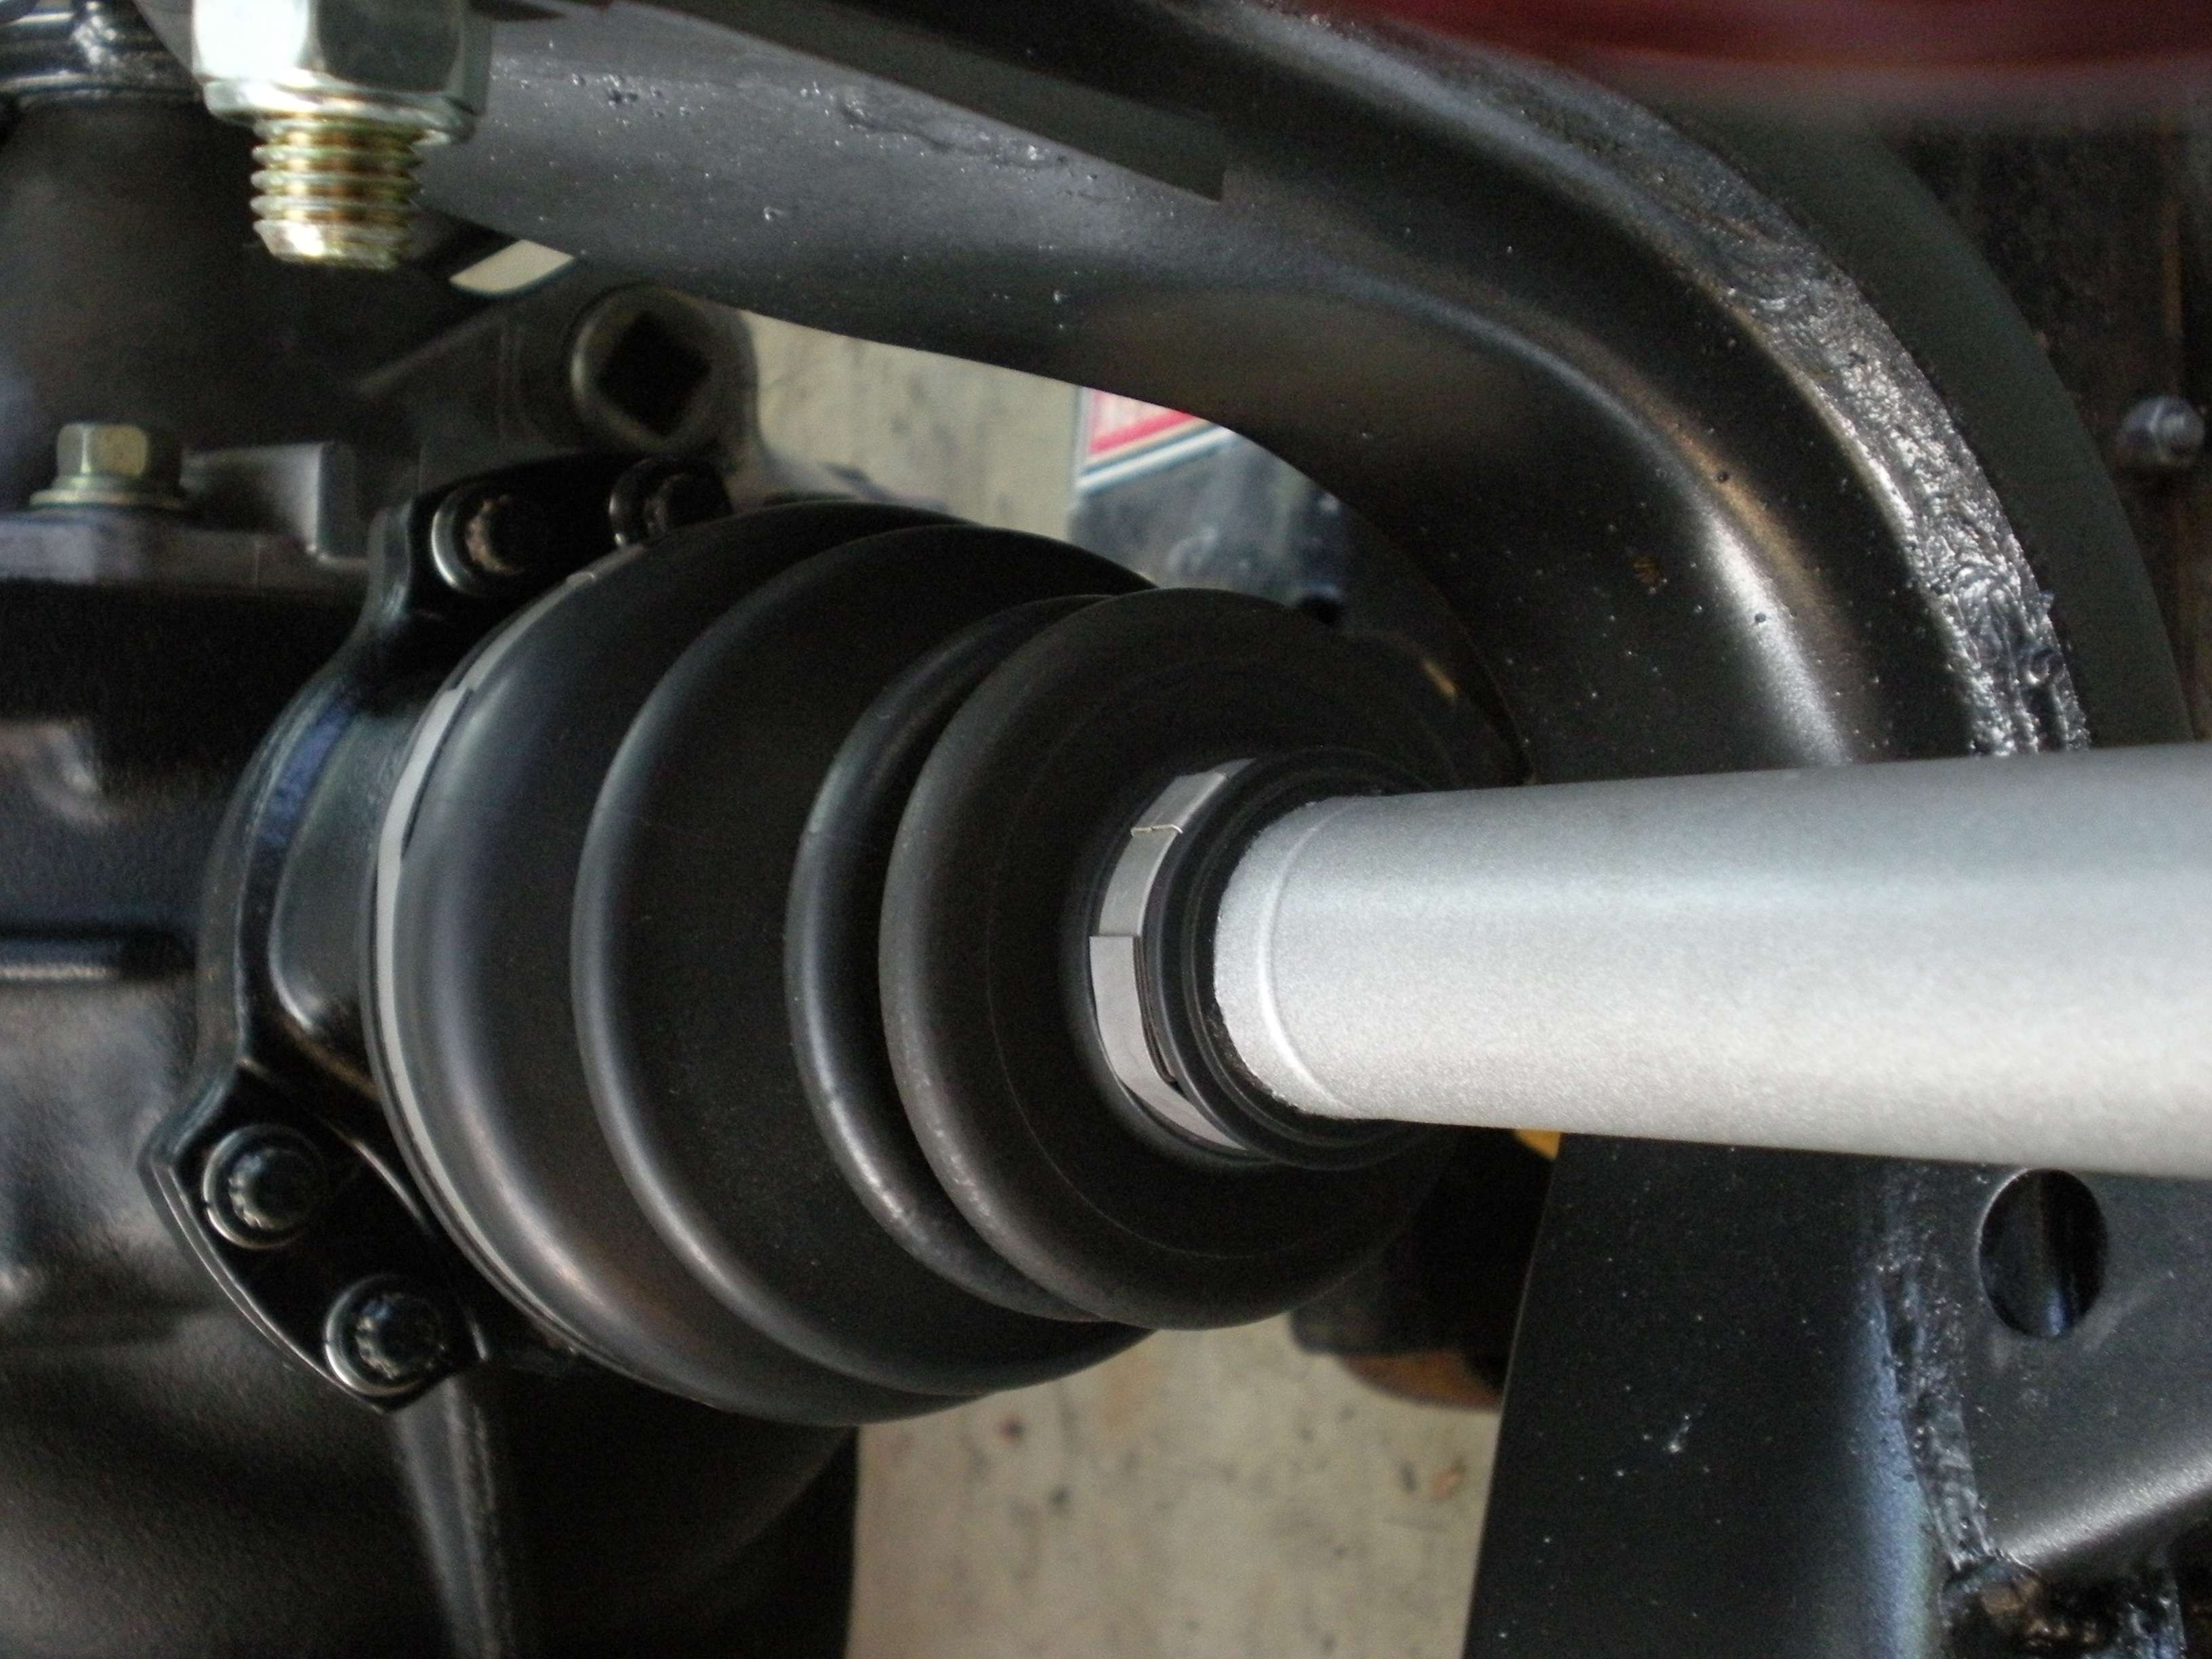
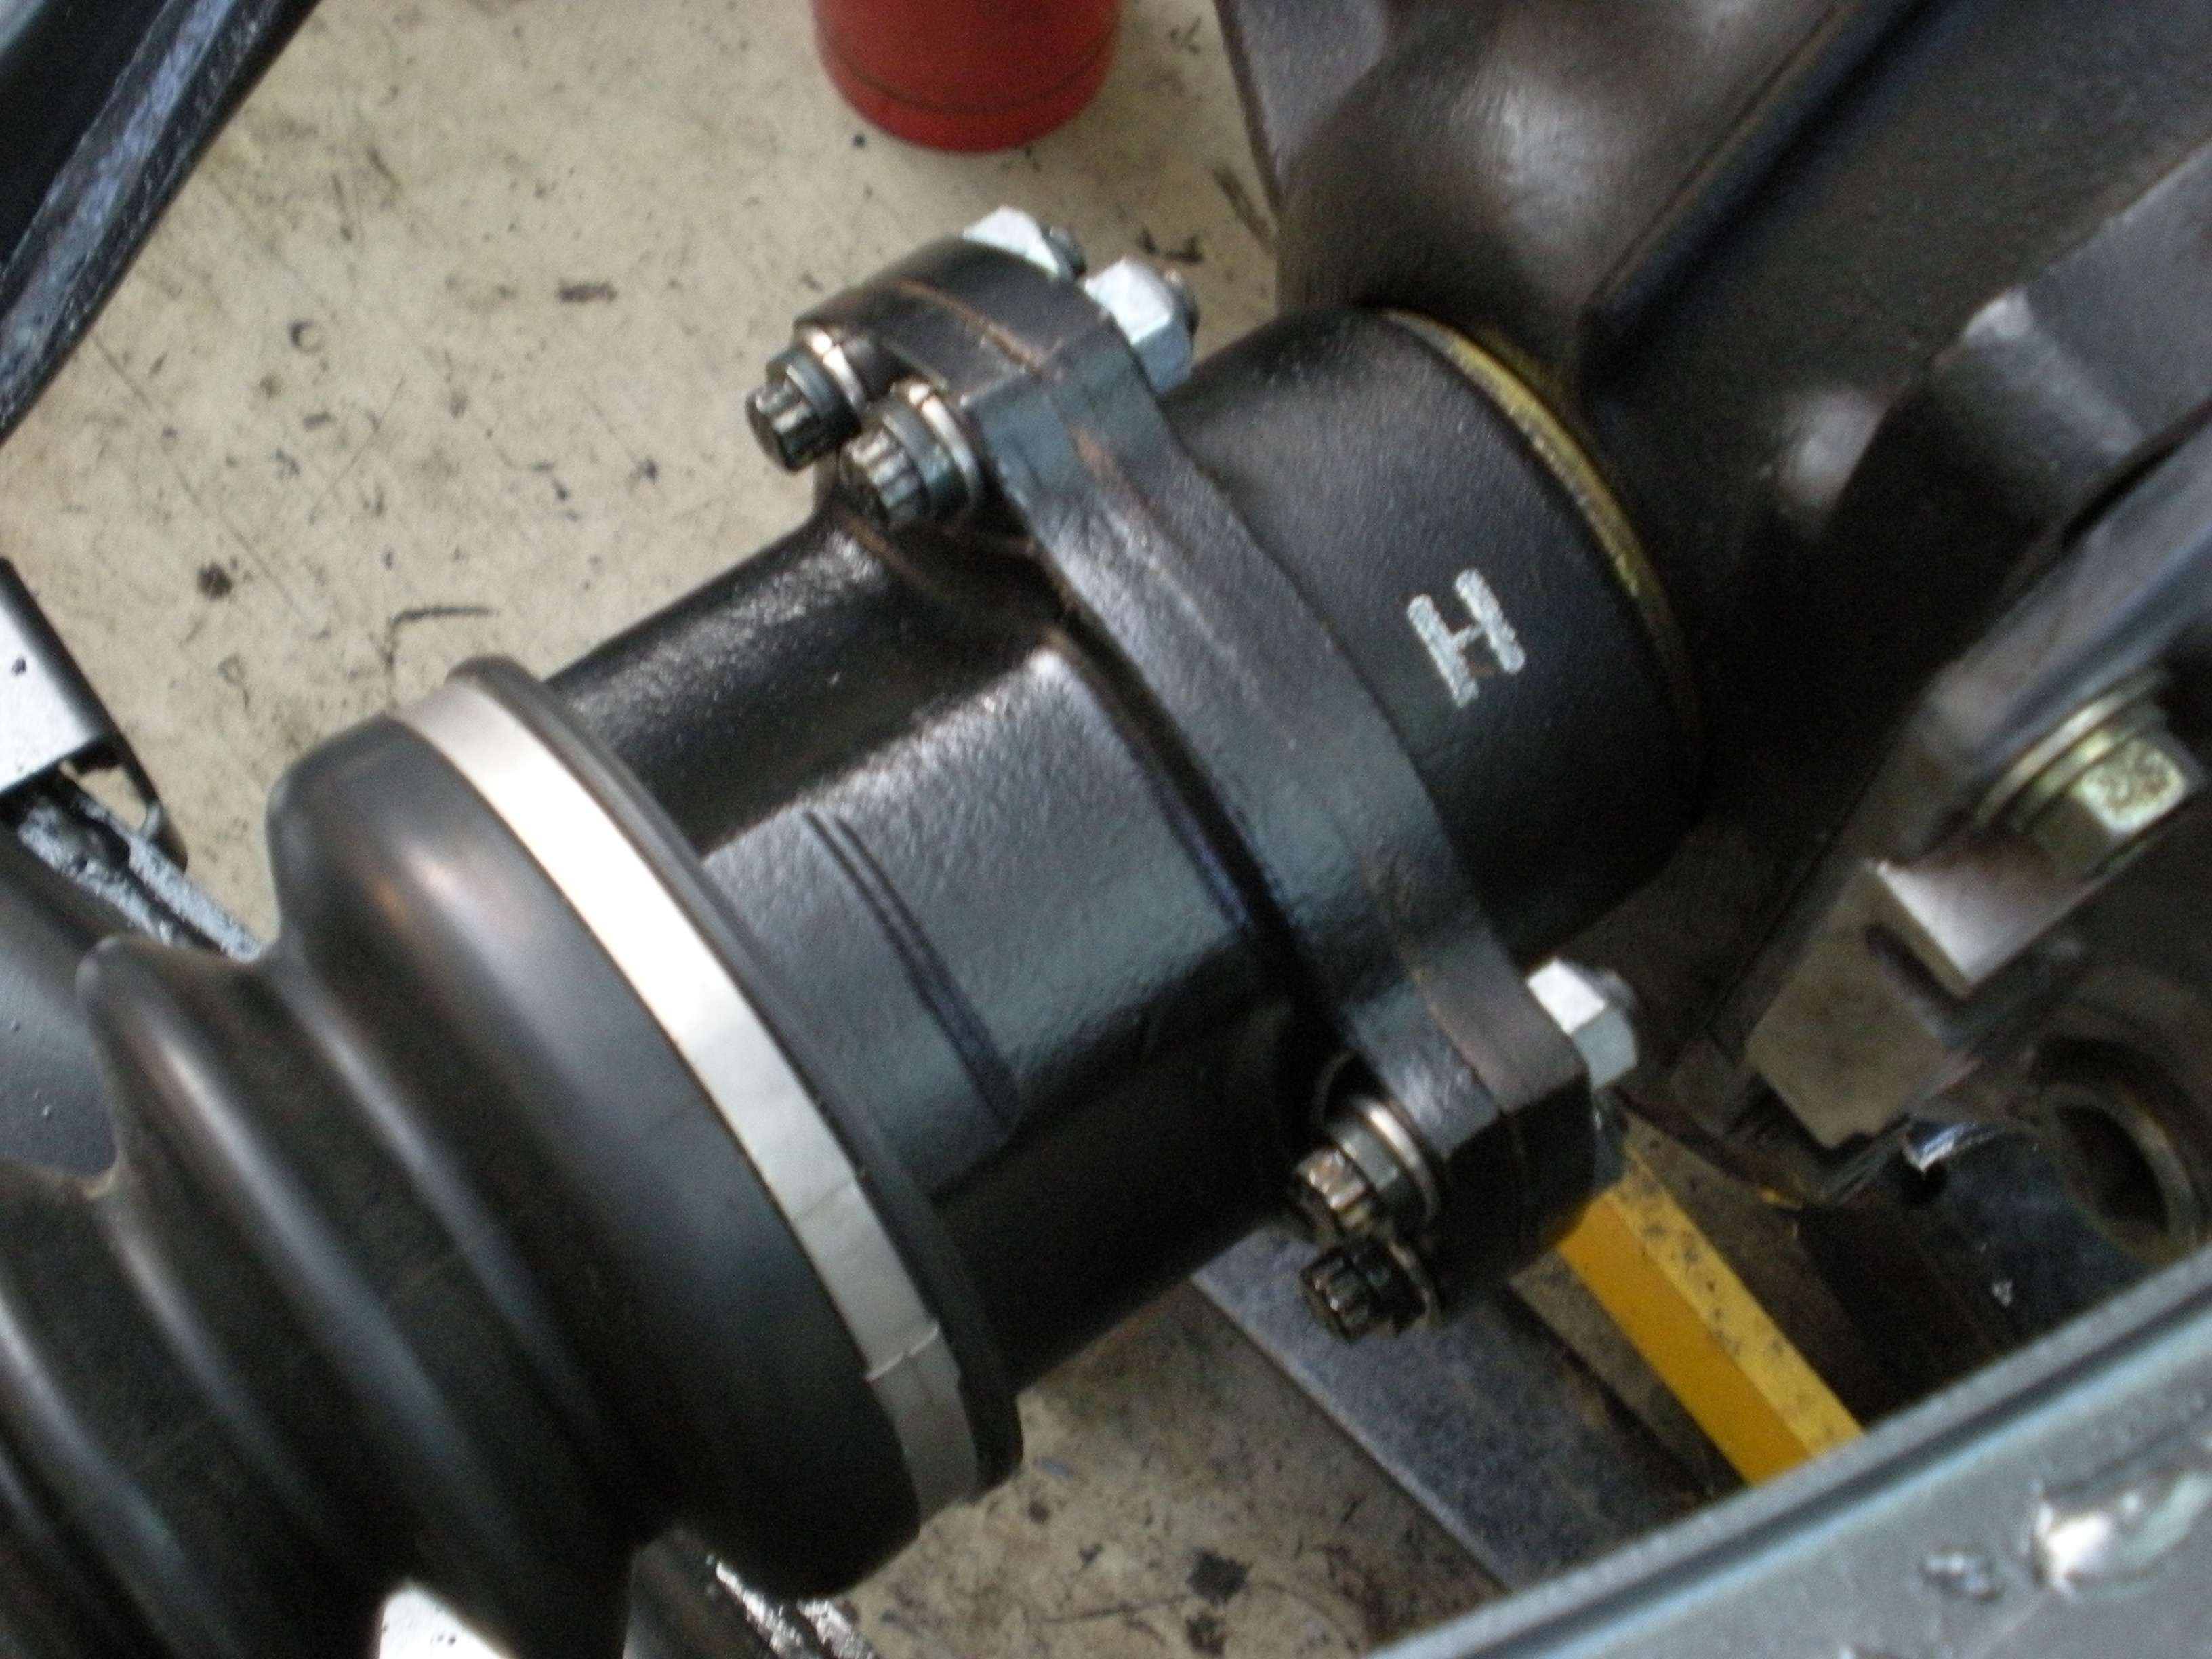
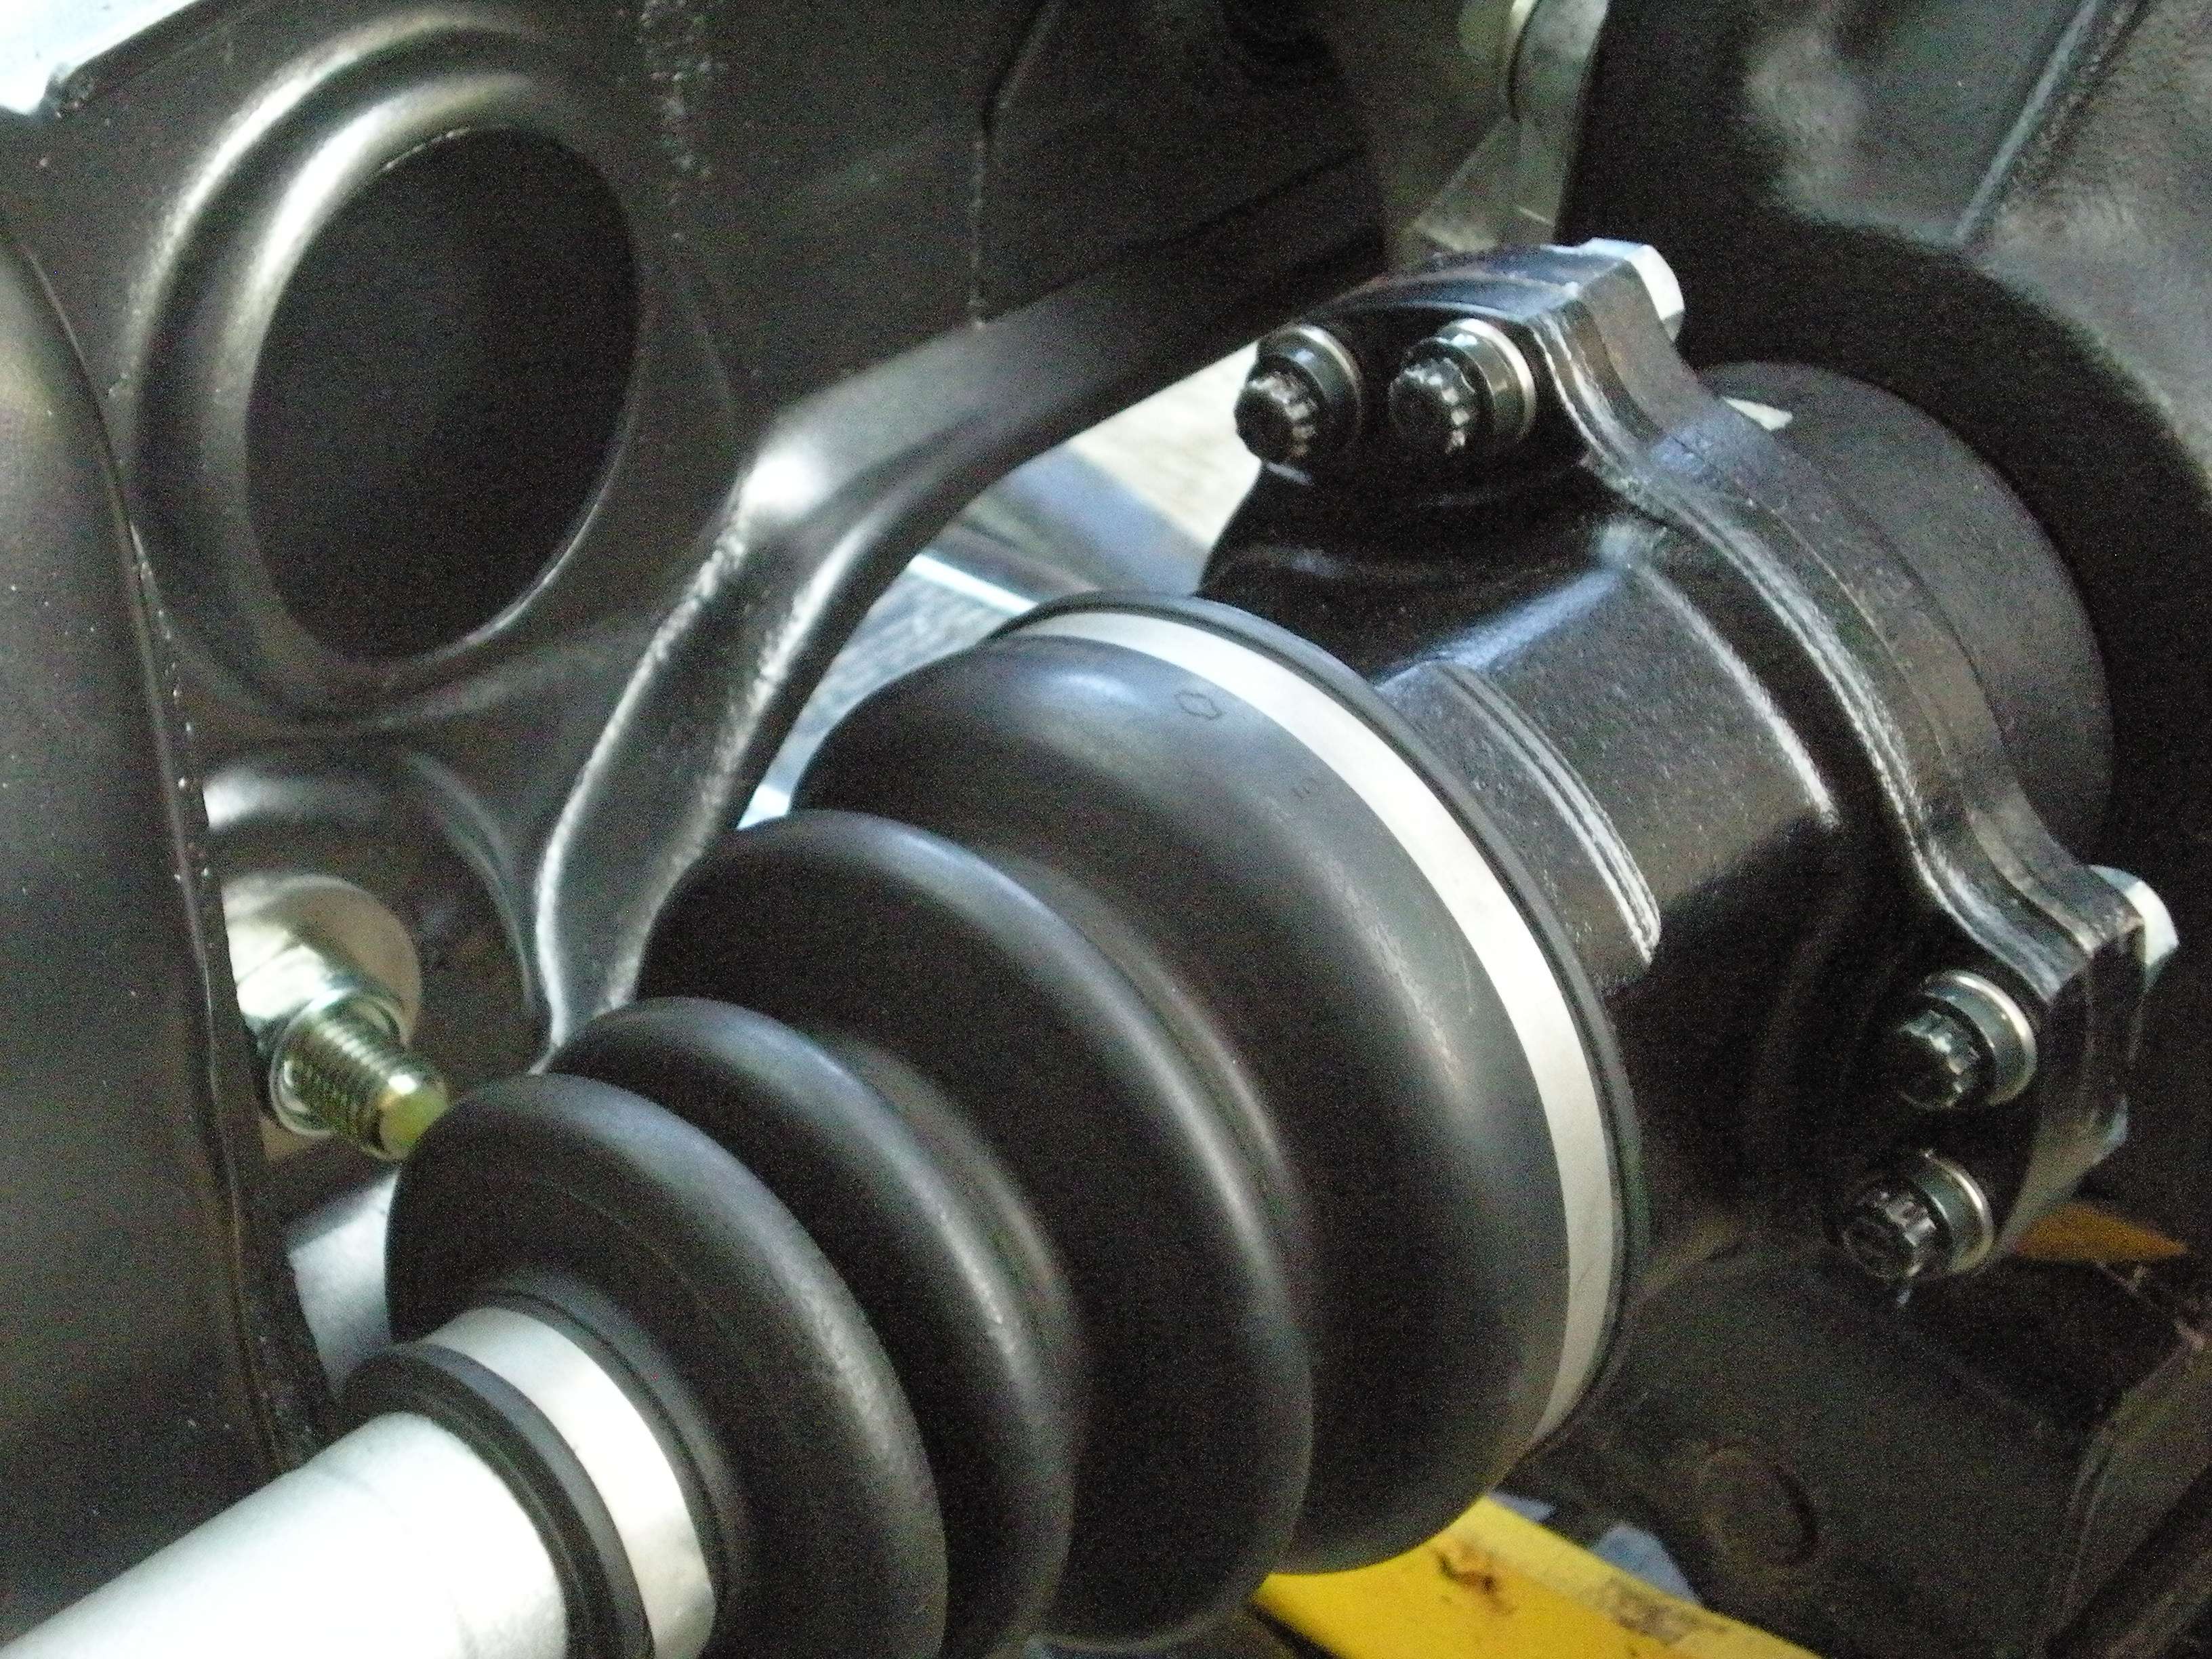
The axles were then slipped into the splines in the hubs, and then bolted to the differential using the BallerBolts.com fasteners. The axle nut is then torqued, the retainer and cotter pin are installed. The axles are different lengths, the driverside being the shorter of the two, from what I remember.
I will cover the braking setup, at a later date, but when all is said and done, you end up with something like this. Thanks to Donovan at Yamato Garage, and Ryan at BallerBolts for offering such great products. Subscribe to see the rest of the build. Thanks