Well ended up having some time today to get some work done, had a few alignment cancellations so i was able to head home early and get some shit done.
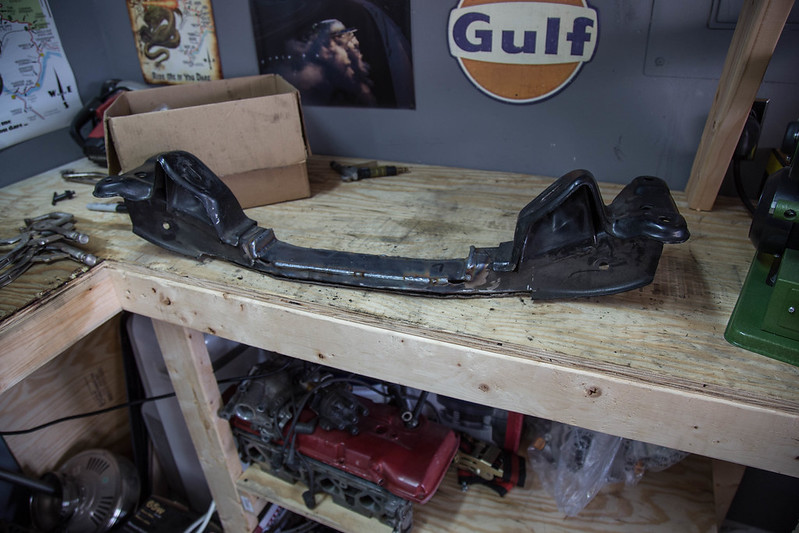
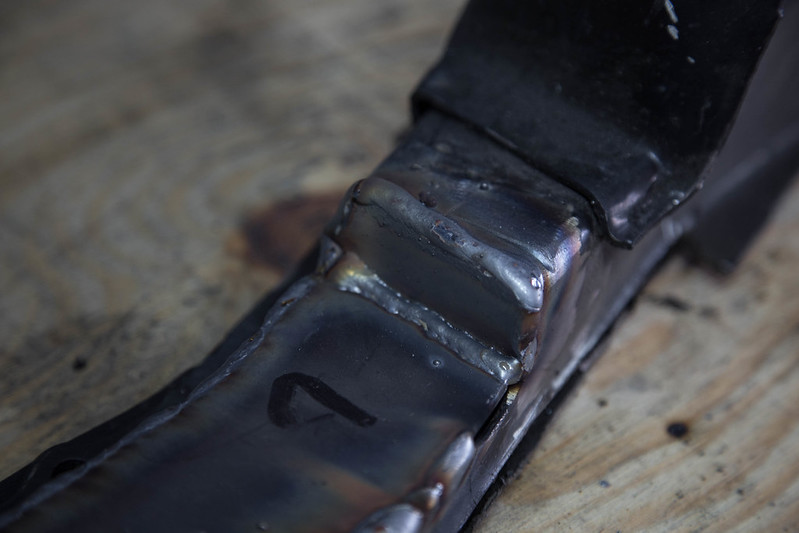
Welded up the indention i cut into front subframe, still need to work on my welding once there is heat in the metal. I, not compensating in my speed for it so I'm ether too fast or too slow. So I'm either almost burning through or not quite getting enough penetration.
 IMG_1399
 by
lawrx, on Flickr
 IMG_1400
 by
lawrx, on Flickr
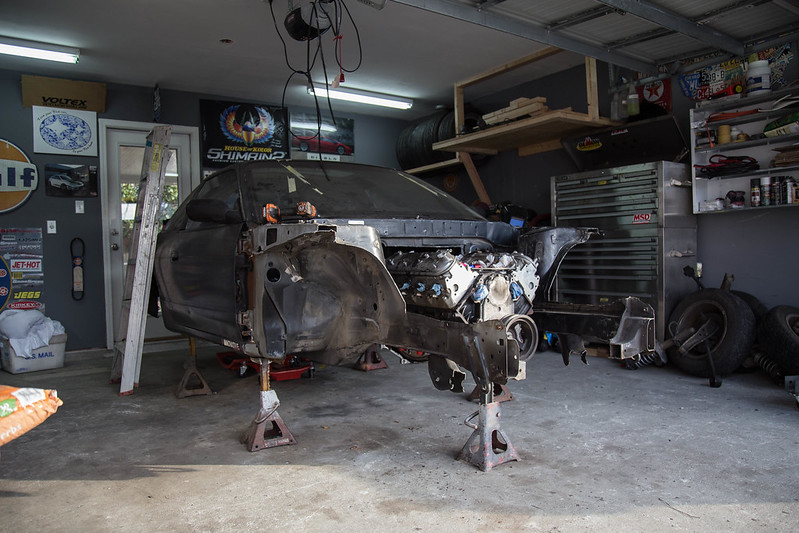
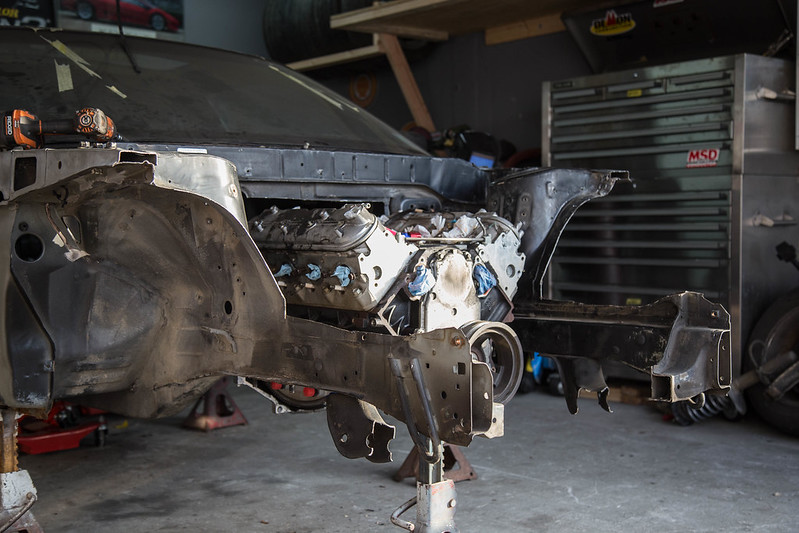
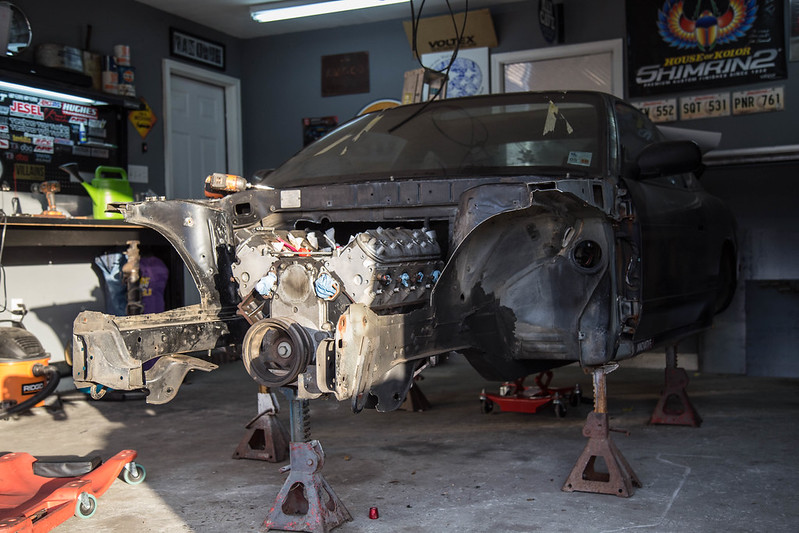
I had gotten home with some daylight left so i took some shots with actual sunlight on the car with where the motors final resting place is in respect to the engine bay.
 IMG_1401
 by
lawrx, on Flickr
 IMG_1403
 by
lawrx, on Flickr
 IMG_1416
 by
lawrx, on Flickr
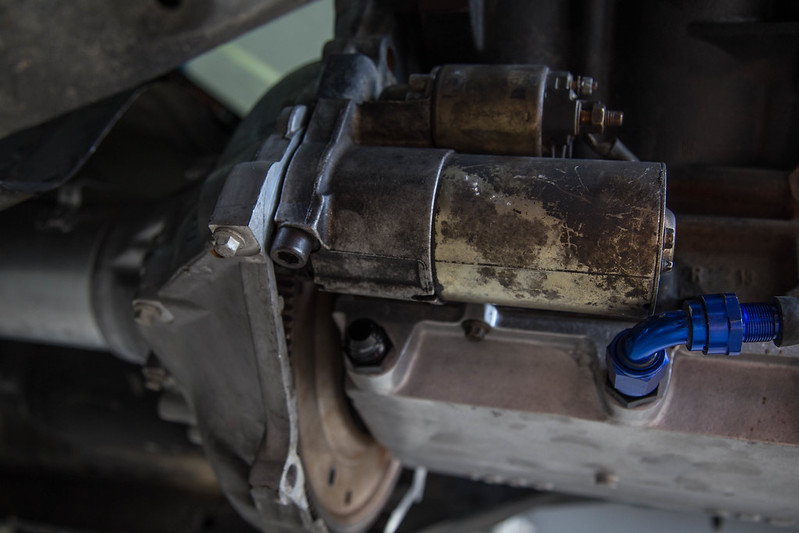
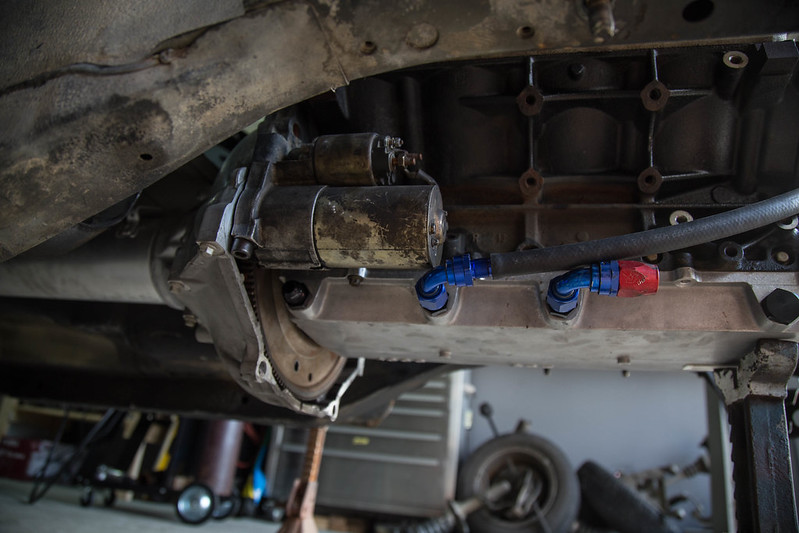
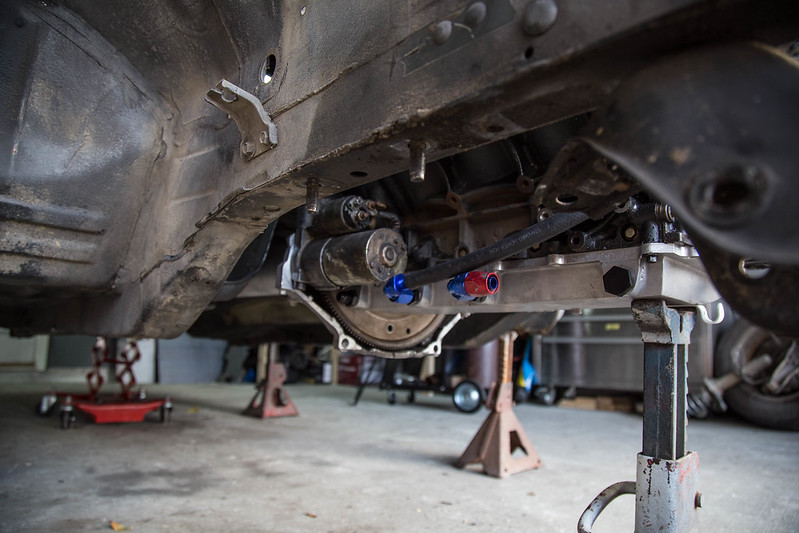
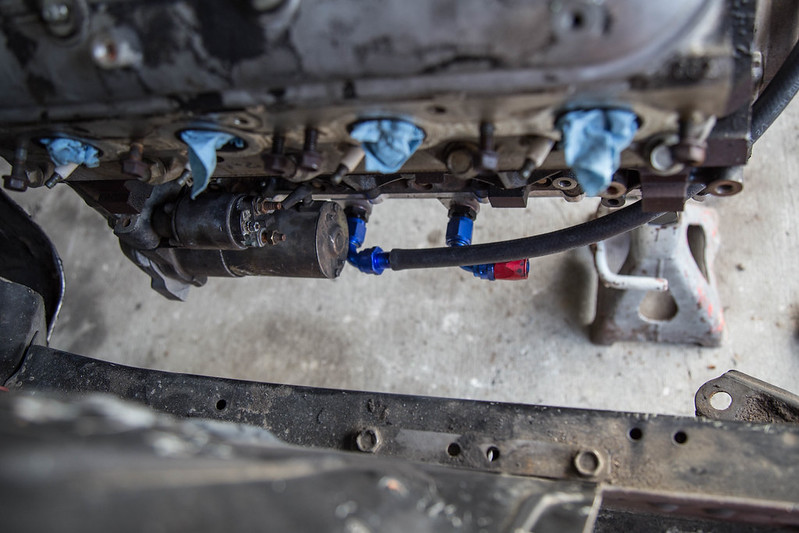
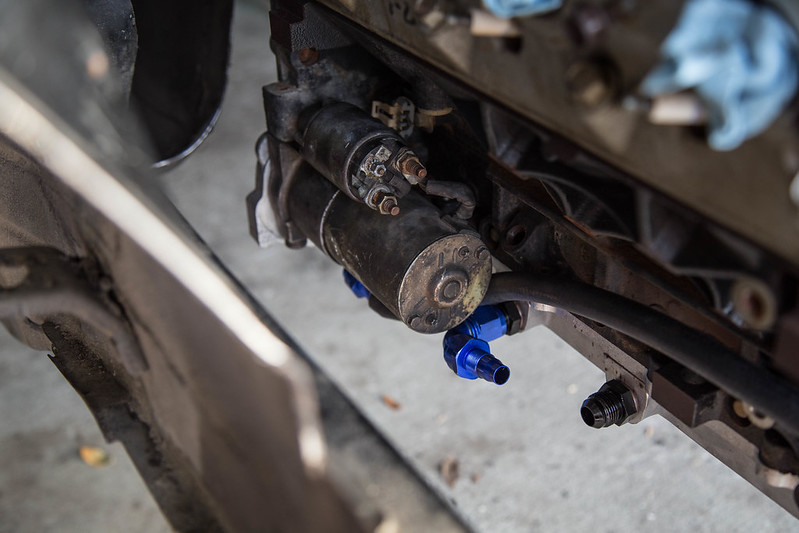
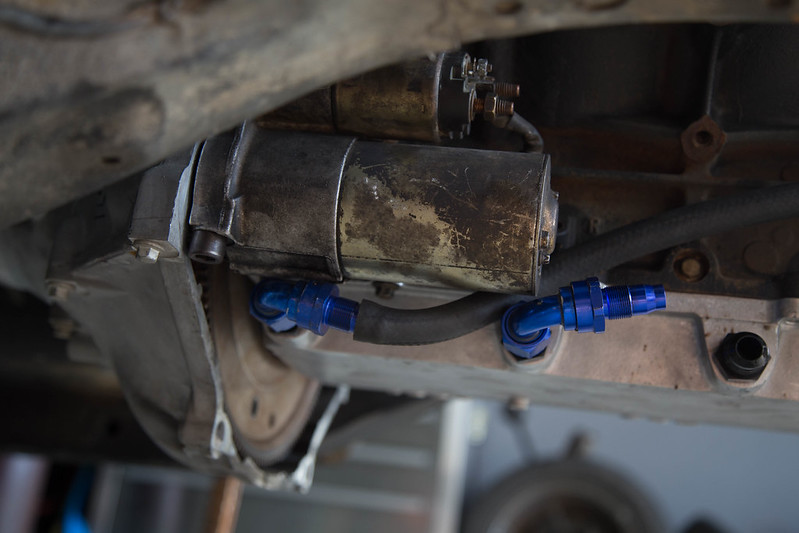
Picked up a used truck starter to use for mock up to check oil line clearances and header room as well. Header wise i should have plenty of room to make what i want. Regarding dry sump oil lines, I'm not able to run the center port as it will hit the motor mount/ subframe. When i first put the starter on i wasn't thinking i could run the rear most port. But once i put the 90* fitting on i think i can just manage to get it to run and be out of the way by massaging the motor and starter a bit. By massaging i mean grinding on the motor and a hammer on the starter for a slight indentation haha Also dont worry about the rubber line, i will be using braided stainless line on the actual install.
 IMG_1405
 by
lawrx, on Flickr
 IMG_1406
 by
lawrx, on Flickr
 IMG_1407
 by
lawrx, on Flickr
 IMG_1408
 by
lawrx, on Flickr
 IMG_1409
 by
lawrx, on Flickr
 IMG_1410
 by
lawrx, on Flickr
 IMG_1413
 by
lawrx, on Flickr
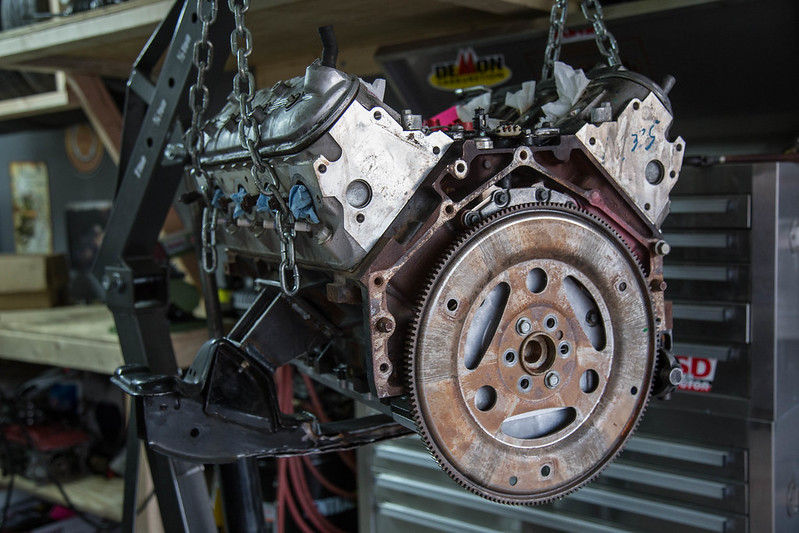
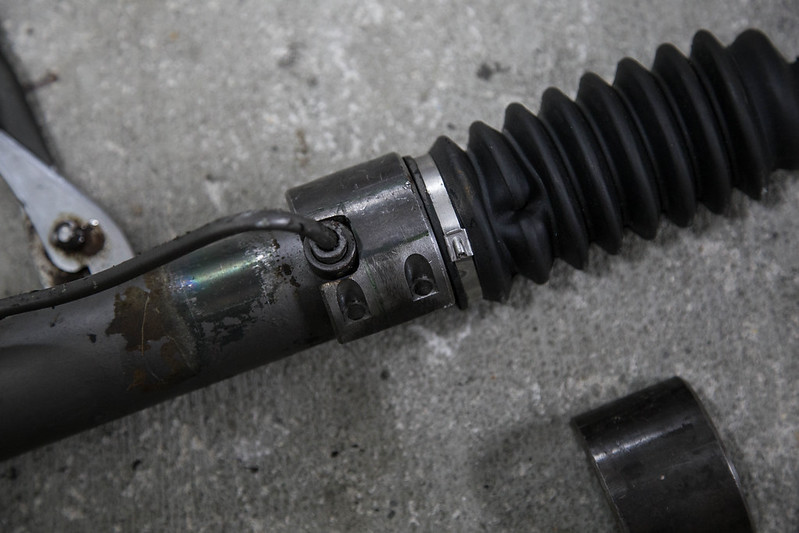
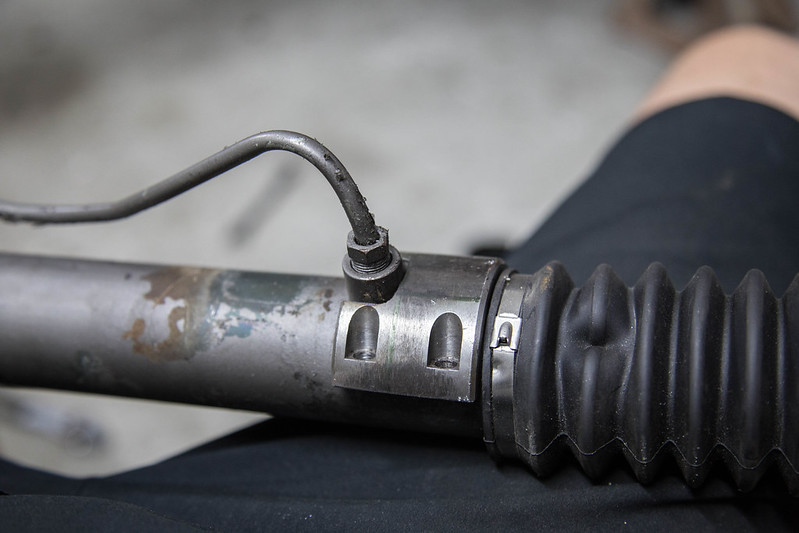
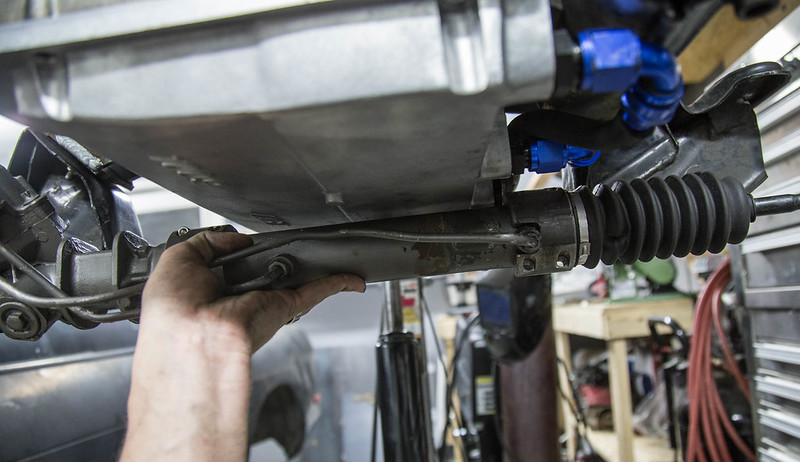
Once the subframe was welded up, i pulled the motor out and bolted the subframe up to start measuring and mock up for the new mounts for the steering rack. I ended up having to notch the passenger side mount to go around the nipple for where there hardline connects to the rack
 IMG_1420
 by
lawrx, on Flickr
 IMG_1423
 by
lawrx, on Flickr
 IMG_1424
 by
lawrx, on Flickr
 IMG_1426
 by
lawrx, on Flickr