Thanks for all the kind words guys, glad people enjoy this build.
Quote:
Originally Posted by blackmags91

Patience, what a virtue it is! Patience seems to always build rad cars.
Kids oughta learn. Keep updates coming!
|
No Kidding, I havent driven the car since Sept 2011. The past couple of years have gone by super quick with getting the house and getting the ball rolling with my career.
Turbo Timer Enclosure Build: Was completed a while ago but since my car is wrapped up for the winter (and no new progress can be made) I thought I'd Share. Sorry for the Iphone 4 pics, This mod happened a while ago.
--------------------------------------------------------------------
I enjoy the small details that go into a build and really separate it apart from the "off the shelf mods".
Whilst many argue that Turbo Timers are useless and unnecessary, my car came with some oldschool HKS one already wired in. However it was just double sided taped to the side of the centre console and that would just not cut it.
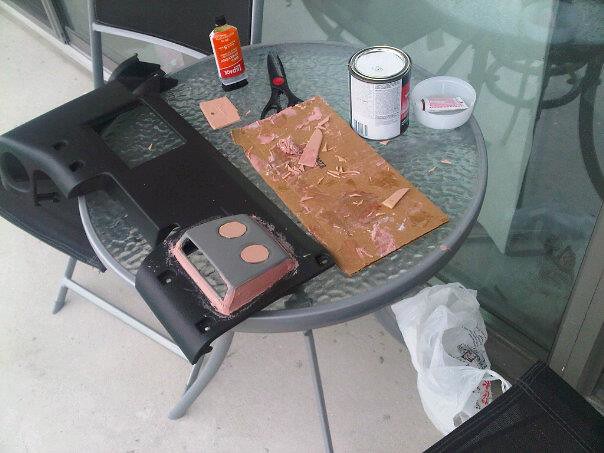
I First saw a turbo timer / boost controller enclosure made by Broadfield way back in the NICO days. I took a half ass stab at it one day on my condo balcony and it obviously didnt turn out well and I gave up before ever really making progress.
Fast forward a couple of years and I had moved into my place and had more room to work and 3d printing was starting to really take off. I had started my career as an industrial designer and we just so happned to have a new printer in the office. Time to put it to good use.
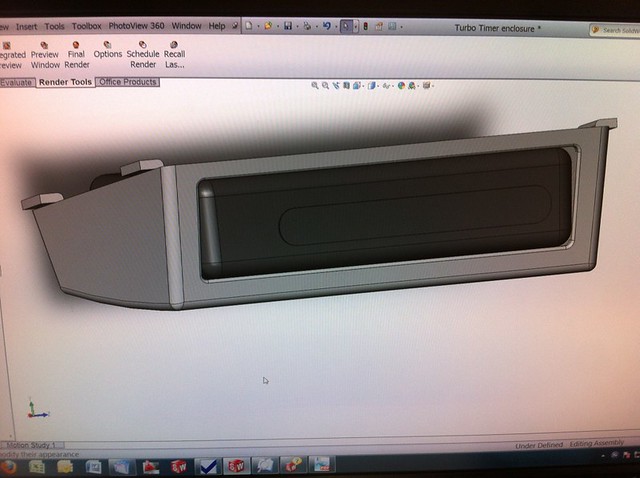
Quick mock up in Solidworks
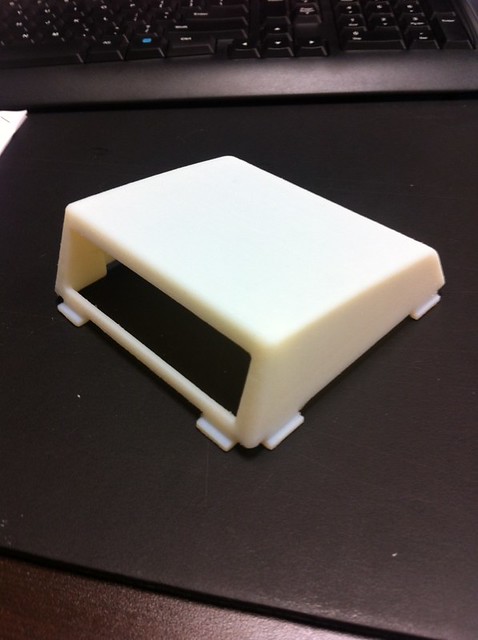
Hit Print and wait a few hours....
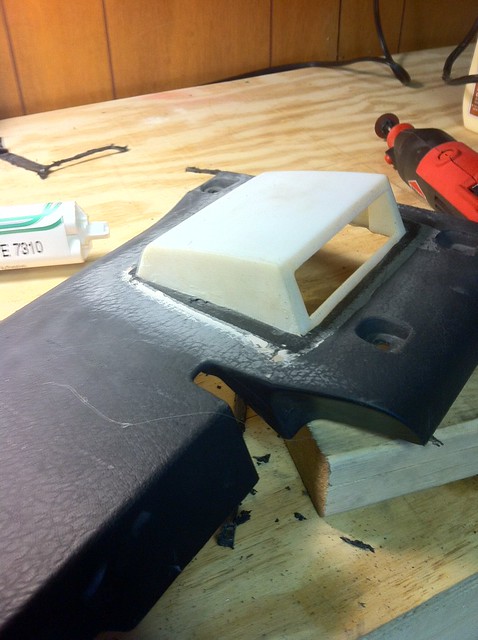
Part 1 is done
Next I took the lower dash cover off and made a cutout to fit the 3d printed piece and epoxy'd it into place.
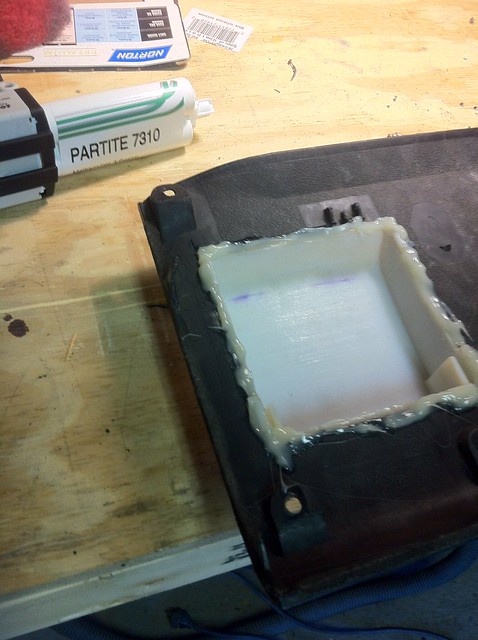
I then filled the gaps with a thin layer of bondo sanded it smooth.


To make the mod look as oem as possible I cleaned, primed and painted the whole panel with SEM chip / rock guard.

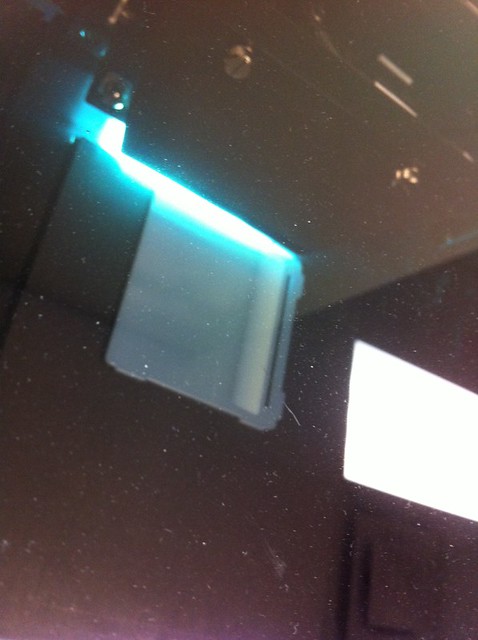
The final product looks like its almost factory installed. Its not too intrusive and hides away nicely under the dash.

As always, the devils in the details.
I will update as things happen or as parts come in thanks for reading,
-Jordie