After calling around to several local businesses that claimed to build CV axles, it turned out that they all sent the axle off to some third party and got remanufactured ones back. Since my project required a shorter driver side axle than an OEM Z axle
OR an S13 axle with a 6 bolt flange, eg. custom... nobody could actually do the work. I had a friend suggest what worked for them: an axle off a 95 Q45. I may have ordered the wrong side however, since the custom ordered AutoZone part turned out to be way too long. Thankfully I was able to return it.
Frustrated, I just started taking the axles apart to see how they're put together and to my surprise,
EVERYTHING matched (aside from the diff flange bolt pattern, of course)! Between the 89 S body and the 2007 Z body, the CV side is made up of a six bearing cage held on with a lock ring.


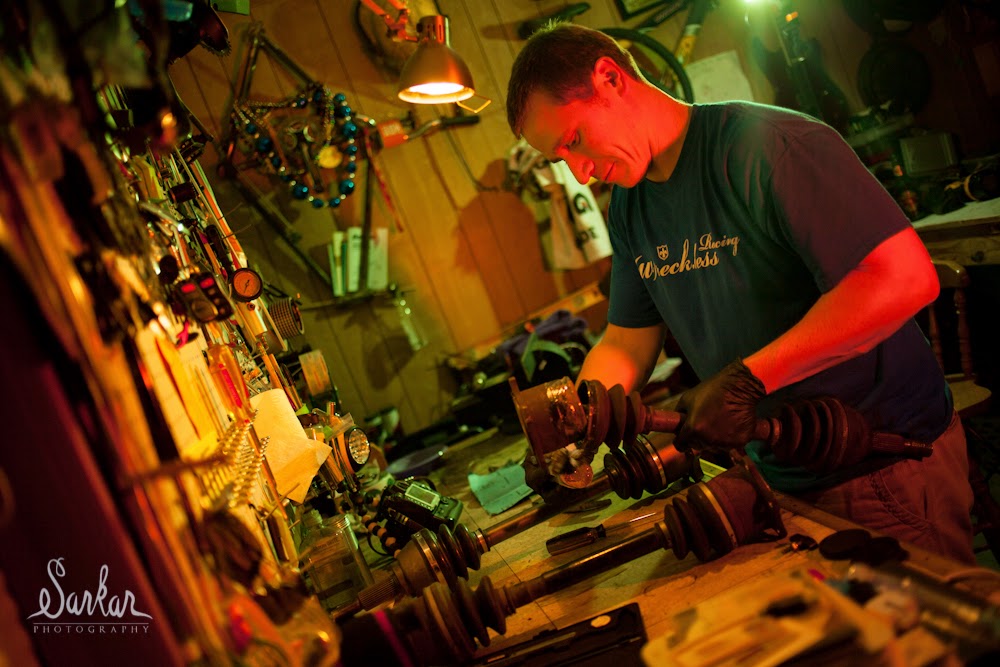
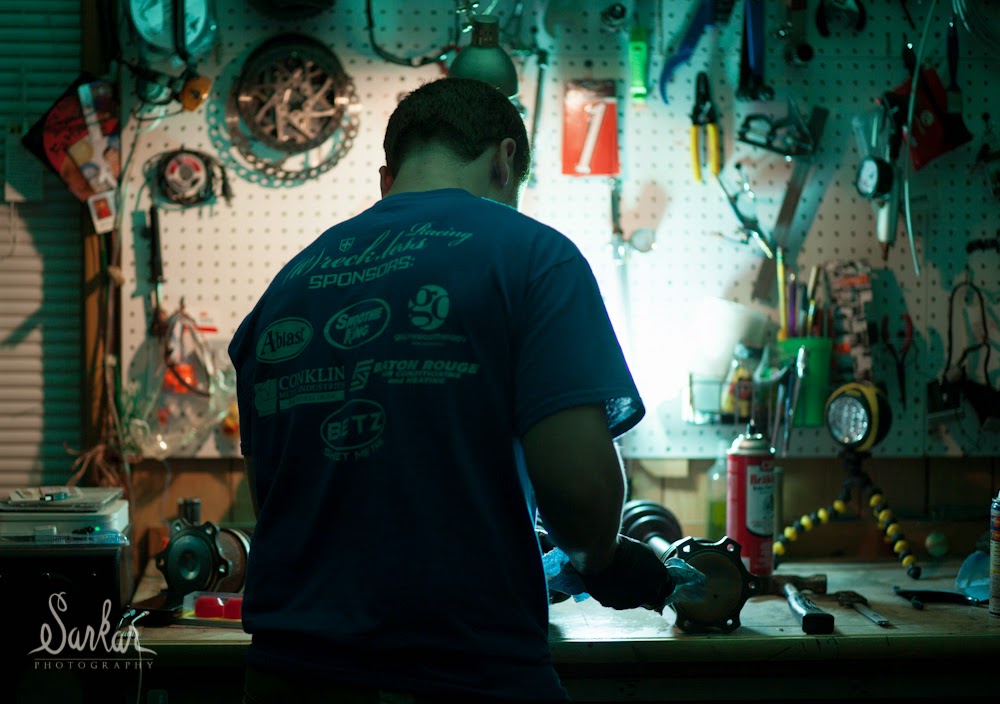
I got to work swapping over the diff flange on the CV to the S13 Axle. During the work, a photographer friend of mine stopped by the shop and decided to experiment with some colored lighting.

The finished axle.

Since I had the axles finally taken care of, I set to putting the final supports on the subframe (some square tubing with some 8 gauge flat stock welded on to spread the footprint), primed and painted it, and shoved it back up the Coupe's tail. I chose these mount points to counteract the twisting forces of the diff while mounting to the other side of the lower control arm mount point. It also cleared the axles nicely.


This was about the time I went to Wyoming on a downhill trip and broke my radius at the wrist on the third day of eight. Great. Six weeks of not being able to use my left hand.


Determined not to let my injury stop me, I singlehandedly sanded, primed, and painted the engine bay.


Still trying to work without both hands I spent a couple hours cleaning up the inside of the car. My sound deadening was so brittle that it came out pretty easily by scraping and jabbing it with a massive sharpened Klein screwdriver. A finished shot with the Dynamat Extreme should be in the next update since I'm not done with that yet.


Eventually I got some help and they only wanted to put the motor in the car, so we prepped the crossmember and slung the motor into the bay, temporarily using the supplied solid motor mounts.


Here's a shot of how the HR starter sits on the steering rack.

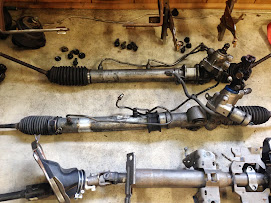
We explored a lot of options, including: shifting the starter solenoid forward to clear the rack, modifying and using the bent up Z crossmember, and other bad options... but have decided to try to rotate the rack to clear the starter and take up the slack with the steering column angle since I had the Z and S columns to work with. Sadly, this is still in progress. Here's a comparison of the S and Z racks and columns for shits 'n giggs.

I shortened the shifter linkage by cutting out the shaft and welding the couplings.

I've since grabbed some CJ Jeep biscuit-type poly motor mounts to swap out the solid aluminum ones, and found a GM-type poly trans mount that is a direct replacement for the kit's solid trans mount.

The coupe is getting used to the new engine and I'm starting to sort out wiring. Here's how she currently sits.
