Soo, I took a month of weekends off to try and have a life outside of work.. But I'm back at it again - had full day on er today.
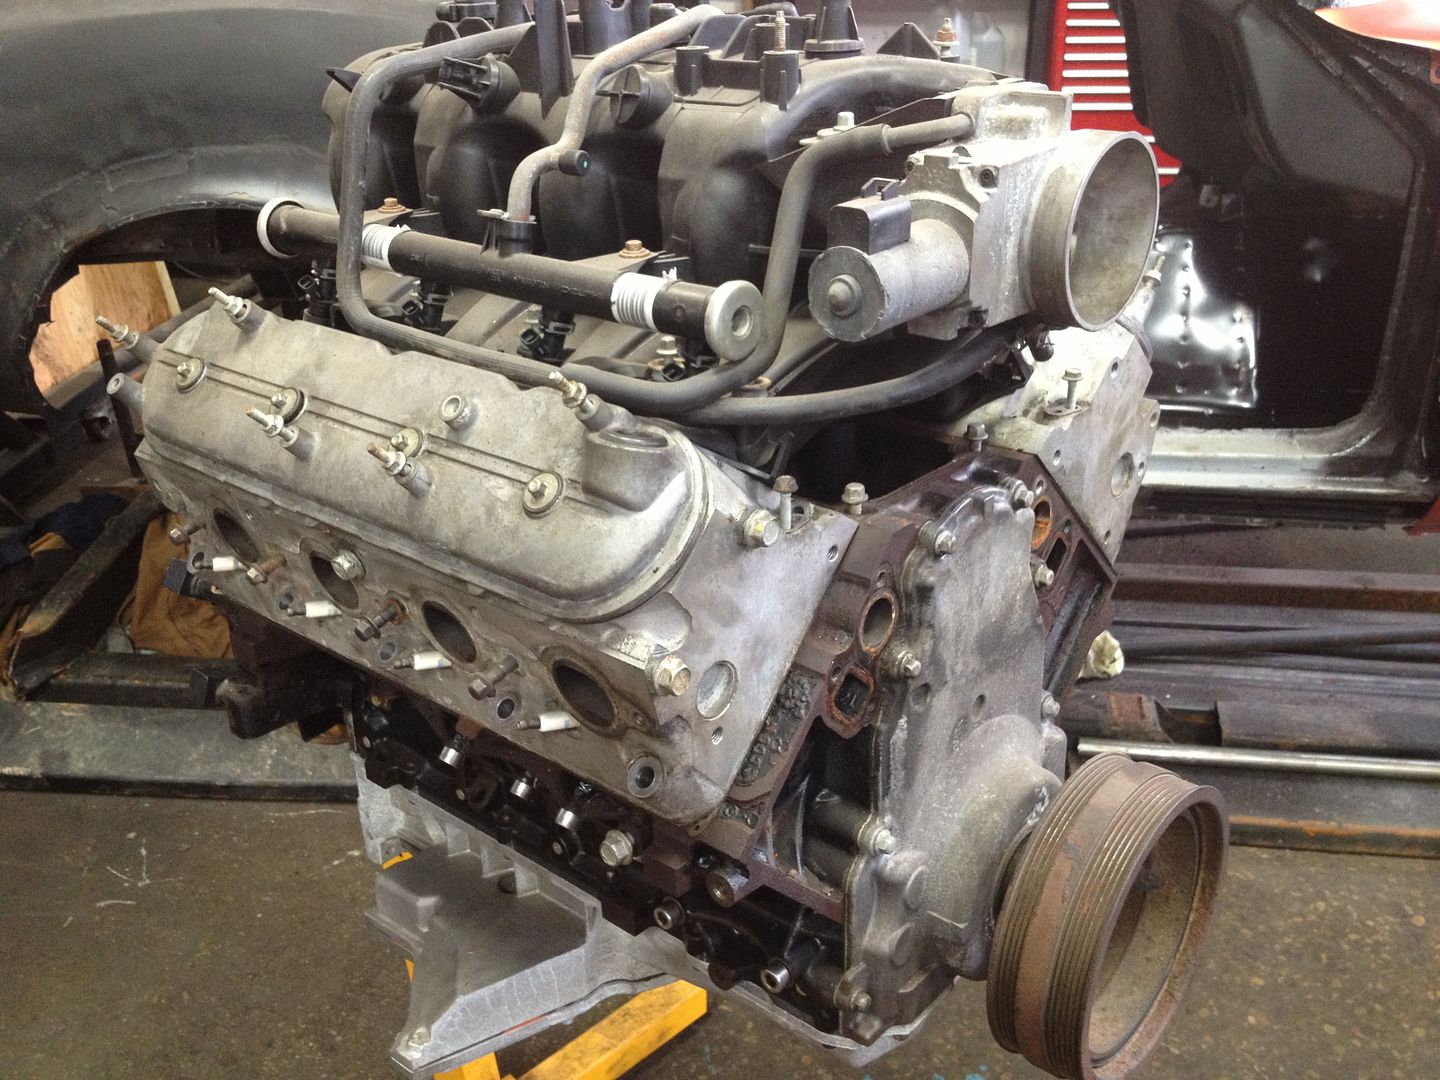
Took the LQ9 Truck manifold and tossed in storage:
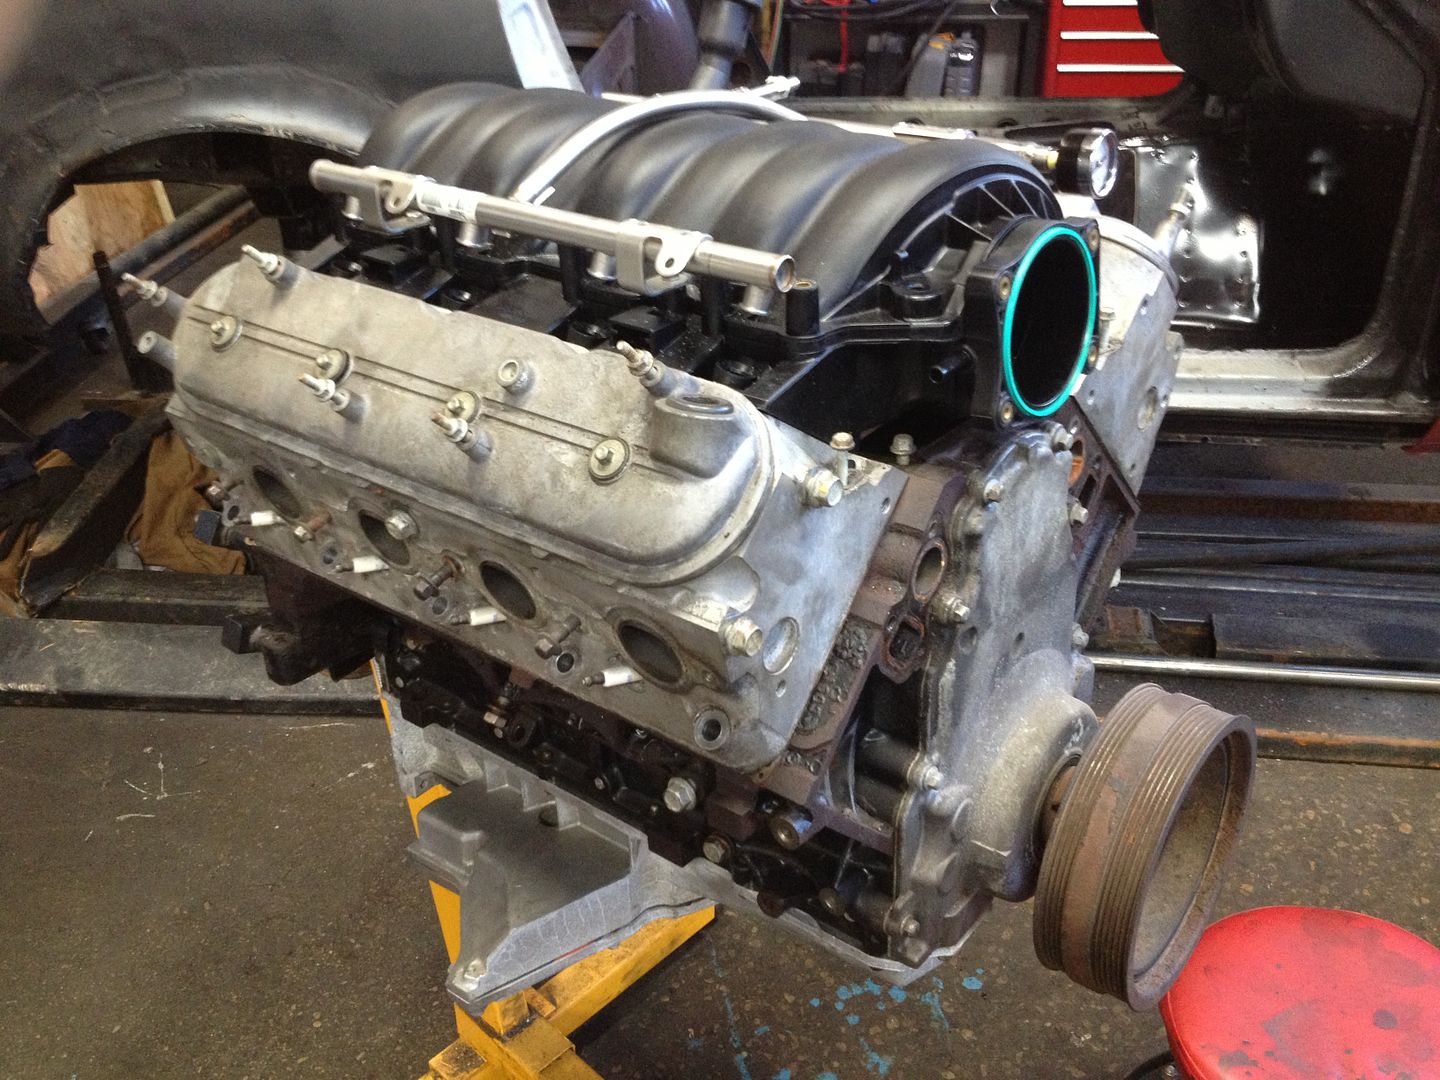
Took the NTO LS2 manifold and tossed in on the motor:
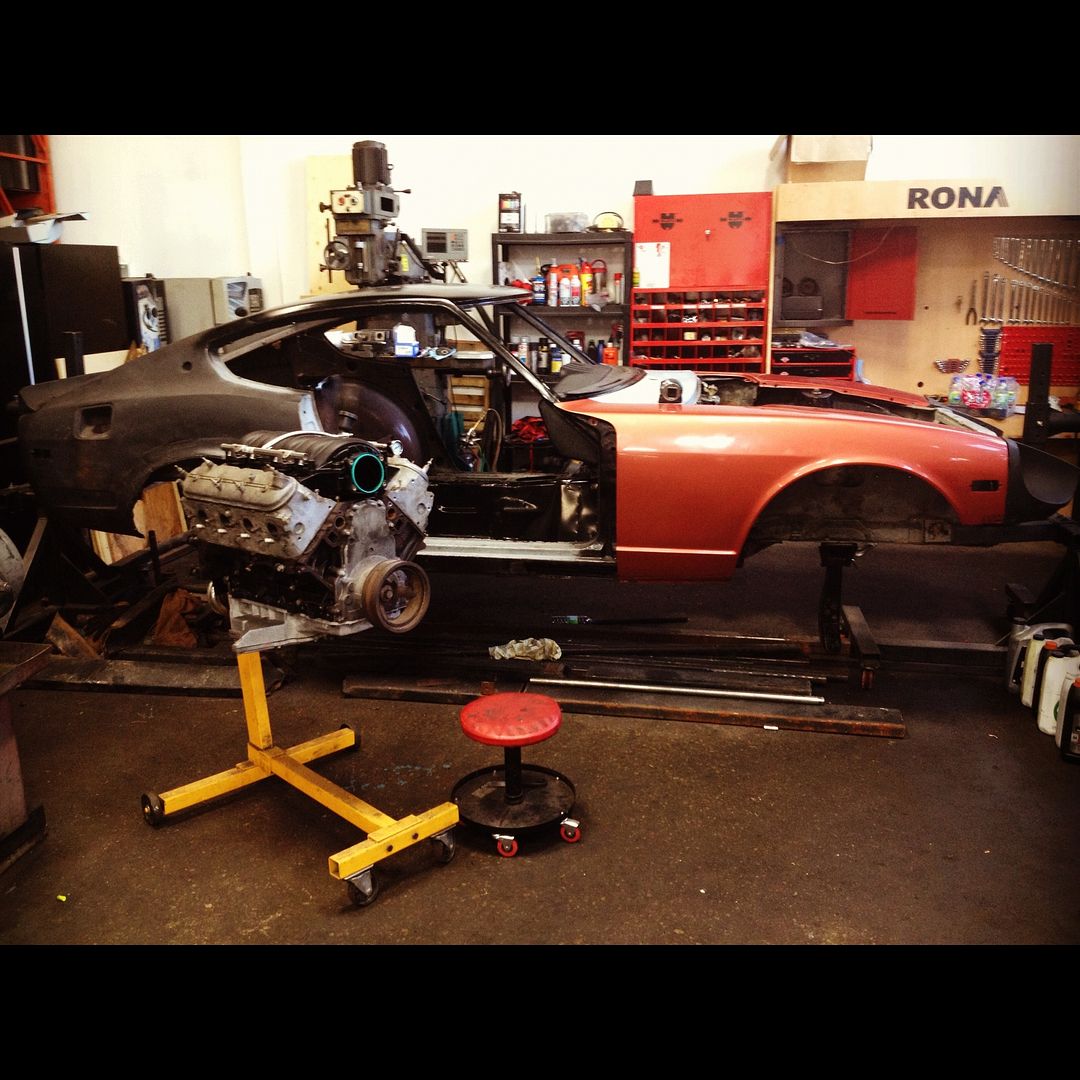
If you squint from 30 feet it resembles a car:
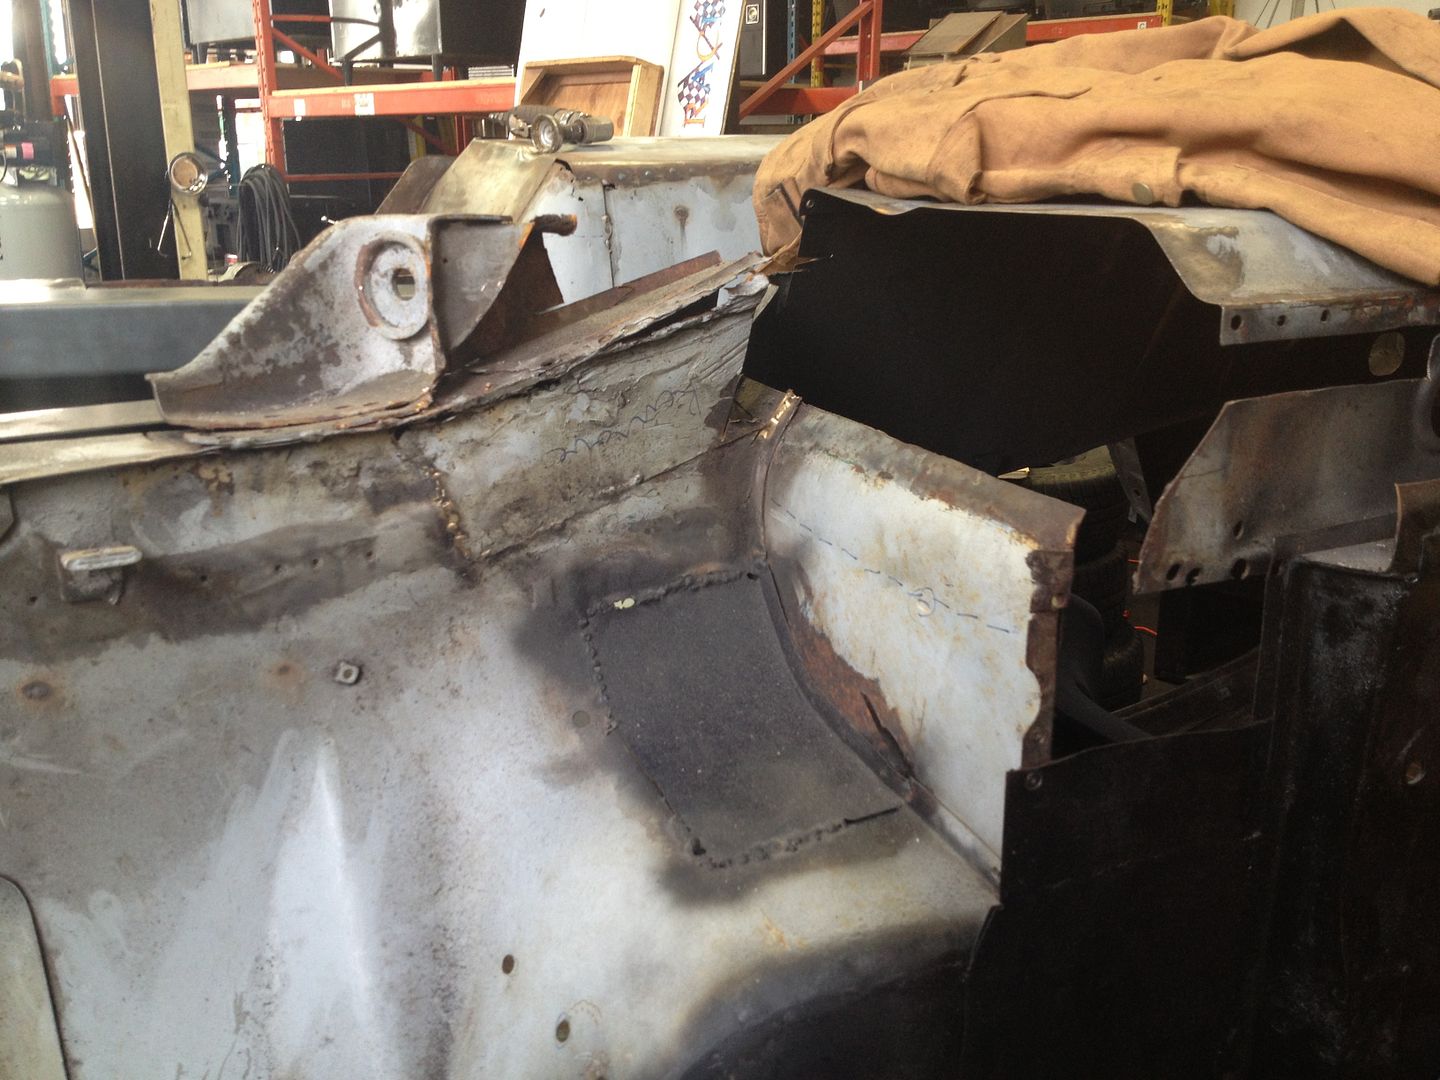
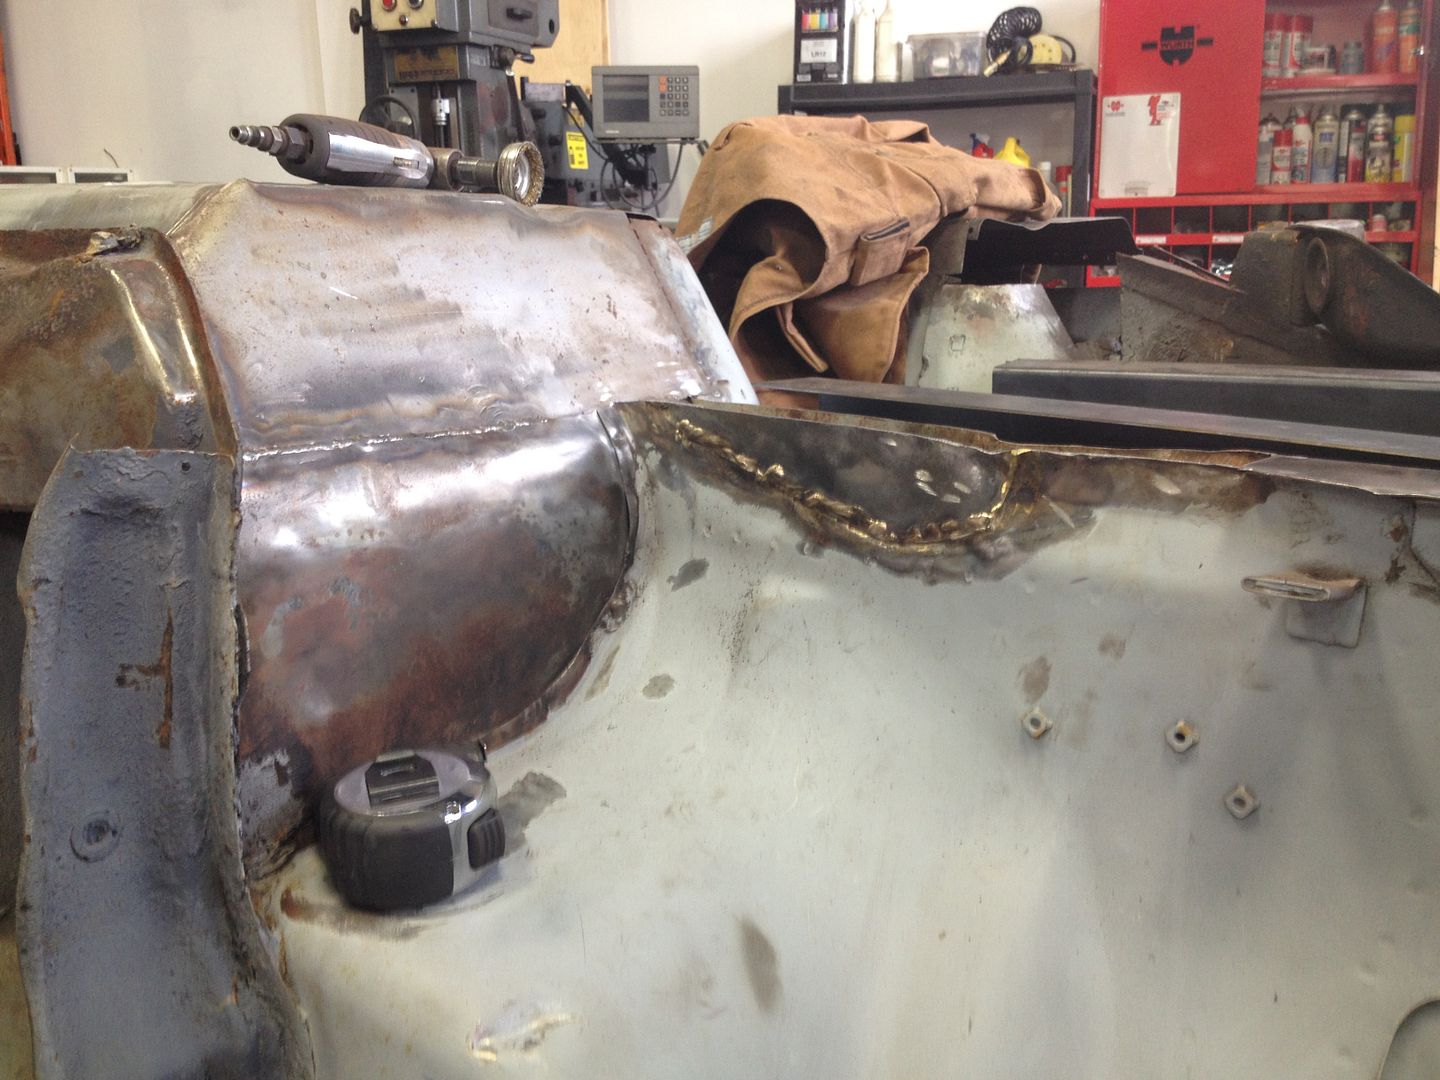
How both sides looked after all the cancer was cut out:
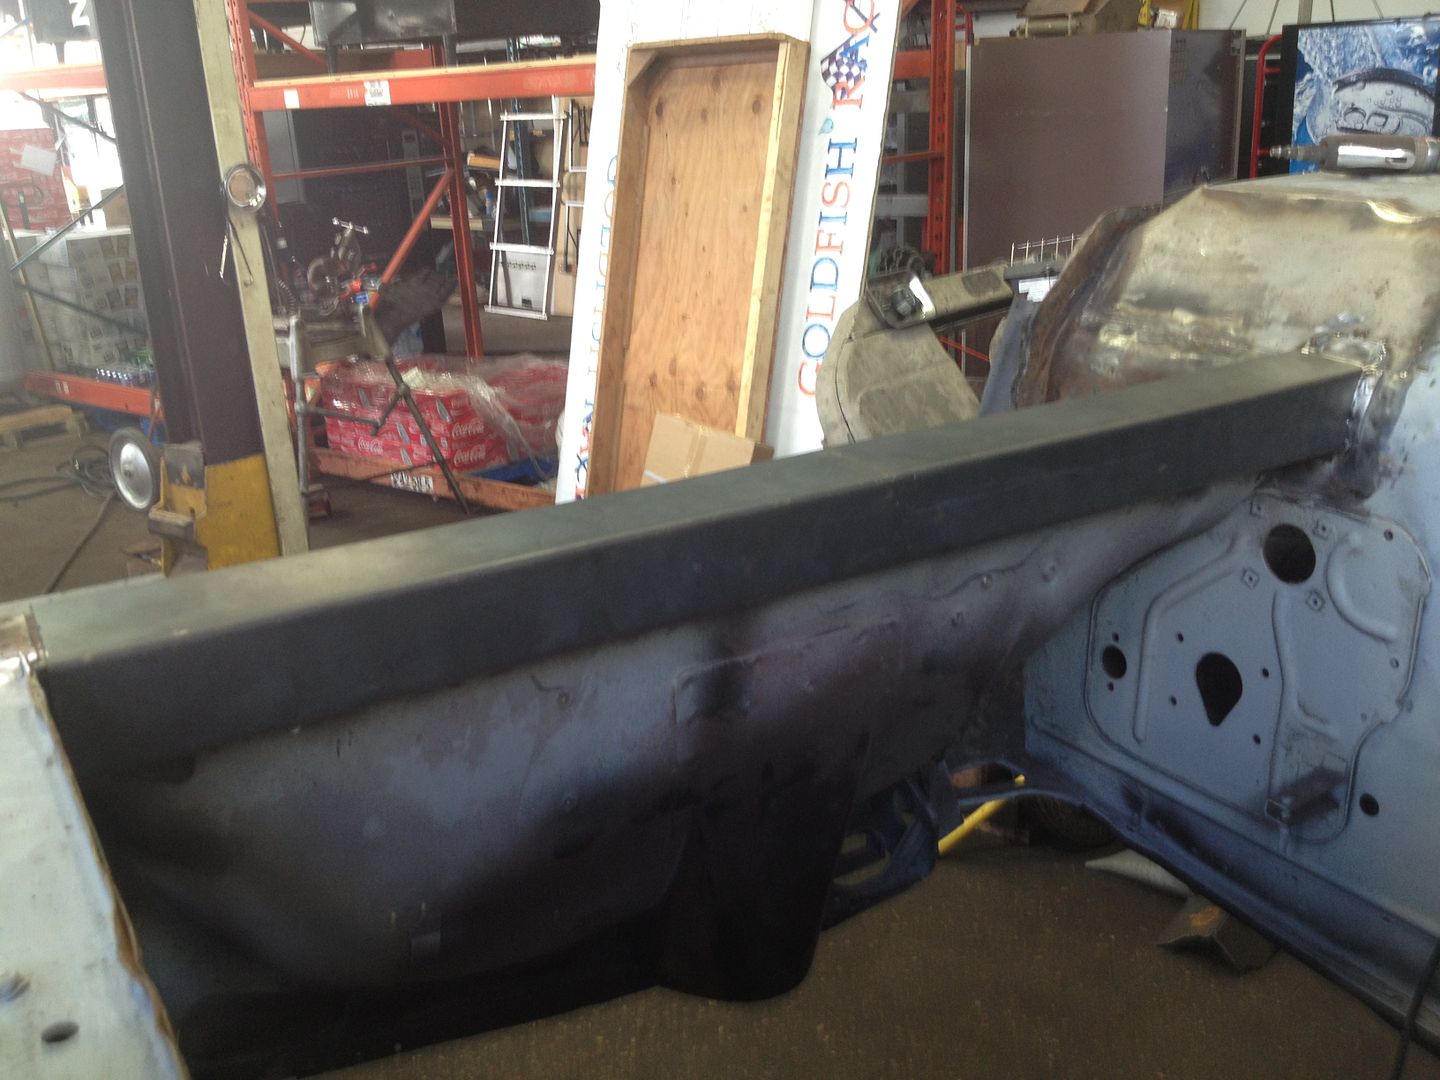
Cut off the traction arm mount, the gusseting to the footwell. This leaves a gap along the length of the from rail. Also note the new panels in footwell, formed to the curve in the new floors and all panel intersections fairly nice. (I now have newfound respect for tin-whackers haha)
Test fit my new rails - bent up 14ga CRS into (Inside Dimensions) 2.25" along top, 2.5" along side and 3" along bottom, 42" long. These are oversized length ways so I can trim down to fit minty.
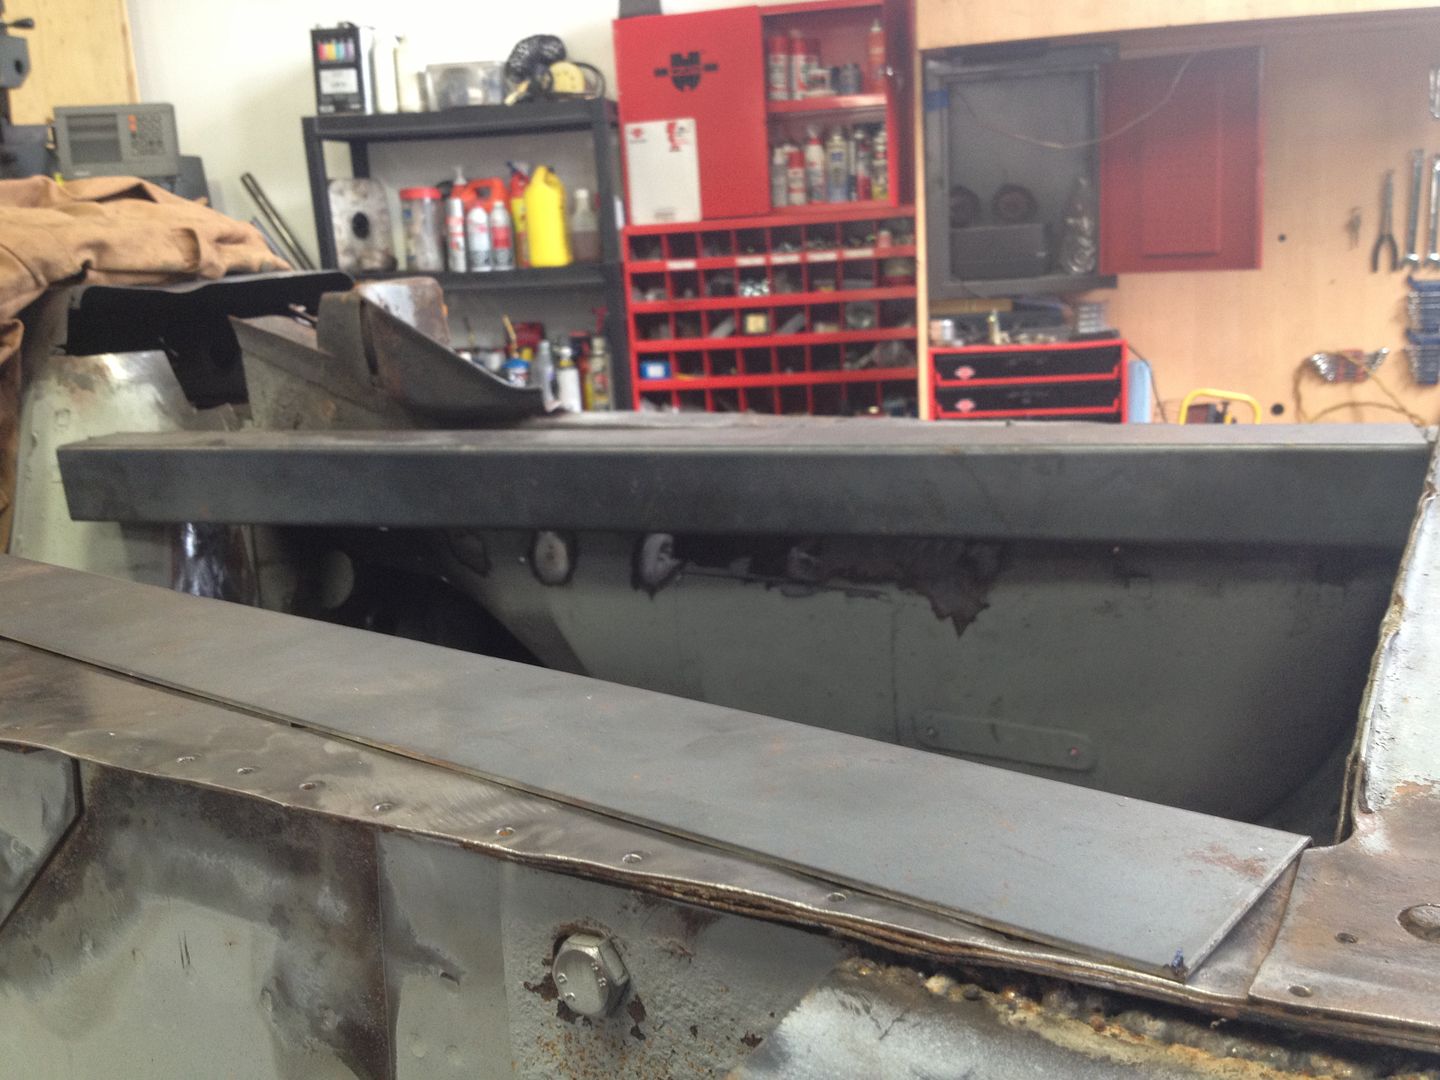
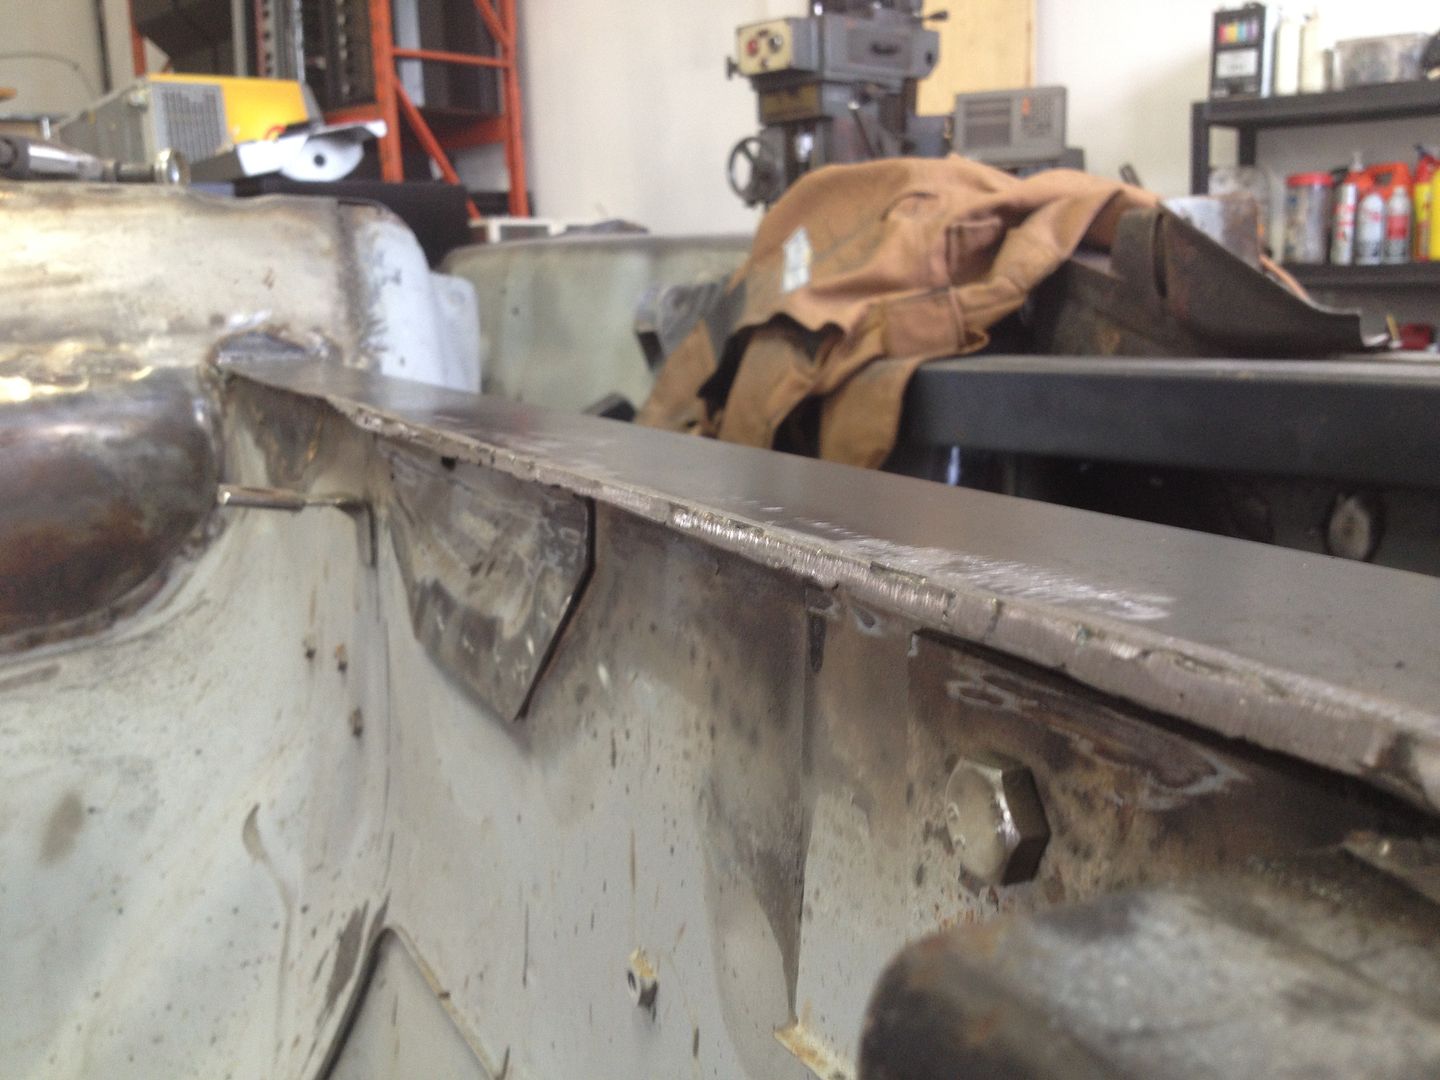
Welded in patch panel out of 18 ga CRS - 2.5" wide roughly 15" long with an extra 1" angled as flange support up the footwell.
Boxing patch fits fairly flush.
Frame rail fits even flusher.
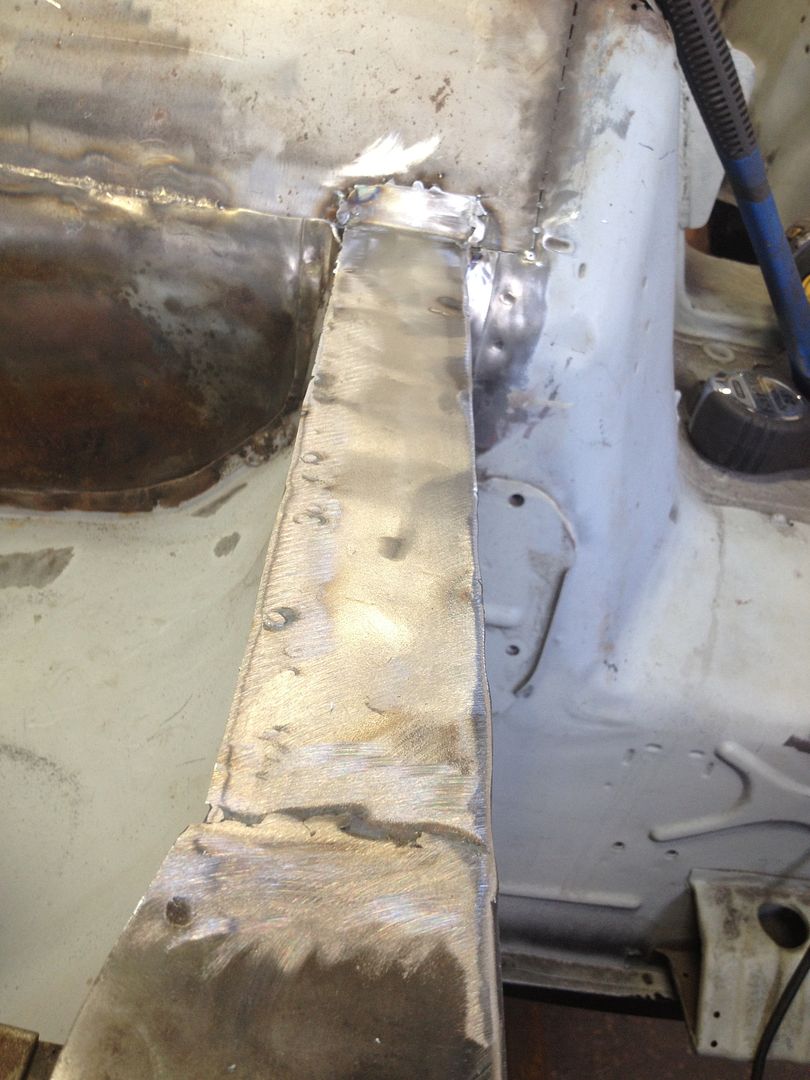
First pass of welding it in.
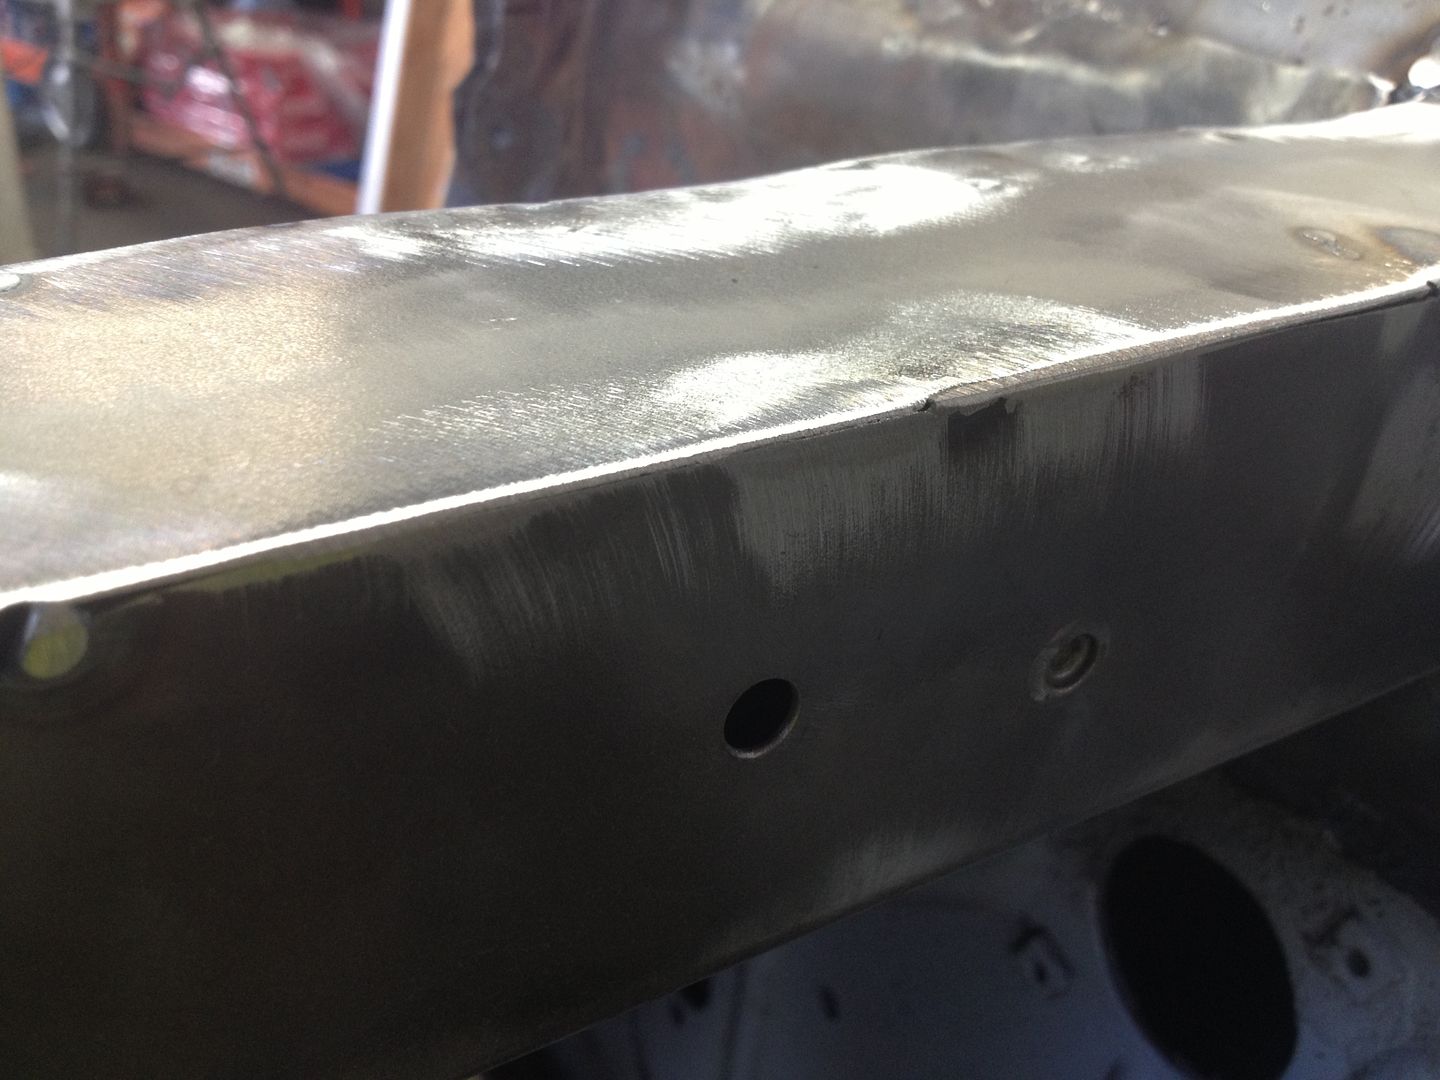
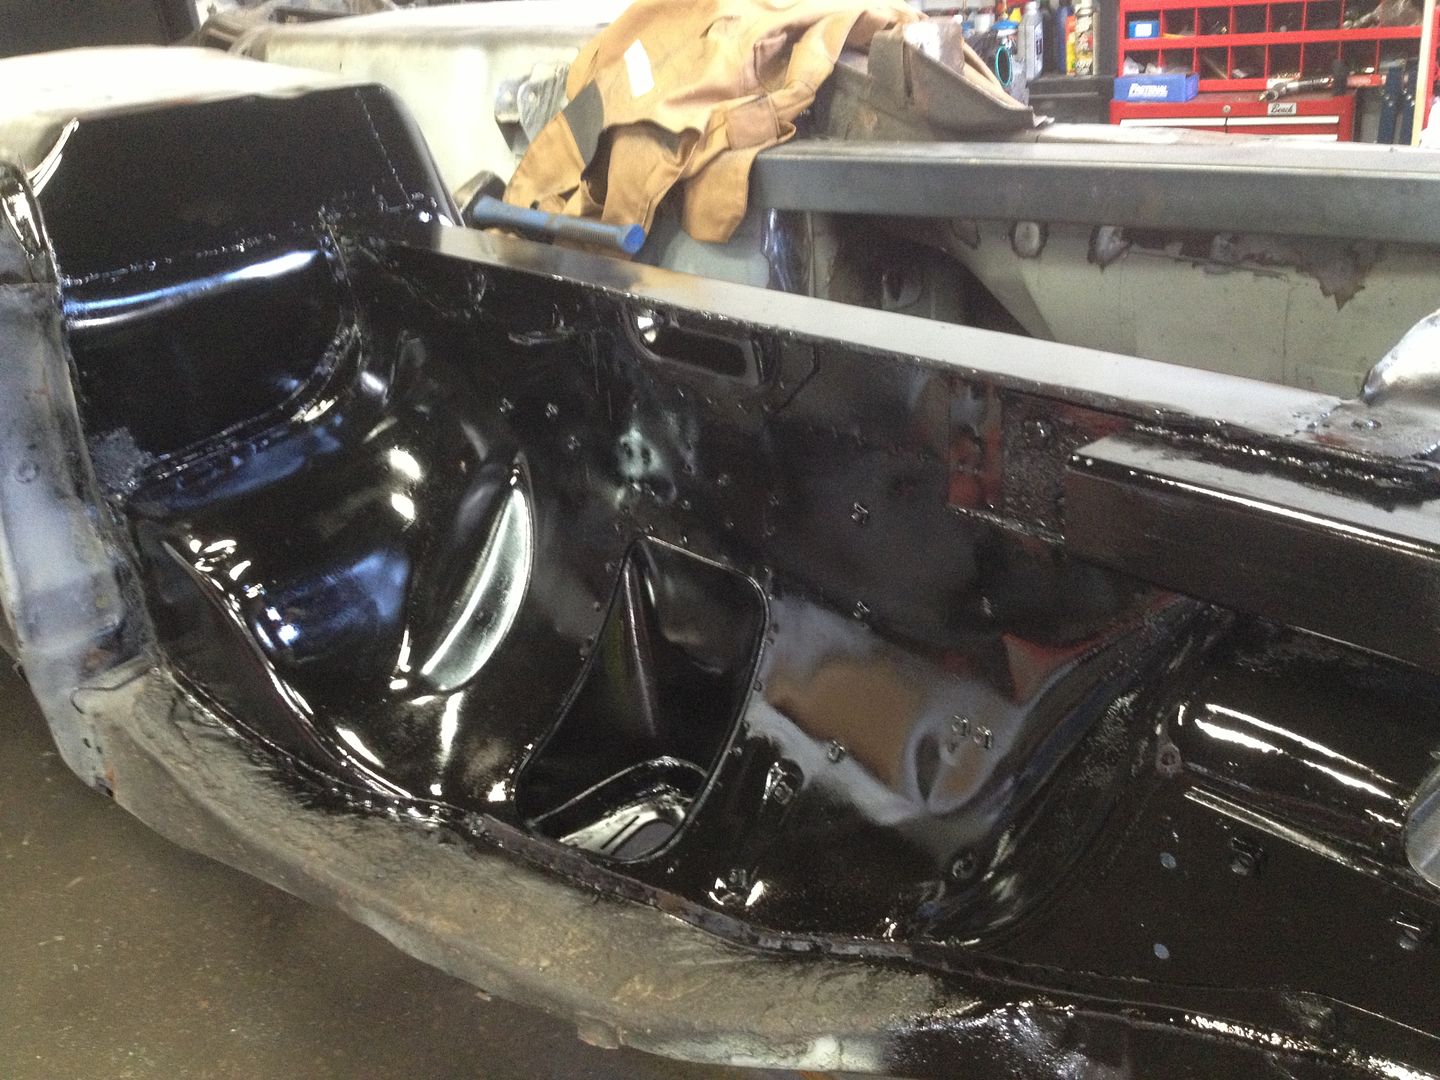
Cleaned up the wheel well and painted everything to keep the bare metal from rusting up.
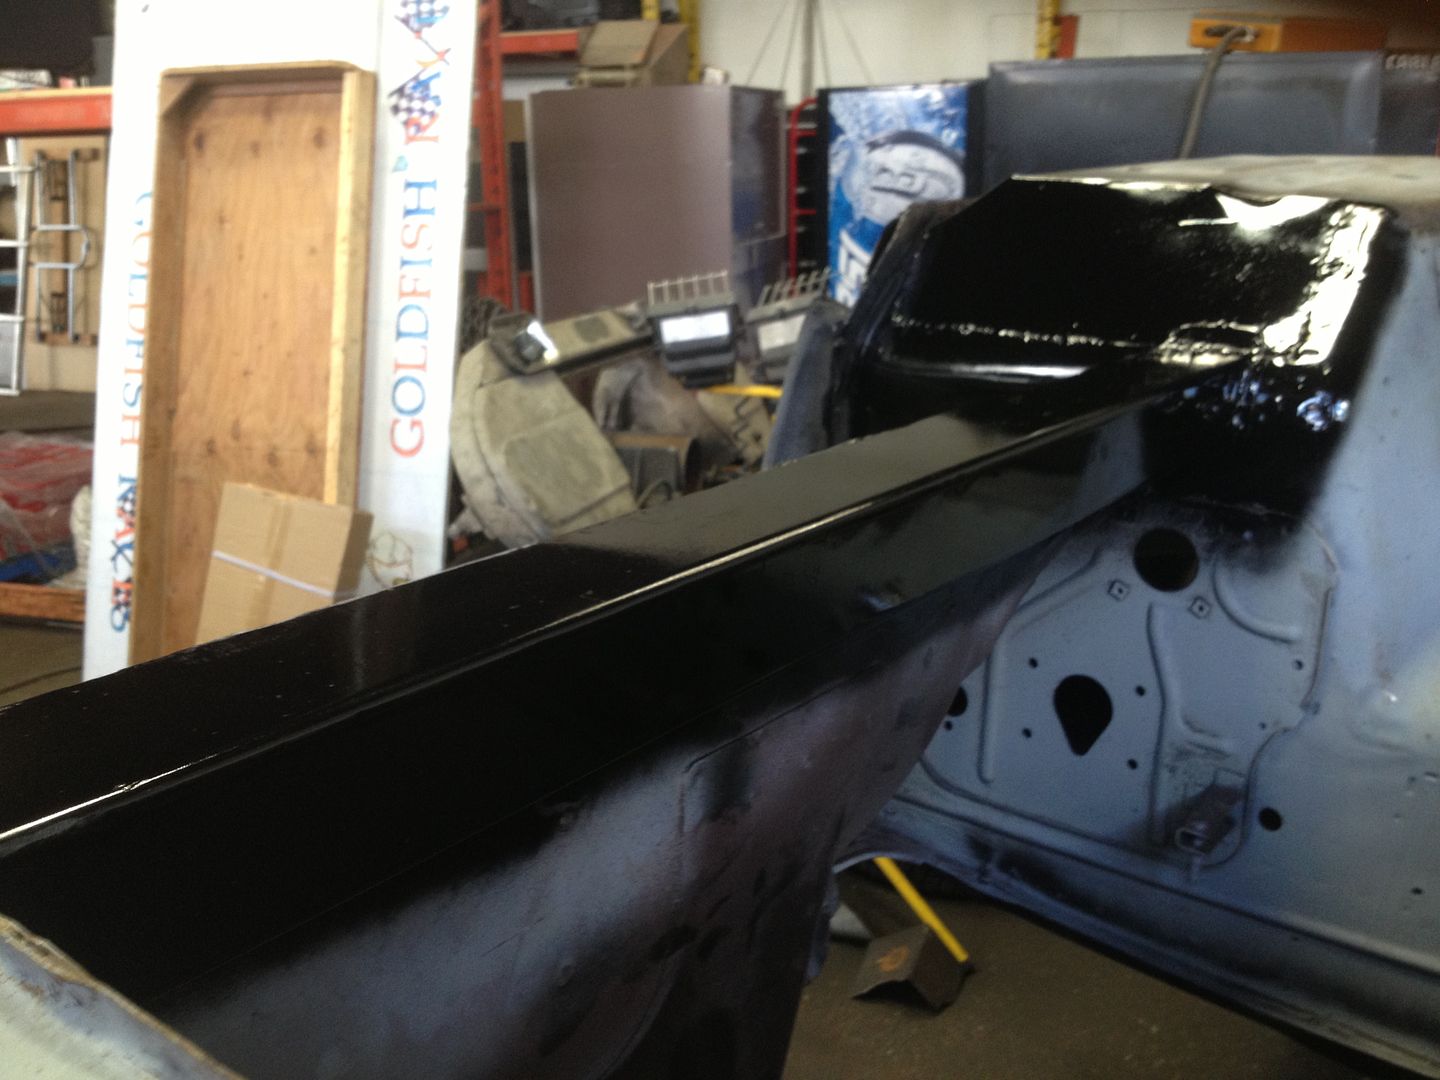
Nice, flat and straight. And I feel 10,000,001 times better about bolting 450 horse to this frame rail as opposed to the stock.
That's all for today peeps, I'll hopefully have the passenger side matching this next weekend now that I've figured out how its done haha. This is actually a much bigger step in the build than it may seem. After this is done, I can tie in mid frame rails front to rear, cage mounts, motor mounts, tranny mounts etc etc.