Thank you for the kind words. If anyone has any questions, please feel free to ask.
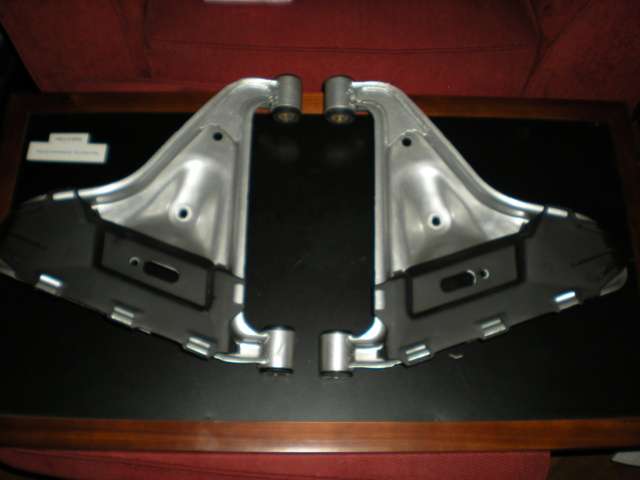
The rear lower control arms were up next, which were in desperate need of refreshment. The ball joints were worn, the bushings were rotted, and covered in rust. I started by burning out the old bushings, and removing the sleeves, again using the same technique as the subframe. The arms were then taken to the press and the ball joints were pushed out. After a good cleaning, I stripped the factory paint off, bead blasted, and powder coated "Mirror Silver". The bushings were then lubed up and pushed in with the vice, and ball joints were carefully pushed in on the press.
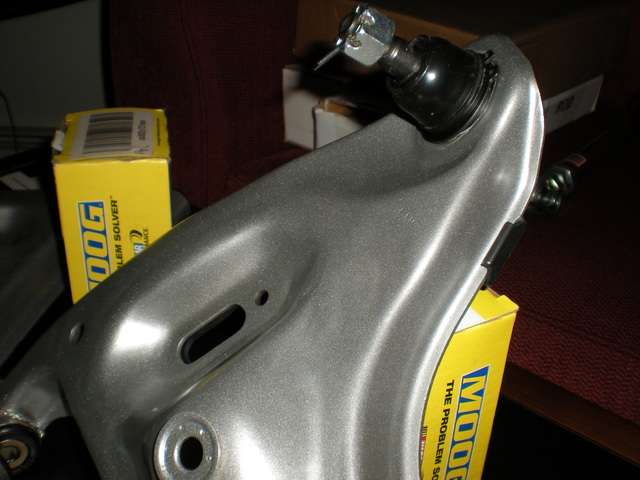
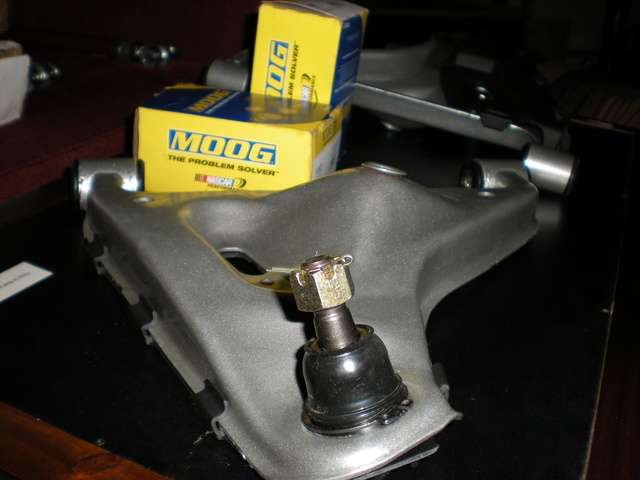
Since there is no part number for an S14 rear ball joint, an alternative needed to be sourced. After some research, I saw quite a few different possibilities, however very few concrete answers. I used a dial indicator to compare the front and rear S14 ball joints, and they were nearly identical. They went in without a problem, and the snap ring fit in the proper place.

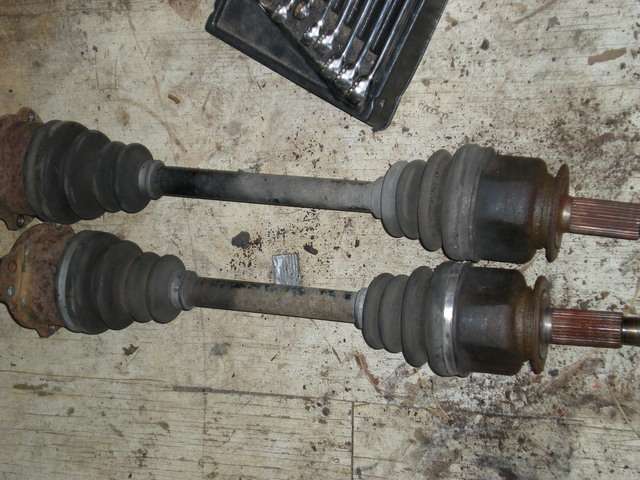
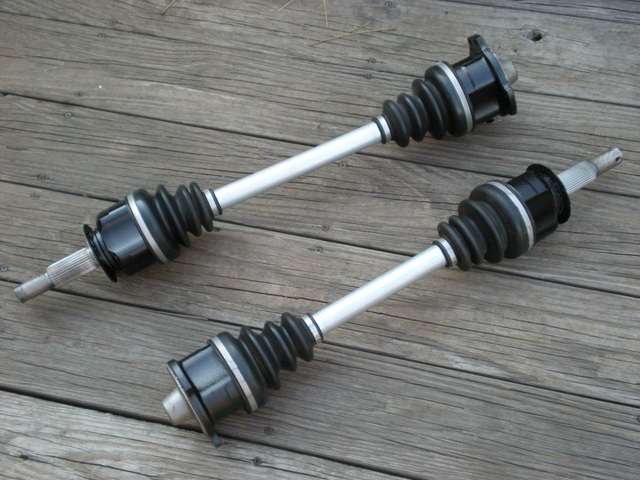
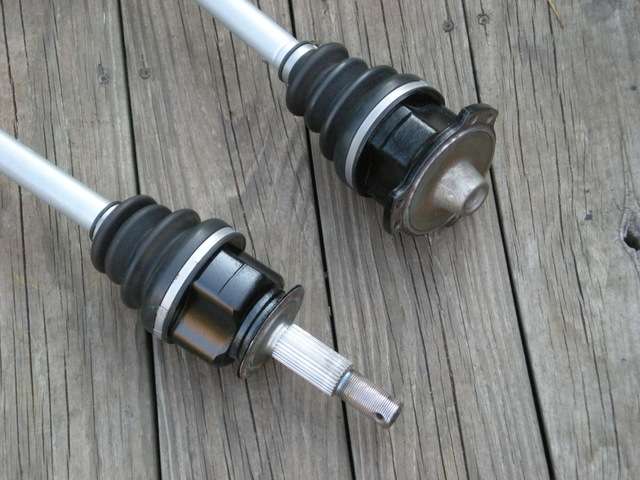
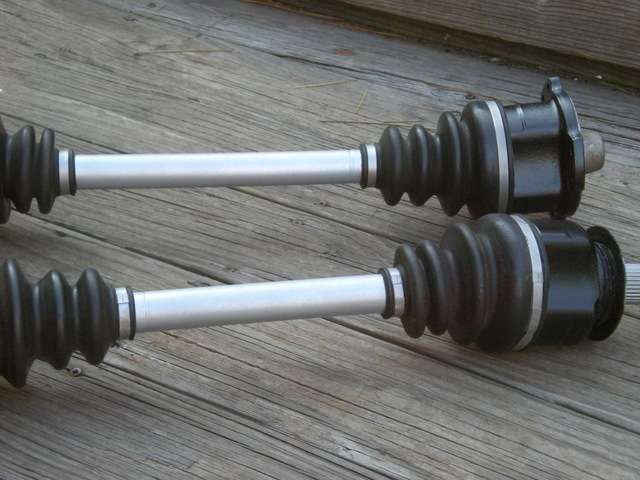
Like everything else, the axles had seen better days. Although they showed no signs of mechanical problems, they were cosmetically deceased.
I started by Glass beading them clean, and taping them off for paint. I had considered powder coat, but I was unsure how they would handle the oven.
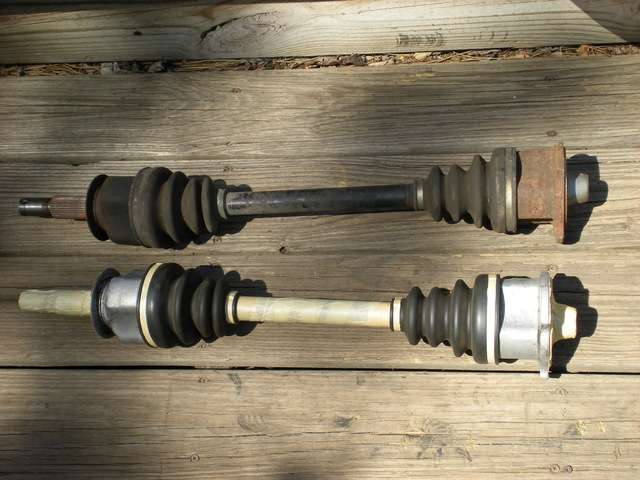
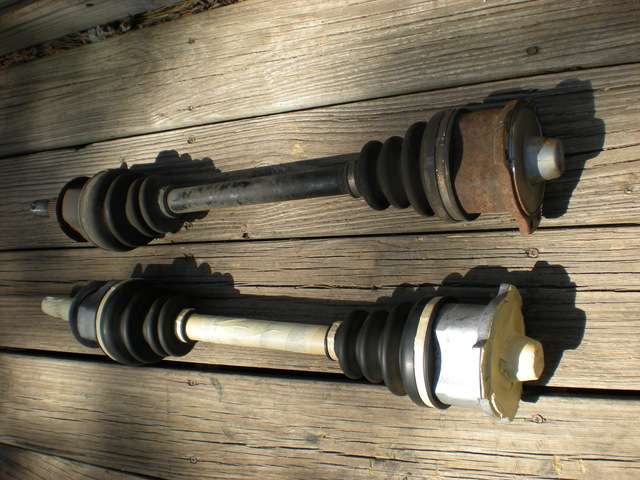
VHT paint was the applied, which appears to be strong enough to take some abuse.
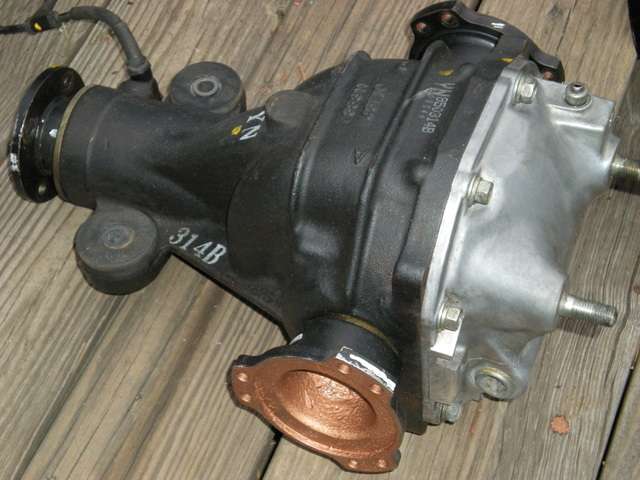
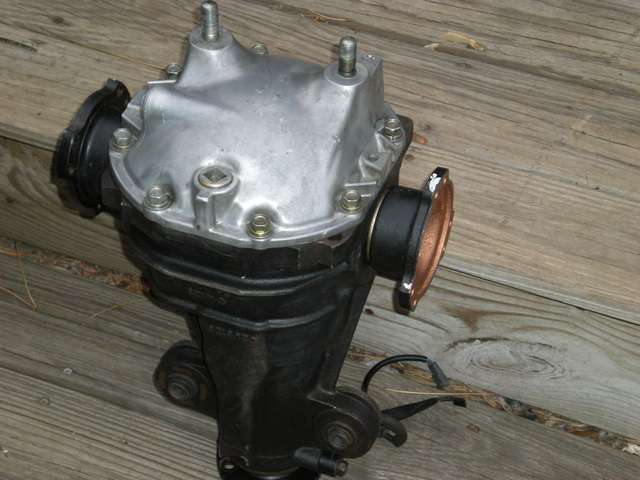
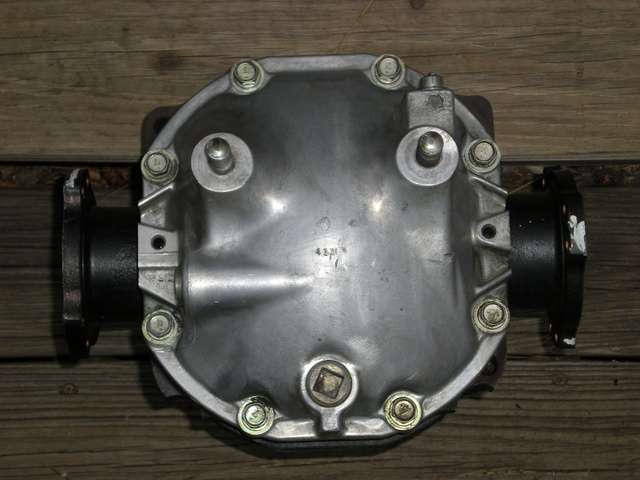
Aside from looking like I pulled it from the bottom of a lake, the open-diff had to go.
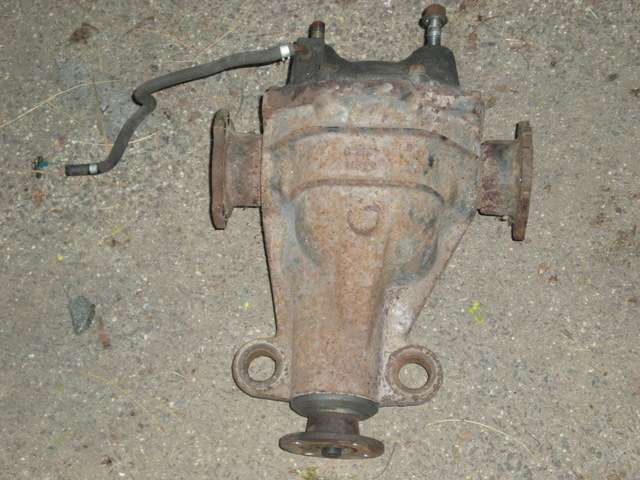
I opted to go with a J30 VLSD, as it was compatible with my 6-bolt axles. It was in excellent condition, and only required minor cleaning. I applied copper anti-seize to the flanges to prevent corrosion.