Hi fellow Zilvians here is my rb25det swap project. Let me start off by saying thanx to Gary at
www.sykoperformance.com without Gary's rb swap kit this project wouldnt have happened. Also, a big up to Ali and Eric at Machine Tune in Gardena, you guys are upmost professionals.
First of all everyone thought I was crazy for getting rid of my sick sr20det swap but I wanted to try something different, not that it hasnt been done before but I was seeking what everyone wants MORE POWER. Out came the sr20 and project "mini me" started. I call it mini me because this is the closest I will ever come to owning a Skyline in the states.
Now there's alot more to this project than I will list at this time only because I want to focus on the Syko Performance installation kit. This kit was alot of fun to work with because of it's ease and perfict fit. This kit requires the use of the r33 front crossmember. The only difference between the r33 and usdm 240sx crossmember is that the r33 motormount pads are located further forward. This is what makes the kit have the factory like fit unlike other kits out there that use the usdm crossmember and adaptor brackets. Also, when comparing the r33 stock mounts and the Syko mounts, the Syko mounts locate the motor about 1.00-1.25" lower and 0.5-1.00" further back for better weight balance. In addition the Syko mounts are polyurathane so the motor doesnt twist during acceleration.
r33 rb25det awaiting a new home
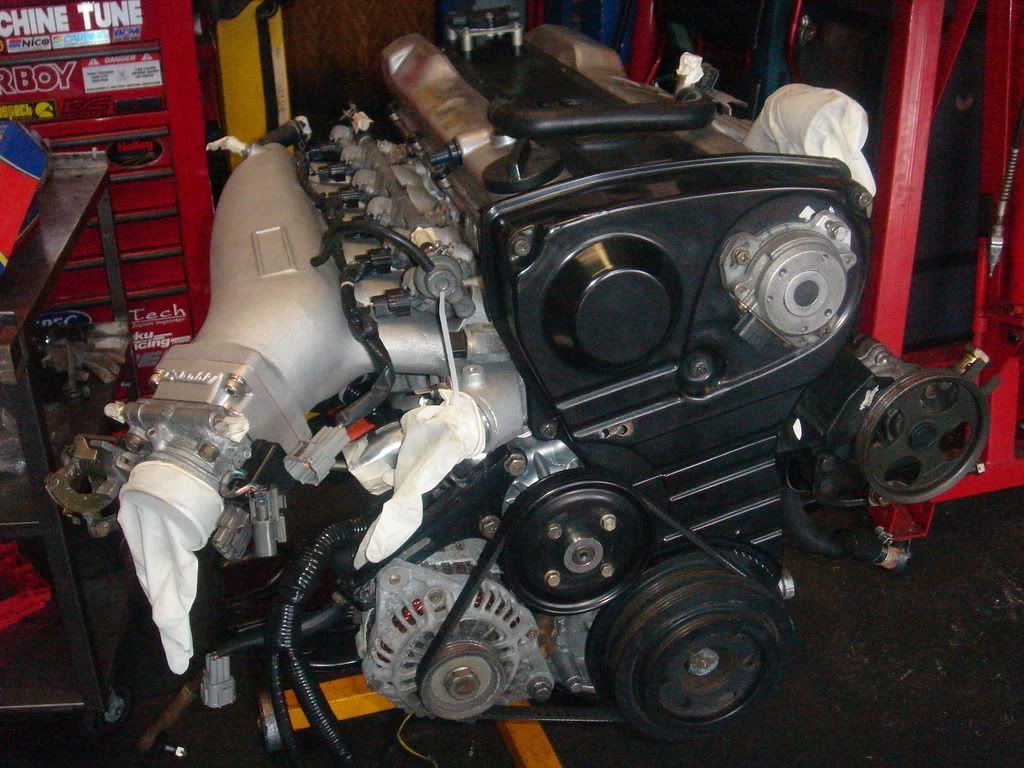
Now before people start asking me how much did it cost you have to ask yourself are you going to half-ass it or do it right the first time? To do it right you got to spend the money and by that I mean prevenative maintenance. Things like timing belts, spark plugs, waterpump, clutch (etc) are much easier to replace while the motor is out of the car and reduces down time. Sure you can do these later but in the long run it will cost you more. I will list the items I used for the complete swap but for now here's the Syko Performance kit...
This is the motormount on the passenger side. Both the mounts are labeled so you dont get them mixed up during install. Notice the relationship between the 2 crossmember mounting holes and the motormount pad itself.
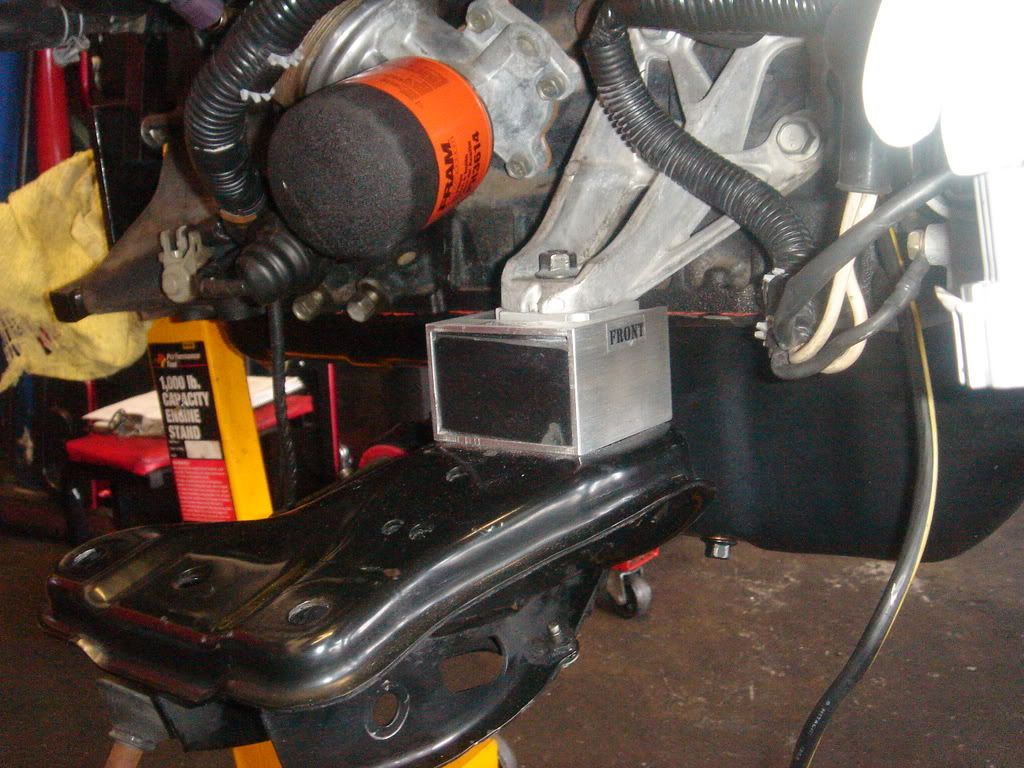
Driverside mount.
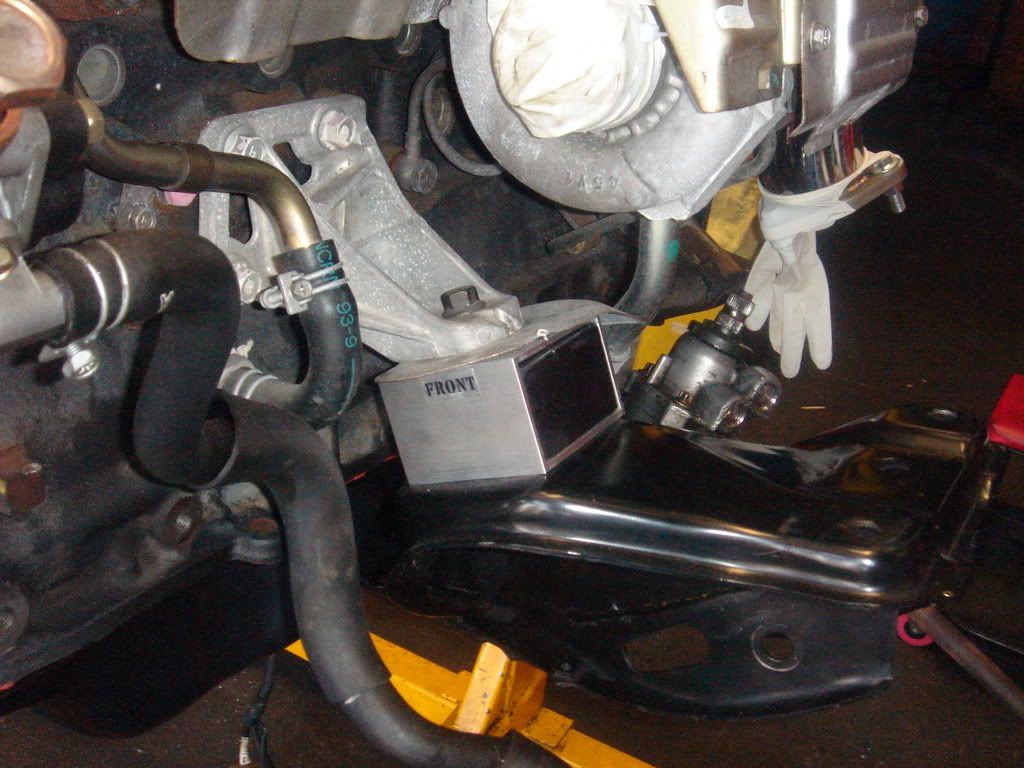
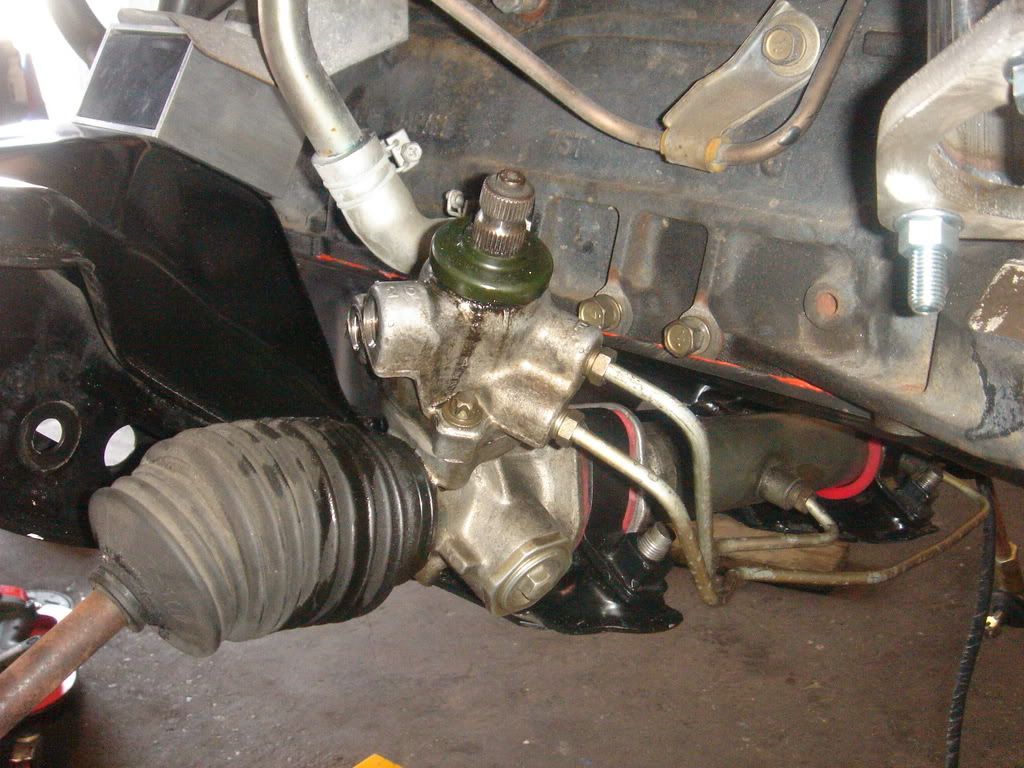
usdm steering rack on the r33 crossmember fits perfict.
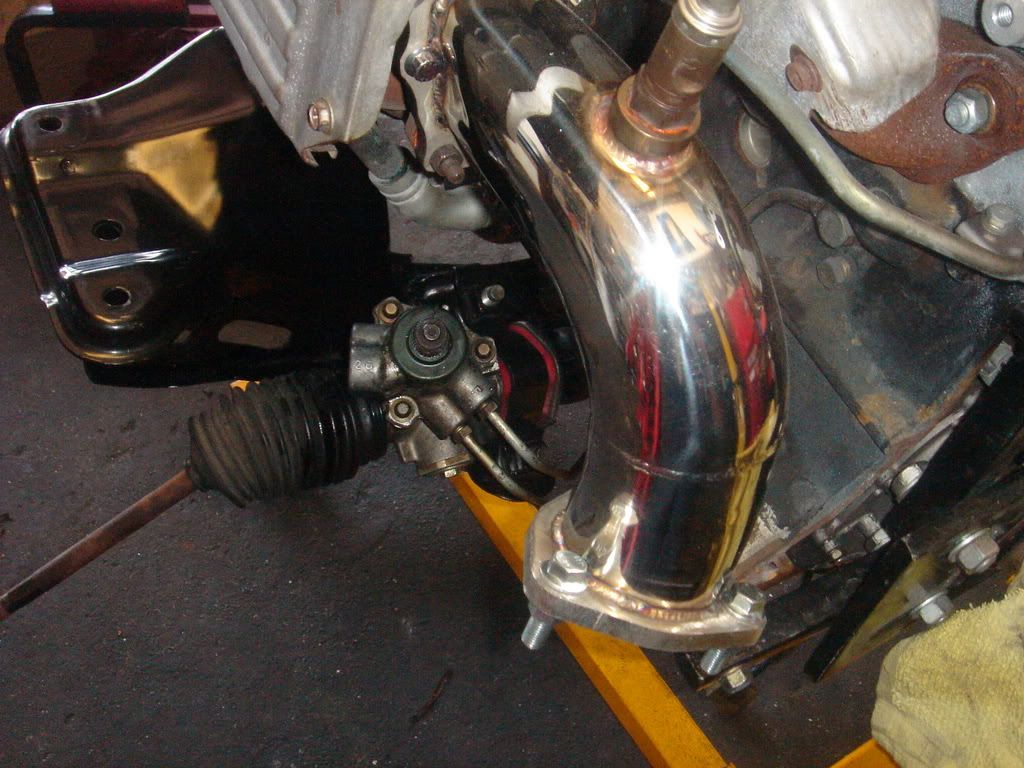
Now here's the turbo elbow thats included with the kit, notice how much room is provided for the steering shaft. Other kits do not address this issue! People that have used other rb swap kits out there have used the Greddy replacement elbow and beat it with a hammer to clear the shaft but who wants that, not me. The Syko elbow bolts up to sr20det down pipes so your existing exhaust will not need to be modified.
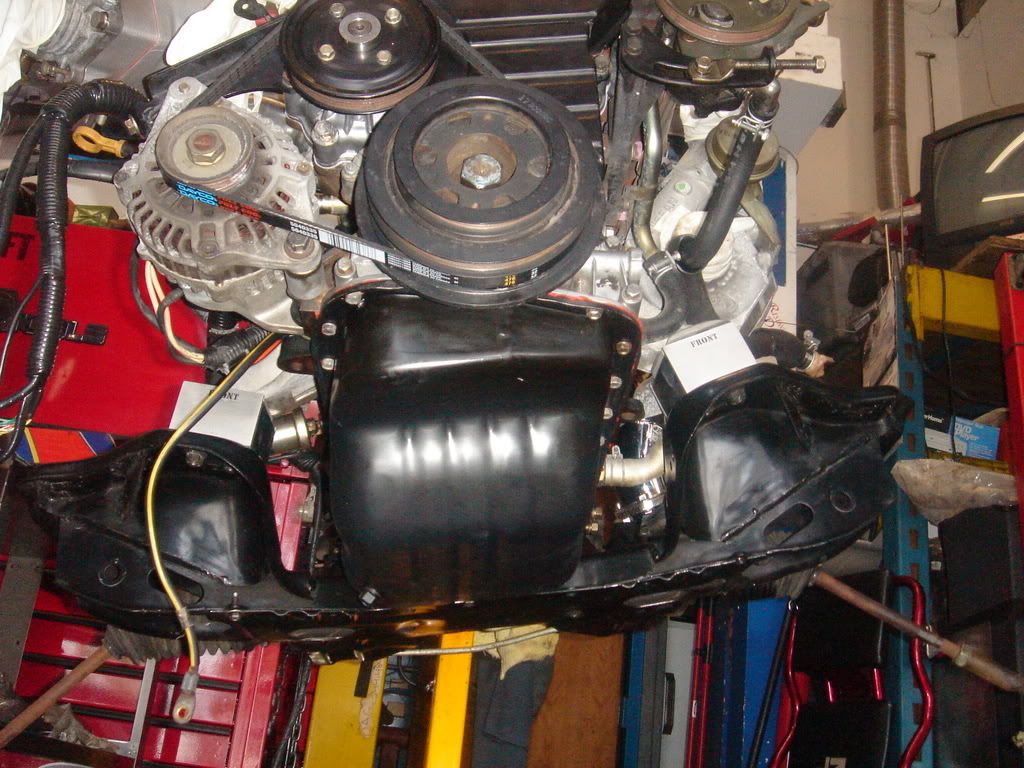
All ready to go in, r33 crossmember with Syko mounts. This is a chance to see, even though the new mounts lower the engine in the bay, you won't be dragging the oil pan. Looking good!
The motor/tranny is sitting on a moving dolly so we can move it around for...that's right you guessed it, we are installing it from the bottom. I've talked to Gary on this one and he said after doing this swap many times that it's better to go in from the bottom. Installing from the top is not impossible but is much more time consuming. It took 15-20 minutes for the 4 of us and a lift to get the crossmember bolted in place. Not once did my freshly painted engine bay get scratched.
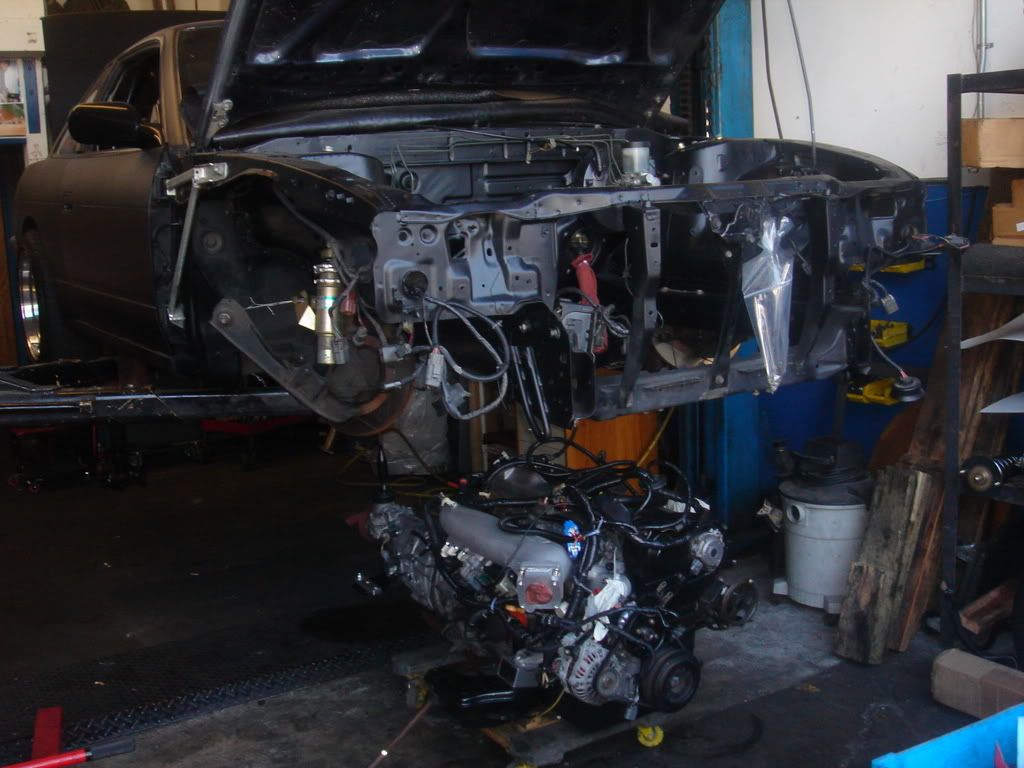
Almost in.
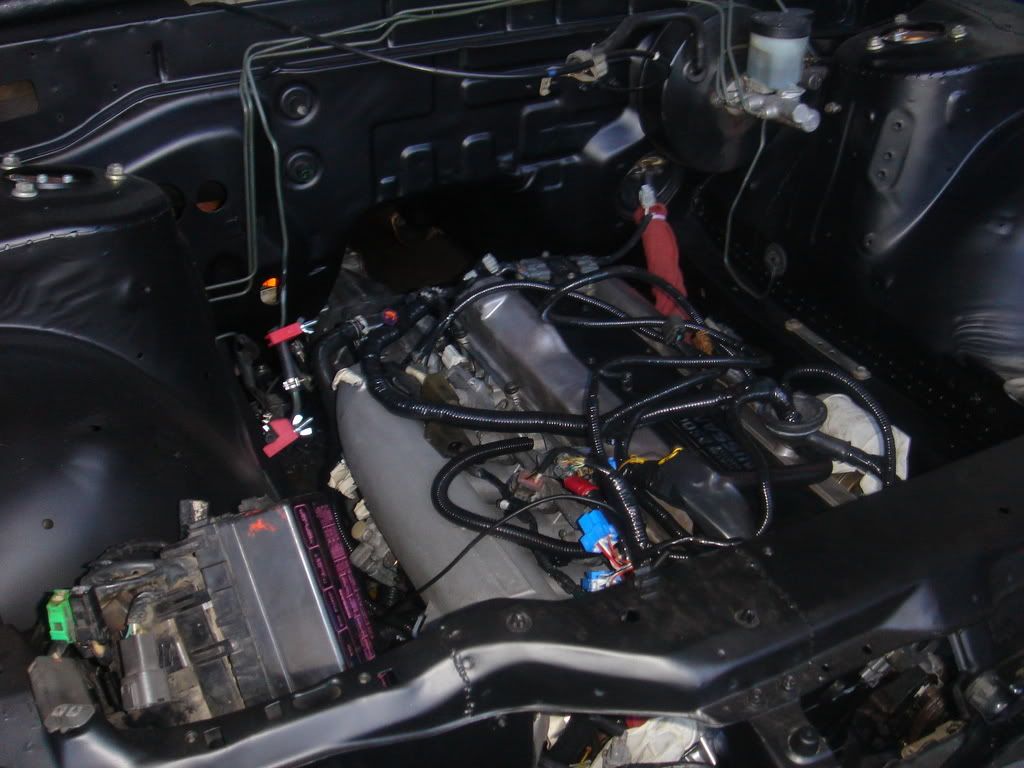
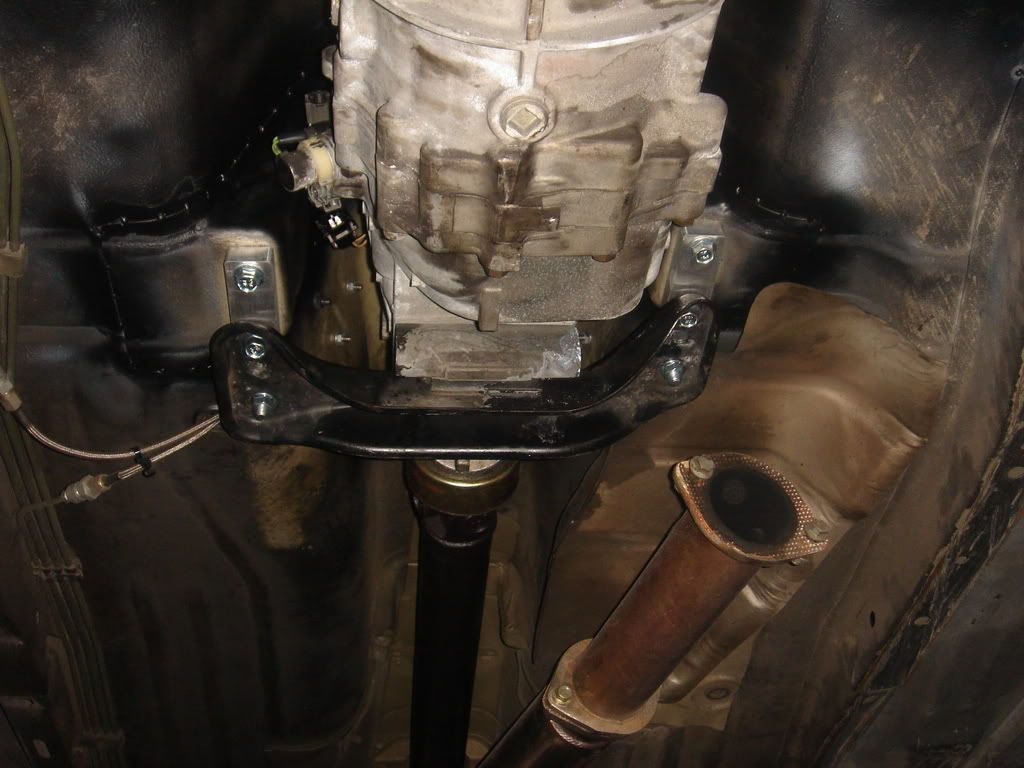
After we got the motor in place it was time to mount the tranny brace. As you can see the Syko tranny spacers utilize all the chassis holes for a secure fit. The tranny brace is from the r33 clip but you can use the usdm 240sx automatic one as well. For this kit you need to get a driveshaft from
www.driveshaftshop.com They have the P/N of this driveshaft on there site in steel or aluminum and ship quick. As a bonus you can see how my hydraulic e-brake is spliced into the rear brake line, thanx Earl's!
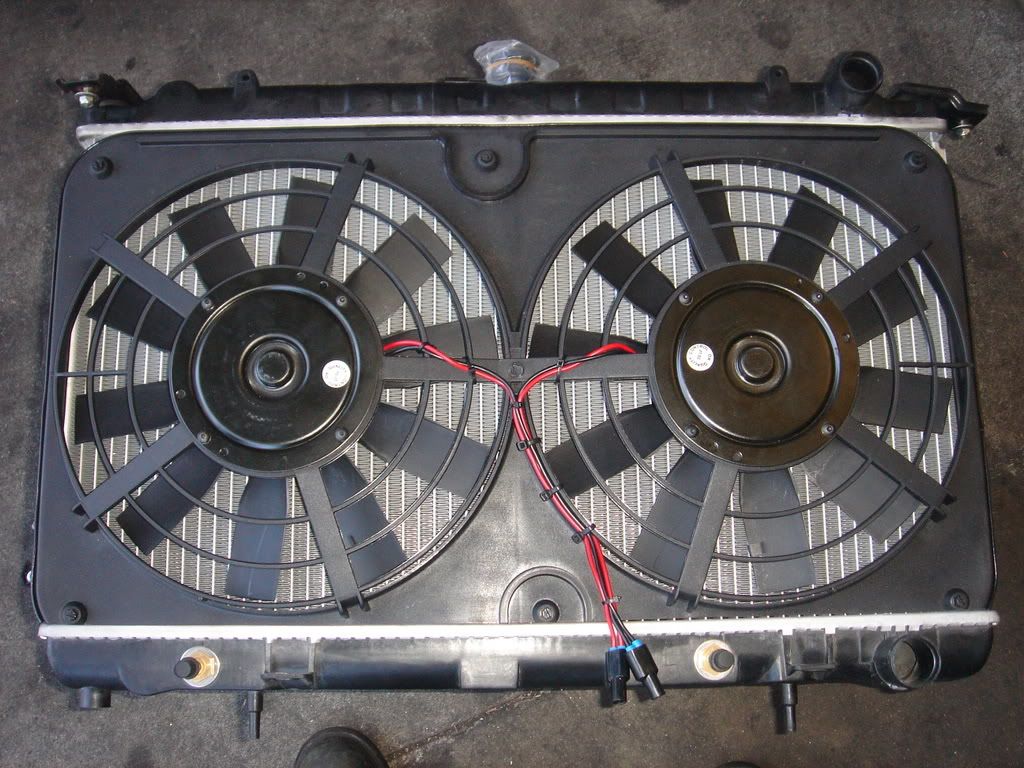
For cooling I used the s14 factory replacement rad with FAL 2500cfm slim fans. It's a tight fit with only .25-.5" clearance between the fanmotor backing plate and power steering pully but it doesnt rub at all and the car runs cool.
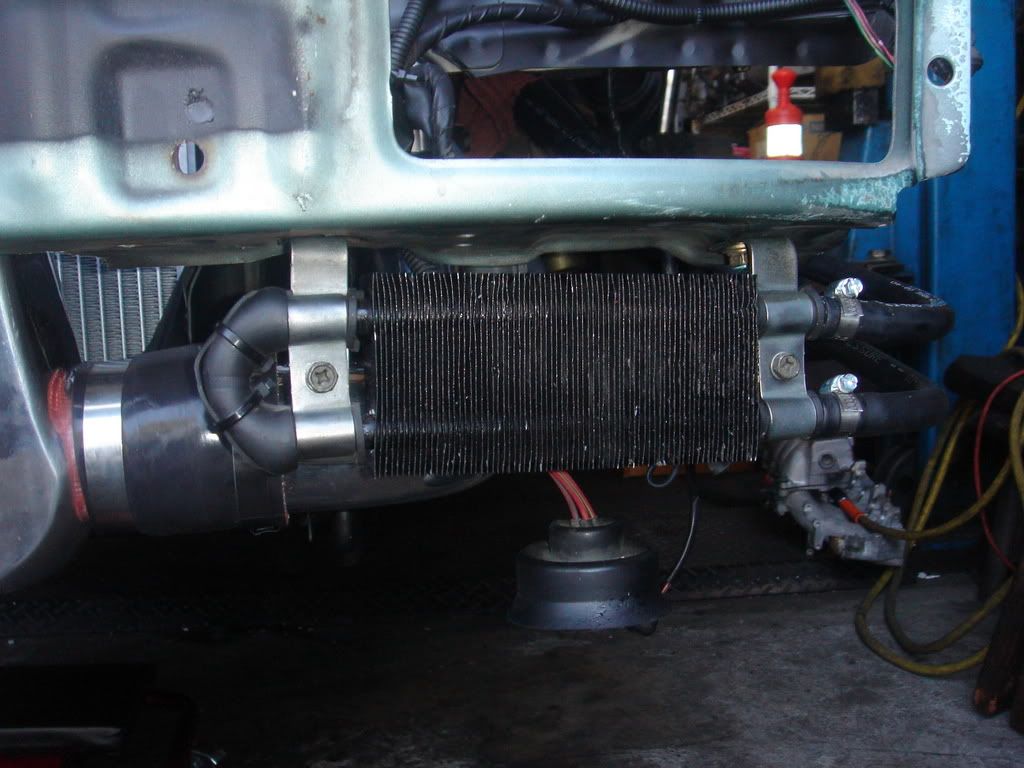
Things not pictured are the powersteering lines and Syko front swaybar spacers. You can use the stock high pressure line but I recomend a custom braided line from Earl's because after time the soft line will tend to kink due to the 90 degree banjo fitting. As for the swaybar spacers they are simple, they space the bar about .75-1.00" lower to clear the oil pan, easy stuff. Also, I highly recomend a power steering cooler because the usdm 240sx super long hard return line that goes from one side of the car to the other and back is used for cooling and does not fit with the r33 crossmember. I used a stock 350z power steering cooler spliced into the soft return line which works well.
